Hi Guys,
After a while reading and gathering information I’m going to start my build thread. What keeping me busy was finishing my workshop after we moved into our new flat so within this weekend it should be mostly completed and I can focus on my build.
Main focus for my build:
- Use standard parts
- Make it easy to assemble
- Really clean build without loose or hanging cables
- Safe
- Easy to maintain
CAD:
I was developing heavily with catia in my previous job and now in private swapped over to fusion 360 with this build and I love this cad program.
Battery:
5 Graphene battery’s with 2S 90C discharge in series with 4600mah are going to power this little fella.
All in a swappable battery to enlarge my range or make it accessible for transportation. So for the start with one battery and try to build it up as easy as I can to enlarge my set up afterwards. With a travel save battery and long range battery etc.
- Bypass bms from bestech
- Pcb internal connection (no or at least almost no cables)
- Laptop style charger with Arduino and an e ink display for my curiosity of the cell values.
Enclosure:
The enclosure is sitting flat on the board because I really hate all the gasket screwing directly to the board. So it is going to have some nice revision cover with plastic screws and thin silicon seals.
Deck:
DB Freeride 38" very similar in shape to the Evolve
Truck & Wheels & Mounts:
Evolve Trucks with Evolve AT Wheel set & Unik Board CNC milled aluminum holder
Motors:
I think im going with dual eskating 190kv motors 6355
ESC:
Pro ordered the Unity
For now. I ordered most of the parts except the motors, pulley, remote and some little stuff. I’m going to make my design open source if someone of you want to copy my swappable battery system afterwards feel free to use it (just started and not released yet)
I really appreciated the effort all of you have been putting into this platform and hope I can give something back with my cad skills and get a bit help from you designing my pcbs.
Cheers, Dennis


24 Likes
looks great! how does the flex on that board work with 3d printed enclosure?
as far as i could test it: juming on my board  it is quite stiff. All the parts inside the enclosure are only held to it and not directly to the board so any bend and wiggle shouldnt effect the parts inside the housing due to 3mm print thickness.
1 Like
That tool wall…this looks really nice man 
3 Likes
Nice one, I’m curious how you will measure the cell voltages with the arduino, I couldn’t find a way without putting a bunch of transistors to turn off the voltage dividers so it wouldn’t unbalance the pack
Thanks.
Im going to make it only while charging and then all cells at the same time (probably non permanent just to check and satisfy my curiosity)
Taking the single cells to ground creating an voltage divider with same resitor to unload the cells equal was my plan.
And you will make it turn on when you connect the charger? I would really like that, I have 5 leds boosted style on my board to show charge level, but they only work with the board powered on, couldn’t find a way to power only the arduino when charging
yes just when charging up the battery. but let me get further into design and then i will come back with a clear picture. fist things first now and thats fitting everything into that enclosure
2 Likes
No hurry, my problem with the “I will first get it running and then do that” is that I never come back to do “that” 
Just to check, what is the blue button for?
its the Clamp/release for the swappable battery
1 Like
35 hours to go … just for the battery body
https://photos.app.goo.gl/U5FCqzN2o9CtGPvr9
4 Likes
What’s the dimensions for your enclosure?
1 Like
The battery itself is about 300x135x33 mm and the whole enclosure is about 450x195x33 mm
2 Likes
Loved the designed, really looking forward to how the printed parts hold up
You essentially end up with unlimited range, you could even go smaller with the battery’s, 10S with the Samsung 30T would be dope
1 Like
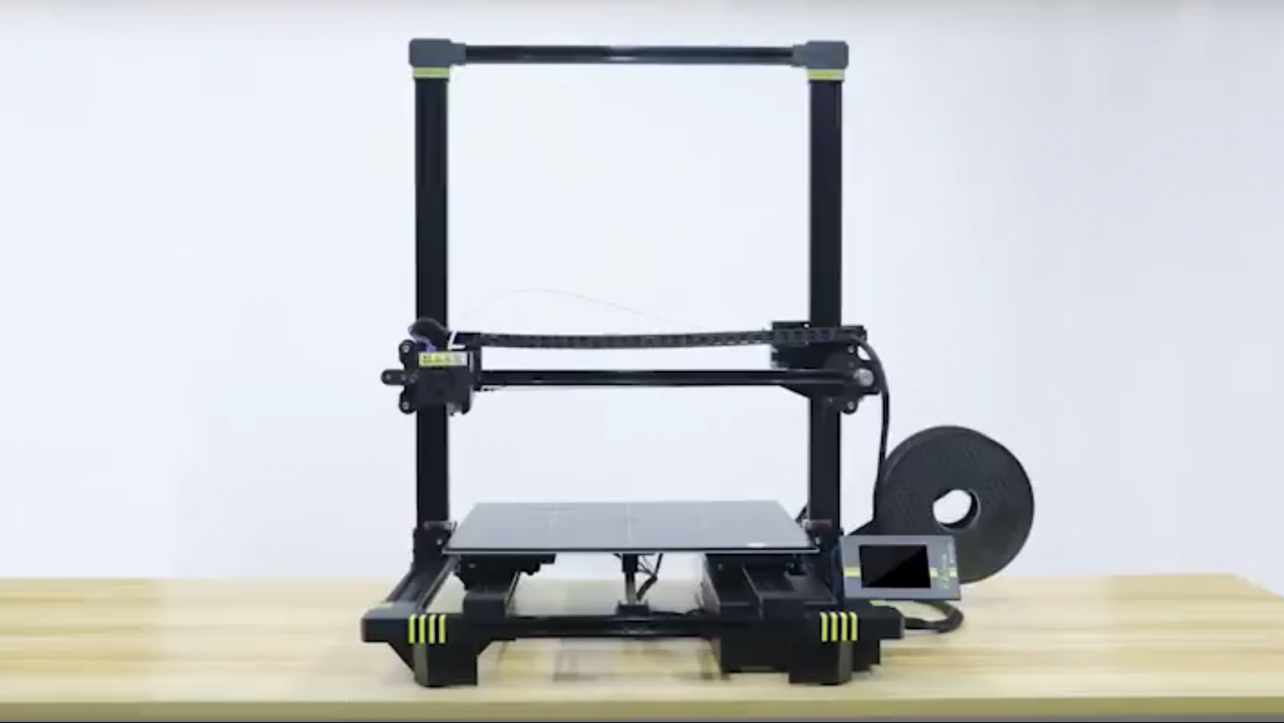
quick update… print failed after 28 of 35 hours due to edge warping of bed on the croners  but fortunatly my new larger printer comes on wendsday and with this one im able to print every part in one shot without going this close to the edge of my build volume

4 Likes