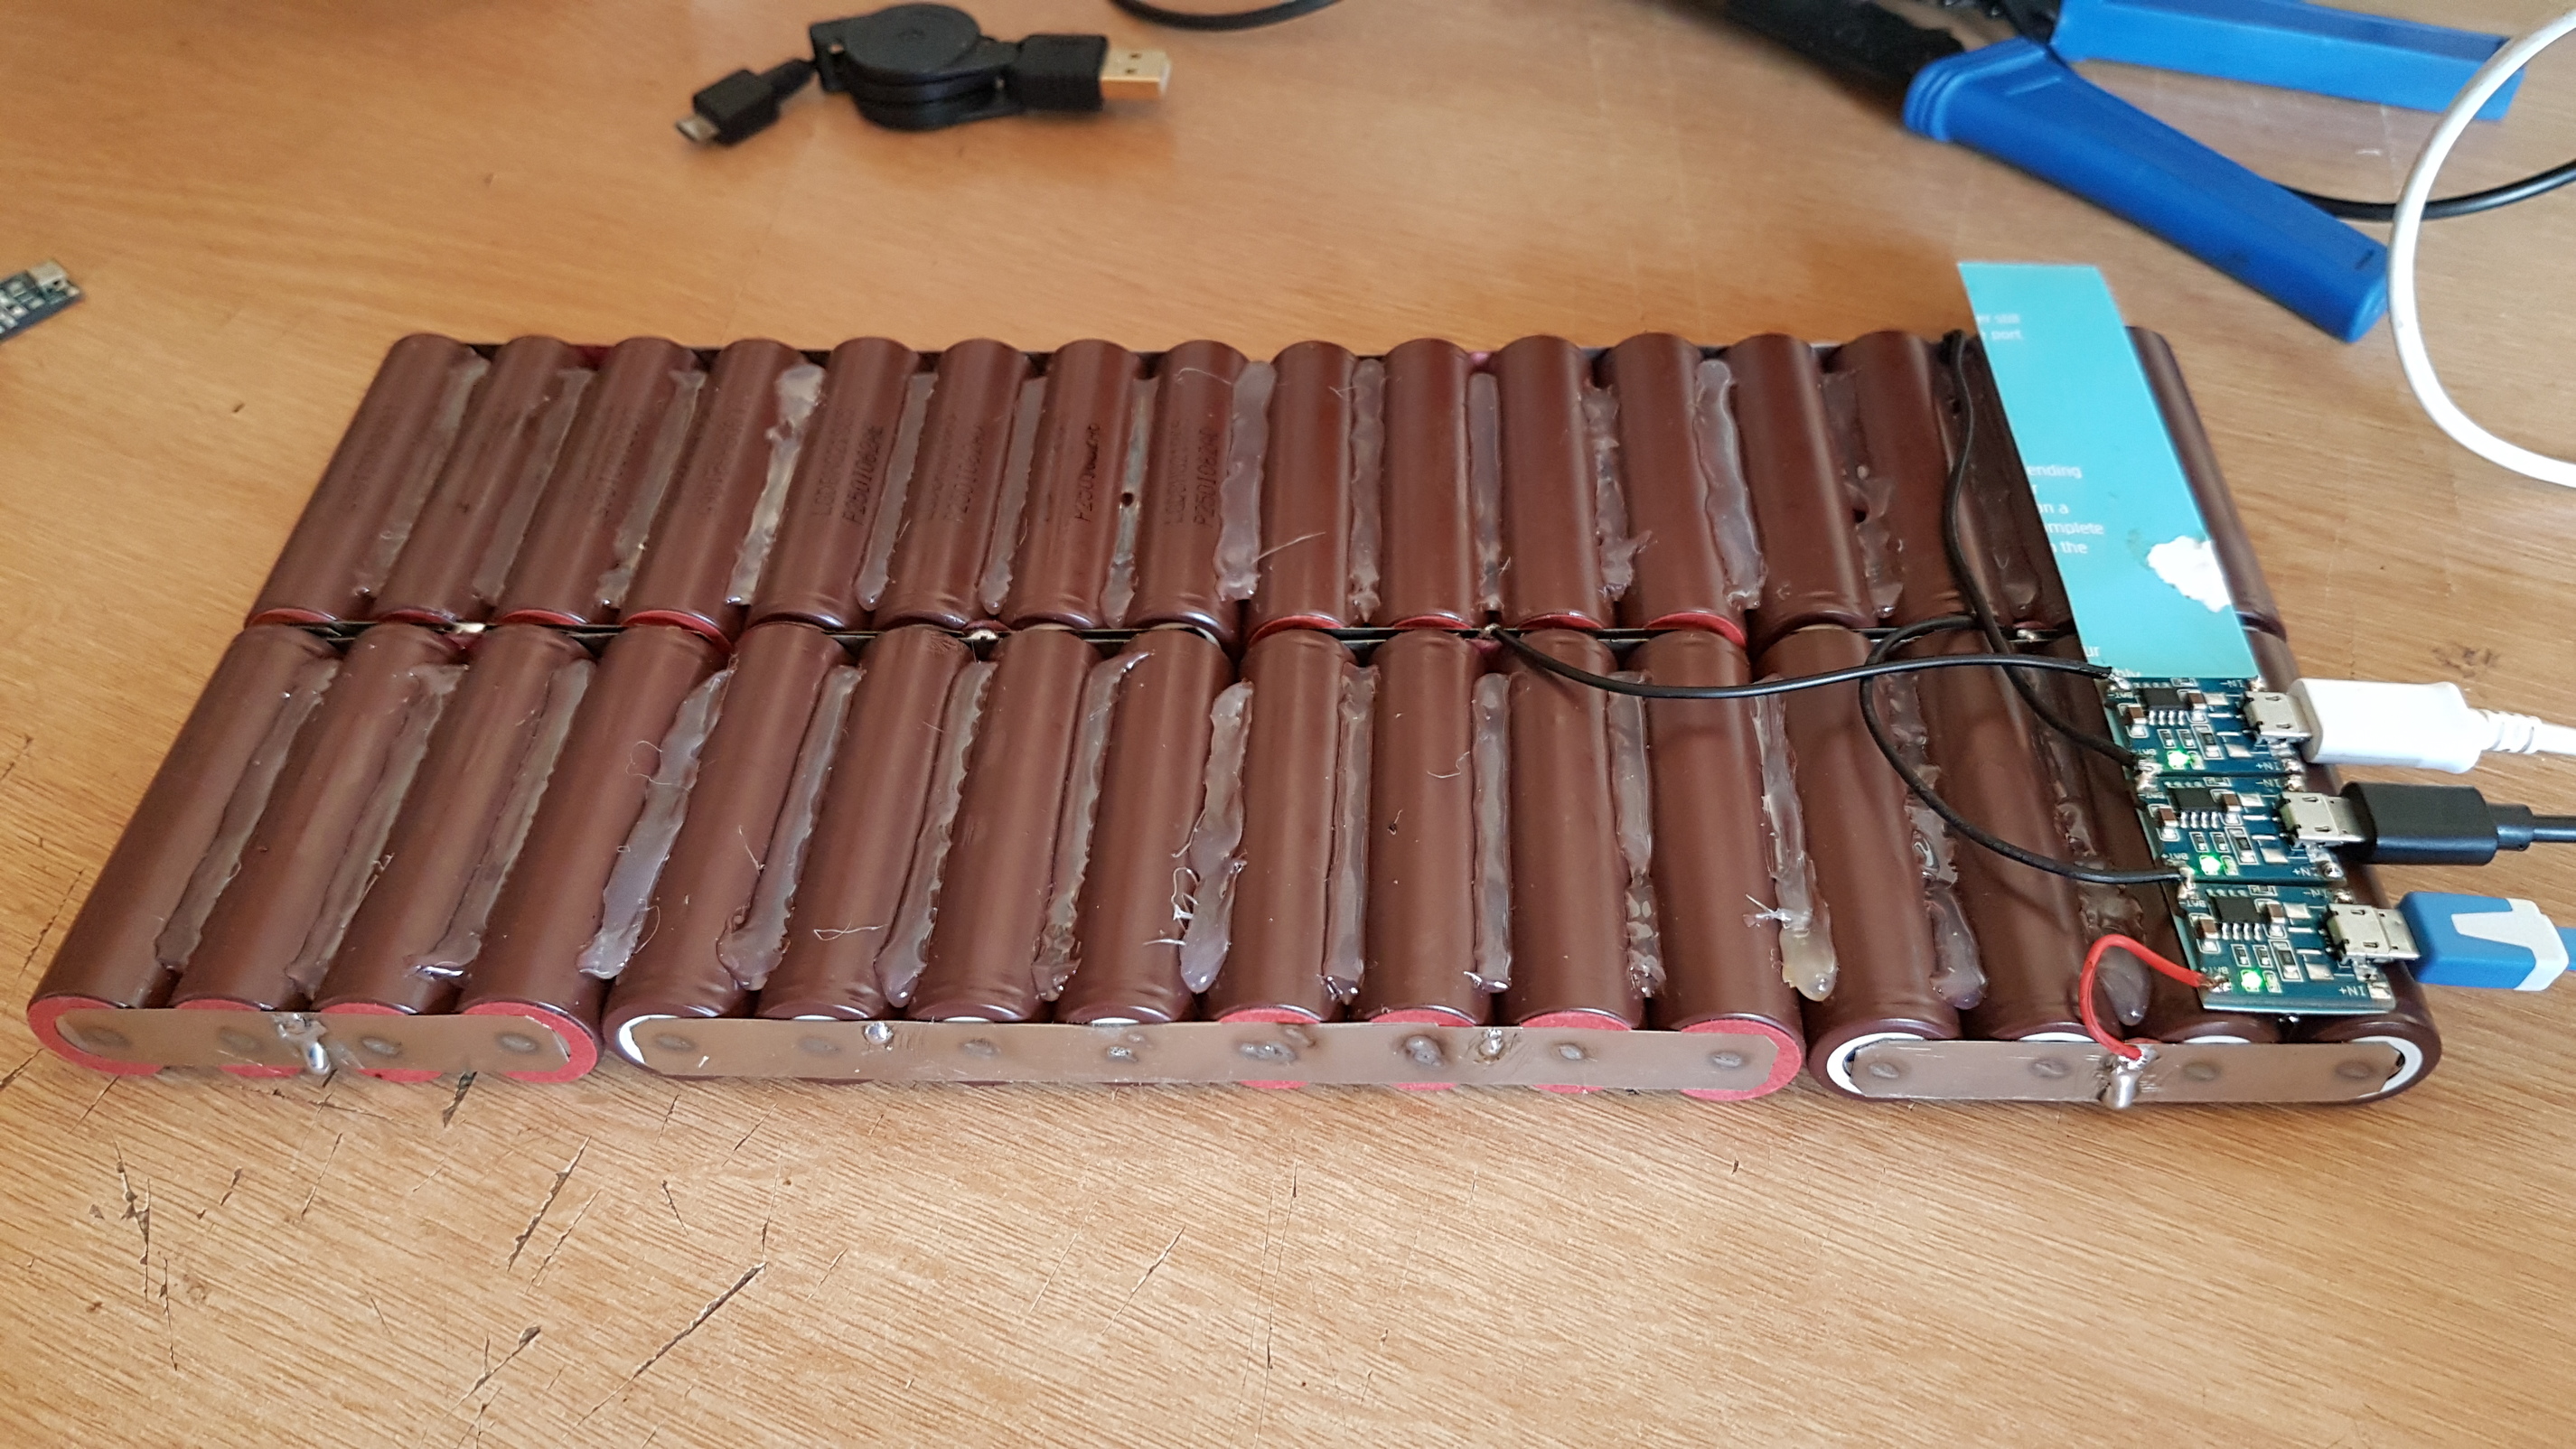
It’s ugly but, for the most part, my first electronics build (experience with soldering). Seems to be working ok. Pretty stoked. I only have an 5v 8a power supply (40 watts), and not certain if the PCB boards actually pull 5v 1a, or 4.2v 1a. In any case, 4.2 volts x 1a = 50.4 watts, and even with 8 of them connected the power supply is a bit warm.
Other items, 2 sided tape to mount to board.
Board laying around the house or home depot.
wire
solder
electrical tape.
Ability to ignore an ugly job that works.
This will “balance” charge each cell to 4.2v.
I am going to use this to get all cells to max capacity before discharging them to test capacity. The generic B6 charger I have only charges to 4.1v, and I don’t know if I trust that even. After charging some show only 4.03, some 4.10. One balance charger says it’s charging to 4.2v, and still reads less than 4.10 with a multimeter.
Looks good! I checked out those TP4056 for my battery design - and pretty much wrote them off as to expensive for a 48 cell battery.
That being said, I still like this idea for testing, and ultimately keeping my cells charged for my RC-Car since i use LI-ION for servo control and my Nitro Starter.
Good job on the execution and presentation, time to get a 3d printer and design an enclosure for it!
Don’t tell my wife that. lol, I have seriously been considering buying one. Thanks for the kudos. I haven’t done much research but I see people have PCB board printers of some sort. It’d be nice to clean the wiring up on this.
Good news is that microcenter has a pretty decent lineup of 3d printers if you dont want to go the DIY route, as well they are relatively affordable. The problem with most of them though is that the work space isn’t going to be the largest - so you’ll likely need to design an enclosure that would be thicker rather than thinner to accommodate everything.
I’ve been looking at the PCB routers/printers as well and really haven’t found any good “desktop” PCB machine. I have found a few desktop CNC machines that can do simple PCB’s but when you start jumping into the multi-layers it seems almost more economical to just contract the board out to a company for a one-off. My biggest interest in getting a PCB printer would be so that I can design my own battery packs and supplemental current delivery - as well as possibly running my own VESC - would be kinda cool but ive not seen any under 5k that can do upwards of 10 layers - as well their conductivity may not allow that kind of power.
Either way, glad to see it worked my friend! Good Job!
Ohh damn, you made your own static balance charger, haha. That’s pretty sick. I’m going to use a BMS, this is just to get the batteries to 4.20v so I can test capacity with IMAX B6 charging units, so I can build a proper 12s5p battery pack.
Make sure the tp4056 at the end of the string are getting enough current, you might need to run power leads to both ends. Check www.diypowerwalls.com for dozens of diff multi tp4056 setups, from 5 to 40-50
That’s a good point. That’s probably why I am seeing some strange behavior. It’s getting the current, but I am only using 8 of 12. But I just noticed some odd behavior when I had on in space 12, then filled spaced 1-7. (2 different 18650 battery types). I had to unplug the charger and plug it back it for it to register. Seems to have charged the batteries fine after that though.
I have a 300 watt DC to DC converter and 90 watt laptop power supply I can use. It’s a bit easier finding higher volt power supplies with higher watts than 5v ones.
Run a copper bus bar thick enough to not drop voltage for positive and neg across the top and then connect each tp4056 to it.
Computer PSU are good, just make sure to hook up something(a fan) to 12v to get full power on 5V
I have since replaced the rprog resistor with a pot for variable charge current. It can do up to 1.2A if you put a tiny heatsink on the ic or have a fan blowing across them
Ohh, I see. I think I saw some battery packs that had contacts under the holder that could connect to a bar. I’ll check into those. Might be easier to work with the bar on.
Also if you using the B6 for Mass charging I prefer the series method over parallel, and you can still parallel on top of the series. I made 6S cradles using the 18650 holders so I can balance charge 6 at a time, or 12,18 etc if 2P,3P
I can’t even get 4.20v charge via the B6. I am just going to use the B6 to check capacity at this point. I am finding the fake ones I got are not consistent and not certain I should even trust the capacity testing.