last big picture attack!
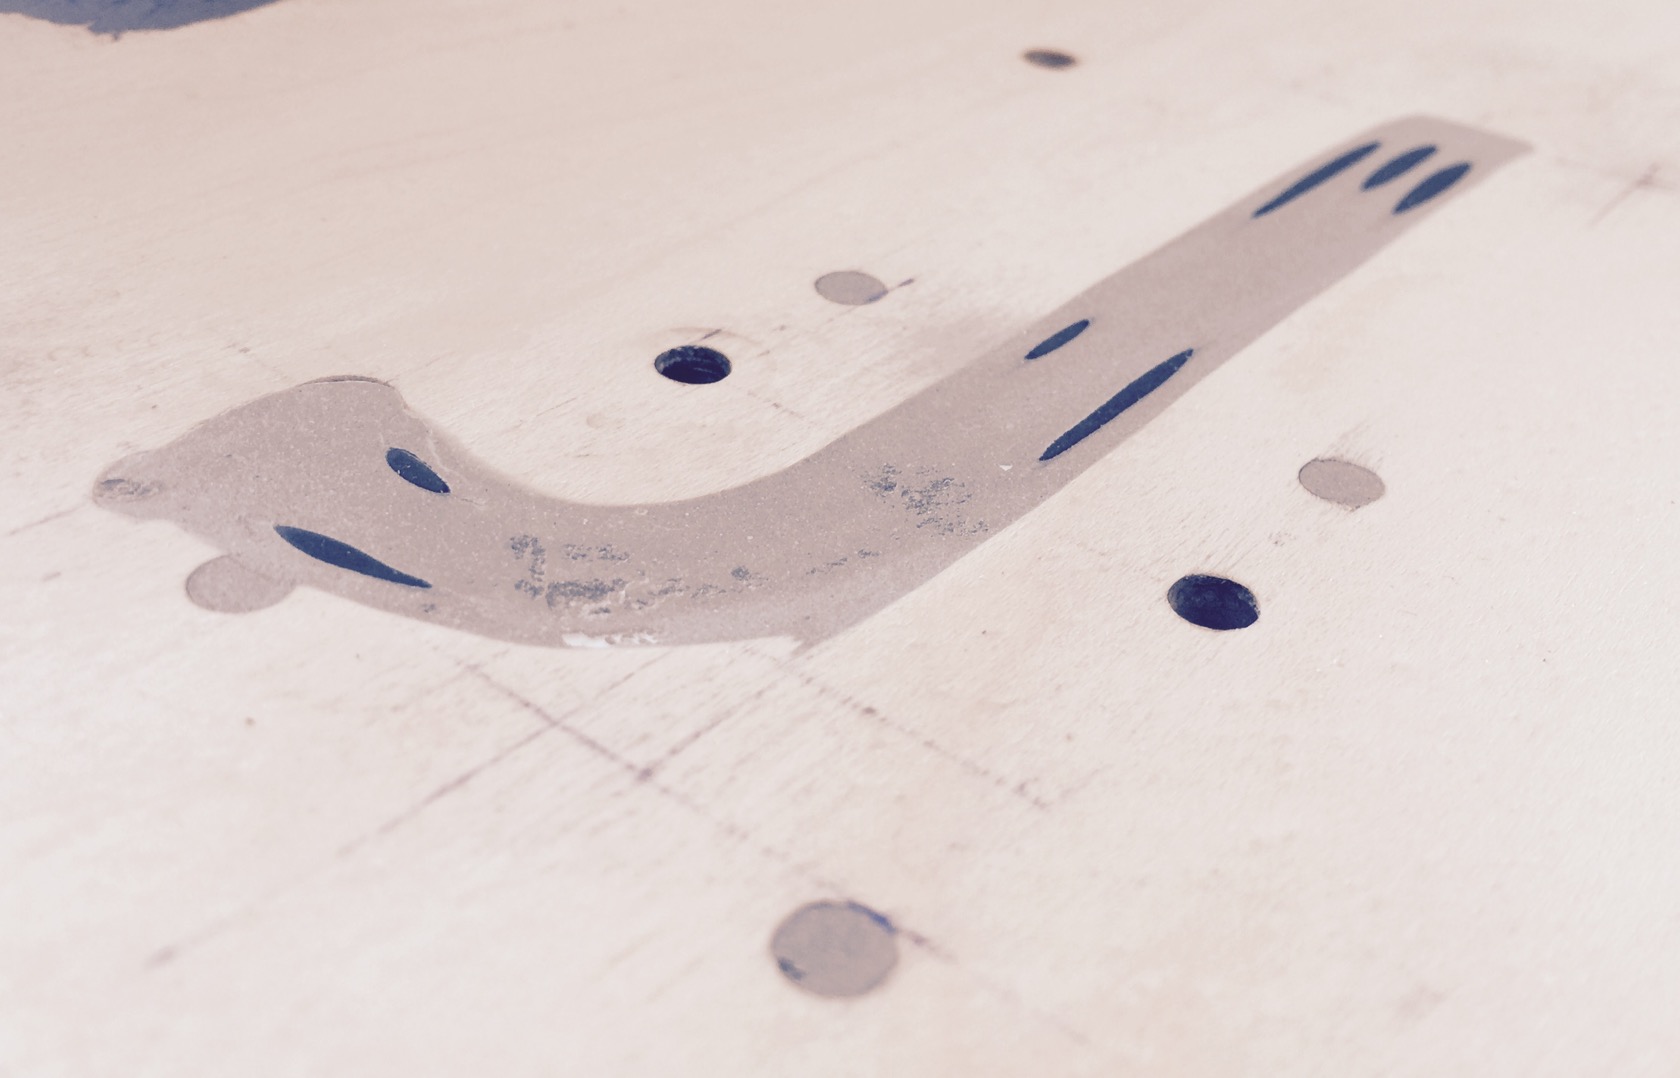
started with drawing the LHB wire channels on boards topside - this time no silly rectangular shapes but something that the 3 parallel wires can actually follow:
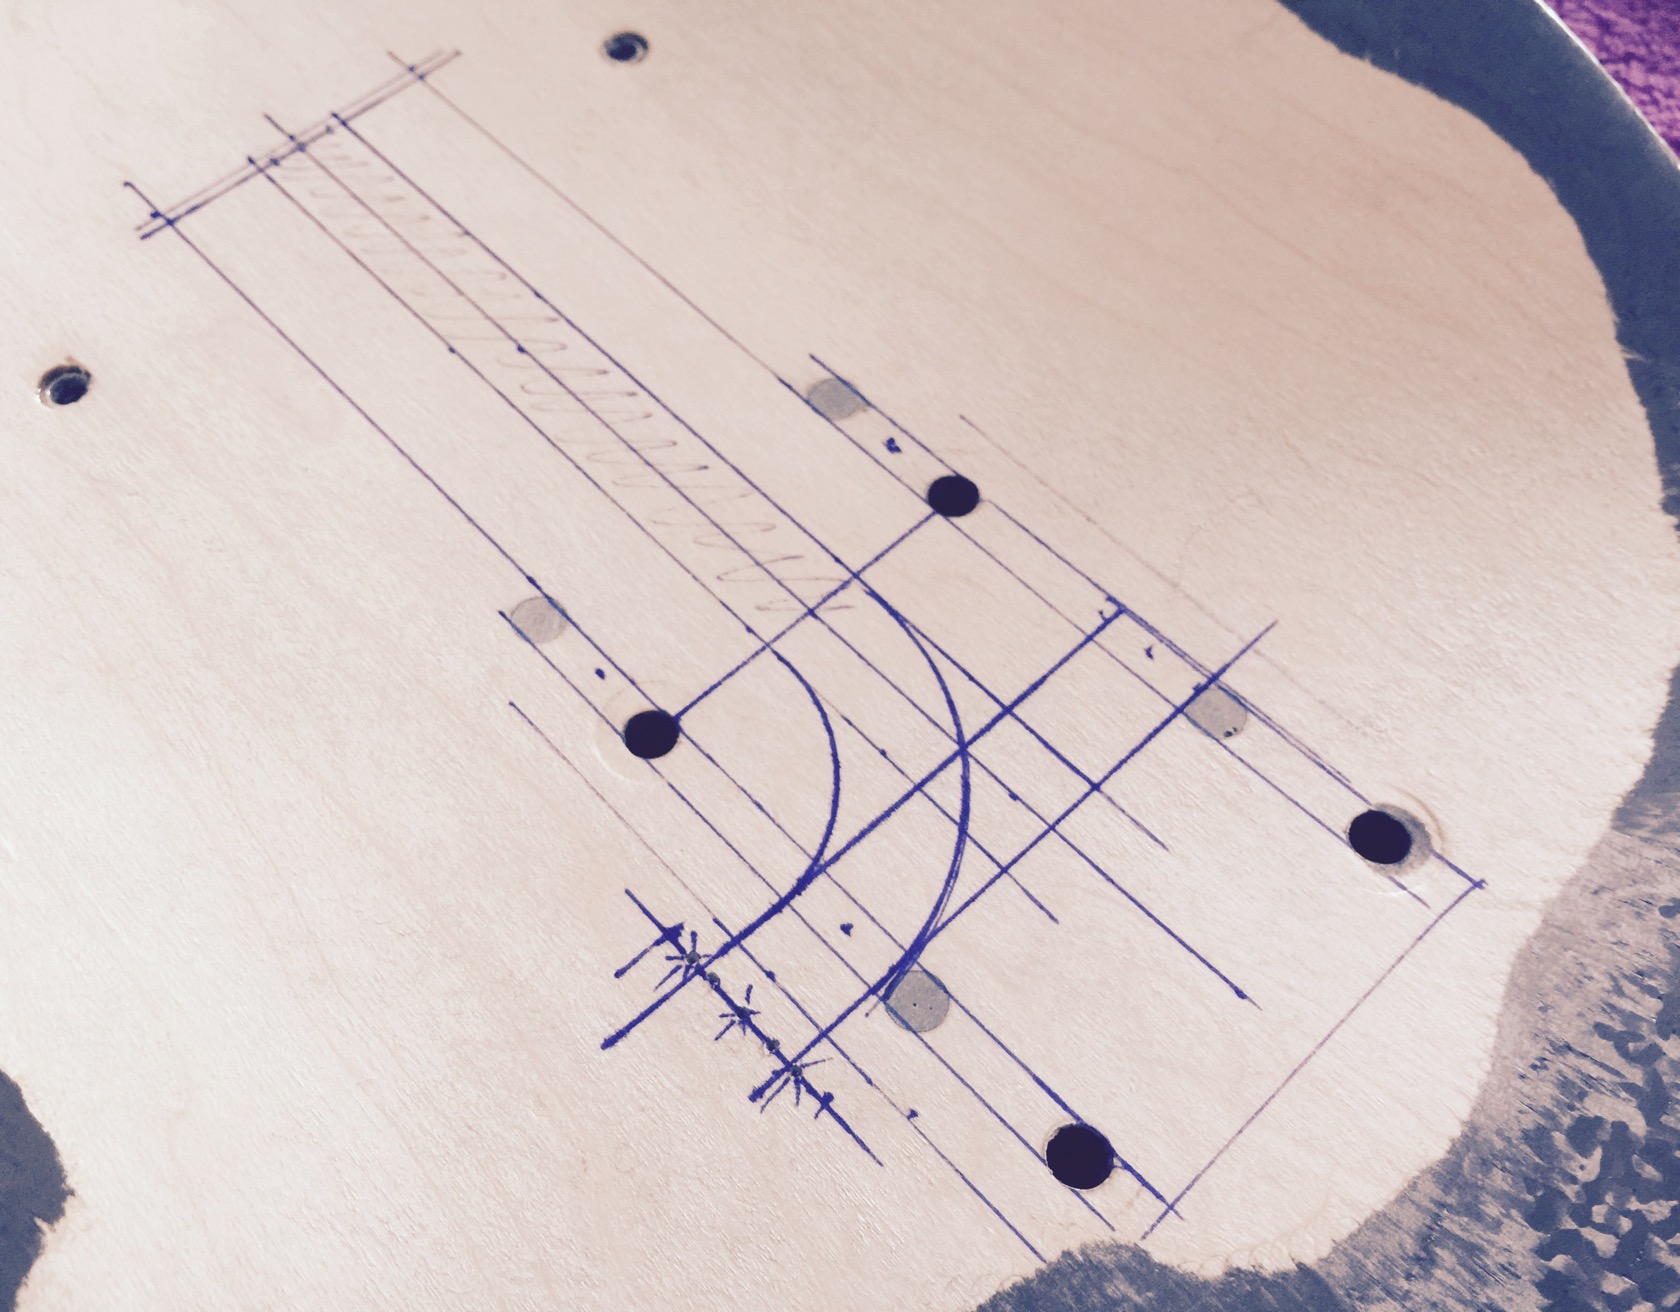
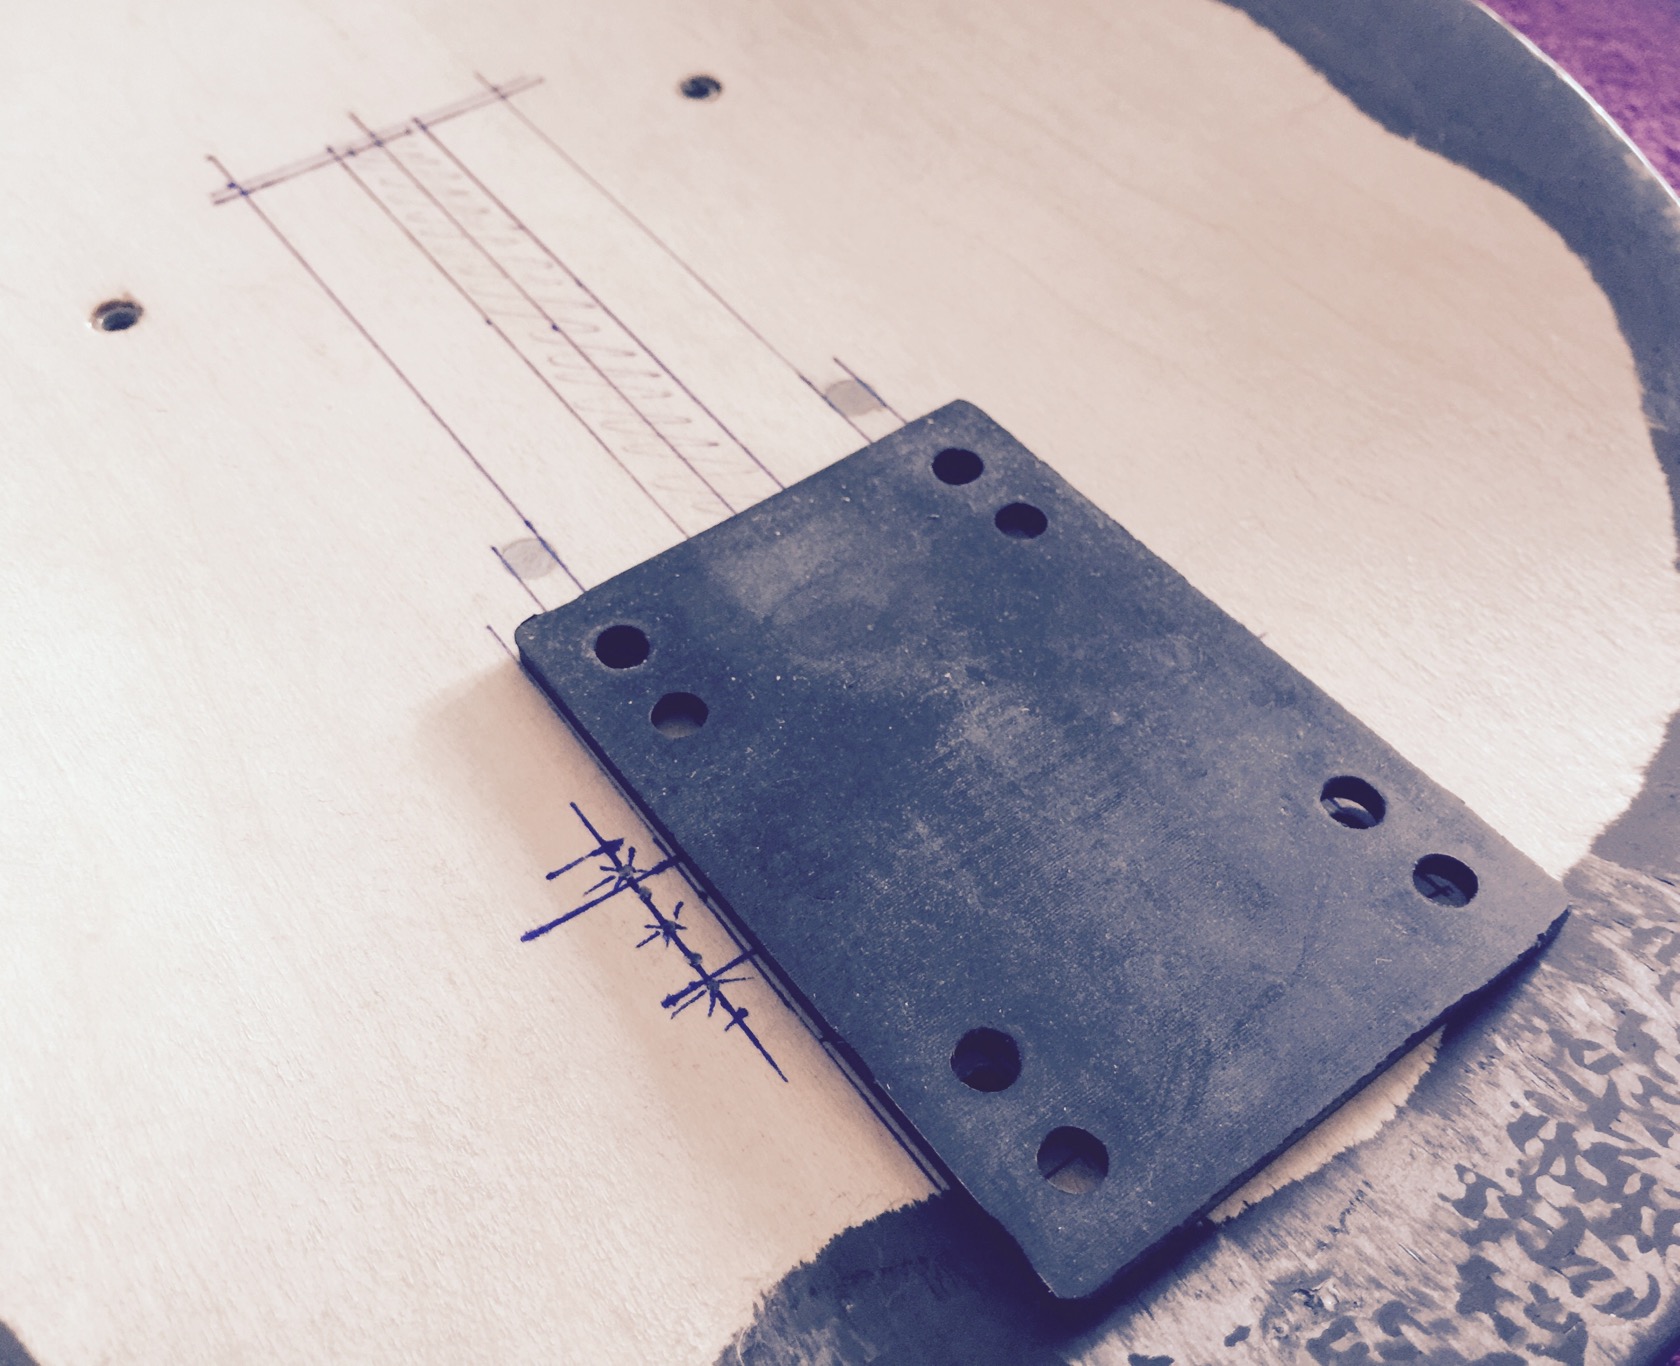
exiting right next to typical rubber pads, which are a little wider than most truck baseplates:
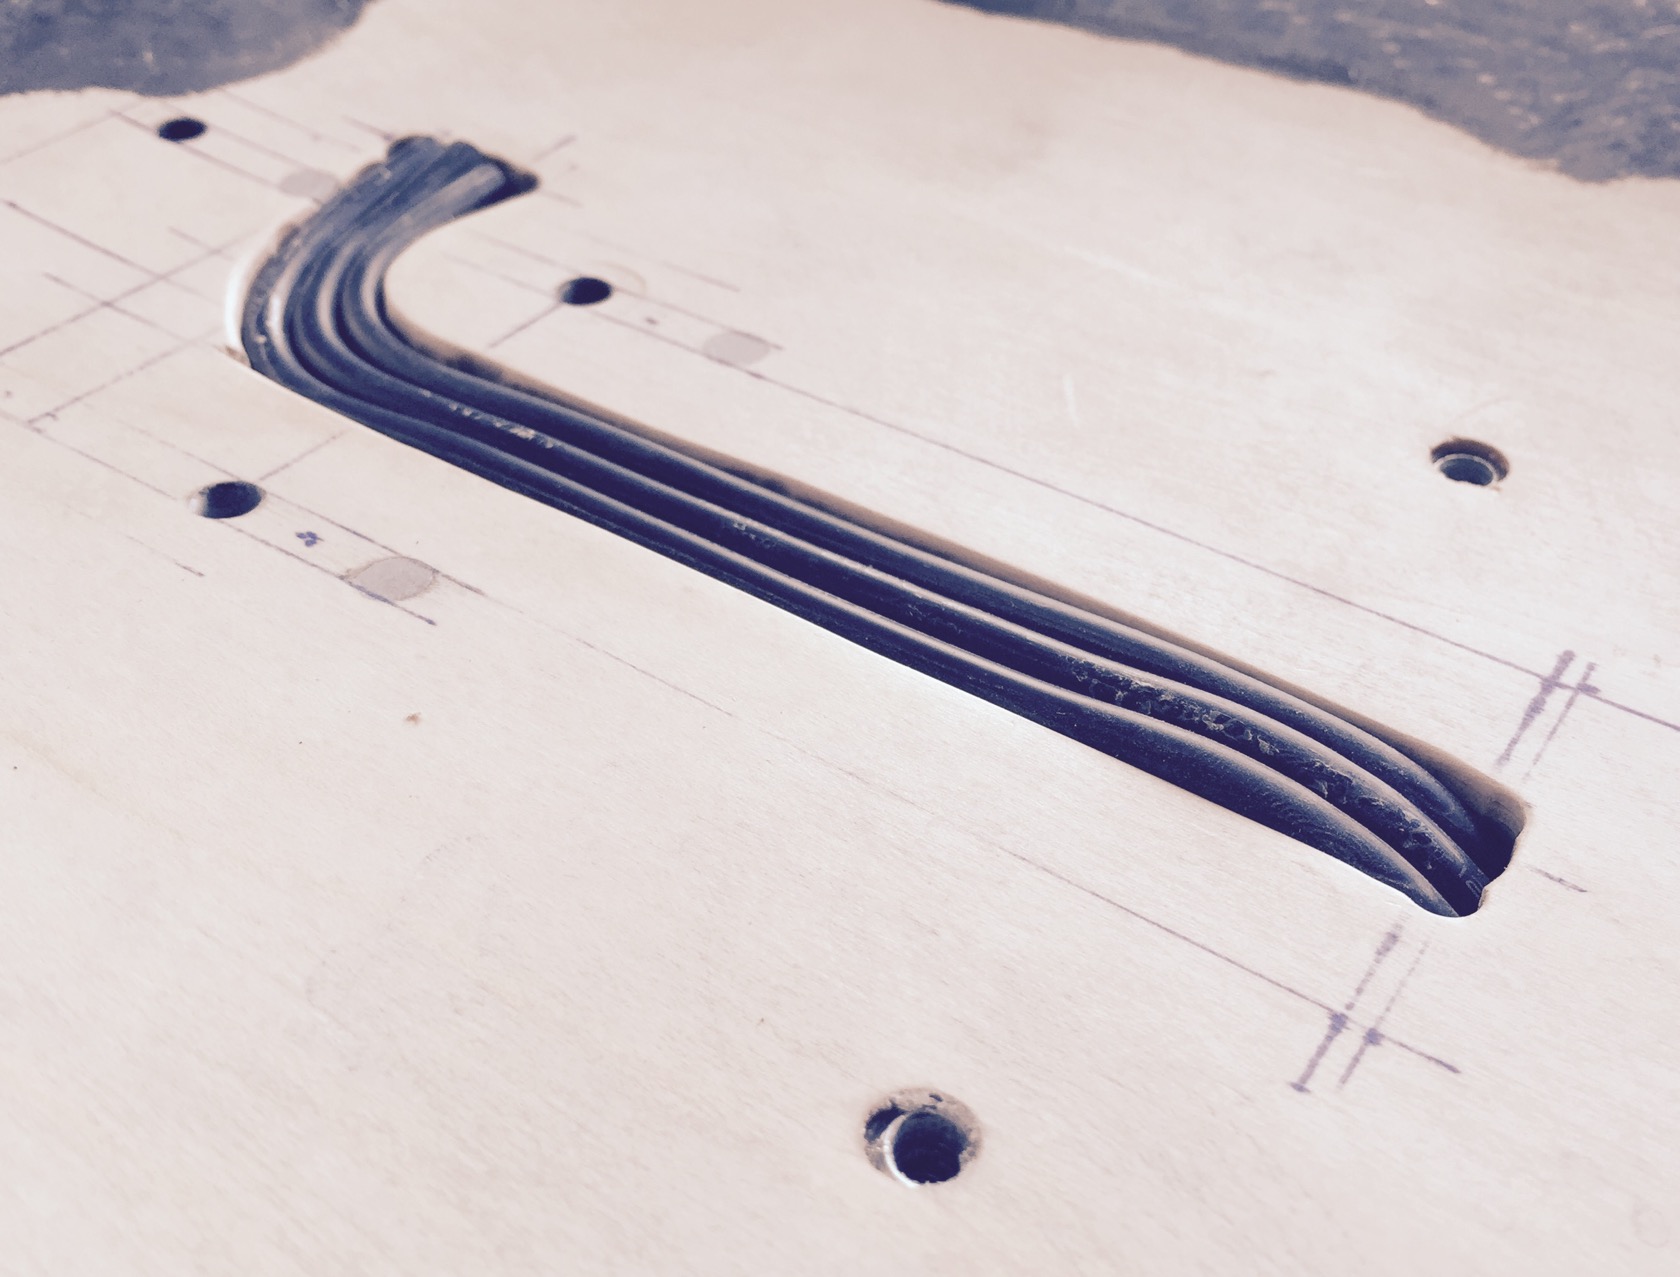
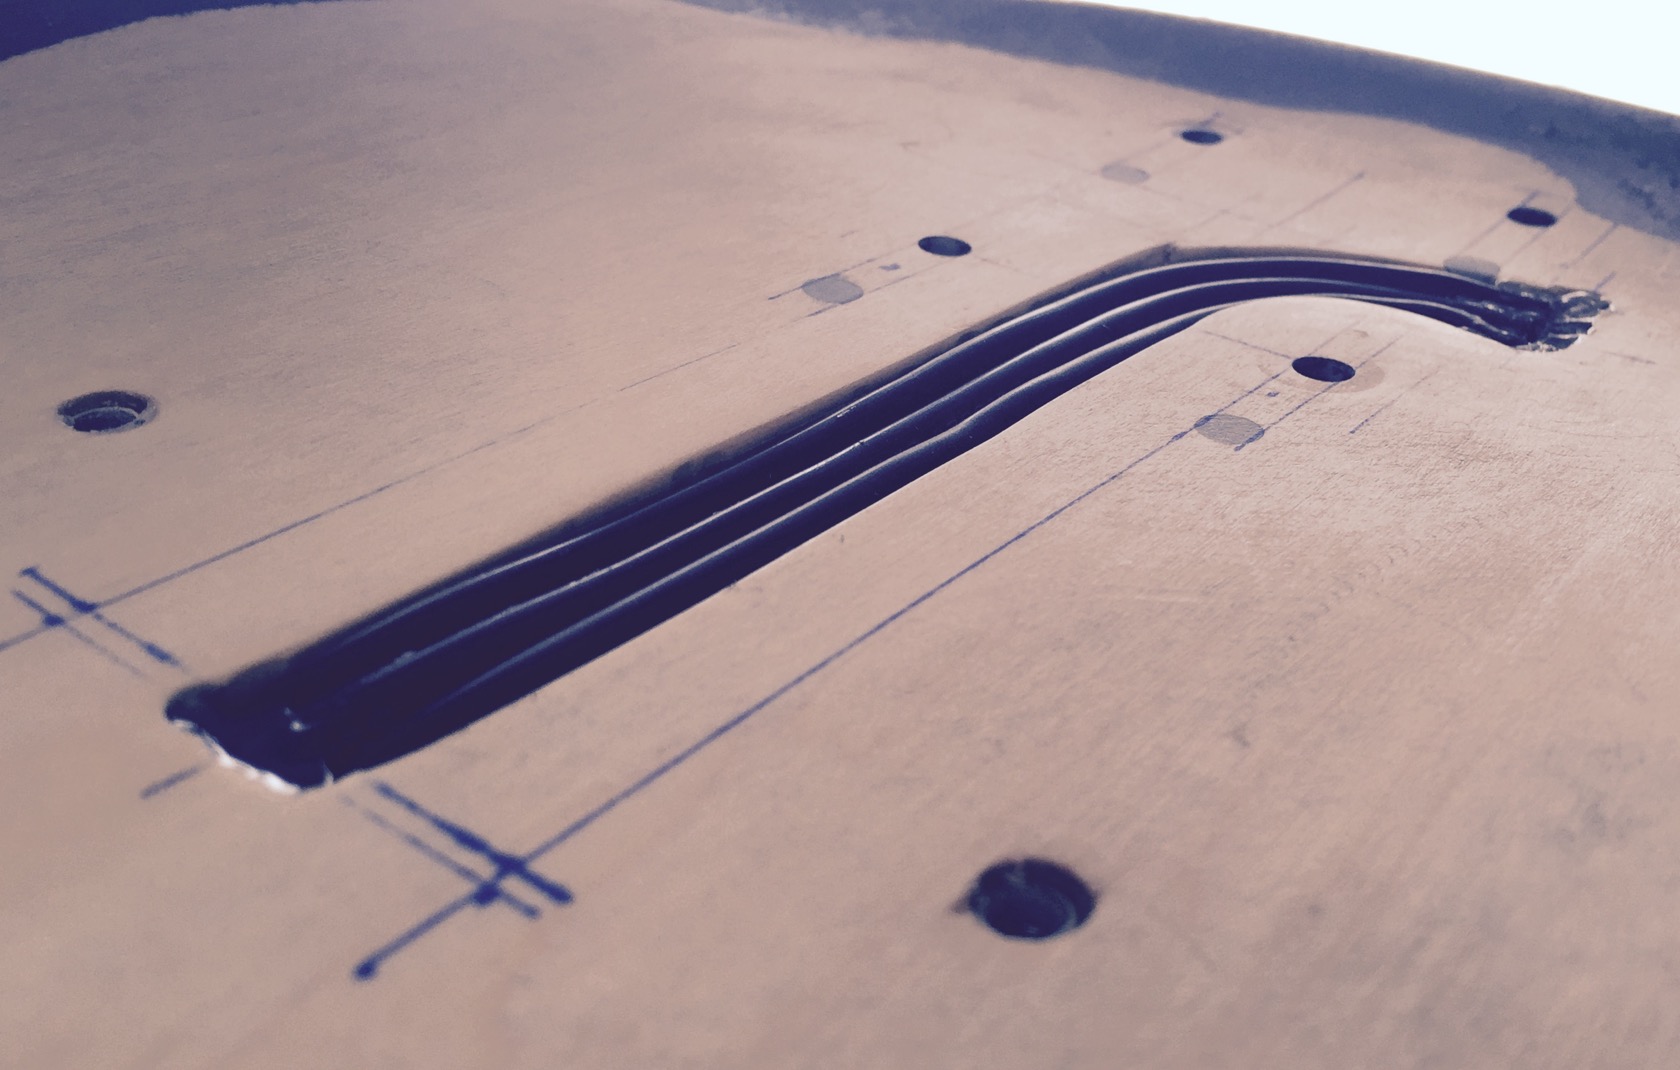
routing, this time by hand since the geometry and the router base plate didnt allow to go with reasonable guides. it was quite messy, because with the big router baseplate, I routed a lot of different and varying depths, so I had to adjust height frequently, reroute, repeat. a little annoying and not very surgical like my electronic compartment. but it works and wont be visible anyway, 3x 12AWG wires in!
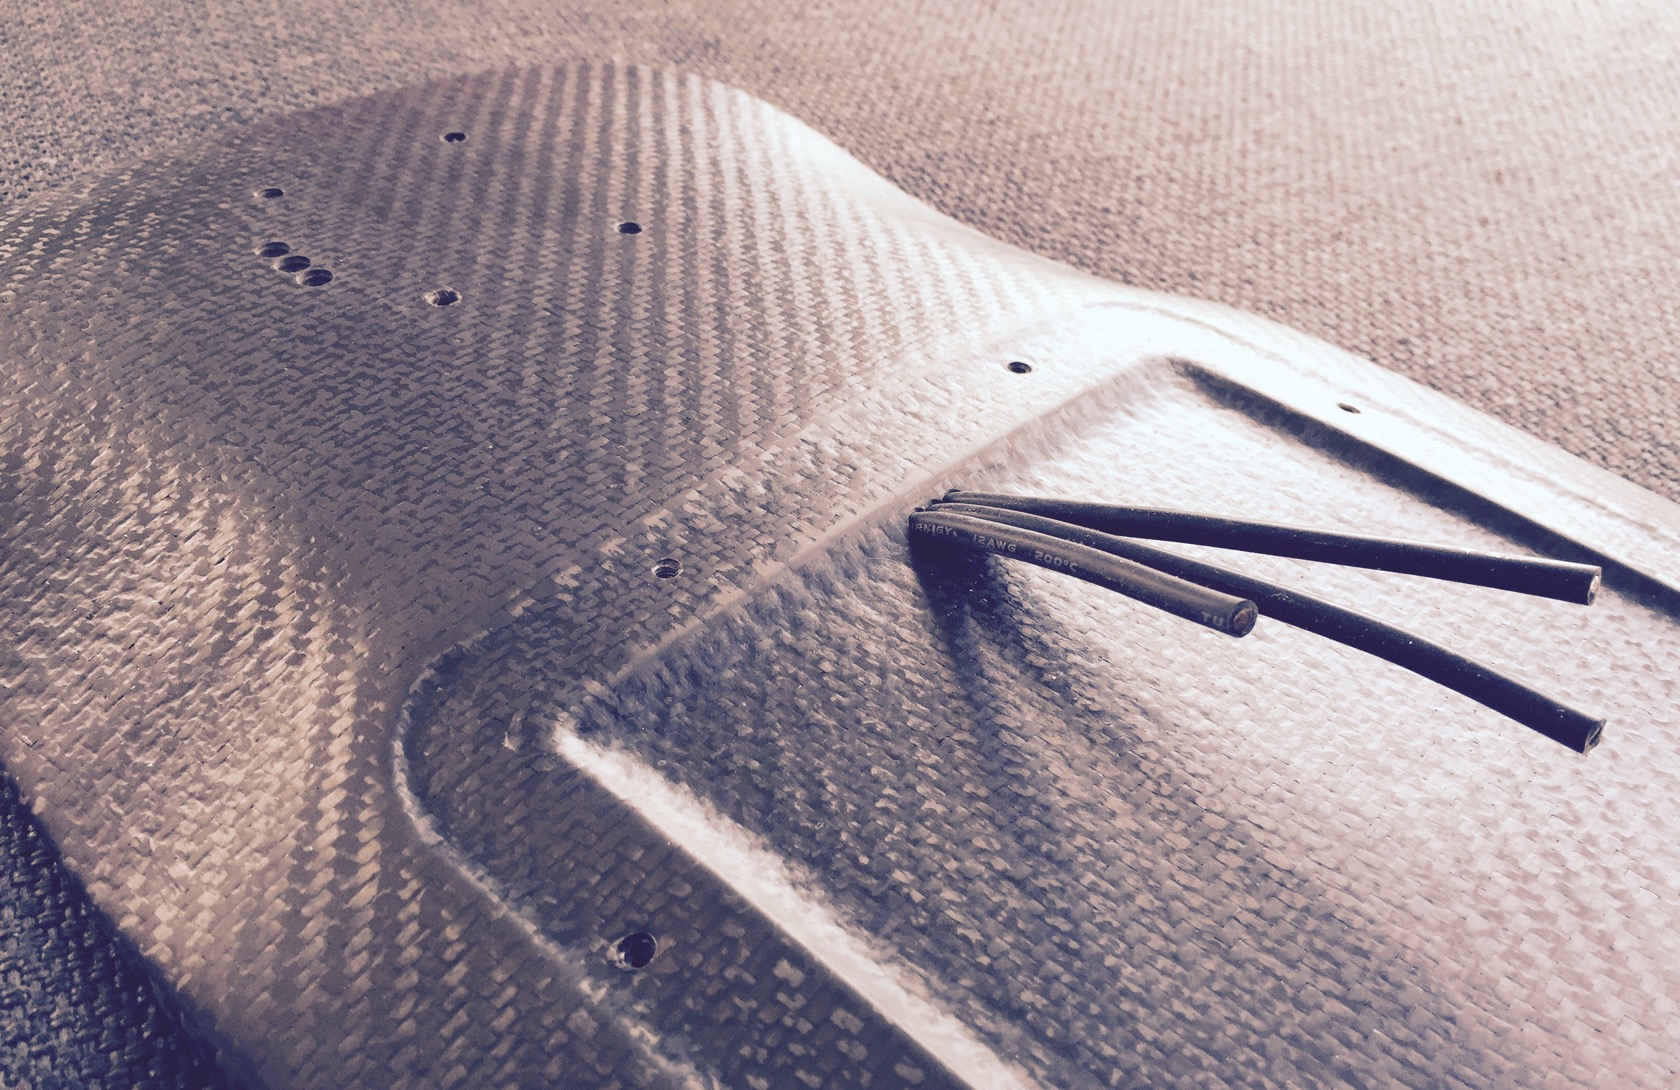
and they exit directly in the electronic compartment:
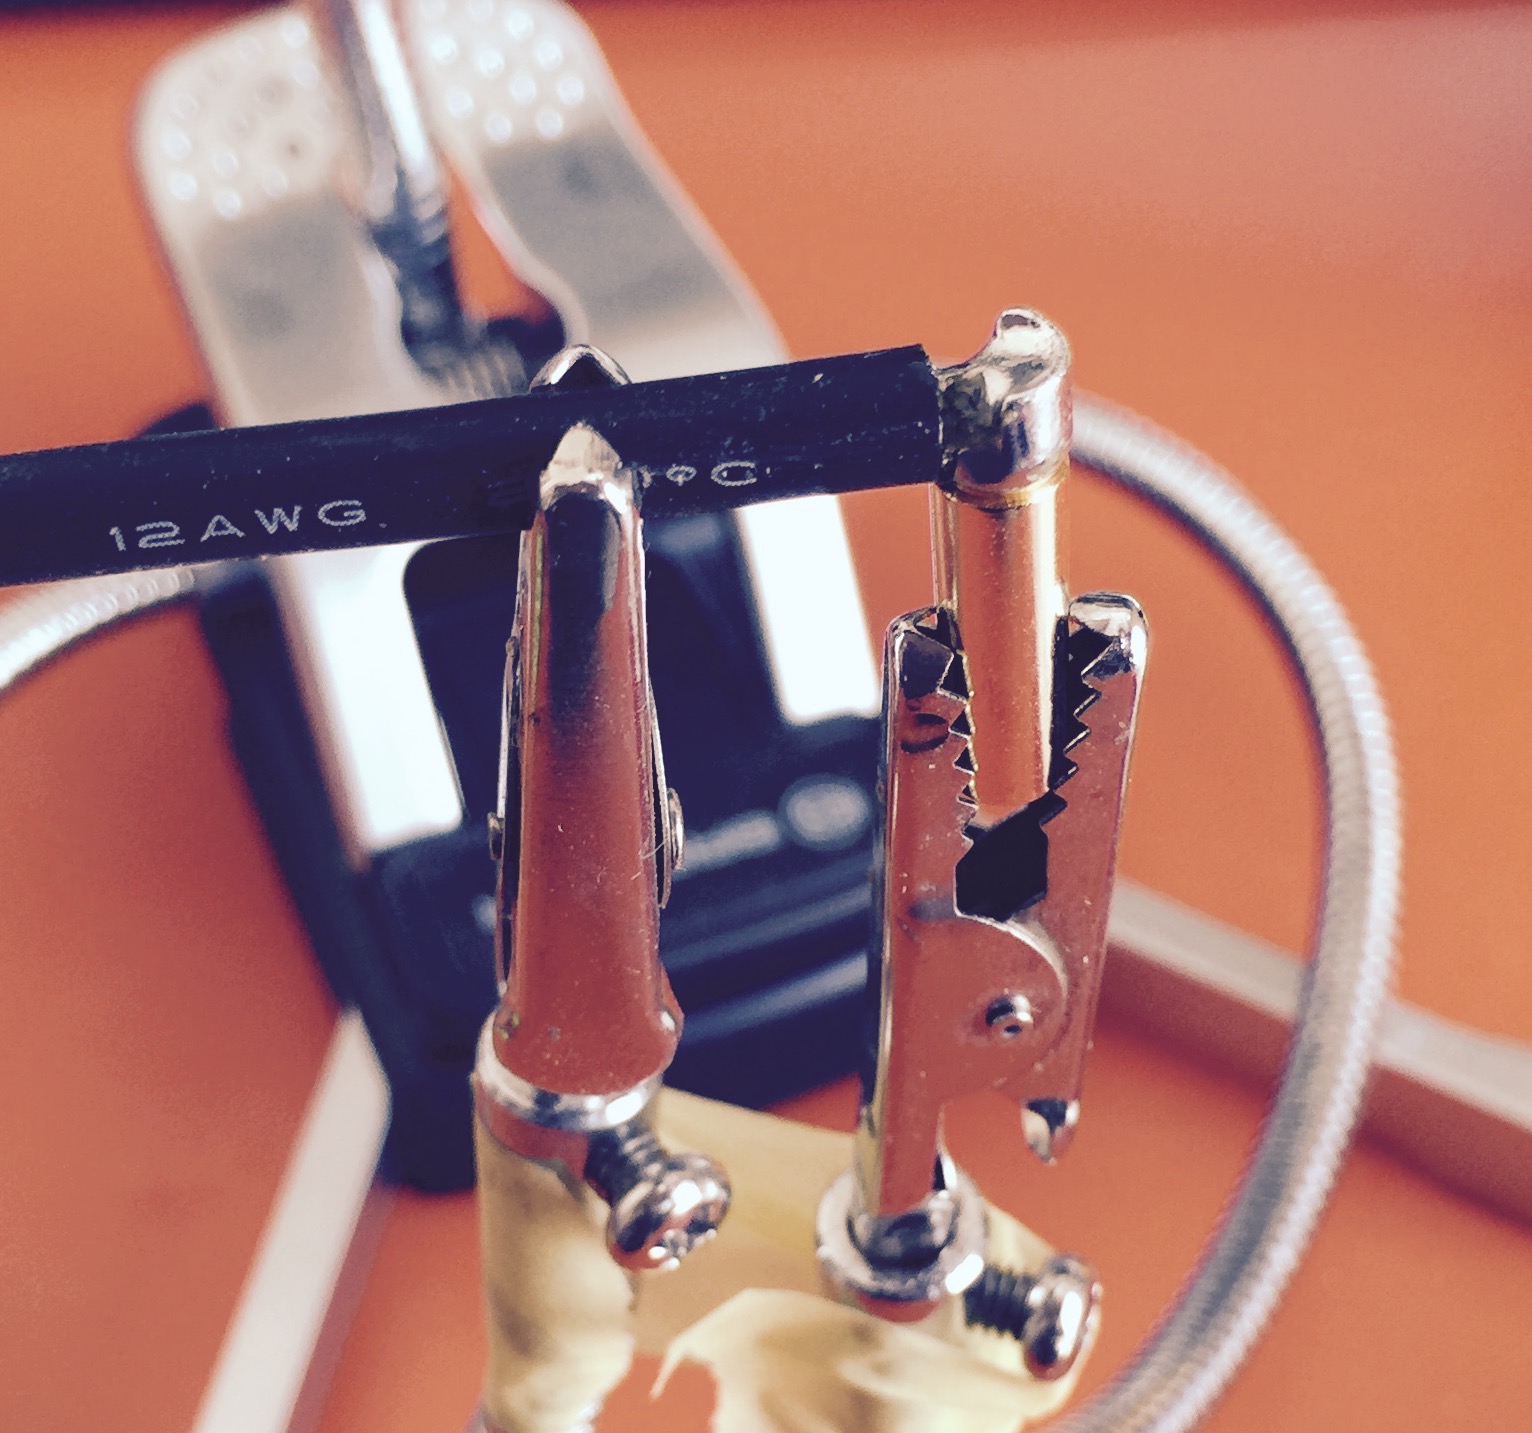
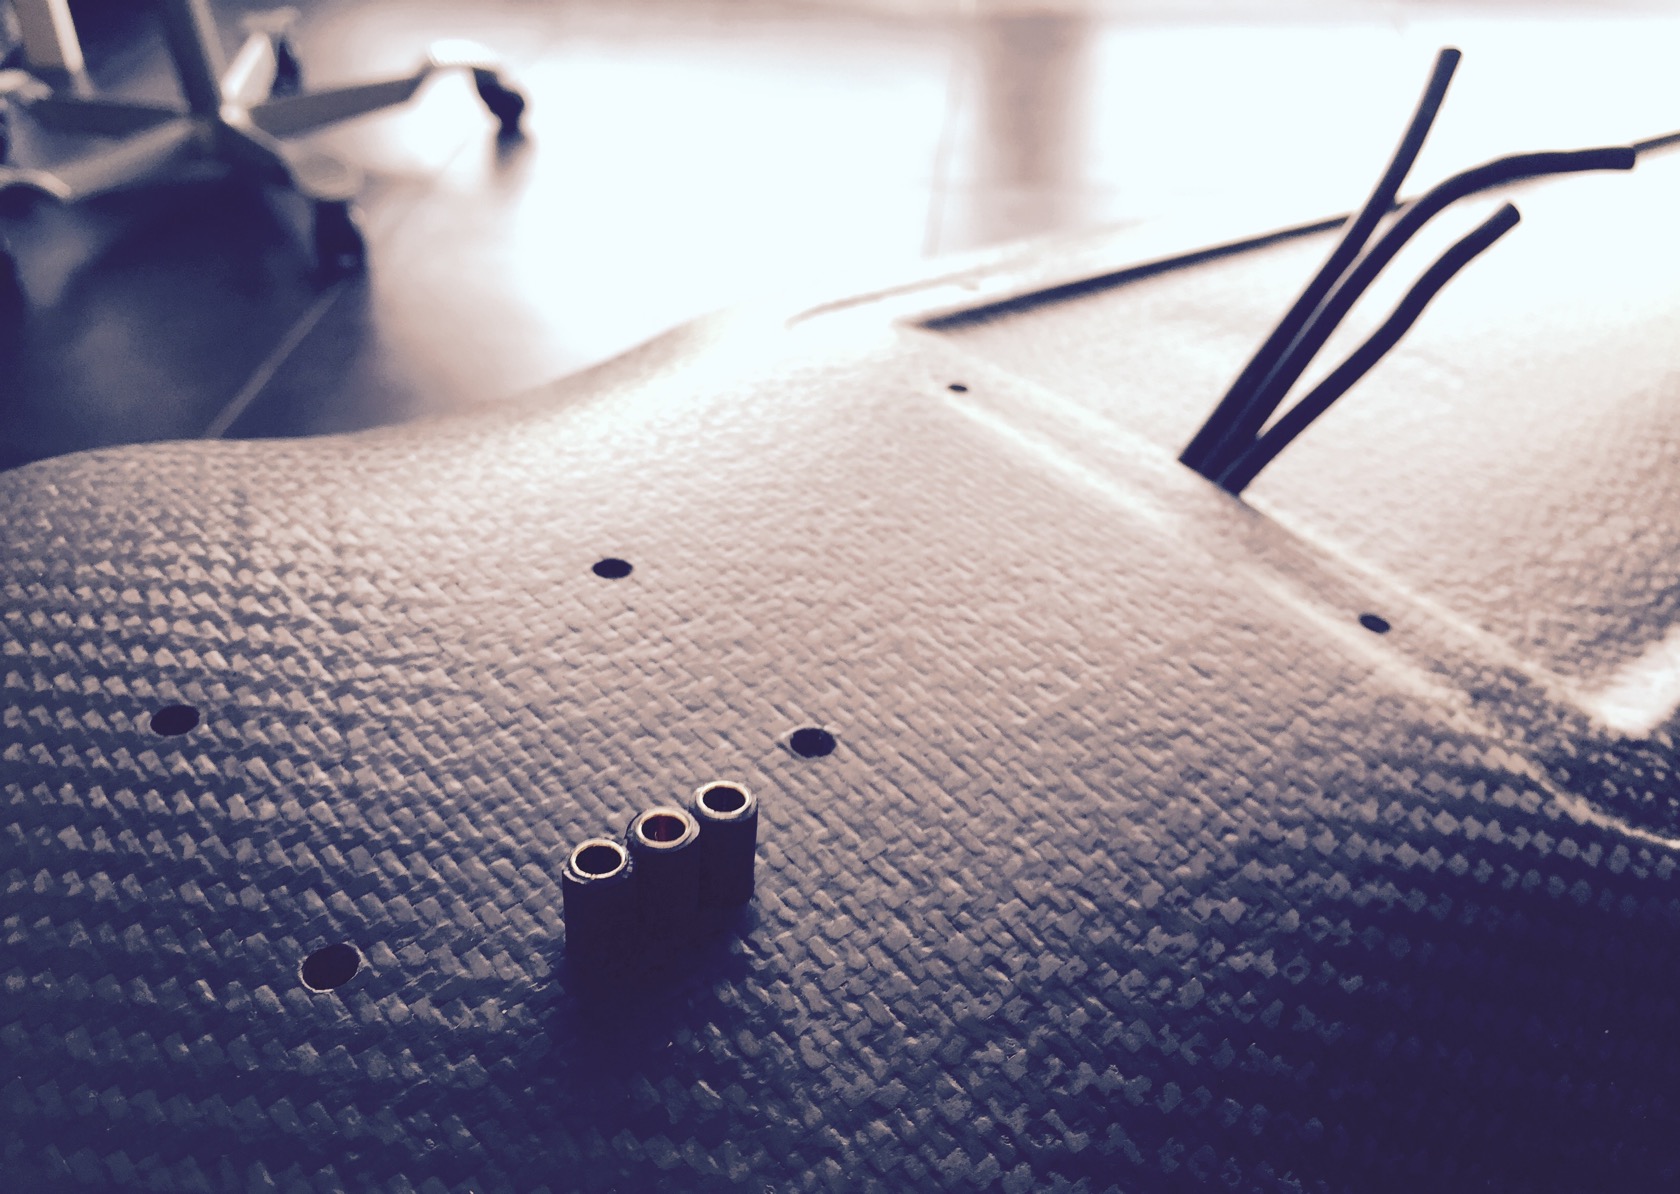
my useful little helper for the 90° bullet connector insert:
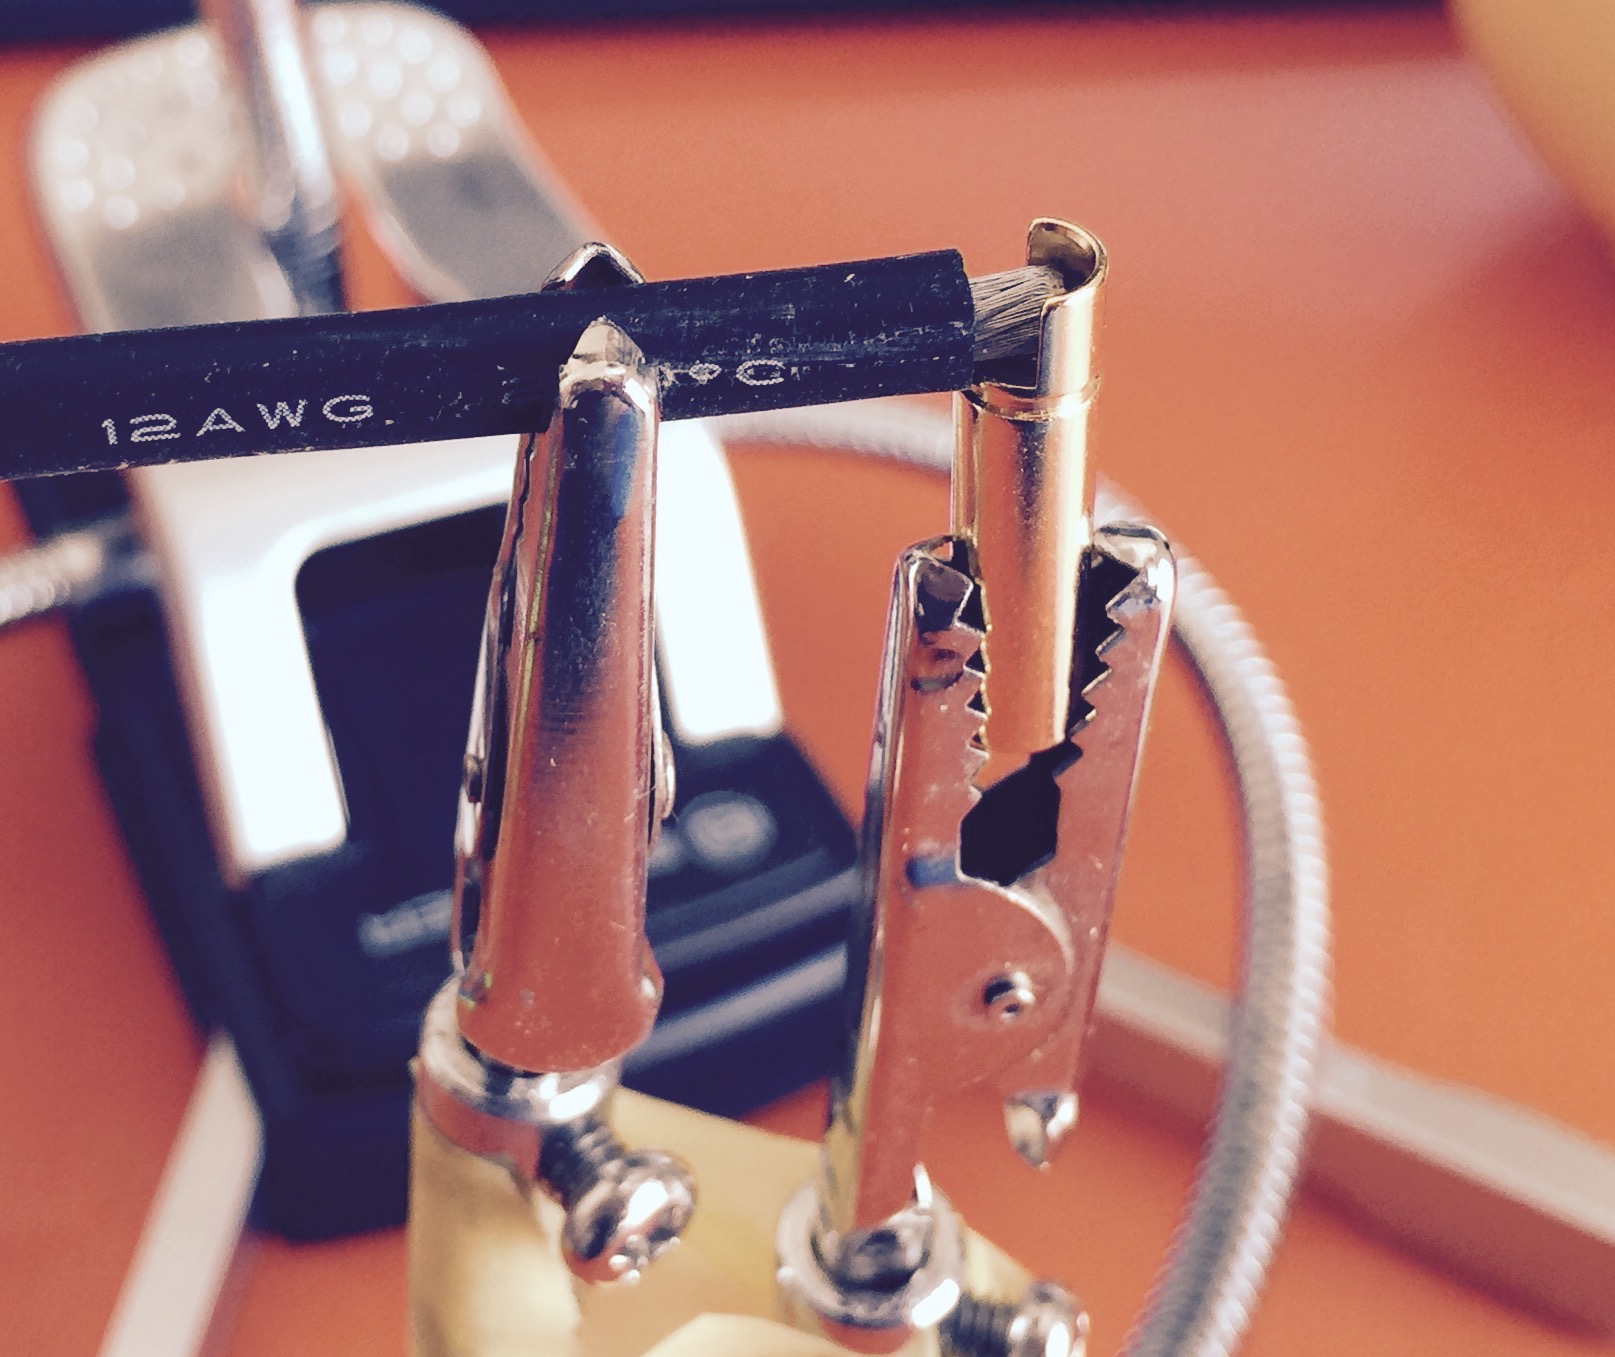
really a lot of tin and allowing it to sink in really deep
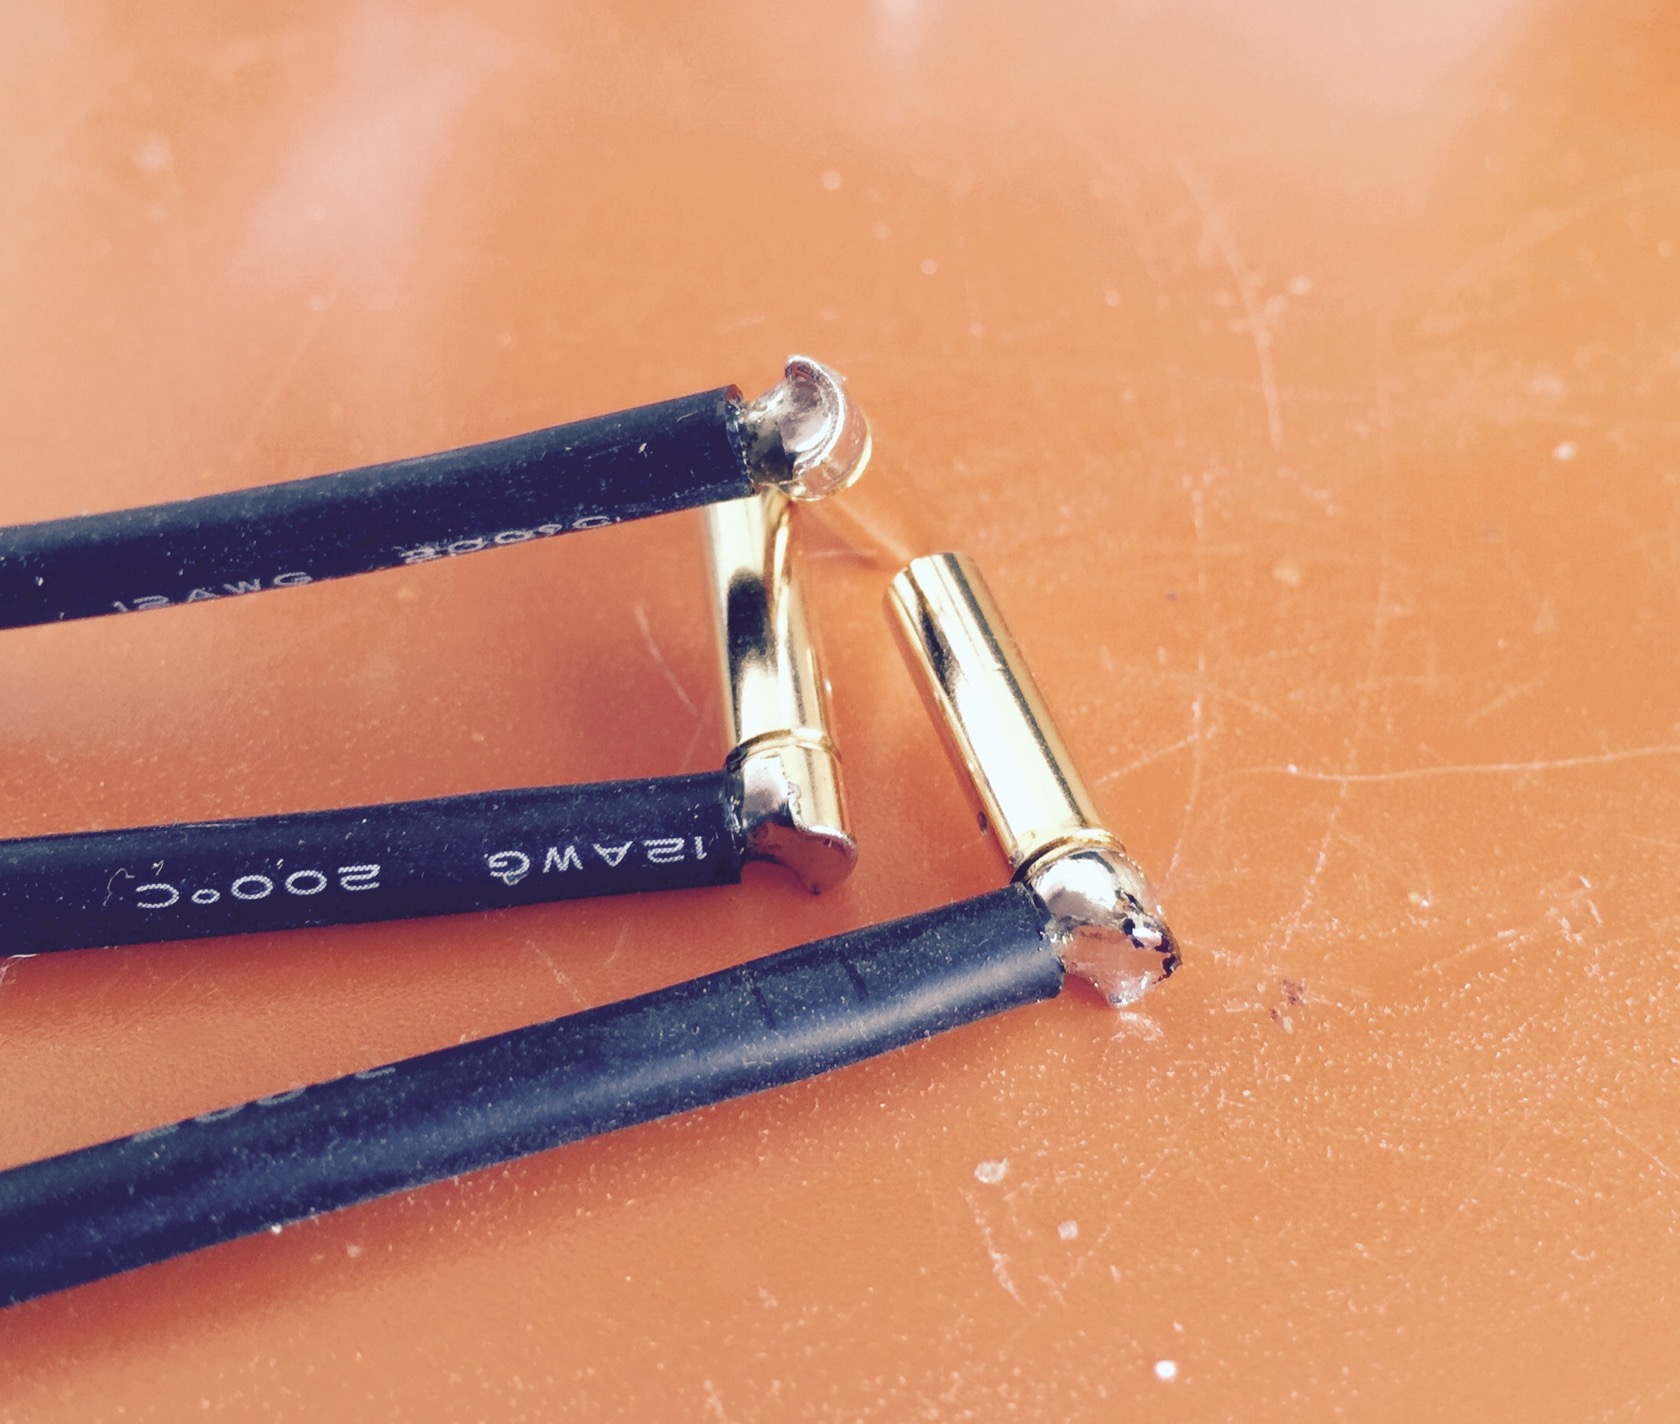
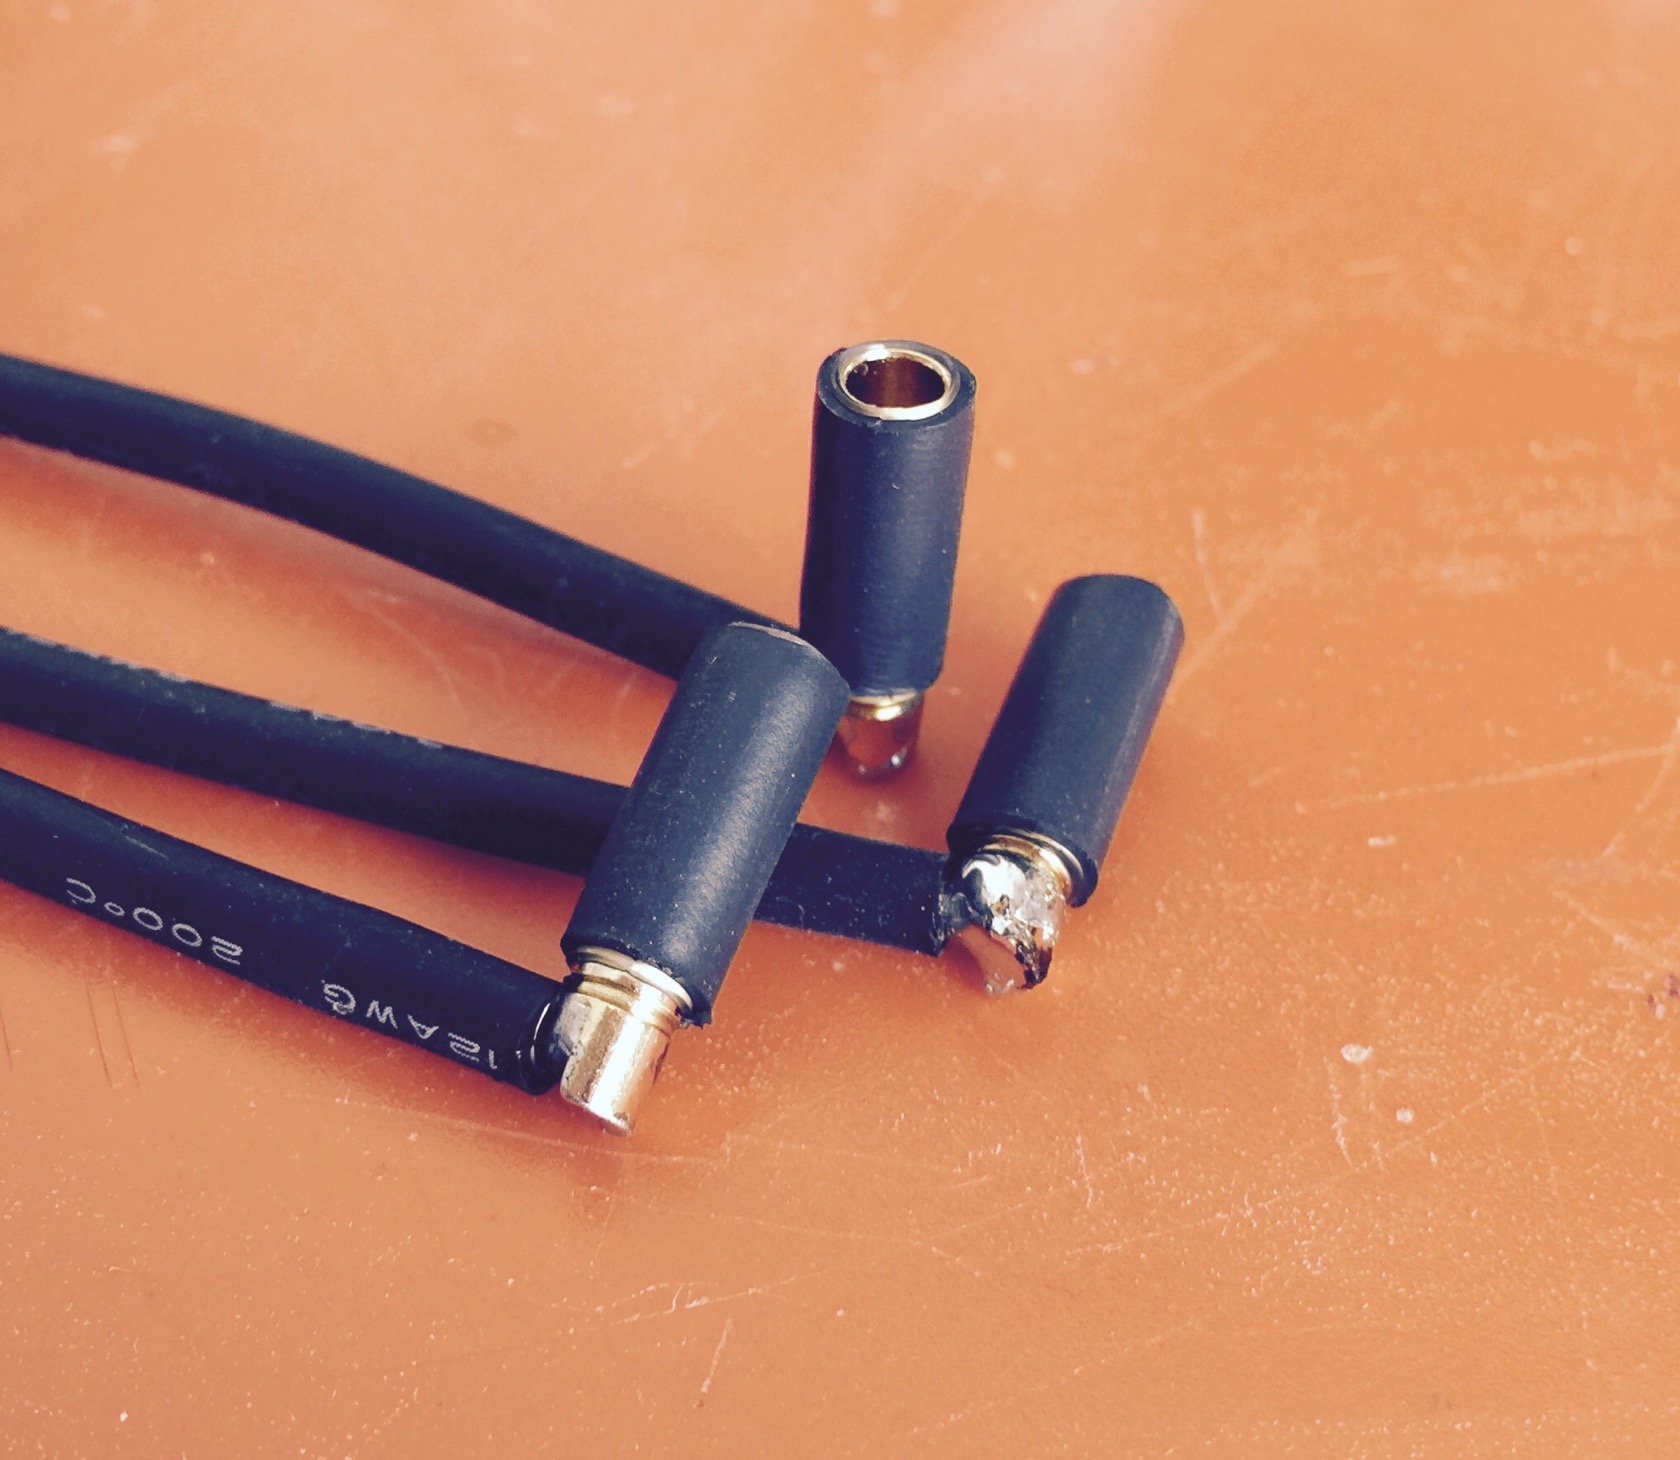
3 wires done, now off to heat shrink
got very thick shrink tube with glue inside, because I dont want them to short the motor phases via the carbon roadside. this shrink tube is really super sturdy!!
hammered them in (6.5mm drilled holes just barely fit, I really cant remove or stick them in further with my hands, had to use the hammer
glued the wires to the wood and closed the exits with glue too
this time no resin mess, just used putty to level it out. Im not sure if this will stay intact, but Ill try. really didnt feel like resin, gfk, vacuum bag, wait for another 24h, screw up the roadside carbon finish, because resin somehow always finds a way to make a mess… 
apply vicious grip and we are basically done here for now 
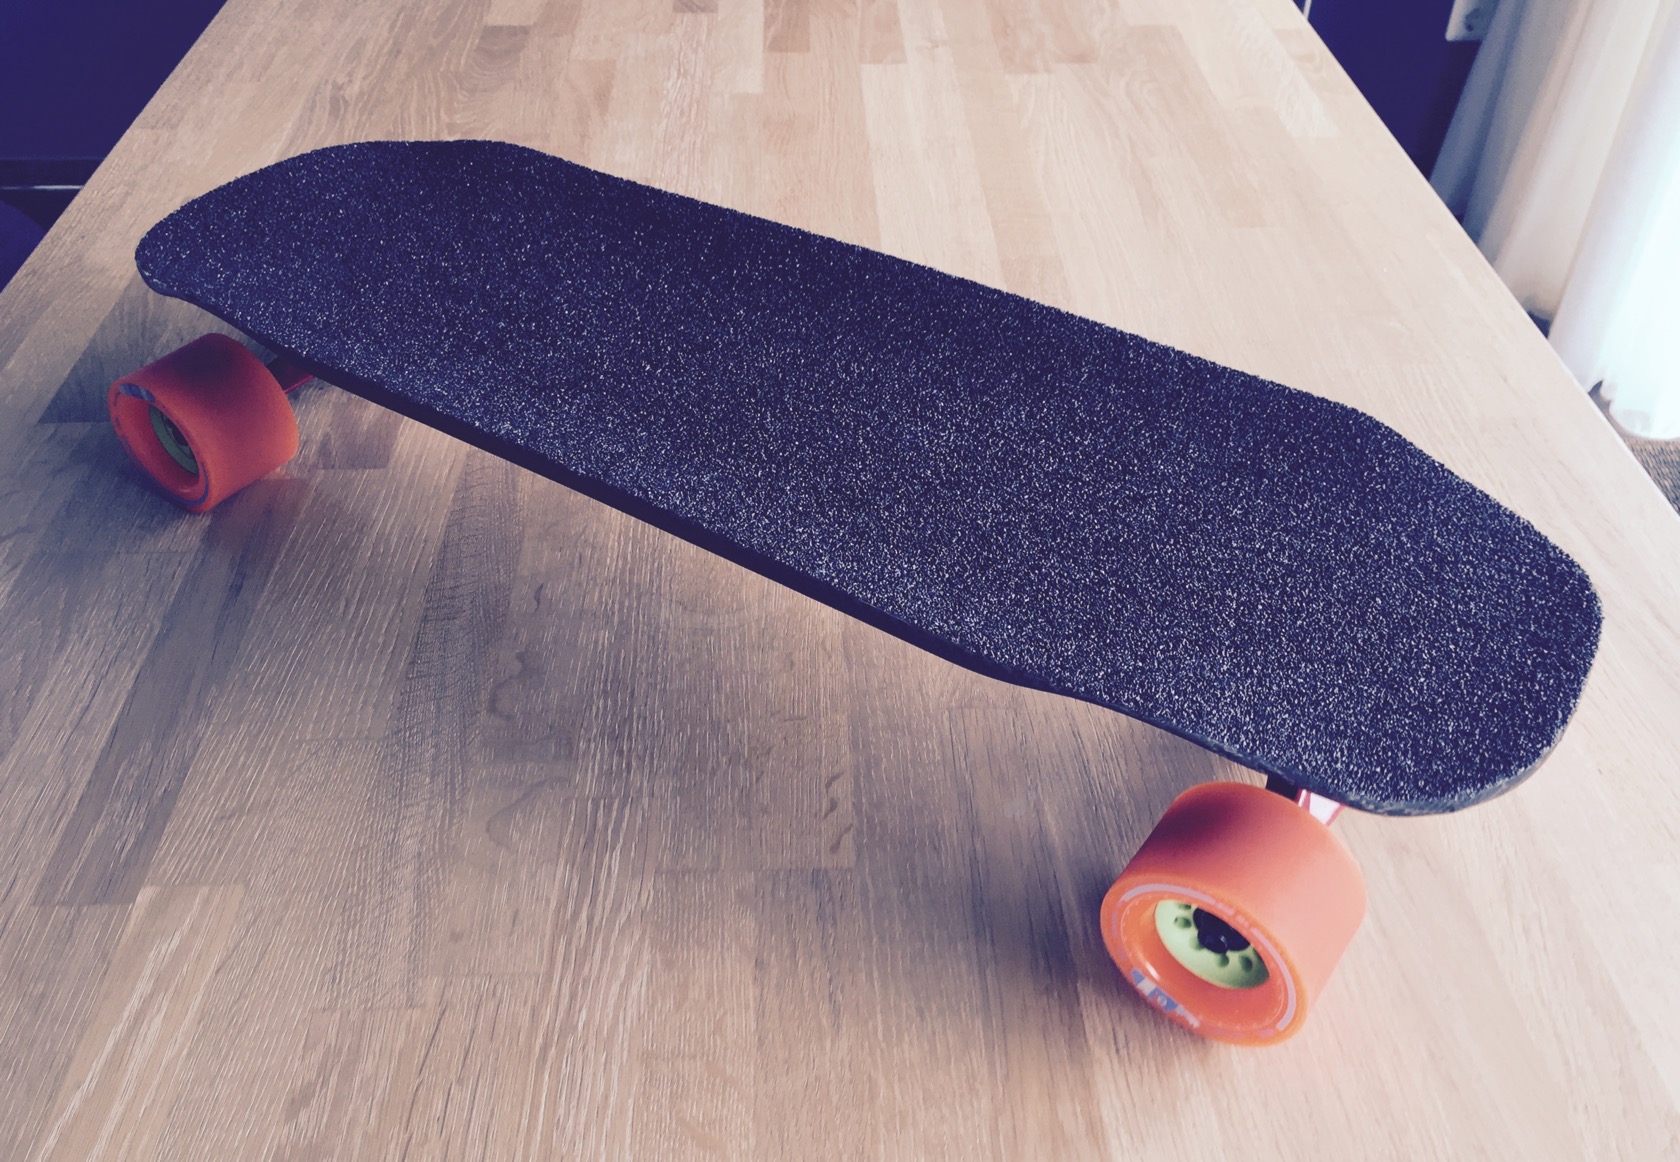
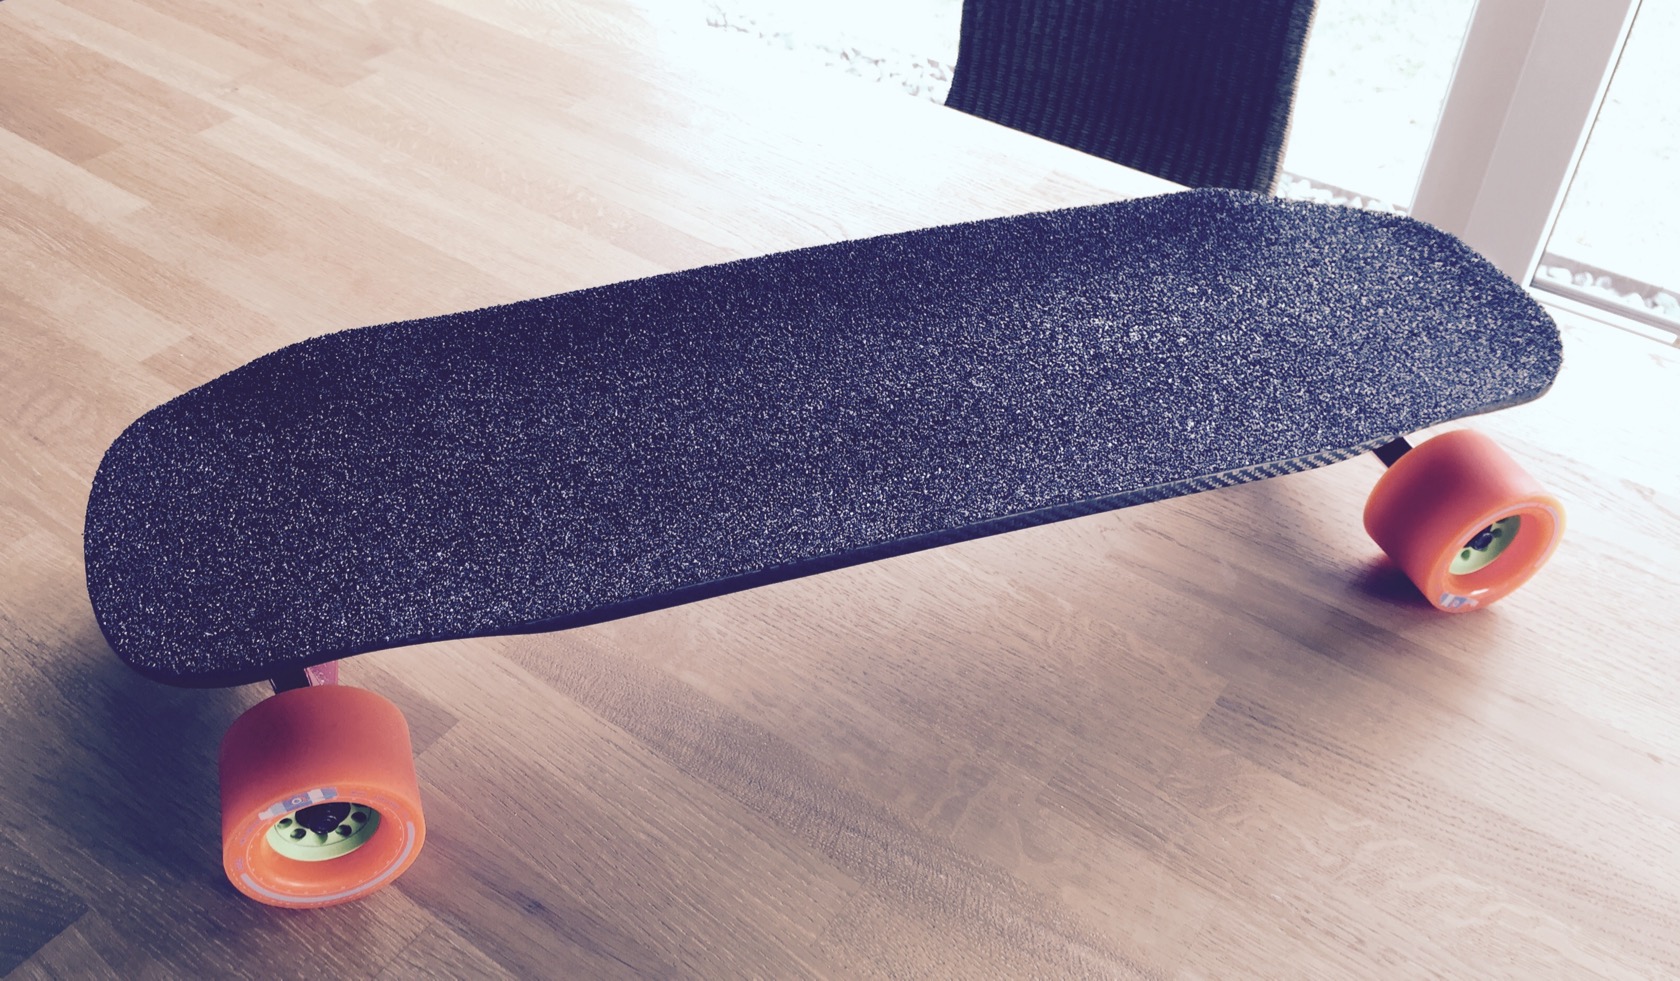
trucks arent mounted yet, board is just sitting ontop of the trucks for some pictures 
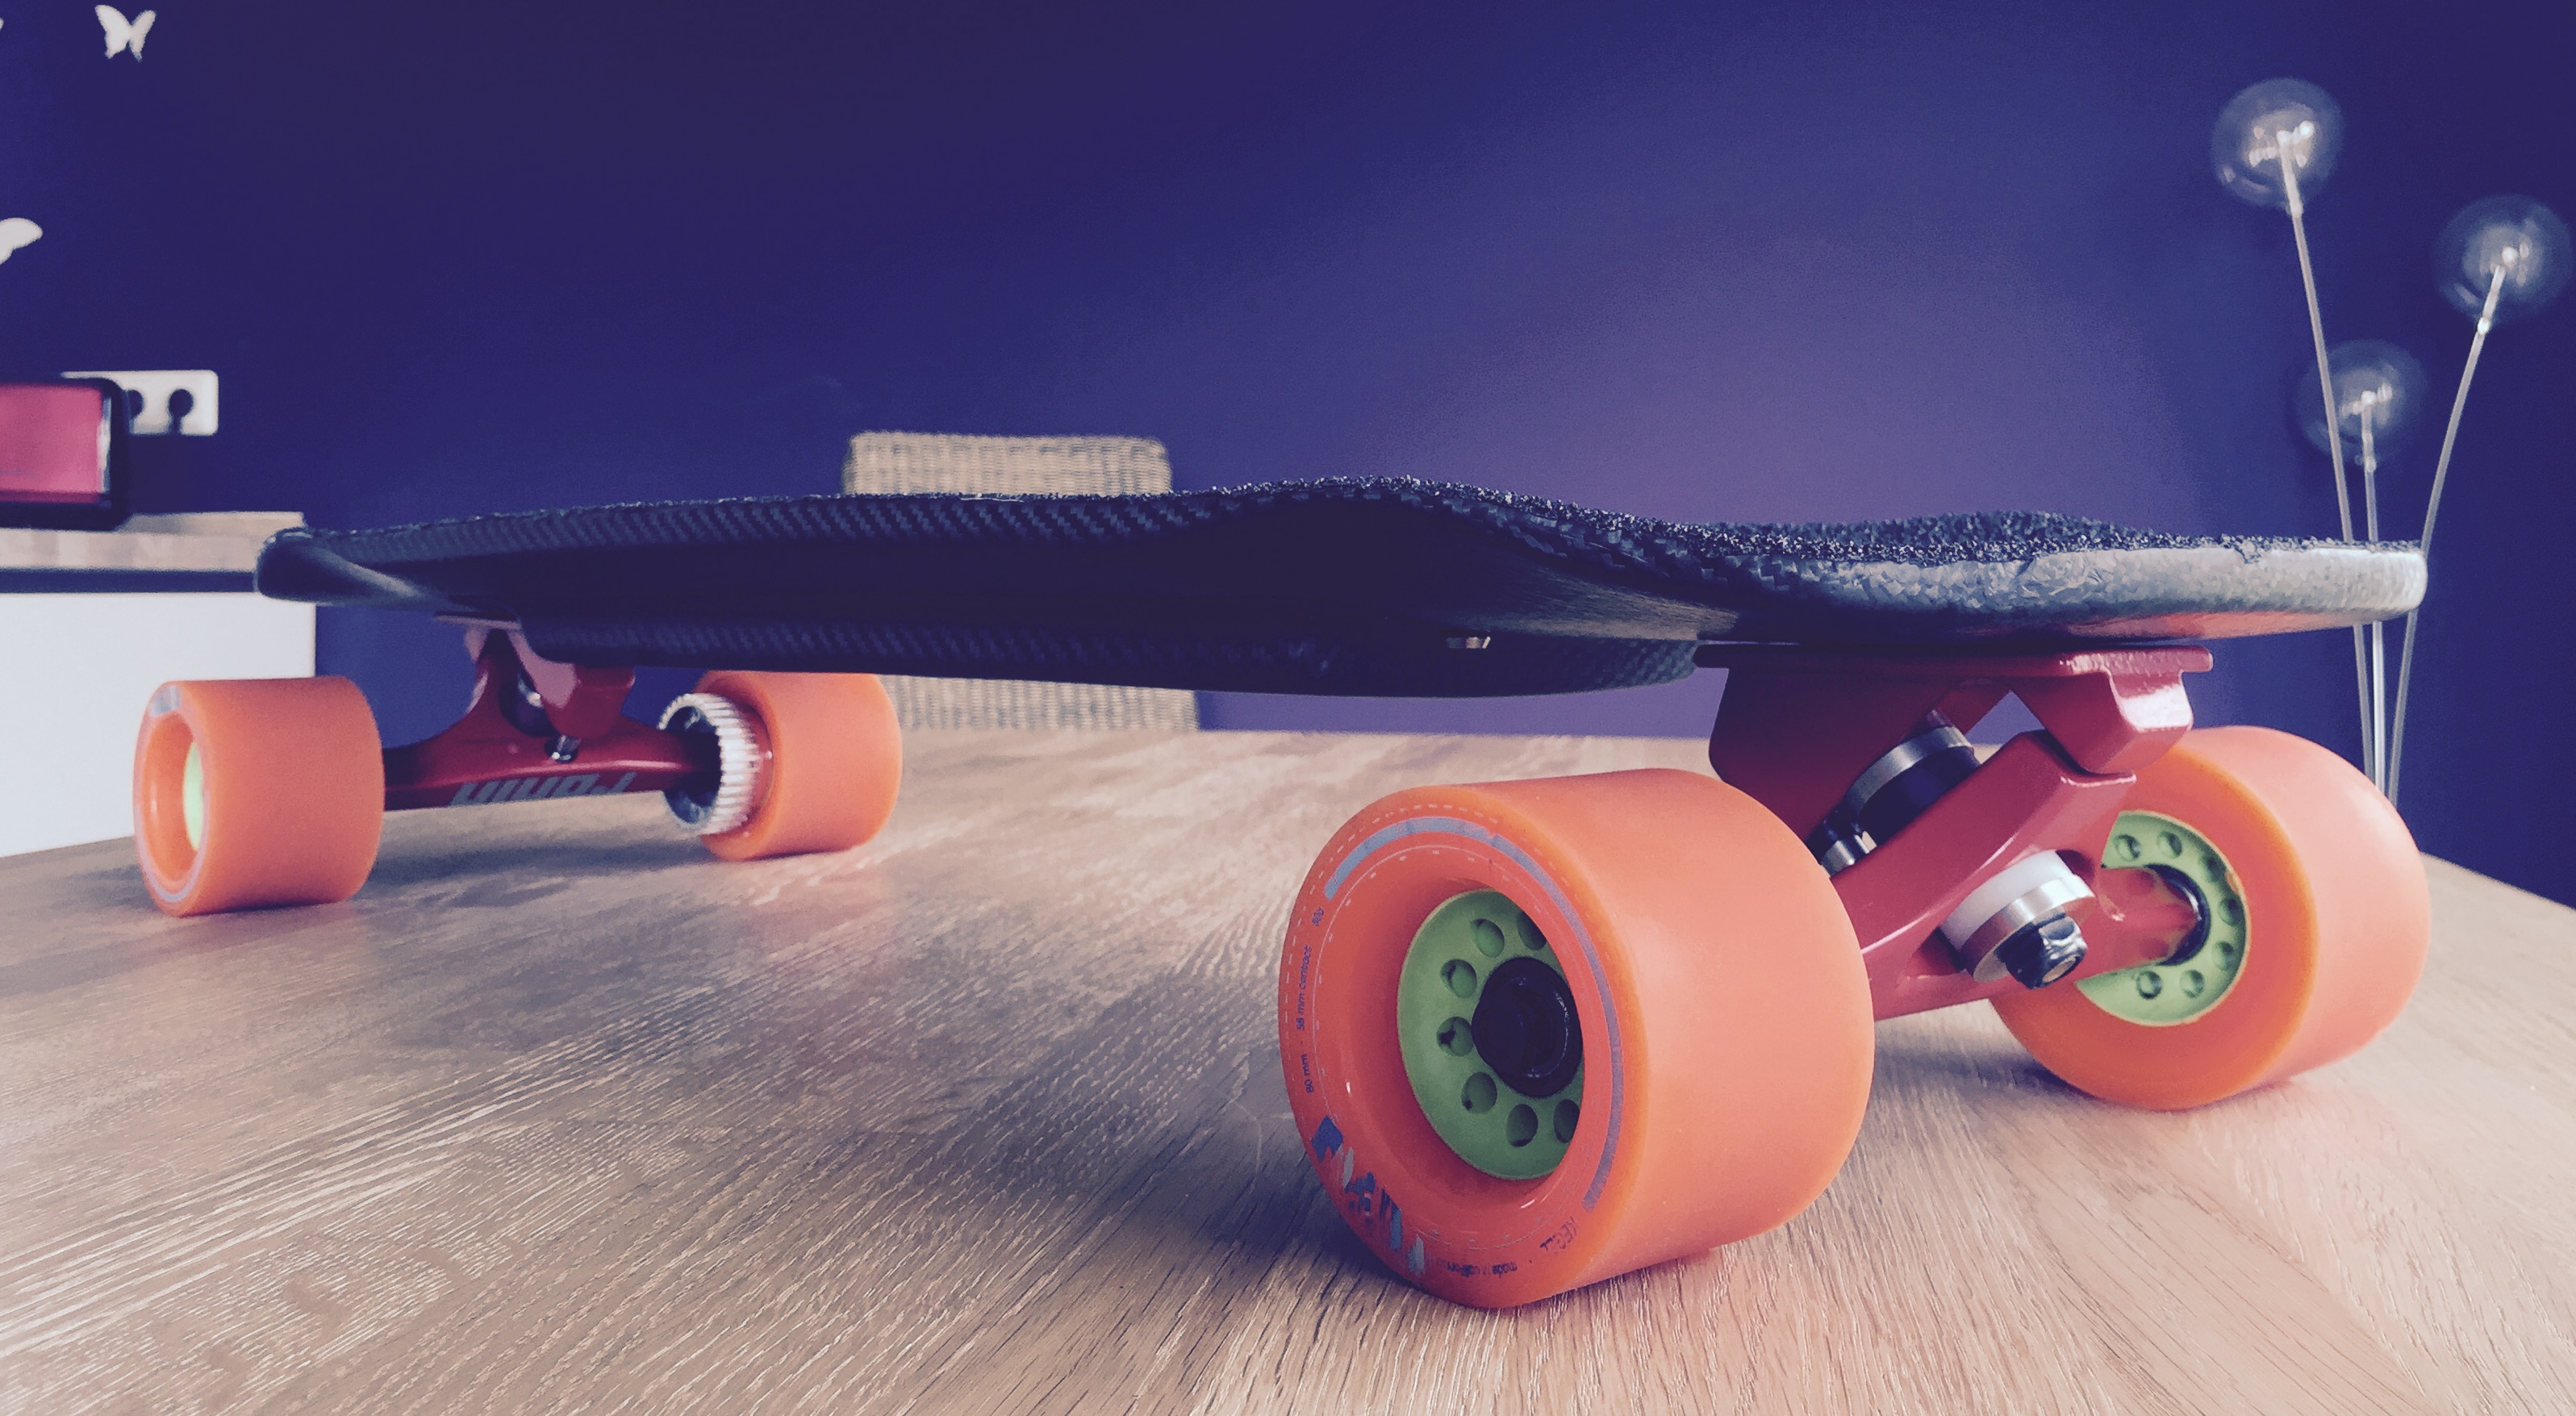
motor wire exits

fixated the enclosure just with 2 screws and even with 10 screws missing, there is hardly any visible transition between board and enclosure.
need a break now 

 I did that on my very first vacuum result in the small sauna of my parents where I still used crazy air grade CF and air grade resin that, after tempering, reaches slightly better material properties including heat resistance until 120°C. didnt really feel like I needed that though, feels a little overkill. its just a skateboard afterall, didnt plan to fly to the moon with it.

 you keep the pump going? I thought I could just lock the bag off after a while and switch the pump off?


