I just wanted to share my first build with you, I have learned so much and wanted to post my results. So far it about day 2 of it being fully assembled some minor lighting and weather proofing upgrades still to come.
But WOW is it fast Im still to scared to take it full throttle here in NYC I easily get up to 25 mph its est. top speed is 34mph. I haven’t done a full range test but it should get around 26 miles to the charge and the usage rate seems on par with that.
My part list is:
Atom Long board with MTB all terain wheels,
Torque boards Mount, Motor, pulley, Trucks battery and Vesc,
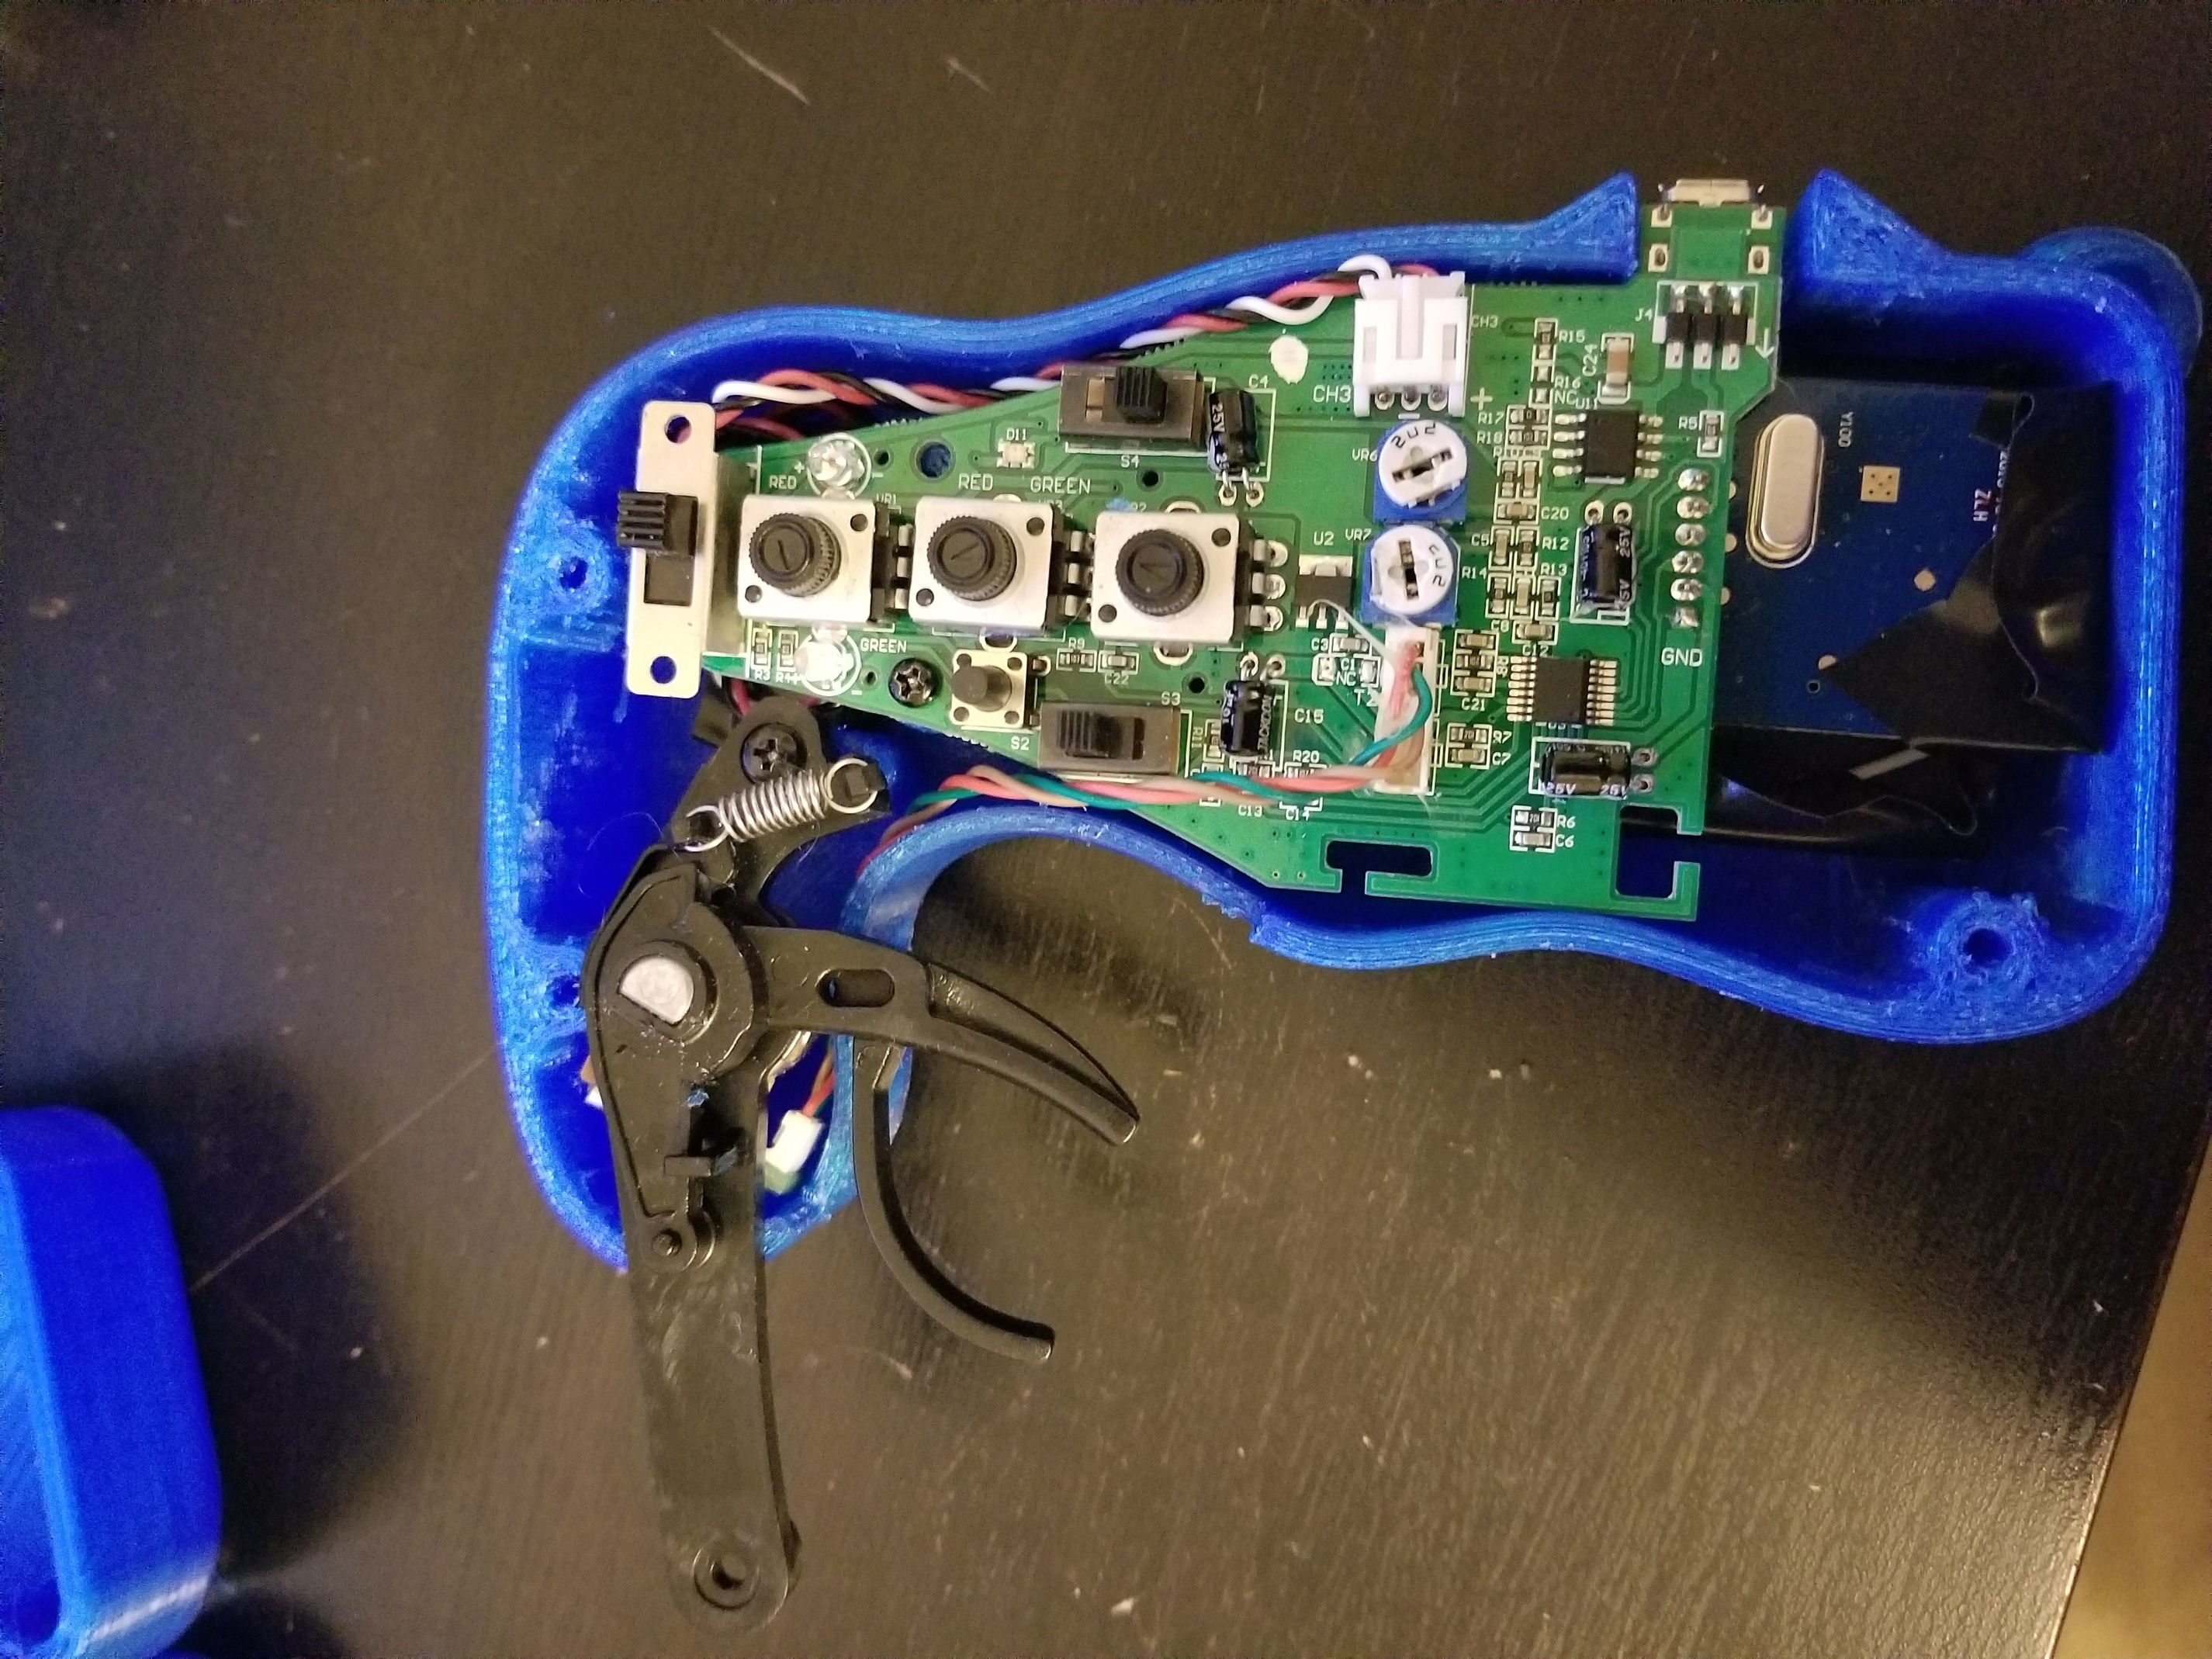
GT2B
3d printed risers and custom GT2B Enclosure
The enclosure is not final yet but the prototype is good enough to use. Ill be uploading the final design to thingiverse once it ready as a thank you for the community’s knowledge and help. This is pretty much plug and play mod, you just need to tape the leads to the battery and snip the trigger, and screw it in.
Also if any one would like me to print them out a set i can do that or they can buy it directly from my Shapeways shop.
I like that gt2b enclosure, I’ll probably commission one from you in the future. Very clean build. Sweet lighting too, I really need to get on with my own.
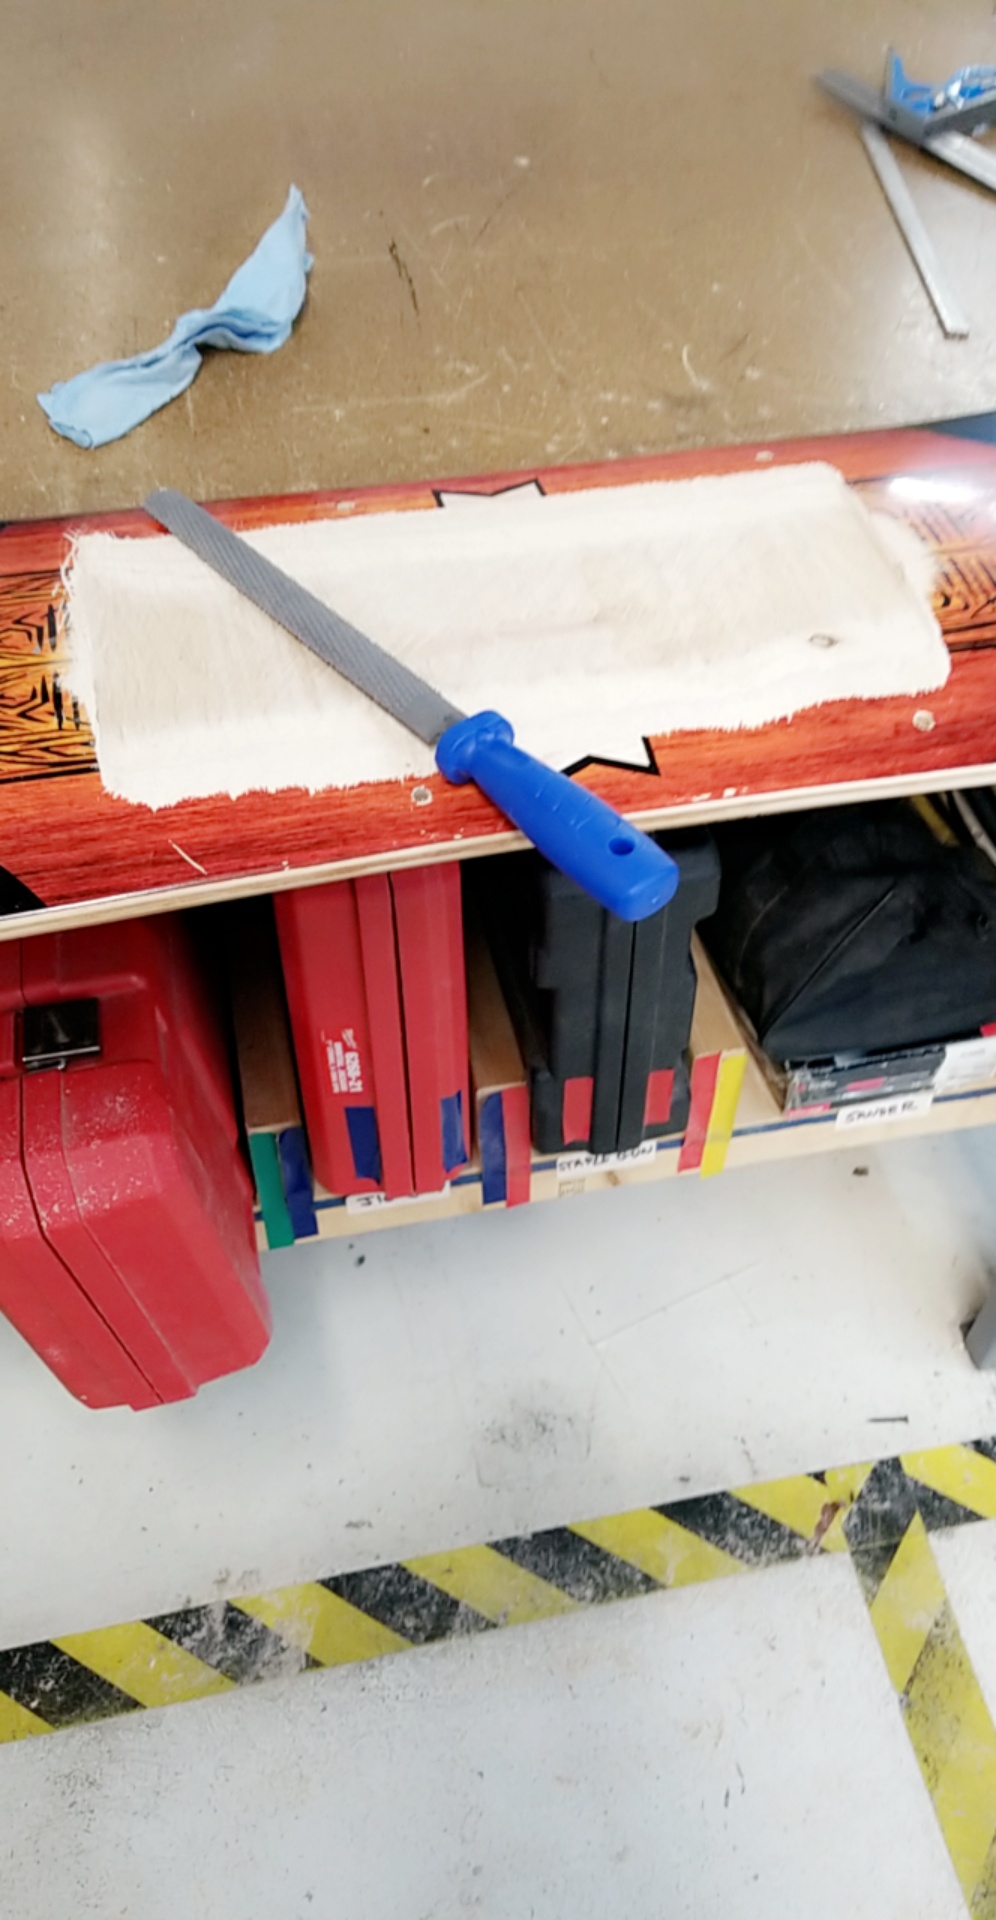
hahah always a helmet i like the shape of my head now no need to change it. Thanks it took a lot of filing down to get it to sit nicely, but yeah this thing is a monster! Also yes i can charge the remote from the board.
I like that gt2b mod a lot. Specially the fact that you don’t need to trim anything away hehe. Nice build. Hope mine is at least half as good as yours when I do it. Looking forward for that stl
yeah that was the goal to make as plug and play mod as you can make i was considering a completely plug and play where you didn’t even need to cut the trigger holster down but i think its cleaner this way. This was the first prototype, it had a hole cut out for the trigger to poke out through.
I have the same build, but with dual 6355s. One of the mounting holes on the 12s4p enclosure cracked and so I had to get creative to distribute the load. I also put on some s2 bindings. I also milled out the bottom of the board so the enclosure sits flush and gives me a bit more clearance.