Hi There
I am planning my first build, and wanted to have a 2-part enclosure since my deck has some flex and I only have 2 batteries. So I started putting something together in Fusion 360. I thought about vacuum forming but since I have a 3D printer might as well use it.
Goals:
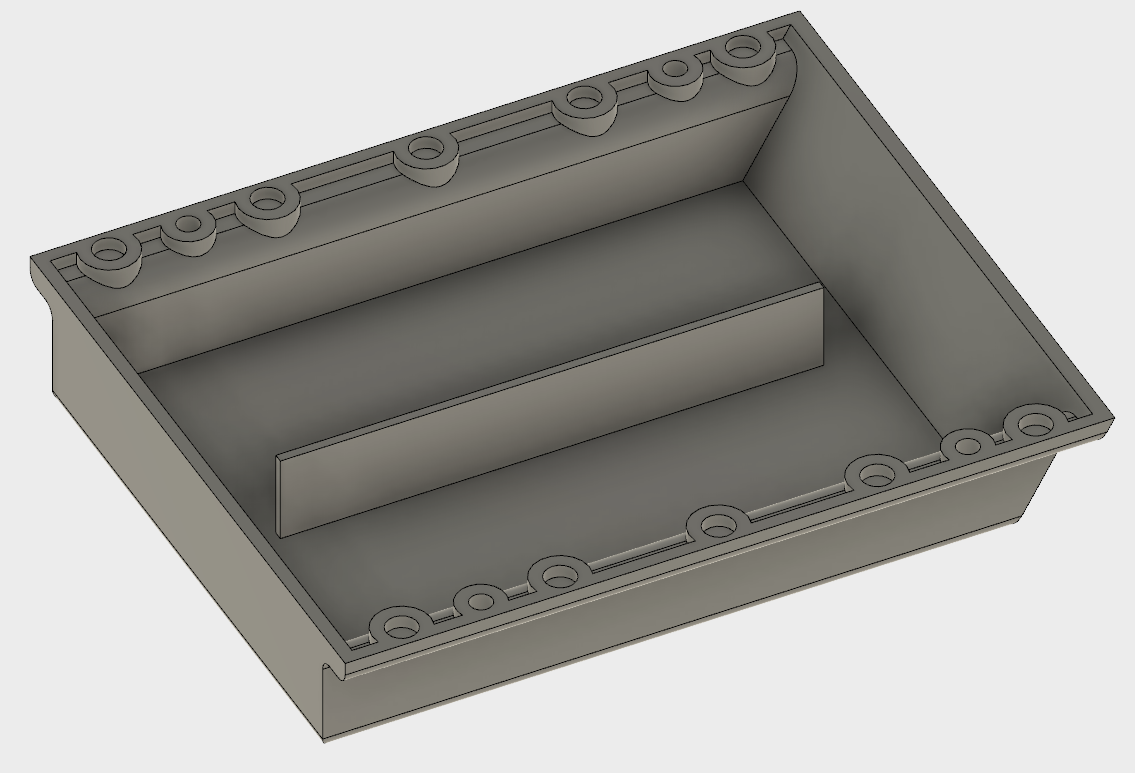
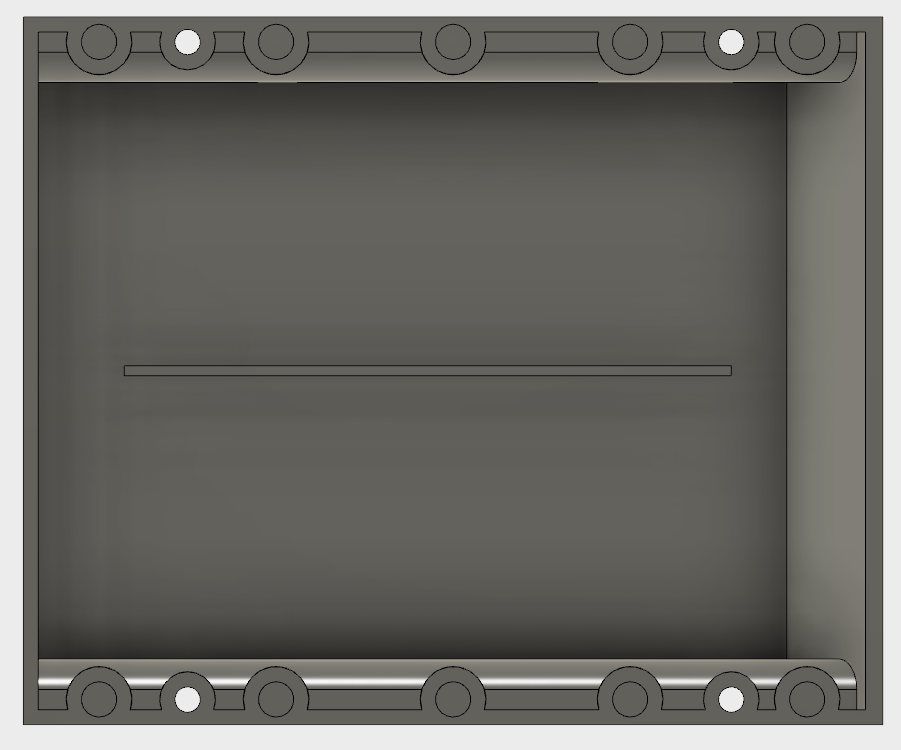
Be able to print each part at once and not have to break it into multiple prints, so the design has to conform to the limits of my printer (230x150x150).
thicker walls (3mm)
stays in place with magnets
Comments appreciated. I am now printing the first one so I can test fit.
I printed it yesterday with ABS. It is very sturdy and feels solid. But the problem with ABS is its shrinkage, especially with long straight parts like this, so I got an area where the layers delaminated a bit. I ordered PETG as it is claimed that it has all the good properties of ABS but without the shrinkage (or smell).
Leo
Usually,the shrinkage happens when temperature changes too quickly,especially when you print Flat and large object like this. Just make sure to cover all the openings of the case as much you can. Also, use ABS slurry to glue it down on the plate from the lift and keep the build plate temperature at 100c-110c.
Indeed, I have a closed case and a heated bed. I can stick the first layer very well. Now that I looked at it some more it seems that maybe there was one layer that didn’t print well so that may have caused the delamination. I’m hoping PETG works well, I like ABS but I wish it was as easy to print as it is with PLA. At least the price for PETG is roughly the same as ABS.
To prevent lamination with abs I’ve found that increasing your hotend temp by 10C helps. You may also be able to increase the extrusion rate slightly depending on what software you’re using.
I’m very curious to see how well the magnets will work, I may steal that idea for mine. I was about to print but that would be really clean.
Yes I’ll try the magnets on a scrap piece of board with my prototype enclosure and see how it holds up. Note that I intend to affix the batteries/components to the deck, so all the magnets have to support is the weight of the enclosure itself.
Ok, just I just did it an experiment with magnets this morning. Installed 6 8mm magnets, and attached the enclosure to a metal base (since I didn’t have another 6 magnets for the other side). It did not stick as well as I wanted it to. I have some magnets ordered but it will take a while until I get it. Also have some clevis pins that I’ll get later this week so I’ll play with that as well.
I have velcro + straps to fix the battery/components to the deck. And I think I might add a thin strip of velcro to the enclosure/deck interface as well.
New version
I made it so that there’s a smaller part (the front) where all the cables will stay, and which will stay permanently connected to the deck, and a removable lid, that can be secured by either magnets OR clevis pins. I’m printing the first front part now. The connectors are: XT60 and 6S balance charge connector.
To-do
-voltmeter
-add curved deck outline so there’s no gap when the enclosure is sitting close to the deck
Current iteration. Now with space for a voltmeter, an XT60 port to charge and connect to VESC, a 6s balance port, and an XT90 loop. I’m printing the larger piece now and will test fit.


 I have to work on the design of the enclosure maybe later today.