Told him that was real nice but not quite right, and yes he actually thought the axle bolt goes into the kingpin hole.
After some further explaining he went back to work and the rest only took him about two hours after a few back and forth editing. These baseplate can house Calibers and I would assume TB hangers as well.
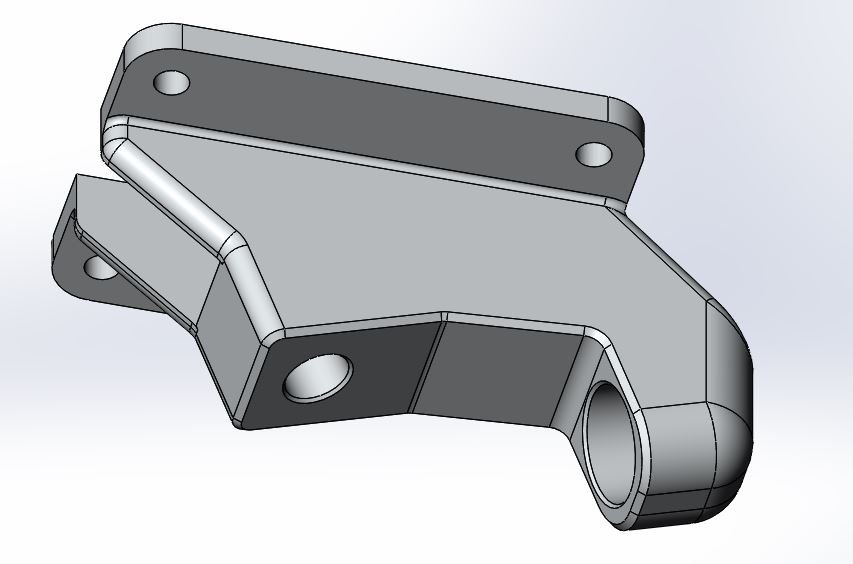
It is not a copy of the Precision Caliber baseplate at all.(Different shape, designed to keep axle in exactly the same position and pivot designed for venom pivot cups)
Apart from visual differences, the pivot hole is designed for Venom pivot cups.
I visited Cindrich years back, and he was the first person to show me how keeping those dimensions consistent was important when he was showing me his adjustable baseplates.
My end game is to have my preferred angle baseplates made for personal use and to give away the SLDPRT and .x_t files to the community for anybody who wishes to make and sell them which is anyone!
It will also go with my custom 220mm hangers of which I was talking about here.
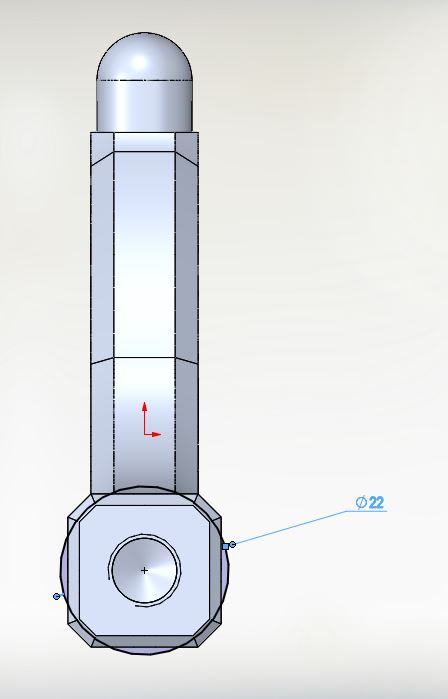
Altough I have made some small changes since then by increasing the bevels on the four sides so it could fit into Trampa’s Caliber mount and also to keep the hanger largely within the bearing 22mm diameter.
Thats super cool of you, and I guess you can’t go wrong with more options. BTW if your curious I’m pretty sure with a school email you cant get a decently long trial for solid works, so maybe you’ll be able to make these for yourself. I use inventor because my school gives it to me for free but I think its cool your making these as options for the people that want it
No need for it as all the work is almost done anyway.
May have to make a small edit on it, to make the butt that stick out go up at an angle like TB baseplate does cos I will be using G-Bomb brackets. Just a little oversight I made, otherwise pretty much all done!
I had a lot of trouble finding drop down decks that could comfortably house 12s5p batteries, DieBie BMS and 2 large Trampa VESC 6’s and also allow 6" wheels.
I managed to get a custom made SubSonic Illuminati 34" which gave me 28" of space for enclosures and 10" width and is super stiff, with a 36mm drop!
Also have the option of adjusting trucks to find the perfect dial in angles for me
omg i never thought of that, I’ve always stayed away from drop down, or double drop decks because battery packs would hit the ground, but now i’ll look into machining some of my own brackets.
Cool work. Seeing your work on your trucks, I’m sure you already know this, but maybe for the benefit of others, it’s worth checking the clearance of your motors when using GBomb brackets. Obviously, it depends on which brackets and mounts you use.
Looking forward to seeing your monster Illuminati. I’m thinking of doing something similar at the other end of the spectrum, converting my 24” version.
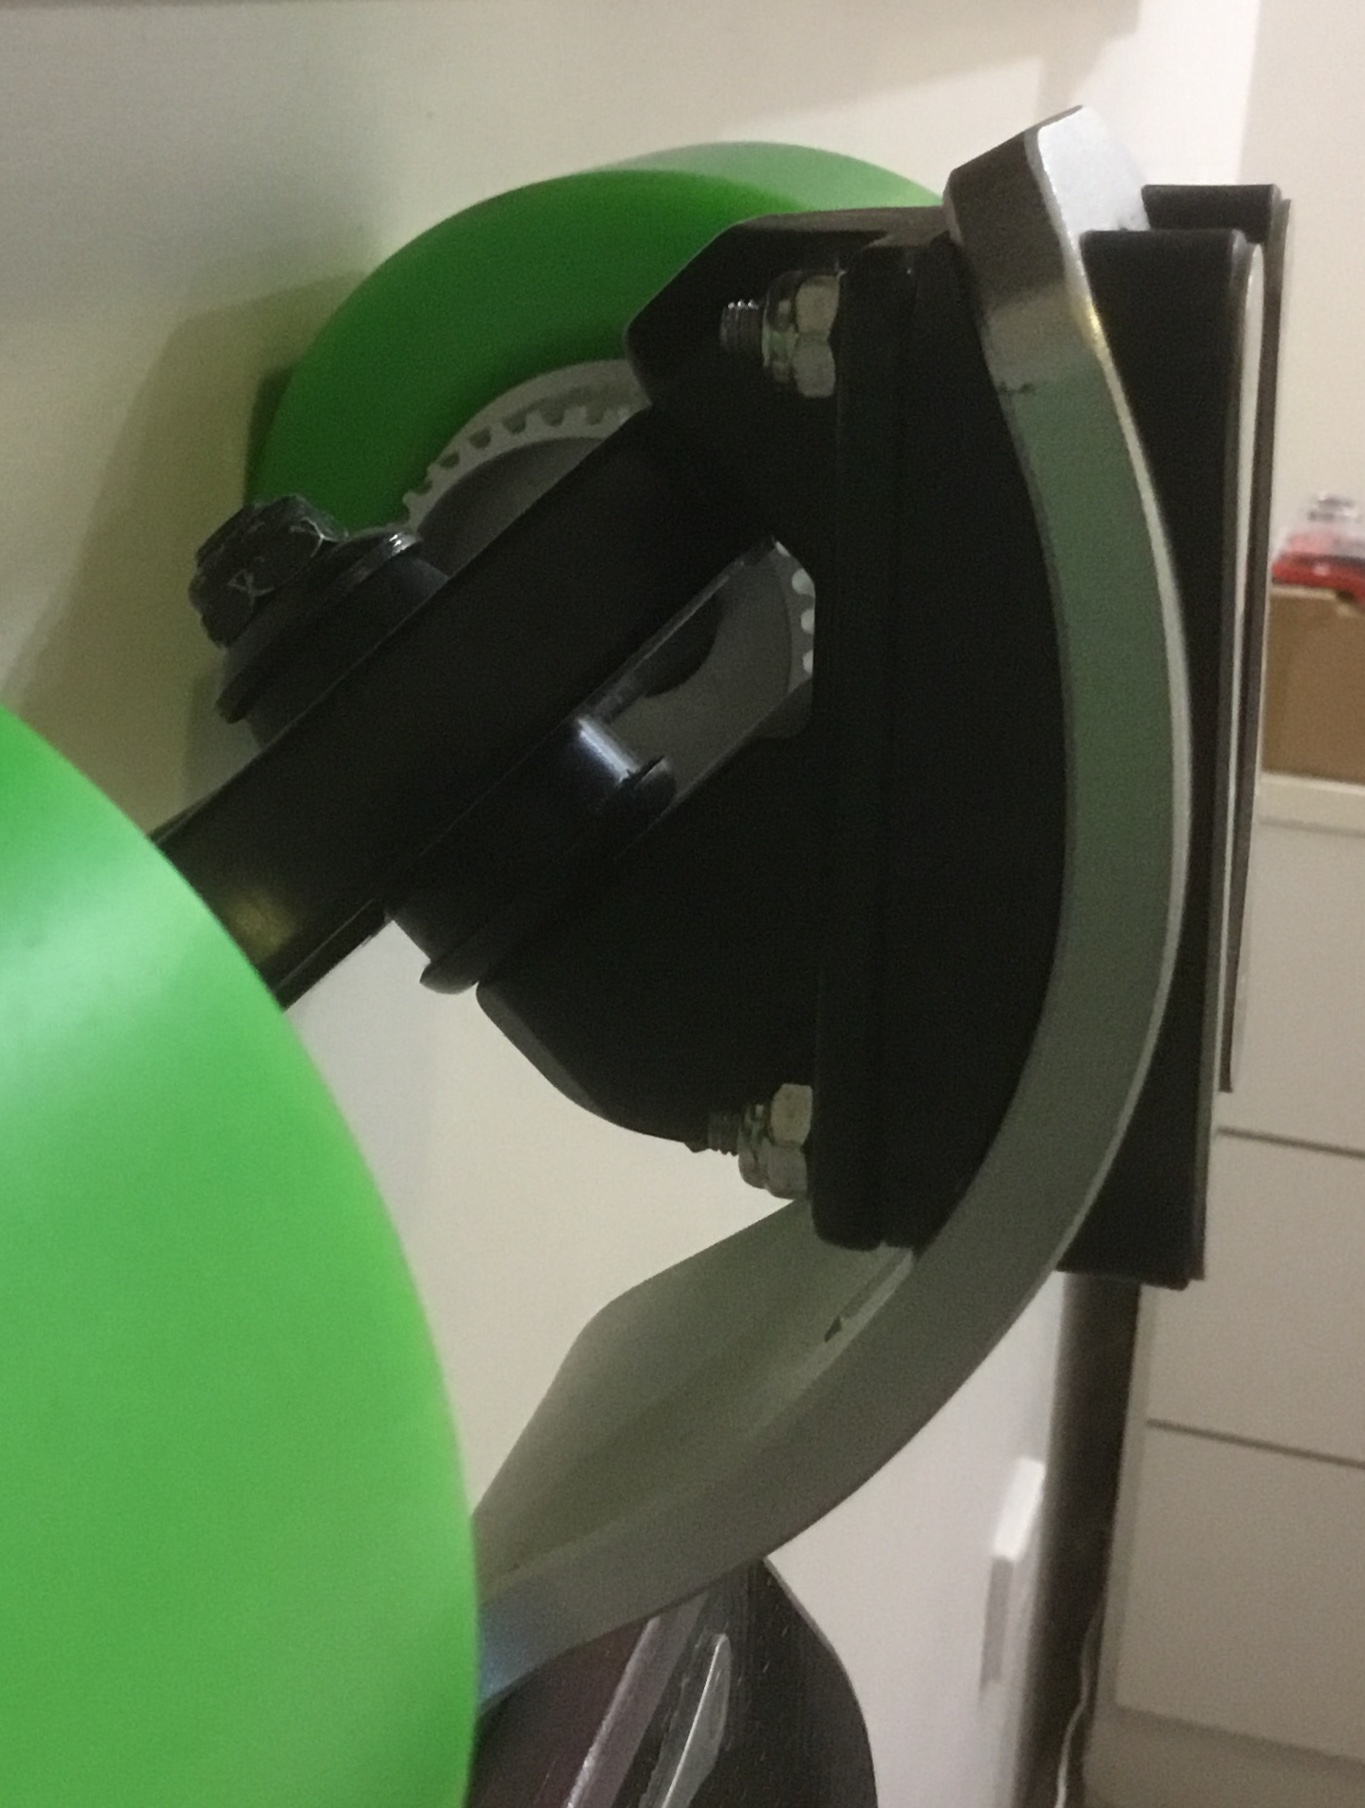
Also, I’m thinking of making an unique mount not too dissimilar to pic below which will locate the motors up in front of the baseplate.
That way, motor ground clearance is no longer an issue and I can use the G|Bomb full bracket cos the stubby is barely useable for standing the board up with 107mm flywheels, Will not be able to stand it up like in the pic above with Trampa 126mm gummies.
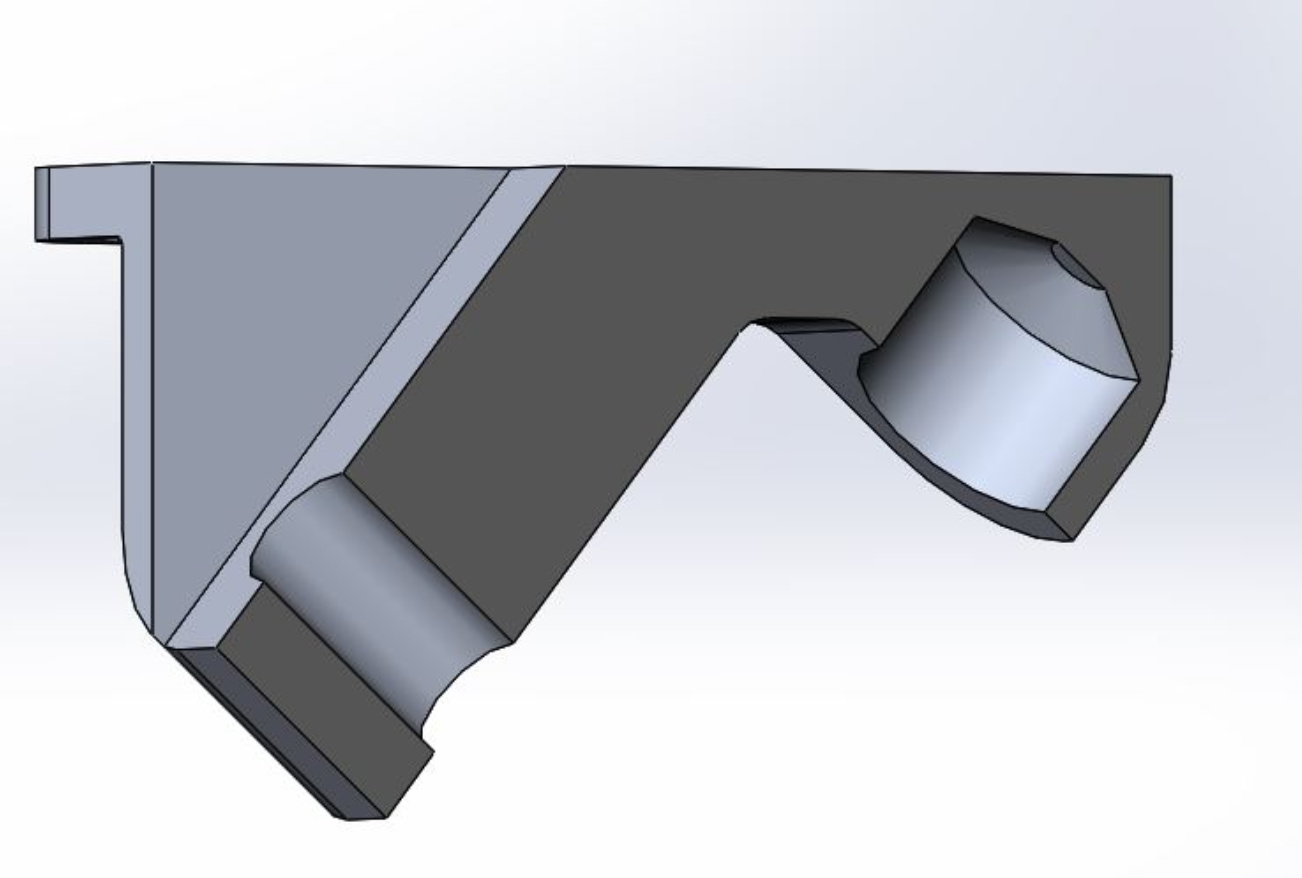
Firstly I was aware that the pivot end would prevent me from using it on a G-Bomb bracket and secondly, I know there are some longboard with sunken truck area like the pic below of which it would prevent the use of the baseplate.
So I changed the design around a little and here is the finished product for 40 degrees.
Still need some more editing on the ultra low degree hangers as there is some empty spaces that needs a bit of filling in. Once that is done, I will have one of every second degree from 0 all the way to 50 like 0, 2, 4, 6 and so on.
On a side note, my hanger work is now complete. All in mm at bearing to bearing distance (hangers will be 16mm short of engraved number) at 170, 180, 190, 200, 210, 220 and two special ones as I noticed that ppl have trouble going dual with the new 6574 hobbyking motors so I also added 230 and 240mm as shown.
For Metro pulleys, just get a hanger that is 30mm smaller. That means for dual Metro pulleys to match 240 front hanger means you need to get 210 hangers for the rear.
I have engraving on board side the hanger bearing to bearing width and “boardside” as well because the board side bushing seat is 3mm from the outside and roadside is 4mm from the outside.


 (40, 42, 44, 46, 48 and 50. 0 to 38 will be added later)