hahaha motivation and patience my friend! I did that the first night I got the board actually somewhere around 2-3am. I have been waiting for about a month to get it and was experimenting with different layouts on a mockup photo and some photoshop. I tried stripes, random blobs, arrows, abunch of stuff until I came back to hexagons.
I printed a few different sizes and cut them off to see which size i’d prefer.
I then reprinted the ones I liked, I used a blade to cut it out neatly and used the negative shape to draw the hexagons on the back of the griptape sheet.
I took some scissors and carefully started cutting the griptape, redrawing other ones as I needed. I went through two pairs of cheap scissors.
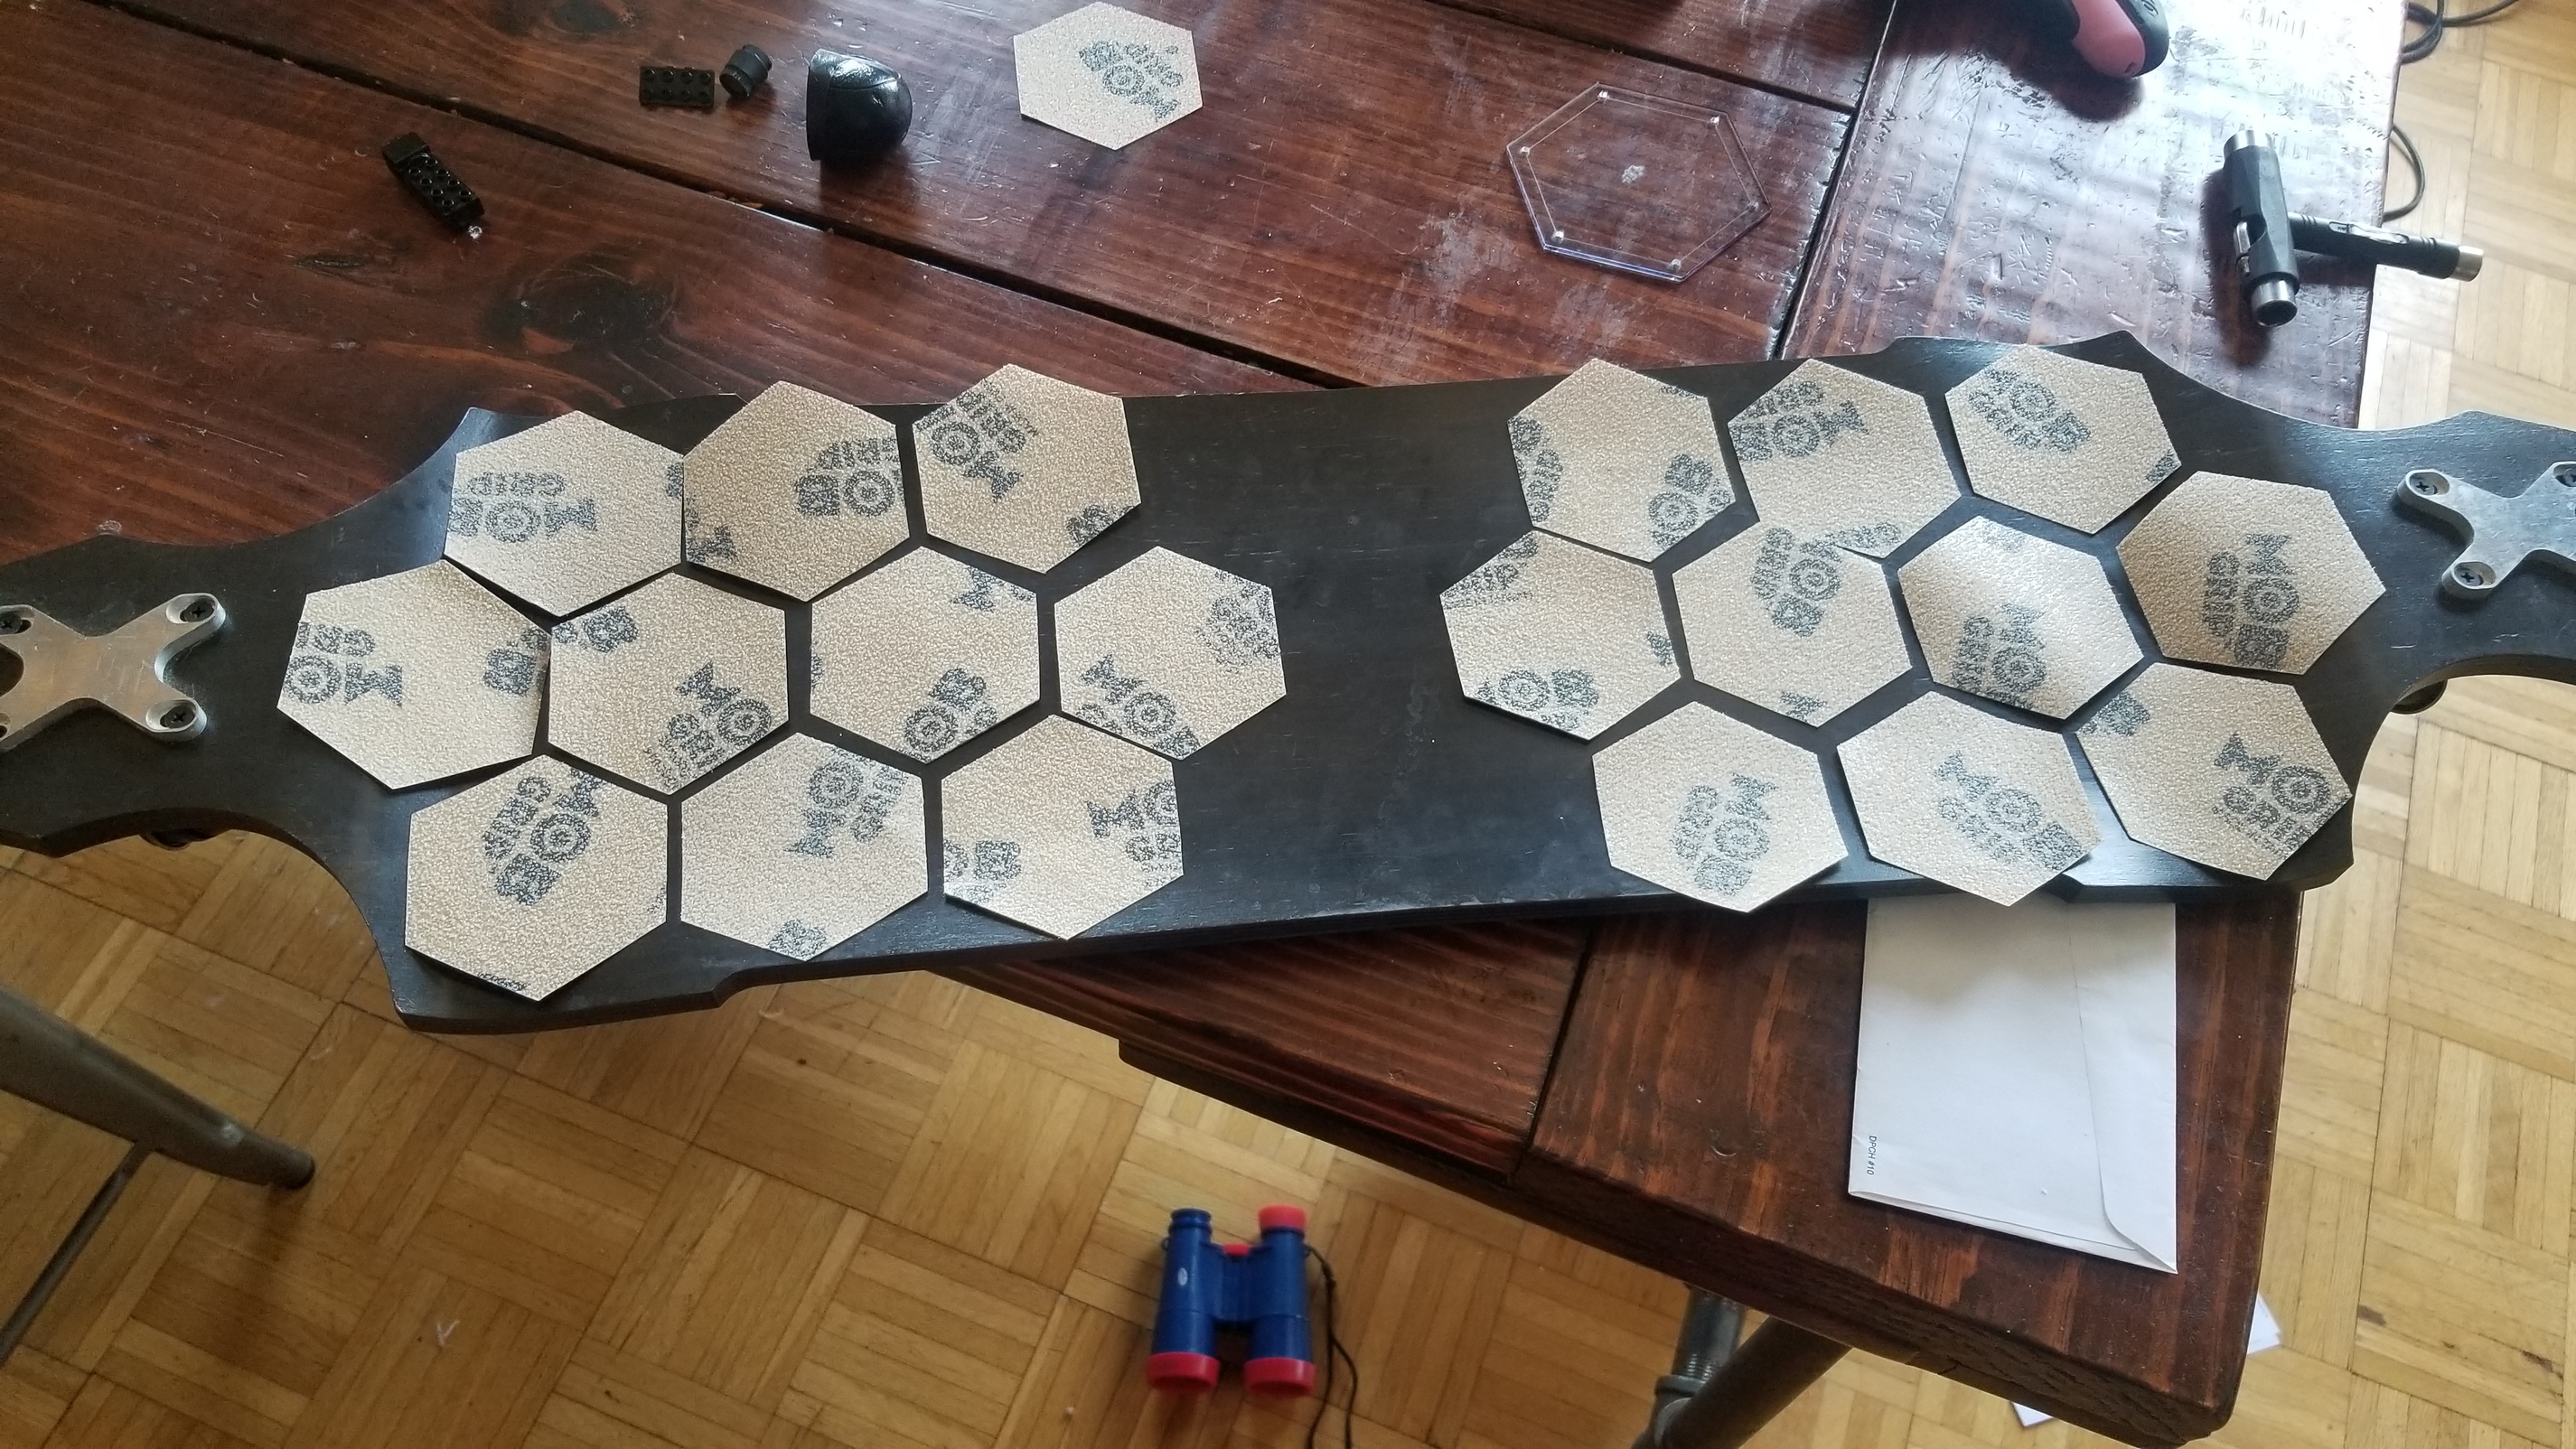
As I was cutting them I was just laying them on the board without sticking anything.
When I figured I had enough and covered the main areas, I went back to photoshop and arranged 3 hexagons next to eachother, I printed and adjusted different times until I had the distance I wanted in between them.
On my sheet of paper that had the 3 hexagons at the right distance in between, I then put 4-5 layers of scotch tape to make it a little more rigid and I carefully, very carefully cut out with a blade the 3 point “star” that separates the hexagons.
I then used that as template to lay the hexagons at almost perfect distance appart. It’s a big almost, I am very perfectionist by nature, I had to make peace with my almost perfect cut hexagons and then my almost perfect cut template and ultimately my almost perfect layout - The almost increases exponentially as you go down the line I really wish I had access to a laser cutter.
For the stickiness of it, I guess the vicious tape really sticks well, and also the shapes are fairly big, the board is almost 11" wide so there’s a lot of sticky surface under each shape. Also helps to start with a clean smooth board.
One thing that is useful with these patterns is to start from the middle. I started with my middle hexagon, measured and marked the middle of the deck and built around it.
These are some of the mockups I was playing with in the beginning, I was working on a Japanese themed board, still in progress, maybe for some more rainy days, as I can’t seem to get off it for more than what the charging time takes.
I ordered a blank deck while ruminating on what type of truck. Since then I did a naughty thing and ordered some trampa mini trucks so as to go for some 3dservisas drives on this bad boy.
Question: assuming my deck is coming blank and not with trampa holes per my email a few days back, is there any way to supply a pdf of the nose/tail to minimise any alignment issue?
Thanks
Ps. Prefer if it could be factory drilled & apologies for the womanesque mind changing.
I’m going to move the furniture around for a bit now
Hey @banjaxxed, we’ll send your board back to be drilled, no problem. You’ll have the 4 “normal” truck holes. All you’ll have to do is make the holes for the spring tensioner. This said, you’ll be able to install the truck on the board with the 4 main screws so those spring tensioner holes will be easy for you to do.
To clean grip tape you can buy a “grip tape cleaning block” or a bar for “cleaning belt sanders and disks”. It will work better
I got one delivered to me on eBay for $14, it will last me a life time I think.
This unfortunately is not all that is needed. From my experience it’s wire bursh and water, then dab up the dirt via a rag, finally use the rubber to clean.
The rubber alone u can be at it for 15mins and not do much… The wire brush helps loosen all the dirt so the rubber can pick it up
Works for me, the dirt/dust where I live is very fine. I don’t use anything else. Use the corner/edge, not flat.
I’m not looking for pretty though, functional.
 I really wish I had access to a laser cutter.


 I got one delivered to me on eBay for $14, it will last me a life time I think.