Hey guys and gals (first time poster here)
If you want some backstory…
Summary
About one year ago the idea of building my own eskate brushed me. I diagnosed and repaired a Blink board (switching the hall sensors) and rode around with it for some time. But there i was wanting more… Power I started reading mainly on this forum and endless sphere, watching some how to videos and ultimately forgot about the idea over the winter. In April i regained interest in the topic and started to plan a partlist. THE main goal was to build something powerful and scary. As i gained more and more knowledge i found myself wanting to go a more or less “diy or die route” in my build. I never welded batteries before, did work with carbon fibre or modded a remote. But the idea of doing all that by myself intrigued me (a lot). At this point i want to mention @whitepony because it was his build threads on endless sphere and here that REALLY kicked it all off. Thanks for the final pull into the rabbit hole.
Main parts (After about 3-4weeks of research)
-
- Tourque boards direct drive 90kV with 110mm Wheels
-
50 Sony vtc6 Batterie cells (did not know if i wantet to go 12s or 10s at the point)
-
flipsky VESC 6.6 plus
-
GT2B remote and mod the case
-
Diy carbon fibre enclosure (More tools to buy YEAH!!!)
-
Some Downhill deck that can fit the Wheels
I started ordering around may this year.
- Building the battery
I decided onto the malectrics spotwelder for car batteries. The chinese plug in solutions just seemed unreliable to me and i also had no interest in purchasing a better triac with a new machine. More expensive but it delivers (also even more diy stuff to do) For the pack i wanted full control over everything so a balance charger hab to be bought. It seems pretty hard to get one for 10s or 12s packs. In the end i settled on a 2*up to 6s charger and hook the packs up in series. I also debatet around the best batterydesign. I did not want (under all circumstances) produce a pack where the current has to go over one bridge continously as i expected 75 Amps to flow durinbg operations (15A pre cell 5p without temperature monitoring of the packs). At the time i had no idea how current really flows for most of the time and how skookum shrinkwrap truly is. I decided on an “inline design” with the p packs. The plan was to have one charging end with the balnace plugs and one businnesend that connects to the esc. I almost went to broad with the packs as you will se with the enclosure…Rookie mistake making the packs before i saw the board in real. (now i know why people make 4p packs a lot)

Some test i did with the welder and blank nickle strips. The numbers are milliseconds. 4 or 5 seemed to be allright.
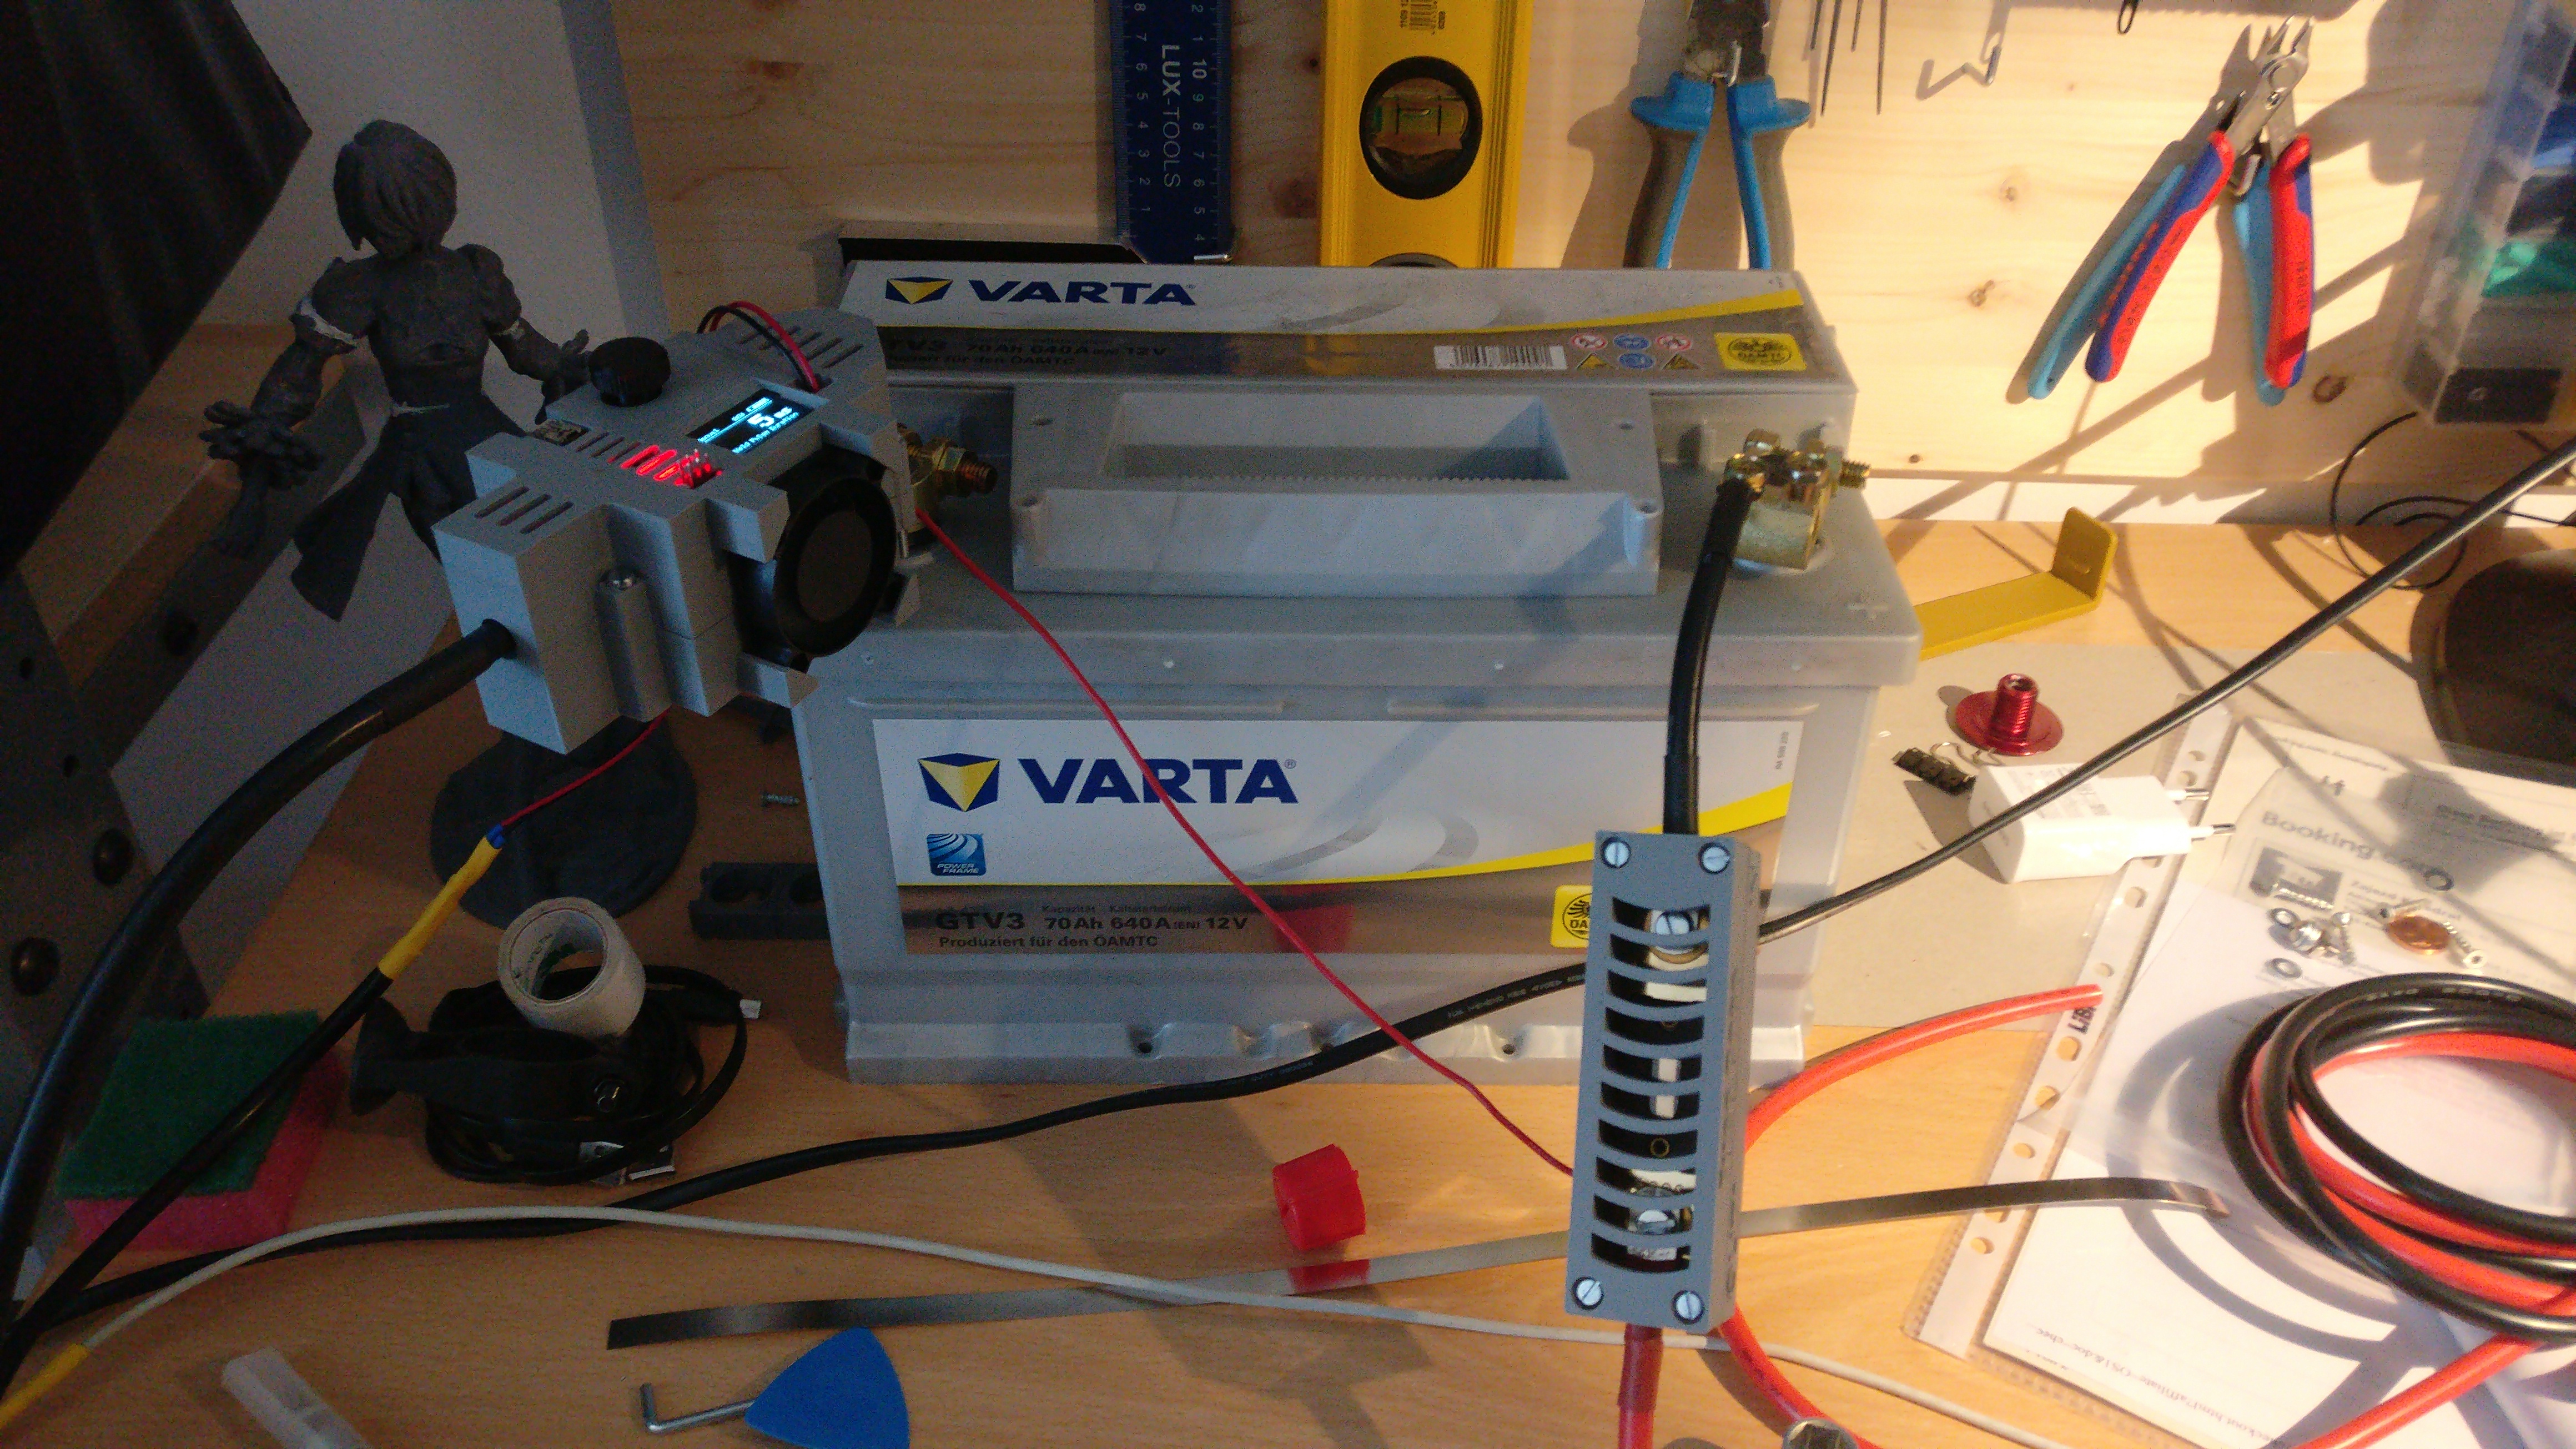
The whole spotwelder setup
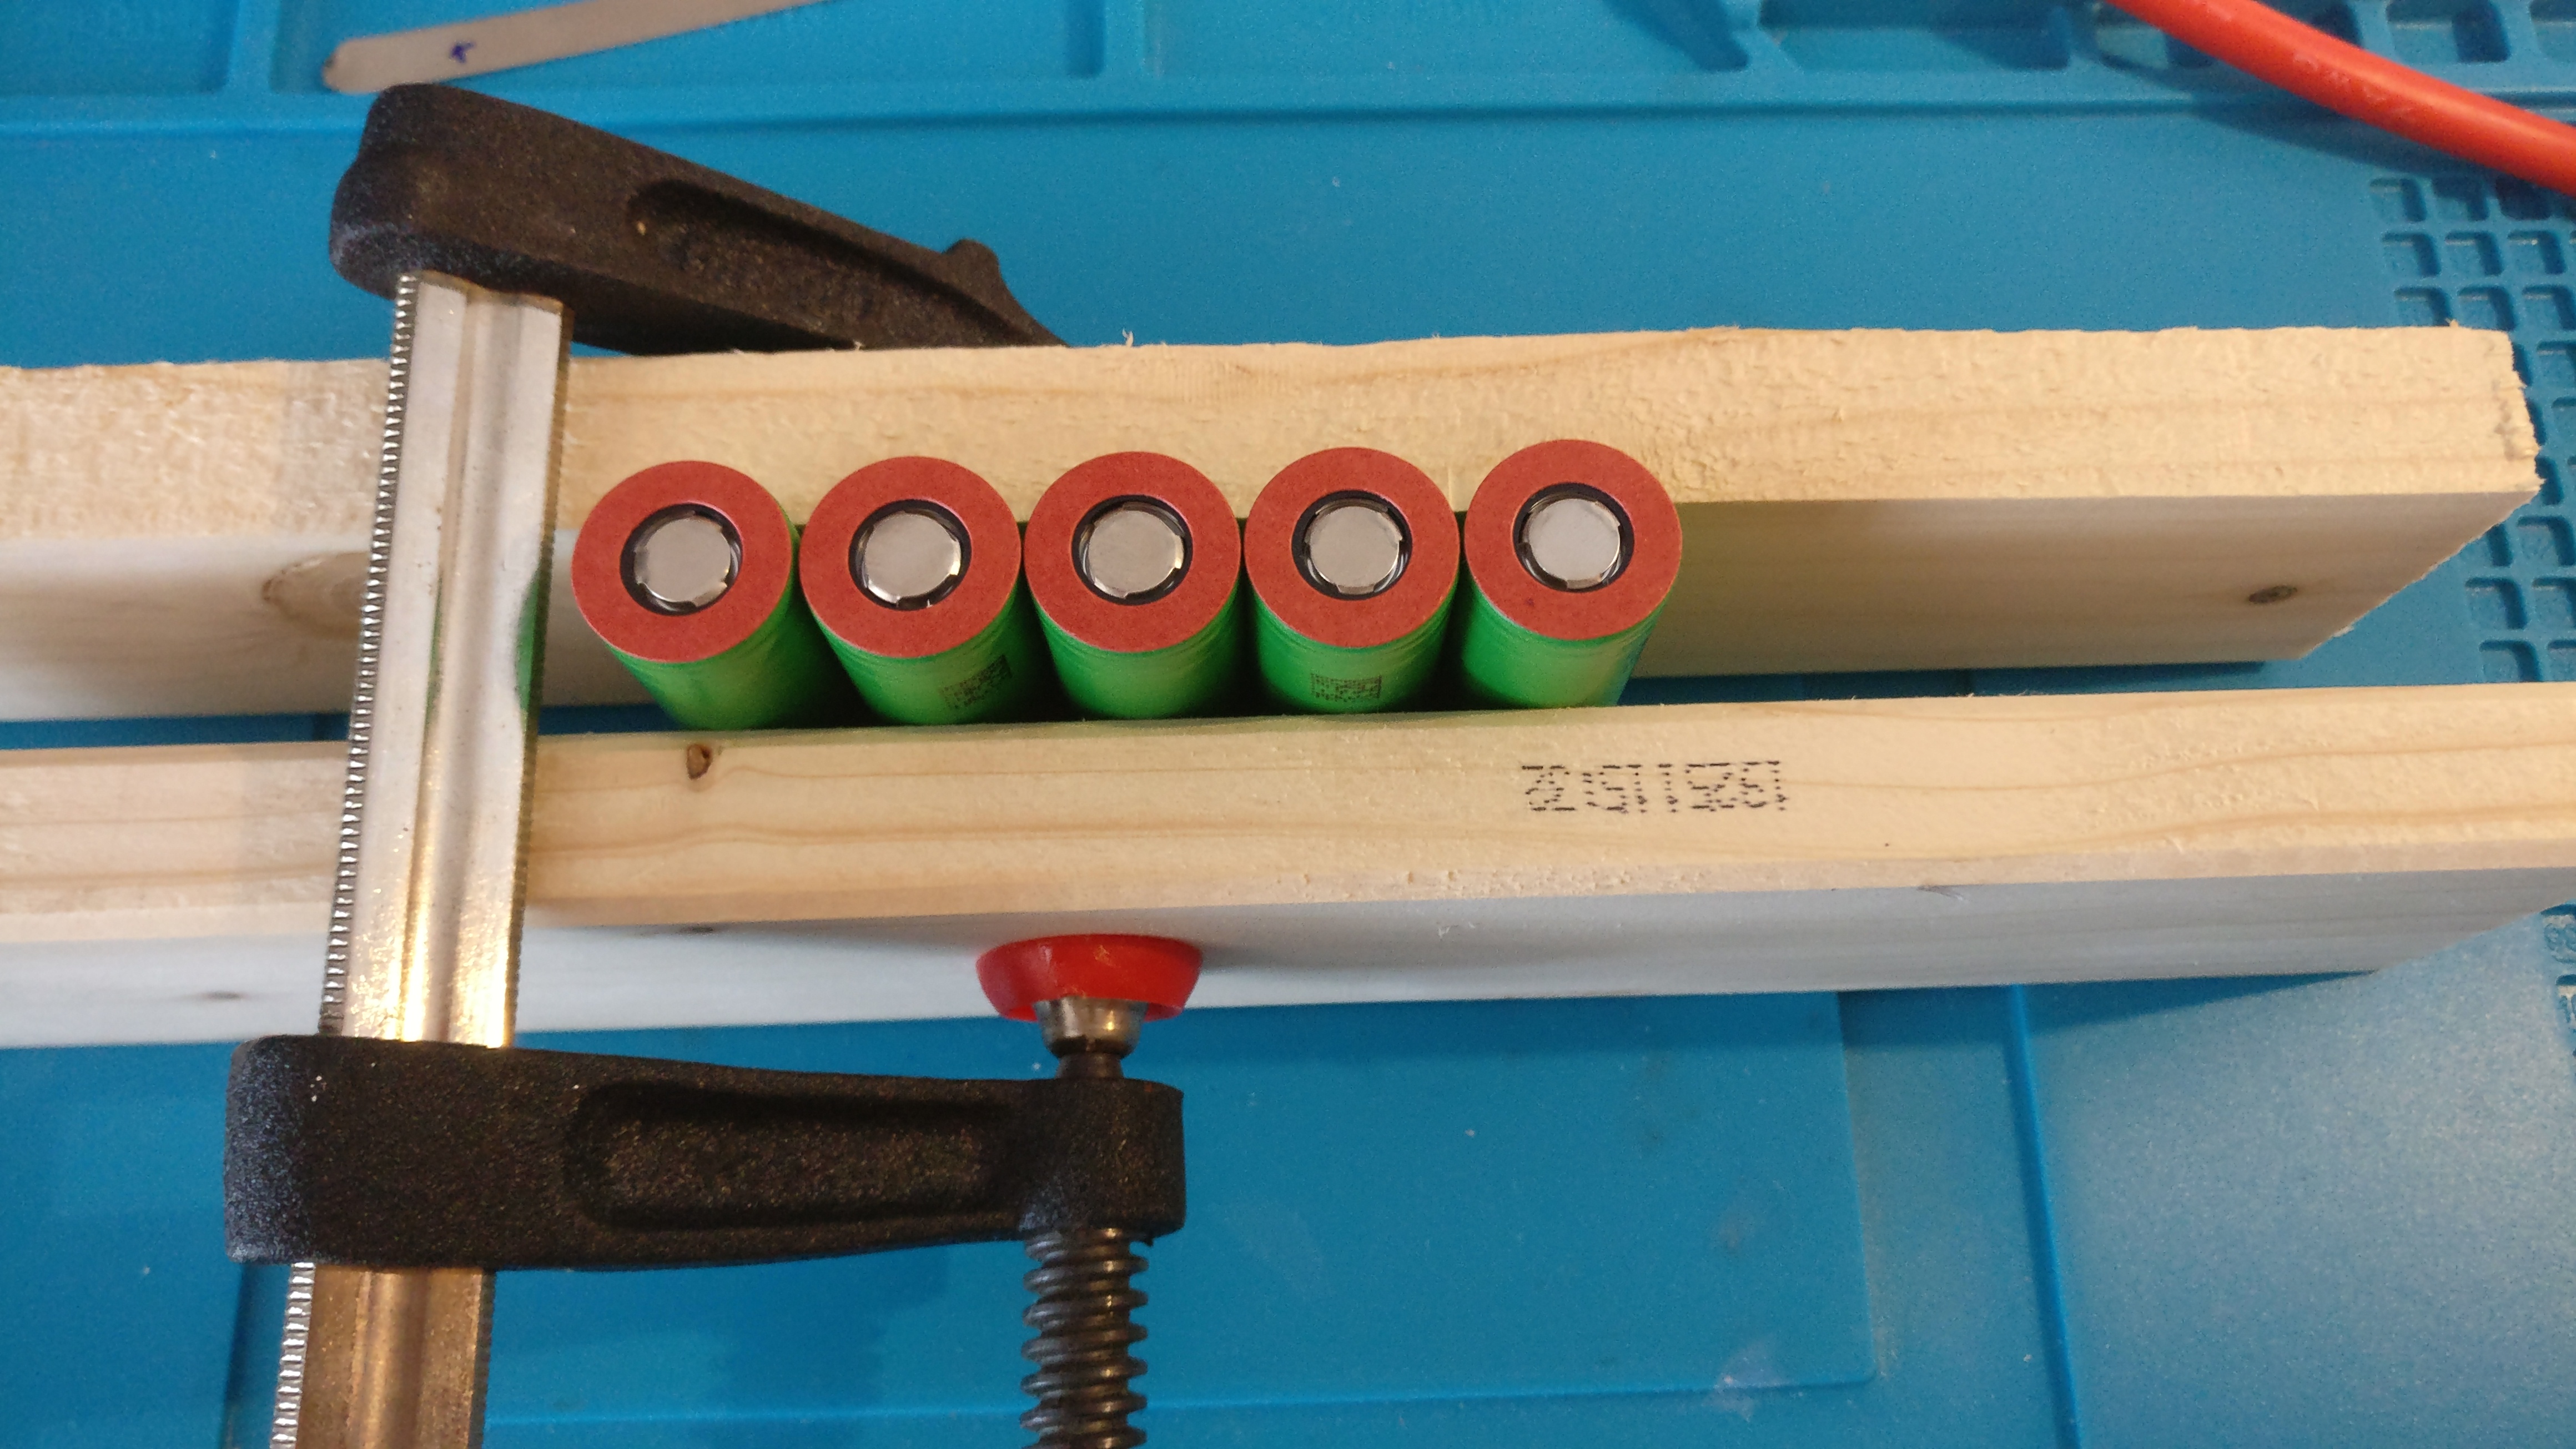
Clamping the Batteries and…


tadaa (fist connections and i was drenched in sweat. Always keeping 4kg of lipoflame granules nearby)

First pack without cables. (During the welding i used a stupid amount of tape to shield off the exposed contacts, no spark was seen during the entire welding and packing process)

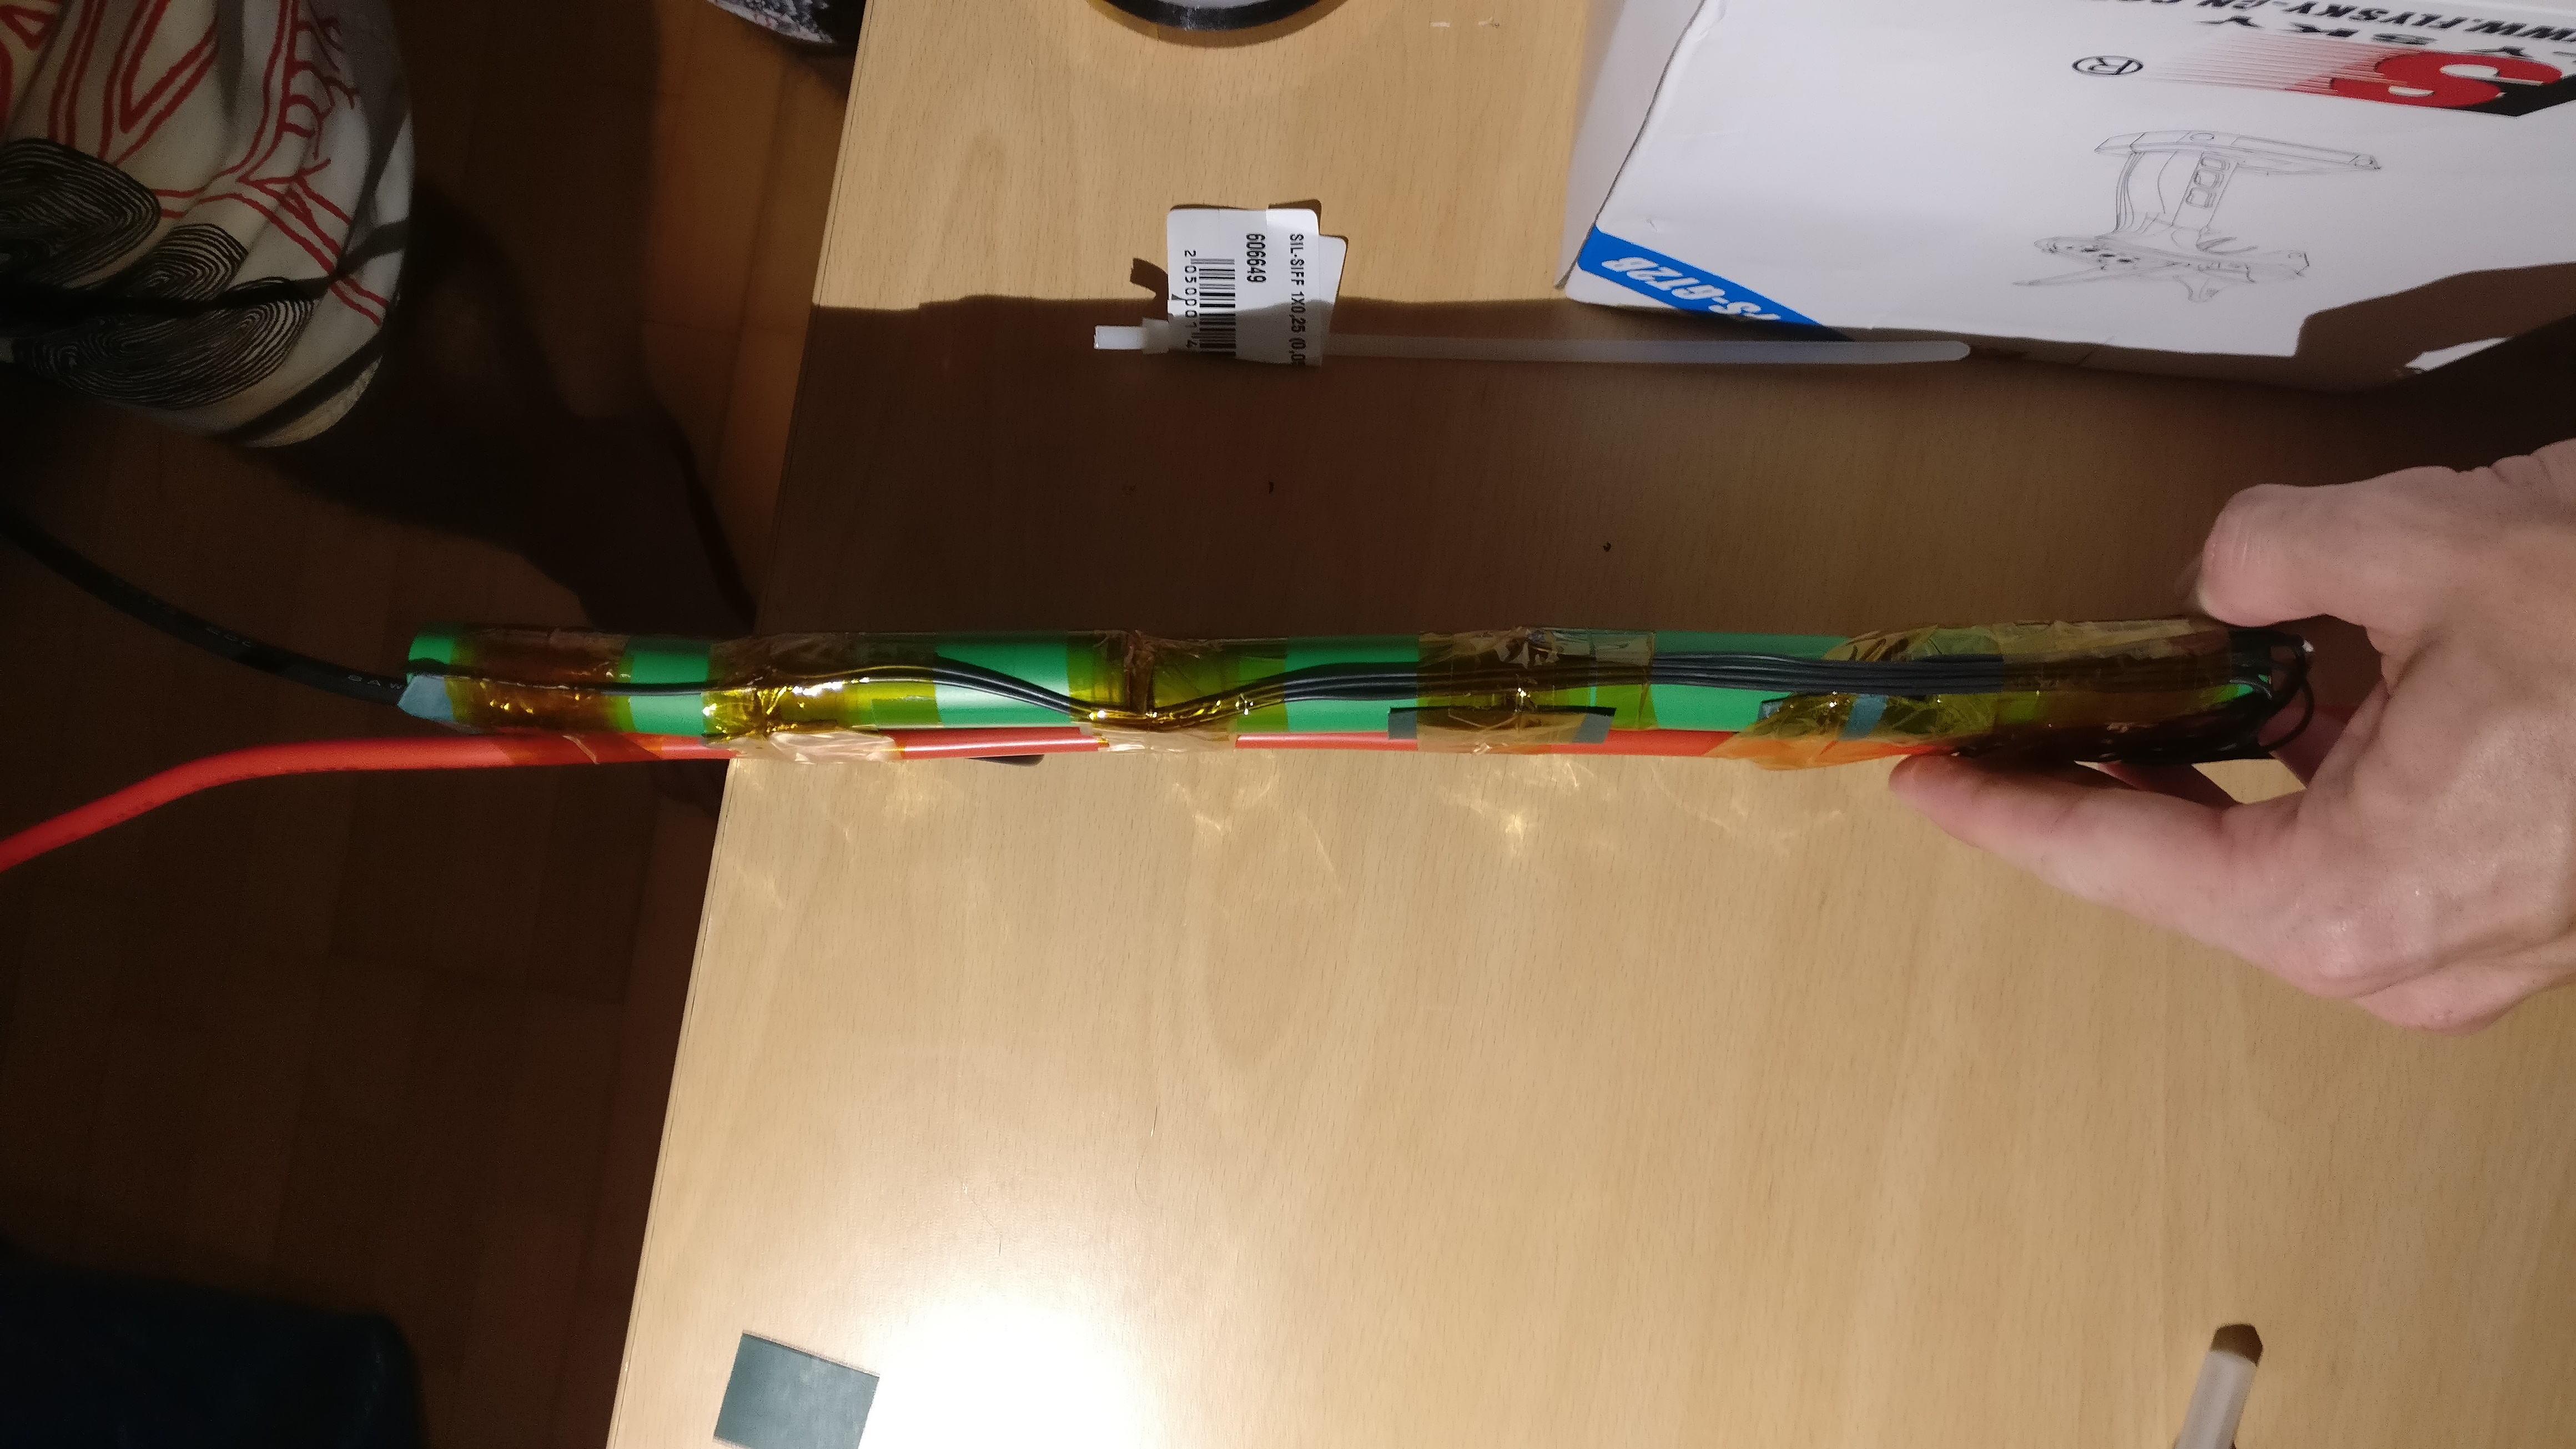


One complete round of one pack. I added a supid amount of cable loops under tape just if somthing janks on the cables. I also added Fishpaper between anything sharpish or exposed materials (also between every fold). For the connections at the ends i spliced open the cable and soldered the strands onto a nicklestrip before spotwelding it on. Tedious but my best solution at the time.
first time charging on the bbq. My GF still likes to remind me of the fact and get smiled at by peple who know what a lipo that size can do. (only one pack for damage reduction if something goes south). The charger accepted it as a 5s pack (Wohoo) and…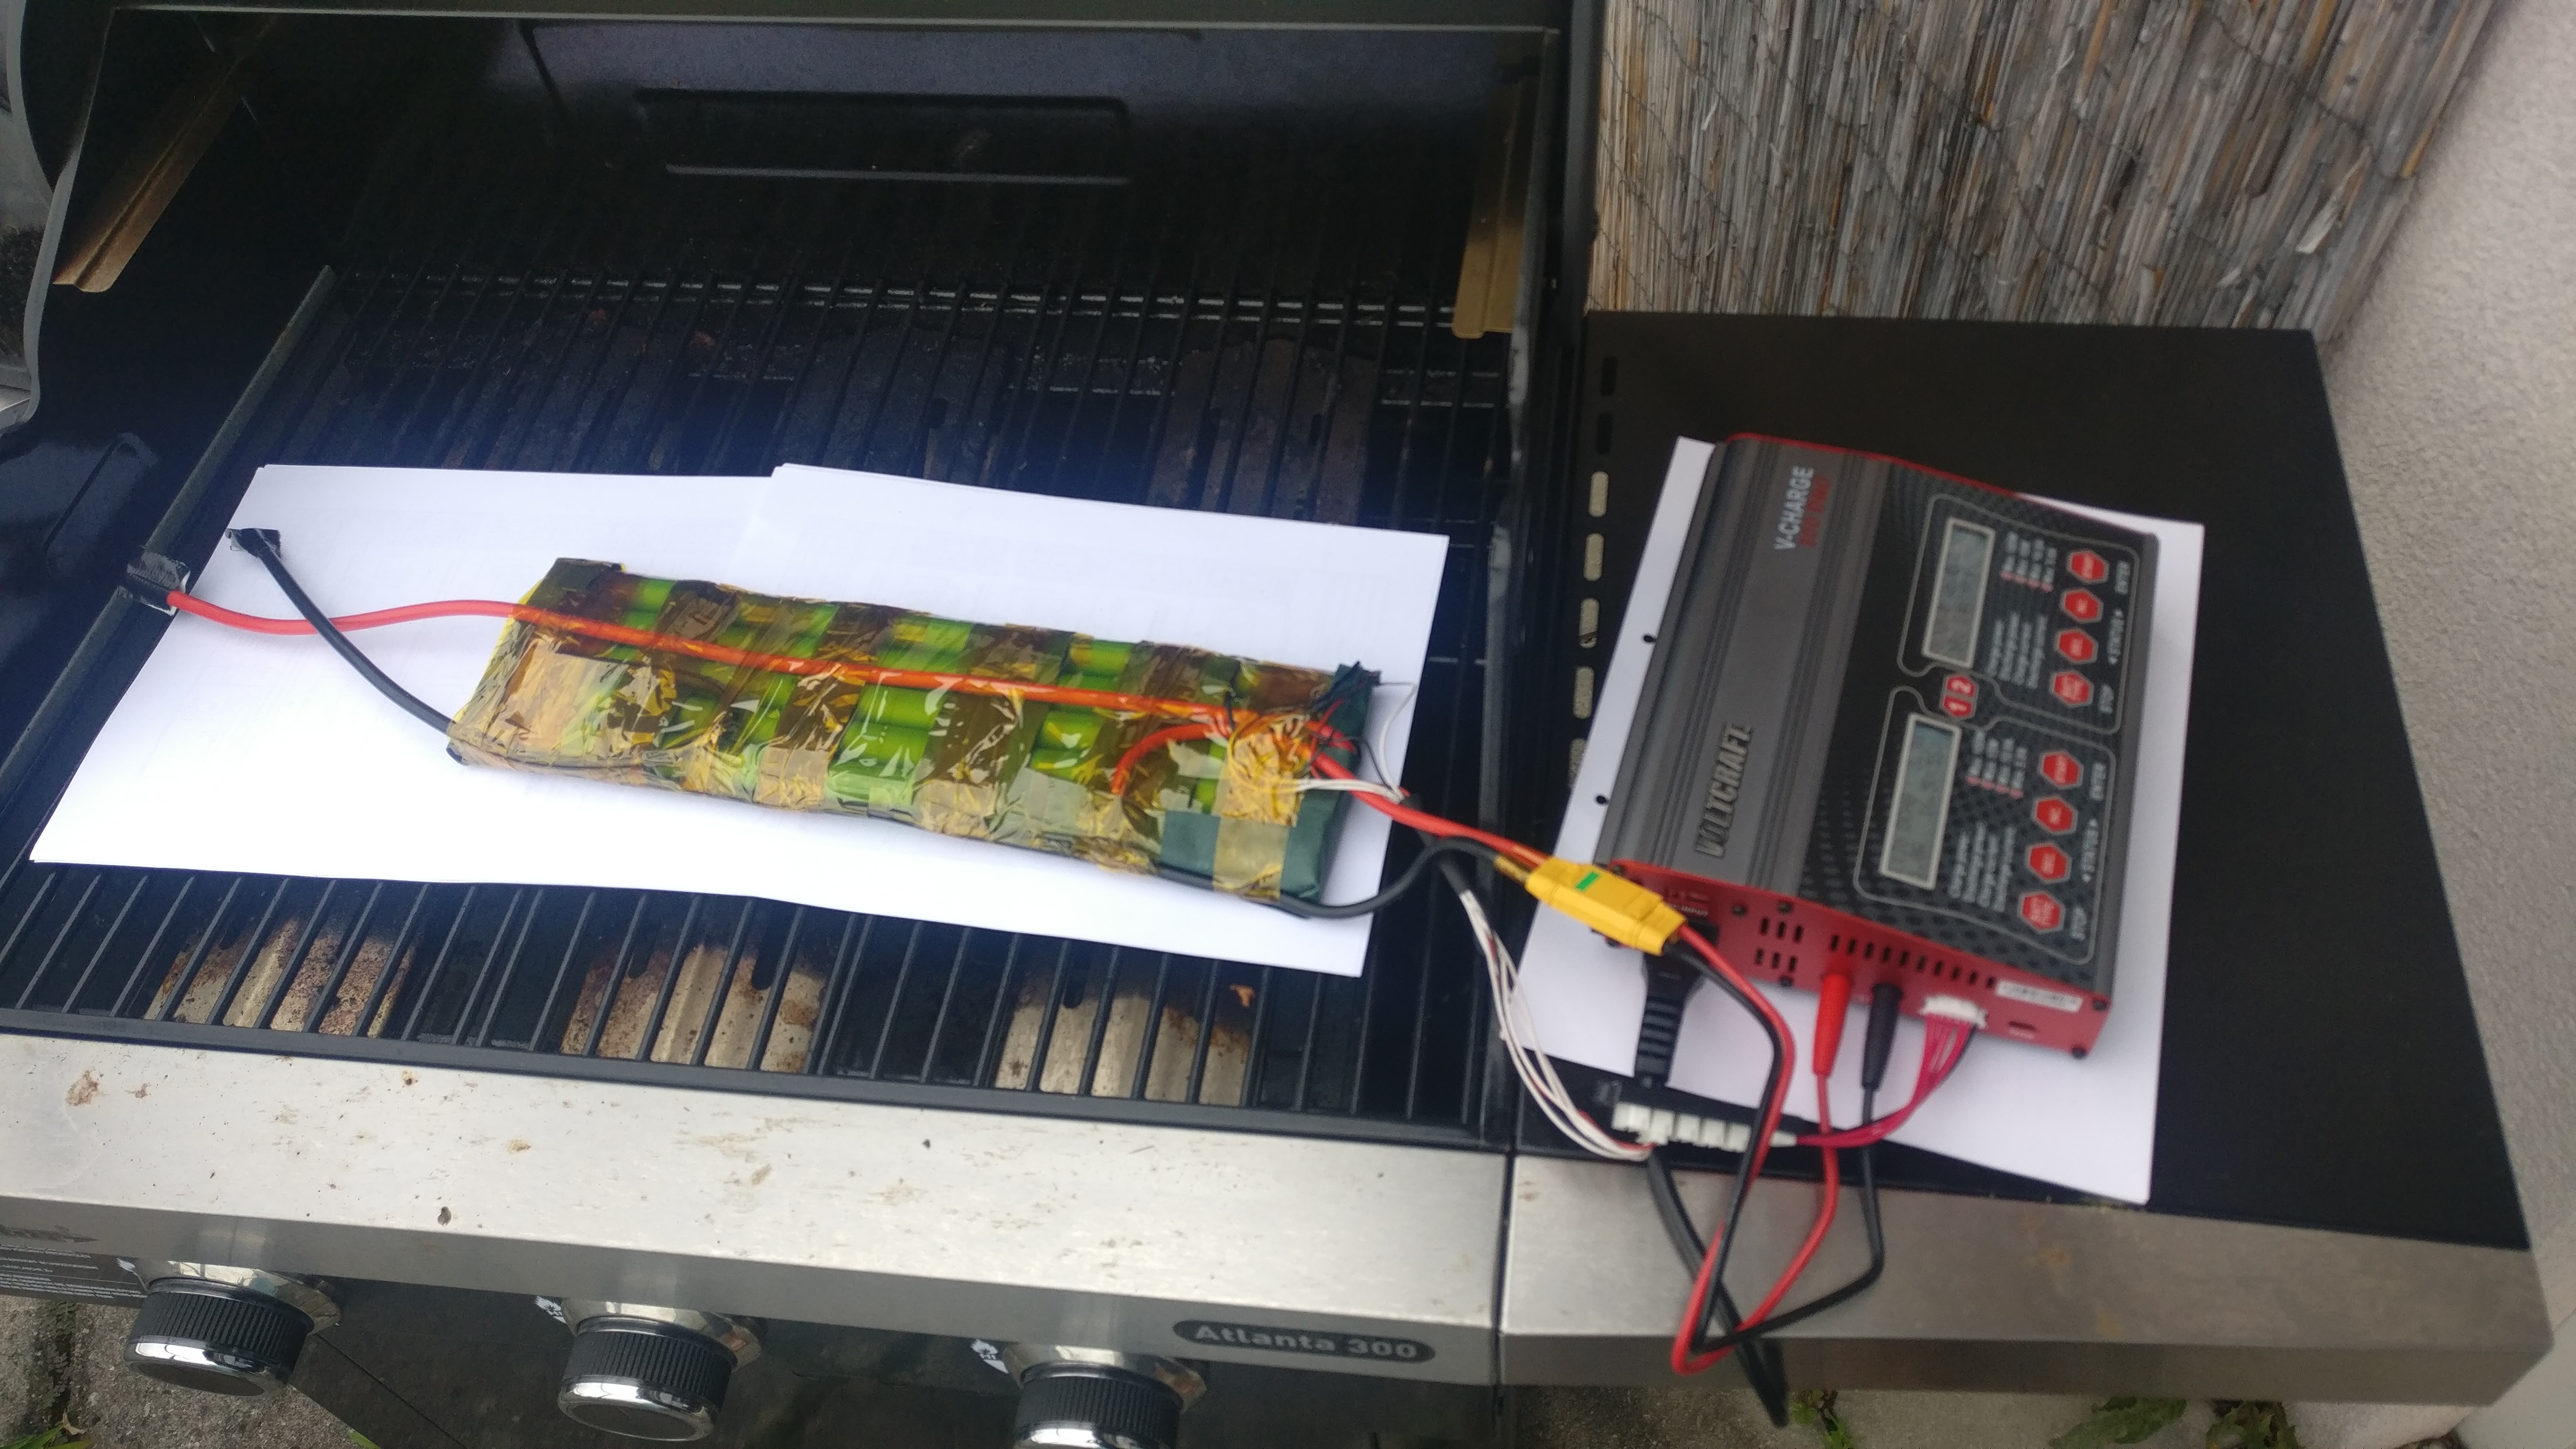
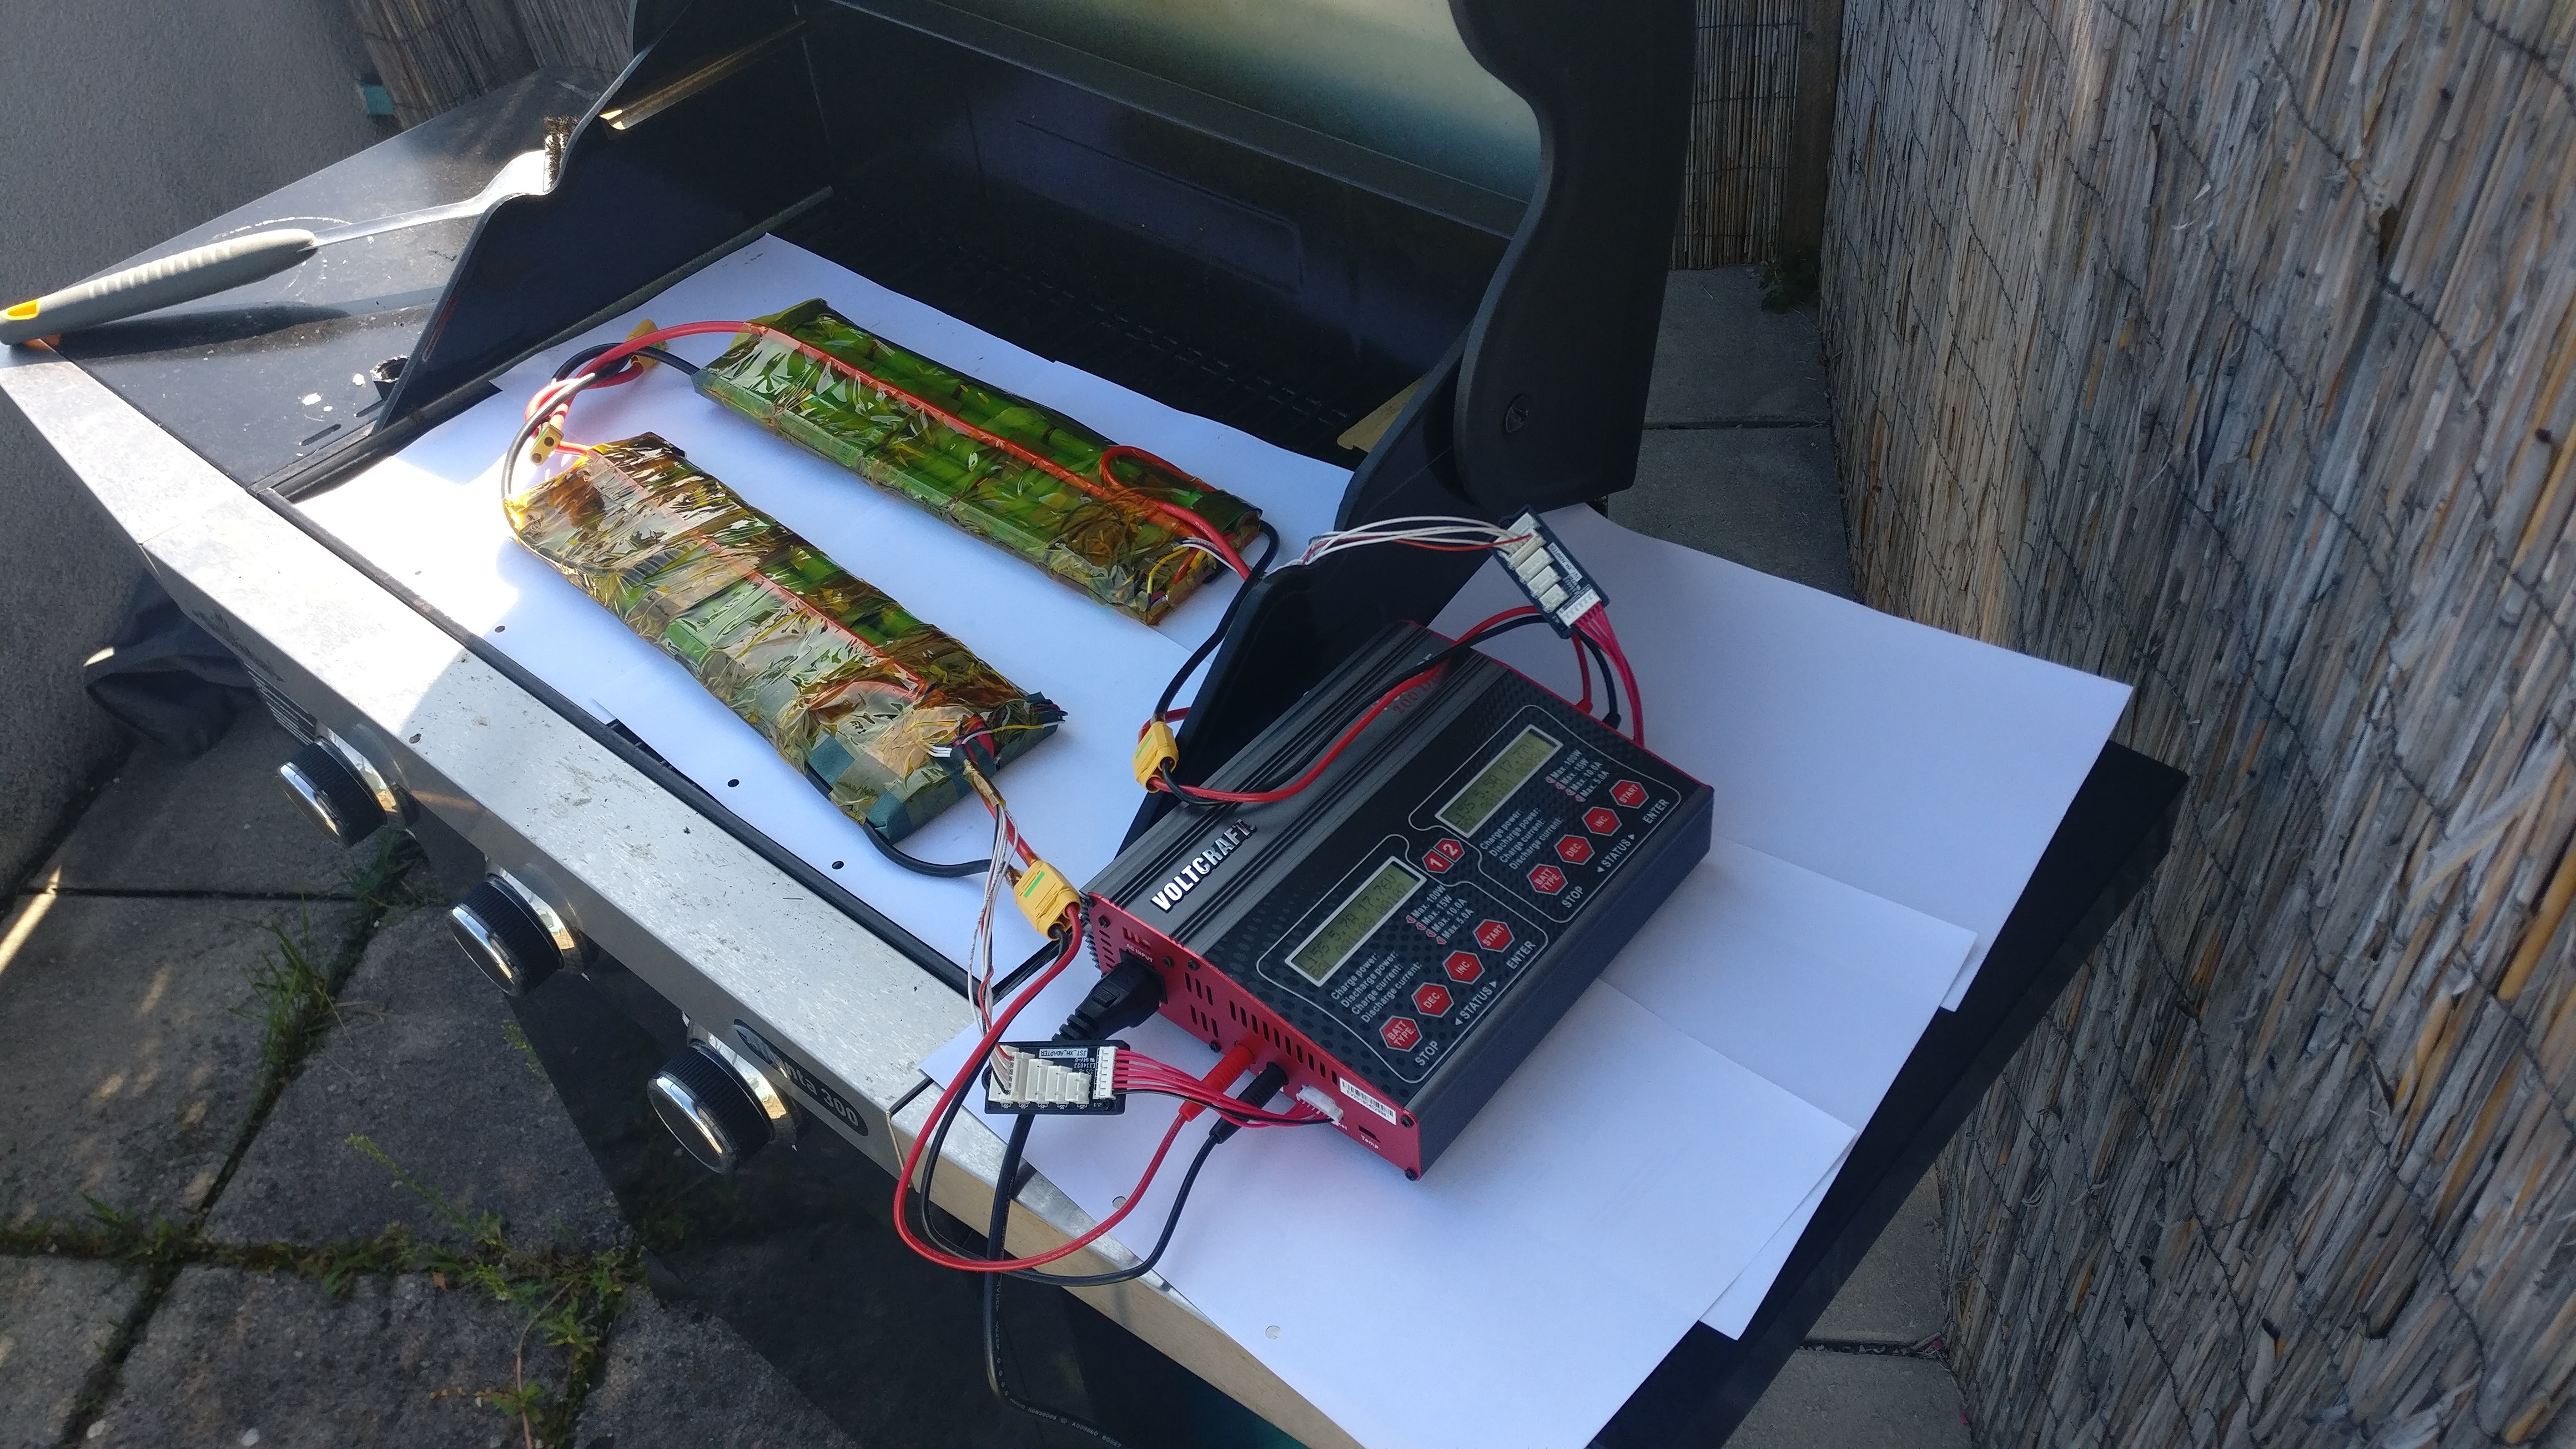
both were fully charged one day later
Meanwhile the ESC (16€ customs pff…) and the motors (140, some ridiculus number € customs (in CASH, NOW AND PLEASE EXACT AMOUNT on a friday afternoon …fuuuuuuu) arrived and was ready for some testing on the bench. Got the vesc tool for pc, shrinkwrapped the batteries (not before adding a final layer of fishpaper on each edge).
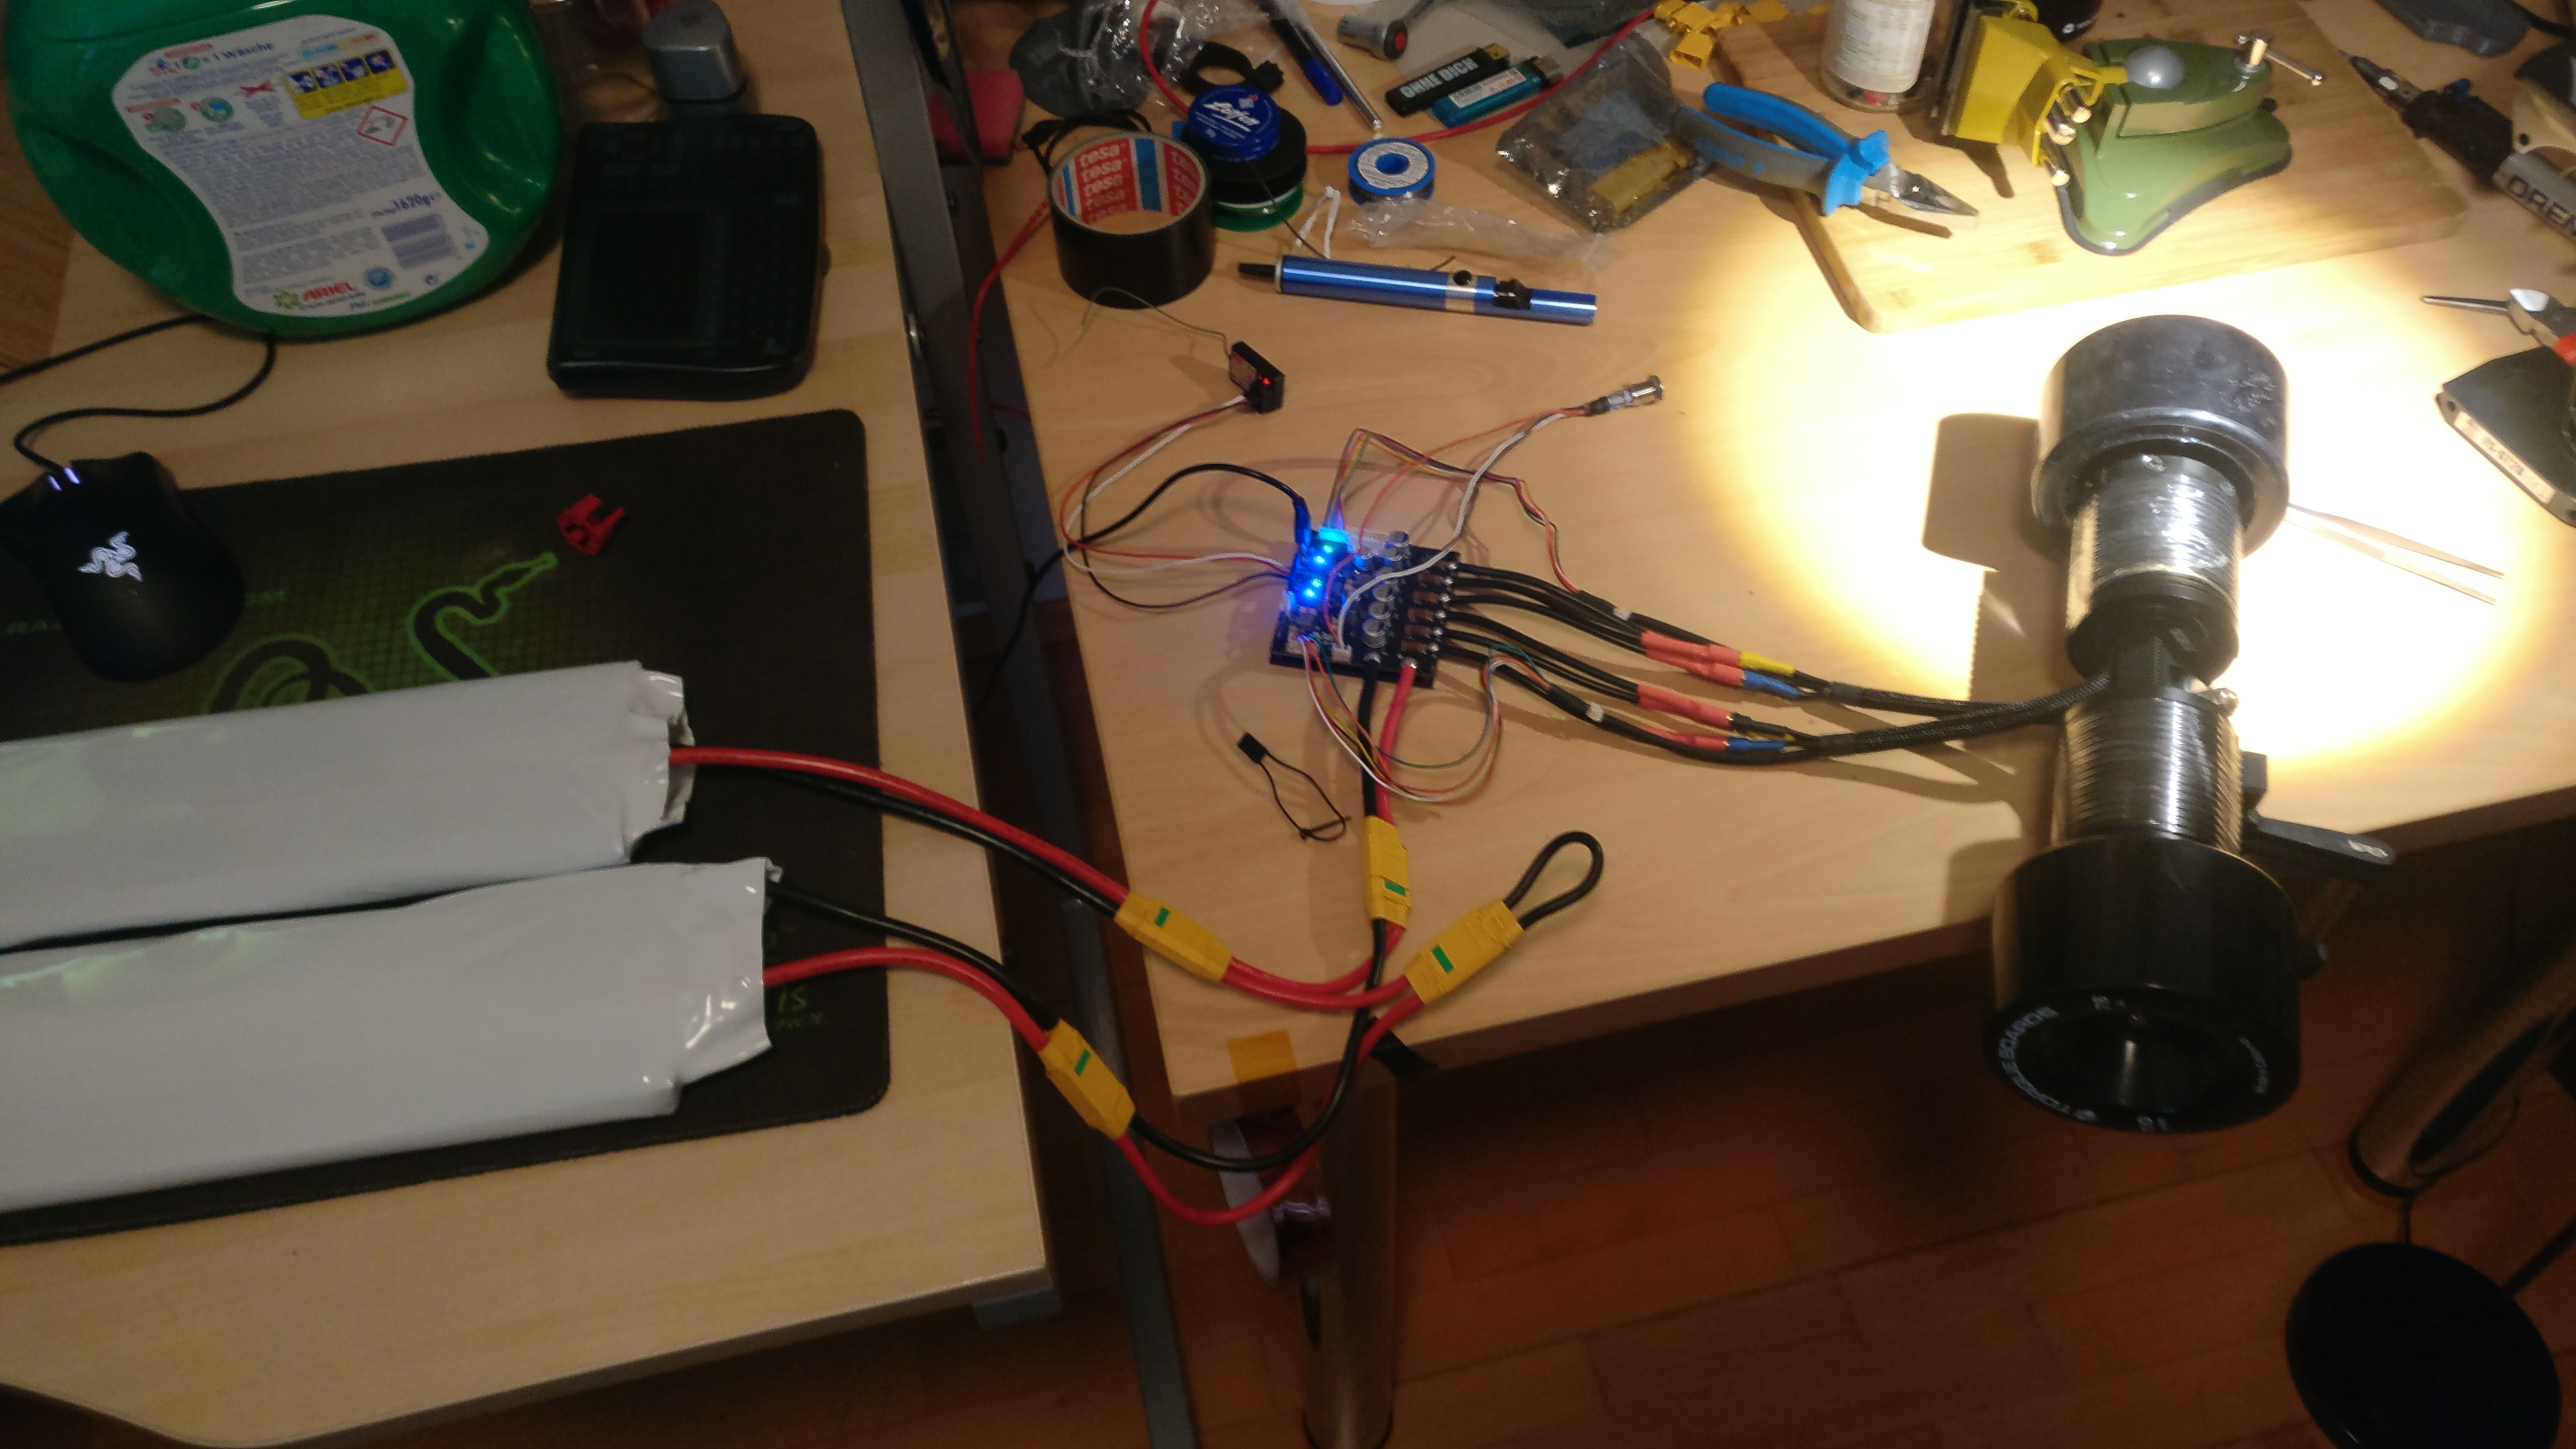
You can already see my hacky series connector with one loopkey and everything else. When the vesc connected and spun up the motors in the Wizard i woke up my son from his naptime (holy crap that was loud)… But hey stuff werks and spins.
Next was the deck (Which i would do first if i ever do another build)
The enclosure
In my first attempt i tried to cheap out on Material regarding the vacuum setup. I went with some big vacuum bags for clothes.

Underneath there were:
-
Thin plastic foil to get the stuff off the board
-
a wooden block that i measured to hold all the stuff for sure (also in some foil) siliconed onto the board to have no harsh corners
-
5 layers of epoxy and carbon fibre
-
Ripping layer
-
DIY bleeding layer from a plastc bag
-
paper towels
I ran into the following problems:
-
The bag was not sealing properly. I must have gotten some expoxy into the zipper
-
The corners had really nasty folds in them (my fault doing this for the first time). On the following tries i used a ton of gloves because i was fitting the carbon on after every layer plus after vacuuming -> helped a lot
-
The thing was so big i hab to mount it onto the side of the board
-
Way to big. Bad fit overall
The whole thing was not pleasant to look at but… Everything fit in and i was hungry for a testride

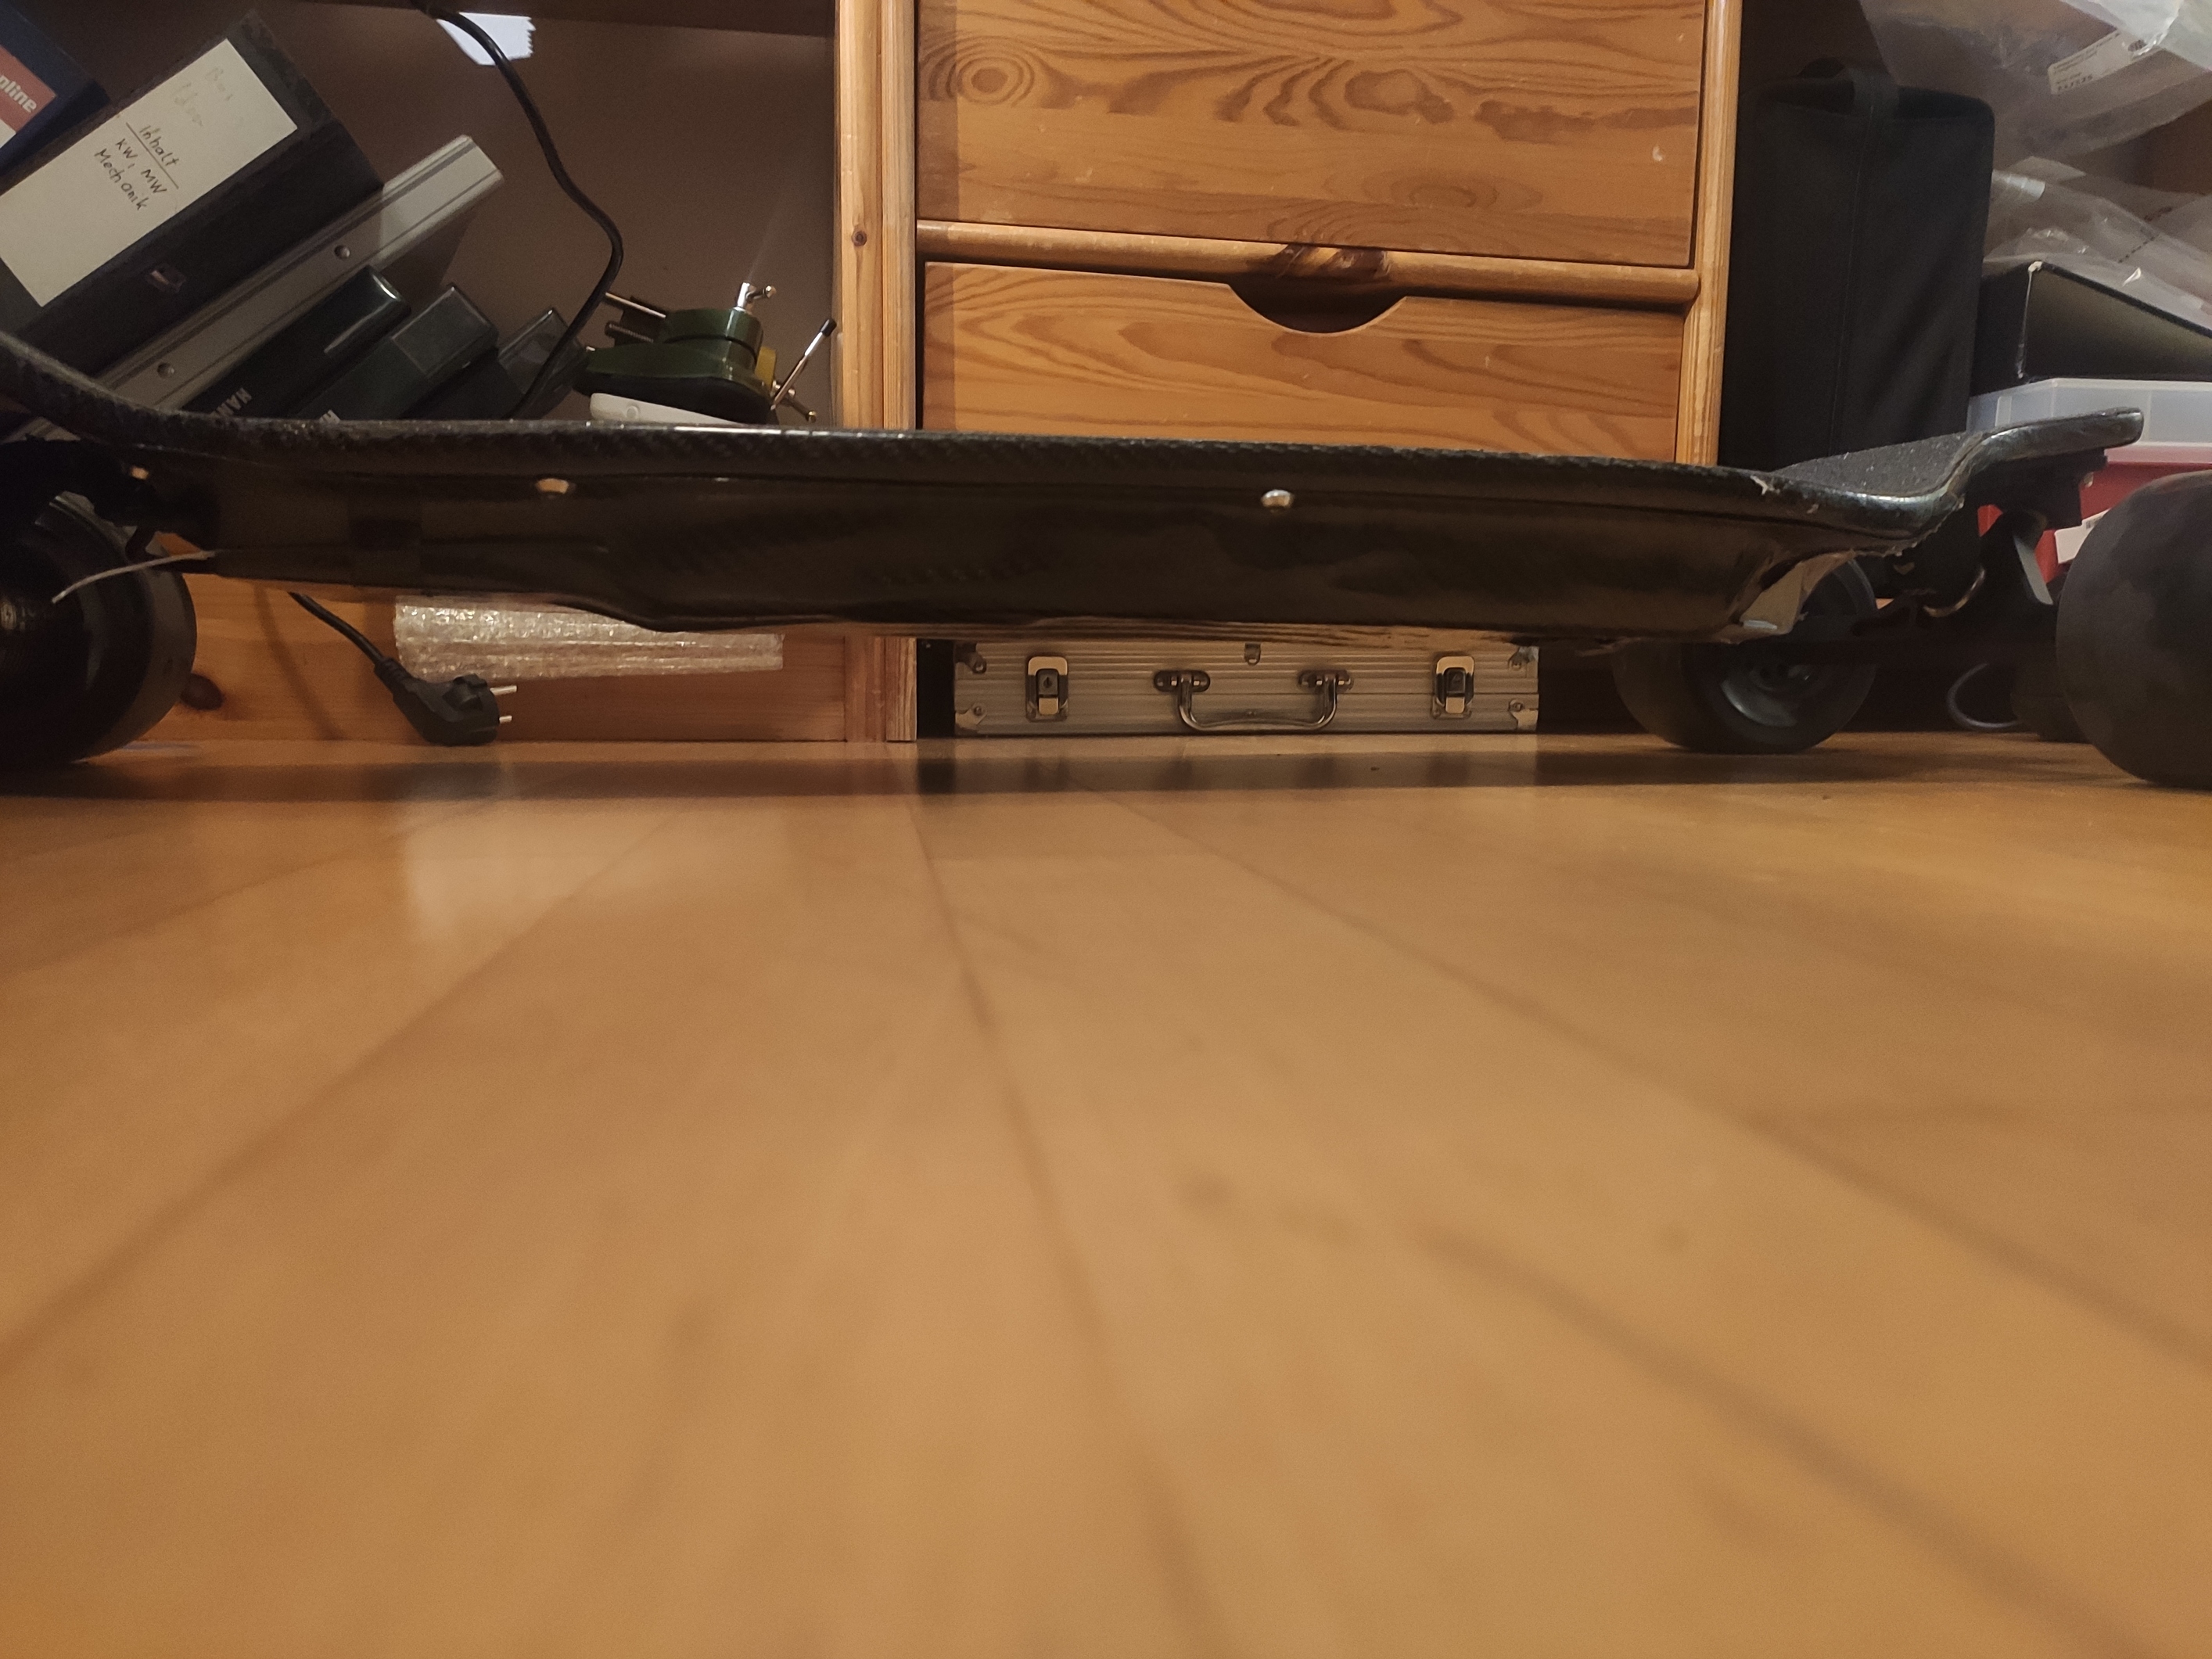
To avoid rattling of components i velcroed all i can and fixed the rest in with some foamsheets. As you can tell it barely cleared the ground in a curve. Floor clearing where maybe 3-4cm. (on pic without screws)
I had a friend coming over and on the way to the street we joked of it making maybe 5km/h… Stepping on and let her go at half/gas…Oh boy did it go. The tourque, the speed… it was amazing. In car terms this was riding like a sportscar. Exhausting and dangerous but so much fun. That feeling was the reason i was building it for. I did a couple of testdrives and figured out some stuff:
-
In terms of heat the motor are the bottleneck (ESC barely noticeable and batteries pretty much no change in temperature)
-
Topspeed? Yes
-
I want a better fitting enclosure, Also i dont want to take apart everything just to charge the thing
So back to it enclosure part 2
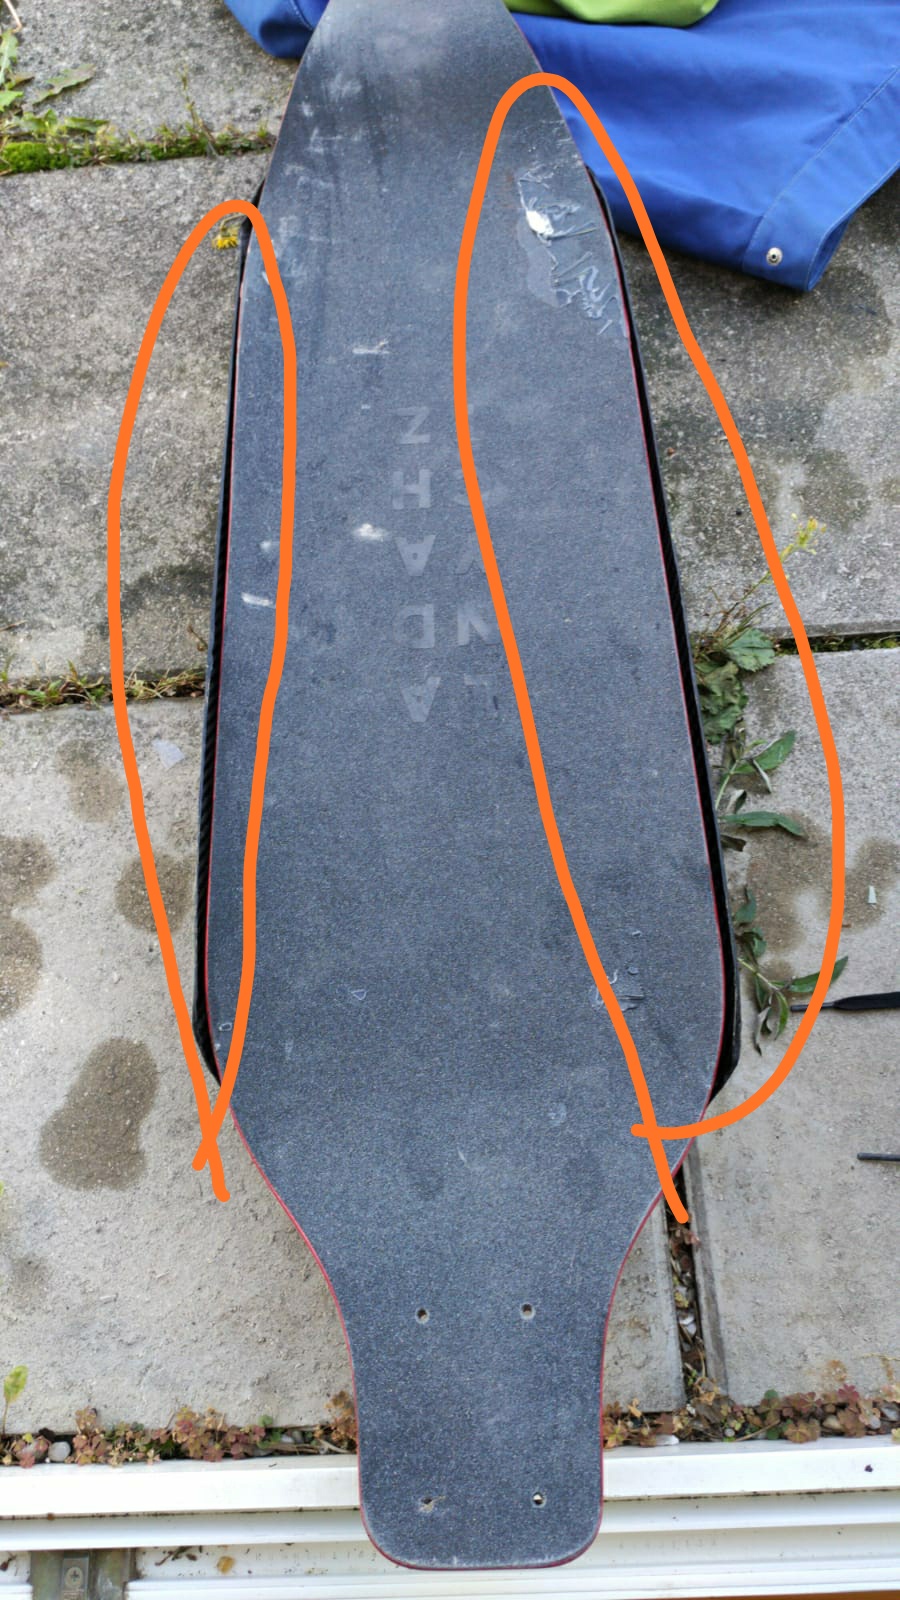
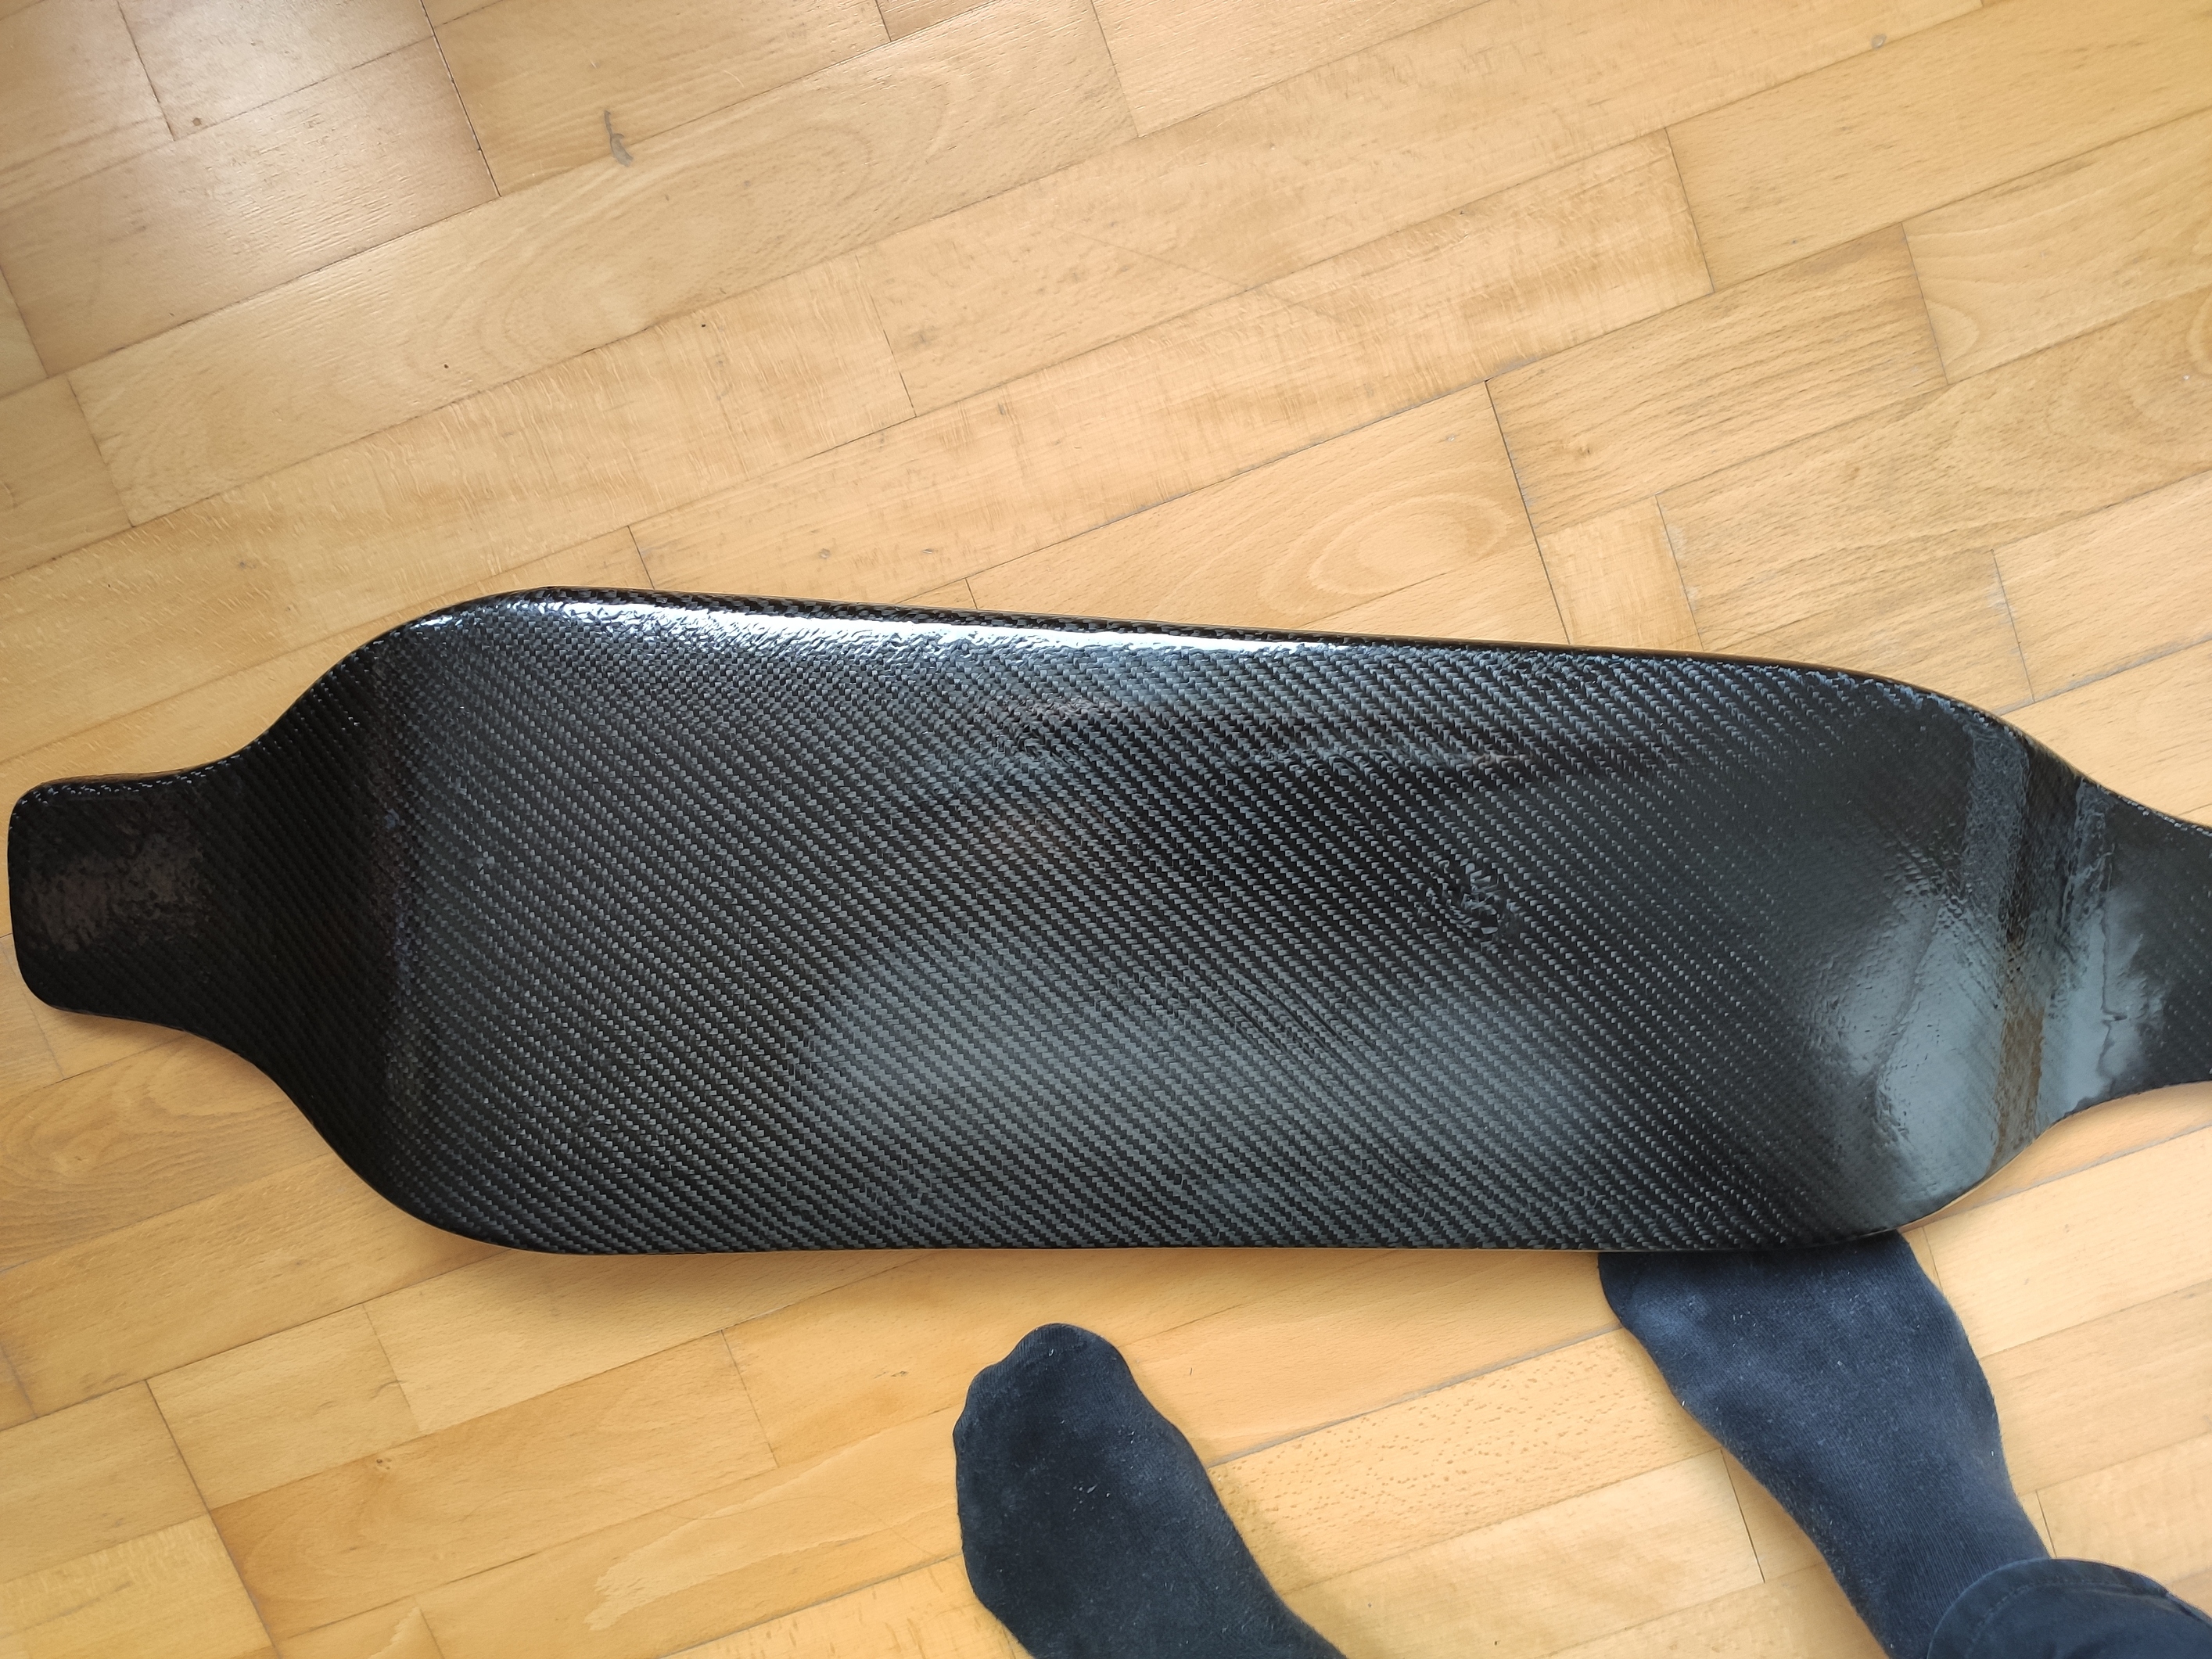
To make the board more attractive to look at i decided to cover the bottom and sides with one layer of carbon. Because the board is changing shape in two dimensions at the end and my lack of skills i got some folds in on the first try (part of it was the ripoff layer that seemed to pull off the carbon layerst when not cut precisely… Not giving up i sanded the edges and redid the board.

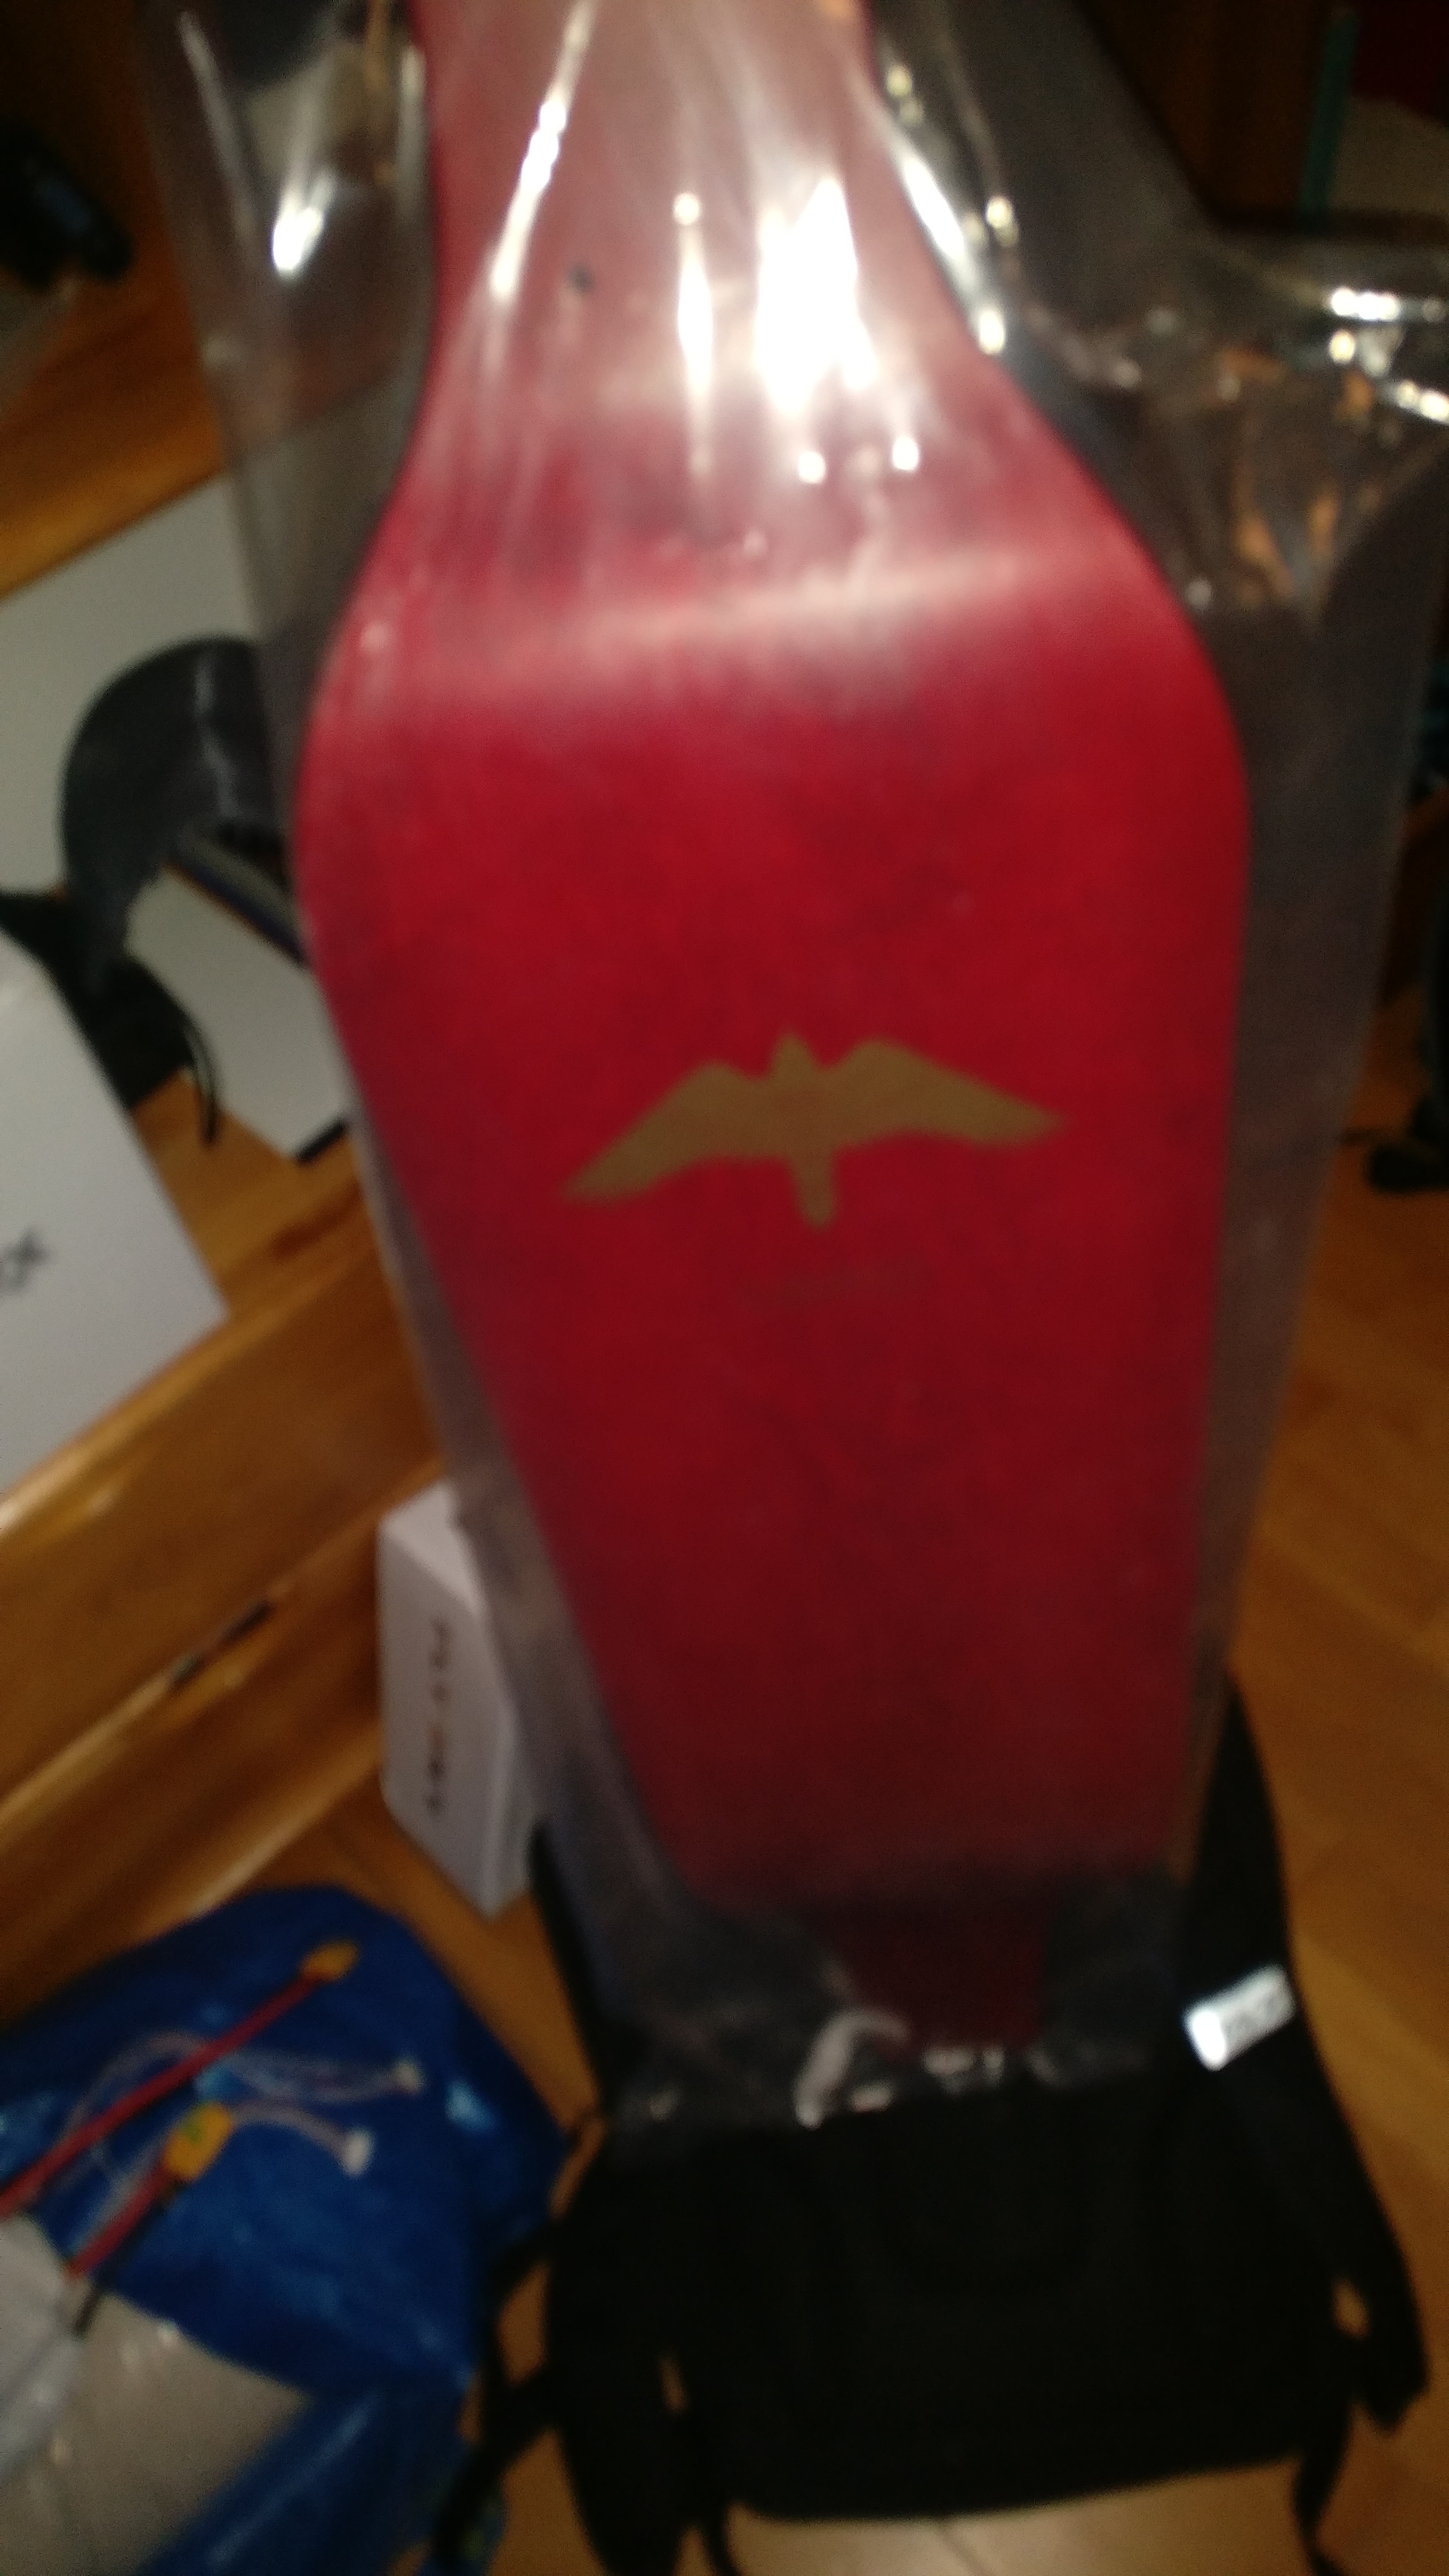
After drying, Sanding and a layer of Acryl paint i got quite a nice result. (except the twistet part on the right side)
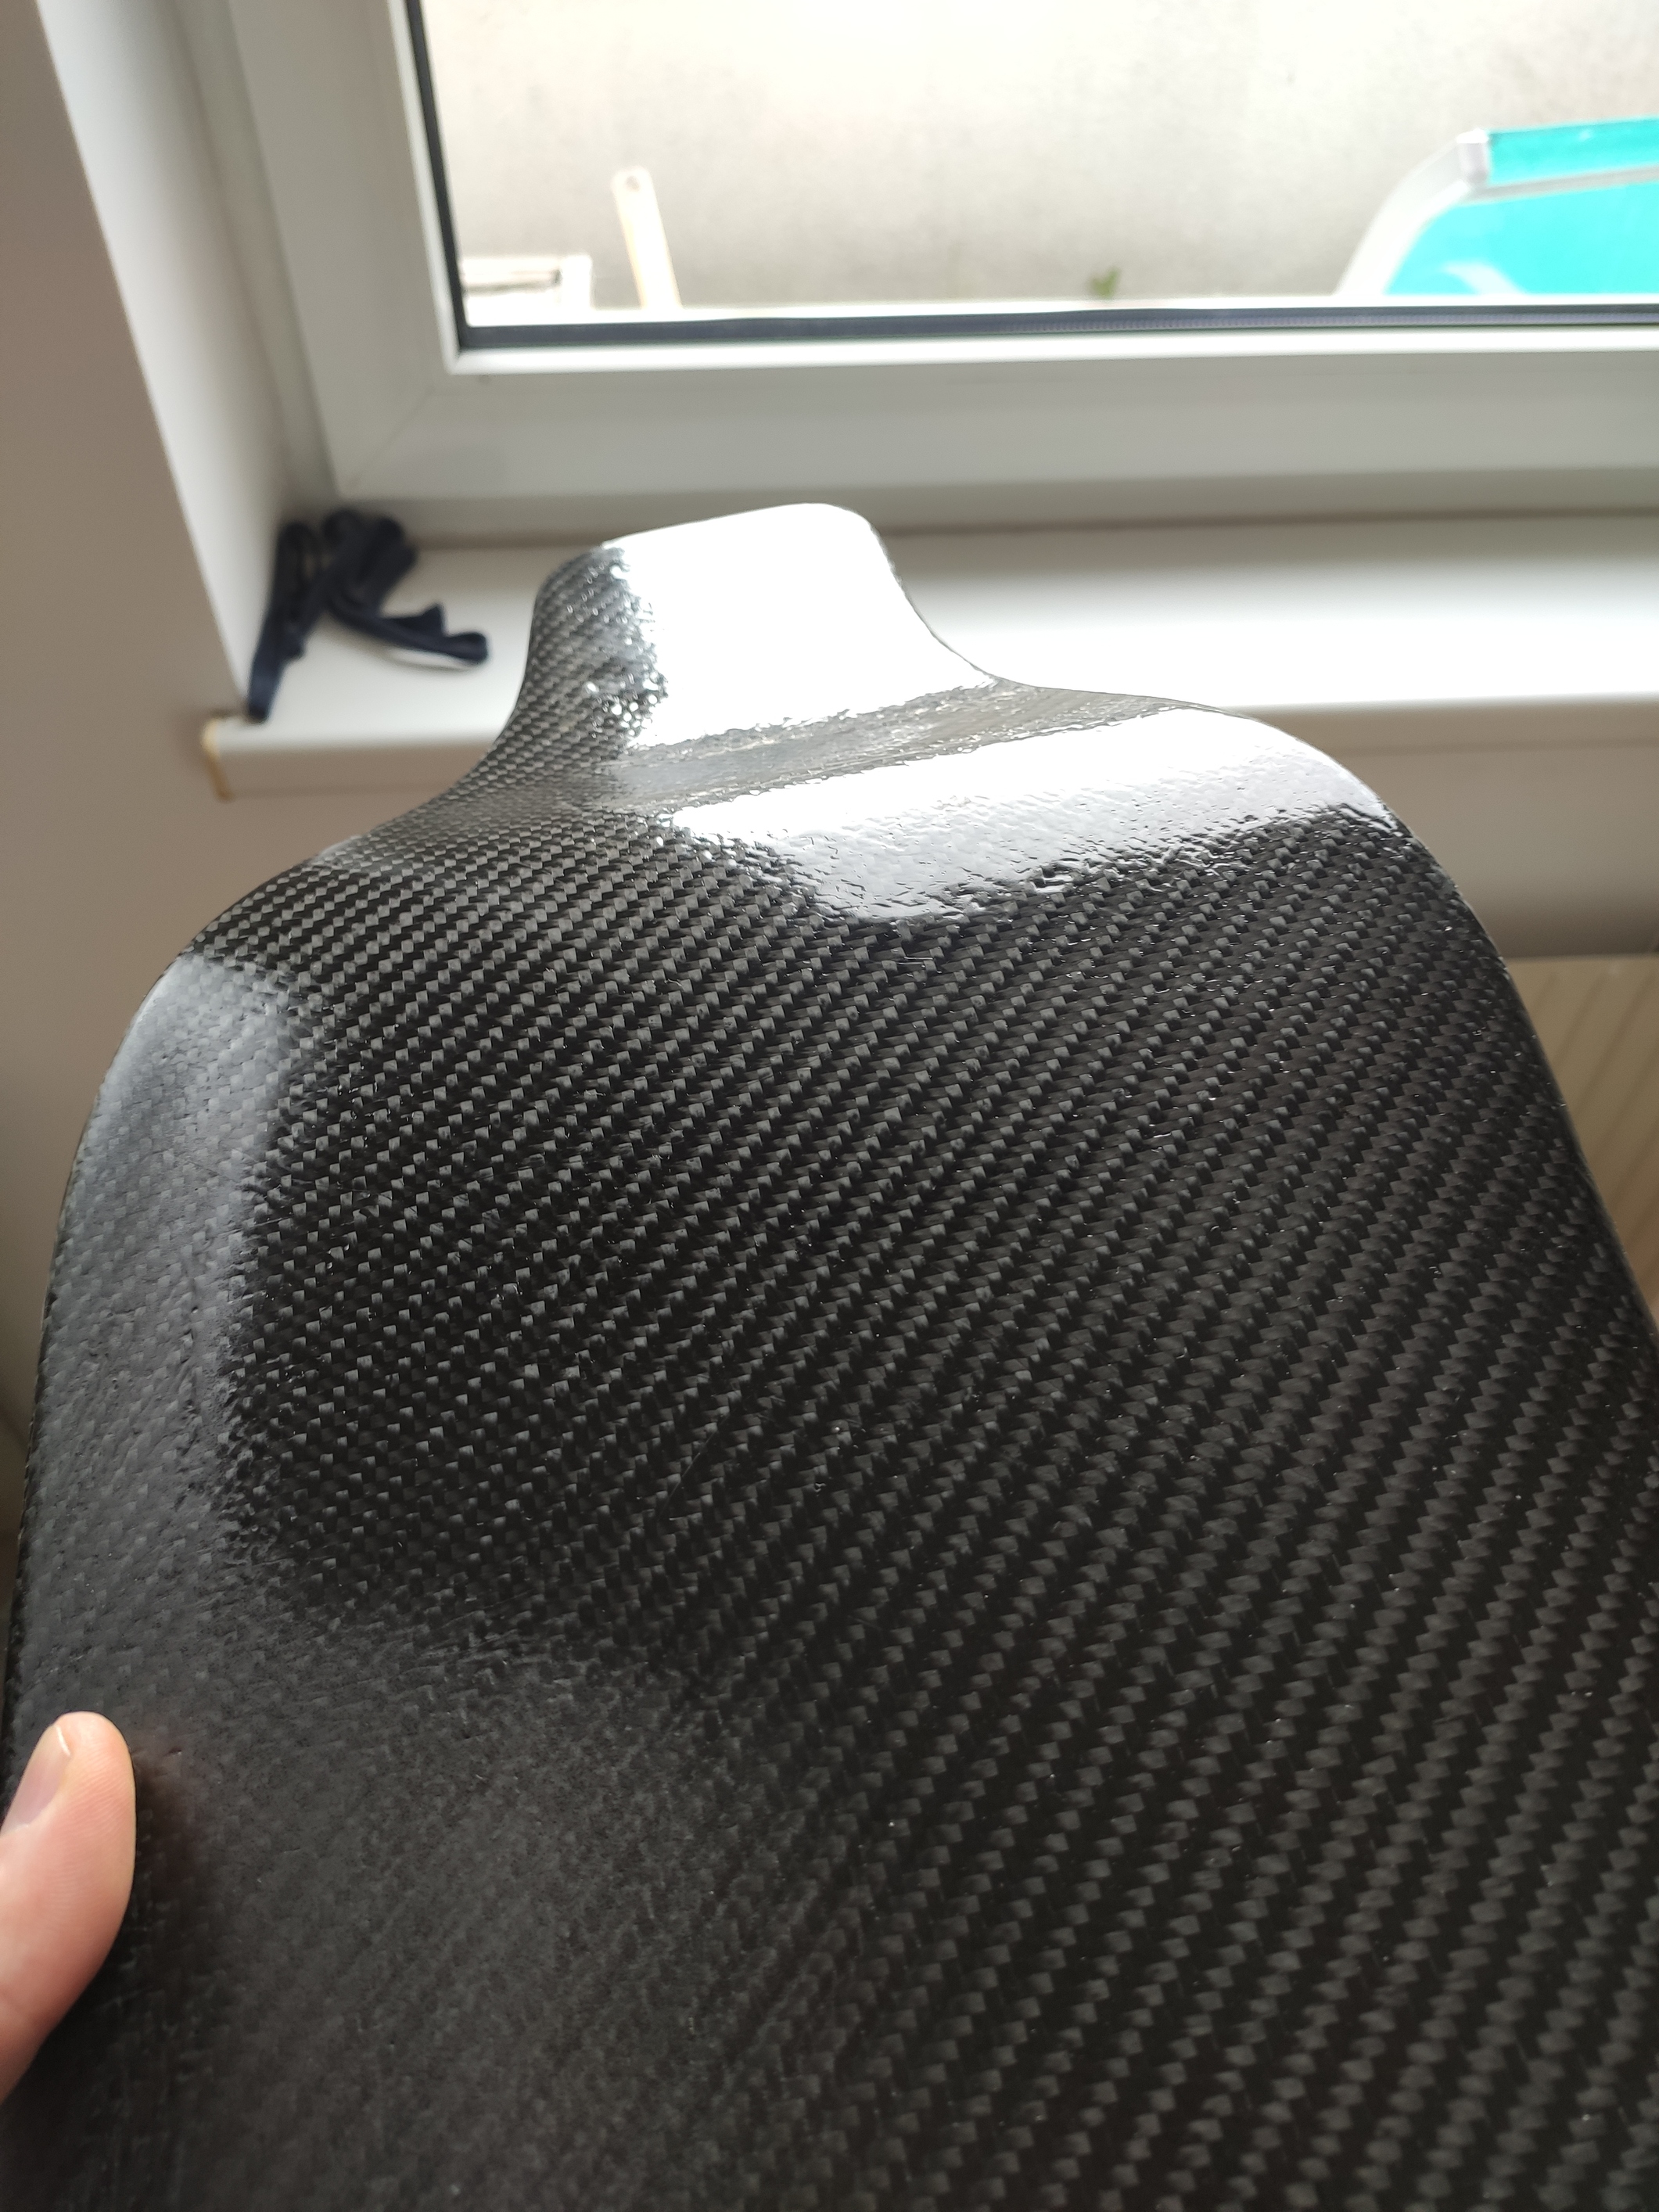
As it was already quite cold outside i got a milky spot during drying, but that would be covered by the enclosure. Good enough for me at that point.
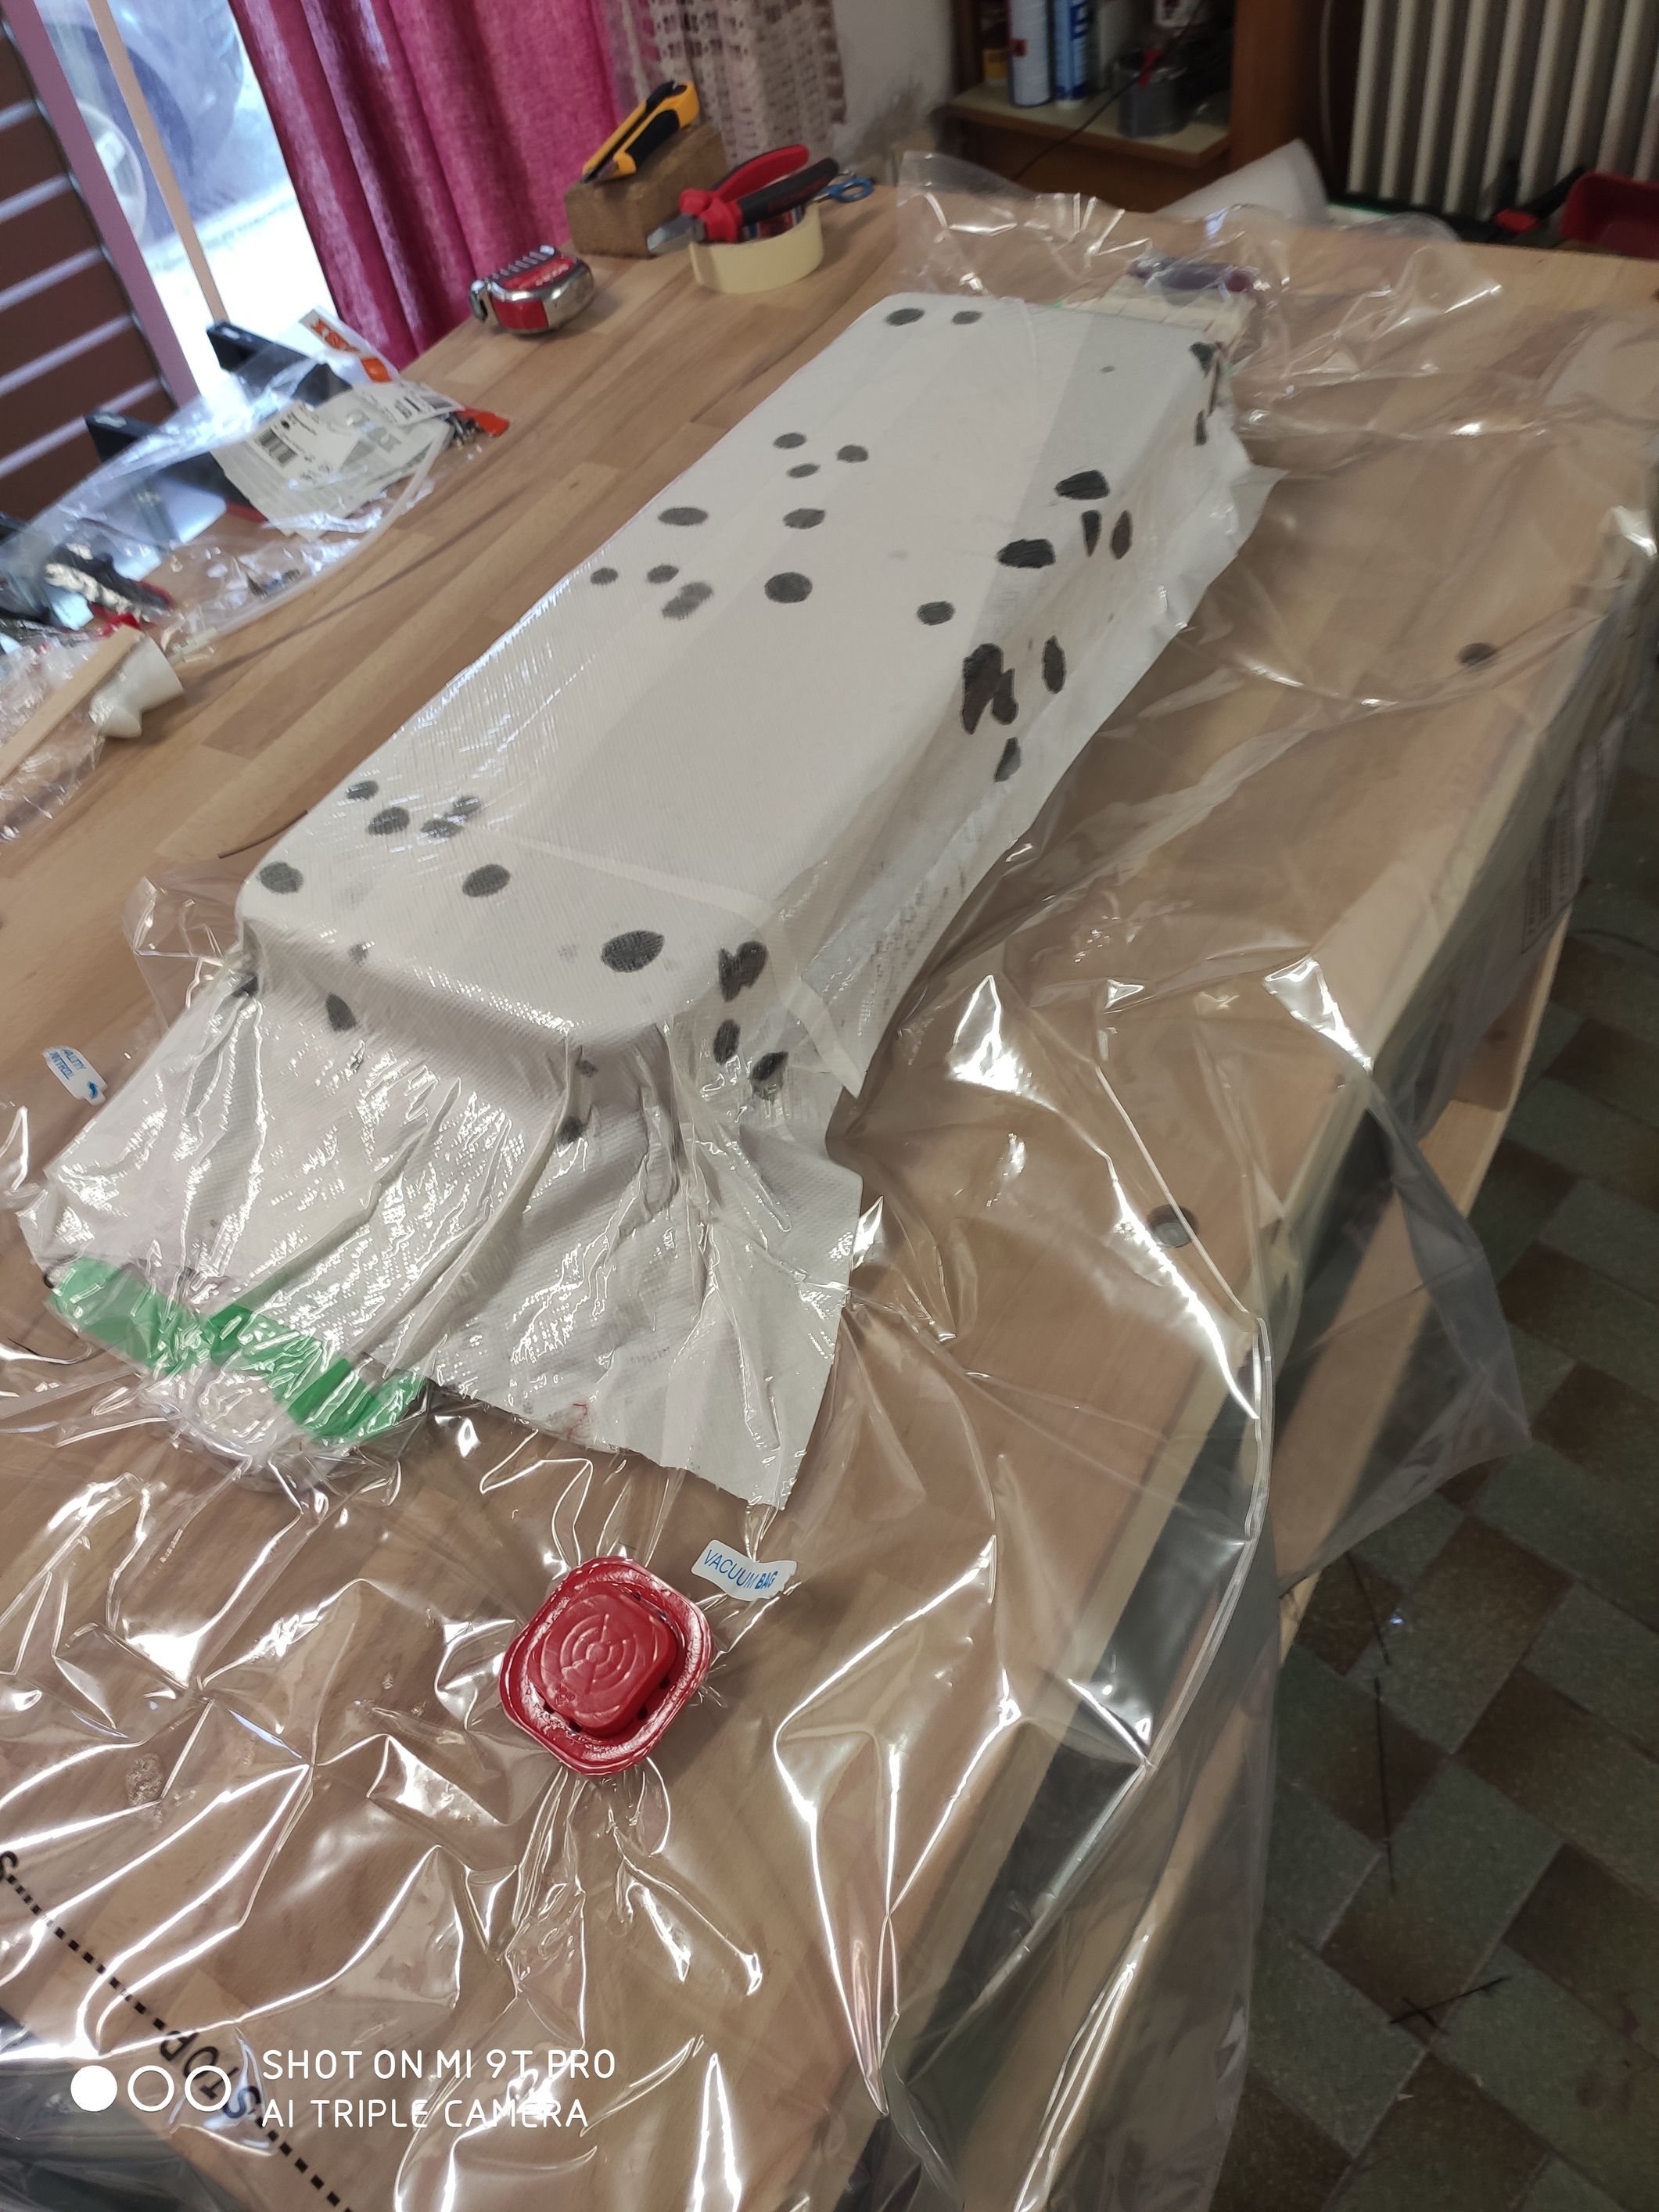
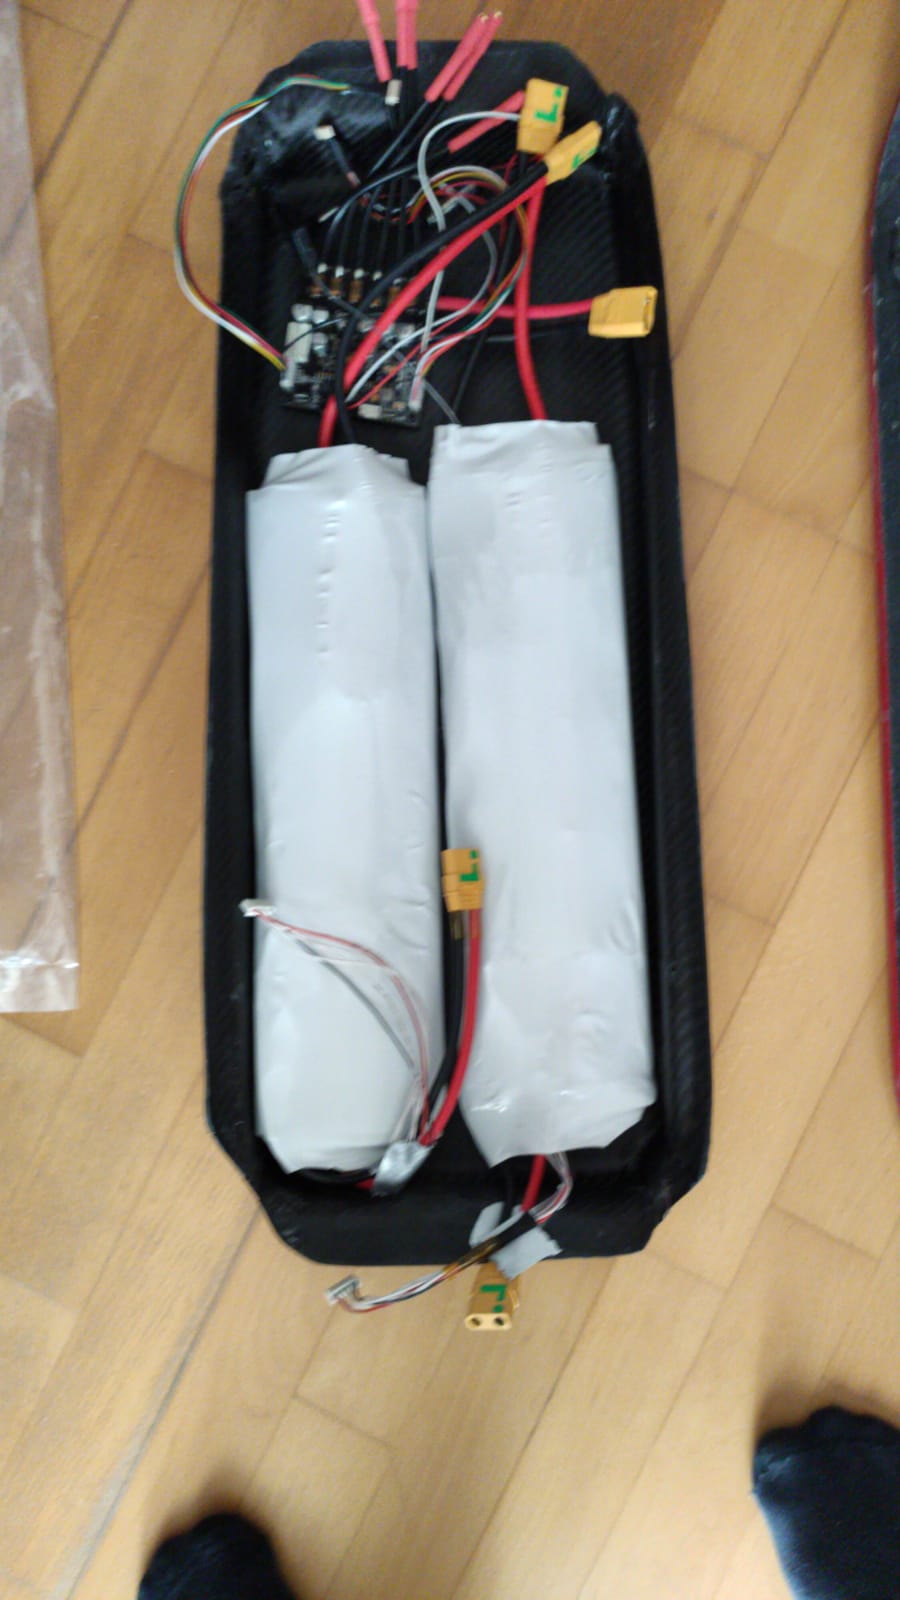
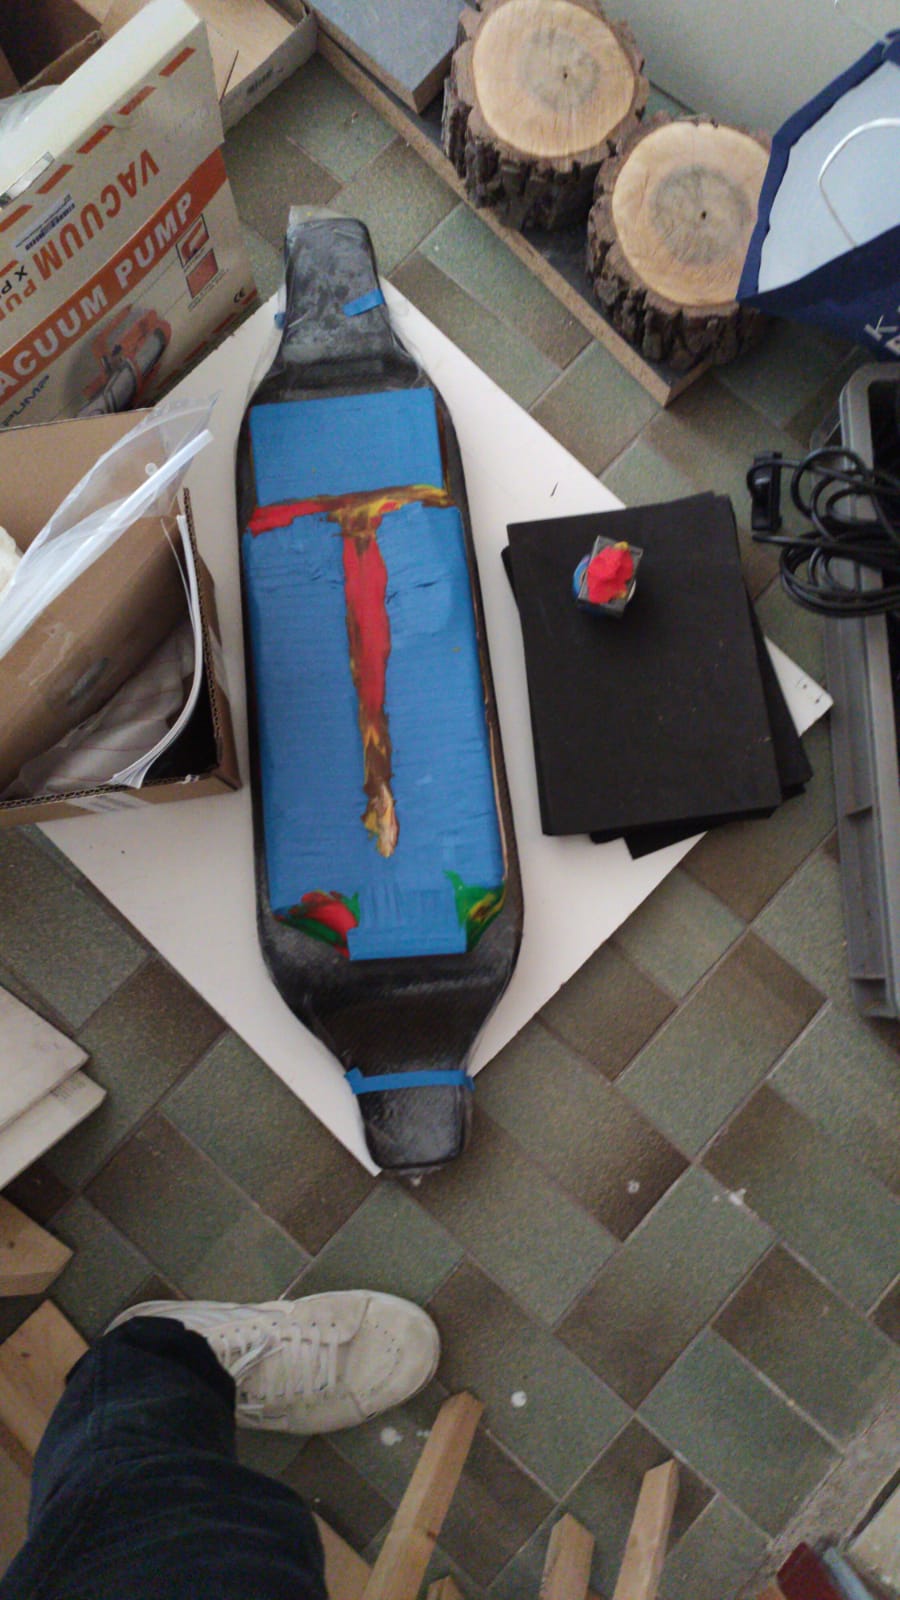
The enclosure itself had to get thinner. Like batteries barely fitting in thinner. The second agenda was to make it possible to mount it from the bottom alone. I shortened the cables quite a bit, wrapped everything in tape and laminated/vacuumed the batteries with some wooden spaceholders for the esc into four layers of carbon.
Prep work with a lot of putty.
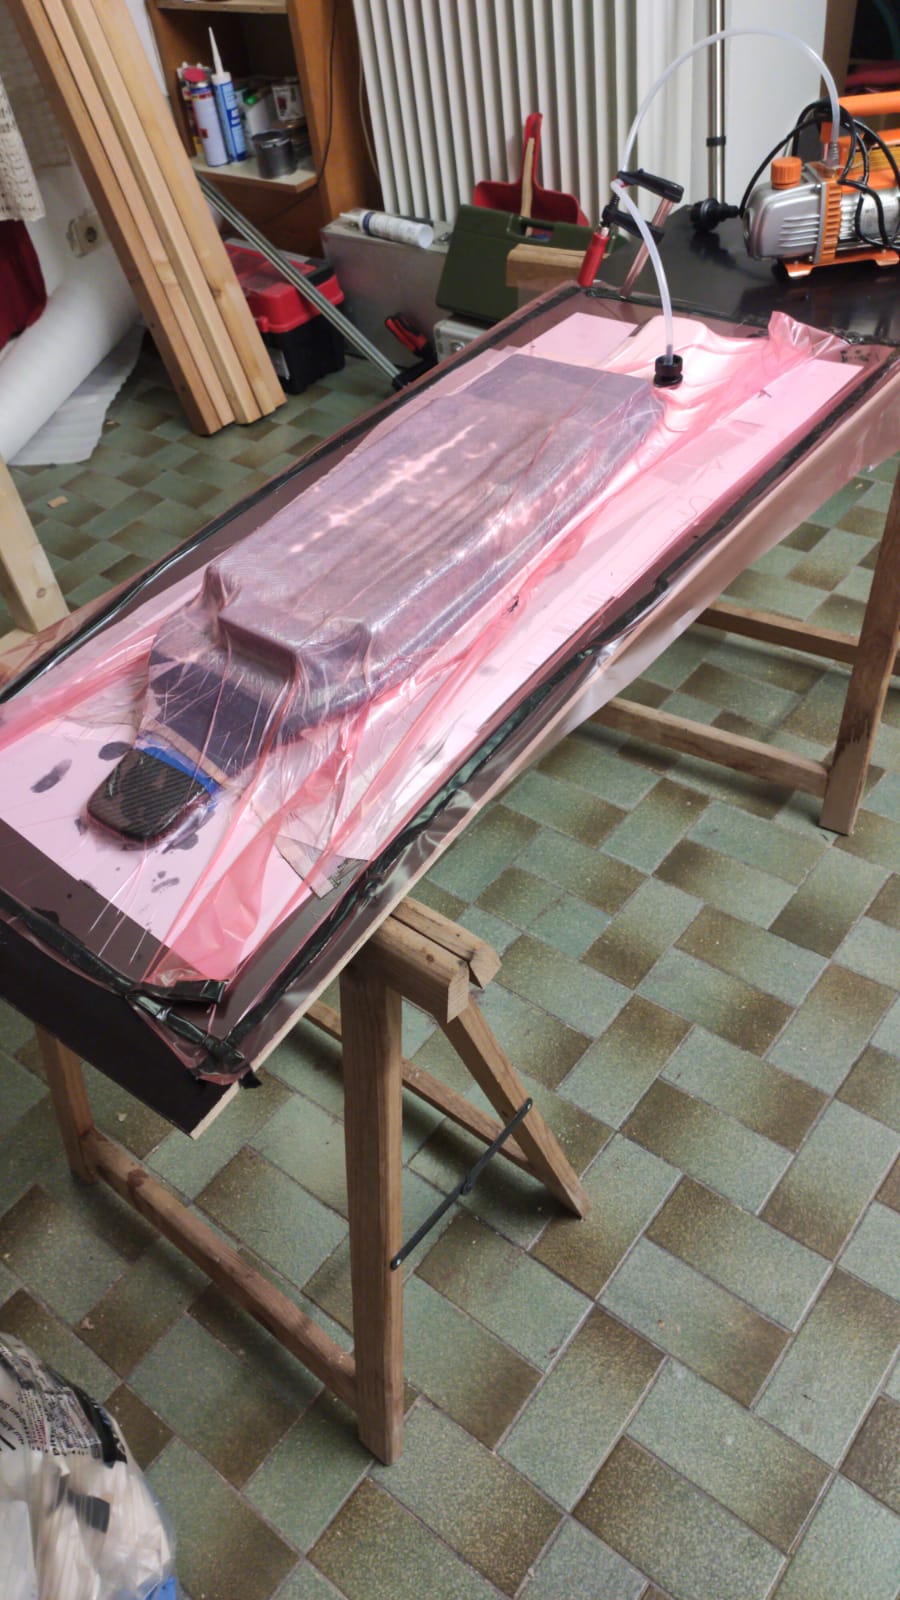
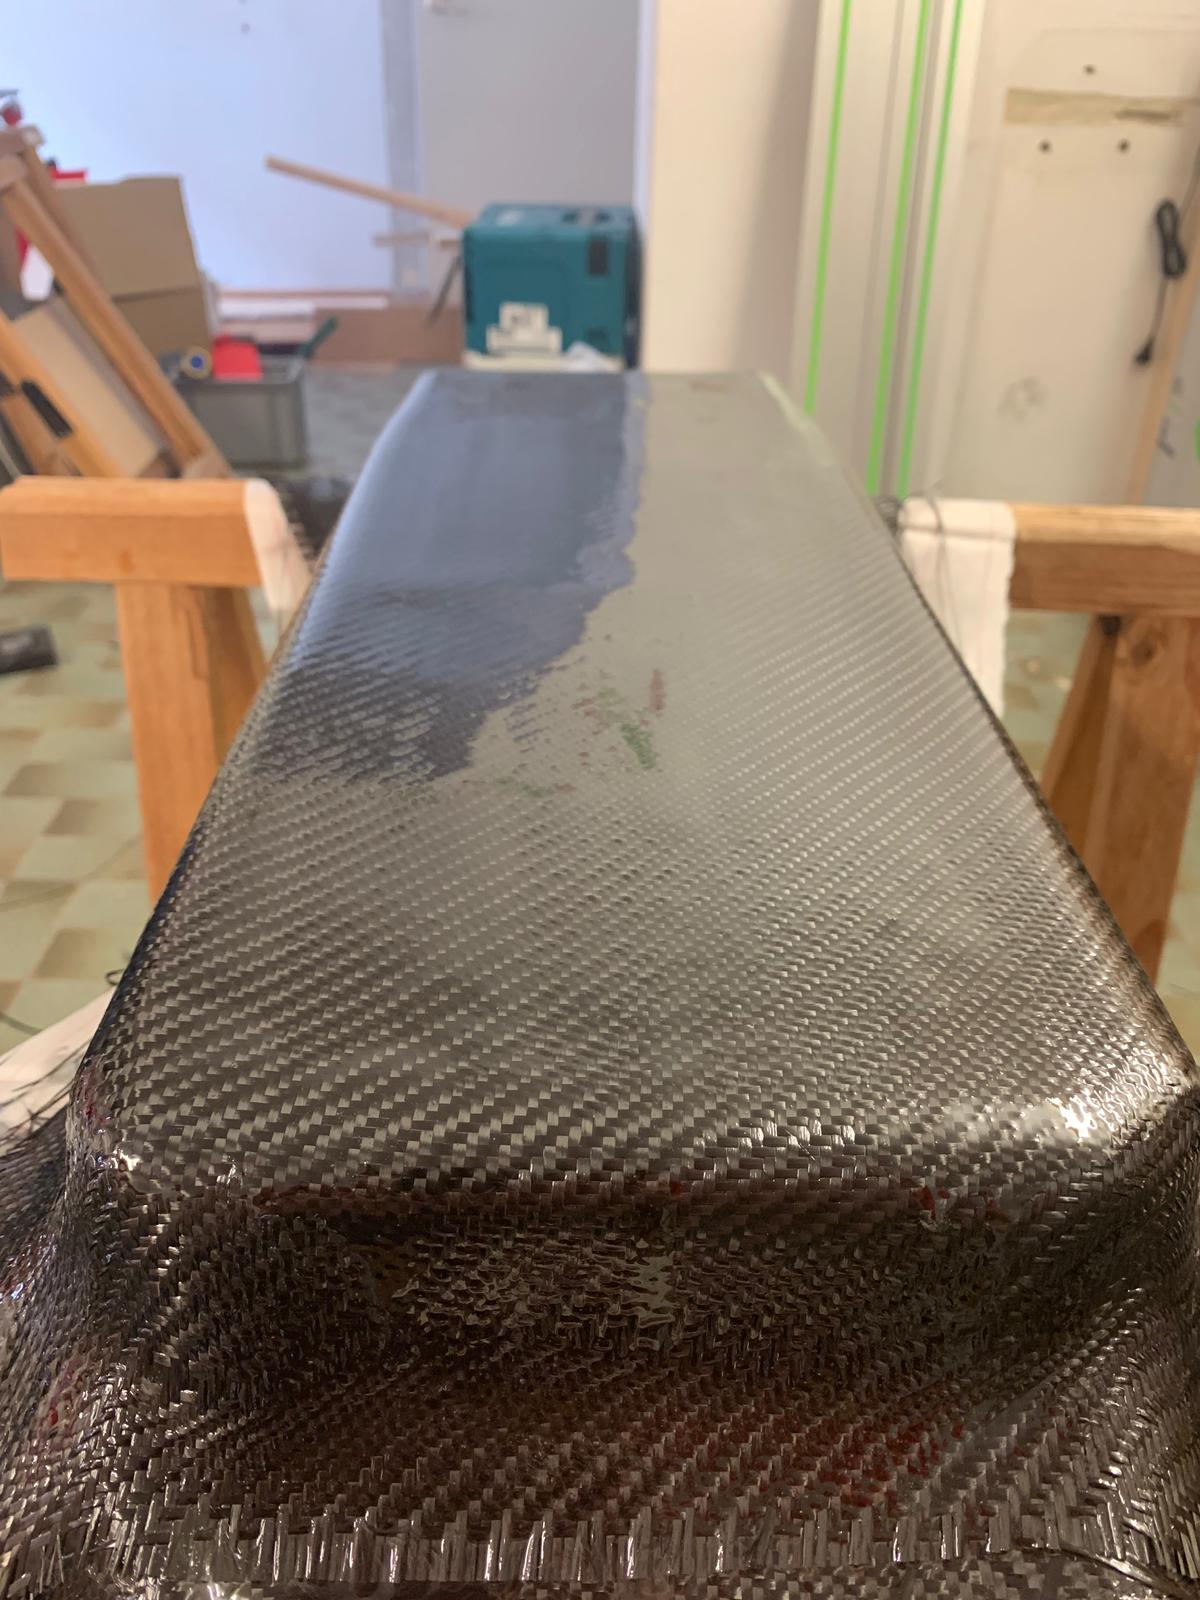
Laminating/Vacuuming onto a board from one side with a proper ̶p̶̶e̶̶n̶̶i̶̶s̶ vacuum
pump. The board bent quite a bit (as expected). The atmospheric pressure even showed the individual calls and some cable loops  Bad for optics, but at least good for space.

The painting did not go too smoothly. I got some bubbles in attempt to dry it quicker with a self build heateroven (which is one of the reasons i might redo it)
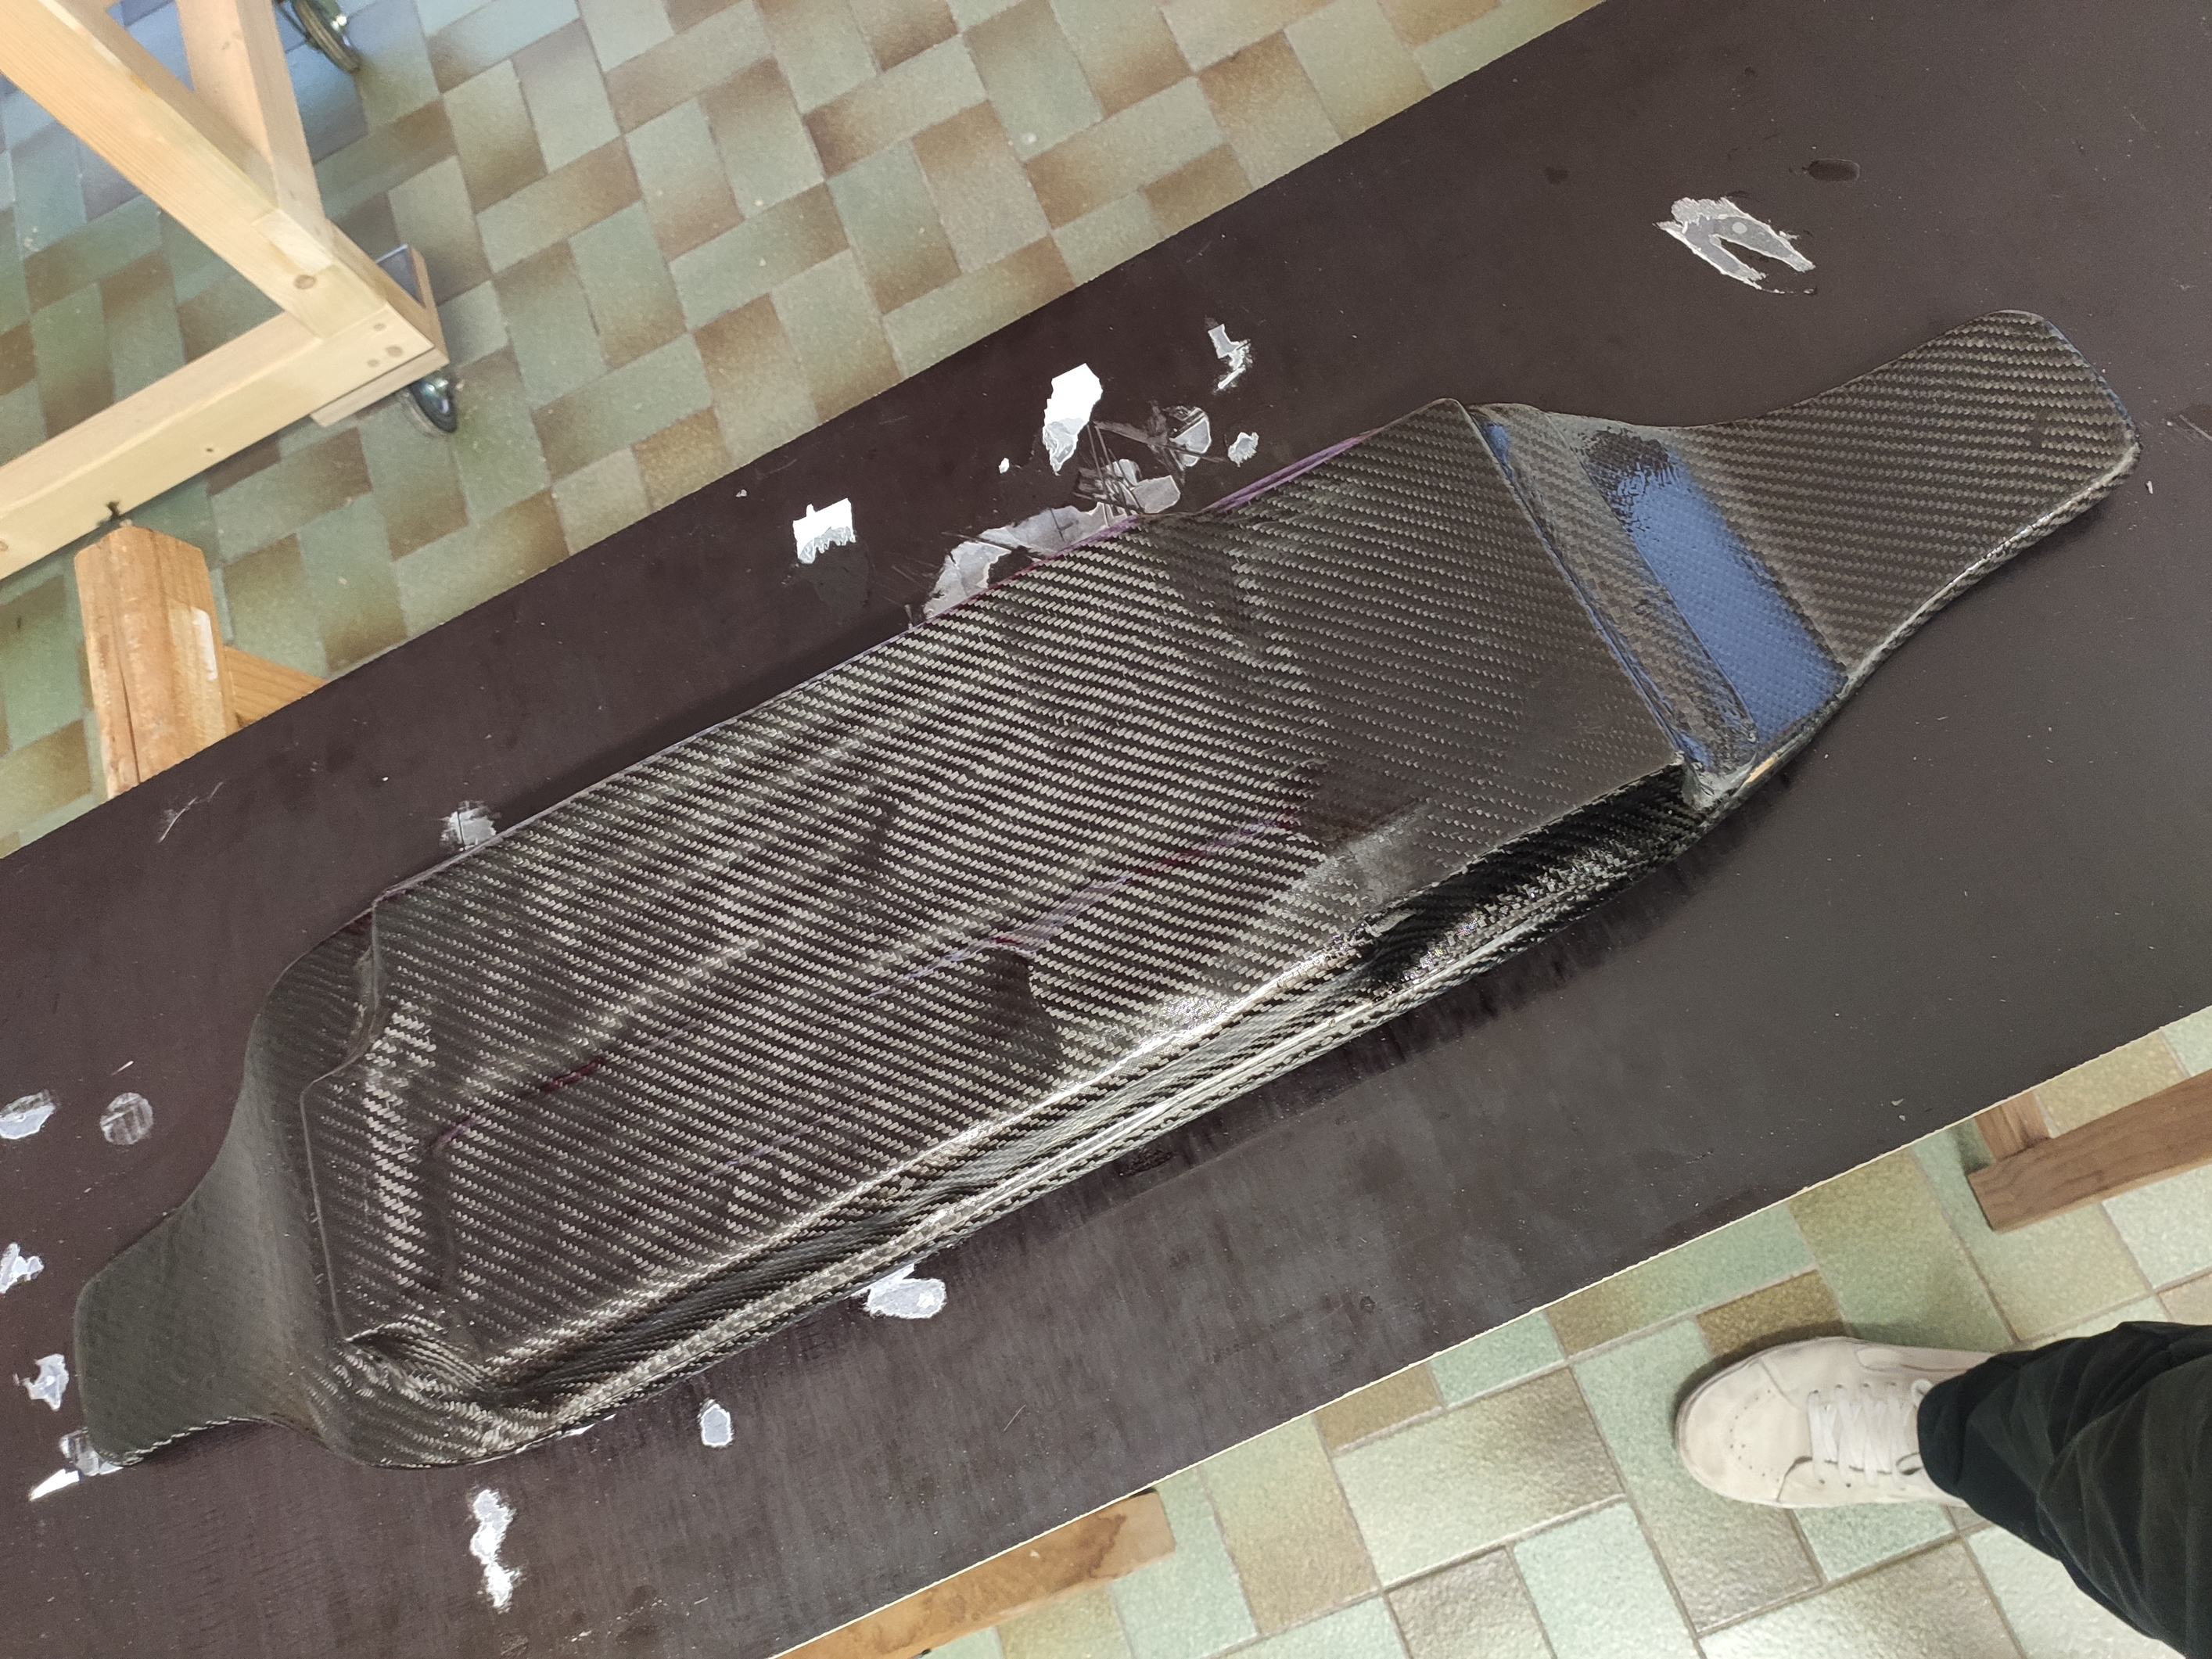
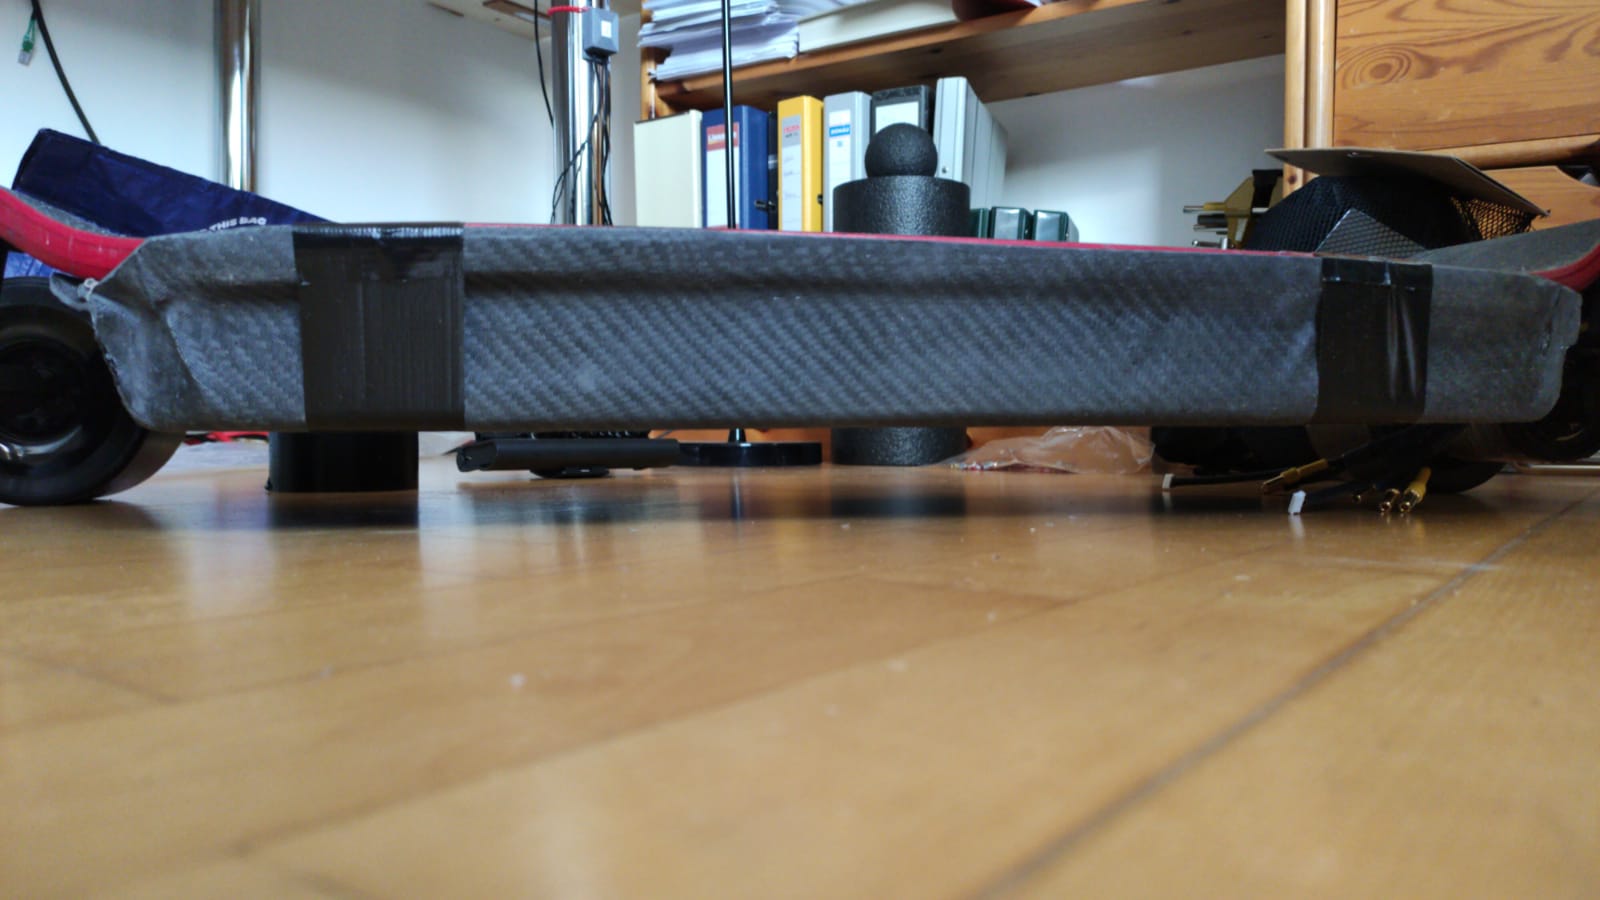
Compared with the old one:
Compared with the old one it has godly clearence now: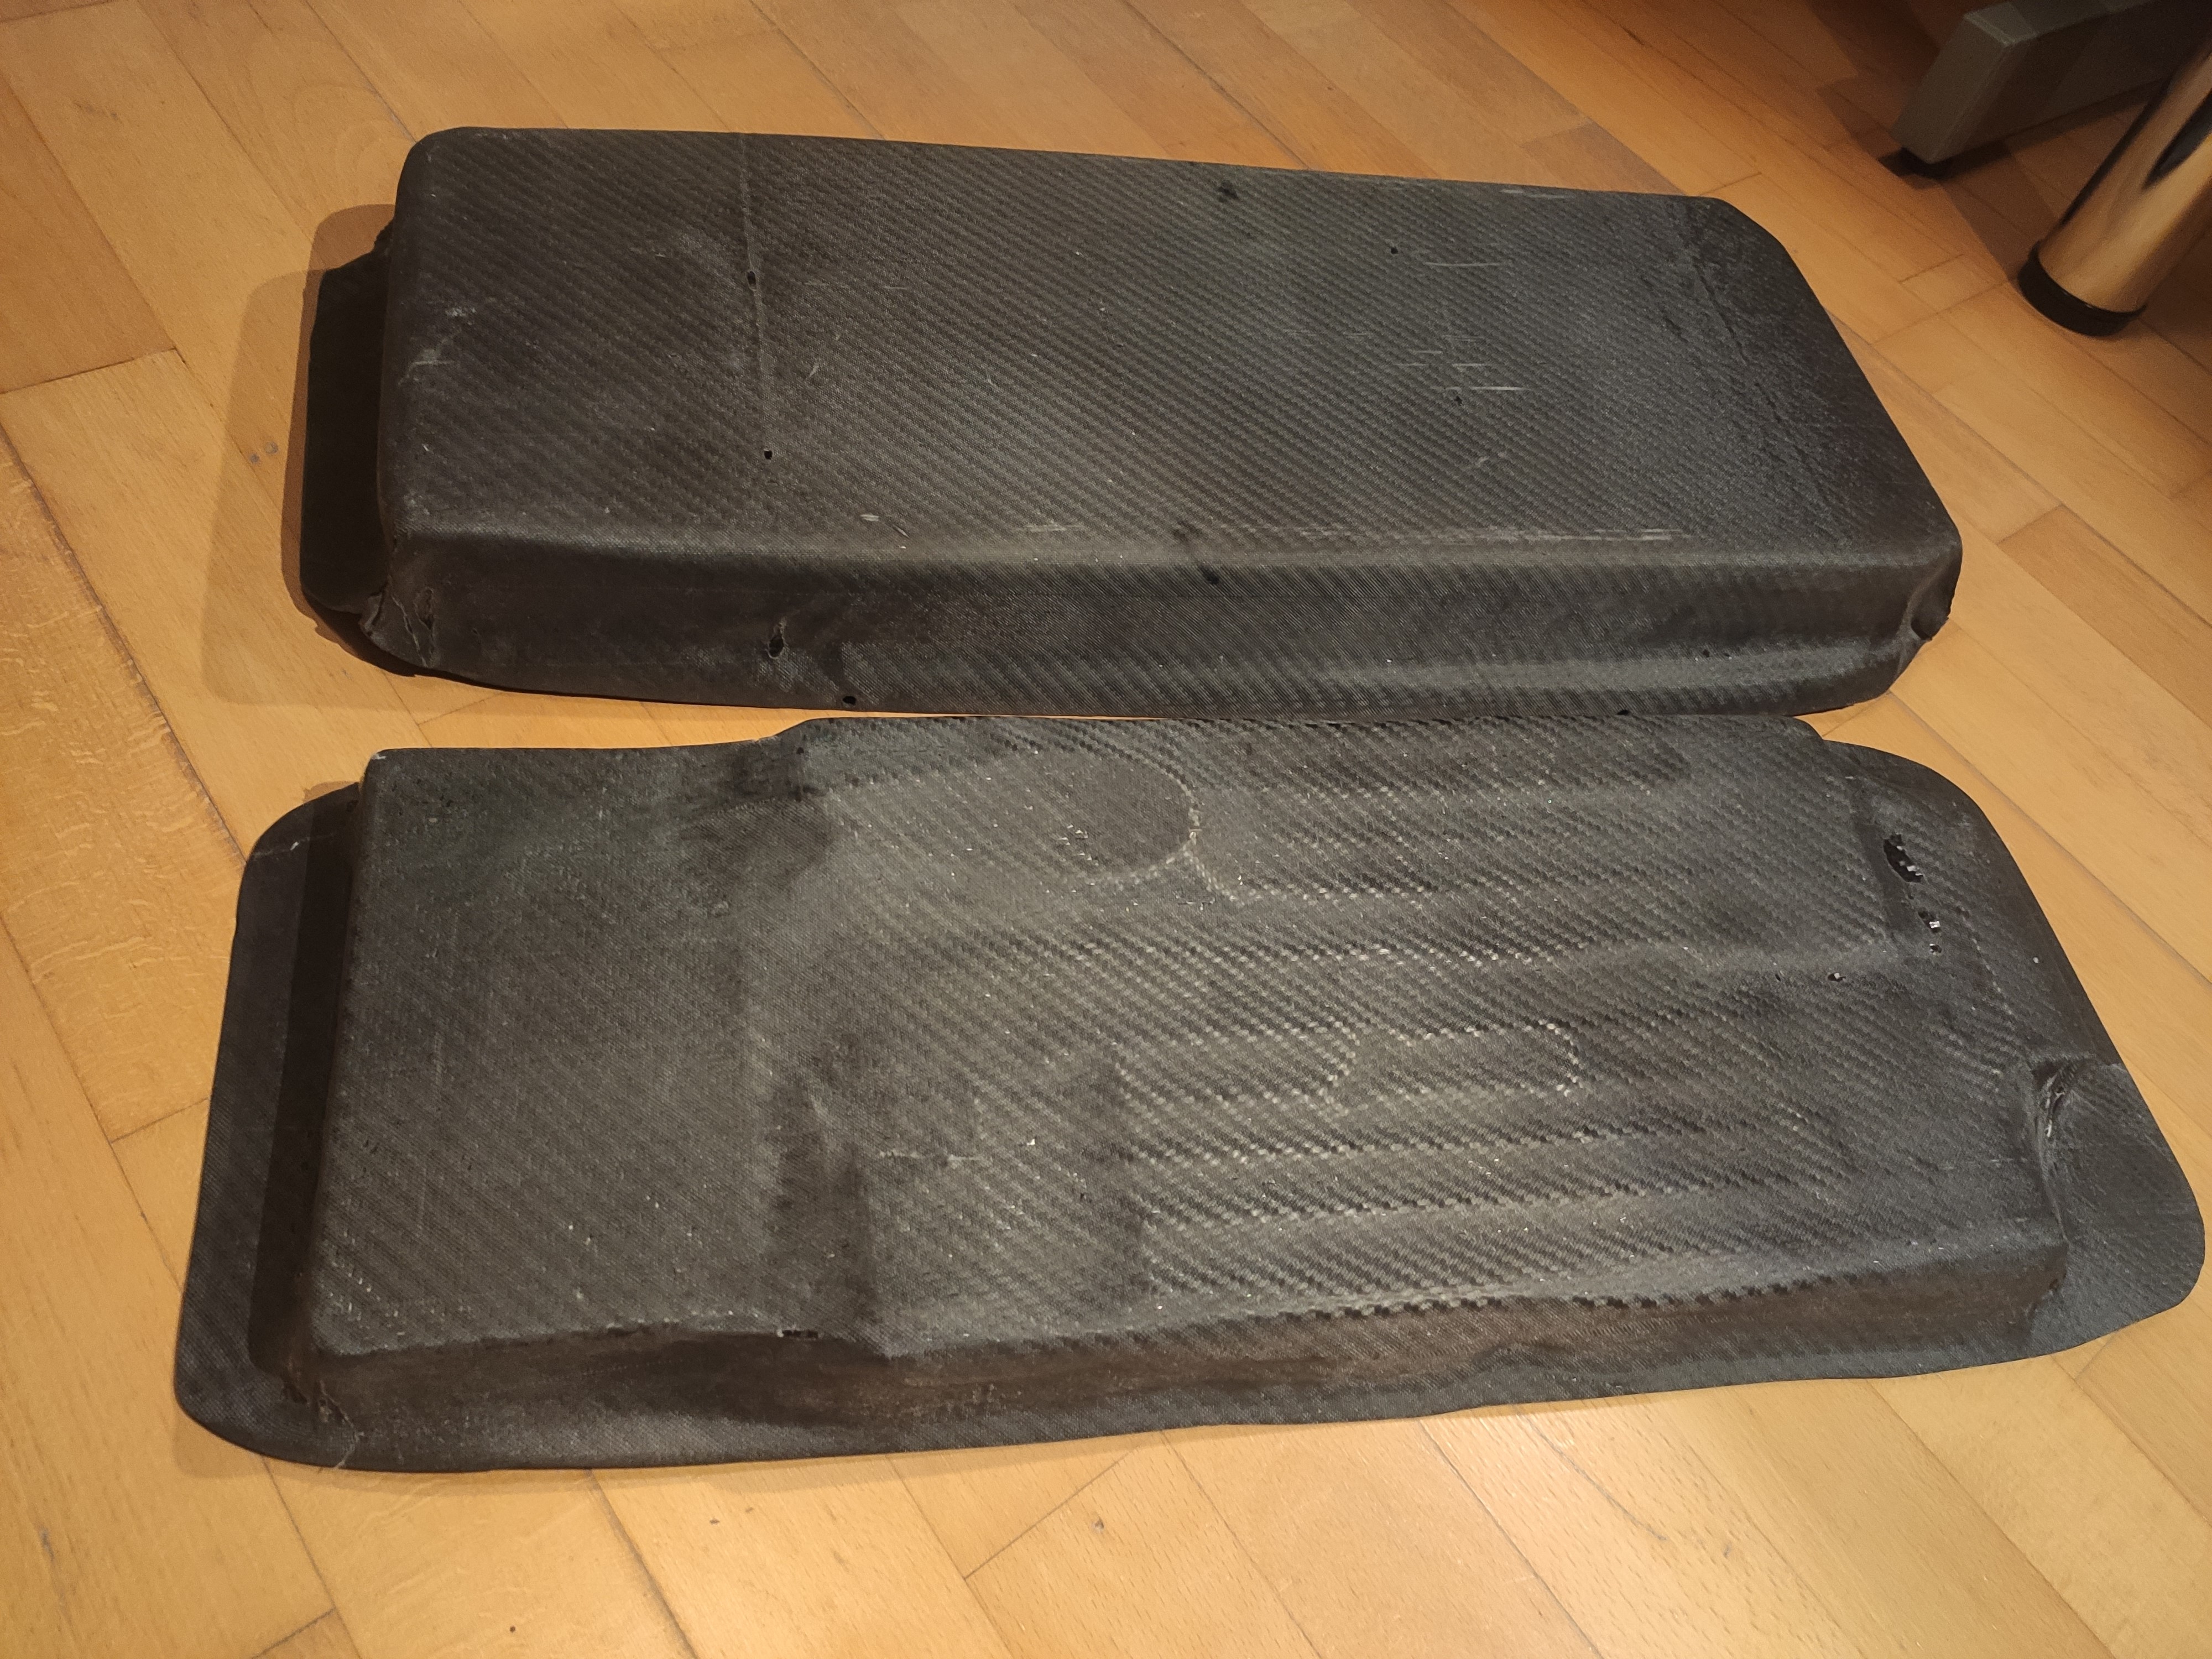
For the plugs i printed eome adapers on my 3d printer to hold everything in place and make it safe for a lot of plug/unplugging the loopkeys and chargers.


The cables are a mess, but especially the short 8AWGs of the esc are hard to do properly.
The remote also got a sparkling makeover:

This is the current state of my little monster. I ran into some problems since then:
-
Random dissconnects from the remote. I rereouted the reviever cable in the enclosure away from a current cable. That seemed to have done the trick.
-
GPS measured top speed was 47km/h. This is already bonkers fast, but according to my math the wheels should spin with around (90kV Motor, 37V, 110mm Wheels) 80km/h (no load). Not to be greedy but i thought it would do over 50 at least. I guess this has something to do with the VESC. The realtime data shows something between 110 and 120km/h without load. (which cant be right). The obvious settings like wheel diameter, direct drive and so on should be ok. I suspect the motor poles not being the assumed 14. Does someone know more than me here? How do i get the most speed out of my vesc? If its not easy please point me in the right direction to read up on it.
Well… That was it for the most part. Roast me gently and ask if you want to know something in more detail.