Not another Vanguard | First build | Single 6374 | FocBox | 30Q 10S2P | Ownboard enclosures |

Hi there! This here is my first esk8 build. Actually it’s my first esk8, longboard, skateboard or any other board ever.

20180909_145915_2

Somehow I got the idea that I really do need an esk8 and since I really like DIY stuff why not make it myself. After watching so many videos on Youtube and finally ending at Skatemetric’s Foosted build there was no going back.

I started the thinking process by reading this forum a lot. I mean a lot. After some weeks I decided what parts to purchase and placed the orders. I really wasn’t on a budget but didn’t want to spend too much money on something I didn’t even know if I was able to ride, let alone enjoy.

I’m from EU (Finland) so I tried to get as many of the parts as possible locally. Here are the main components I chose:

Biggest thanks to Frederic @e.board_solutions for answering so many of my questions and providing a custom battery for the Ownboard metal enclosure. Yes I know I could’ve just bought an Ownboard battery but I didn’t want to.

Total cost was almost exactly 1100€.

Ok, now some pictures.

The battery came unwrapped and with a “loose” BMS since I asked so. I wasn’t sure how the BMS was going to fit so I wanted to be able to move it if necessary. The battery itself was very nicely built. Test fitted it in the enclosure, wrapped with kapton tape and heat shrink and siliconed to place.

20180903_200739 20180903_201131 20180904_152833 20180904_154605 20180906_17473120180906_175355

Also drilled some holes for the main battery wires as you can see. Next was the DIY antispark switch. I’ve never soldered any small surface-mounted components before, but hey first time for everything. Worked out great but wouldn’t do it again. A proper soldering station and solder is definitely required if you consider this!

20180903_201532 20180903_220102

I used XT60s instead of XT90s. I ended up removing the fuse holder and re-positioning it with some 12 AWG wire.

Because of the metal enclosures I was worried about the connection between remote and receiver. I decided to mount the receiver outside of the enclosure so I designed and 3D printed a part for that. This bolts down on the side of the enclosure and also houses the power button.

20180904_180045 20180904_181806 20180904_191042

I added some silicone between the printed part and metal case so it’ll be a bitch to remove but should keep dust and water away to some extend. I also printed something to guide the phase wires from the enclosure to motor. In the picture below you can also see the relocated fuse holder.

20180906_175811

I had to enlarge the mounting holes on the ESC enclosure since they were smaller than on the battery enclosure. Weird. Used wood inserts and M5 bolts to secure the enclosures to the deck. All drilling was of course done before fitting the electronics.

Then it was just a question of putting everything together. I have no clue how @gmurad managed to fit two Focbox’s there. I was having trouble with only one! I used zip ties and heat shrink for strain relief for all electrical connections. Also padded the battery in place with foam.

20180906_201018 20180906_213153 20180907_191536 20180907_191517

Lastly wrapped the motor wires with spiral cable wrap for protection and voilà!

20180908_121306 20180908_121758

If you wonder why the motor is all scratched up it’s because the Focbox decided to disconnected from the computer while doing the calibration for the remote. At least I think this is what happened. Anyway the motor started spinning like crazy without being mounted on anything. Luckily it didn’t break anything while doing so, just gave me a heart attack flying through the room. Speaking of the VESC tool I set the motor amps +50 & -50 and battery amps +35 & -12.

So after five evenings of building the damn thing it was time for maiden voyage. At 9 in the evening I drove to a close by skate track and had such a blast learning to ride the board! Fell in love immediately. After some hours of training on parking lots, today I dared to go for a 10 km run in the city. So glad I built this board.

20180907_204605 20180908_181444

Also today I added a carrying handle from an old backpack. Helps a lot moving the board around.

20180909_140058 20180909_145226

I was a little worried if single motor setup was the option to go but for the moment I don’t regret that decision at all. I don’t have the guts to go even close to a full throttle acceleration yet. Also it pushes me up the hills no problem.

Let me end this post with some thoughts for (possible) future upgrades:

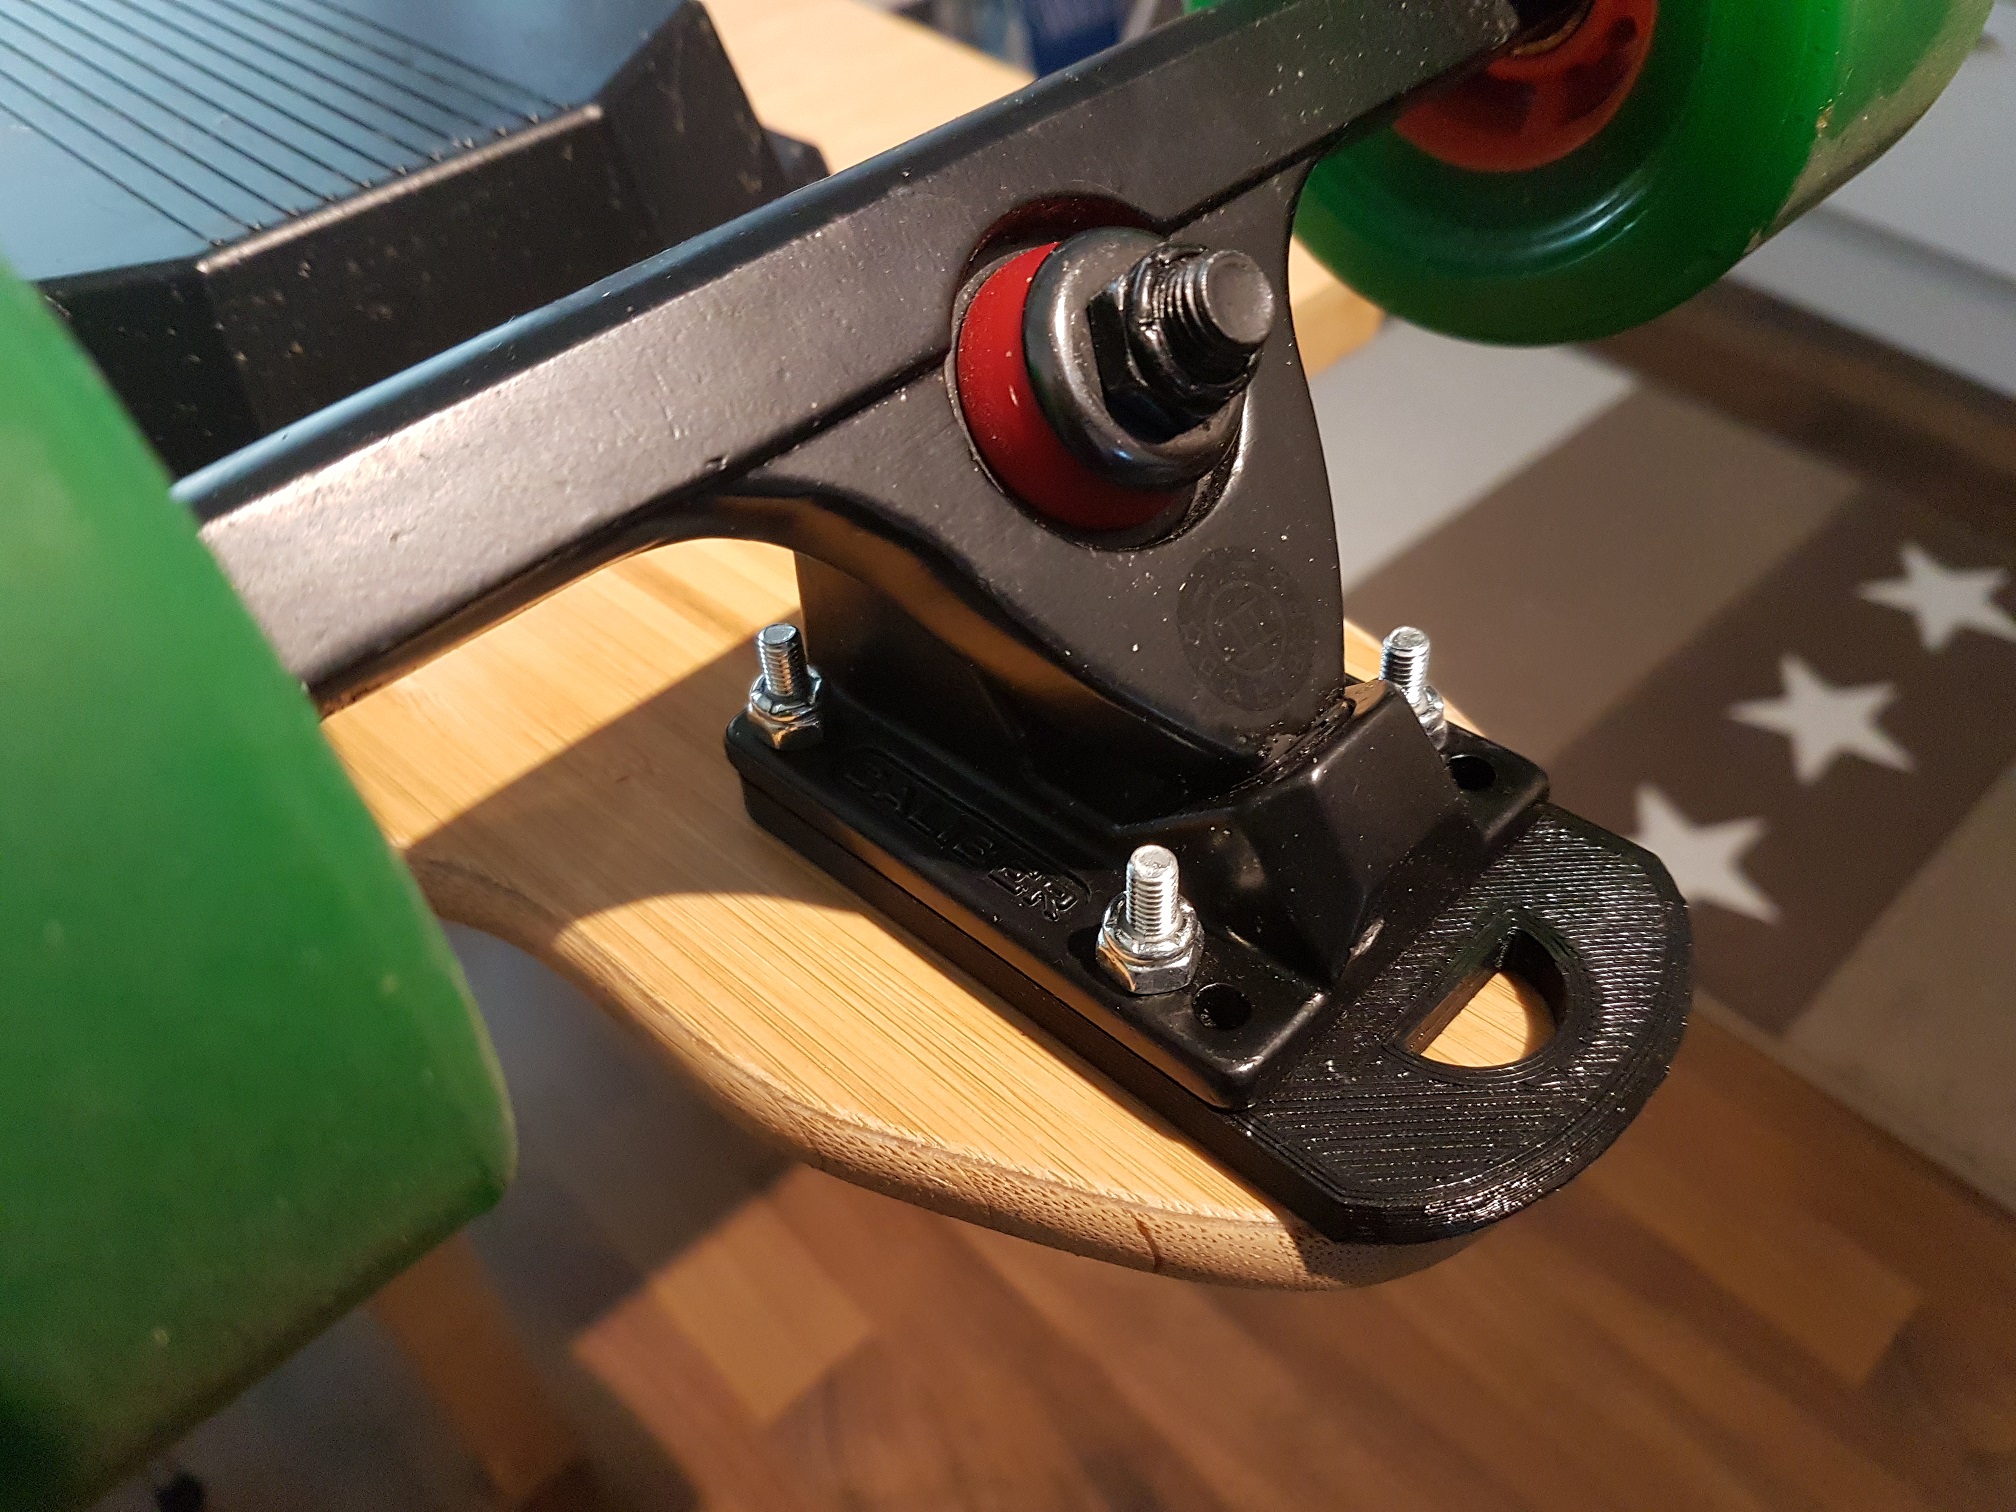
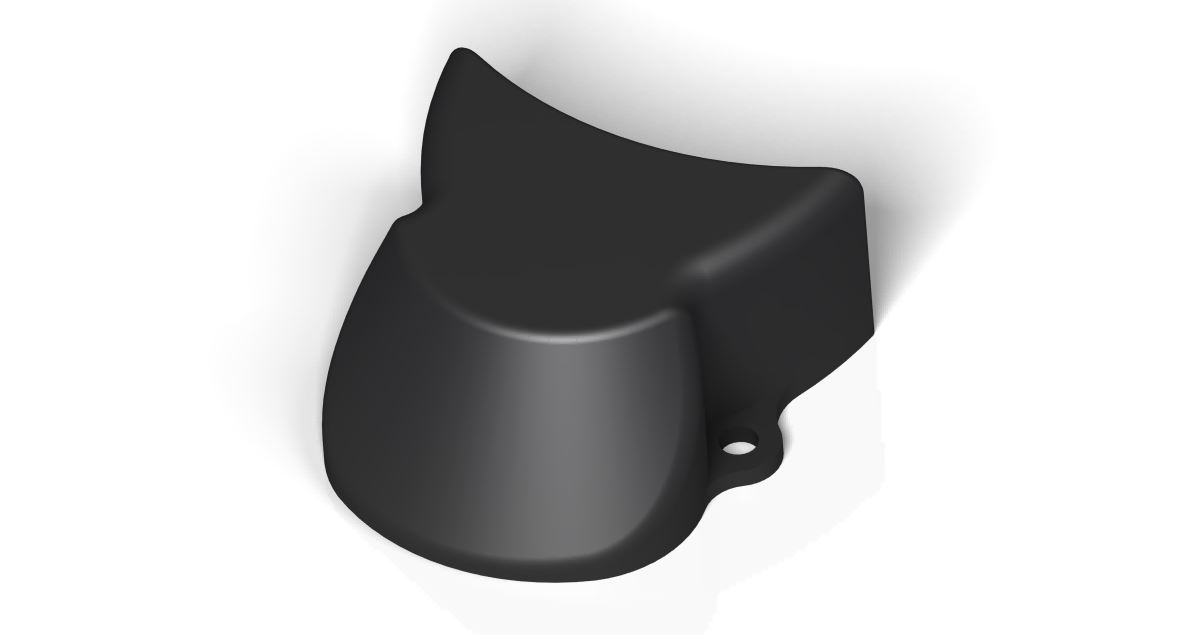
  • 3D print a pulley/belt cover
  • Riptide bushings
  • Ronin cast trucks with a DIY motor mount

Thanks for reading! :slight_smile:

19 Likes

Dope build bro! What made you decide to run your power leads across the bottom of the deck instead of routing out the top of your board?

1 Like

Thanks! Just the simplicity I guess. Plus not wanting to fuck up almost a 200€ deck with bad routing skills :grinning:

Really cool build! You won’t regret it!

1 Like

This is a great build! You seem happy with the performance as is but do you think your next build (of course there will be a next one :wink: ) will be dual?

1 Like

Dual with pneumies of course! Hummie deck perhaps? Something to do during the winter :smile:

Hey! Could somebody recommend a silent 10s charger with adjustable (or close to 41V) end of charge?

Nice! I’m not as experienced as a lot of the people here but I already had 6 e-skates and in my opinion this combination of Loaded Vanguard, Caliber II trucks and ~90mm wheels makes for a really nice e-board. Hard to beat in terms of riding dynamics.

Going single motor makes a lot of sense because with a 2P pack the battery is the bottleneck.

You are right, it was really difficult to fit dual focbox, anti spark switch, bluetooth module, battery meter, receiver, etc all in that small care. I used hot glue to help secure parts away in the minimal space and bullet connectors/xt60s.

image

1 Like

I hope your Caliber II mount works out well for you. The mounts that I bought from marcmt88 just don’t fit the truck properly, tried everything short of welding it on the truck. It’s the only issue with my build right now.

1 Like

Wauw you really did a great job!! :slight_smile:

1 Like

So far the mount has worked great. Good fit and hasn’t come loose after the initial fastening. Of course the test period so far is too short to give a final verdict. I’ll post an update if I run to problems.

Beautiful build, one of my favorites!!

1 Like

I’ve actually just retired a Vanguard build to put a Hummie together instead. I went to visit @bigben and despite asking him to put the Hummie deck away to curb temptation it somehow got put out in clear view… I think there was even more than one of them hanging around :smiley:

2 Likes

Waiting for a build log for inspiration :slightly_smiling_face:

The problem is that if you dont reach 4,2V/Cell or even maybe 4,25V the BMS wont start balancing.

2 options:

  • Keep charging with a normal charger till 4,25**
  • Buy a programable BMS (like DieBieMs or other options) and a charger with adjustable end of charge volage.

Some chargers have a potentiometer that lets you adjust the voltage. Ther is already a thread regardin this topic.

Great build, I’m looking to put something similar together. I commute to work and am looking at building a single motor, 10 or 12s2p battery for weight savings. Could you tell me your weight?? I’m thinking being at around 210 pounds with me and my work bag together may be my limiting factor to a single motor setup.

Around 75 kg or 165 lbs. I do believe the biggest limiting factor for single motor is traction. If you live in a flat area with decent roads you’re probably fine. But especially braking down big hills might be challenging.

@bevilacqua Thanks for the input. Will be looking for a silent normal 10s charger then.

1 Like

http://www.groetech.de/index.php?main_page=index&cPath=5

All the ones marked as lüfterlos are = Fanless

I got one of the small 1.5A ones as a travel charger.

1 Like

Some updates after a few weeks of riding the board.

Two problems so far:

  • Maytech remote is suffering from a lot of drop outs. I would not recommend it to anyone. Now I’m waiting for a mini remote to arrive.
  • Brass (or some other metal alloy) M5 wood inserts aren’t very good for a flexy deck. 3 of the 8 inserts just broke into pieces. I’ll replace those with some steel or stainless ones.

Otherwise everything is holding up really well. I’m very happy with the motor mount (Caliber Mount V2). It has taken some hits but I haven’t had to retighten anything. I think the shape of it has been well thought out and it protects the motor nicely. I’m also pleasantly surprised about the 10s2p battery performance. Max range for me is around 25 km.

I printed a front bumper, stl from thingiverse: 20180924_171840

Also made a pulley cover of my own design. Maybe not the prettiest but works well. 20180924_172335 cover

I purchased a bluetooth module which I will install after I receive the new remote. Going to try Ackmaniac’s firmware as well.

I’m still pretty happy about the performance of the single 6374 motor. There are some situations where I wish I had two motors but I can definitely live with just one. At least for now.

1 Like

Very nice build! That deck looks so floaty and cloudish. I am working on a single motor build currently. Do you notice any steering issues under power or otherwise?

I haven’t experienced any steering issues.

I think the worst situation for a single motor is when you try to accelerate uphill and turn/lean at the same time so that your weight is on the opposite side of the motor. It easily causes the wheel to lose traction especially if the tarmac is a little wet and so you have to get your weight back on the motor side of the board.

That’s basically my biggest gripe with the single motor. I think the simplicity, weight and cost savings outweigh the problem(s) for this kind of a build. Although I’m still going to put dual motors for my next build so I can have both set-ups :grin:

1 Like