Re-building Loaded Vanguard with Bamboo/Fibreglass/Carbon

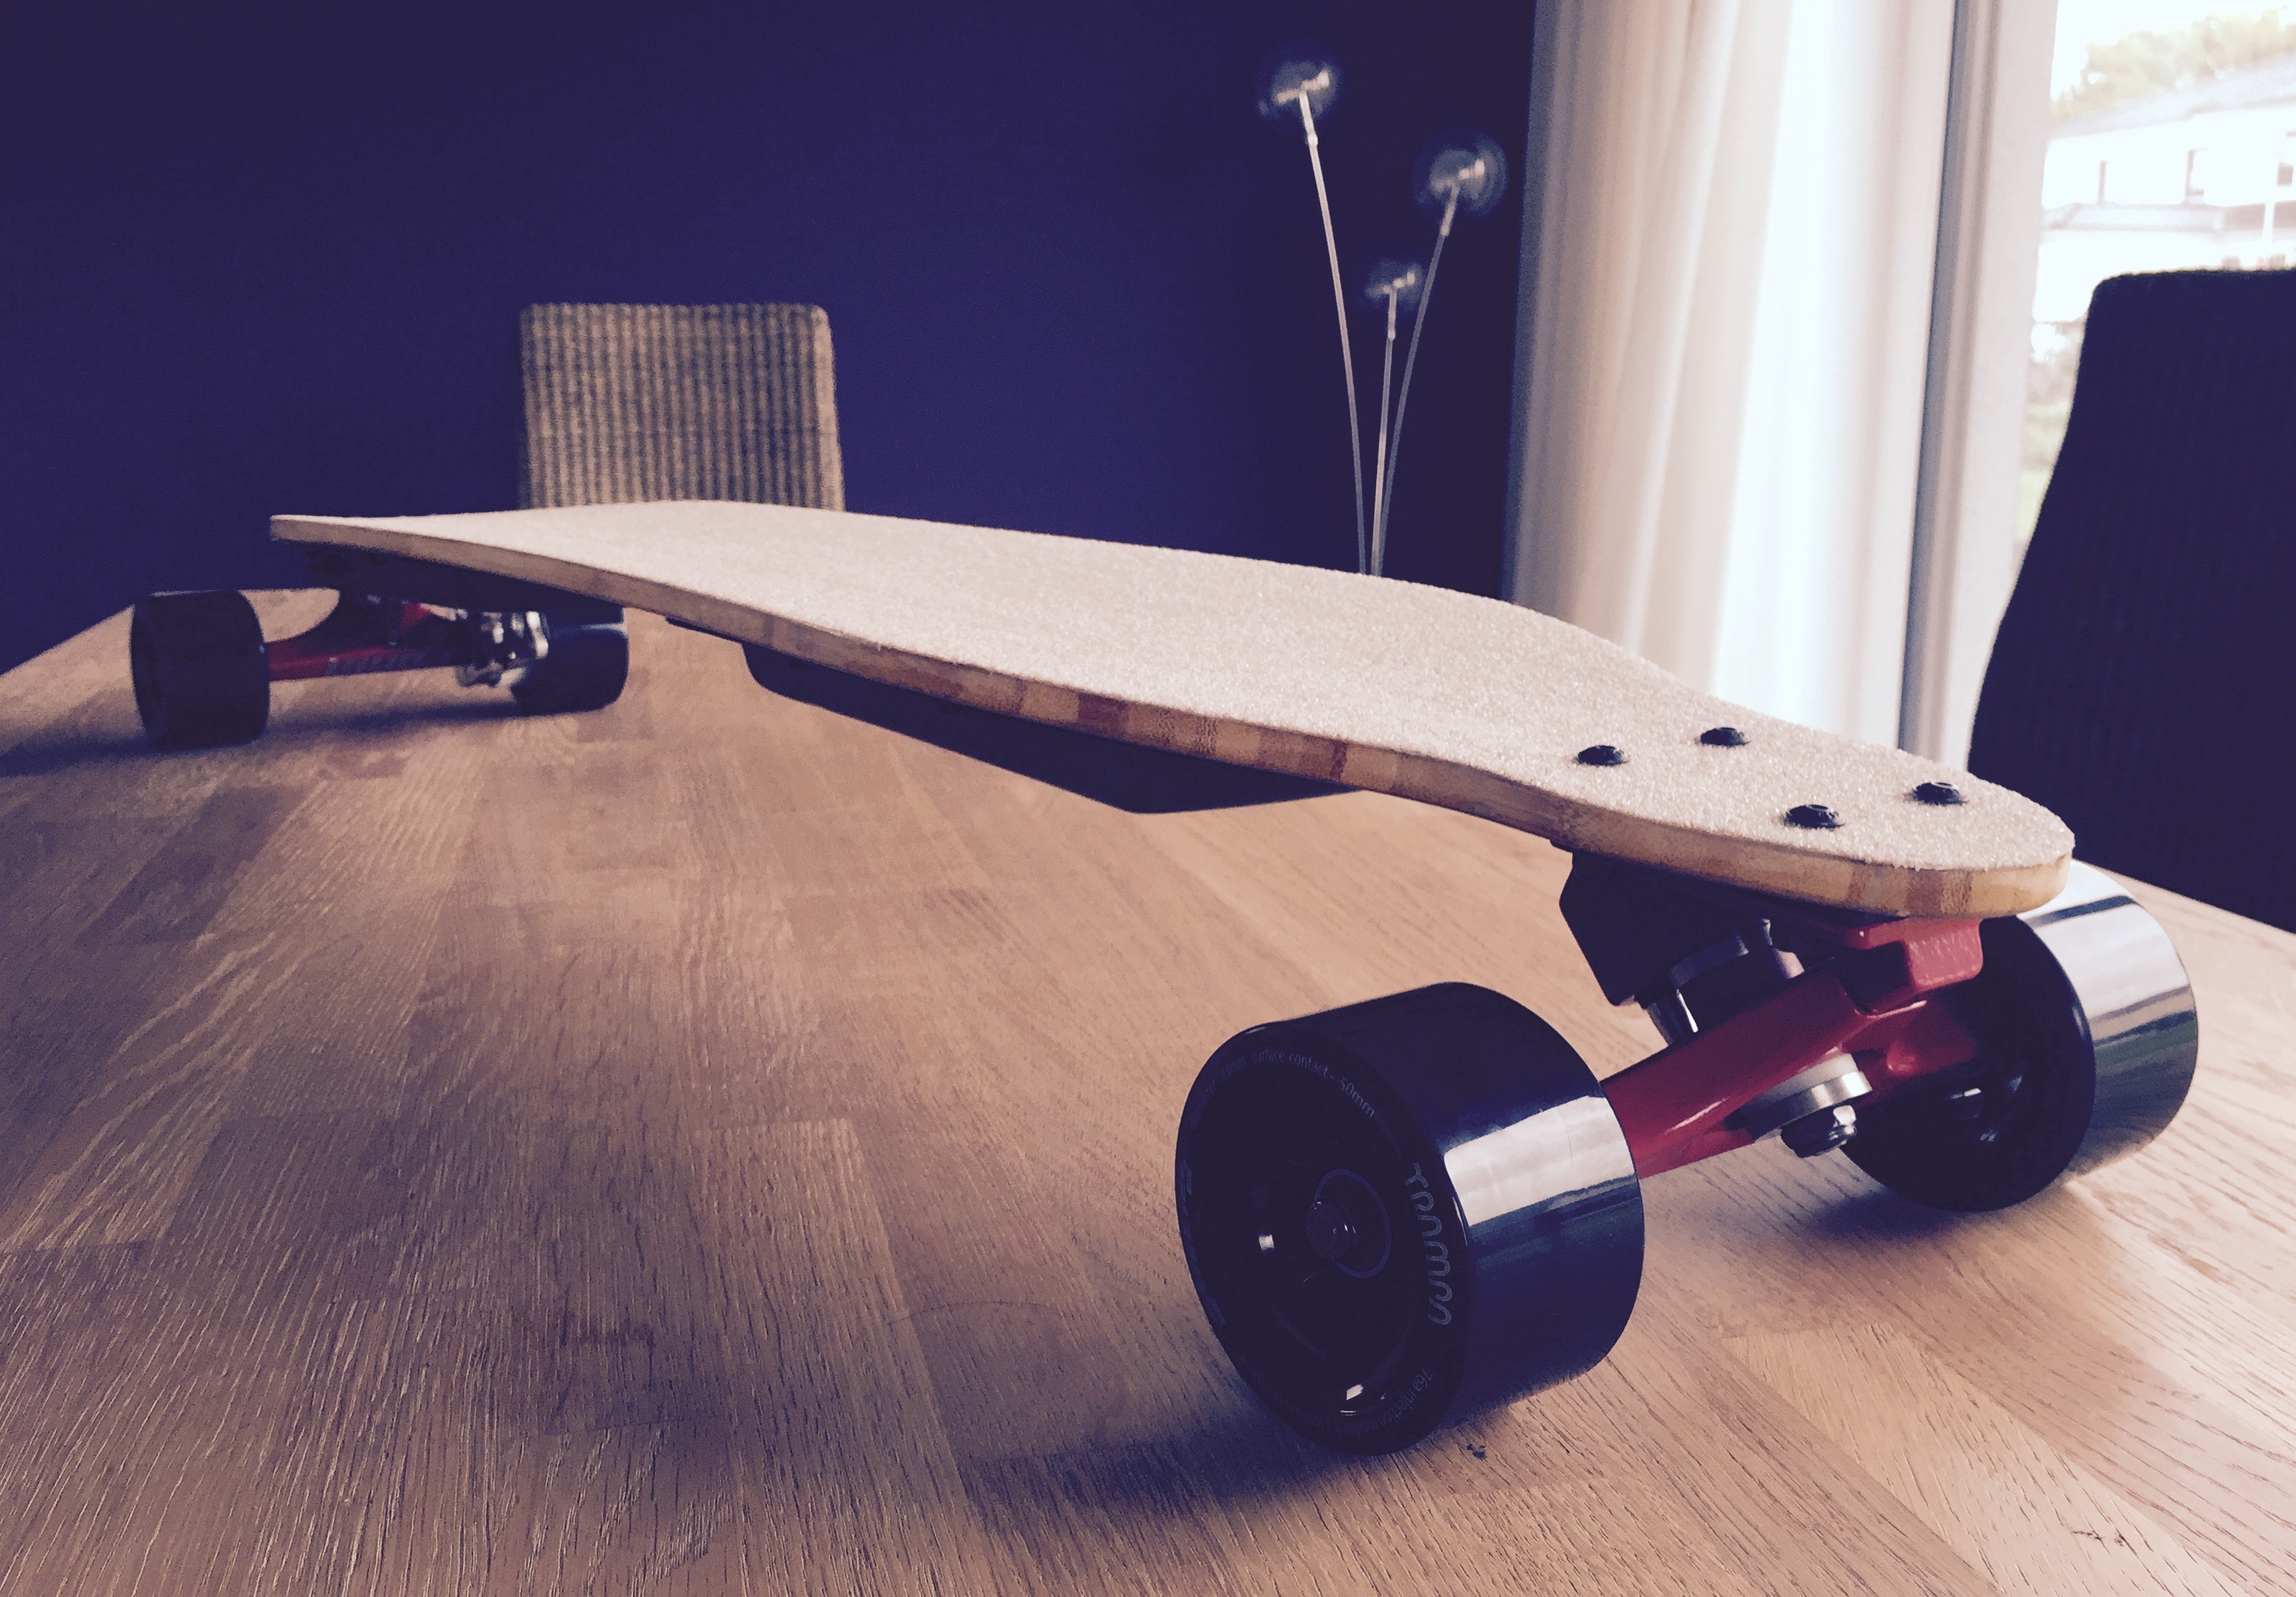
jojo, been sitting on these 1/16" bamboo plys since a while now (from roarrockit) and always wanted to build my own board … but then the loaded vanguard happened to me and I really fell in love with that board, hard to imagine a better carver right now. but there are a few very minor things Id like to change - first of all I want Id like the board just a liiiittle bit wider, probably 1cm is already enough. 2nd Id like the middle section to be just a tiny bit stronger and the rest of the board a little flexier - I Imagine that way I could pump harder and have an even springier energy return while at the same time its damping cracks and bumps even better with the softer nose & tail sections.

In any way, Ive never built a board yet all by myself, but since I got a vacuum setup, the bamboo plys and enough experience with fiberglass and cfk I just went for it.

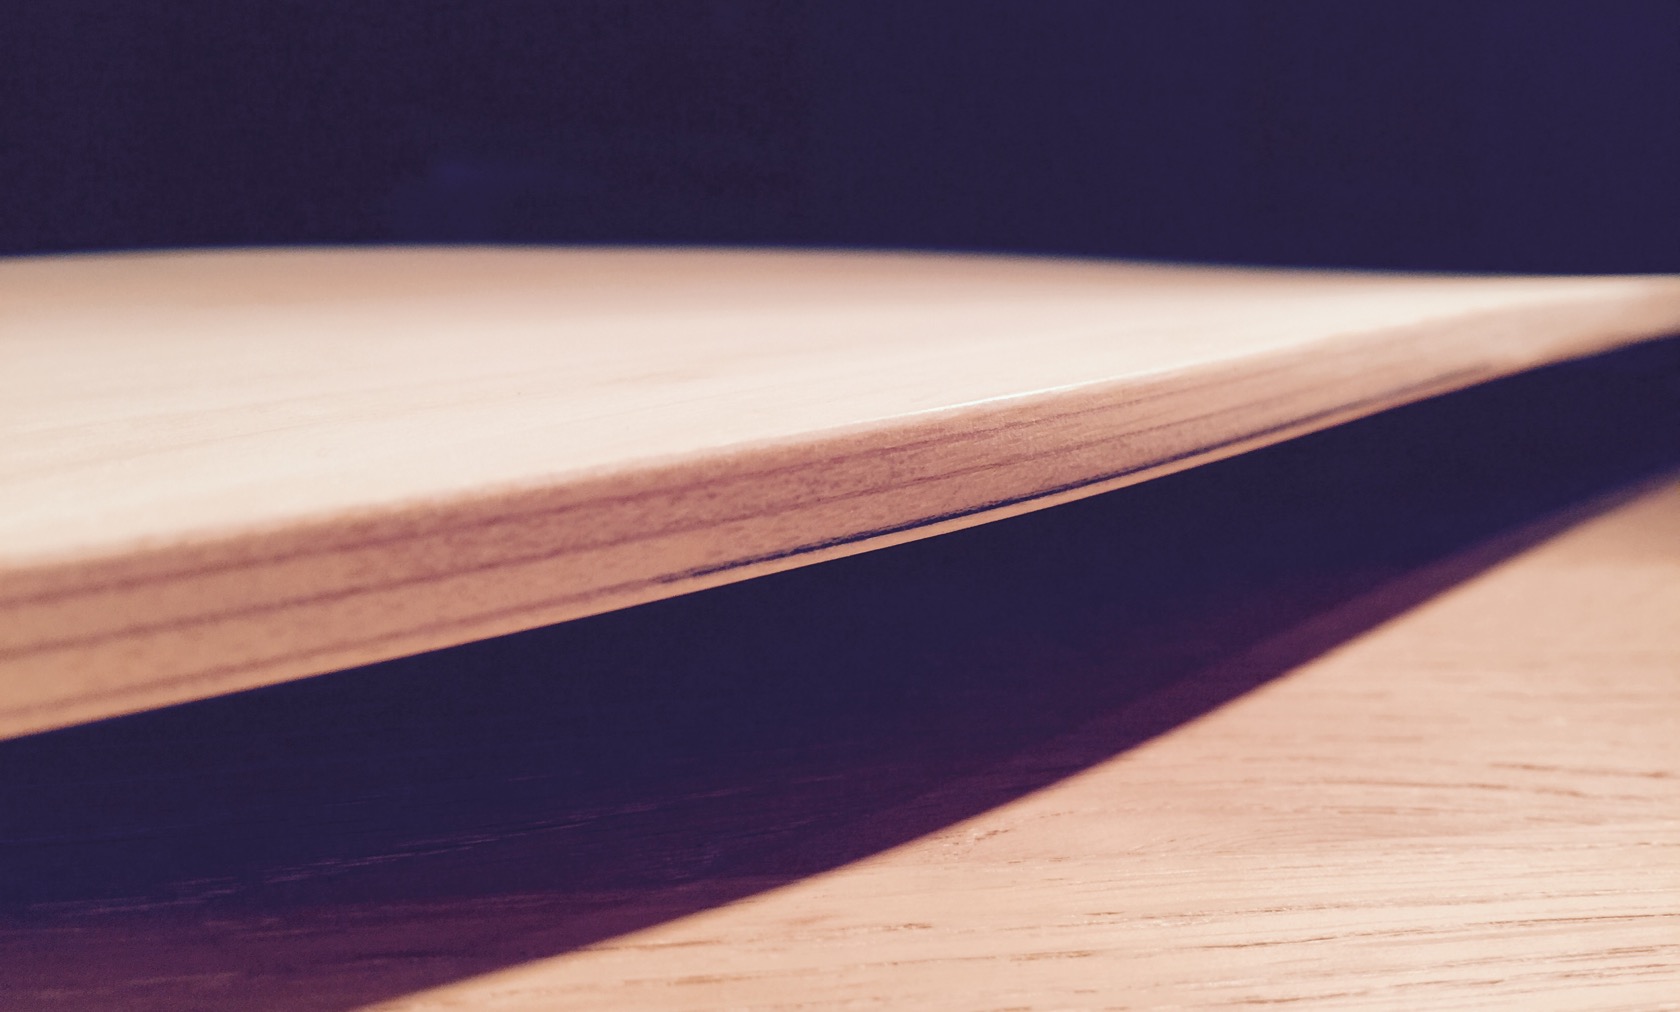
I started with measuring the thickness of the flex 2 vanguard, since nothing will affect the flex as much as the thickness and the strength of the outer layers. its about 1.1cm with my added fiberglass top layer - with the 1/16" bamboo veneers, I decided to start with 4 layers for now, sandwiched with fibreglass which is apparently a good lively springy combo, so:

bamboo fiber bamboo fiber bamboo fiber bamboo = 7-8mm thickness right now

I worked in the things I wanted to pimp a little in the correct layers, so before the streetside bamboo ply, I added 3 wide unidirectional stripes right in the middle of the board along the boards axis - middle 30cm, outer sides 20cm for some sort of smooth stiffness transition. below the upper bamboo layer, I added 2 unidirectional 45° crosses for torsional stiffness, because I need to get edge pressure to the trucks. now, keep in mind: I actually have no clue about building boards, but thats what my naive mind came up with and Ill just try it now. :smiley:

the outer layers are all bamboo right now, because Ill sink in enclosures and wires as usual (or well, sinking in enclosures by about 1mm only so there wont be a transition board->enclosure like on my jet spud build). so either way Ill cover the bamboo up later with either fiberglass if the flex suits me, OR carbon if the flex wasnt enough! if the flex is completely far off, ill add one more bamboo lower top or bottom - undecided yet! :slight_smile:

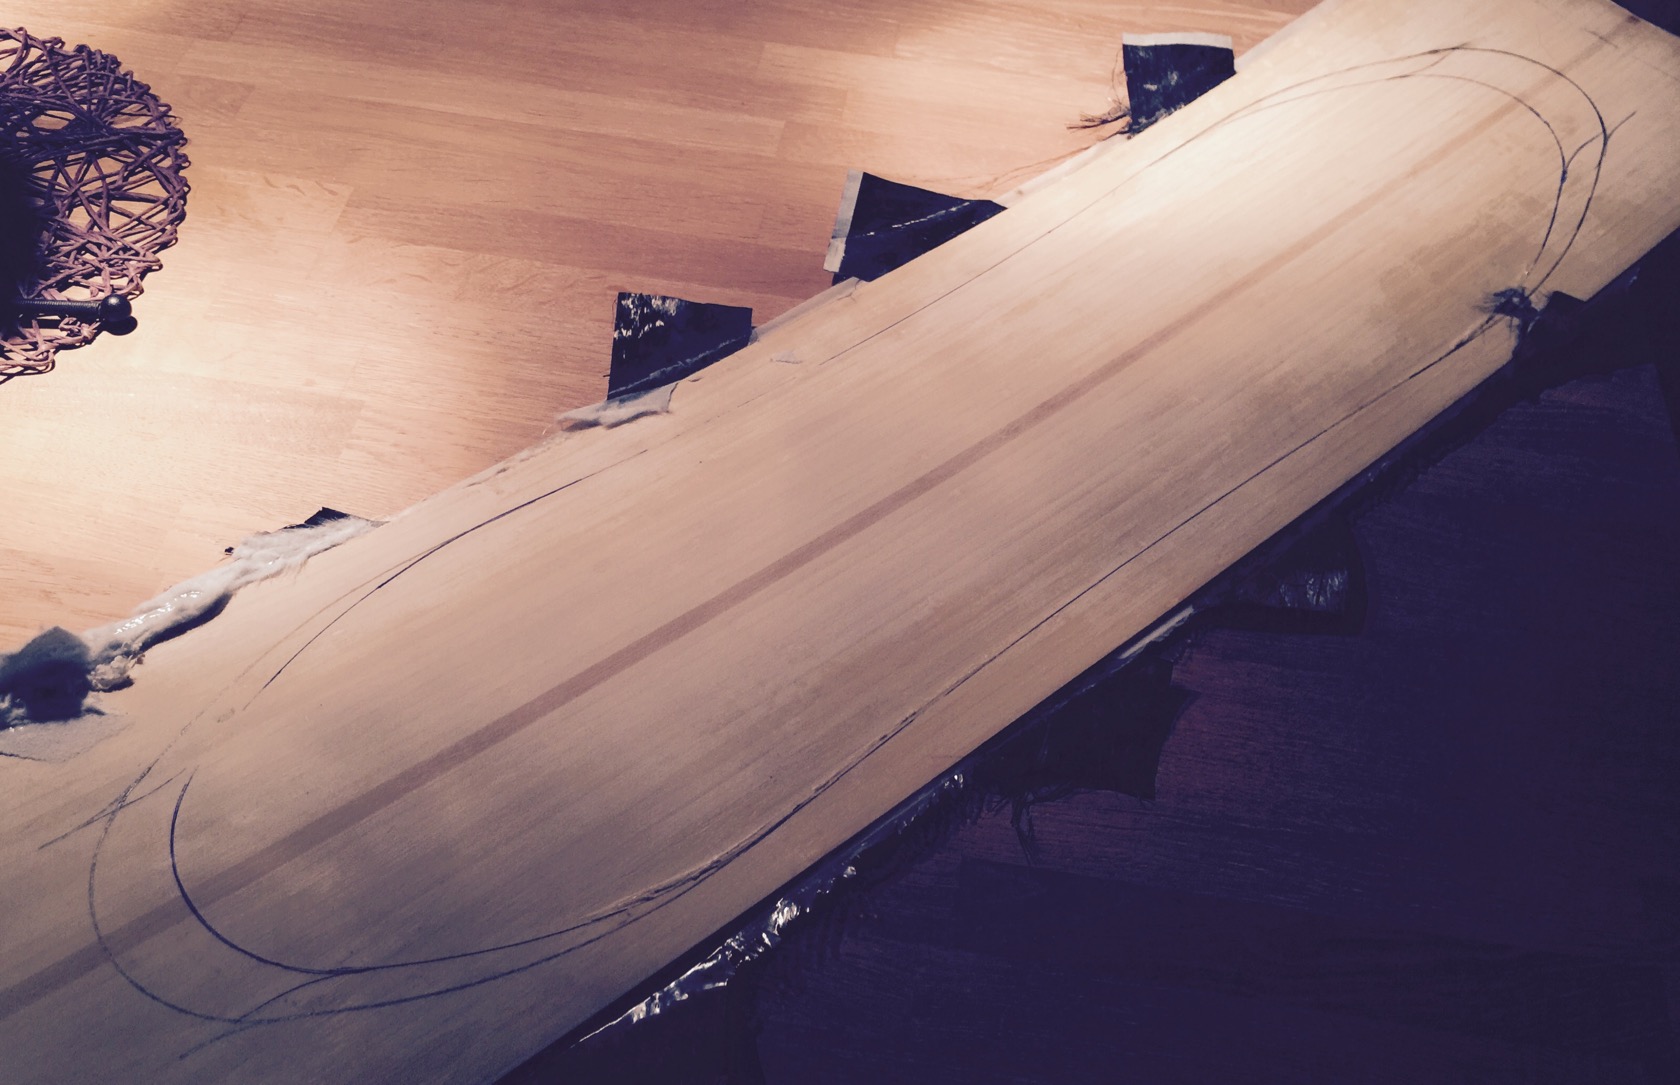
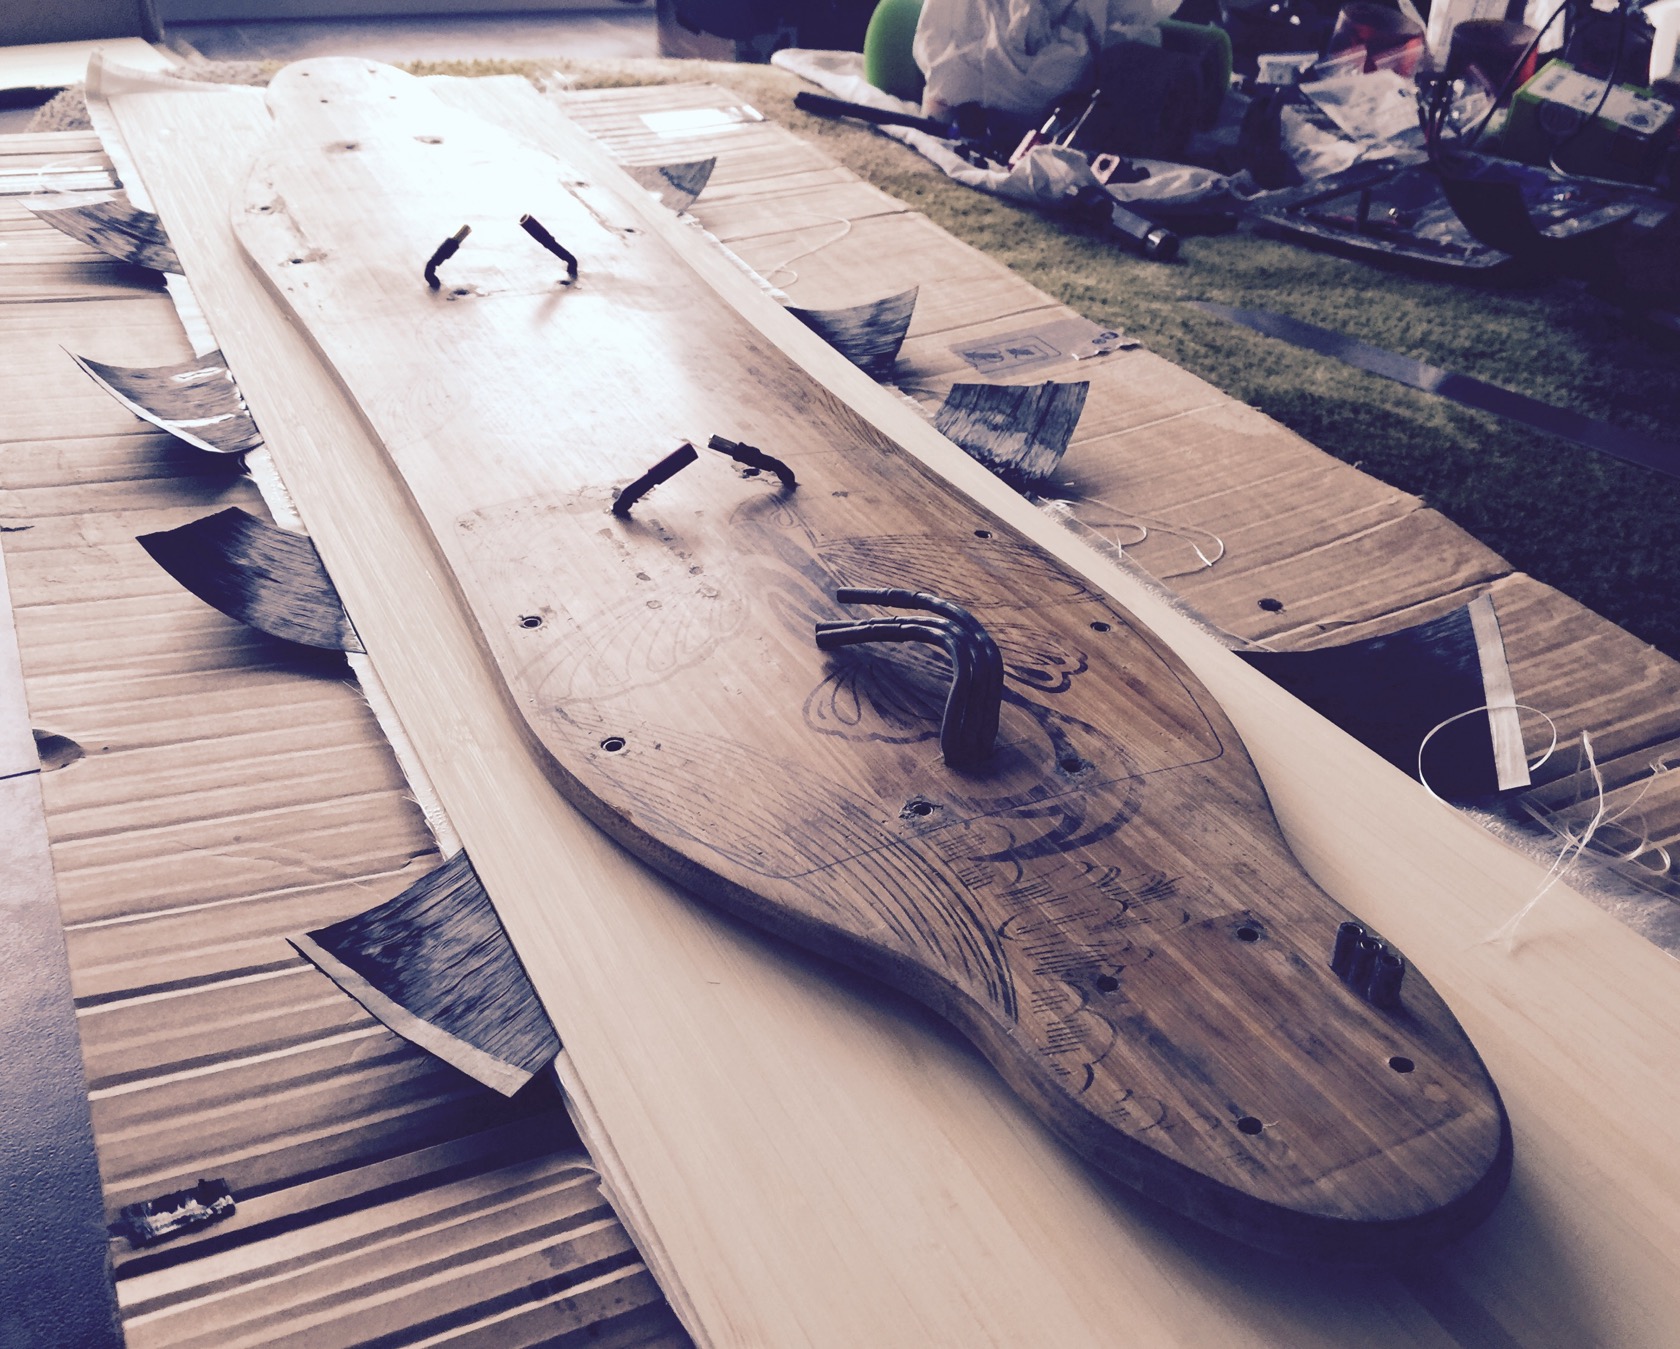
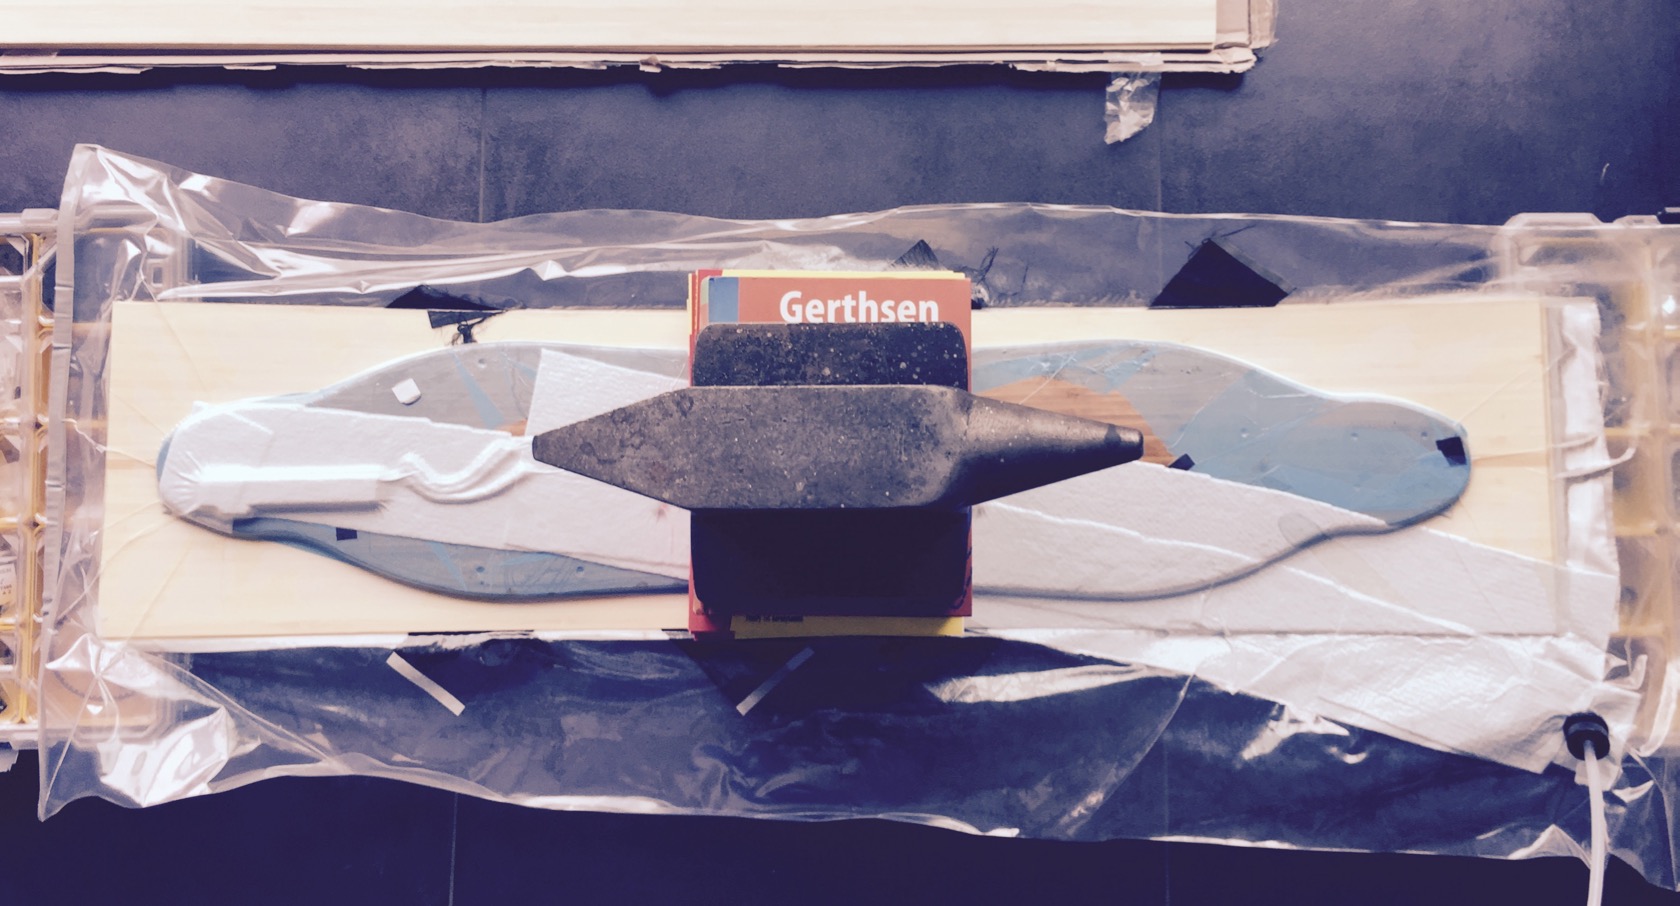
my active vanguard - went for the annual maintenance and want to change a few minor things like sinking in the lids of enclosures for some splash proofness. you can see the torsional stiffness crosses (its otherway round in the picture - the crosses will be on the boards top side and thats how it cures right now.

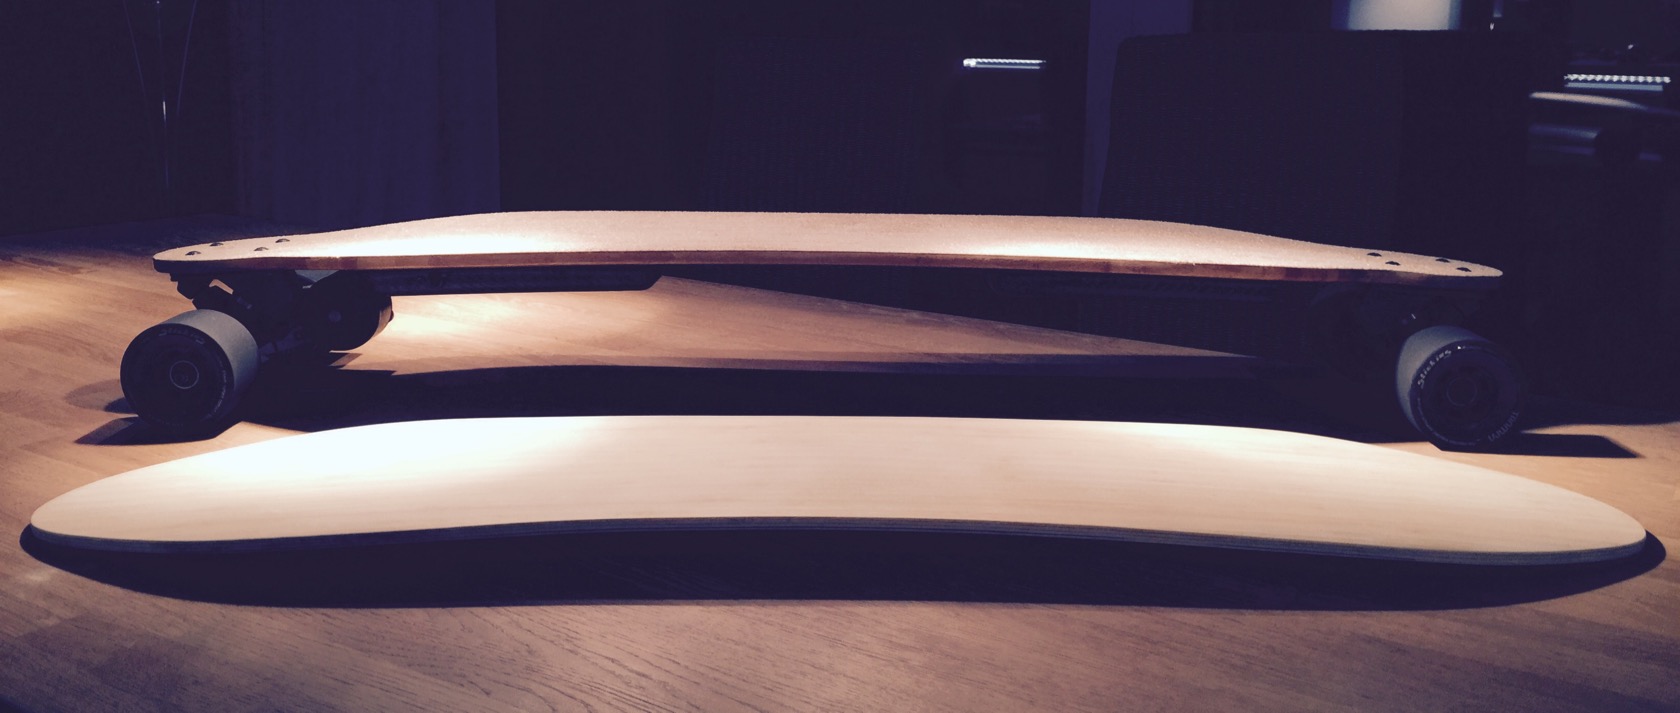
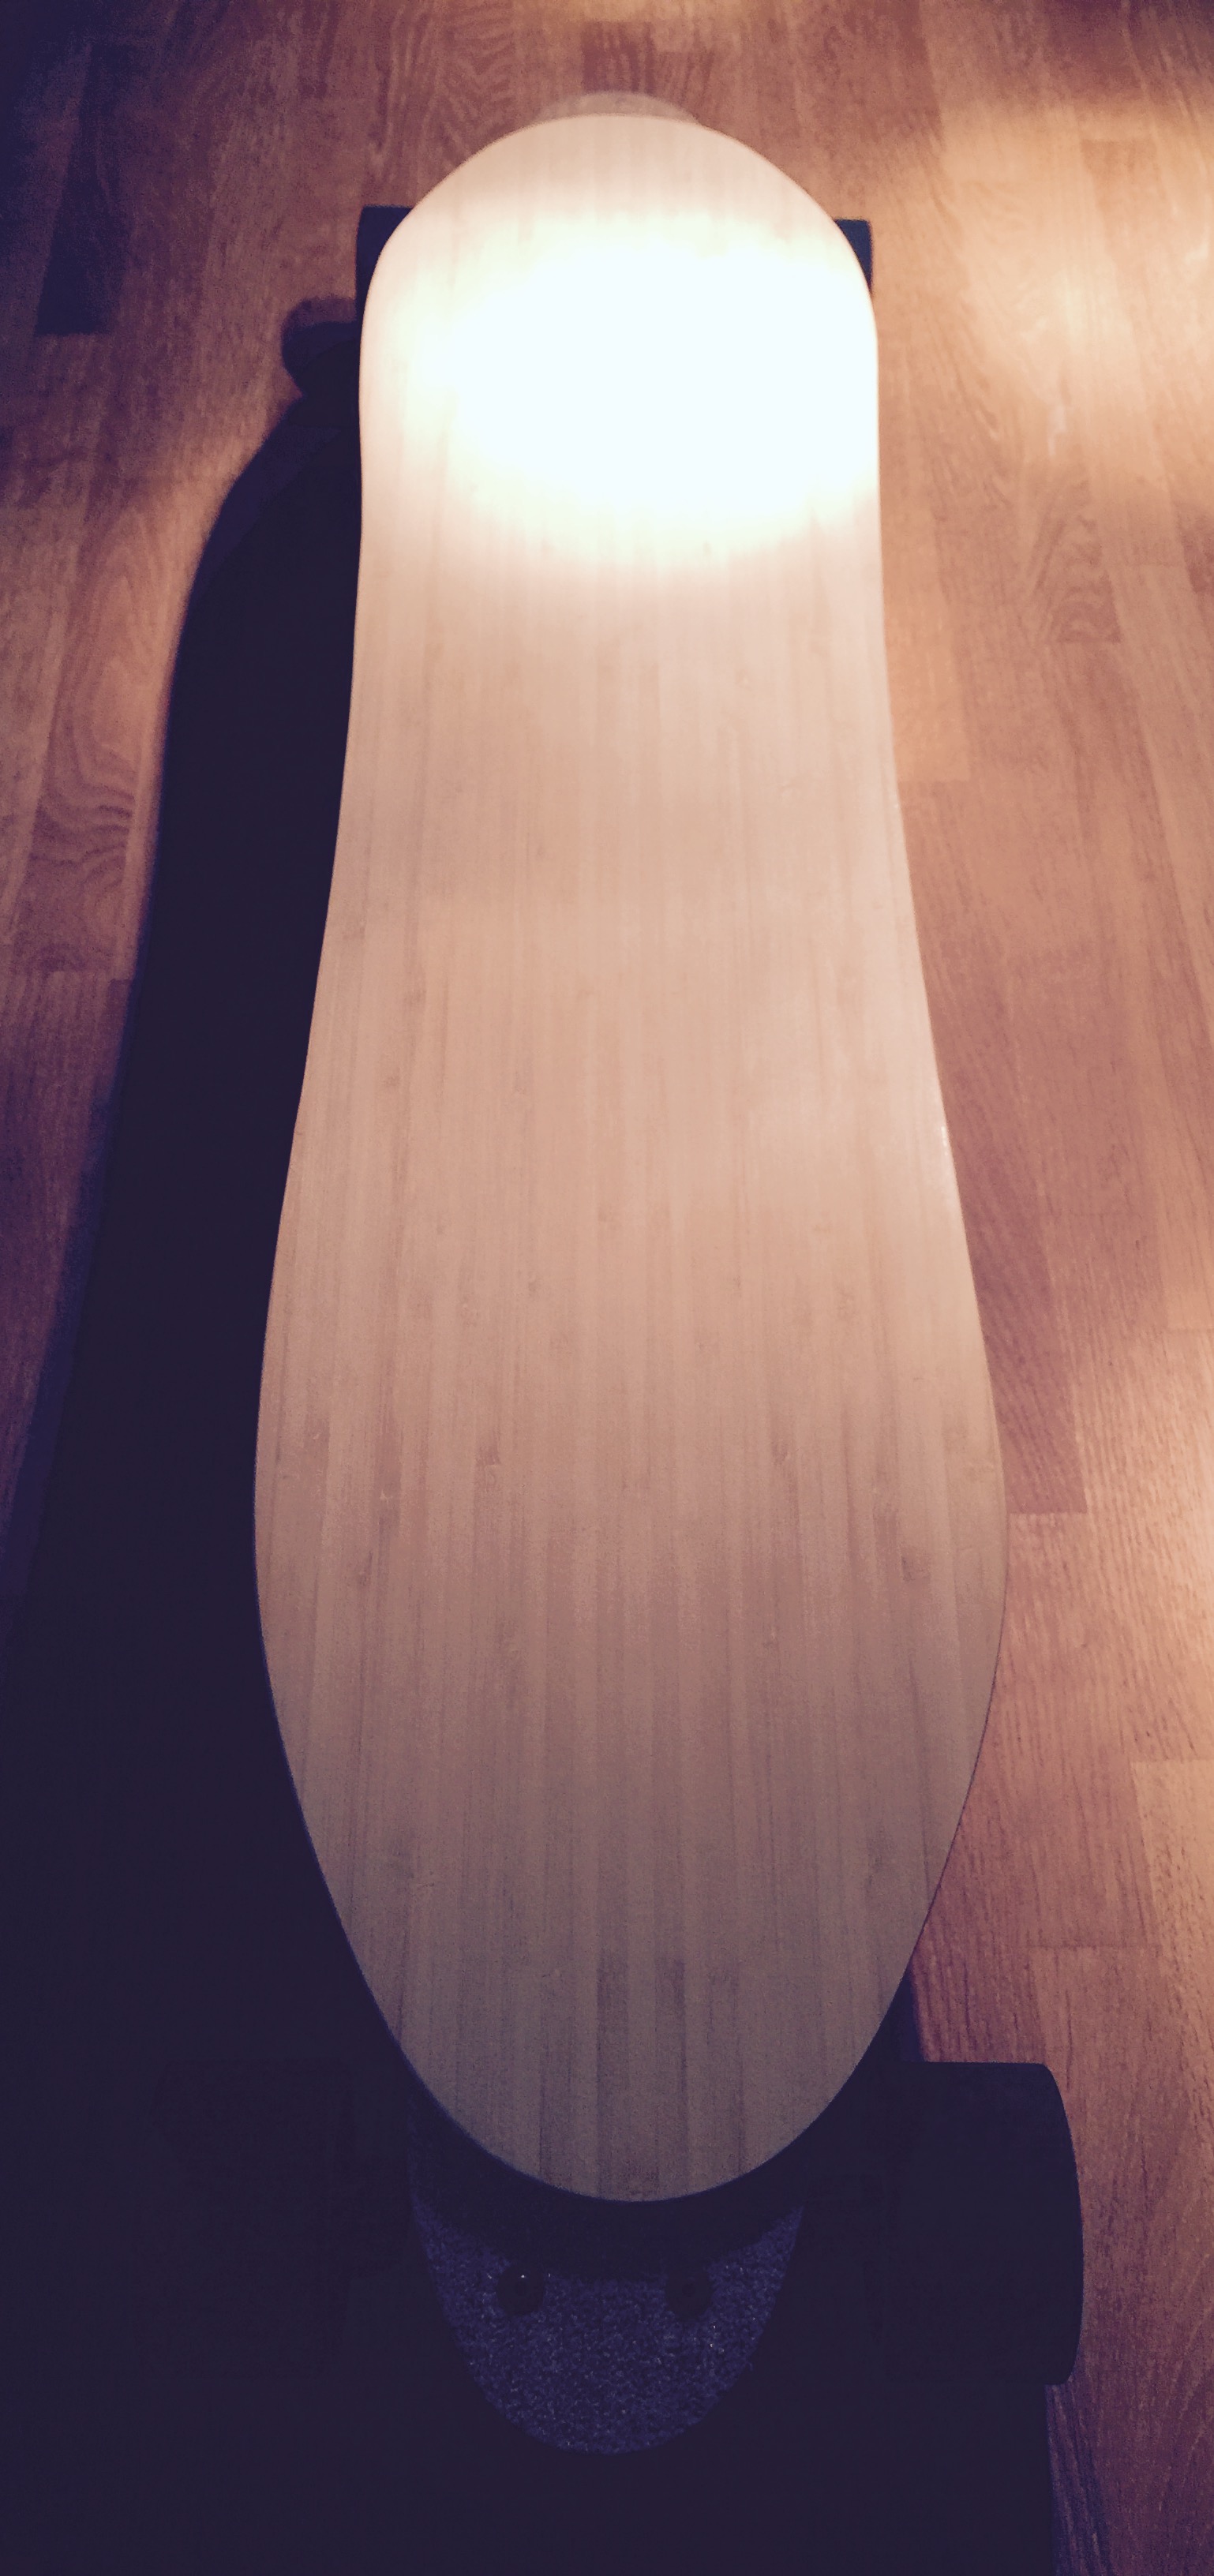
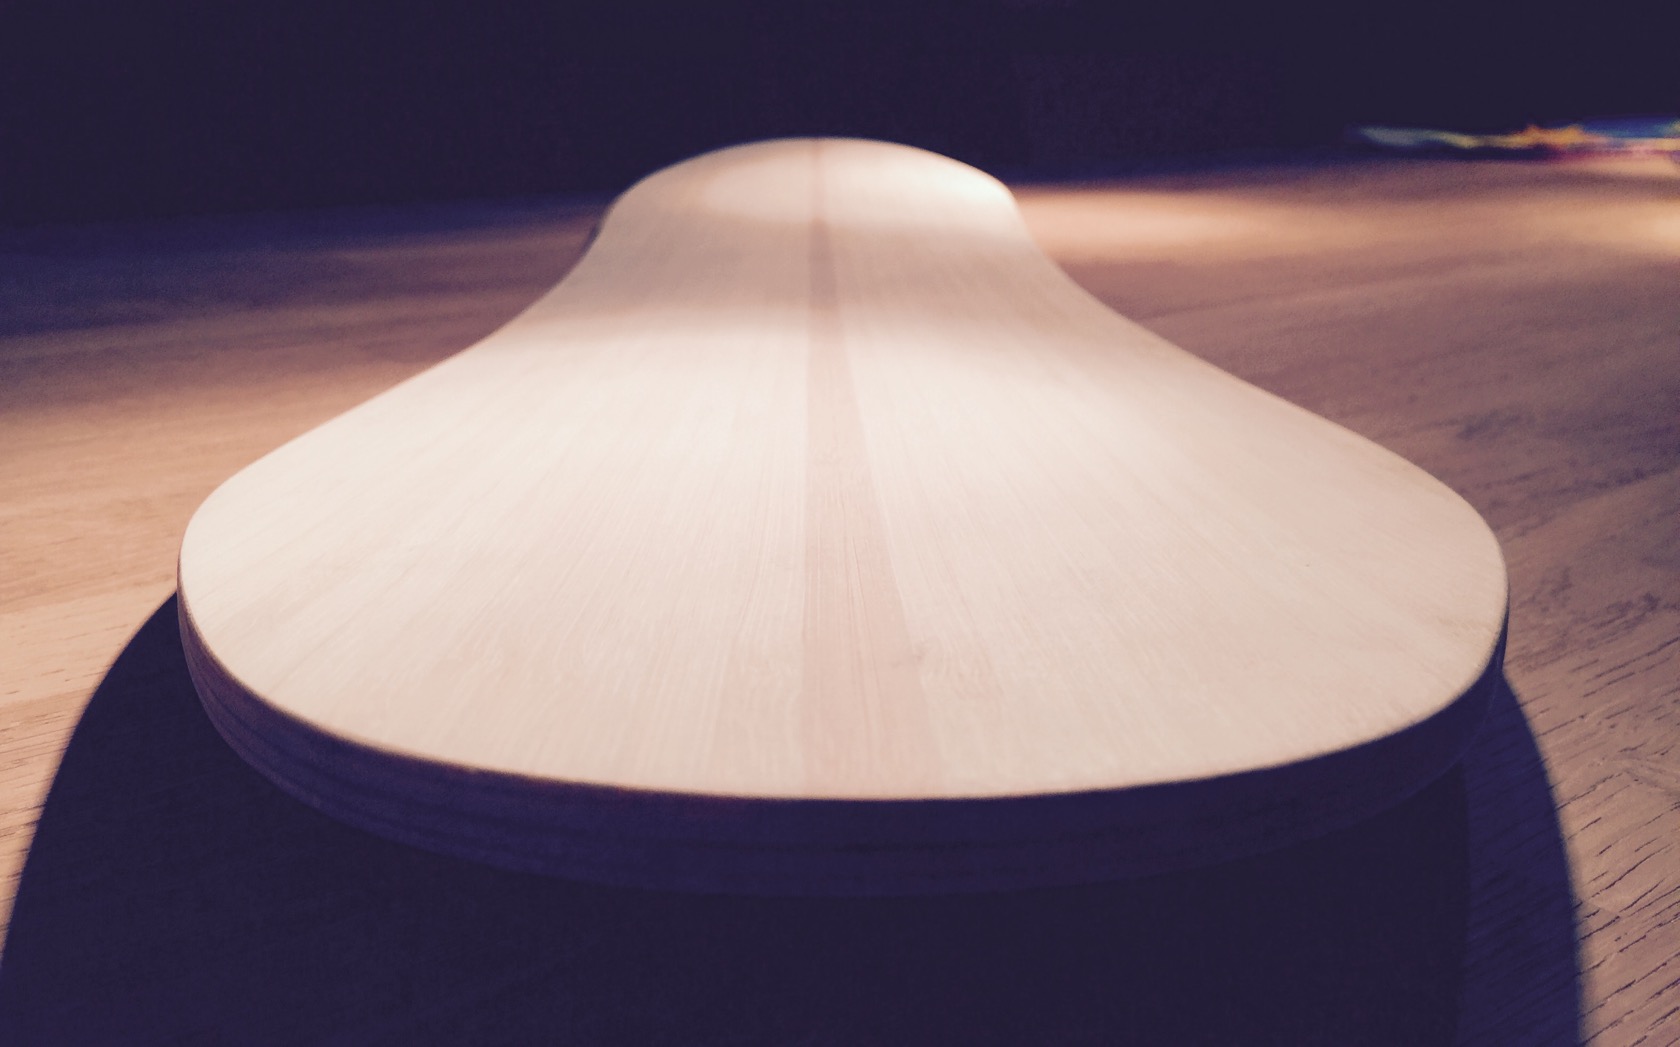
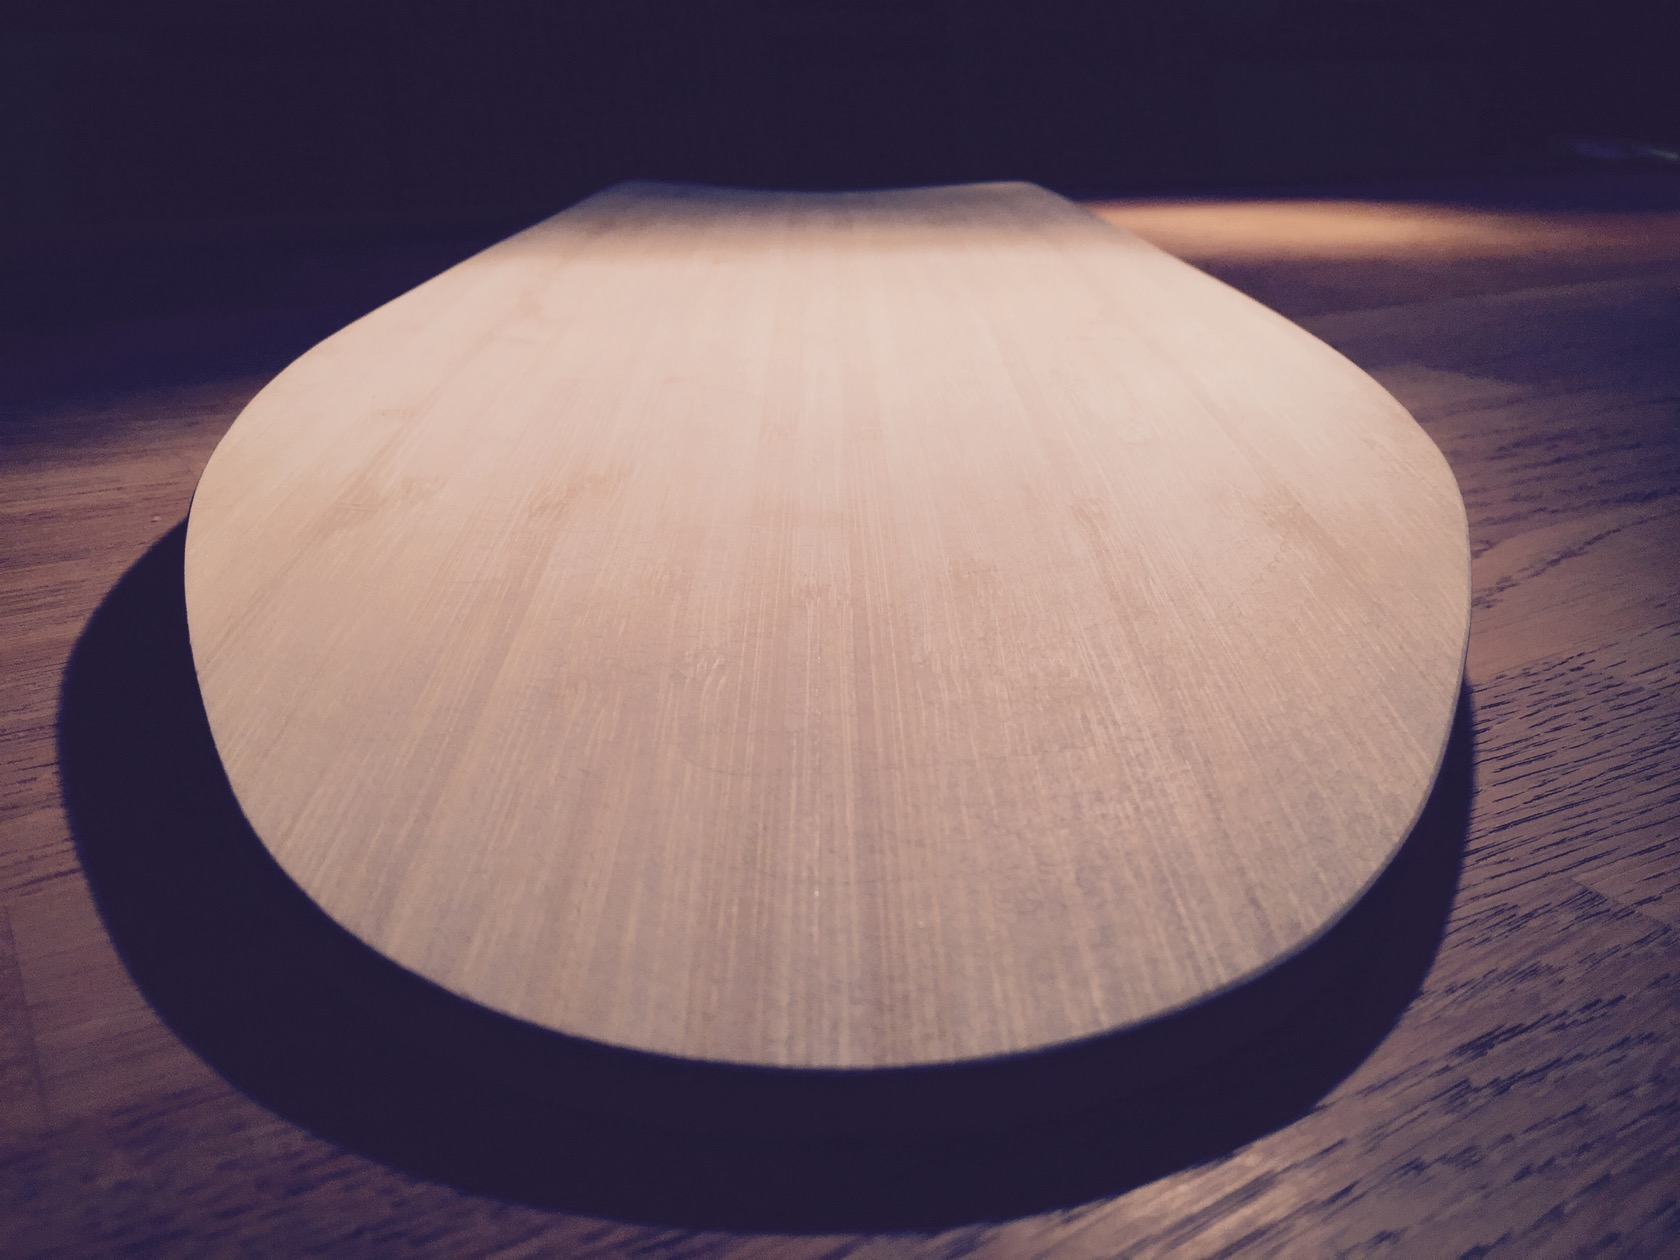
the smooth cambered concave of the vanguard - the veneers are about 2cm wider than the board at both sides - so there is a lot of room to make the board a little wider than the original!

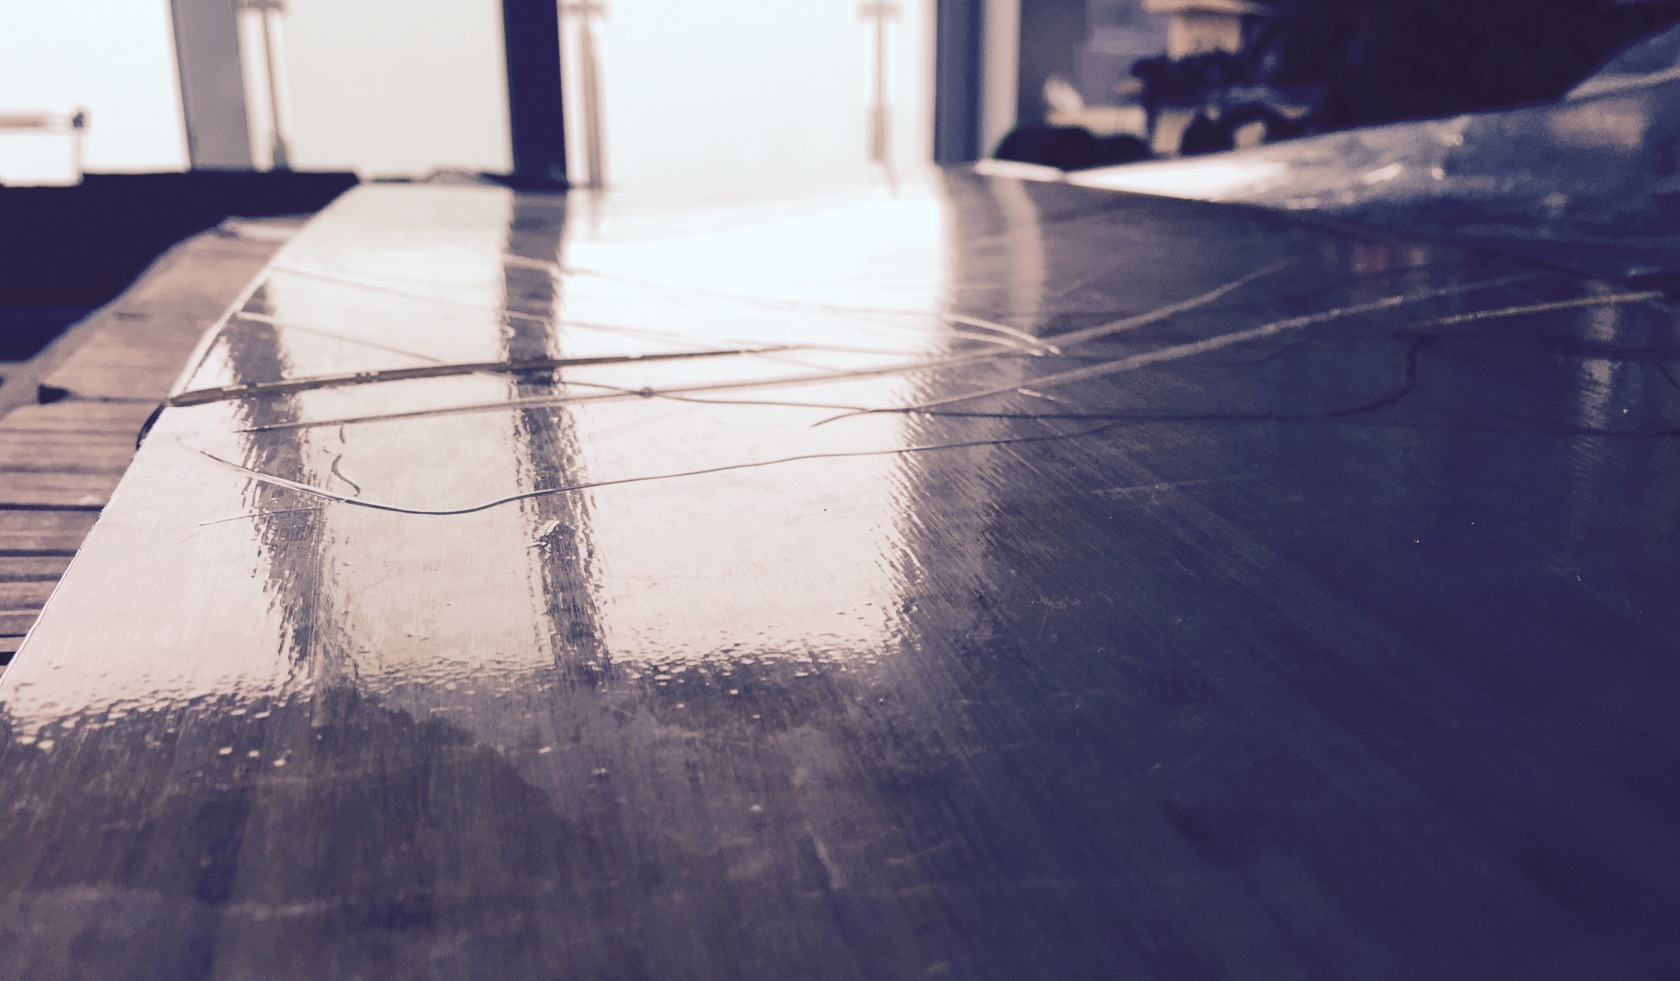
finally, since the bamboo/fibre composite works against the cambered board and I wanted to preserve the vanguards camber profile, I added some weights for curing. nothing feels as great as well balanced lively camber.

curing as we speak, Ill keep you updated on this experiment :slight_smile:

23 Likes

Looking forward to this! Always love Vanguard builds, my favorite deck in terms of feel and looks. Too bad I can’t afford it :sob: . Been trying to find a stiff/cheaper equivalent of it for a while though, might end up making my own :3

following - your original vanguard build is one of my faves.

1 Like

first results are way too flexy, think Ill need at least one more bamboo layer and finishing off with fiber or carbon bottom! :slight_smile:

ok, since I was busy with my real loaded vanguard maintenance and my beautiful veneers finally arrived, I kept on working on that, in order to enjoy the last nice days in autumn with my favourite board.

wood veneers are soo BEAUTIFUL! :heart_eyes: I ordered quite a few different woods and 1 sheet of about 200 x 30 x 0.06 cm dimensions costs only about 7€ and will restore the neat wooden natural vanguard look - or actually surpass the original look because the veneers I got are really a nature’s work of art.

currently the board is curing in the vacuum bag - the veneers are very thin - just 0.6mm thick - so I was super careful. its fixated on the board with epoxy ontop of the additional fiber glass layer, that I used to reinforce the boards routing areas (and I added one more layer ontop of the reinforcement patches to get a little stiffer board.

status quo of the vanguard top. the routing and filling of the wire channels kind of killed the nice original look, which is the reason why I used black instead of transparent vicious griptape.

some of the veneers - together with red ronin trucks and black trampa stickies, this vanguard will become something really beautiful:

went with a moderately strong wood grain veneer with a very cool pattern. I placed the board in a way that the wood grain “arrows” point exactly from the roear tip to the front tip of the board. the wood grain will also become more prinounced once I oil the topside. :slight_smile:

bit afraid that I might destroy the veneer accidentally at the boards edges when I cut it out tomorrow. or well, actually Im afraid that the pressure and slight bending was killing off the edges already. :grimacing:

lets see, fingers crossed! :smiley_cat:

5 Likes

giant fail! basically I had the board ontop of the veneer ontop of cardboard without a release film between veneer and cardboard. this morning I had a great unified board+veneer+cardboard finish. :crying_cat_face:

epoxy apparantly managed to get through the veneer on the whole surface area, probably because it has a pretty low viscosity. this will teach me for the next attempts. :frowning2:

2 Likes

Ok see where you going - so you’re actually an artist on an electric board!

sadly there was no way to save it - but I got close. wouldve looked absolutely gorgeous if I wasnt an idiot! :frowning:

4 Likes

Can you just sand off the excess of resin?

1 Like

Looks great!

Looks Sexy!

Second this - any chance to carefully sand off the carbon and re-expose the veneer you wanted?

Looks beautiful and another great walk through!

Good luck! If that doesn’t work, looking forward to round 2 and what you do next!

sanded off old veneer and tried new - this time bamboo. worked very well this time and I just westherproofed it with a thin epoxy layer:

16 Likes

What a natural beauty :heart_eyes: Clear grip tape should be used.[quote=“whitepony, post:1, topic:10460”] bamboo fiber bamboo fiber bamboo fiber bamboo [/quote]

Is the strength of flex the same as Flex2?

no, its a lot flexier! ill need very strong outer layers to tune the flex so that it suits me.

very happy with my work! under the vicious transparent grip, you can see the bamboo grain just slightly, but enough to immediatly understand that its natural wood! with the red truck and black trampas, its just a gorgeous combination imo :slight_smile:

11 Likes

after my aesthetically very pleasing winter maintenance of my vanguard, I went back to my pressed deck. last night I had an idea about the shape I wanted to try because Im not a superbig fan of the bottle nose, I wanted a slightly wider stance, slightly wider board and possibly some splash protection.

decided to make the original stance longer by 3-4 cm on each side, but I cut off the bottle nose with a smooth circle. basically on that picture you can see the seemingly smaller board inside (the original flex 2 vanguard), a 3-4 cm shifted outline, the base of the original bottle nose and the new round nose in 2 version - one with original base stance and one with my increased stance.

cut it out with a jigsaw and sanded the edges a little

next to its shape donor - you can see how the base stance is wider (actually the whole board is wider too by about 1 cm), but the bottle nose it cut off

I increased the original camber a little bit, hoping for an even livelier board and carving experience

here you can see that its wider (well, not very well), but overall a little shorter

smooth camber

with the beautiful concave of the donor vanguard :slight_smile:

right now its 4 layers bamboo, 3 layers fiber + reinforced carbon patches for torsional stiffness which you can see in the picture (+ some extra hidden patches in the middle region where the original vanguard felt a little soft).

since I decreased the overall length, its not superflexy anymore, but still too flexy for my weight (not by much though). overall it might actually be perfect, if I use it for an all weather build, add wire channels and seal the rest with a top & bottom layer of fiber glass.

11 Likes

Looks amazing, does it fit a sk3 6463 240kv with those 83mm wheels or would you rather go with 97mm for more speed/space. Wanna build one like yours

Where did you get the bamboo layers mate

I guess, since it also fits the 6355. the trampa wheels are only available in 83mm right now, but ted expects them to be available in 90mm around xmas. the wheels are really weird - they feel quite a bit harder than my 75A 90mm abecs, but they really grip a lot better. like REALLY a LOT! :smiley_cat:

seems kinda hard to get in europe - I bought it @ Bamboo Veneer