I want to start off by saying that I have been on this forum for a long time and have been following many of you on your amazing builds! I have learned so much about building my own board. I want to say a massive thanks to Jenso @Nowind from E-TOXX for getting me hooked on EMTBs, and of course to @trampaTrampa for making such an awesome product!
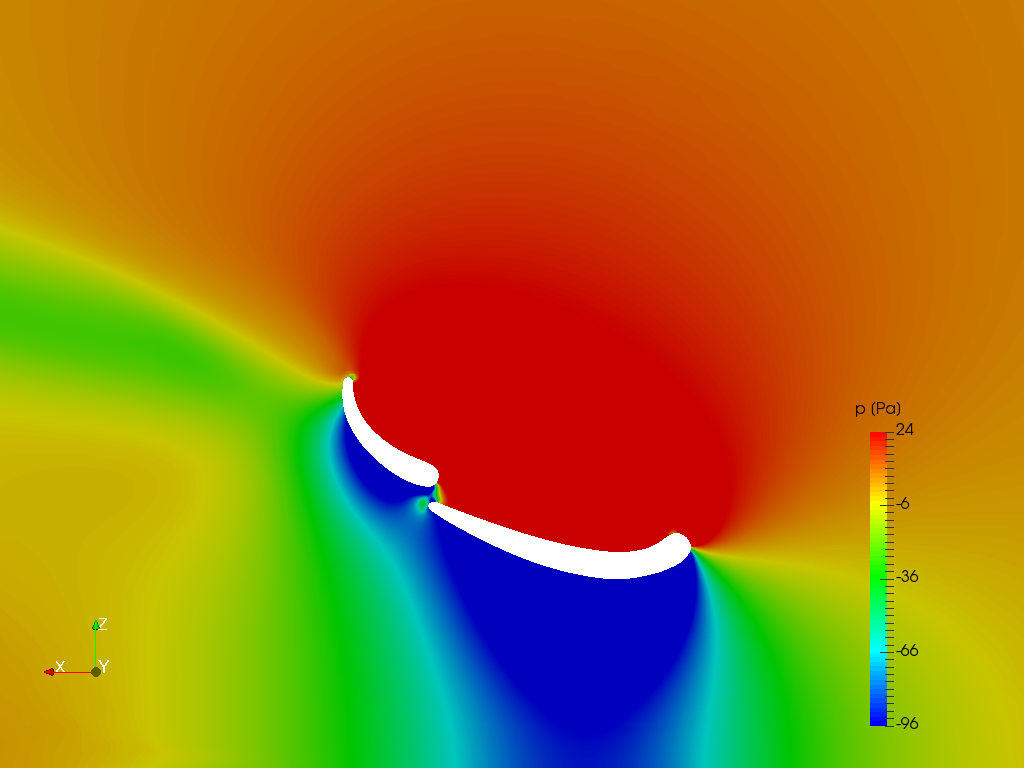
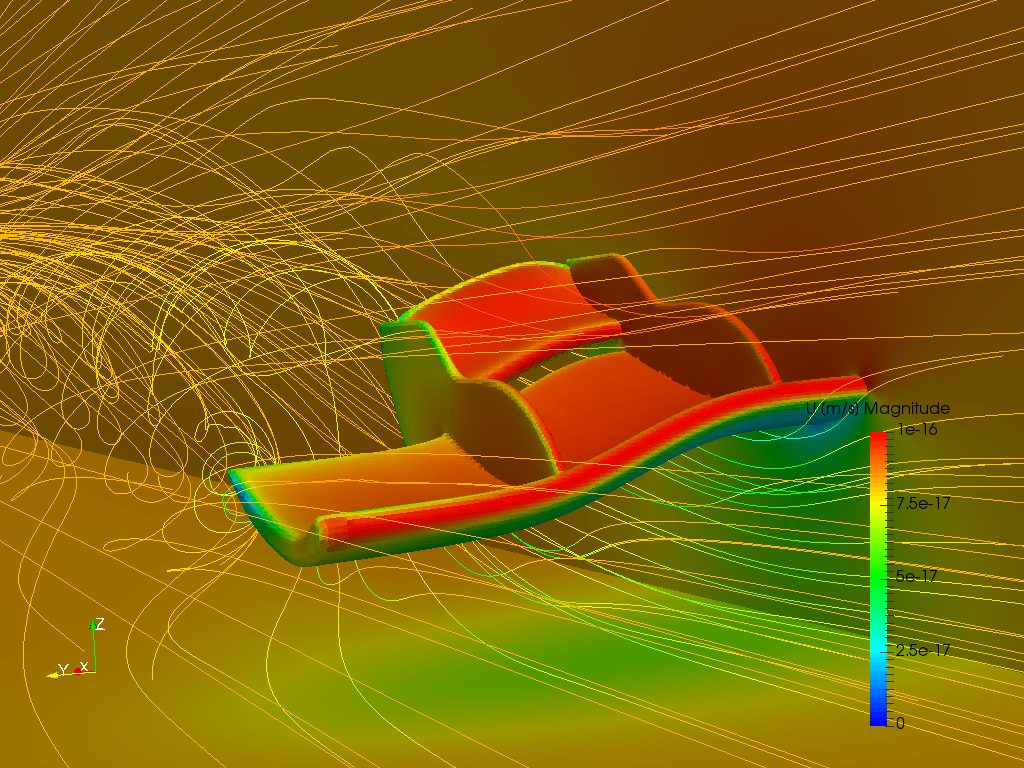
After finally biting the bullet and getting myself a Holypro I knew that I wanted to do something special to my board but was not sure where to start. I knew that I was the kind of rider that wanted to get maximum range out of my board as opposed to focusing on going fast. I started thinking about race cars particularly Le-Mans and Formula 1 and spent some time learning CFD using Simscale. After allot of time I started designing a front wing with the hopes of generating maximum downforce at low speeds. Now I knew that if I was going to get some kind of performance gain it would be very minimal given that most of the drag comes from the rider depending on height and weight but I decided to give it a shot anyway.
I have not had that much time lately to test out my design properly due to the fact that I am a new dad . I am looking to see if there are any Trampa EMTB owners out there who might be interested in doing some testing. Have in mind you would need a 3D printer with a minimal build volume of (X) 297 x (Y) 210 x (Z) 200 mm. I would be happy to give you the STL files if you think you could do some serious testing to see if you get any performance gain and if you promise to not share my files with others. If you are interested please drop me an email [email protected].
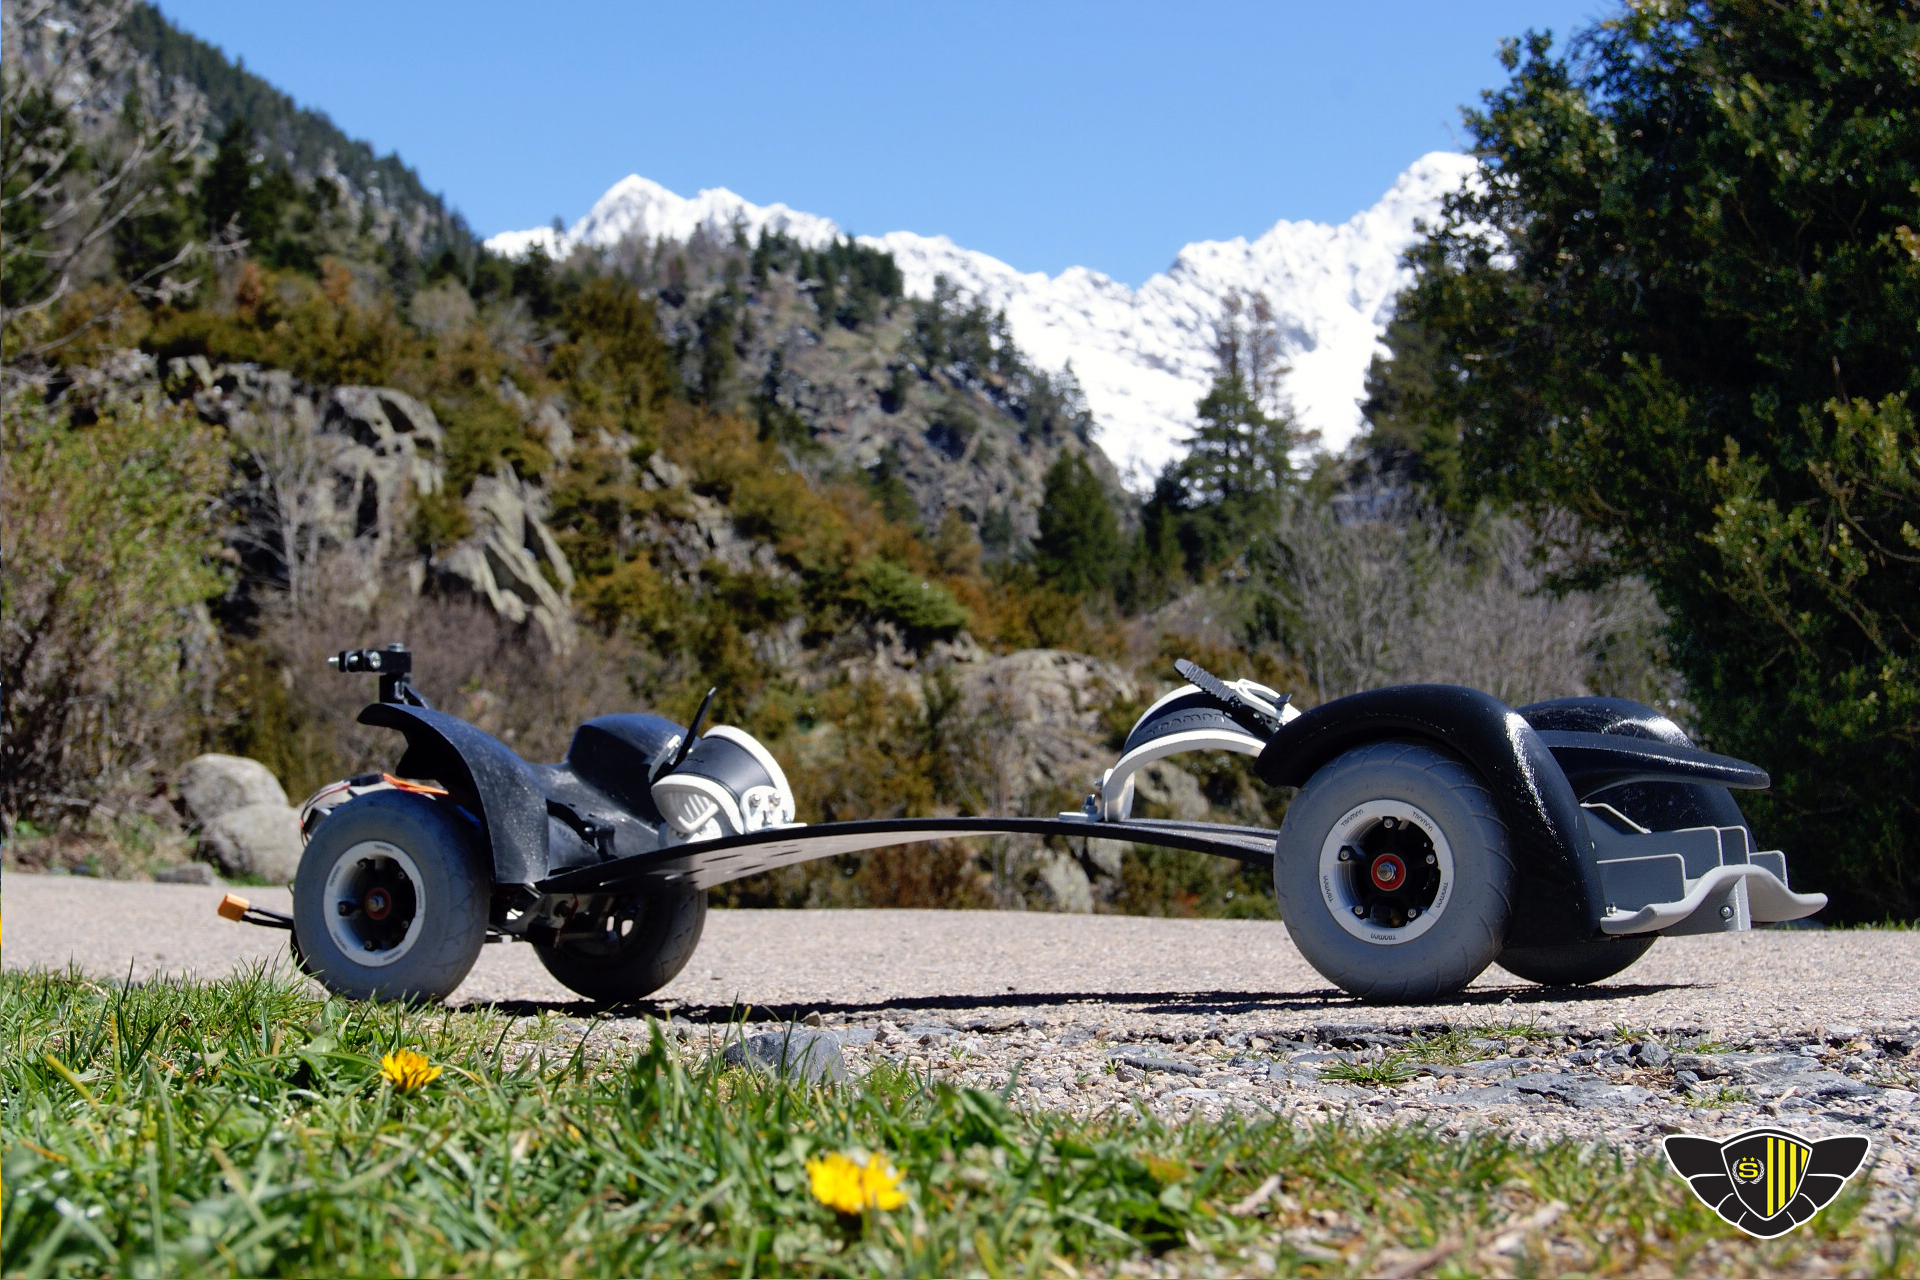
First fitting of the wheel. Perfect fit! The ground clearance was about 5cm. Of course this is not something you want to ride off road unless you want to go flying.
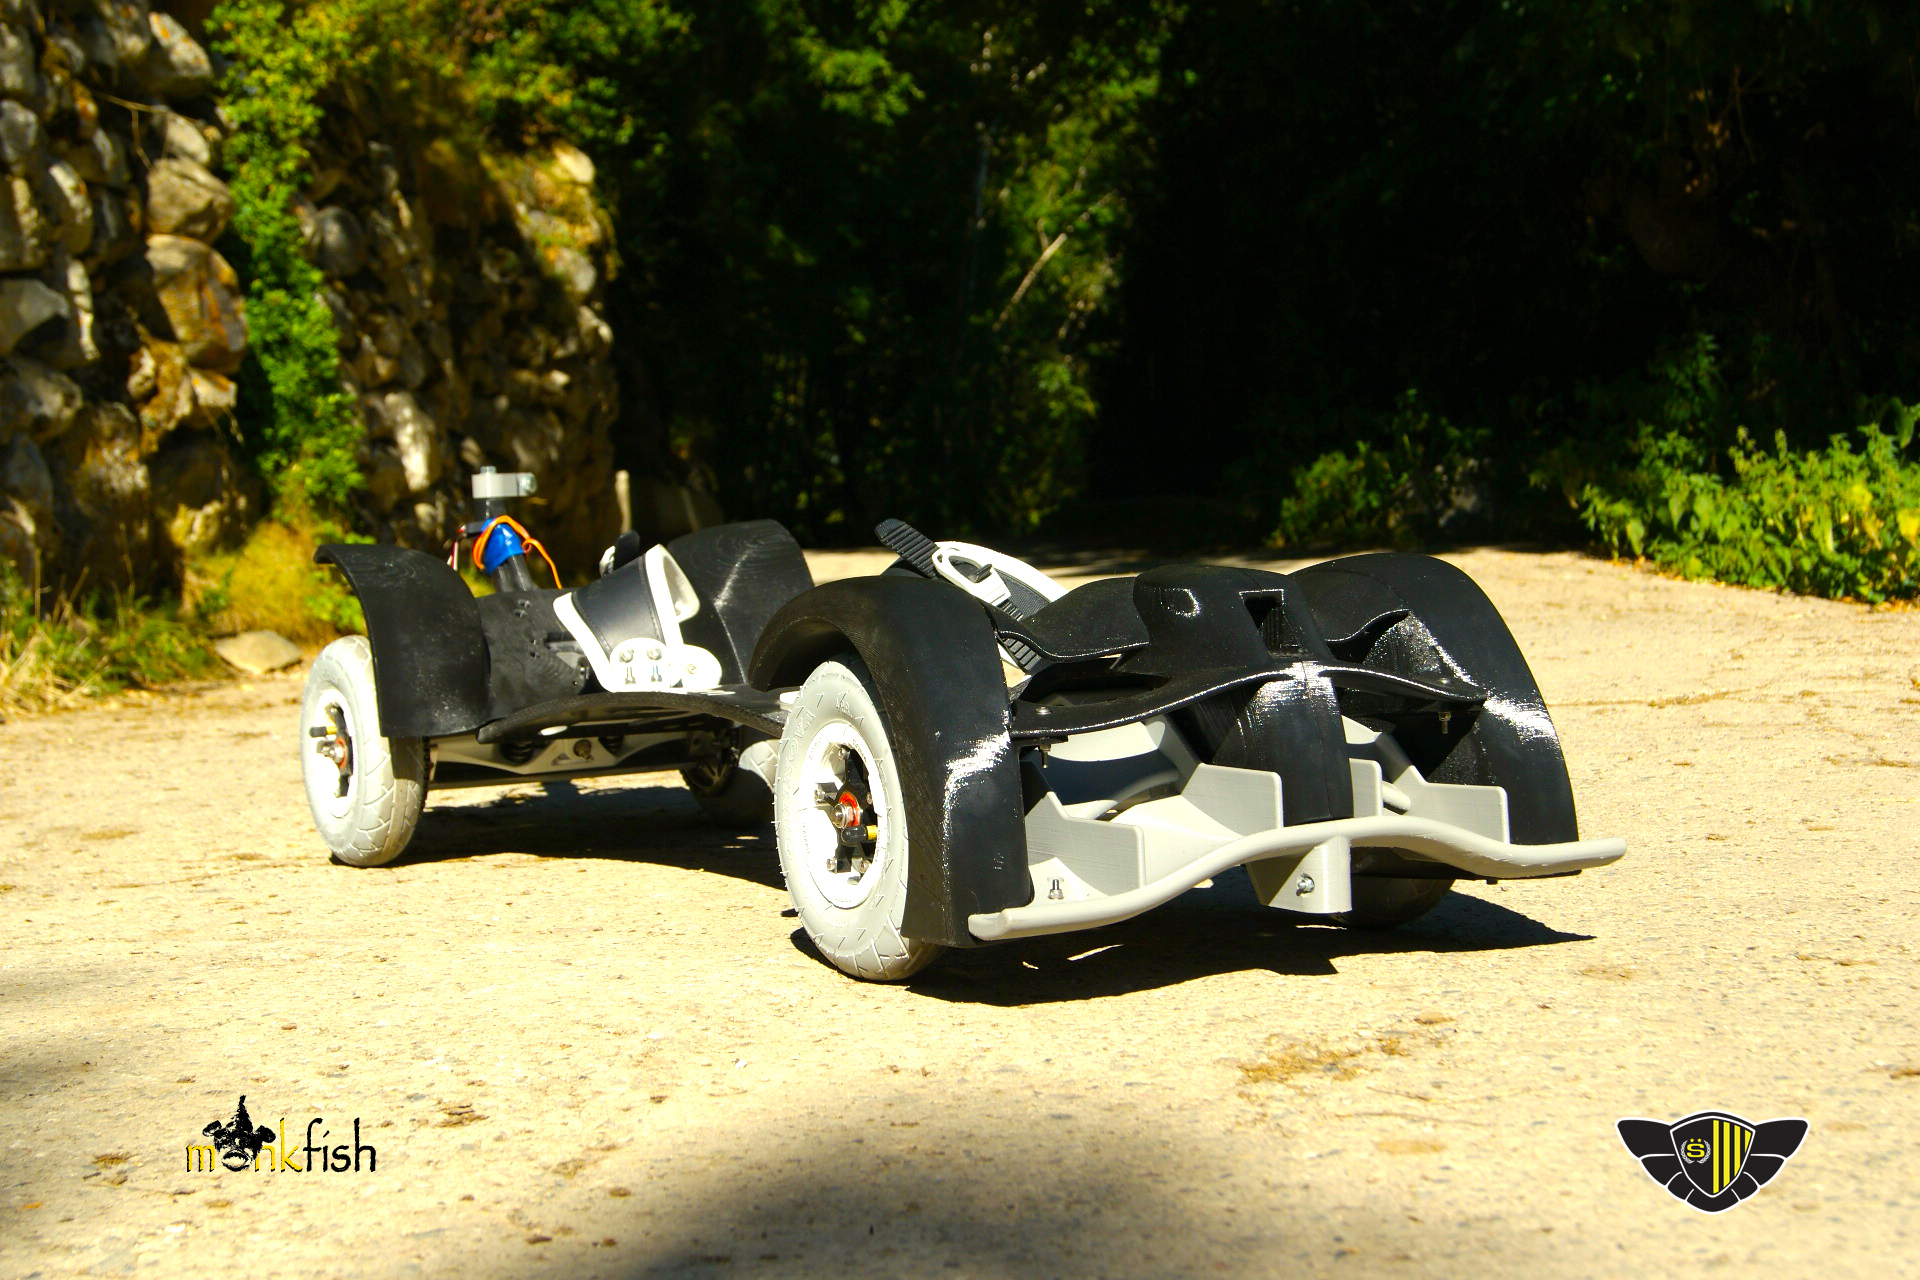
During our first testing session. We had a little bit of vibration because we were using 3D printed truck mounts. Was a bit dangerous but was a huge thrill for me !
The mounting kit for the front-end is versatile so you can swap out the front-end and design things like camera mounts etc. I am working on a camera mount for multiple cameras. Will keep you updated.
Yes I am going hard on Fusion 360 at the moment thinking about enclosures for batteries and ESC’s. We are even developing a trailer but I will be sure to post more images in the coming days on our innovations. Let me know what kinds of things you would like to do to your board and I will try and incorporate them in the designs.
Well, if someone aims for ‘mini car’ concept, somehow image along these lines always pops in my head:
Of course, that bike is of monster size… but I somehow dislike the idea of standing upright, when aiming for ‘car feel’
Seat position would be like gokart or sports bike.
I assume your next step would be also to add spoiler / tail at the end
–
Still havent developed fairings / mud guards for my board… but they are in the making… at least I know how to attach them to the axle just need to make the right shape for covering the wheels.
Yes I have tested a few designs but not too happy with how it looked but will be working on it. I am glad to share any ideas on how to mount mud guards. This method was the easiest way I could think of but still in working process. Appreciate that you like them

 . I am looking to see if there are any Trampa EMTB owners out there who might be interested in doing some testing. Have in mind you would need a 3D printer with a minimal build volume of (X) 297 x (Y) 210 x (Z) 200 mm. I would be happy to give you the STL files if you think you could do some serious testing to see if you get any performance gain and if you promise to not share my files with others. If you are interested please drop me an email [email protected].
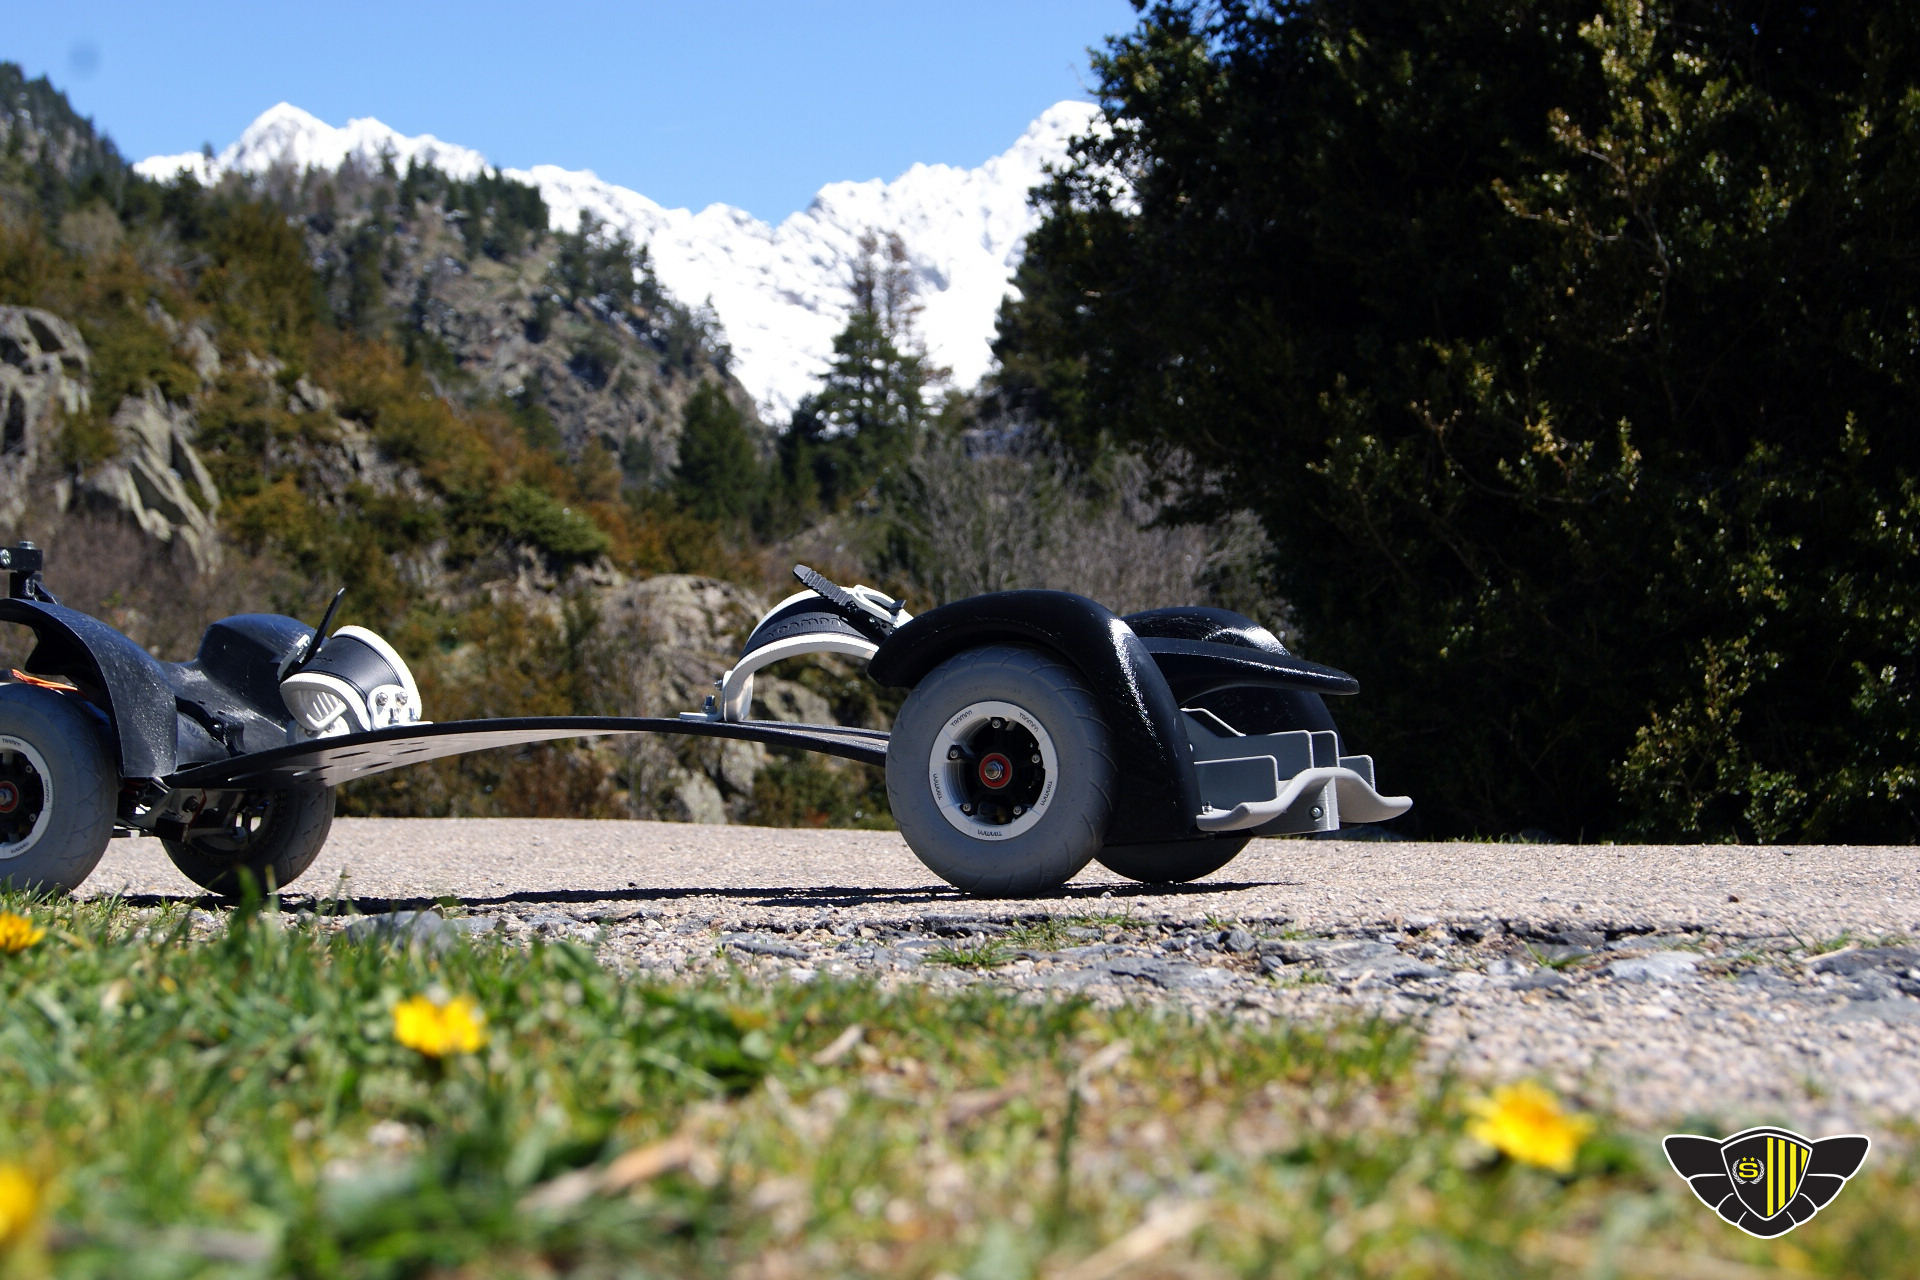


 unless you want to go flying.


 !
!


 looks cool though
 Thanks for getting me into this! Been hanging around too many Germans!
