Yeah I know… it’s an unoriginal name. It’s simply what I have always called my electric skateboard ever since I first started riding 8 months ago. It started out as a pretty ugly build, so this winter I decided to give it a make-over. This build started as a personal challenge: Can I make something that can reliably get me to work every day (12 miles one way).
In order to achieve my reliability goals, I’m avoiding aggressive specifications. That probably makes this a very boring build for 99% of you. The things I’m looking for is ease of maintenance, cost effective components, comfortable ride and durability.
It’s been such a blessing to be apart of this forum. Everyone on here has been so helpful and supportive. Almost all of my purchases have been quality community sourced components. Big shout out to:
@Skunk for entertaining my non-stop questions
@psychotiller for the exceptional customer service and helping me troubleshoot my trucks
@thisguyhere for the incredible battery build service
@hyperIon1 for providing us with the opportunity to test quality products at a discount
@janpom for helping me think through how to best monitor individual cell voltages
@torqueboards a being a vendor that is active on this forum
@dickyho for making specialty parts at cost
@marcmt88 for the great service
@akhlut going out on a limb for the members of this forum
There are still quite a few parts in the mail. I’m waiting very patiently to wrap this thing up. I will be updating this thread regularly as parts arrive. Here are some progress picture of the build so far.
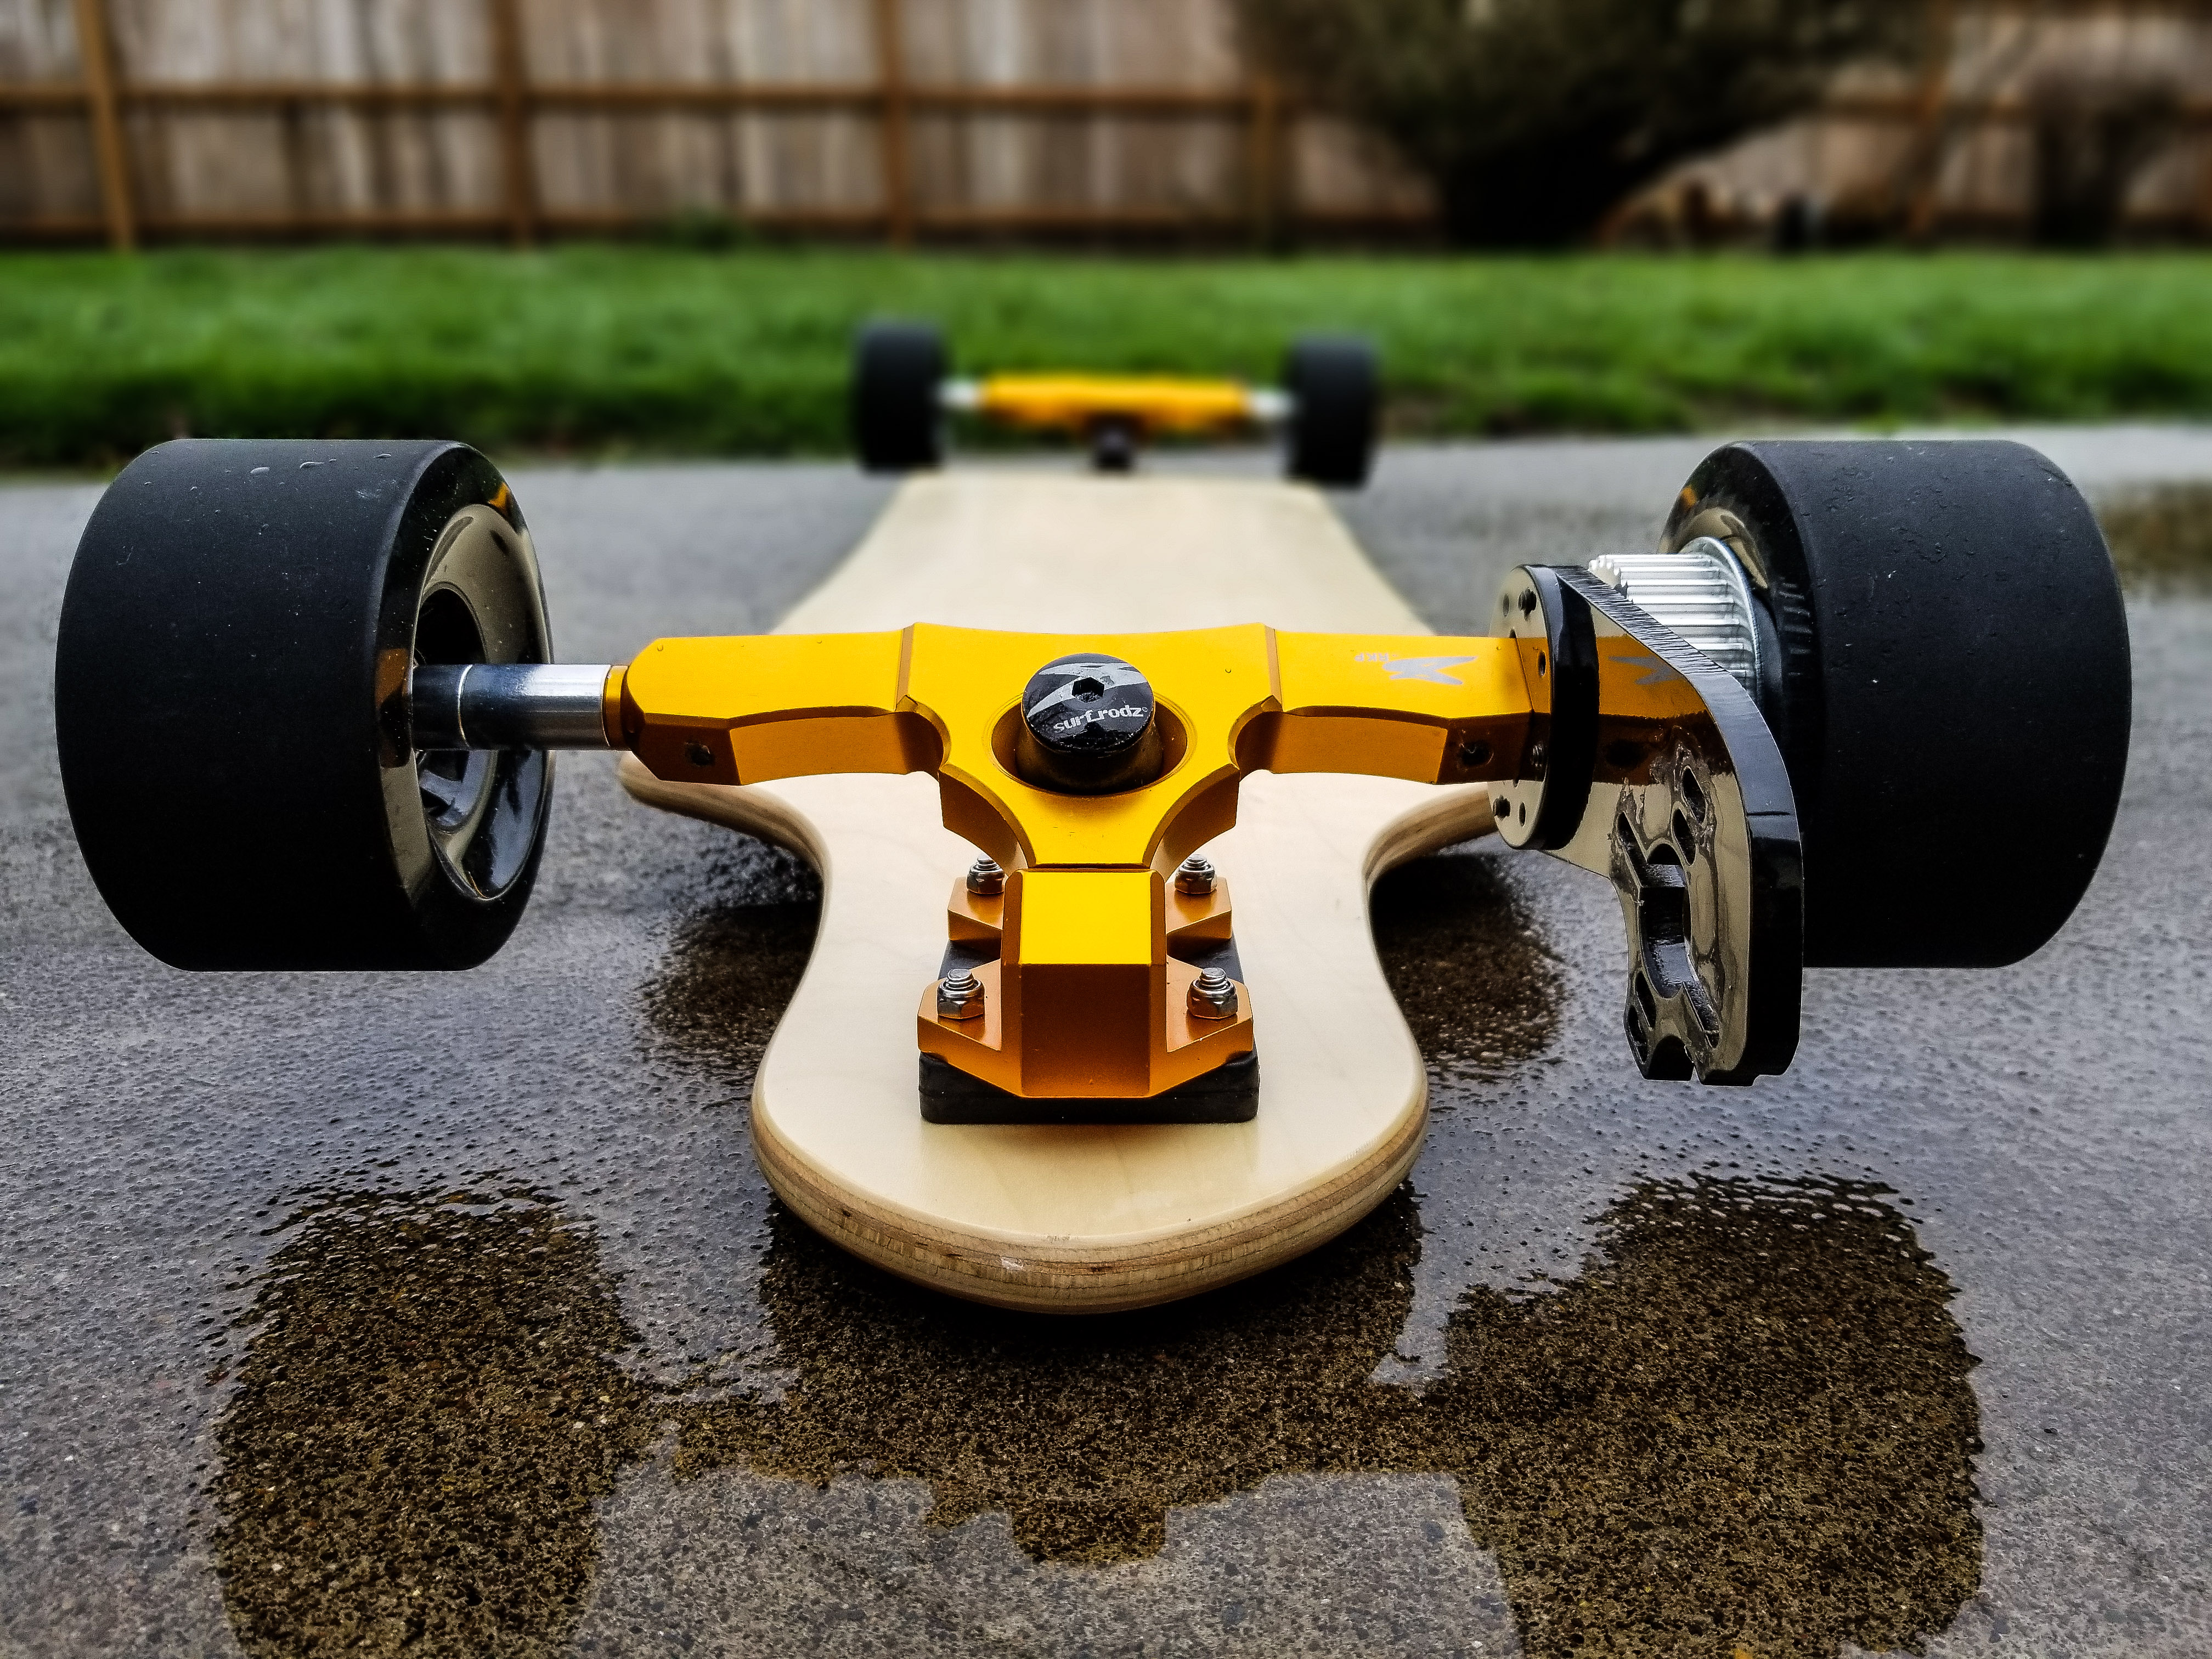
I’ve used 2 other Skateshred decks on other builds and they have performed great. Incredible quality for the price. This is the first time I’ve used this deck, so it’s hard to say how it will perform just yet.
I’ve pushed it up and down the street and it feels really good. It has a W concave shape which makes it very easy to figure out where my feet go.
My battery shipment arrived today! P groups assembled by @thisguyhere
Added some hot glue spooge in between the cells:
Then added solder in between the nickel tabs and the PCB. My solder iron get’s really hot, so I was able to add the solder joints quickly without heating up the nickel tabs on the cells. They barely got warm.
Completed the next 5s bank of batteries. The next step is to coat my connections in liquid insulation and then wrap in shrink tube. Almost don’t want to take the next step, cause it’s too pretty
Very nice build.
One observation:
It seems you have quite thick balancing wires. Generally it is preferred to go with thin wires so in case of a short circuit they will act as a fuse.
Sorry for the lack of updates! Things have been pretty crazy around our household. I started a new career in March after working in the same industry for 15 years and then we decided to take our family to Disneyland for Spring Break. Consequently I haven’t been able to focus on this build like I wanted to.
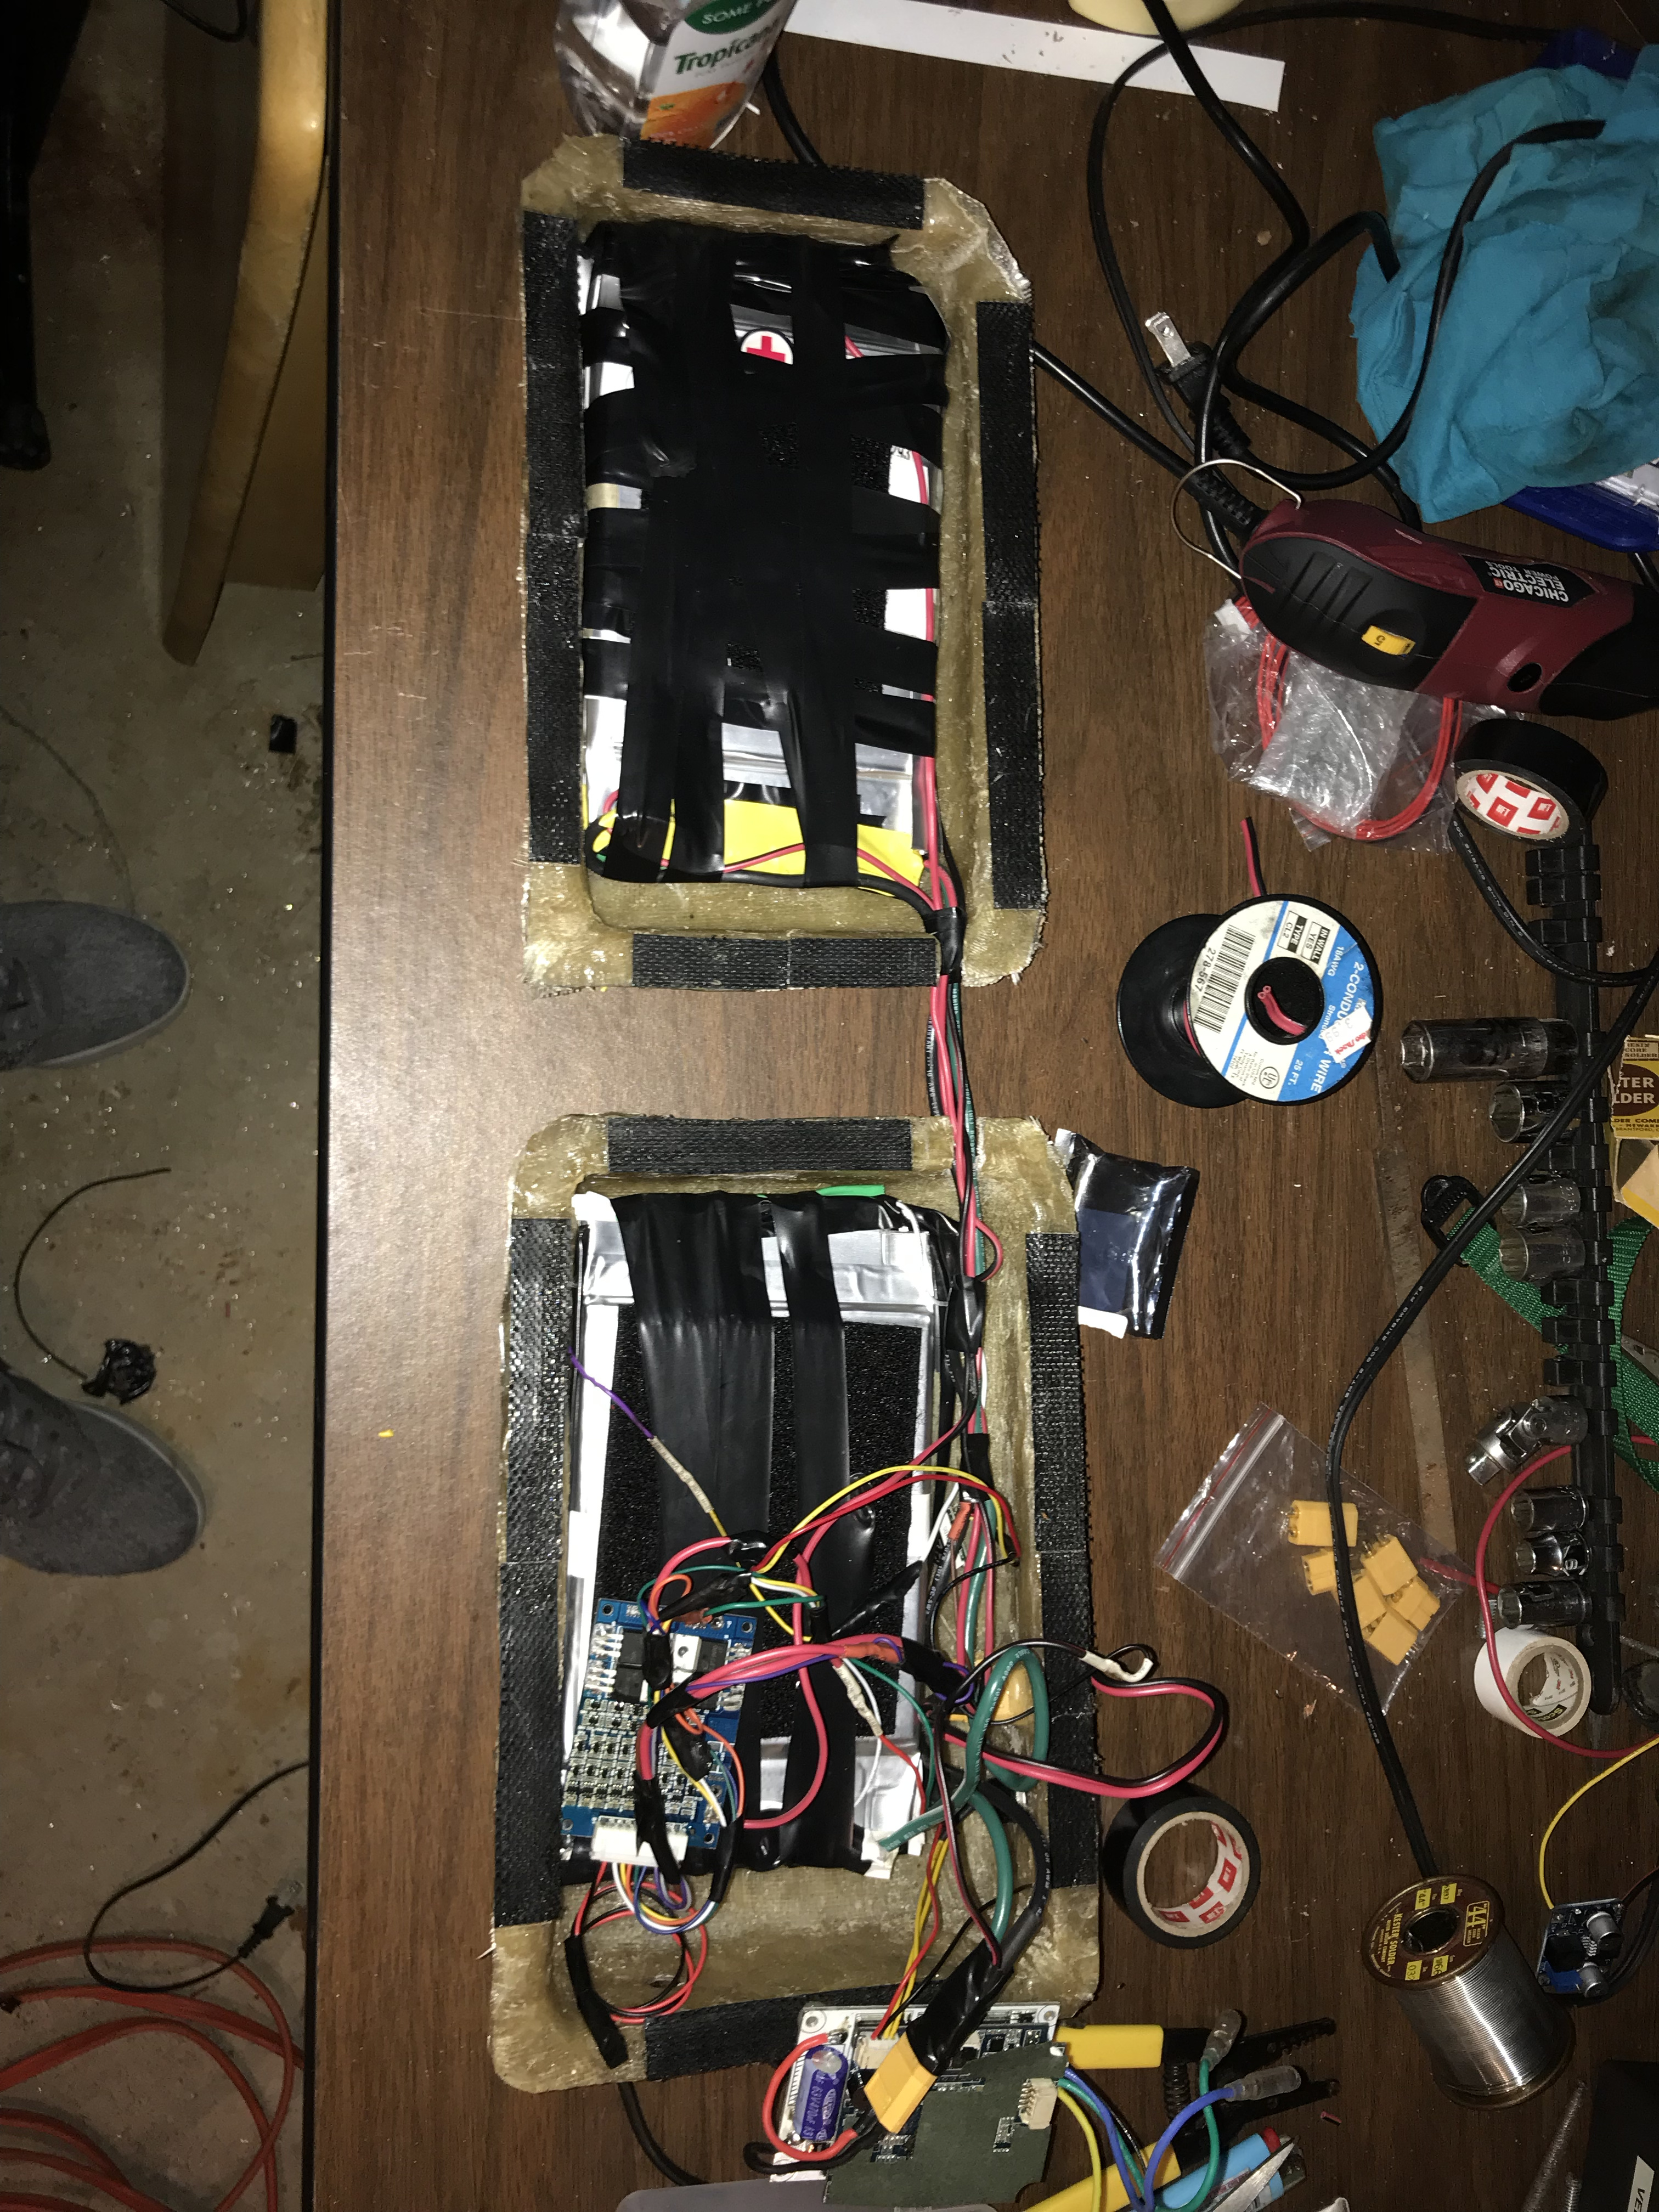
I did manage to make some progress on the battery and Smart BMS over the weekend. The 10s packs are now wired in series and the Smart BMS is functioning. The whole reason that I got this BMS is so that I can monitor individual cell voltages without having to remove the enclosure and take anything apart. I like having that kind of peace of mind. Here is a screenshot of the LLT Power Smart application on my phone:
And here are some pictures of the completed battery and Smart BMS in my enclosure:
HUGE shout out to @janpom for all the technical support. This was my first battery build, so I was feeling pretty nervous about getting my connections right. He helped review my wiring diagram as well as double checked that my BMS is configured correctly. Thank you Thank you Thank you!
Finished the build last night and waited patiently for the loctite to dry. Once the loctite was dry it started raining outside. Ugh, just my luck. Eventually the pavement dried out and I was able to take it for a spin this afternoon. I’m very pleased with it’s handling. Rides just like magic carpet
Max speed:
Some Pics:
Thanks everyone for all the help and support. Couldn’t have done this without you guys…
Hiya it’s nice to finally seeing more people using the LTT smart BMS! It’s a fantastic tool, though it seems to not run on android pie which sucks, was wondering if you had the same issue?
I had never heard of this BMS until @janpom recommended it. Sorry to hear about your troubles with Android Pie. Fortunately my Galaxy S8 still has version 8.0.0, so the application has worked great.
Yeah, the trucks really set this thing off. I normally don’t like gold tones, but it’s really grown on me.
Great looking build. Have you had any experience with the rheostatic brake? I can’t really find much on them, but I’m really curious about using one as I’ve always been paranoid about hitting hills with a somewhat full charge. Looks like an easy way of fixing that.
I’ve yet to test it on a steep hill on a full charge, so I’m hesitant to give it my full approval. When cruising on flat land I can’t really feel any difference in braking performance when comparing fully charged versus partially charged. So I think it’s working???