The Rust Rocket | Bintang Deck | 10s4p | VESC | MBS All Terrain | Dual 6384 190kv

WHEW! 20 DAYS SINCE LAST UPDATE. BOY DO I HAVE UPDATES FOR YOU GUYS

AFTER DOING ROUNDS WITH USPS LOOKING FOR MY FREAKIN’ PACKAGE fu usps, i finally found it in a mail center like 15 miles from where i was. expensive uber trip :confused:

anyways…all’s well that ends well. A huge shout out to @Jlabs this dude has been a freaking wizard throughout the whole process. Seriously, he went waaaaay above just being a supplier of many of my parts, He soldered everything cause he knew i didn’t have access. He helped me organize everything, helped with vescs…list goes on. He’s been awesome and i’m 100% overwhelmed and happy that there’s guy’s like him willing to help new builders on the forum. But don’t go to him without studying first i’m sure he’d hate that. :joy:

Now some build porn

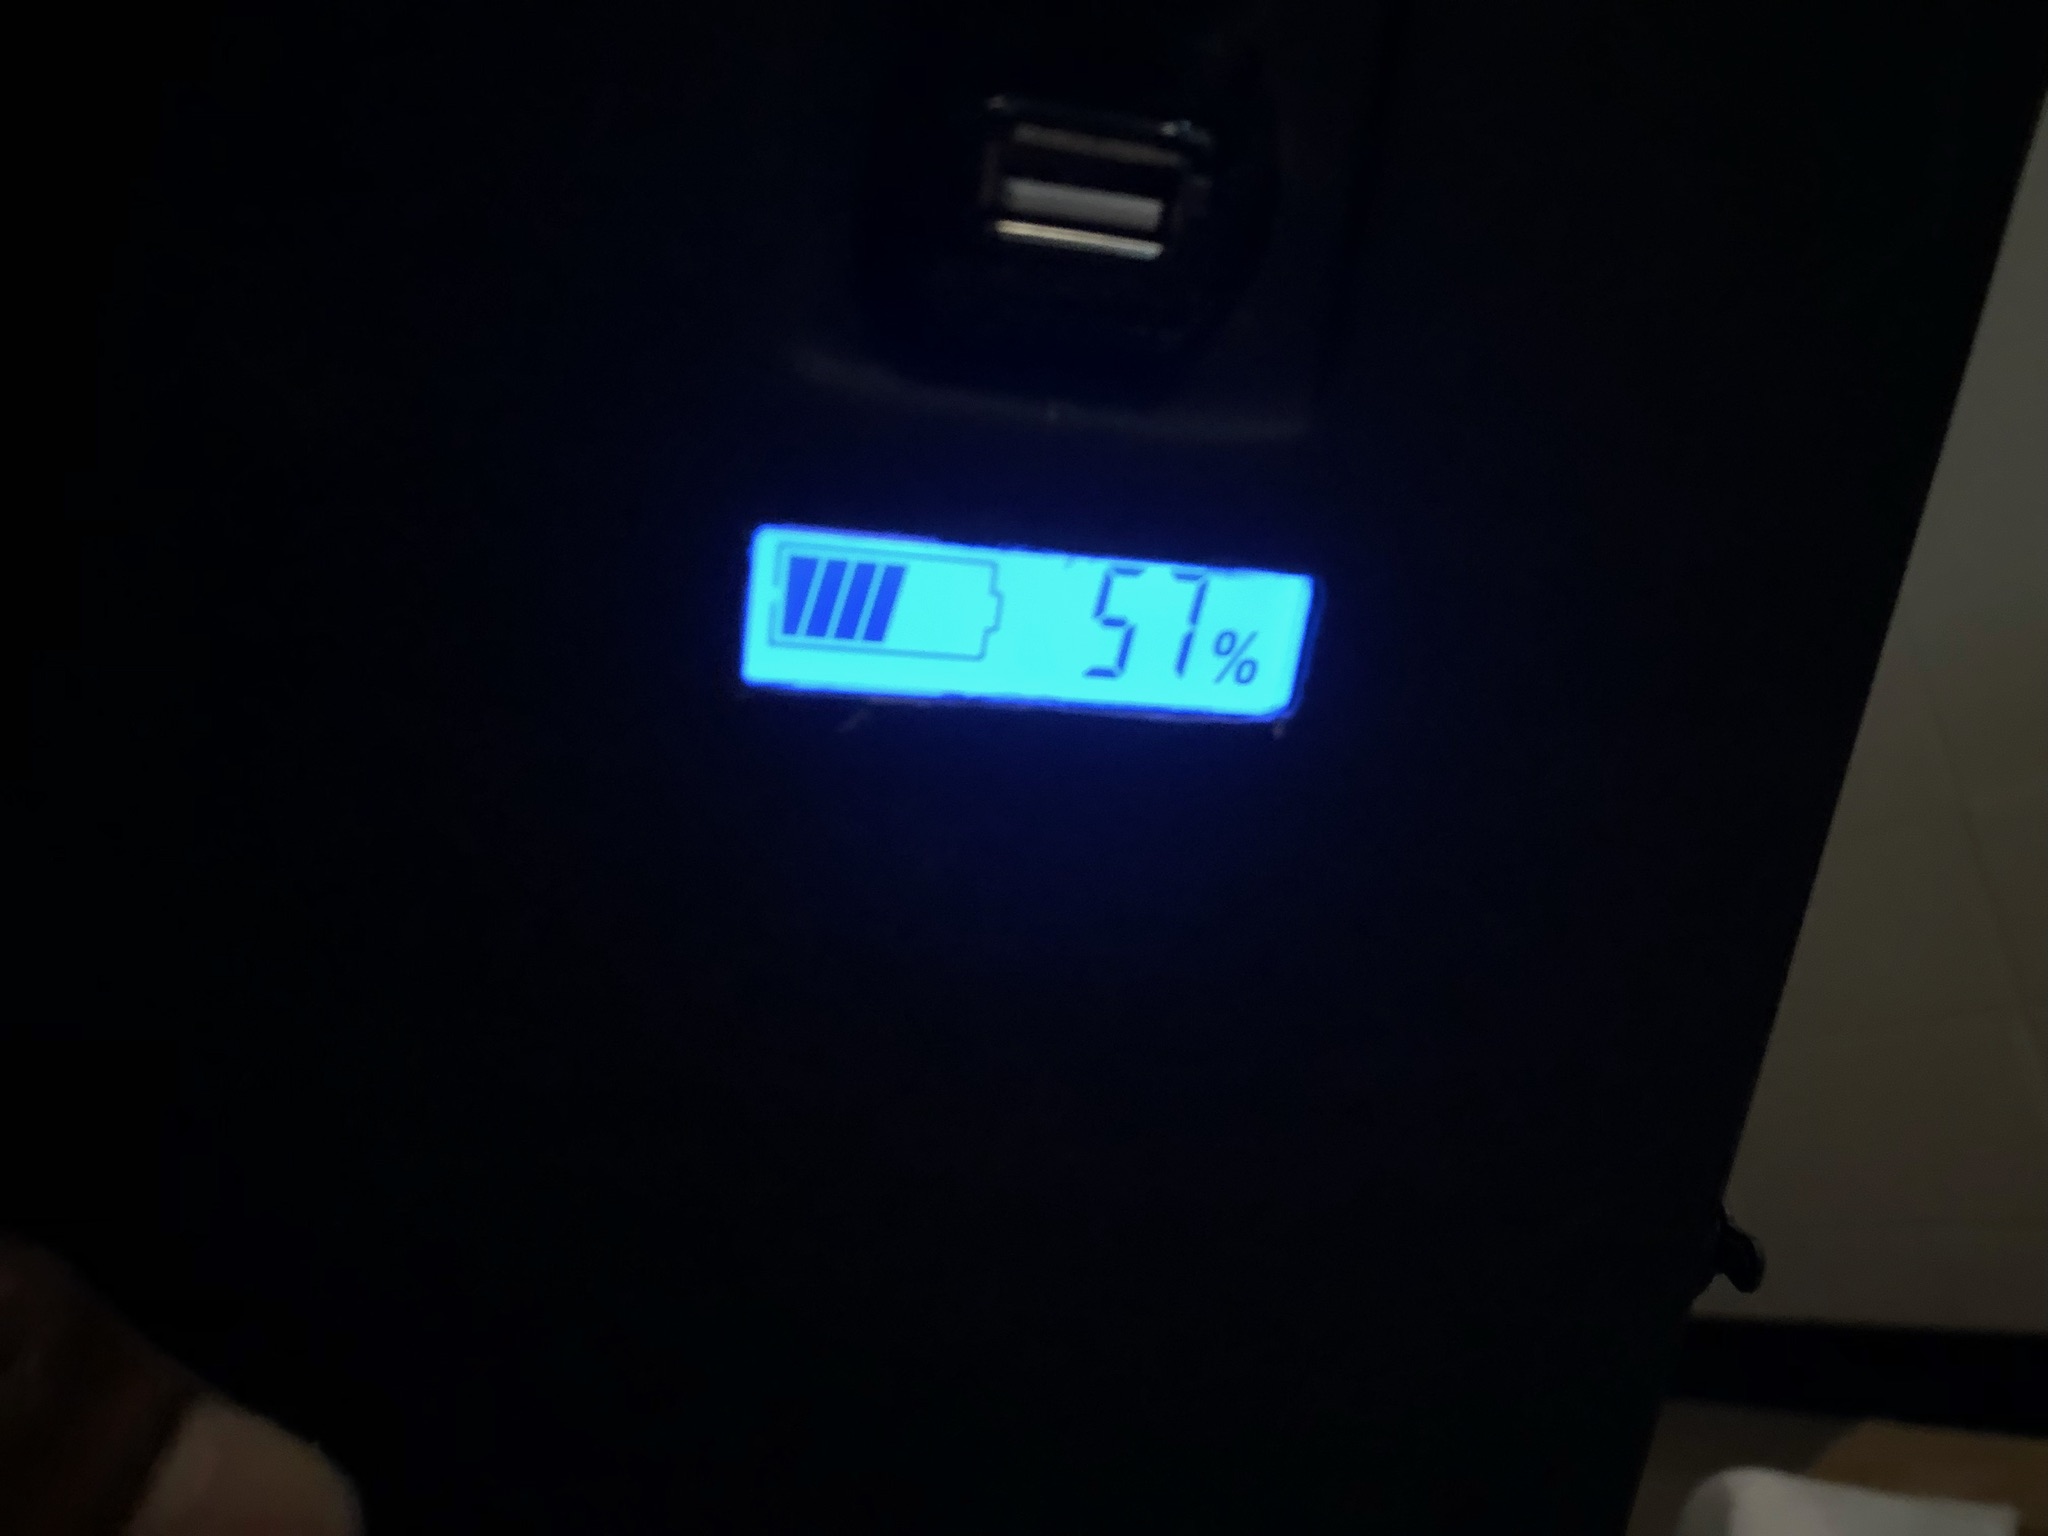
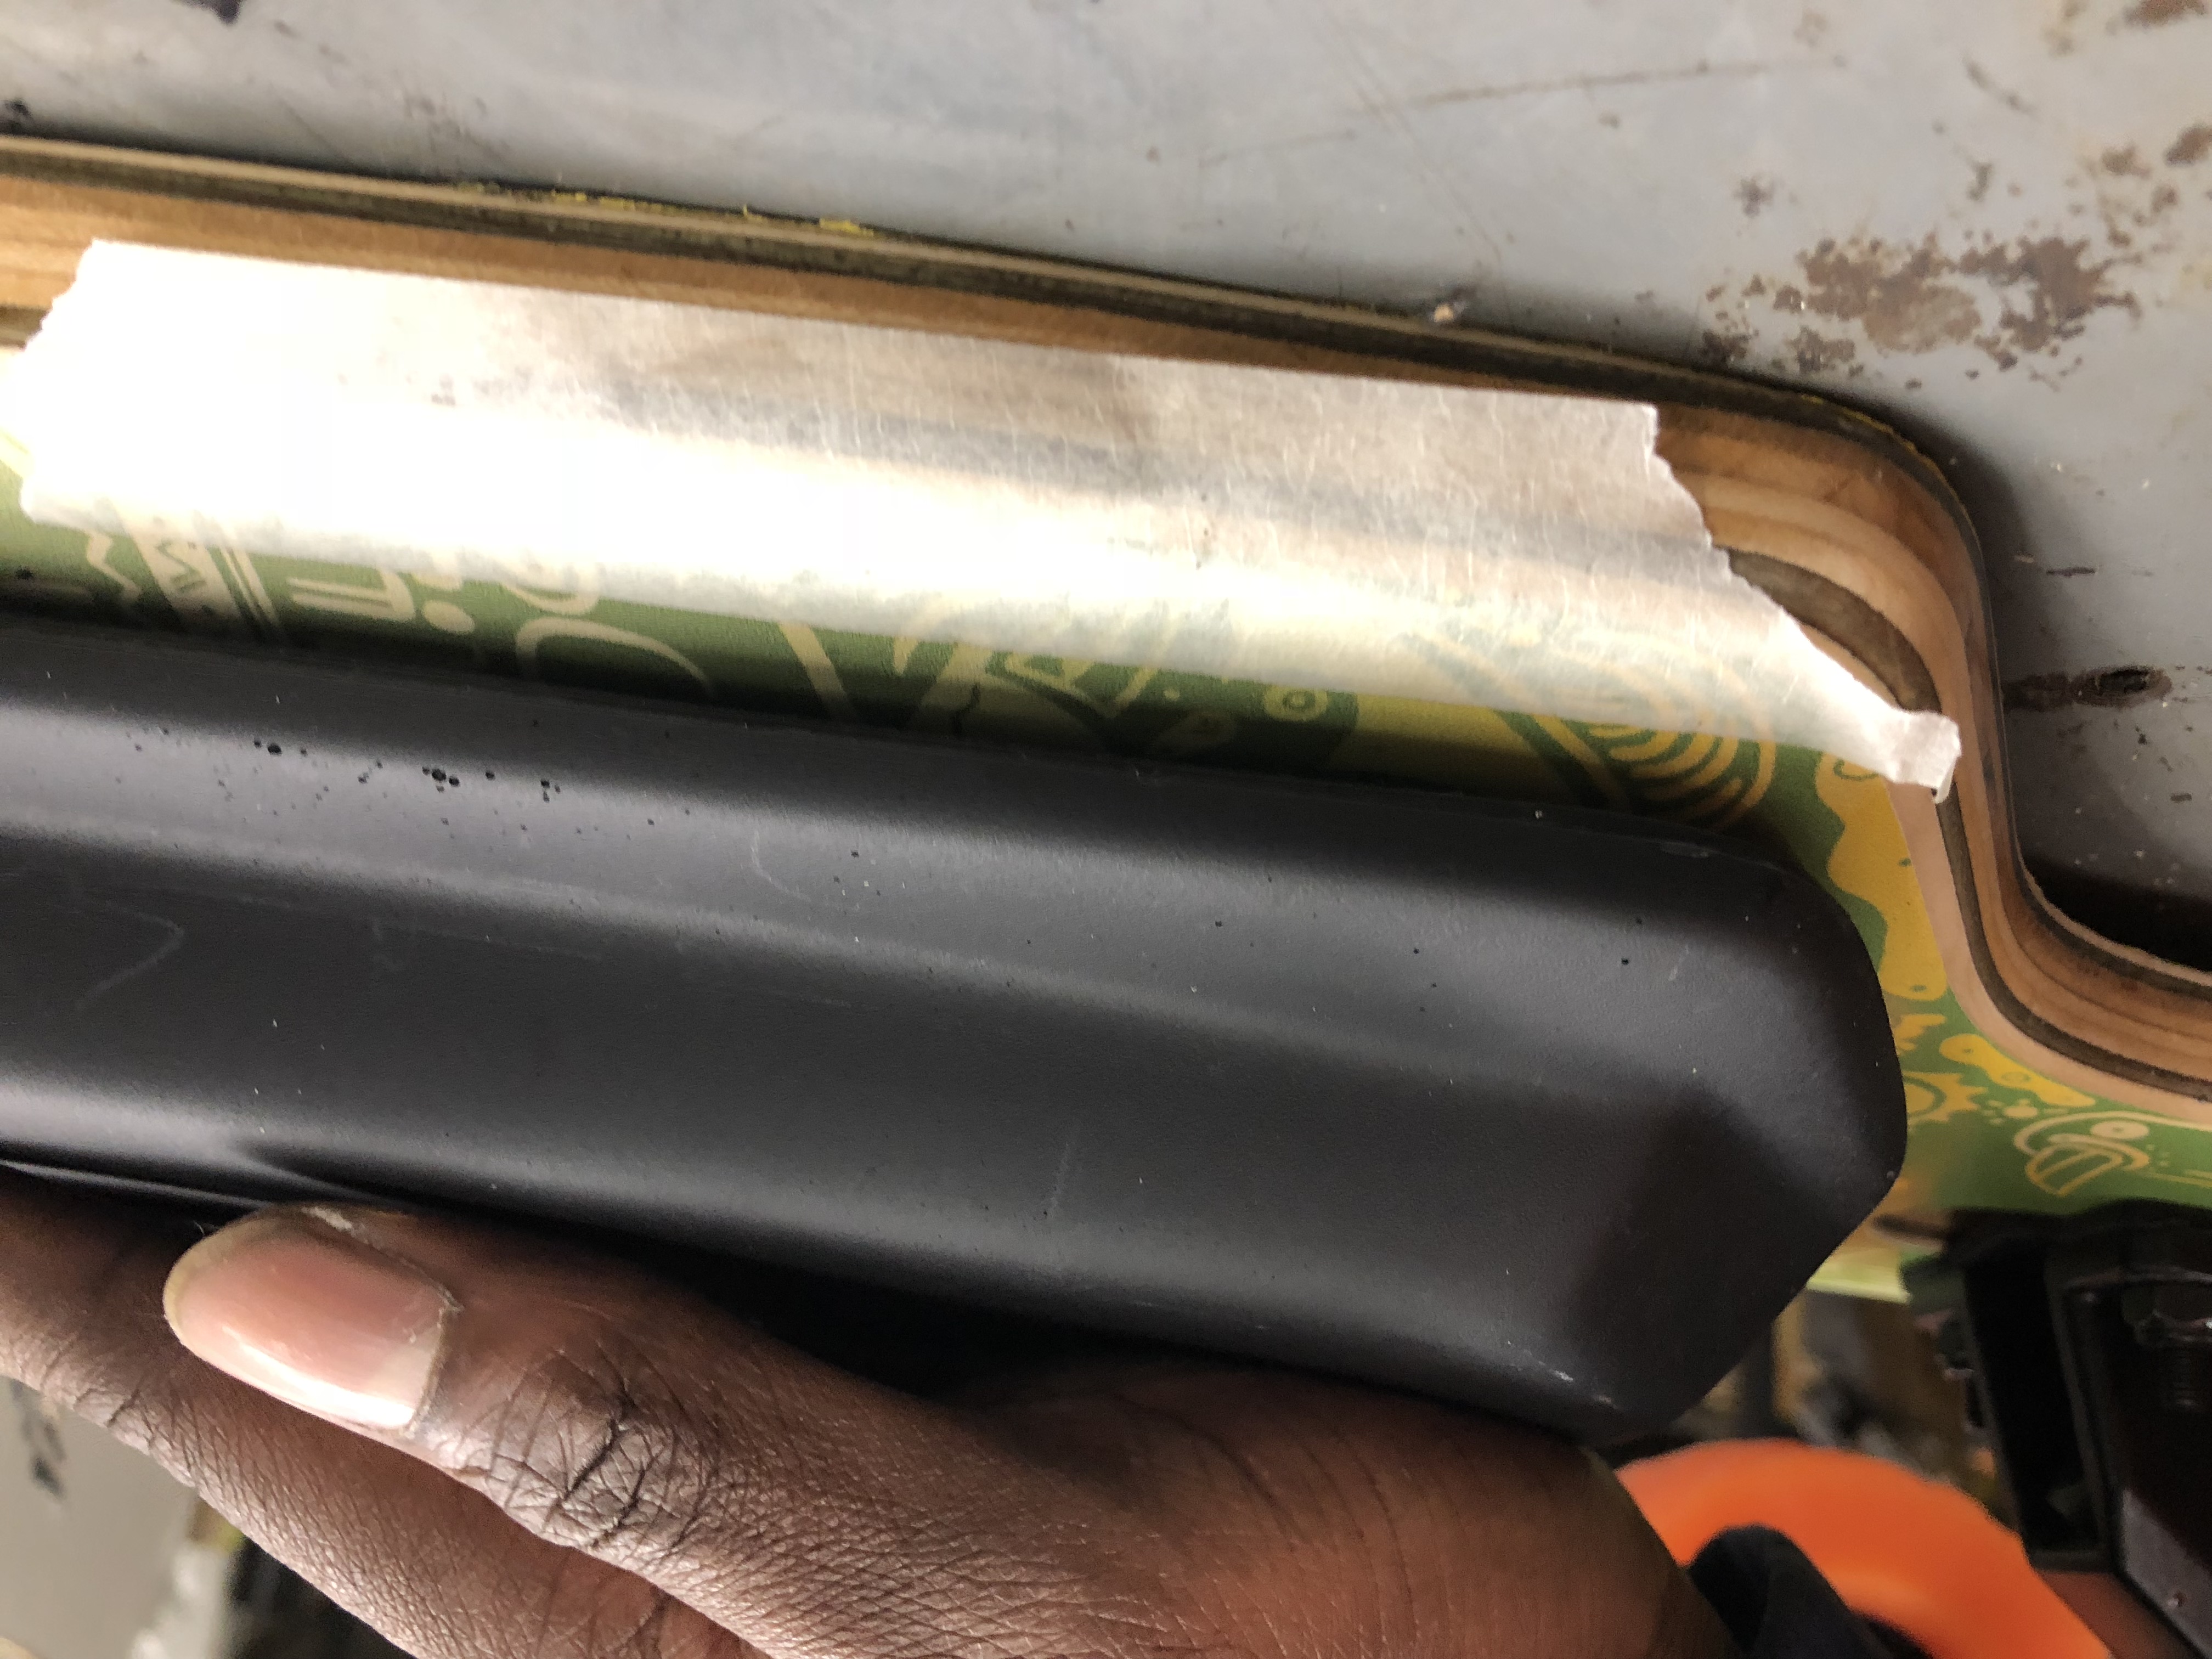
Basic 36v 2A charger. I’ll stick with it to preserve cell life. Will probably charge while i’m at work or asleep. with this 10s4p battery i doubt i’d need to charge so often. Commute is a 4mile round trip.

VESCS in the enclosure, Jared was very kind to label them as he did programming of them while he had them. He also labelled the motors so i know which is which.

Test fitting everything in the enclosure. Need to tidy things up obviously. Will be using cable ties, Gorilla glue and Velcro in multiple places. Also have some nice neoprene foam that i will be using under the battery and vescs for vibration dampening.

Not much i can say. Pulleys feel amazing. Very solid and nicely grooved to really lock into the wheel. I’m using his standard flywheel?@jlabs pulleys and they fit like a glove in the MBS. 36T for a 16/36T config.

These motors are Thiccc. Thicker than a bowl of oatmeal. Thicker than Demi Lovato. Thicker than Thicc. They’re also heavier than i expected :sweat_smile: 
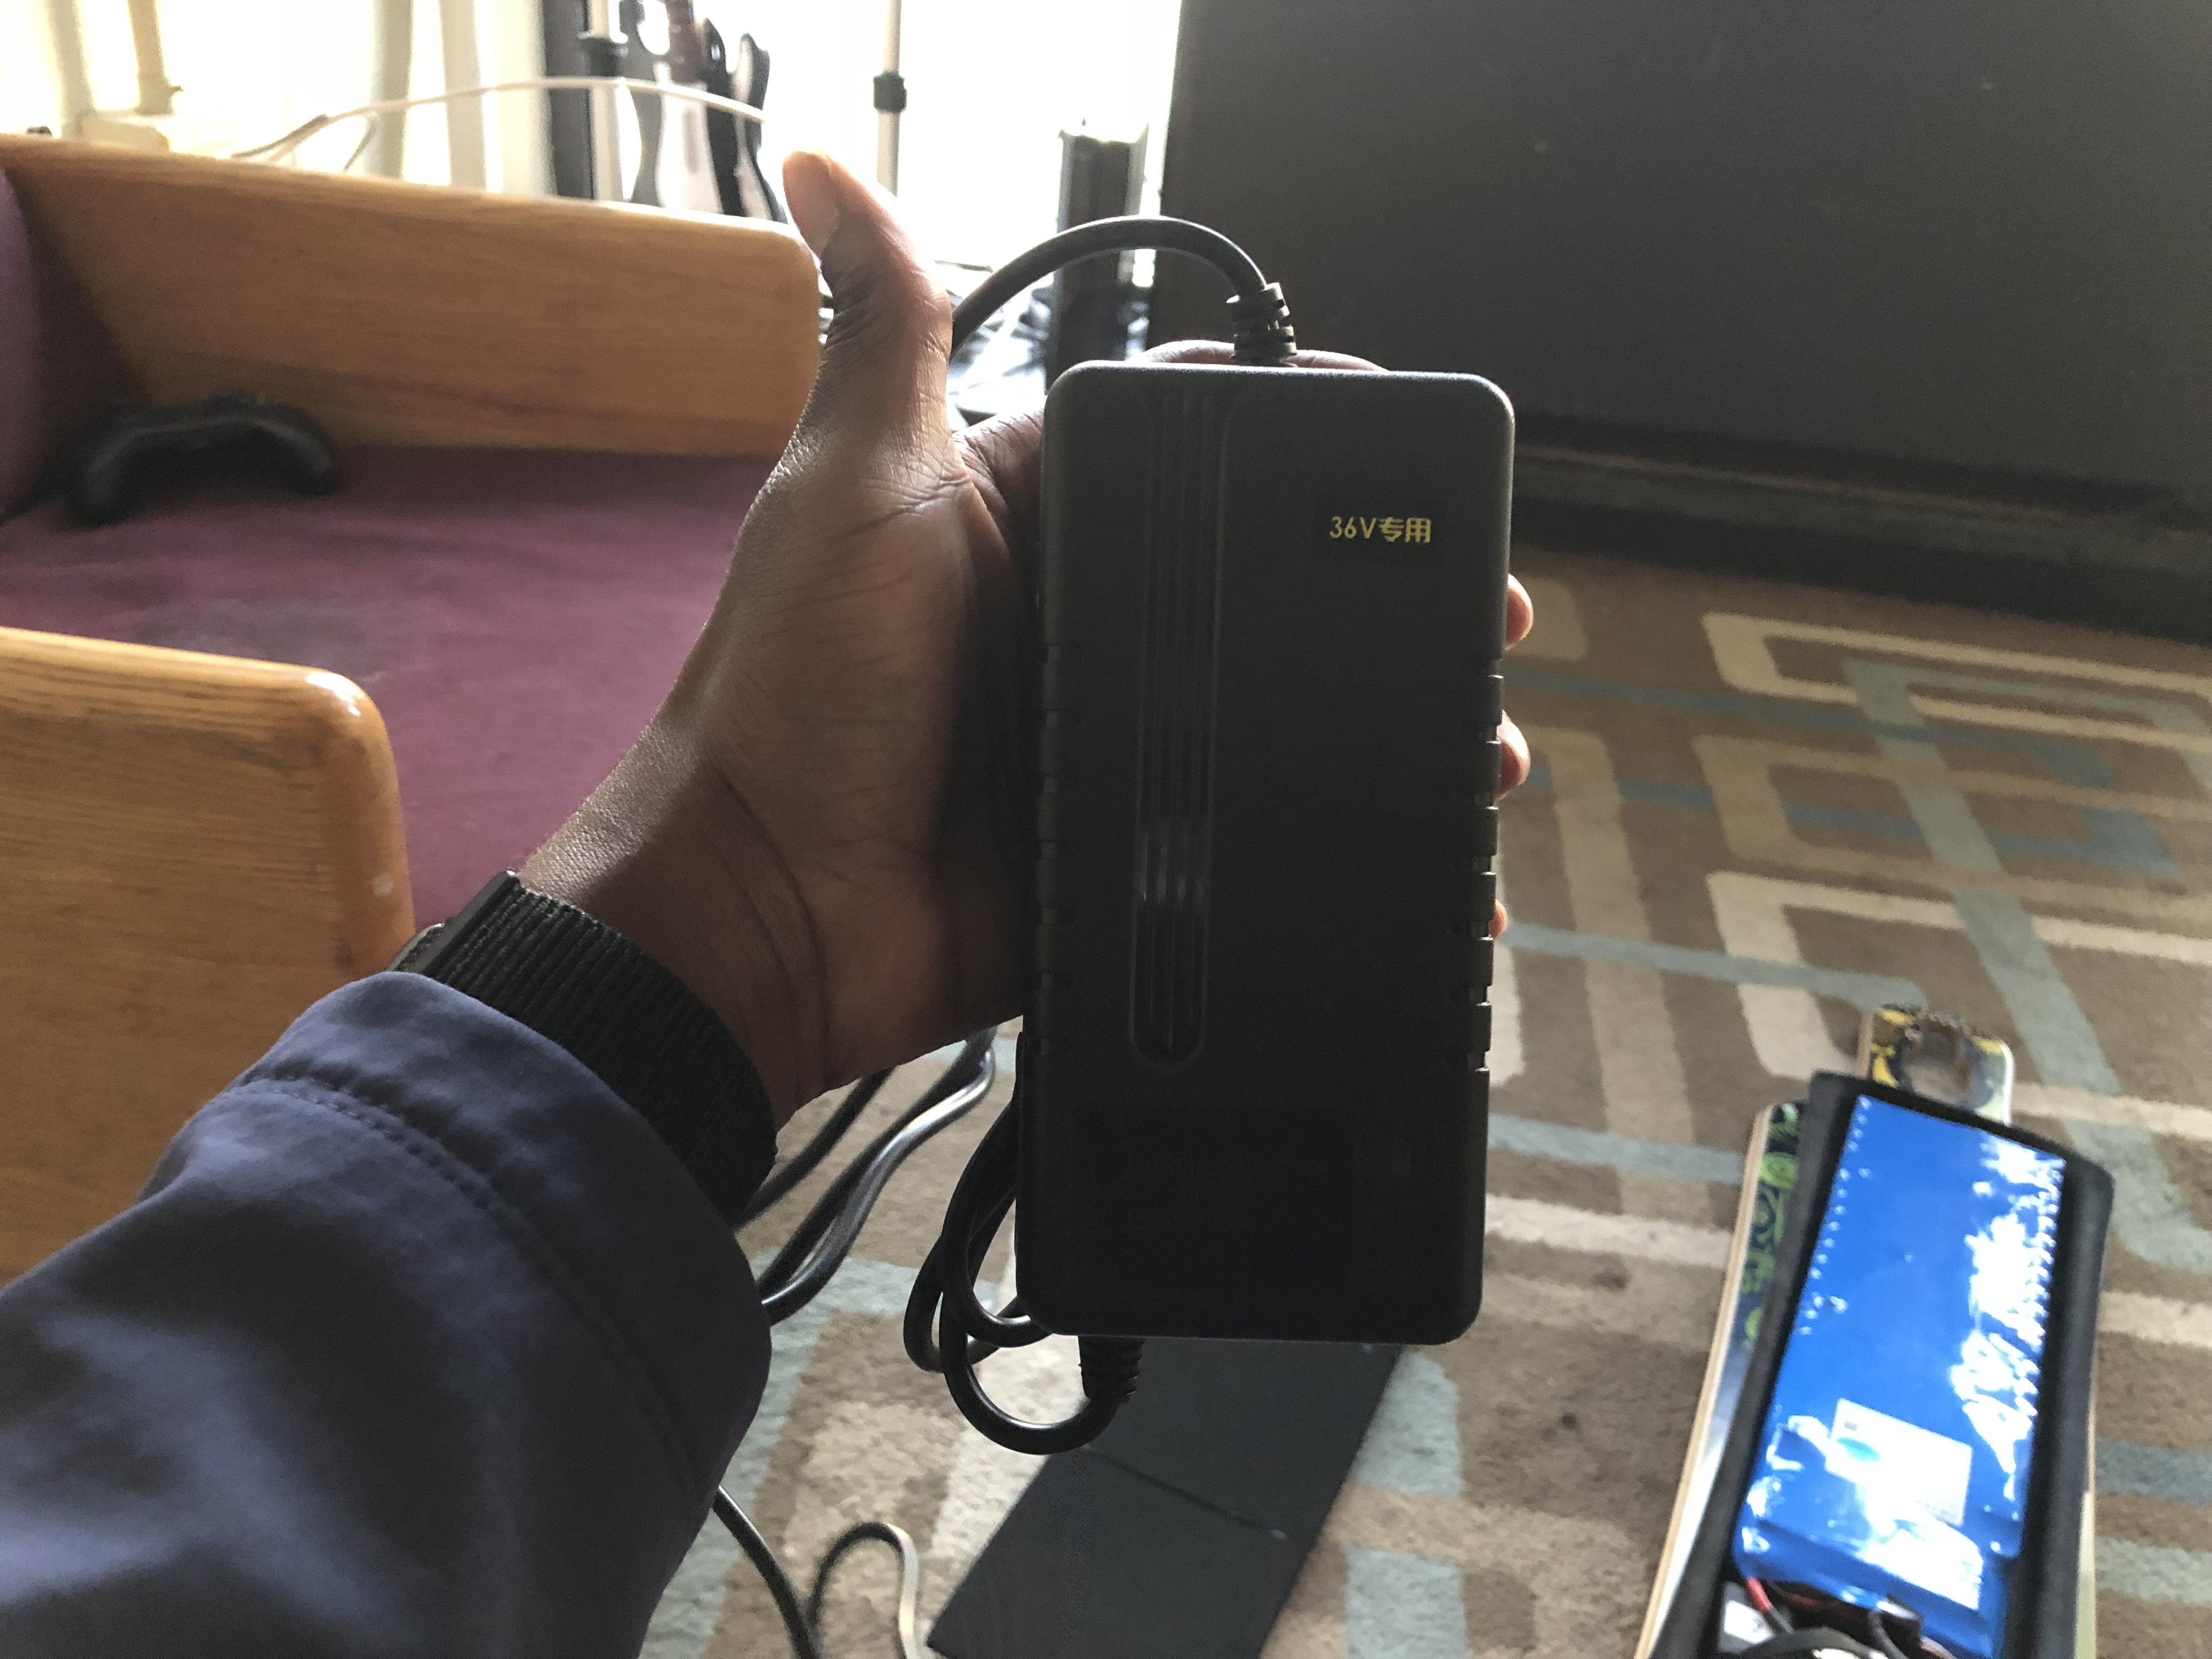
I can imagine they pack a mean punch. Helmet on guard. Jared also went out of his way to help me extend the sensor wires due to reverse mount config

Yeah that’s pretty much the update for now; will get to doing more stuff tomorrow. Already added the neoprene and will mount the battery inside the enclosure. It’s an @Eboosted enclosure i got from Jared and it’s slim and a perfect fit on the bintang. It’s the 12S universal enclosure. I’ve got a USB port, Bluetooth Module, Receiver and all sorts in that enclosure and it all fits like a glove.

More updates to come tomorrow. Will mount the motors using @Deckoz technique for TB mounts :sweat_smile: Hopefully that works. I see a @marcmt88 dual idler mount in my near future though (June) :’).

To Do;

  1. Drill deck for inserts
  2. Mount VESCS and battery in enclosure
  3. Attach Pulleys and test mounting configs
  4. Braided wire for motor phase wires and sensor wire
  5. Ride the hell out of this thing.
  6. Set up bluetooth module
  7. Race past all the eskaters on campus
  8. Settle on a name for the build.

Till tomorrow :smiley:

4 Likes

Sick update dude! Looks awesome!

1 Like

I did not pay him to say all that :joy:

Haha but thanks for all the kind words, and enjoy the build!

5 Likes

Thanks bro :smiley: still learning about truck stability and all that…the search for the perfect ride.

1 Like

LMAO! you should have paid me and I would have said even more. :’). But seriously guys check out buildkitboards.com :laughing:

1 Like

Looking goooood, we need more pictures!

1 Like

These batteries look friggen LEGIT!

1 Like

:joy::joy::joy::joy: Demi oh shit

3 Likes

id even go out on a limb and say theyre thiccer than Kim k

3 Likes

They Are! they have a hard case at the bottom too for added sturdiness. It feels like very very high quality…well…it is very very high quality. :laughing:

1 Like

So much love for my girl Demi :star_struck: . These are a huge upgrade from my shitty single motor evolve :3

2 Likes

Big Limb you’ve got there :joy::joy:

1 Like

Will do Tomorrow once i start working on it properly. Today was just some touches here and there :sweat_smile:

1 Like

Okay Update for Today… Bottom line is i didn’t do as much as i wanted to do, but I did what i can. Only had like 3 hours or so today cause of school and track and lots of other factors. Anyways.

Started off the day following @Deckoz tutorial to mount the TB mounts. Set them in place and prepped them for mounting like instructed.

Laid out everything on one of the work benches in a workshop at school. My friend was also working on his vanguard build as well…That deck really feels good

This was the first iteration of my mounting process. Quickly found out that i had mounted them too close together so there was no space at all for the motors. So i unmounted and remounted.

This is what it ended up as…

I don’t know why the picture orientation is as such. But yeah, the motors are pretty close but don’t touch. If i wanted to move them farther away i’d have to add some extra washers and such. Will ride around and see what happens. do you guys foresee any problems?

NOW FOR SOME ADVICE; So Jared’s motors dont have keyway slots but they do have flattened sides for grub screws. That’s awesome. I planned on using blue threadlocker (262) on them and mounting it flush against the flat sides, I’ve seen some posts where builders said this held their pulleys very well without problems. Is this alone okay? I also have loctite 680 in the workshop and Jared said i could put it on the motor shaft…how much do i put? a dab or slather on the whole shaft? It’s worth noting the loctite bottle says its expired but does that really affect anything? Any advice would be helpful! Also some advice on belt tensioning. Thank you!

Edit: also got wired up and tried some cable management. In the process of that…Bluetooth module connects nicely.

3 Likes

Not gonna lie…

I add two extra speed rings on the inside and flip my nuts… Otherwise the metro pulleys touch one side of the hangar. Where the other doesn’t…casting imperfections.

So if you did need a couple mm…

4 Likes

holy crap, what an ingenious way to use nylon nuts. LPT

1 Like

Okay will check that out if i happen to run into issues with the motors being close! I’ll post updates here, didn’t think about flipping the nylock nut. I’ll try looking for some Slimmer nuts as well.

1 Like

Lol yea. It works pretty damn well. :slight_smile:

Okay Update: I FUCKED UP THE FIRST INSERT. Not too bad but i was using Psychotillers instruction. Mistakenly put the wrong bit in and well…you know the rest is history… I’m not counting on that particular insert to do any work so i have to make sure the rest are good. Will probably also drill one close the the fucked up one. This is what happened…

Any way to remedy the situation? If so let me know.

This led m to generally worry about the enclosure fit on the deck;

At the back there’s a pretty big gap. Do i just have to press the shit down out of it or what? Other angles; The side Front Area

Picture of the battery inside the enclosure.

Just tagging everyone who’s been on this thread so far, incase any of you has some inspiration…

Today was not totally bad though. Applied blue loctite on grub screws and affixed to pulley. Also used green loctite on the shaft for the pulley. I think it won’t have a movement problem. Checked alignment of everything and letting it cure. :slight_smile: will do motor detections and all of that tomorrow evening or the day after. Just to ensure they spin the right way. Rest of values are already set up.

Tension feels good and no skipping seen. When i test it IRL we’ll find out.

Edit: @Deckoz @Jlabs @Eboosted @threebysix @GrecoMan @lrdesigns @b264 @moon

2 Likes

It looks like you have the battery pushed to far back. If you love it up a little it should sit better in the enclosure. As for the motor leads, have a look through this thread. Generally the phase wires are mounted on the side of the enclosure.

If need be you can get some thin weather stripping from the hardware store to add some height.

2 Likes