Here’s a quick build page. I didn’t take many photos during the actual construction, but can share what’s in it, how it all went together, and a couple issues I had. But first the finished product:
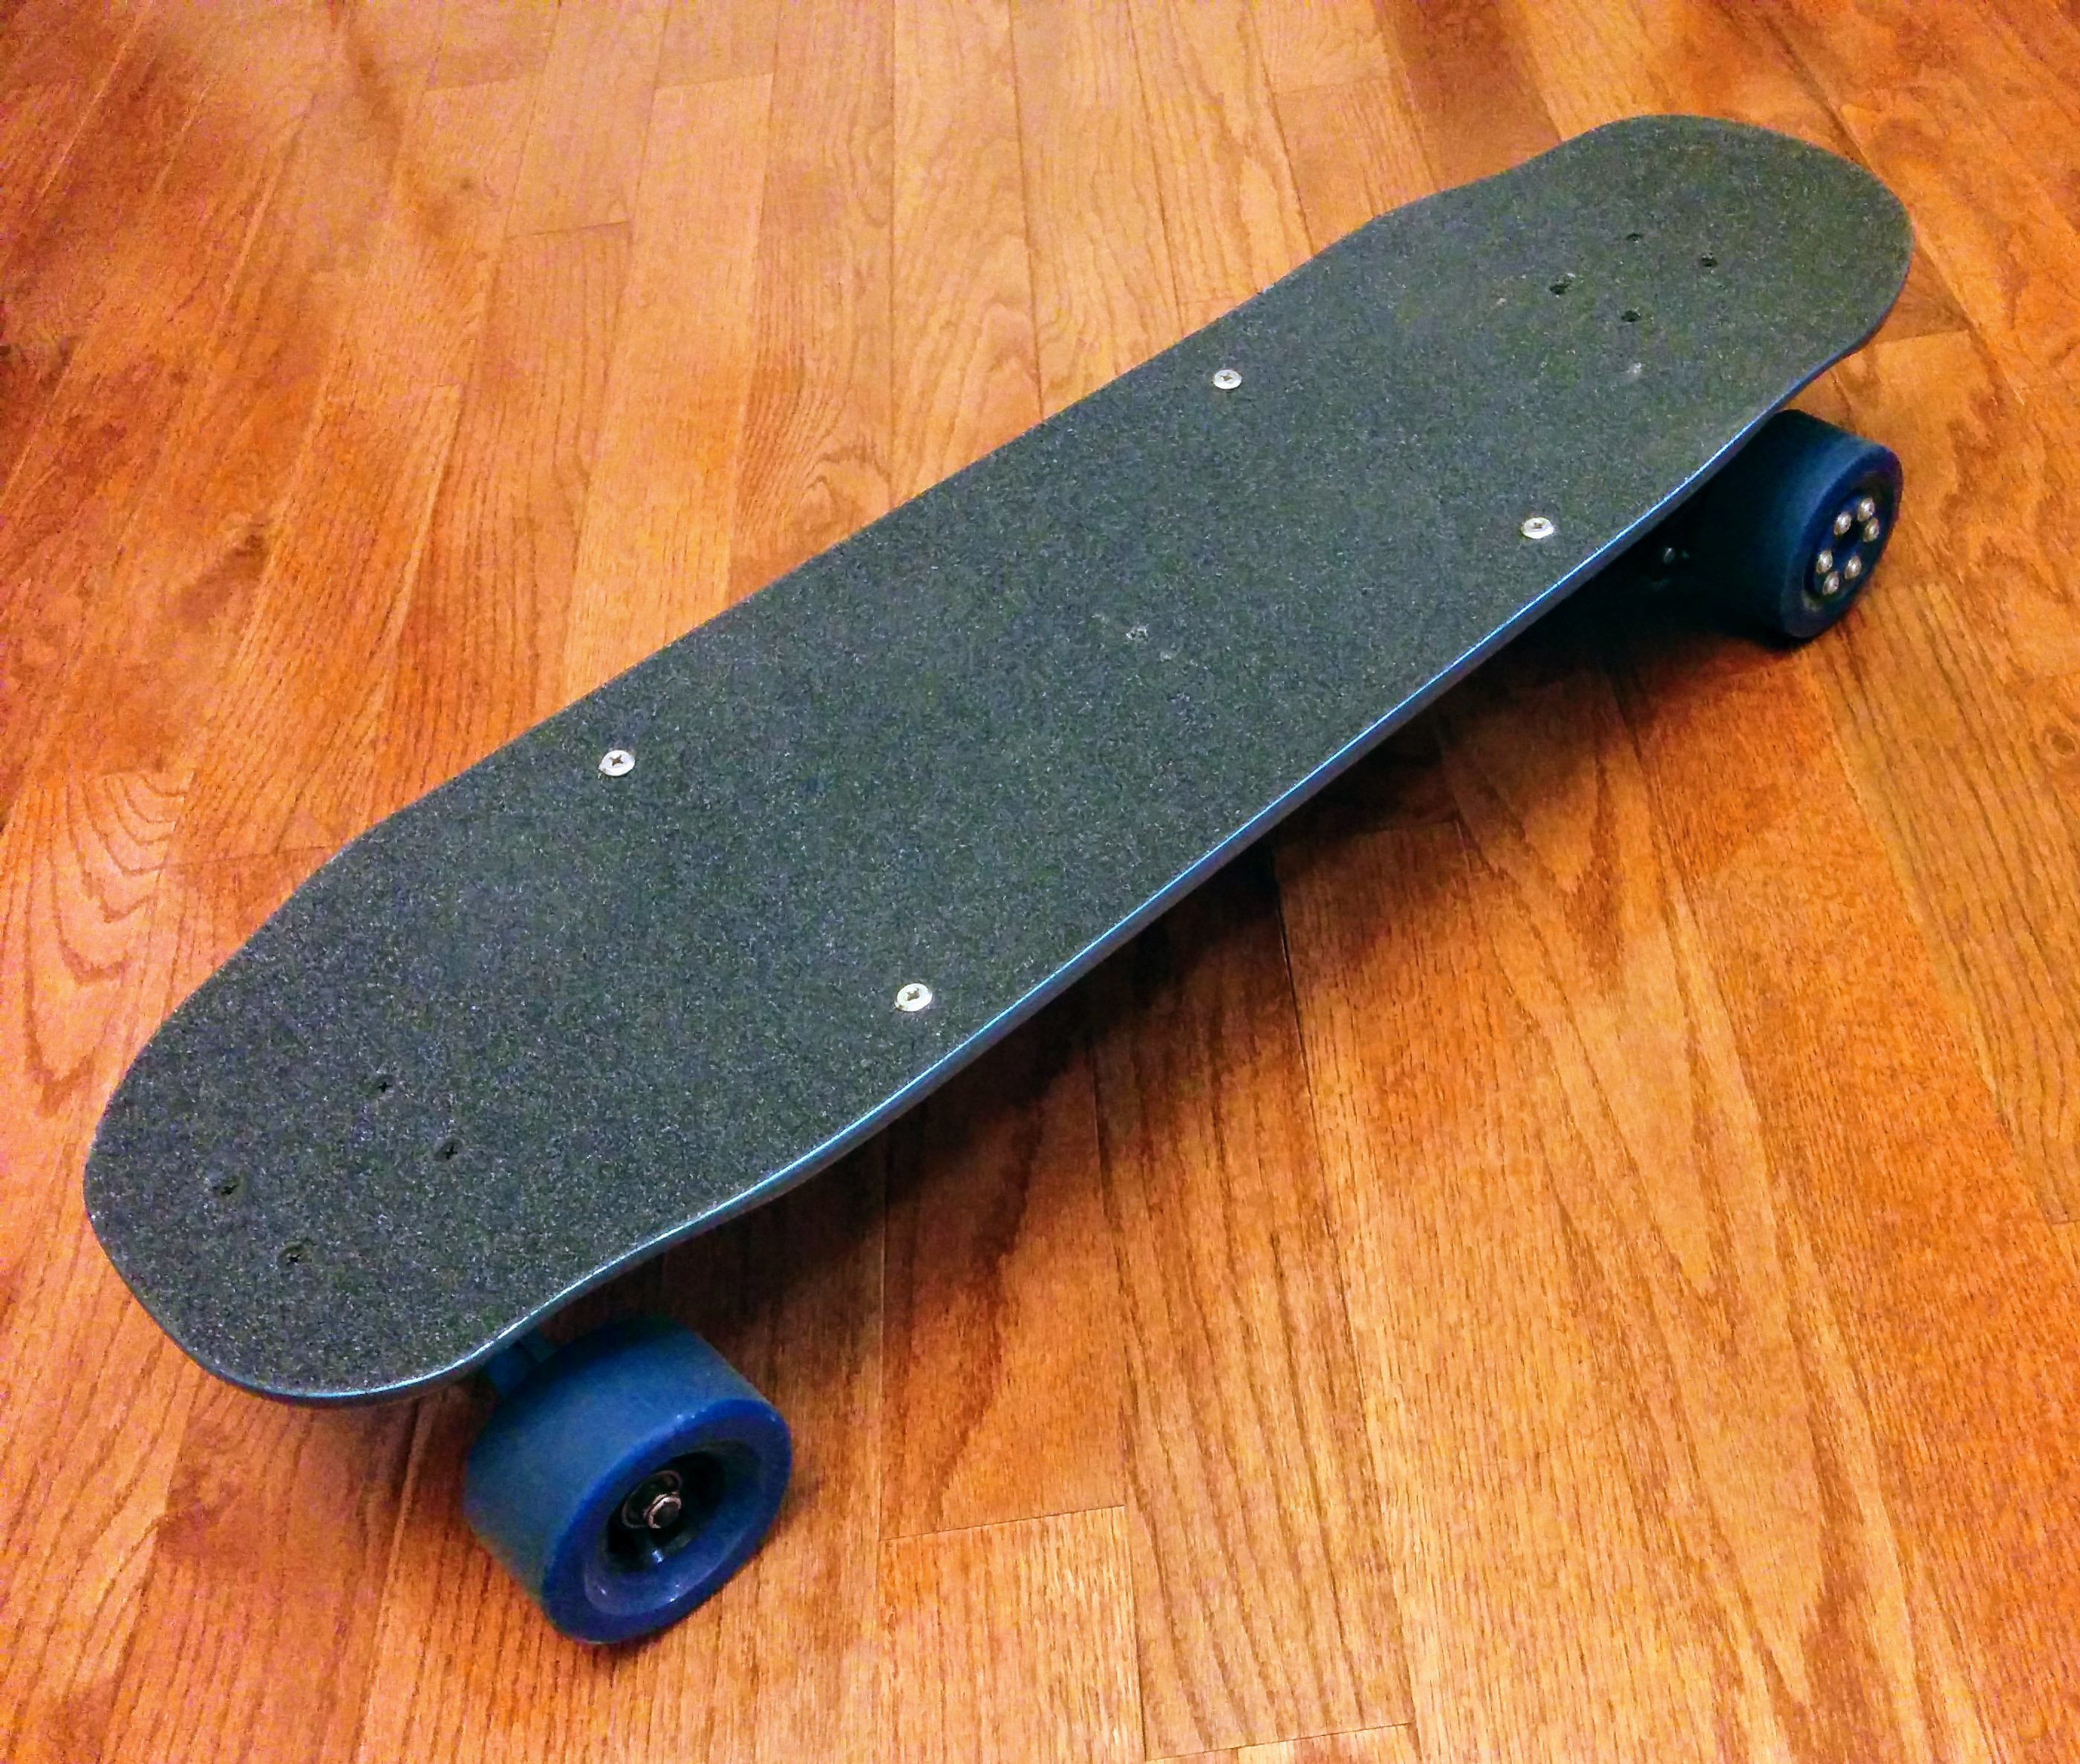

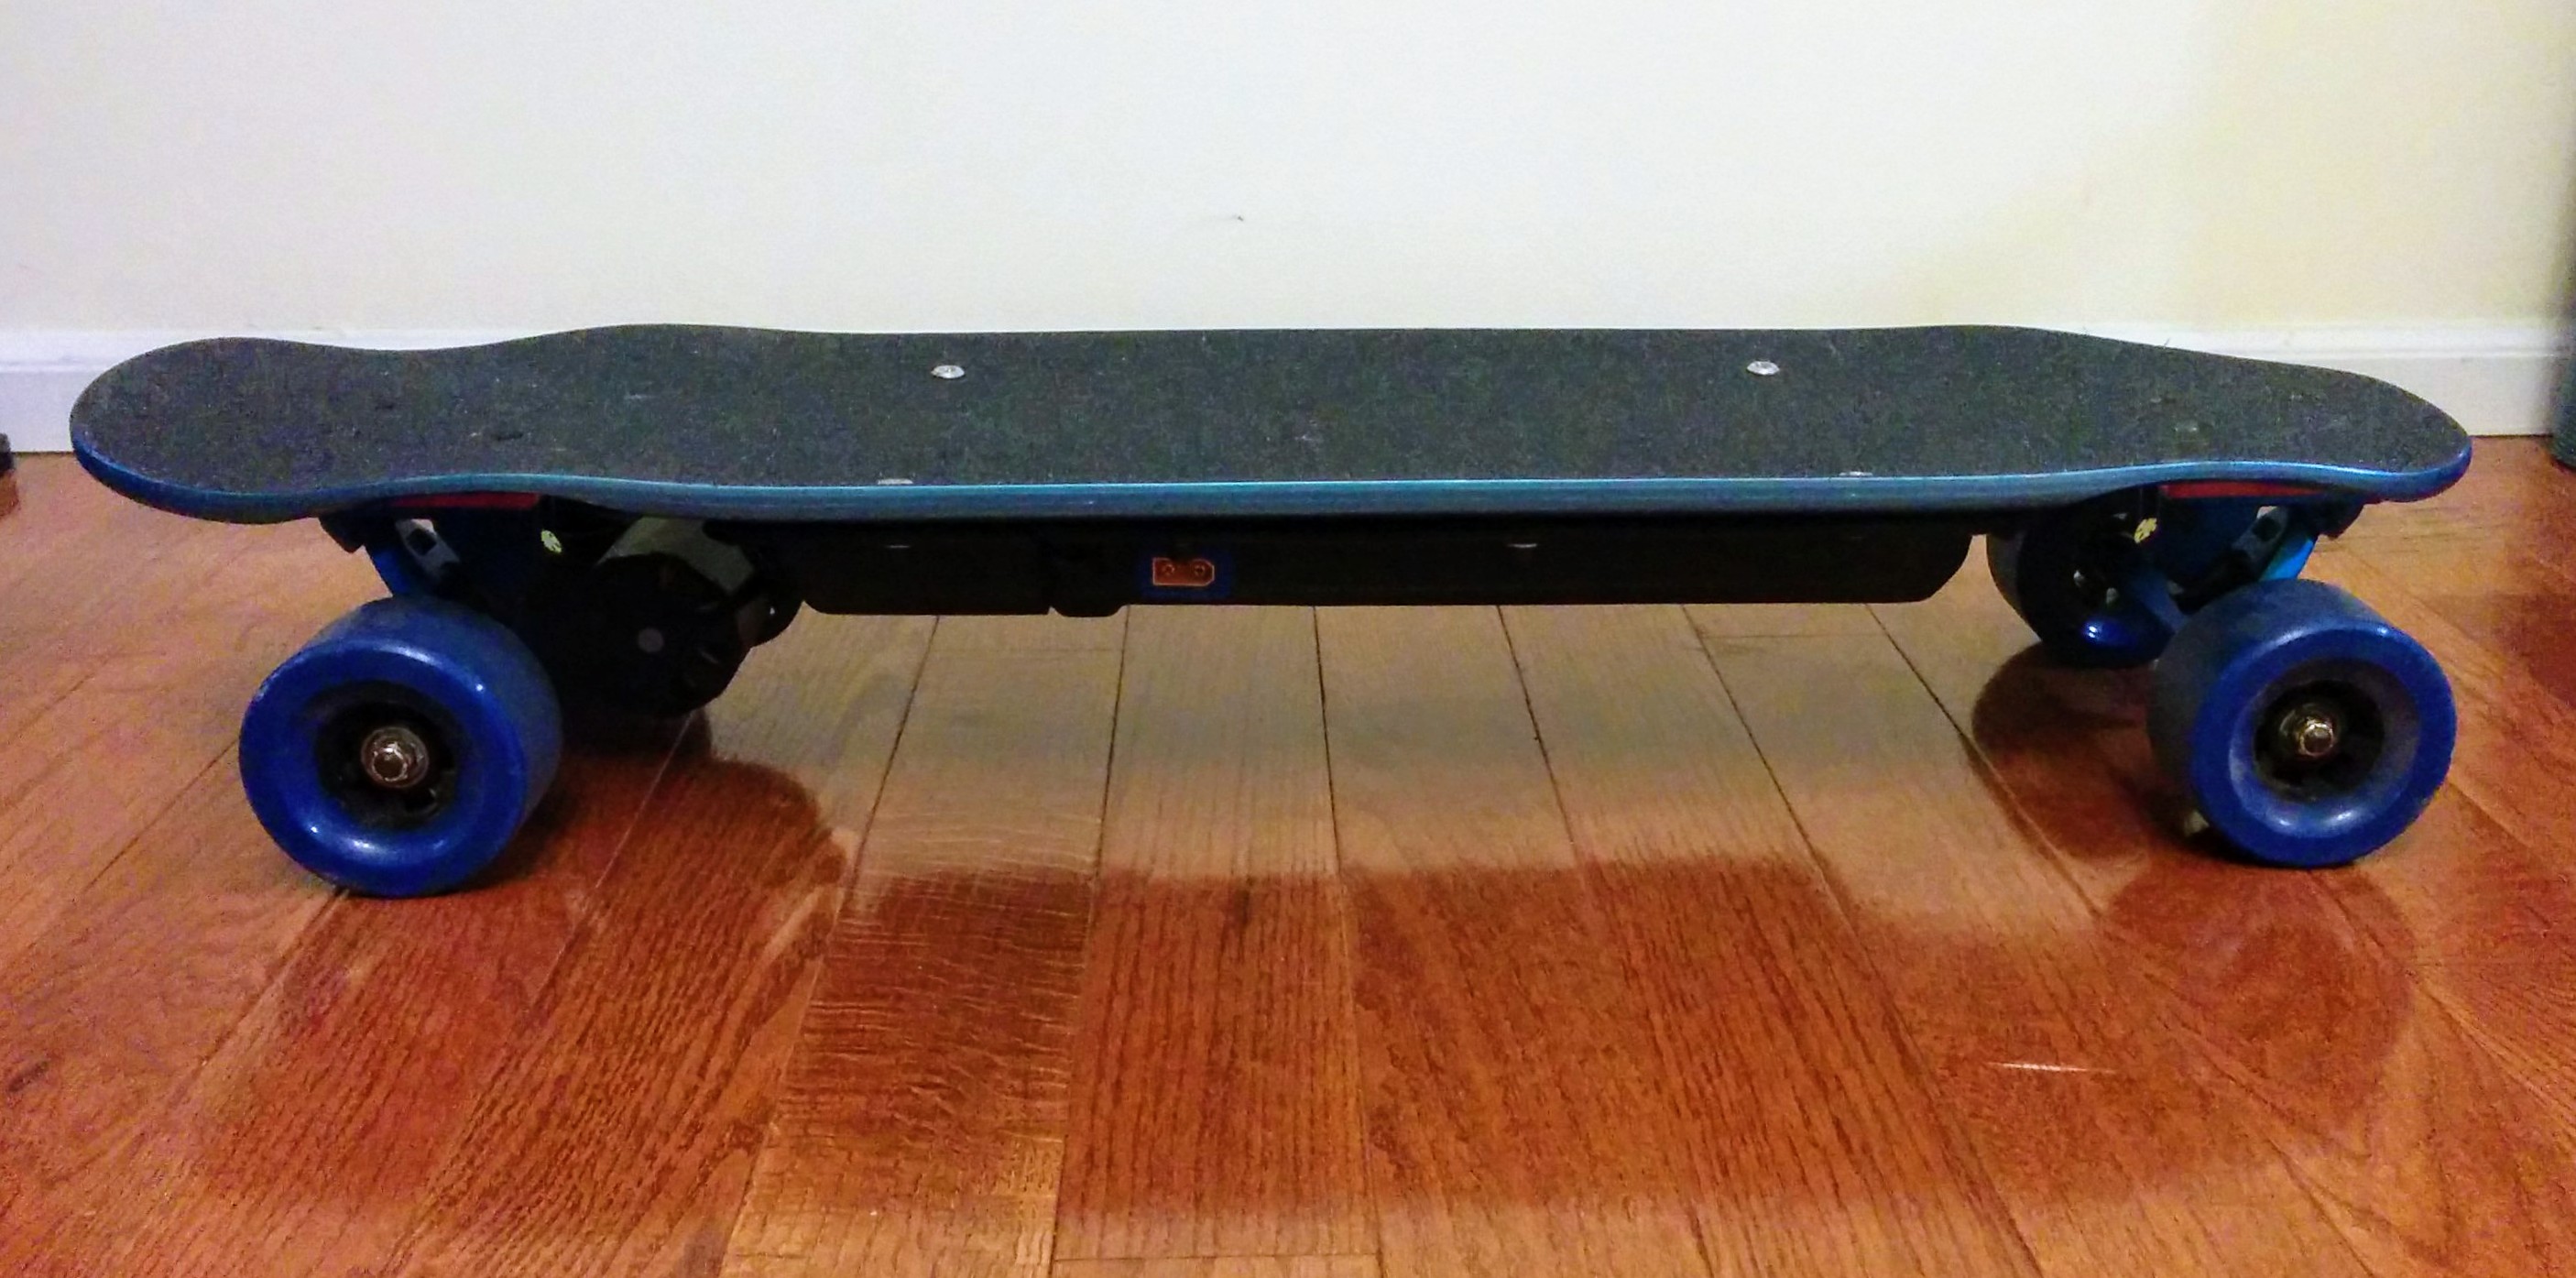
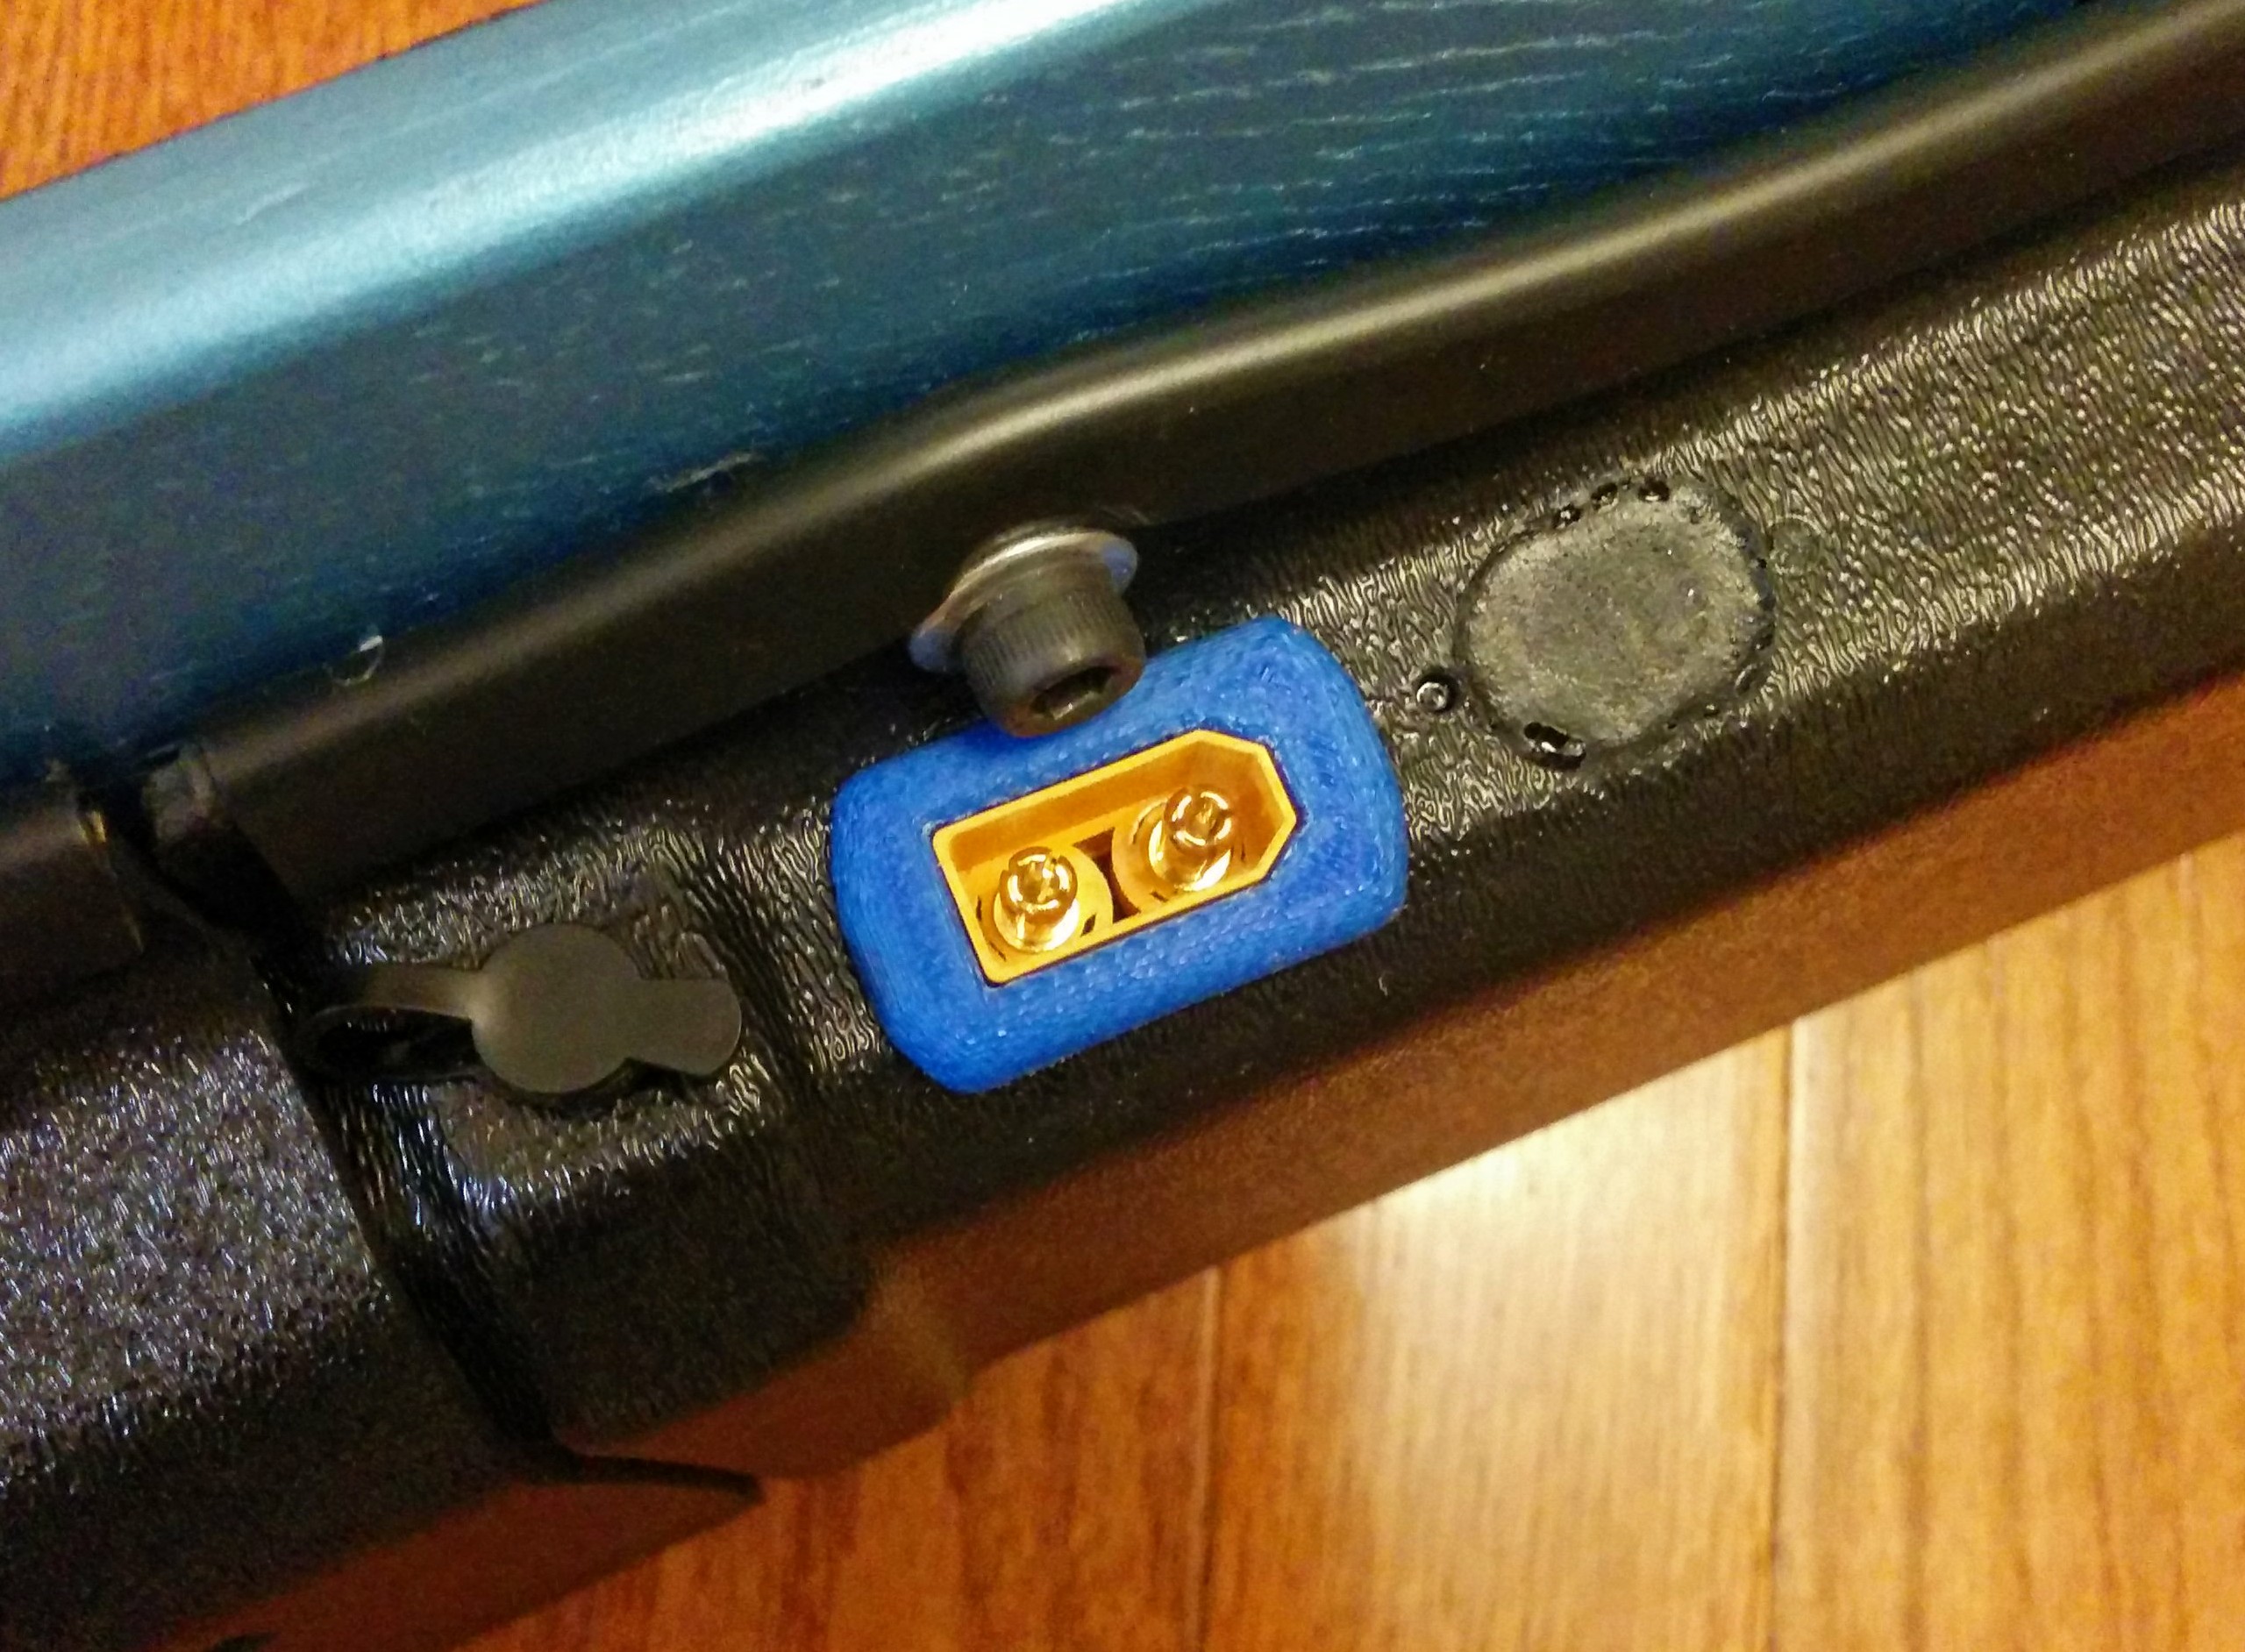
What’s in it: Deck: Jet Potato 33 Trucks: Caliber II Fifty Risers: Luxe 1/2" TPR Riser Pad Wheels: 90mm Flywheel Clone Wheel Pulley: 12mm 40T 3D Printed ABS @ 100% Infill by @mmaner Motor Pulley: 12mm 13T HTD5 Motor Pulley Motor: Electric-Skateboard.Market 6374 190kv Outrunner Motor Key: DIY 3x3x20mm Steel Keyway VESC: Miami Electric Boards OESC (running firmware version 2.54) Motor Sensor Adapter: Miami Electric Boards OESC Motor Adapter Wireless Remote: 2.4GHz Mini Remote Transmitter/Receiver Bluetooth Adapter: HM10 BLE Bluetooth 4.0 Wireless Module (to run VESC app) Loop Key: XT90S Loop Key Mount: XT90S Loop Panel Mount by @mmaner BMS: eBay 60A Lithium-Ion 10S BMS Charge Port: eBay 2.1mmx5mm Female DC Connector + Waterproof Cap Charger: 42v 2A from @JLabs group buy Battery: 5x ZIPPY Flightmax 5000mAh 2S 30C Hardcase Packs wired in 10S1P configuration Battery Meter: DROK DC8-63V
Here’s a diagram of how things are hooked up:

Putting it together:
- The enclosure was used and had a couple holes in it. I ended up using painters tape on the outside, then applying several layers of ShoeGoo mixed with a couple drops of black modelers paint. This filled the holes nicely and should hold up to the abuse.
- I cut new holes for the XT90S, charge port, and battery meter using a soldering iron with a flat tip. The fumes could be toxic, so I basically held my breath the whole time, had a window open, and a fan running. I cleaned up the edges with side snips and a box cutter. They’re all mounted with ShoeGoo.
- The battery, BMS, VESC and receiver are mounted with industrial strength velcro.
- Most of the wiring is 10AWG, but I didn’t want to unsolder the leads from the VESC, which I believe are 14AWG.
- The BMS is wired for charging only, bypassing the discharge circuit, going directly to the VESC from the battery.
- For the battery meter, I did a temporary version on this mod. I stripped a couple wires and used electrical tape to keep them in place, then powered the unit on holding down FDn, and touched the two wires together to get the function menu. Easy-peasy.
Issues:
- One thing that really threw me for a while was when I couldn’t get the 2.4GHz remote to make the VESC go. After much poking and prodding, it turns out that the sticker on my Rx was on upside down, so I was plugging in channel 3, rather than 2. Note: you have to look at the hard-to-see stamped numbers, rather than counting from what you may assume to be the top.

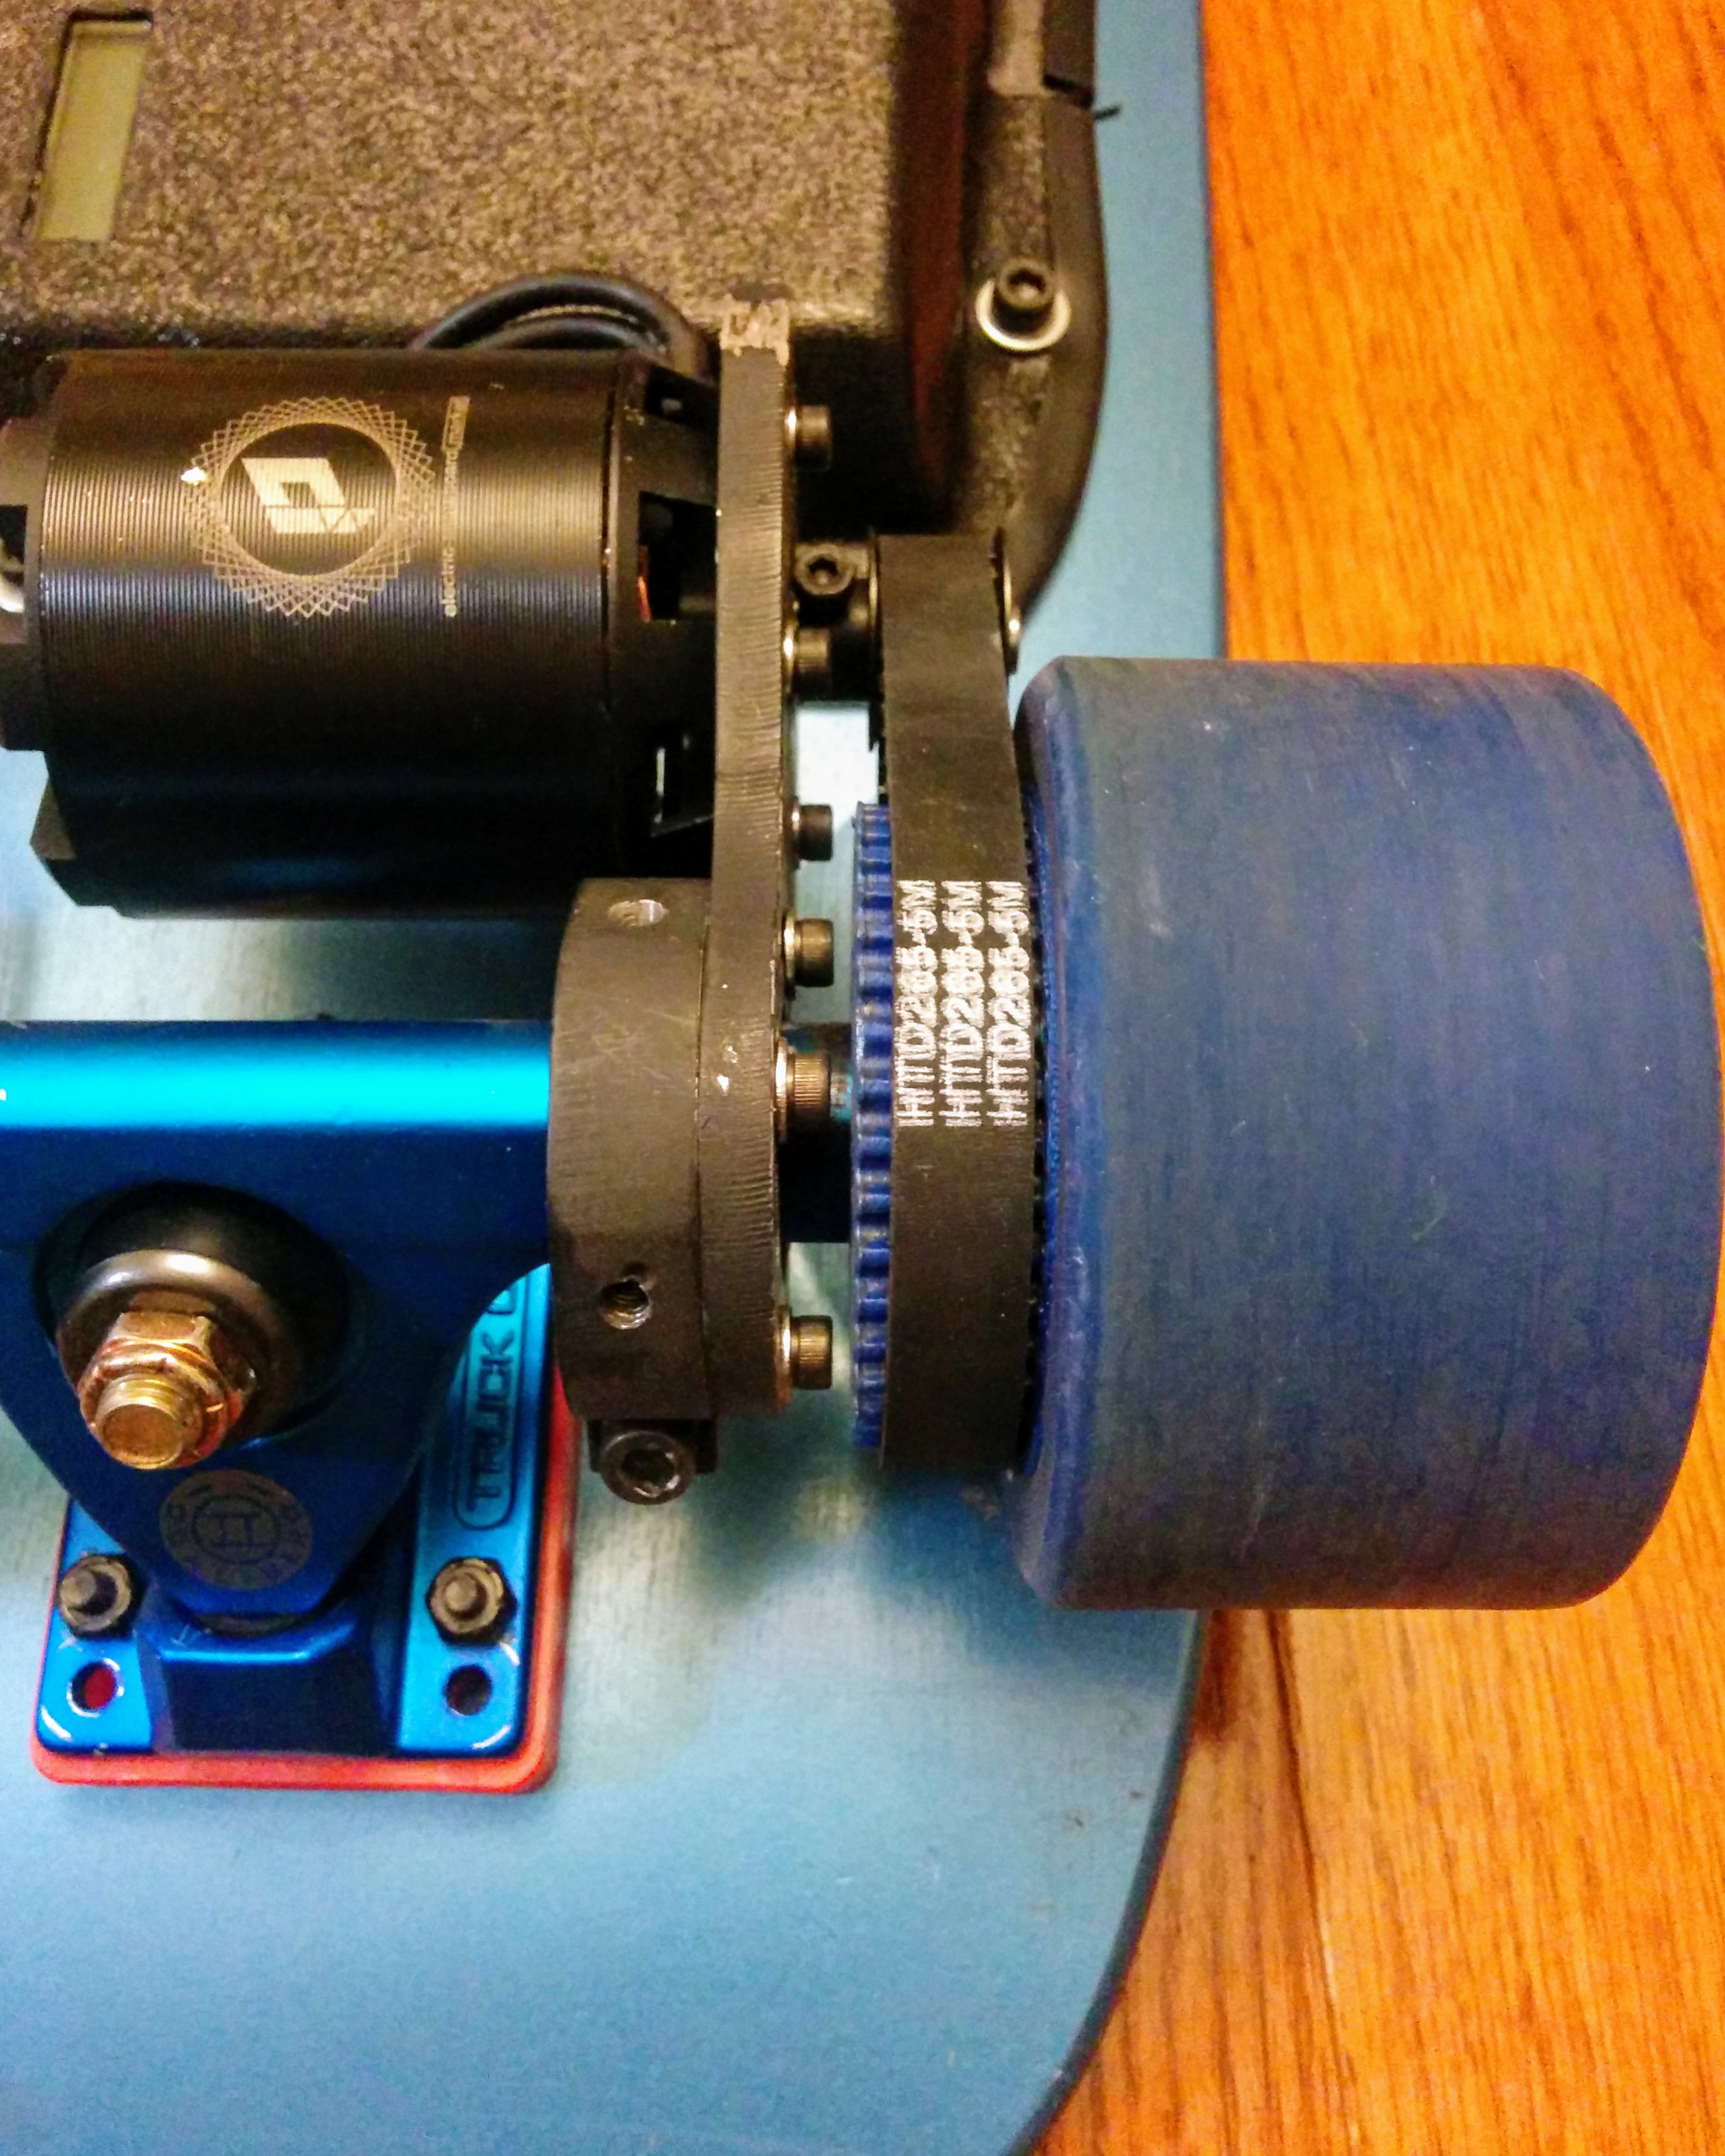
- With this motor mount, I really should have filed down some of the hanger to get it seated further in, but I didn’t want to ruin anything, and I don’t have a file or dremel at the moment. The 12mm wheel pulley sticks out far enough to hit the socket head screws, so I had to use 3 speed rings to get enough clearance. No big deal though.
- With the 90mm wheels, I had to use 1/2" riser pads to get enough clearance to avoid wheel bite.
I really haven’t had any other issues, and everything went together pretty well. I’d really like to run FOC to quiet the high-pitch noise when accelerating/decelerating, but I don’t have the $ to replace the VESC if it dies, so I’ll stick with BLDC for the time being. I also think running some non-clone wheels may give a smoother ride, but after the first ride, I’m a very satisfied customer. Thank you again electric-skateboard.builders!
