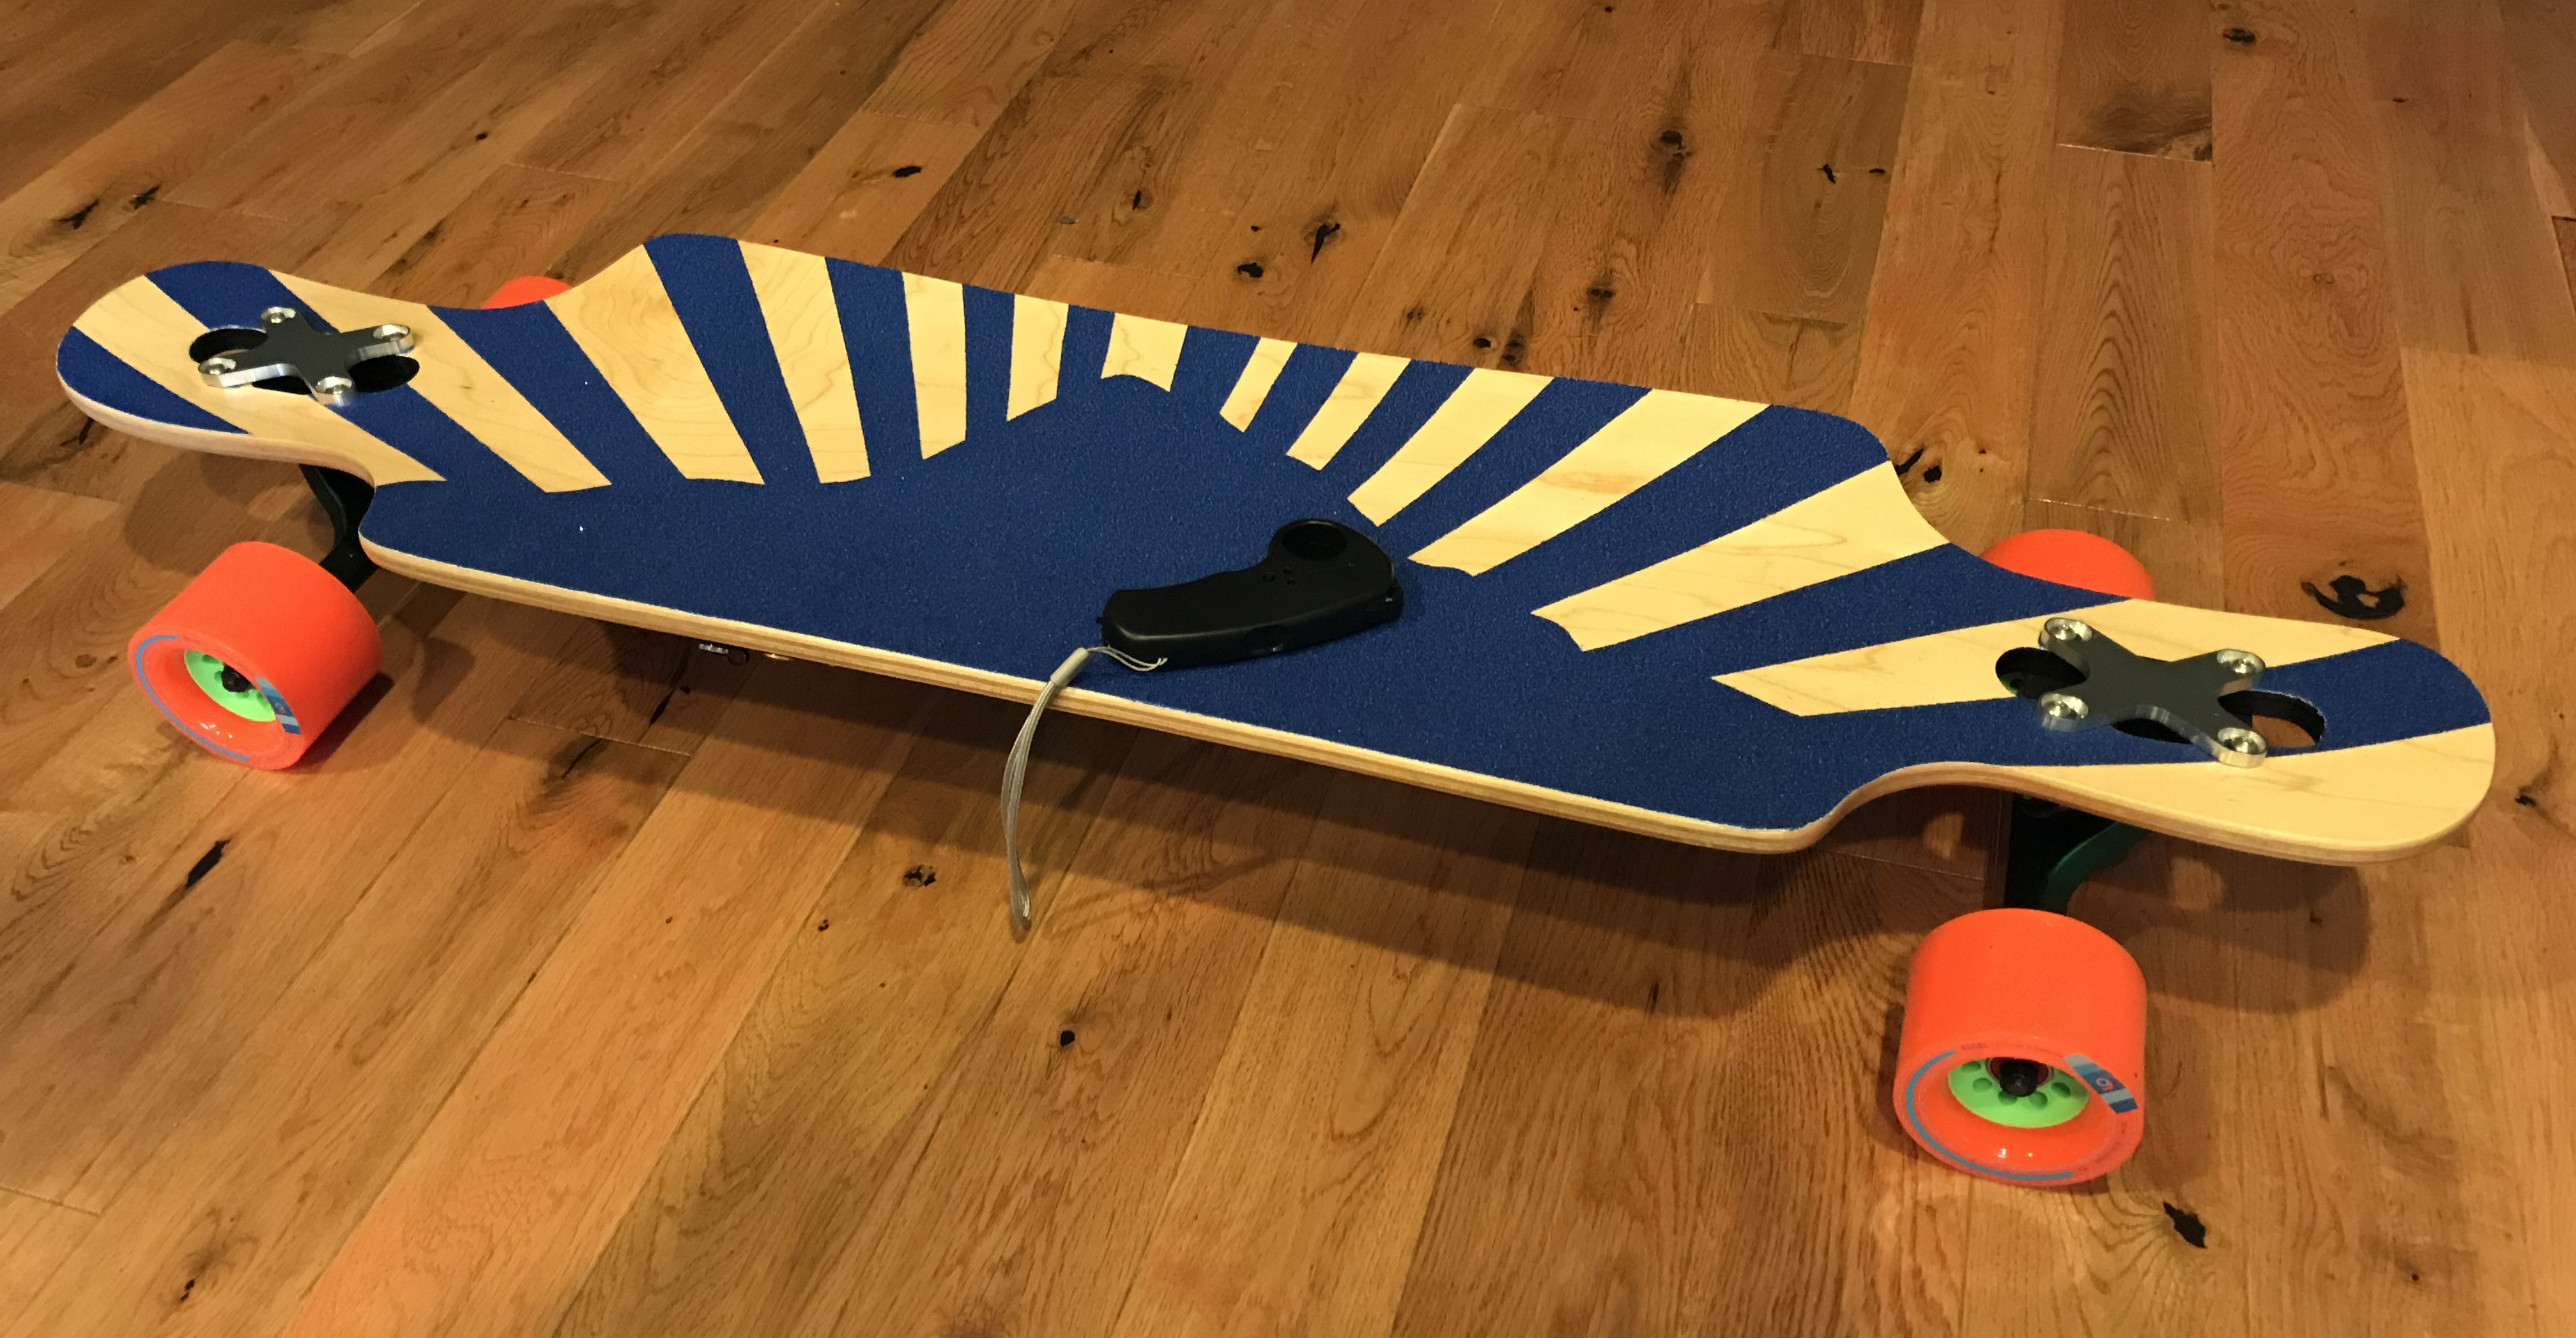
Hello! This is my first build. I’ve used longboards before but never an electric one. Just sounded like fun to learn how to put it all together. Still need to come up with a name for this thing. I cut the grip tape design to look like Mt. Hood (largest mountain in Oregon, where I live), so I wonder if there’s a name related to ‘Hood’ ‘In Tha’ Hood’, etc…
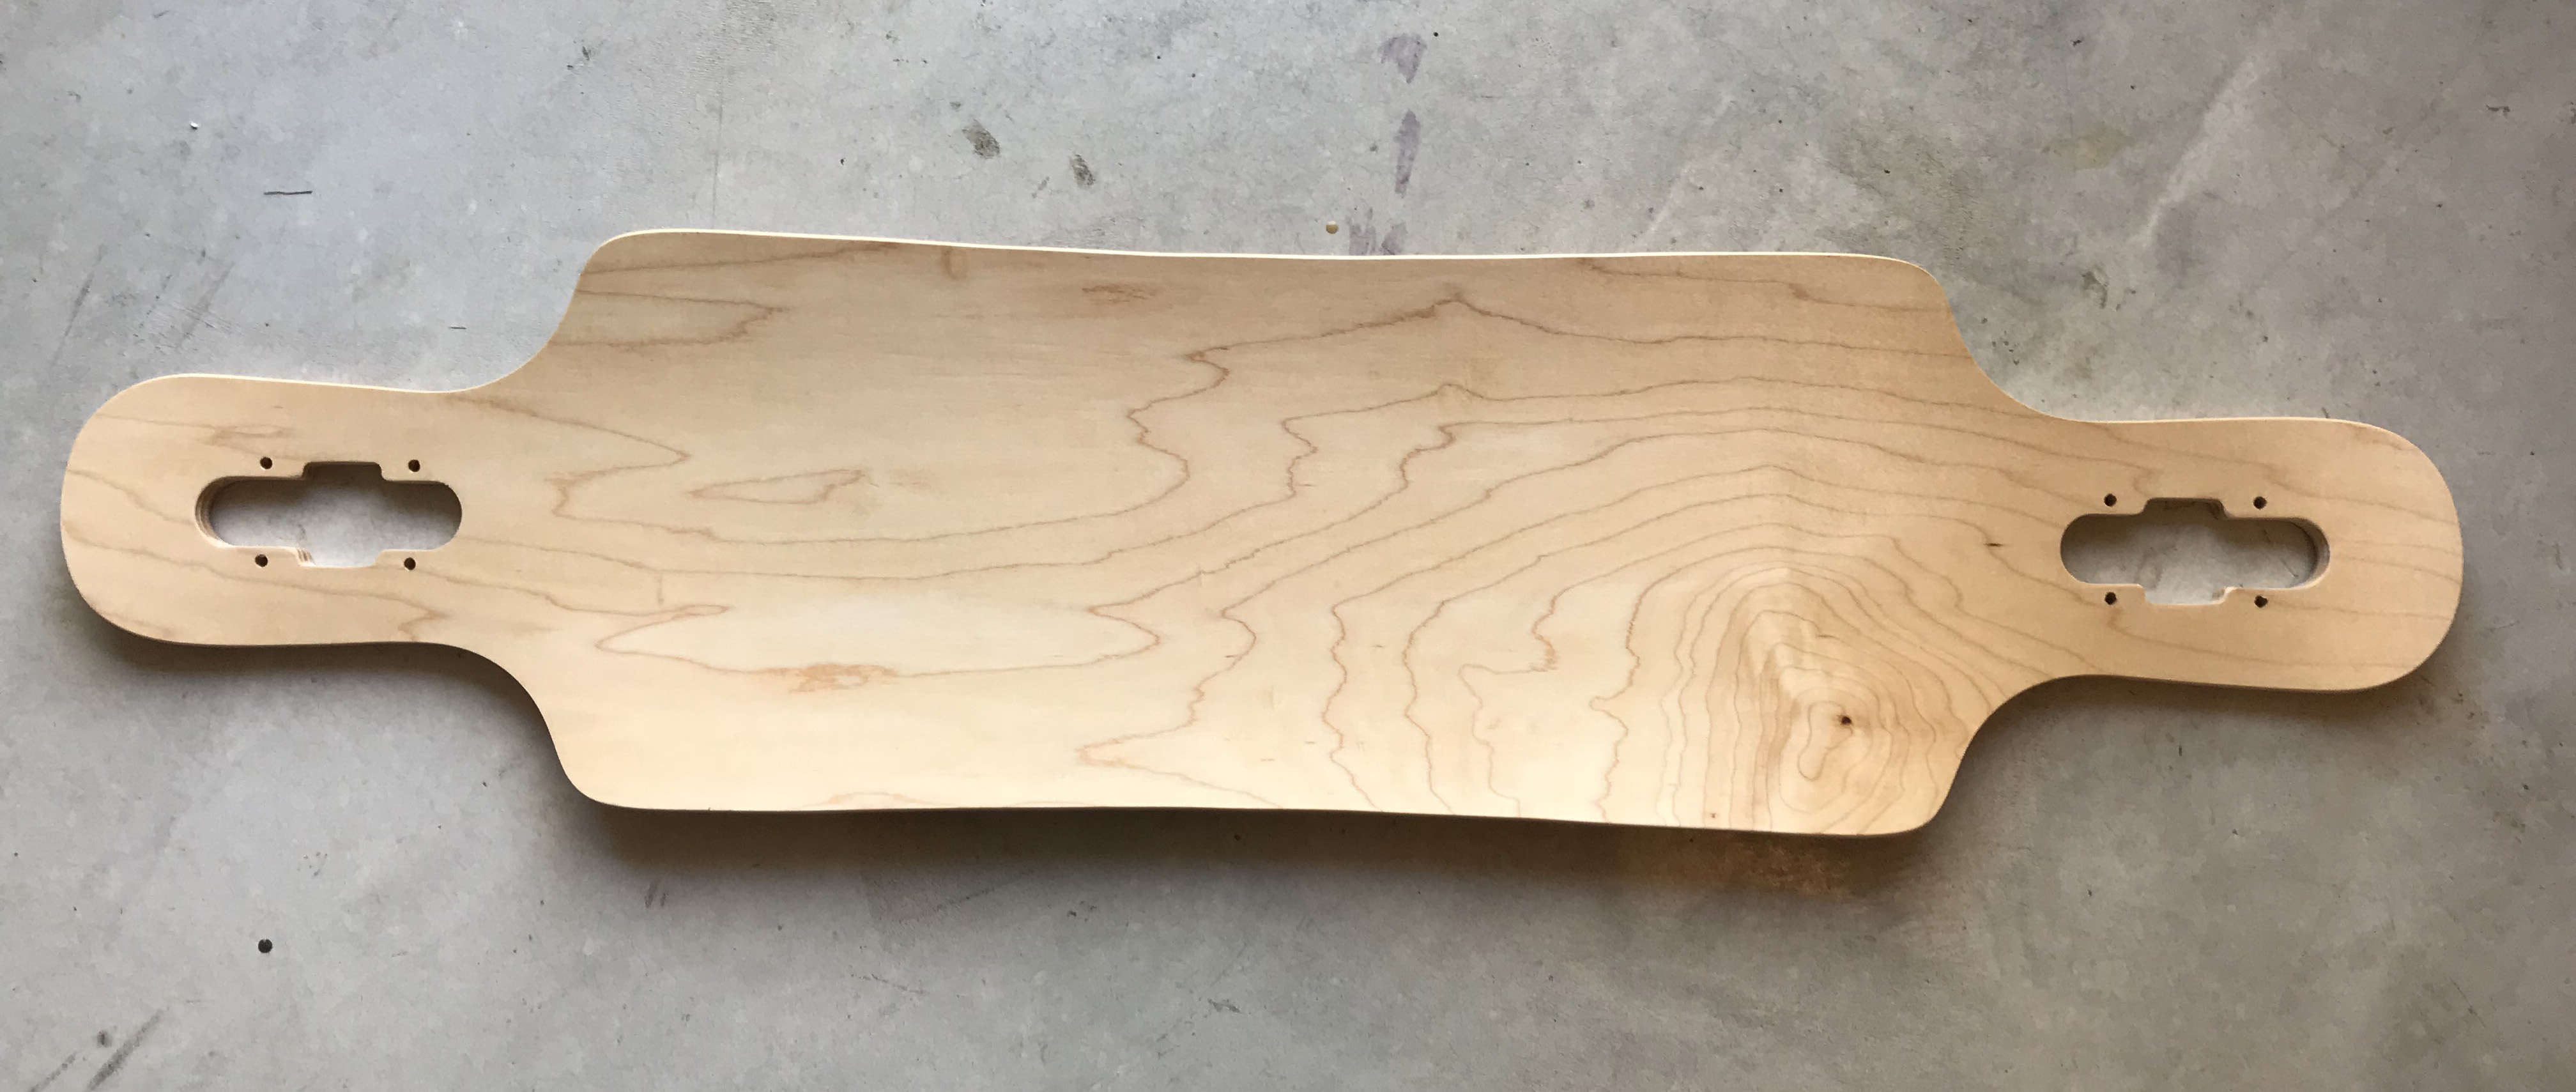
Part List: 39” drop through deck - natural (I painted the underside red enamel) https://www.mboards.co/collections/decks/products/39-drop-through-deck-natural
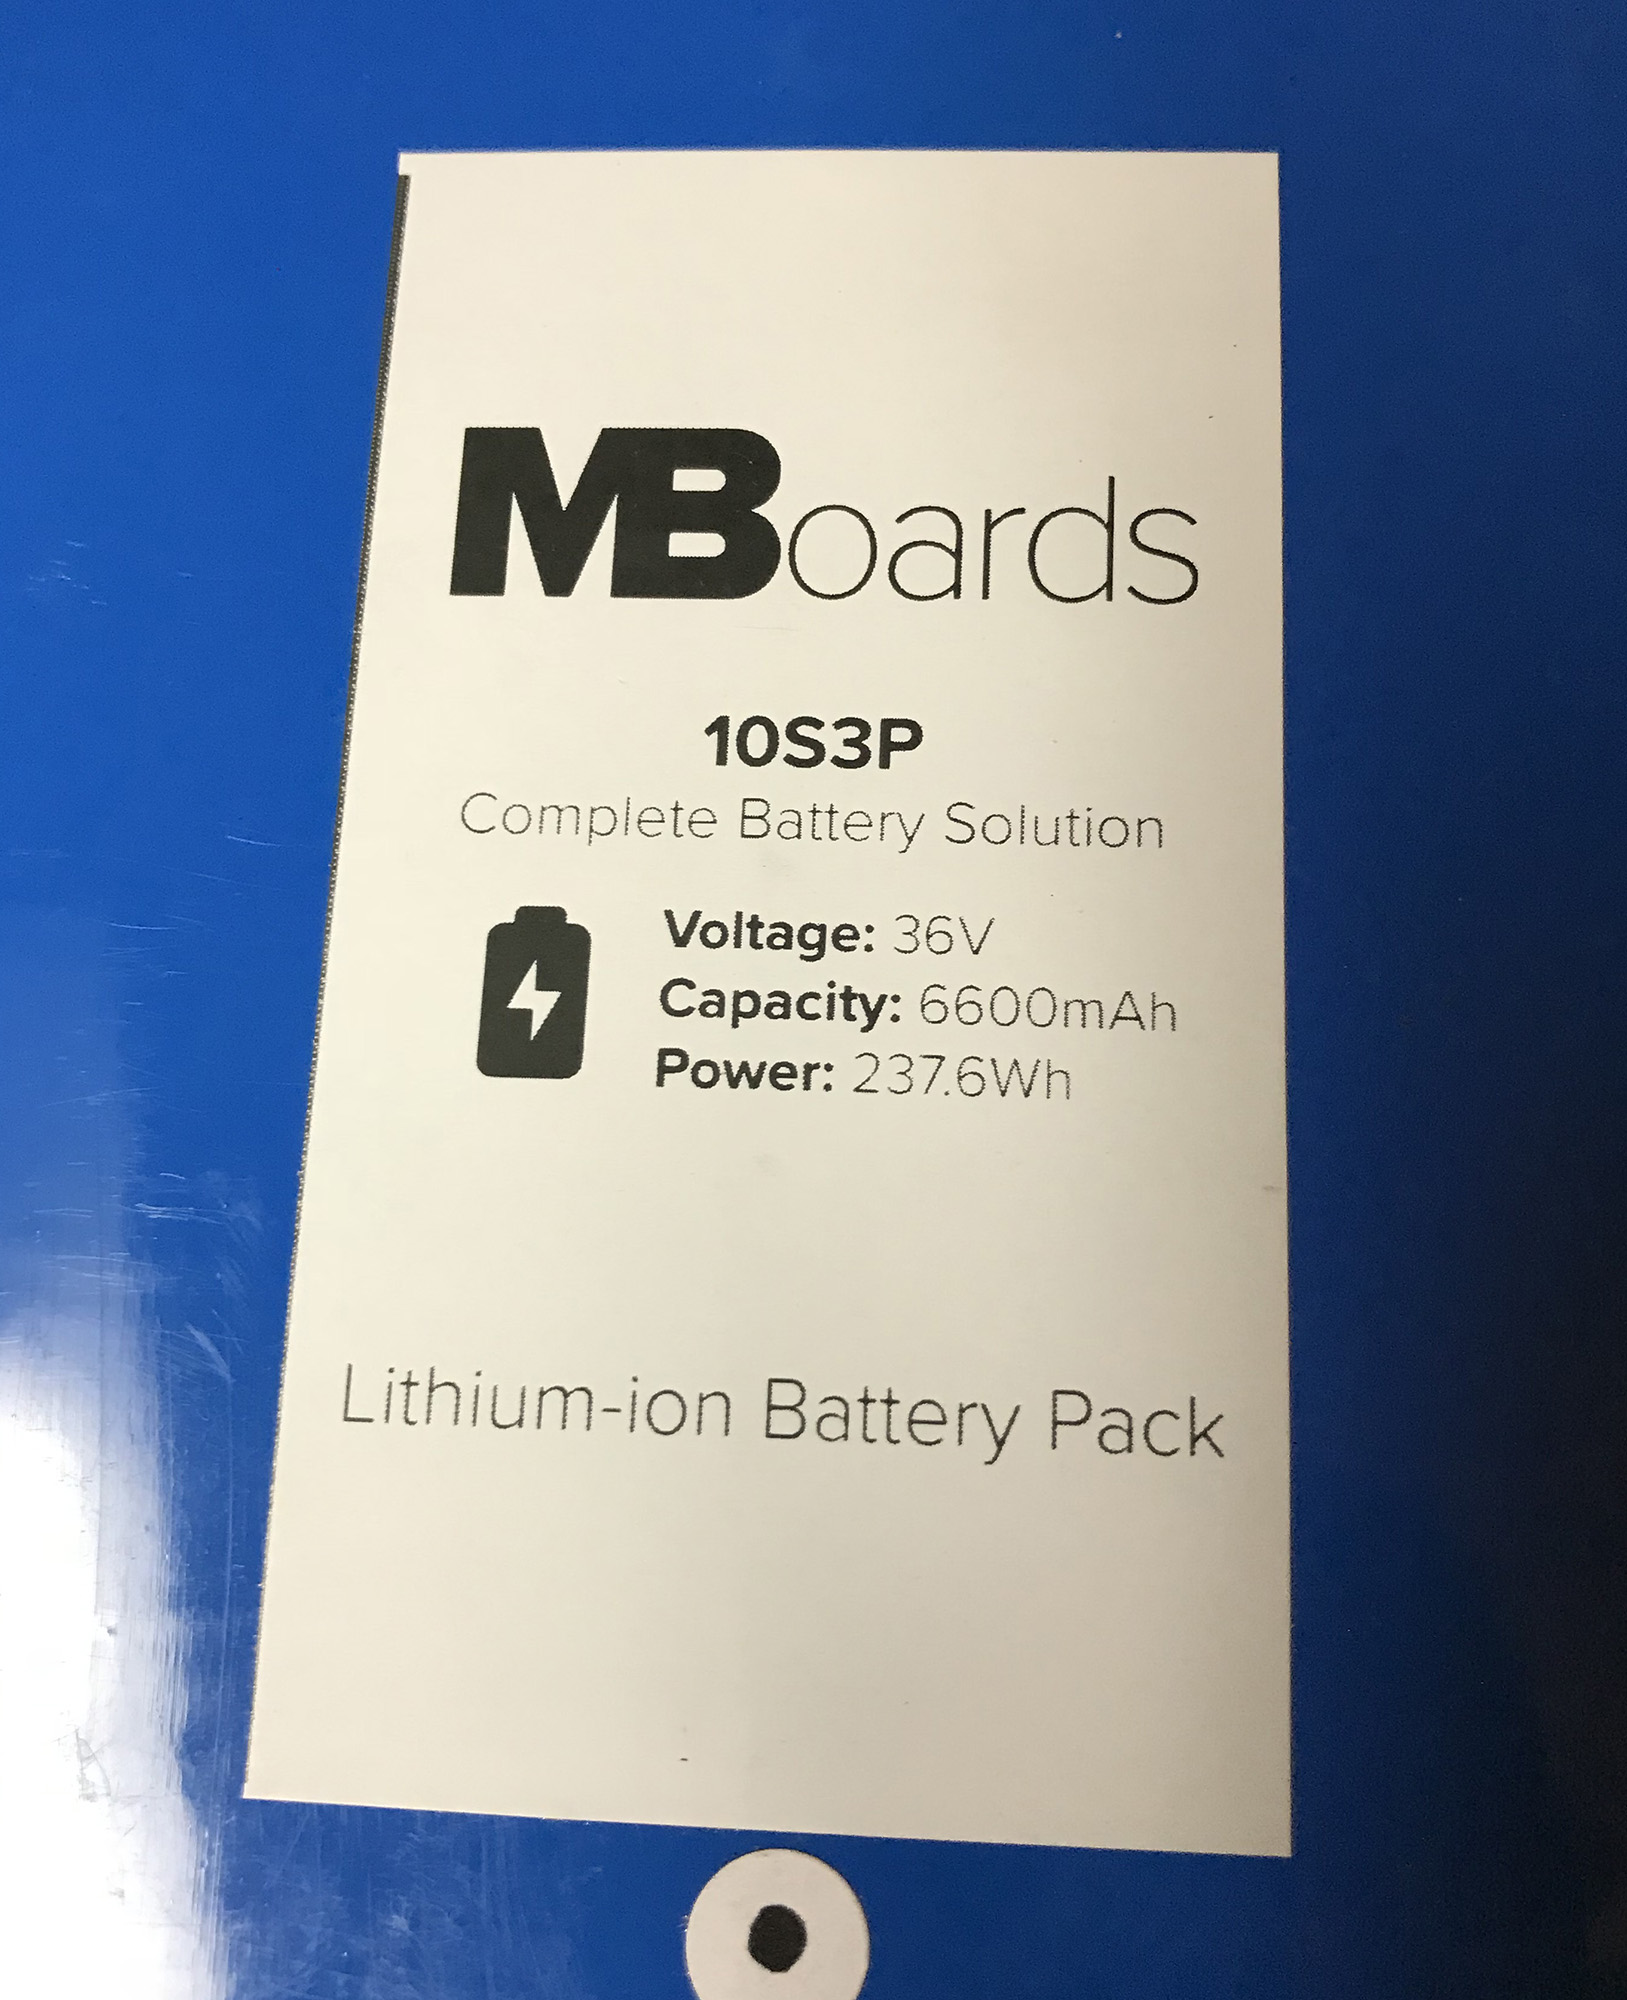
10s3p battery w/ integrated switch, charger port, and 2A charger
Nano Remote Controller https://www.mboards.co/collections/remotes/products/remote-controller-1
1/8” rubber riser pads (to soften the ride, not because I need more clearance)
X-things from @akhlut
6374 190KV Torque Boards motor sensored collections/electric-skateboard-motors/products/electric-skateboard-motor-6374-190kv
Single bolt on motor mount w/ drive wheel kit (Kegel mount) 16/36T w/ 12MM 265mm belt collections/electric-skateboard-motor-mounts/products/single-bolt-on-motor-mount-w-drive-wheel-kit
Torque VESC 4.12 collections/esc-speed-controller/products/torque-esc-bldc-electronic-speed-controller
Psychotiller Stealth 18 enclosure https://psychotiller.com/product/stealth-18
Orangatang Kegel 80mm wheels https://www.amazon.com/gp/product/B00EYDHWTQ/ref=oh_aui_detailpage_o01_s00?ie=UTF8&psc=1
REDS Bones Bearings https://www.amazon.com/gp/product/B017YABO44/ref=oh_aui_detailpage_o01_s01?ie=UTF8&psc=1
Caliber II 44 trucks https://www.amazon.com/gp/product/B0777T9PCN/ref=oh_aui_detailpage_o01_s03?ie=UTF8&psc=1
Miscellaneous Stuff: Grommets https://www.amazon.com/gp/product/B01NAN025Y/ref=oh_aui_detailpage_o02_s00?ie=UTF8&psc=1 Mini USB extension (so I can program the VESC w/o opening the enclosure) https://www.amazon.com/gp/product/B01LYUFYP7/ref=oh_aui_detailpage_o04_s00?ie=UTF8&psc=1 PET Braided Sleeving to protect motor wires https://www.amazon.com/gp/product/B071ZV6MZ2/ref=oh_aui_detailpage_o06_s00?ie=UTF8&psc=1 Blue Loctite https://www.amazon.com/gp/product/B000I1RSNS/ref=oh_aui_detailpage_o08_s00?ie=UTF8&psc=1 Assorted heat shrink https://www.amazon.com/gp/product/B075WR9FVL/ref=oh_aui_detailpage_o09_s00?ie=UTF8&psc=1 1” Velcro for attaching battery, VESC and remote receiver to enclosure https://www.amazon.com/gp/product/B00FQ937NM/ref=oh_aui_detailpage_o01_s01?ie=UTF8&psc=1 Blue grip tape sheet https://www.amazon.com/gp/product/B0785L54DB/ref=oh_aui_detailpage_o01_s03?ie=UTF8&psc=1 I bought a bluetooth module from @Acido but have to switch one of the wires around before I can install it
BLDC Tool Settings: Motor max: 50A Motor min: -40A Batt max: 40A Batt min (regen): -13A Absolute max: 130A Max ERPM 60000 Minimum input voltage: 6V Maximum input voltage: 57V Battery cutoff start: 35V Battery cutoff end: 33V Sensor mode: Hybrid FOC in ‘Hall’ sensor mode App Configuration: PPM ‘Current no reverse with brake’
Blank deck:
My grip tape design. I drew out the shape on the back of the grip tape sheet and then cut it out using a razor blade:

Battery:
Unpictured: drilling holes in the enclosure for the M4 attachment screws, power switch, charge port, LCD battery gauge, and motor cables. Gluing weatherproofing strips along edge of enclosure.
After I re-shaped the enclosure a bit using a heat gun (while the enclosure was clamped to my board) I layed down 1/8" adhesive foam to the bottom of the enclosure. Over that I attached velcro strips that will hold down my battery, VESC, and receiver:

I seated the battery, added some foam over the top of it, attached the solid-state switch hardware, mini-USB extension cable, plugged everything together. Note: this photo shows the stainless steel 10mm M4 inserts I placed around the underside of the board. My grip tape design doesn’t cover everything so I didn’t want the hardware to come all the way through. My board is 13mm thick, so the 10mm inserts were just right:

Underside:
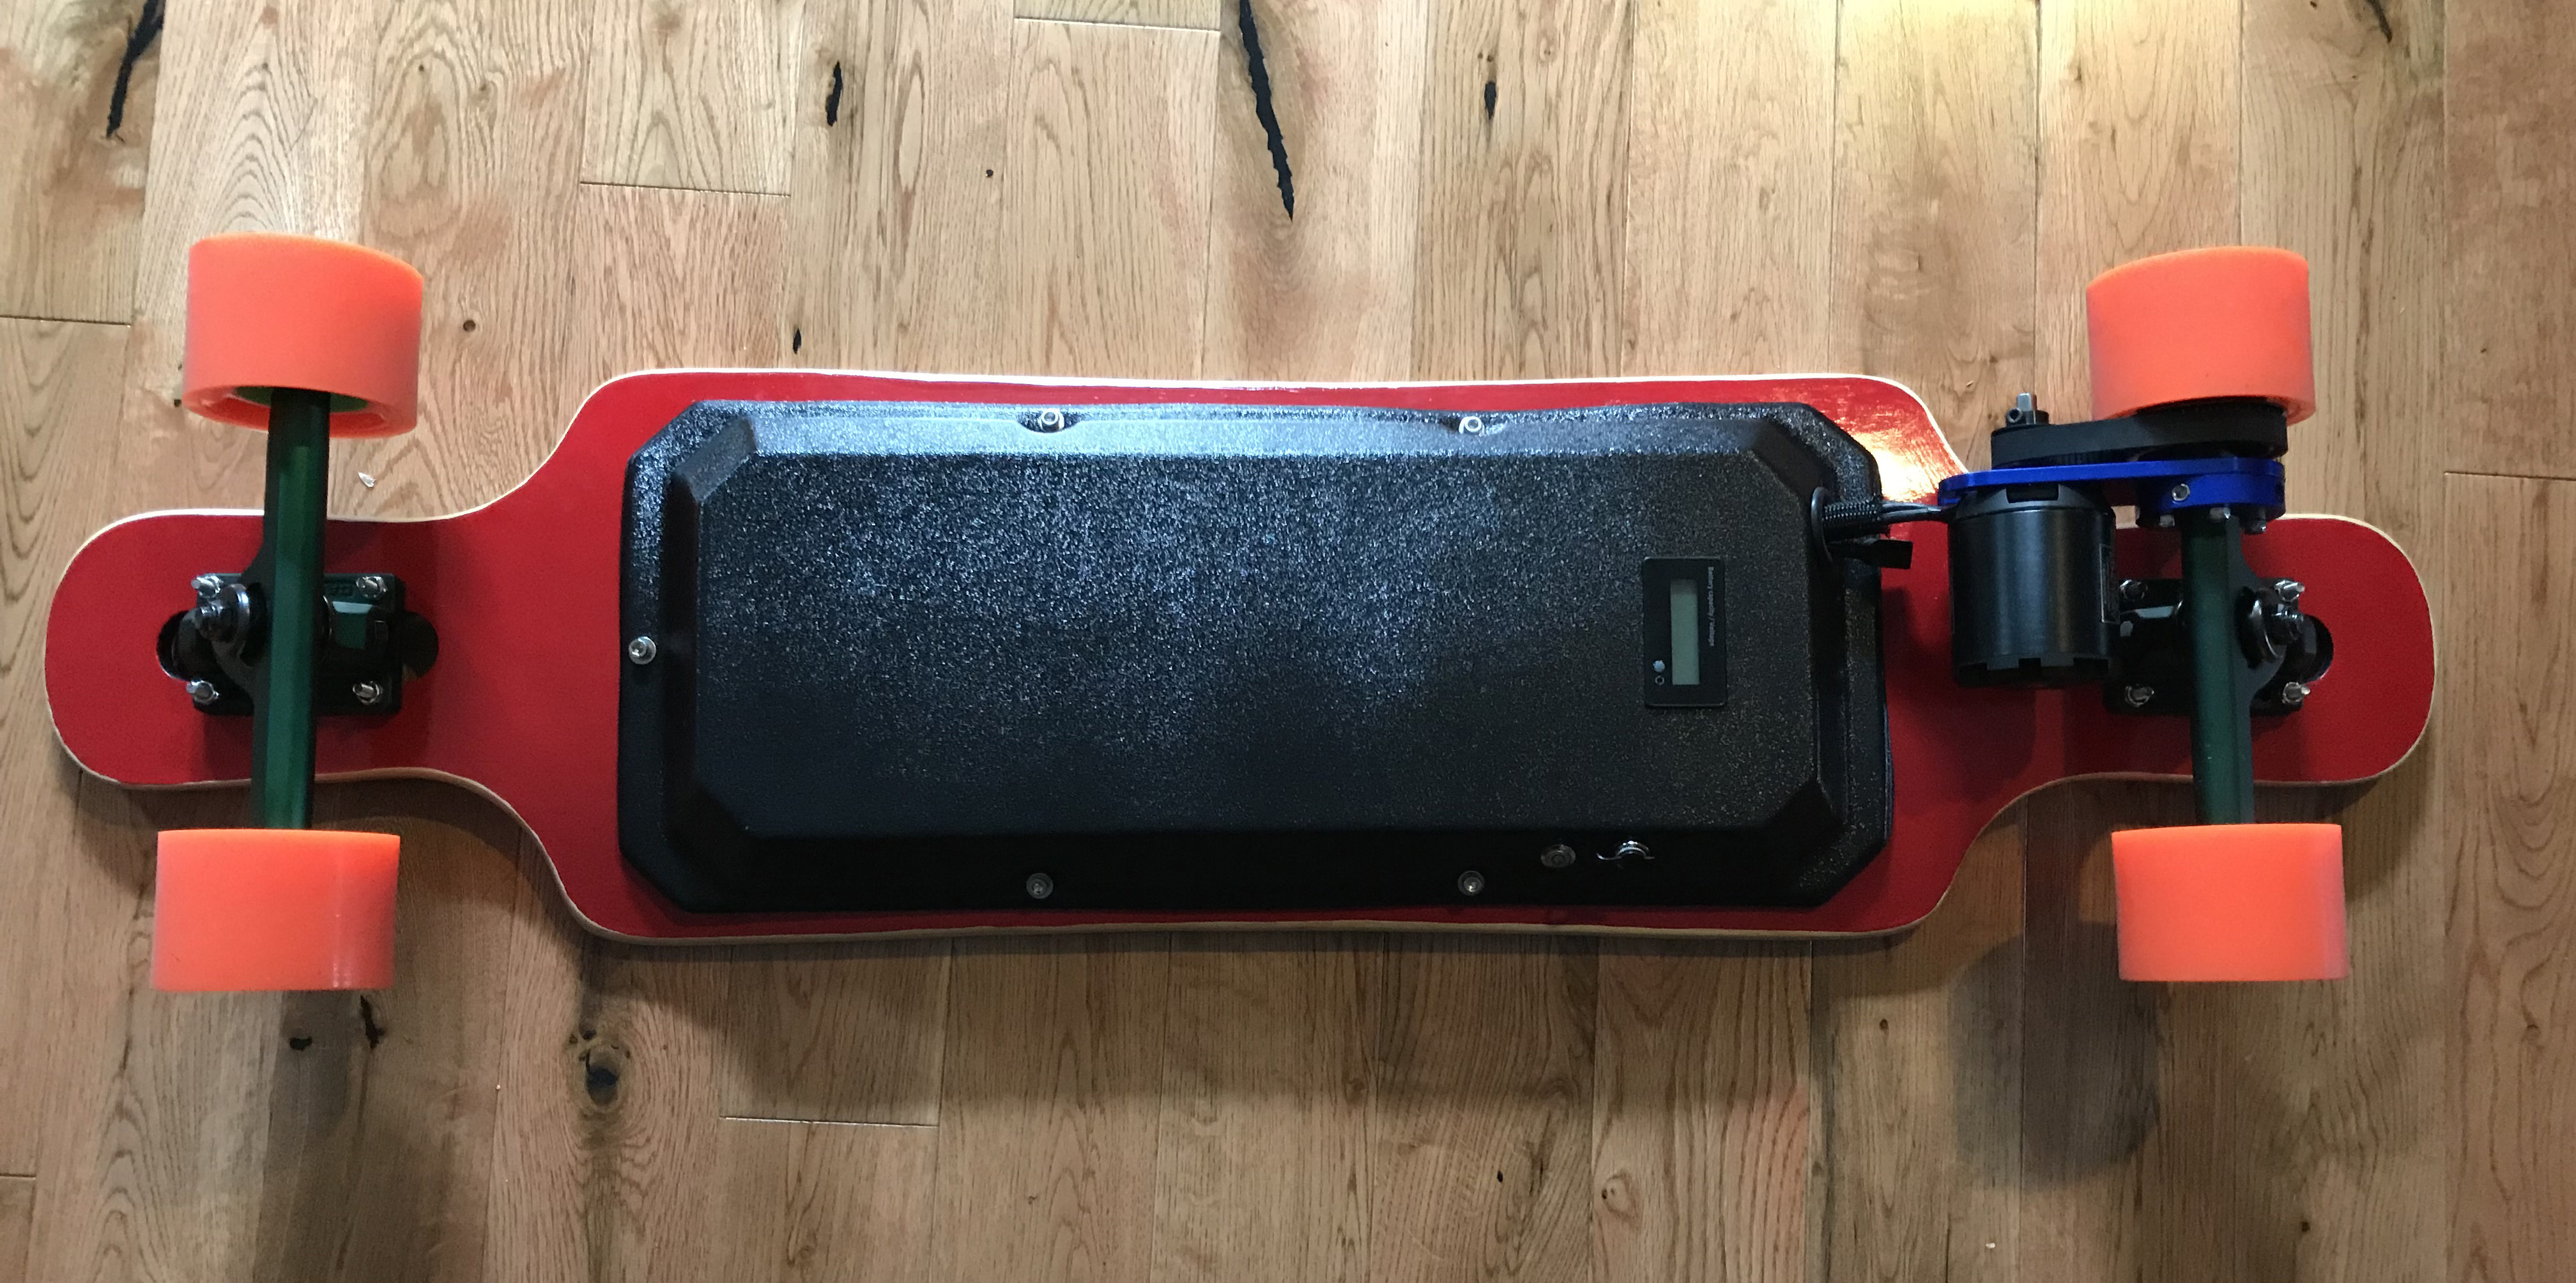
I’ve got about 3 inches of clearance below the enclosure. I could install the trucks drop-through but I’m worried that the motor will get pretty close to the ground and the deck:

Final build weighs 16lbs:
This evening I rode it down the street and back on level ground. It has a surprising amount of thrust! I’m 150lbs. Then I brought it into the shop and added thread lock to a number of the screws. Tomorrow it should be good to go.
