I am trying to gauge the interest in custom made enclosures for your esk8 electronics, the enclosures would be available in the color you want and could be customized to your liking whether it be a logo or design. They would be made out of ABS plastic. Would anyone be interested?
1 Like
I doubt anyone would be interested…
1 Like
Why do you think so?
1 Like
Put up pics of ones you have done
https://psychotiller.com/product/split-low-pro-v3
Not big sellers? What do you make these guys out of?
@cicero I don’t know that the customization with a logo or whatever is going to be really compelling, but if you have a good design that offers better features then no reason not to put it out there.
Obviously I was joking…Just make some and post them up!
I make mine out of 1/8" abs. How long have I been making custom enclosures again?!
1 Like
Haha ah okay gotcha yeah wasn’t sure if those were abs but good to know 
Just a little reading goes a long way…![]()
Ah nice, yeah I’ve watched a lot of YouTube vids on vacuum forming with plastic sheets, haven’t tried it myself yet but I might have to put together one of those rigs at some point here. Literally just got done pouring some silicone on a 3D print for the first time… I didn’t have the mold release yet it ships tomorrow but I got impatient so gave it a go without it but cure time is basically overnight so need to wait to see if I’ll ever get that print out with,out destroying the mold.
I might be able to do a vacuum form for the outer shell of the enclosure I’m working on with swappable battery trays, but would probably be hard to get the precision needed for the trays to slide in and out without a lot of practicing with that technique (not to say the molding is going to necessarily work but going to try this for a bit first at least).
2 Likes
Is there merit in using a stronger material like a Poly Carbonate?
It looks nice but solid sheet of ABS formed like this should be plenty strong (same stuff they make lots of helmets out of). I’m using a 3D printed ABS enclosure only issue I’ve had with it really is delamination between the printed layers which isn’t an issue when doing vacuum forming or pouring into molds for that matter. Nice thing with pouring molds is you can choose the particular hardness of the plastic and modify things like the color with pigments or get some clear coat plastics to make “clear” parts (still have to contend with bubbles and surface finish and all with those though) and can generally make somewhat more intricate parts (if you get into extreme detail need a two part mold and probably a vacuum chamber to get the epoxy to fill out any air gaps in the mold).
Also quick update on the molds, the silicone omoo 300 cured faster than it said so I tried it out last night with some of their 10 minute curing 70D mix and it is pretty amazing how much detail of the original 3D print gets preserved can see the exact print pattern and everything which is pretty awesome. Today will be 3D printing a few objects to turn into molds. I have some risers with lights in them I’m working on and going to add a “lense” or diffuser of some sort in front of the LEDs so the light isn’t so direct and harsh for oncoming cars (and for cool looks). Unfortunately the clear plastic takes 48 hrs to fully cure so will take longer before I know if I actually did that right or not.
1 Like
I just got a new poly carbonate filament that one of my buddies who sells led housings for dirt bikes swears by. I printed a remote out of the PC and was amazed by how tough it was. I am going to try to print some electrical enclosures soon and do some impact and strength testing. I am pretty optimistic because the layers bind together well and prevent the delamination you get with ABS.
Good to hear yeah the main problem with mine really is I printed in the worst possible orientation (basically how it is on the board when it’s upright which means layers are vertical and gravity and the weight of the batteries is fighting against it). Could just tape the batteries to the board to reduce the strain but I feel like that puts more impact on the batteries so prefer the case just holding them there wrapped in foam. I lined the inside of mine with duck tape to help give it more strength in that direction and gave it a bath an ABS slurry (ABS melted down in acetone).
that sounds like it could definitely help in making it more solid in the vertical direction. I agree with you, I try to avoid taping my batteries to my deck. Reducing noise it my number one priority behind having a working board. I am going to try printing a base plate for my enclosure out of ninja flex which is a flexible rubber. I want to have all the internal components isolated by the ninja flex so that there is no direct contact between my deck, electronics, and enclosure. The PC enclosure would provide needed support and strength.
Ah yeah love ninja flex (expensive but pretty awesome), have a spool here I was thinking of making the risers out of some softer durometer plastic like that (need to research more on regular risers though to see what people love or hate about them). Using the molding method can do some midscale production of parts instead of just making things for myself thinking I can maybe make small batches for the people here who are interested too… Main “downfall” or negative with 3d printing is the time and effort to make each part, but can 3d print for prototyping and making originals then use a mold to replicate.
how are you making your molds? I’d be interested to see what kind of a process and materials you would need.
You’re in luck I just took pictures 
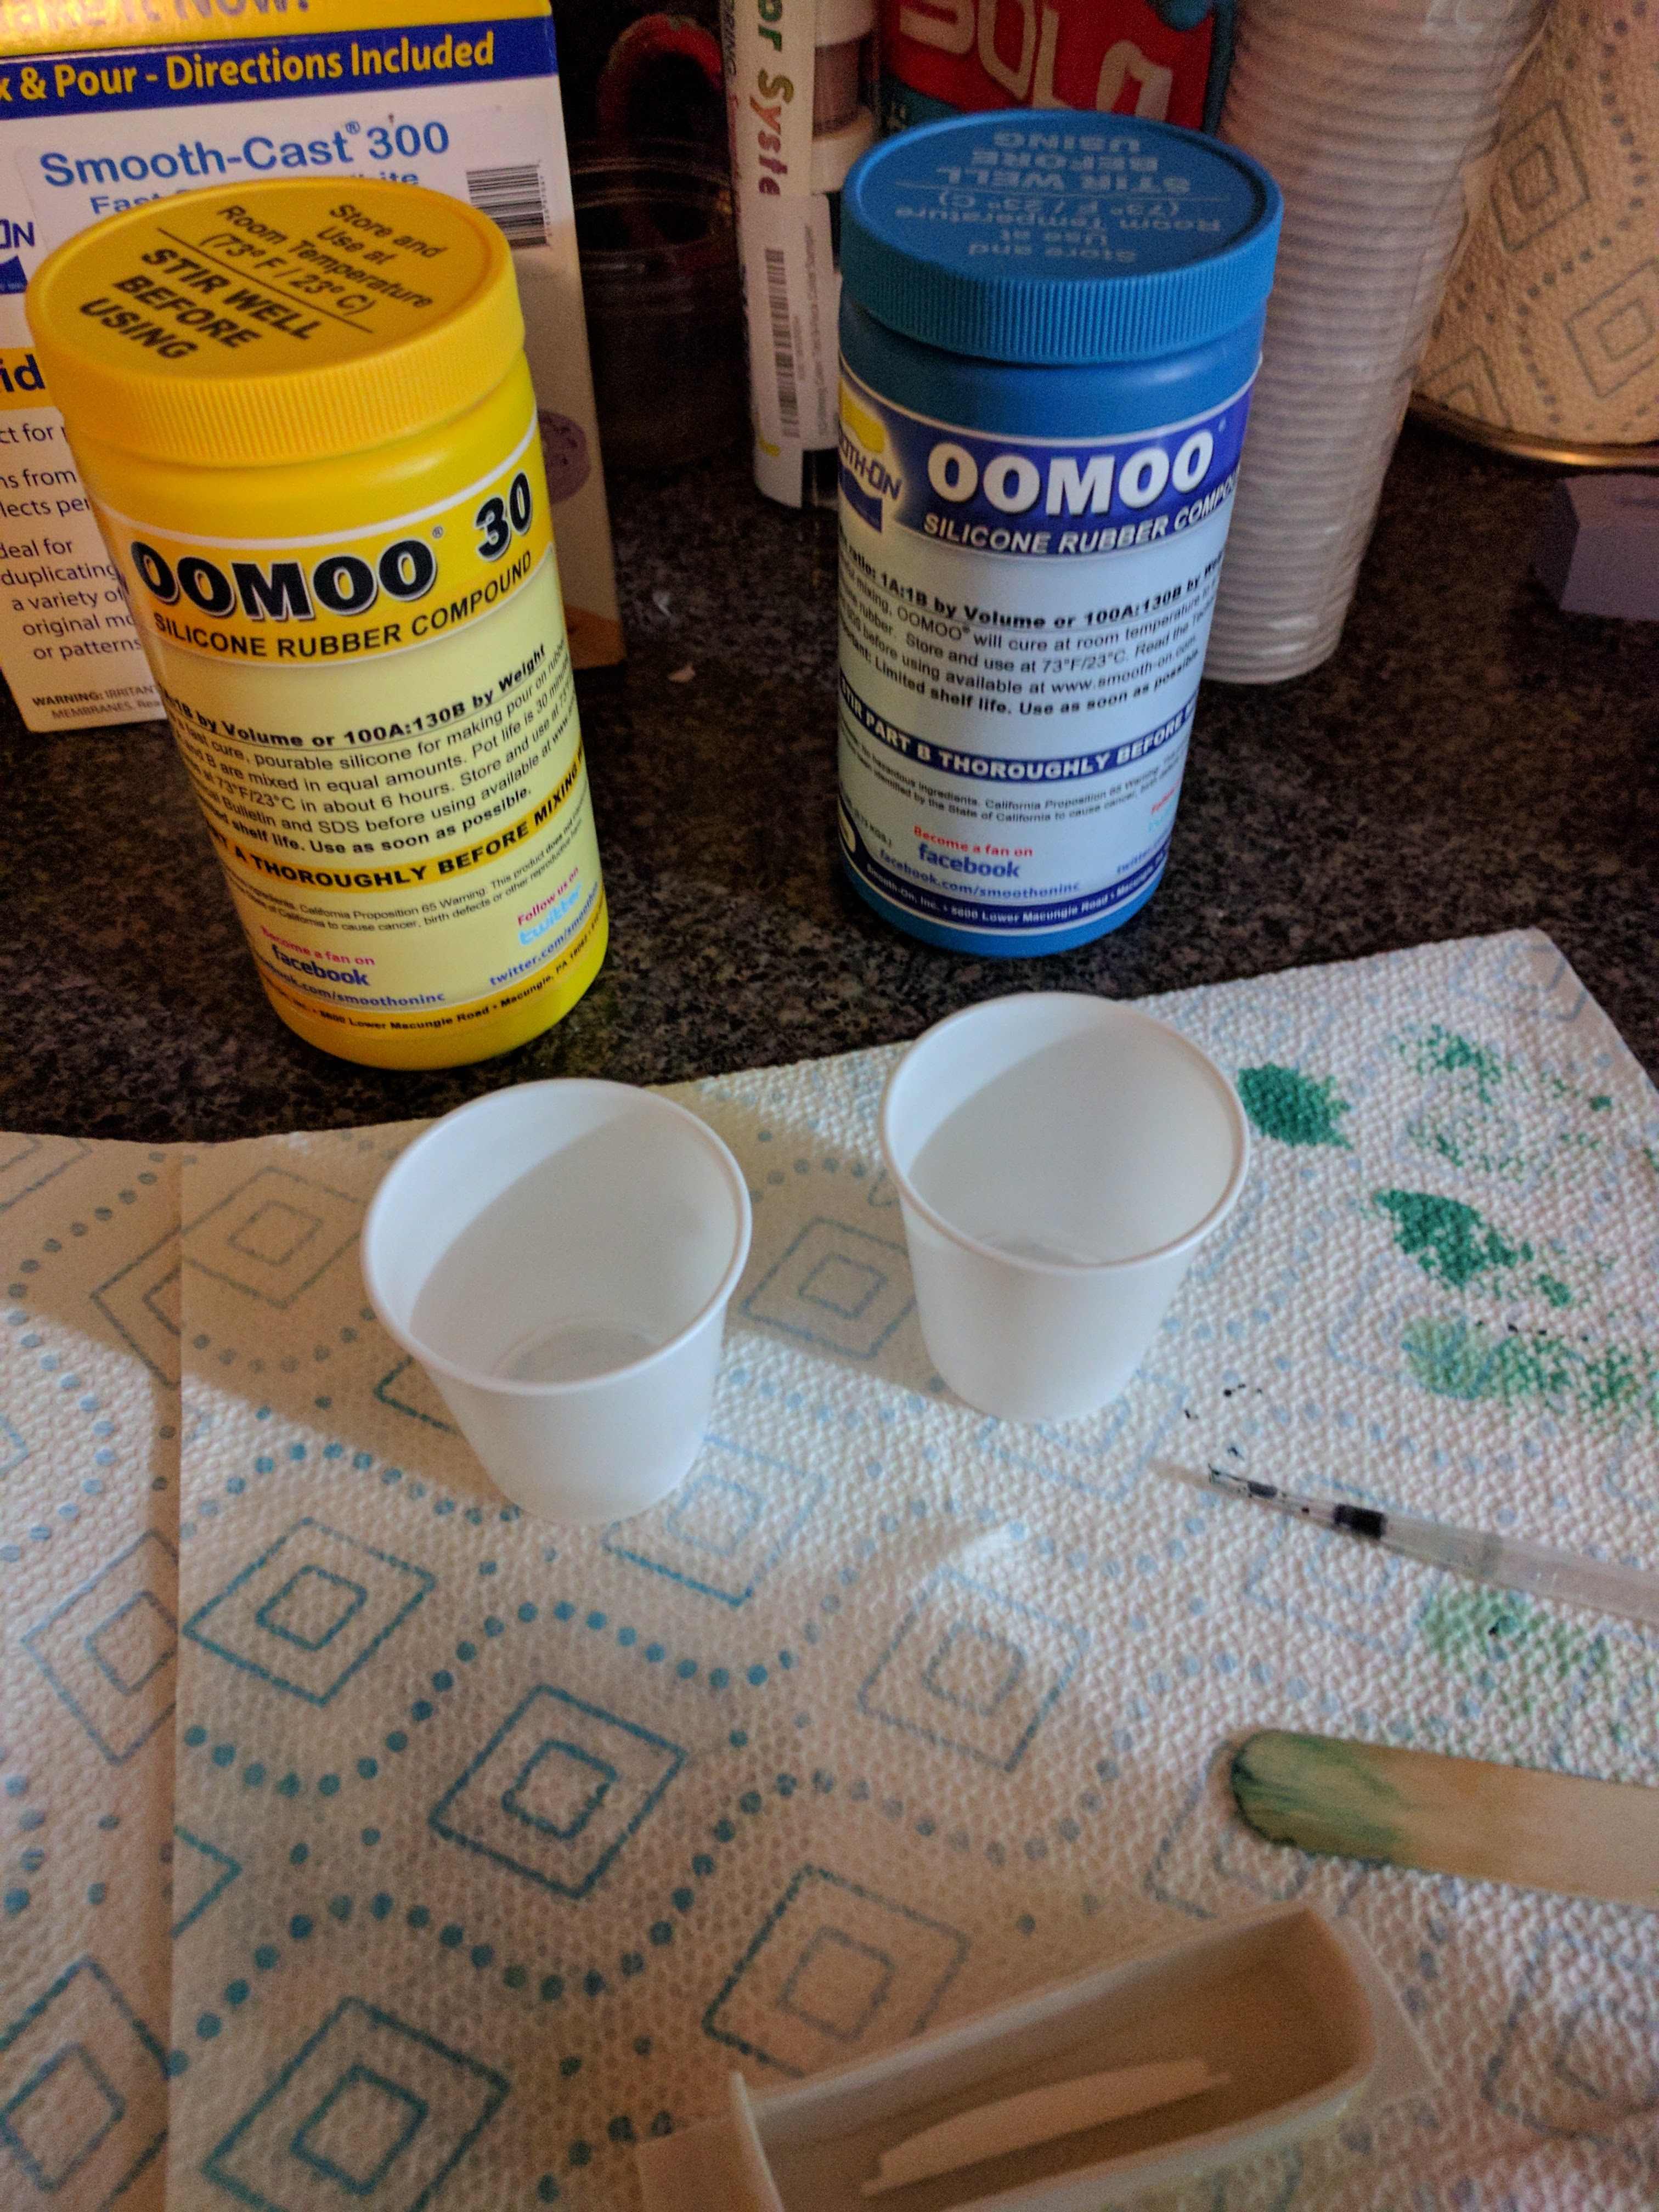
I’m actually just learning this so I may not be doing everything 100% correct but easy composites and smooth-on both do a great job with showing how to use their products. Easy-composites is more fiber (carbon fiber, or fiber glass and epoxy) related stuff but smooth-on makes and has distributors for their silicone’s and urethane’s and other stuff.

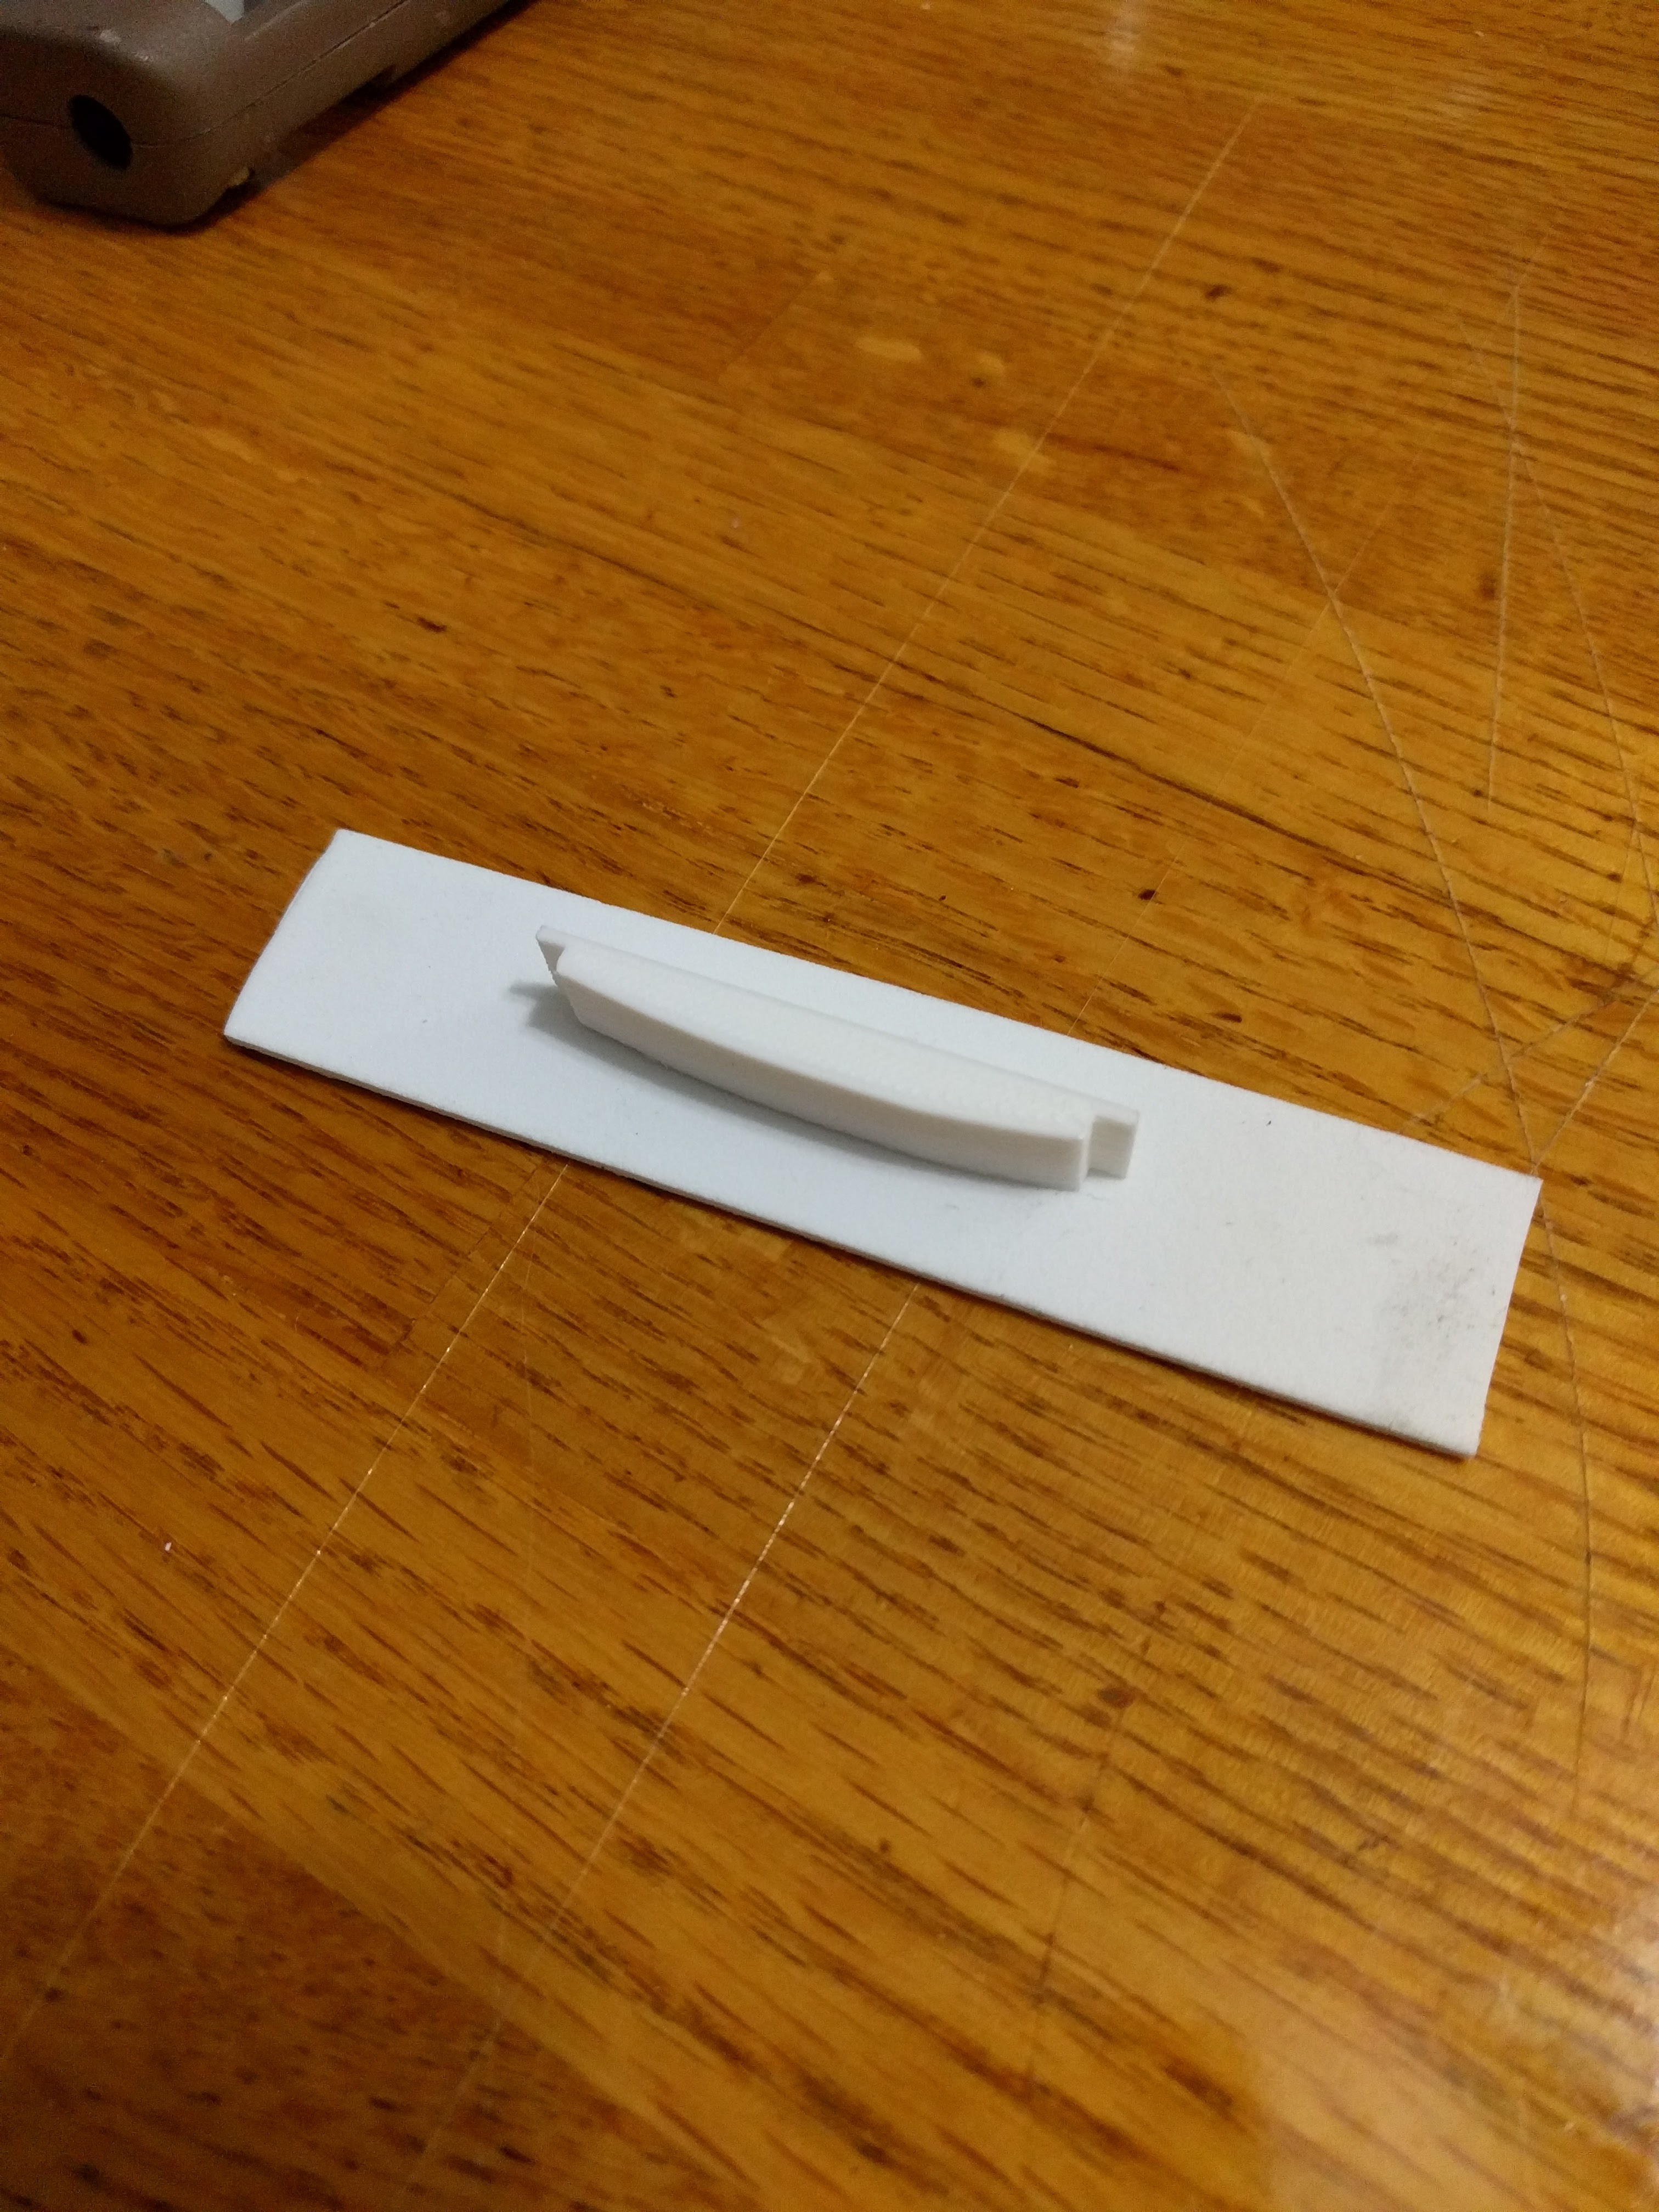


[ White one on top is the original 3D print, next one is the first attempt without using any coloring, also tried breaking that one with some pliers so has some marks on it from that but didn’t break just bent a bit. Keep in mind adding dyes/colors can make the plastic have different properties especially if over done. Next one was very little green, then a full drop of green and a full drop of blue finally.]
The basic gist is:
- 3D print a thing
- Hot glue it to some disposable stuff, also surround with disposable stuff (foam board works well, I have thin foam here still works but flimsy, all hot glued into place)
- Spray the 3D print container with release agent wait 10mins
- Mix same parts A and B in volume into a cup after mixing each by itself, after thorough mixing pour over the 3D part.
- Let cure, the kind I have takes 4hrs to cure (maybe a bit less really, more mass it cures faster since it’s an exothermic reaction when you mix part a and part b and the heat accelerates the reaction, so thinner parts cure slower, counter intuitively)
Once cured you take your 3D printed part out of the silicone mold that you now have and you can now pour different mixtures of harder plastics into the mold. Basically same process as above except you mix different types of part A and part B, add color if you want at this point (1 drop is more than you want for small batches should be between .1% and 3% I think they say but very little goes a long way).
I’m waiting on the mold in the pictures to cure right now plan is to pour some clear plastic resin in there to make a lens/diffuser, but haven’t yet used that mix yet to see how it works out (cure time is 48hrs but didn’t have the MSDS precautions of other clear resins I saw).
The 70D hardness plastic I used in the pictures for the molded parts above cures in 10 minutes and has a very short pot time (time you have to mix it up and get it into the mold) so need to be quick with it but can pump out parts as well.
1 Like
Again impatience led to me demolding this test of the clear plastic earlier than recommended, but just doing some testing, so far looks good to me and does what I wanted it to (make the direct LED lights not so harsh).

Going to try to thing a few things over regarding how to arrange these to get the most versatility and make them the best they can be in terms of cost vs convenience (can basically include more or less batteries and charge circuitry or voltage regulators depending on what people would actually want, can put more or less of it on the sides or front of the truck instead of inside the riser itself).
Can see a spot near the bottom left of the photo where there was a bubble in the poured plastic but just need to take better care with making a larger mold to avoid those.
As is I loaded a couple hundred mAh LiPo in there with a TP4056 for USB recharging it and a toggle switch. Including those components or doing a custom PCB with the LTC chip used on the TP4056 for charging the LiPos raises the price (either more complex PCB and more machine assembly and/or more manual assembly), but could also run the LEDs off either a stack of coin cell batteries or a few AAAs. Last option I thought of was just running it off the main batteries but then need more lines running around the board which I don’t really want and don’t think most other people would want.