2 in 1 AT-Street Build | Dual 6355 FOCBOX | Flat 12s5p 30Q (648WH) | 6x2 AT tires/100mm MBS wheels | Mechanical Anti-Spark Switch

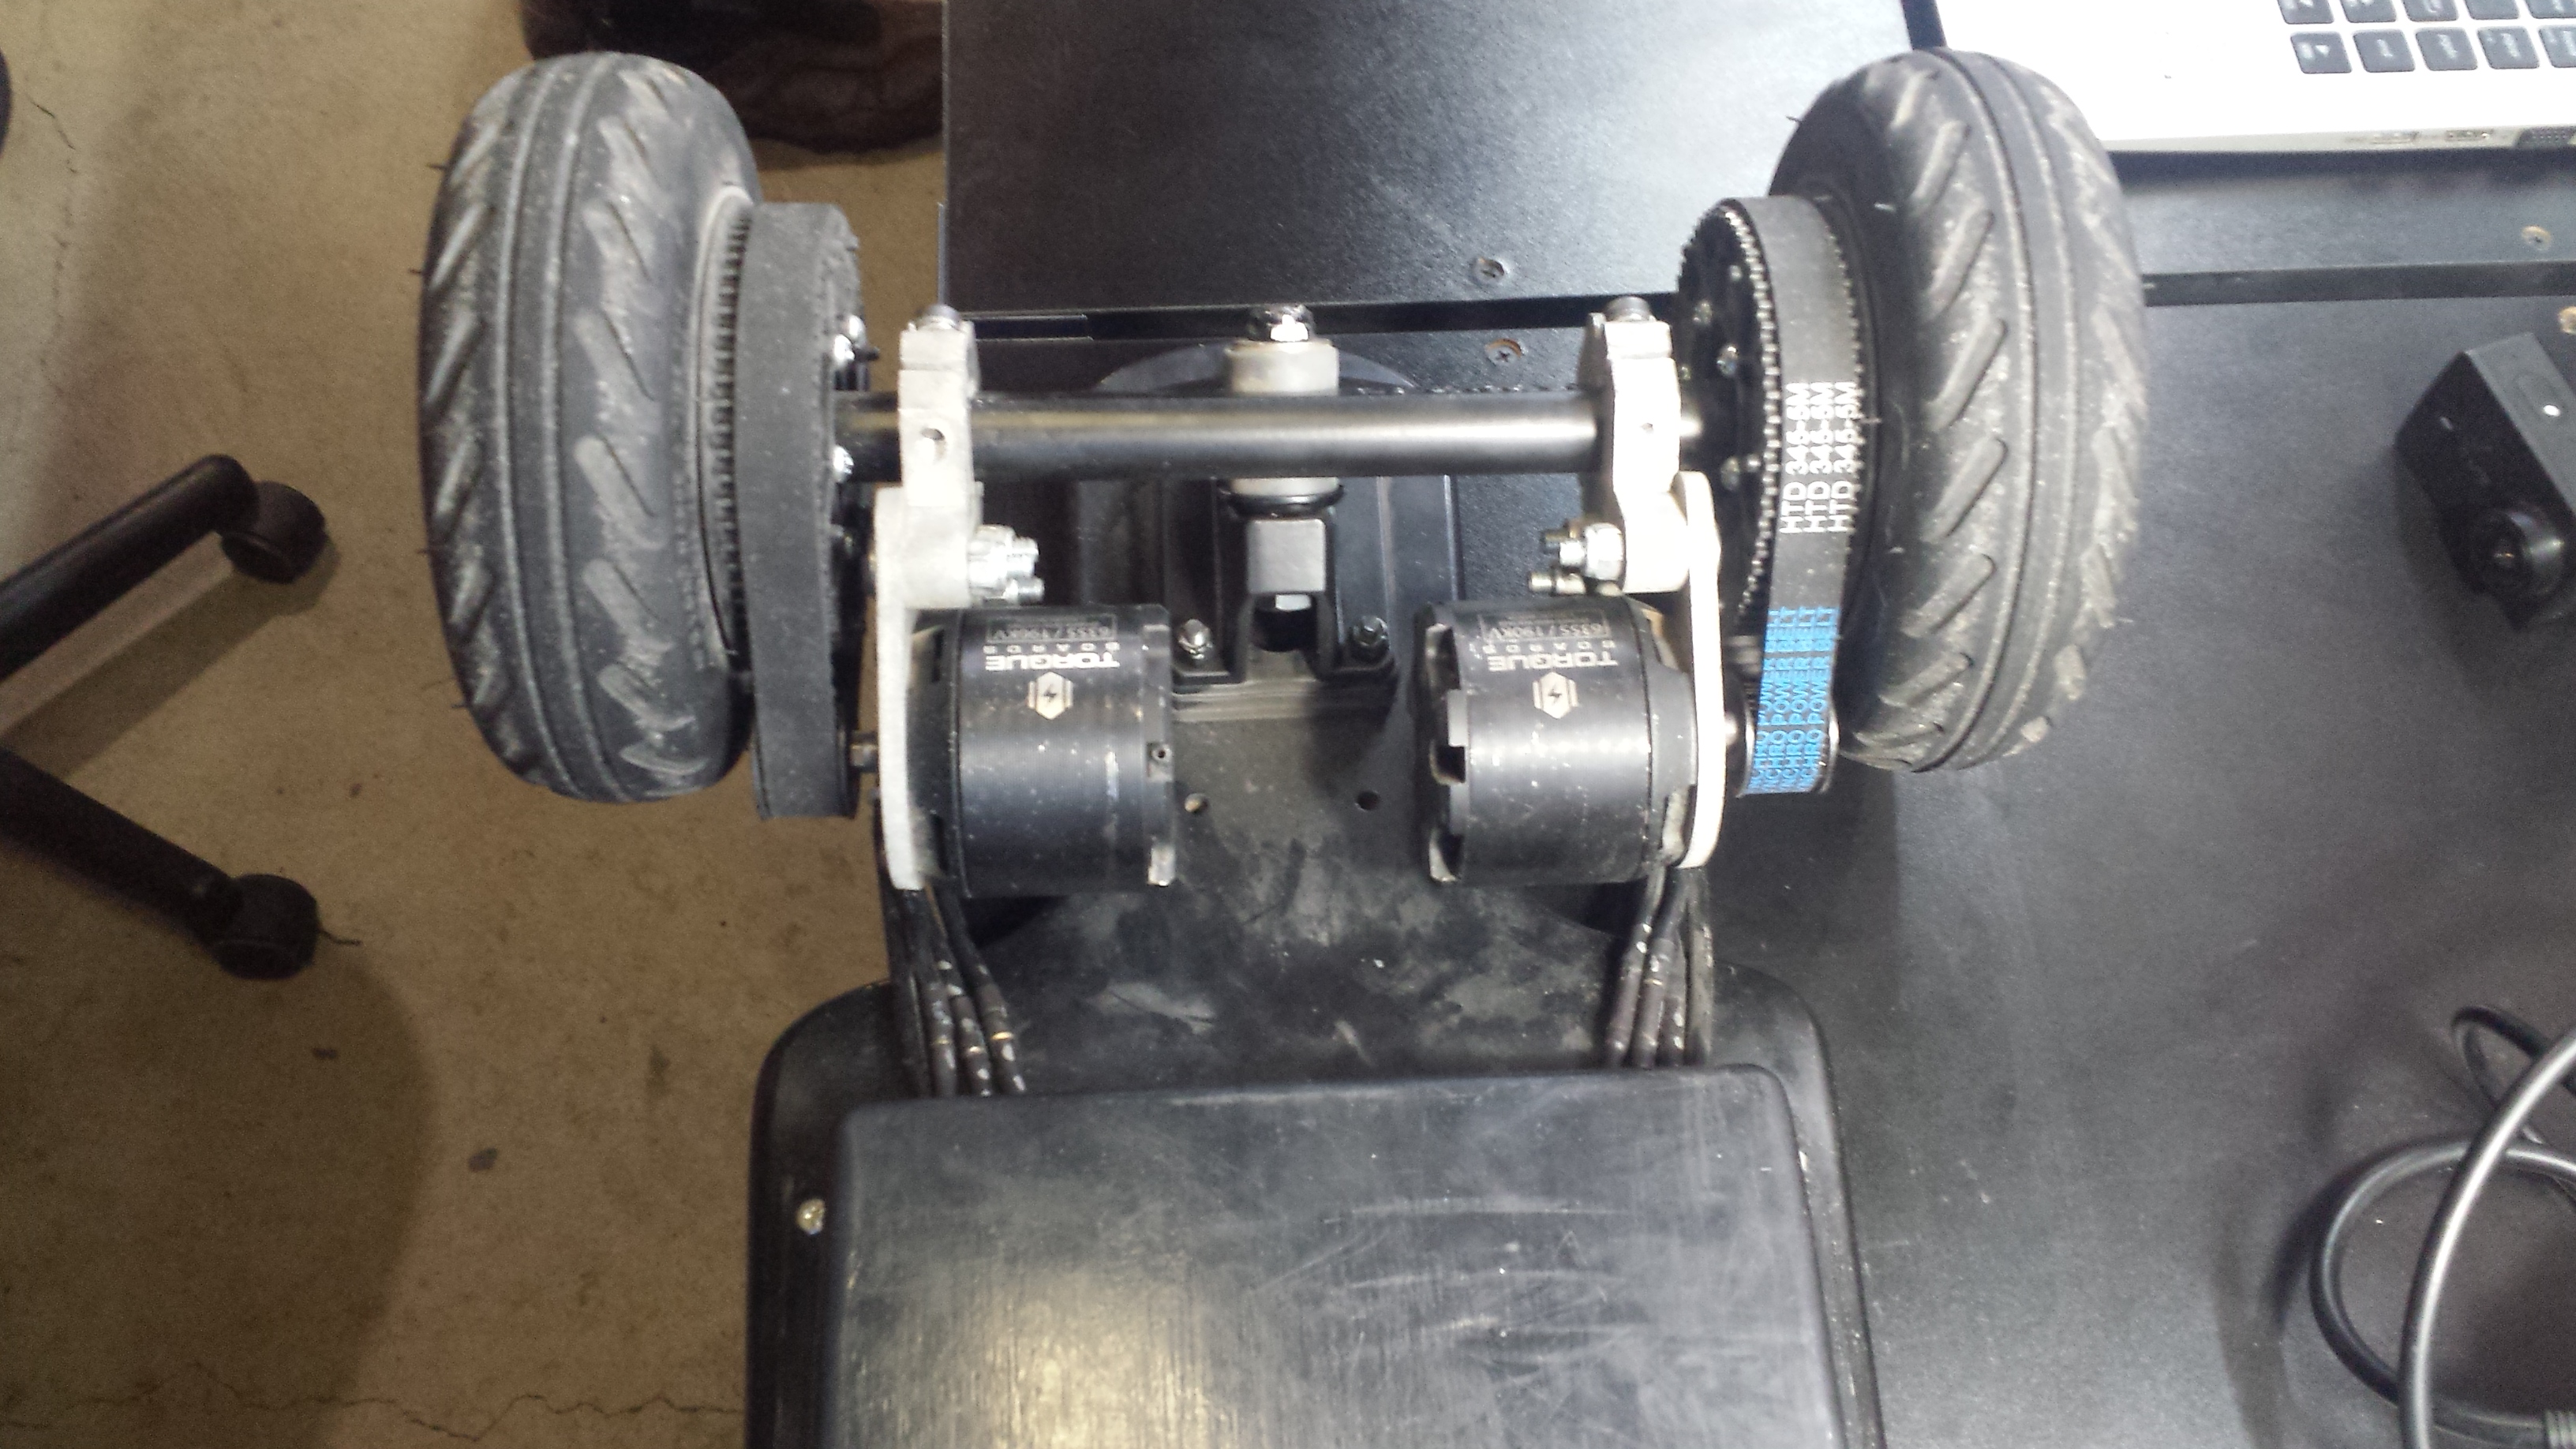
Here’s a quick writeup of my latest build, I didn’t plan on this board being a street setup at all when I first started. But then when I realized since I’m using regular mounts on caliber trucks…I figured that I could swap from pneumatic to urethane by simply swapping wheels/pulleys and belts. If you get the belt tension JUST RIGHT, you can do the AT-street swap in 2-3 minutes with only a skate tool, no adjustment in belt tension is needed.

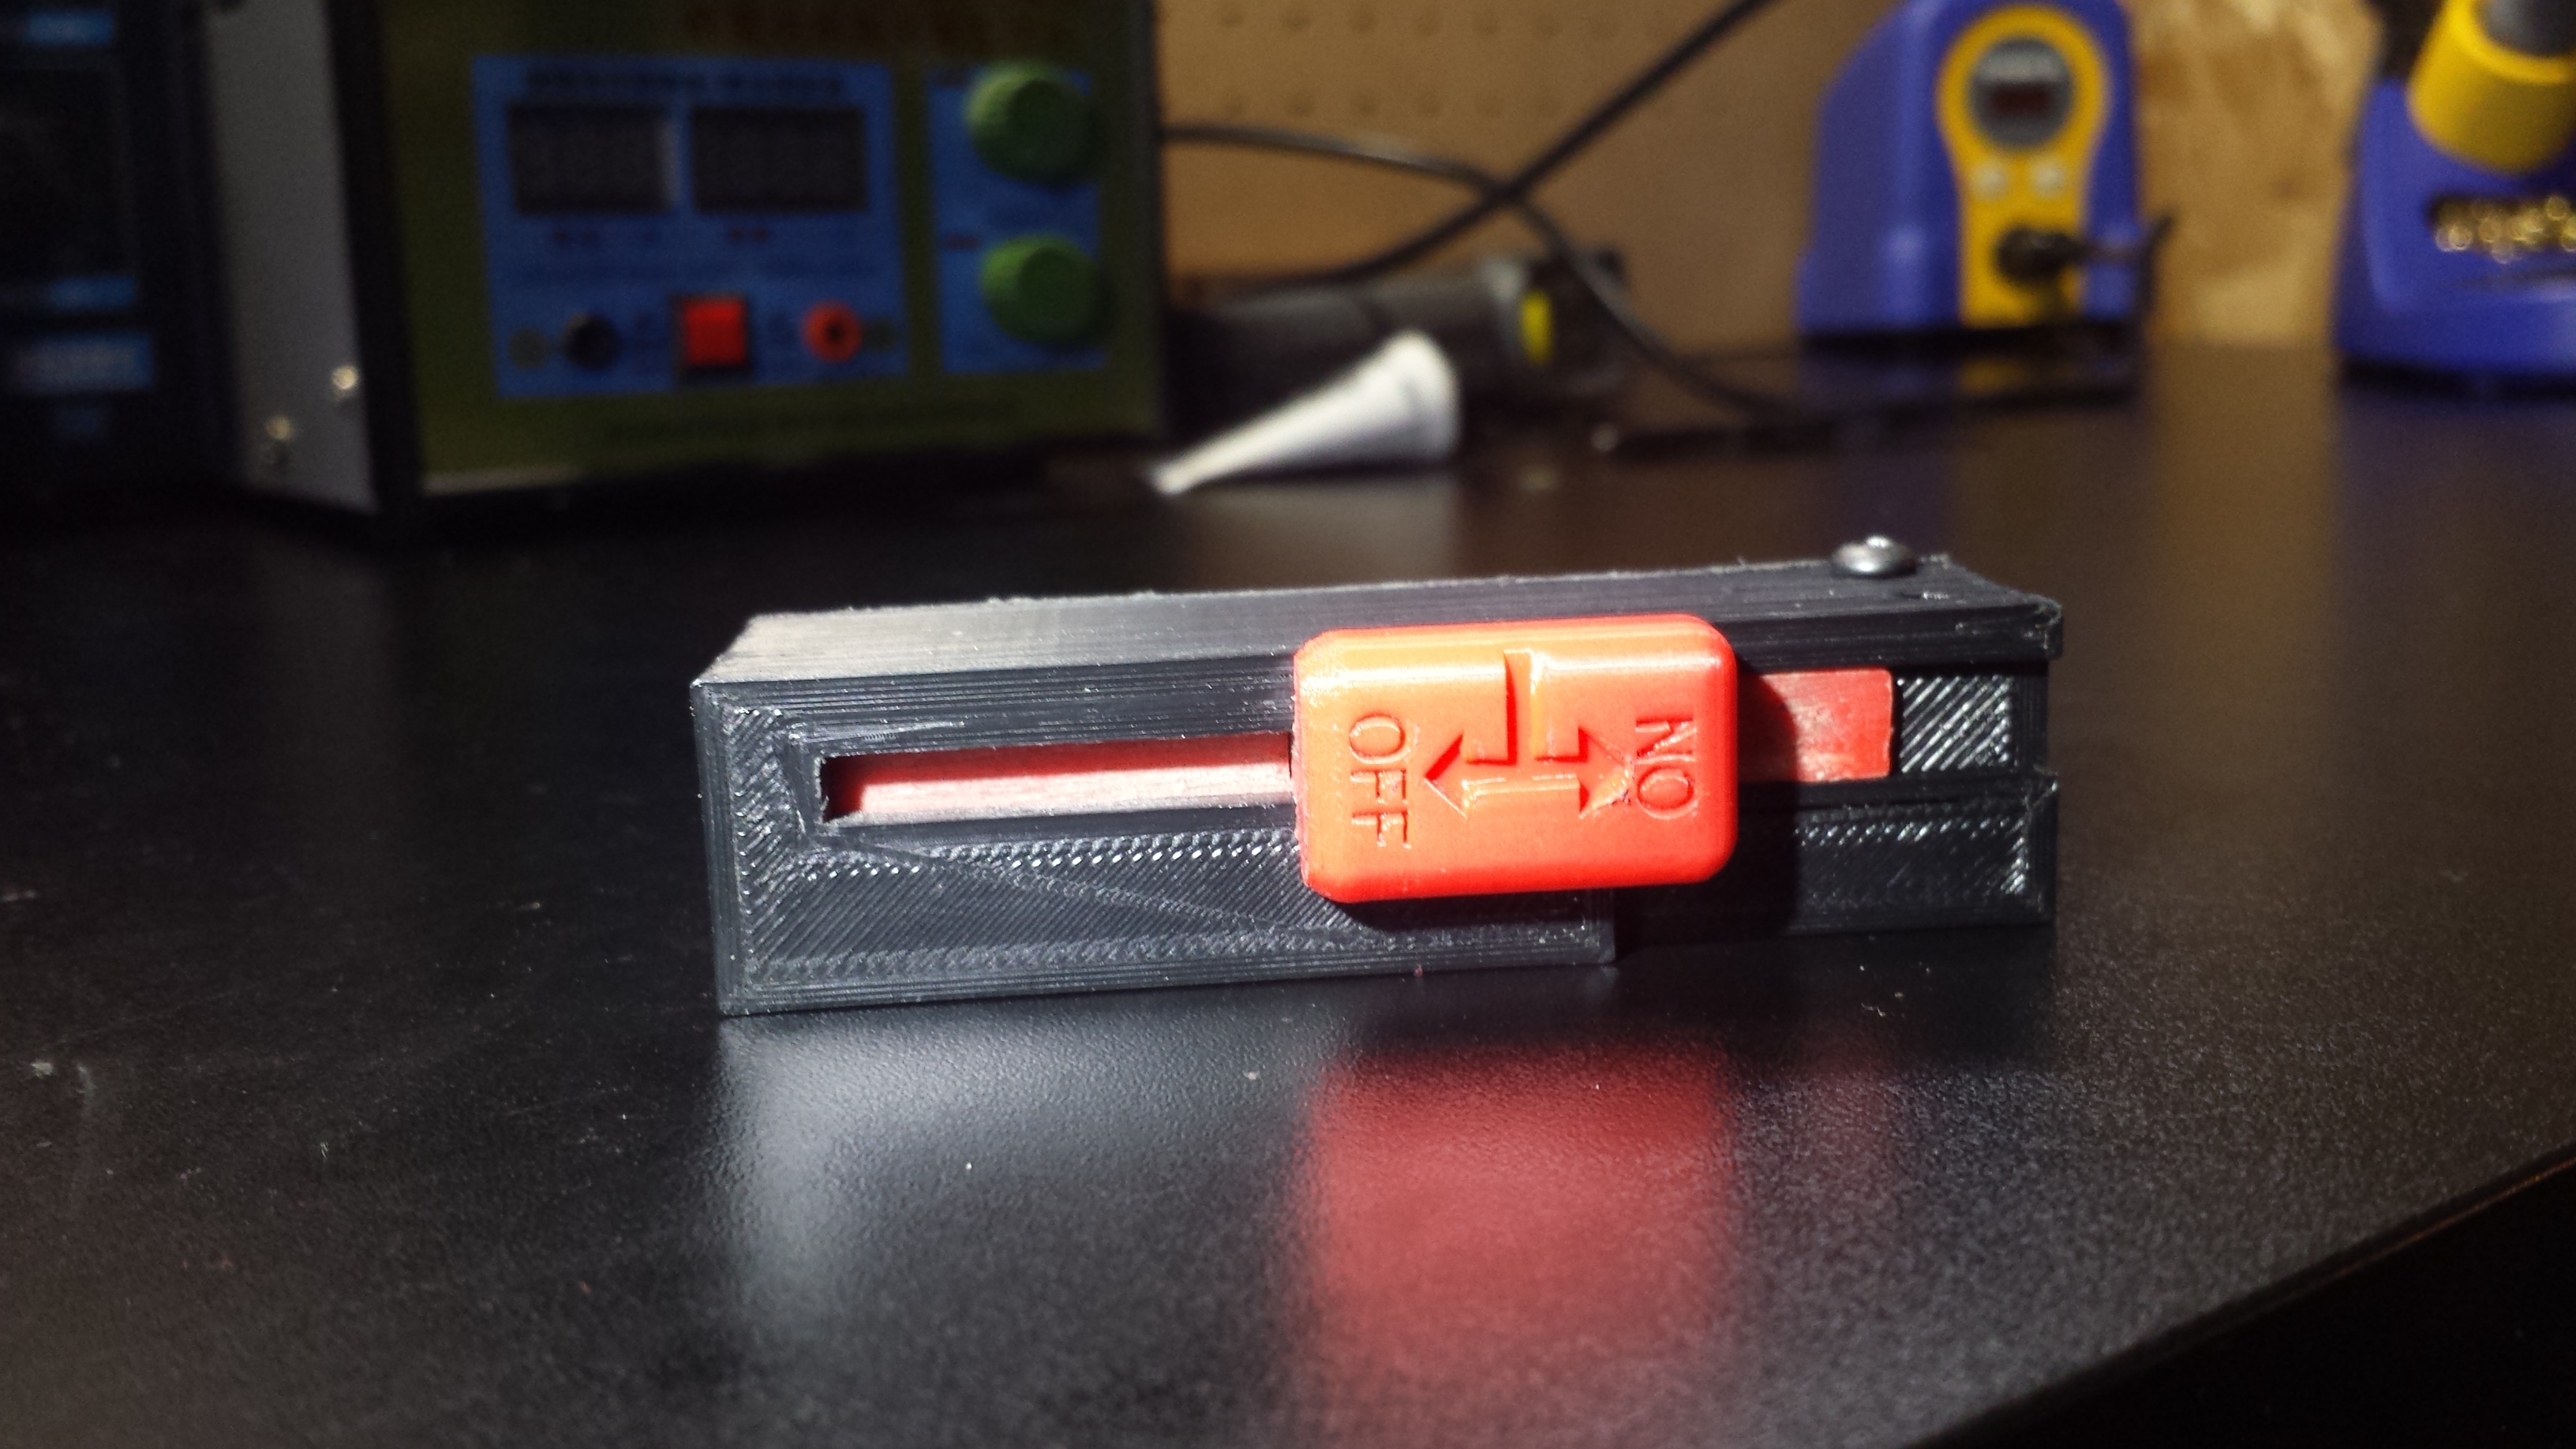
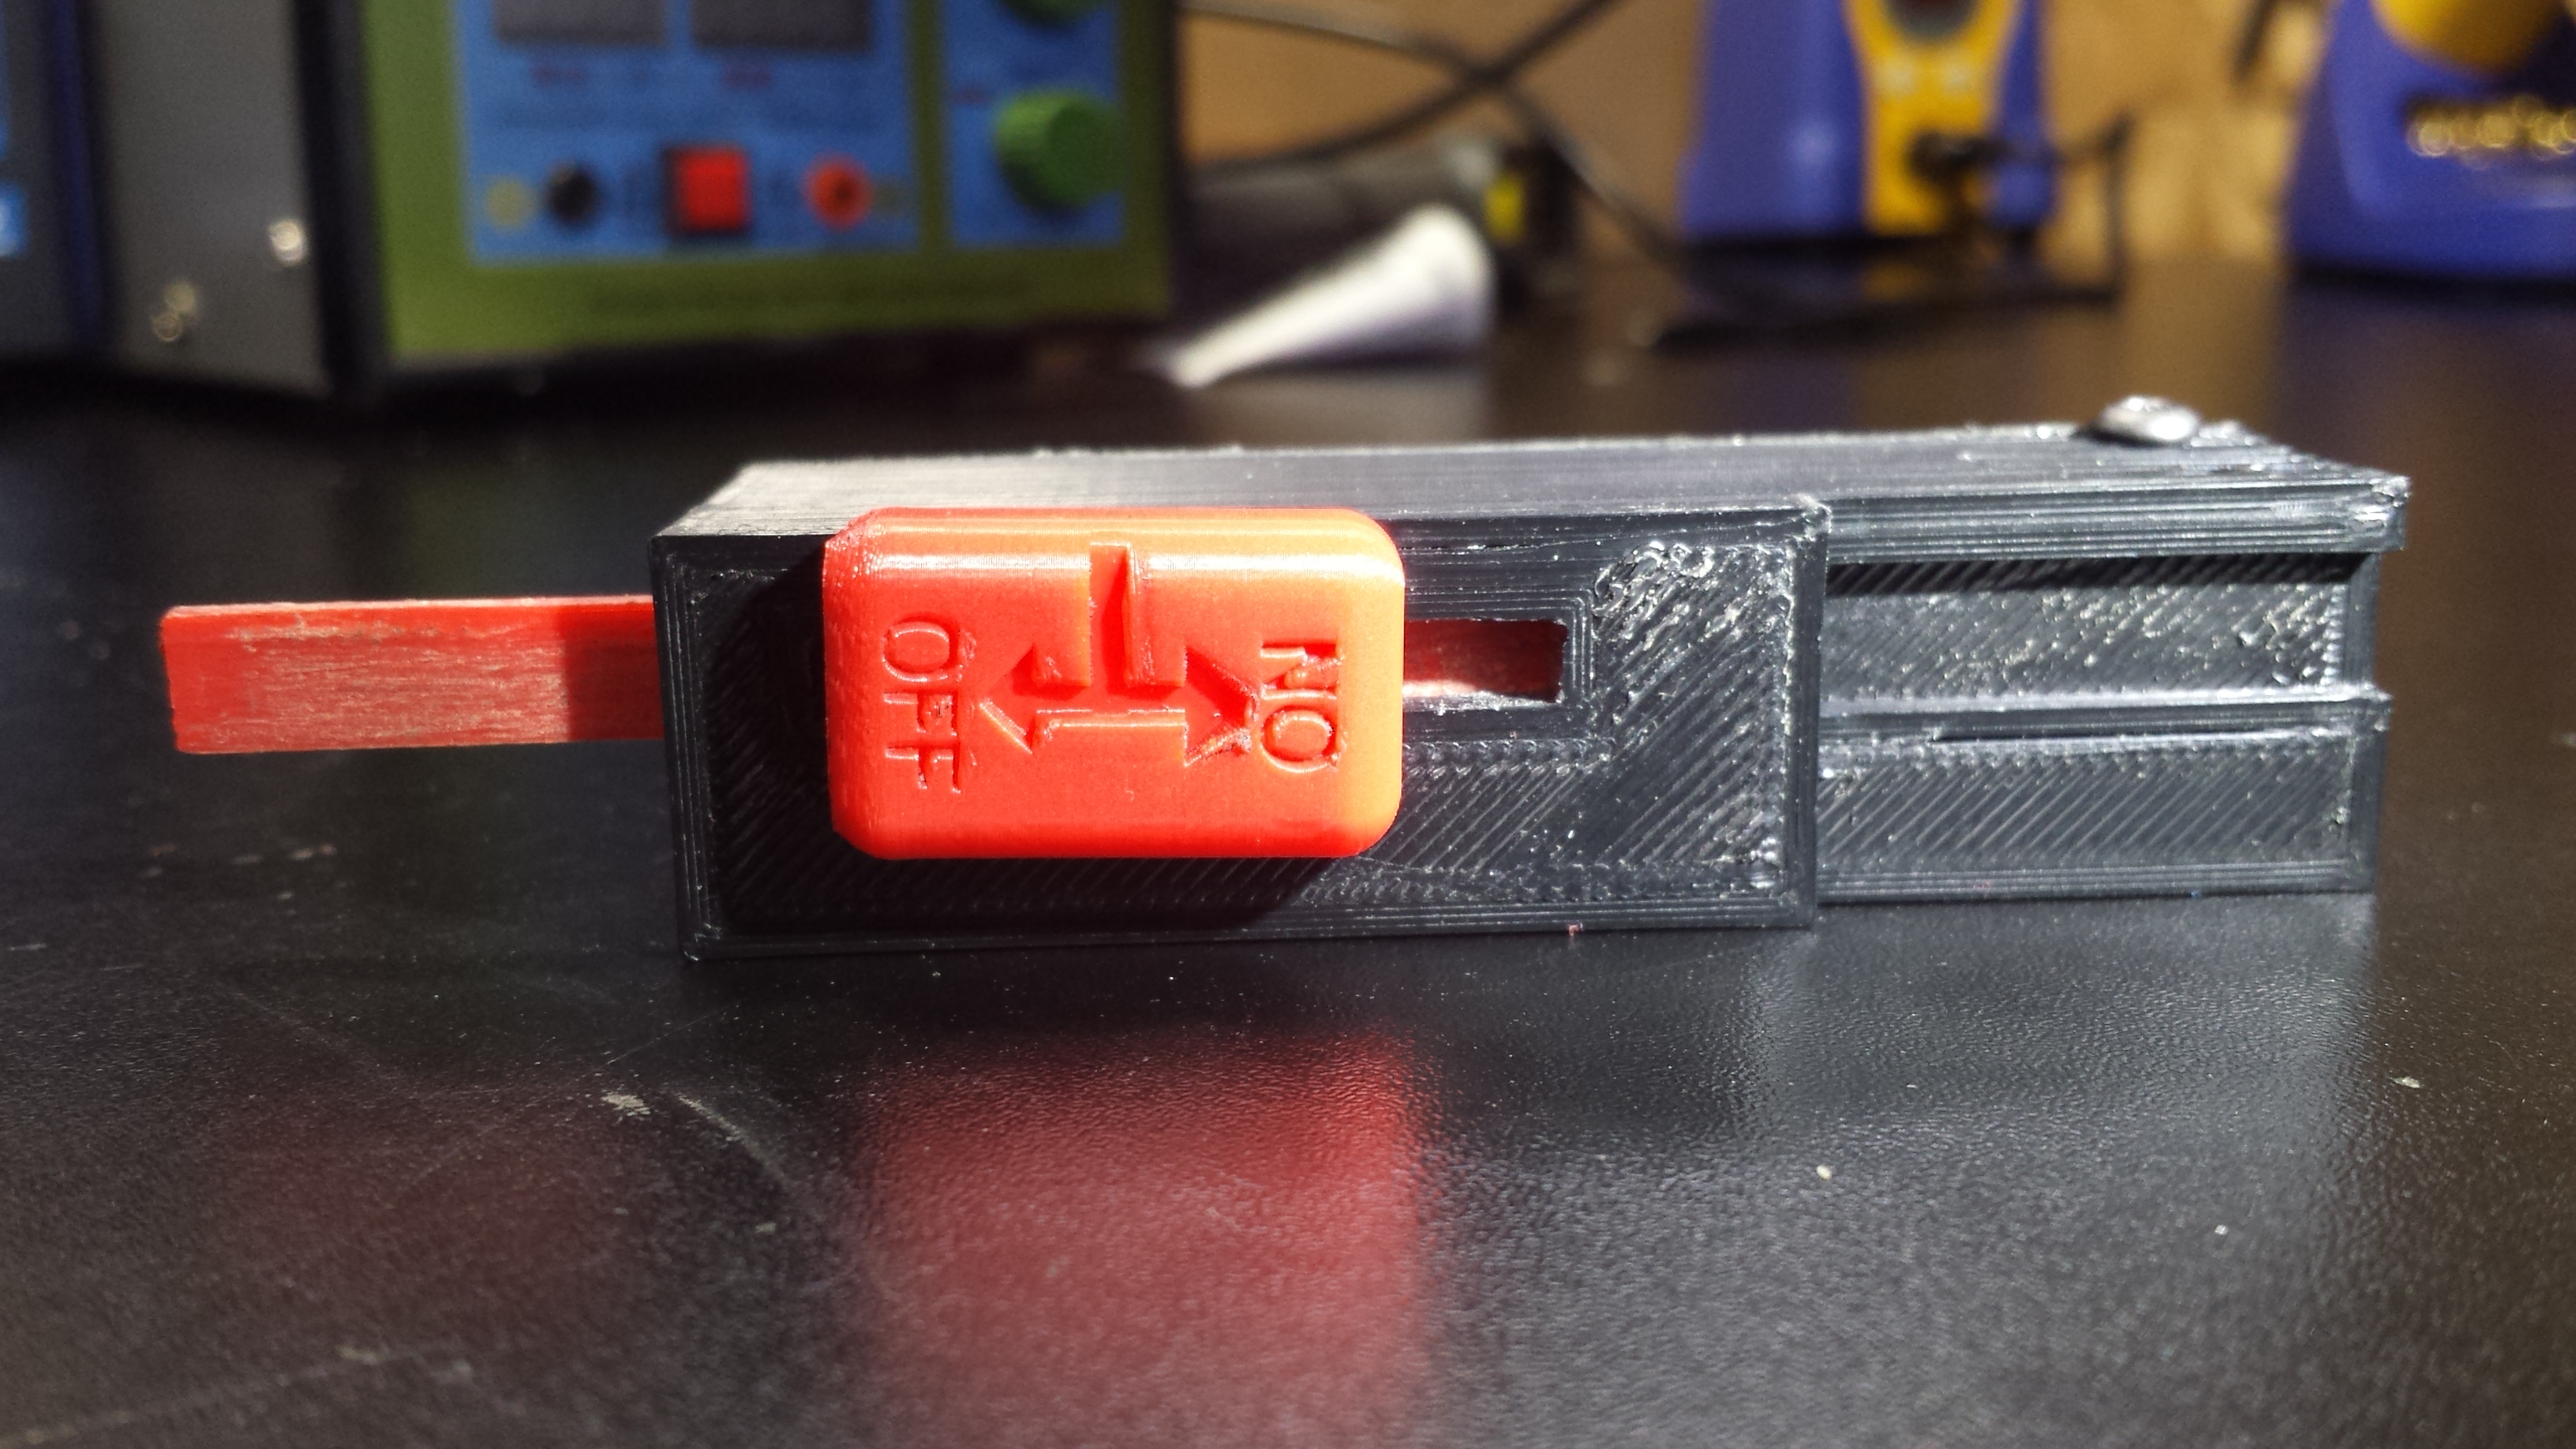
As per usual with all my builds, no BMS, using dual VGA ports to charge as 6S, then discharge at 12S. Normally I would use an XT90S as a series connector and on/off switch, but I’m sick of XT90S…they work great, but ascetically it’s terrible. I have to give all credit to @Deckoz for giving me the springboard to make a mechanical anti-spark “switch” with an AS150 connector. Should be as reliable as XT90S, but doesn’t look half as bad. I ABS glue the switch housing and VGA into the enclosure.

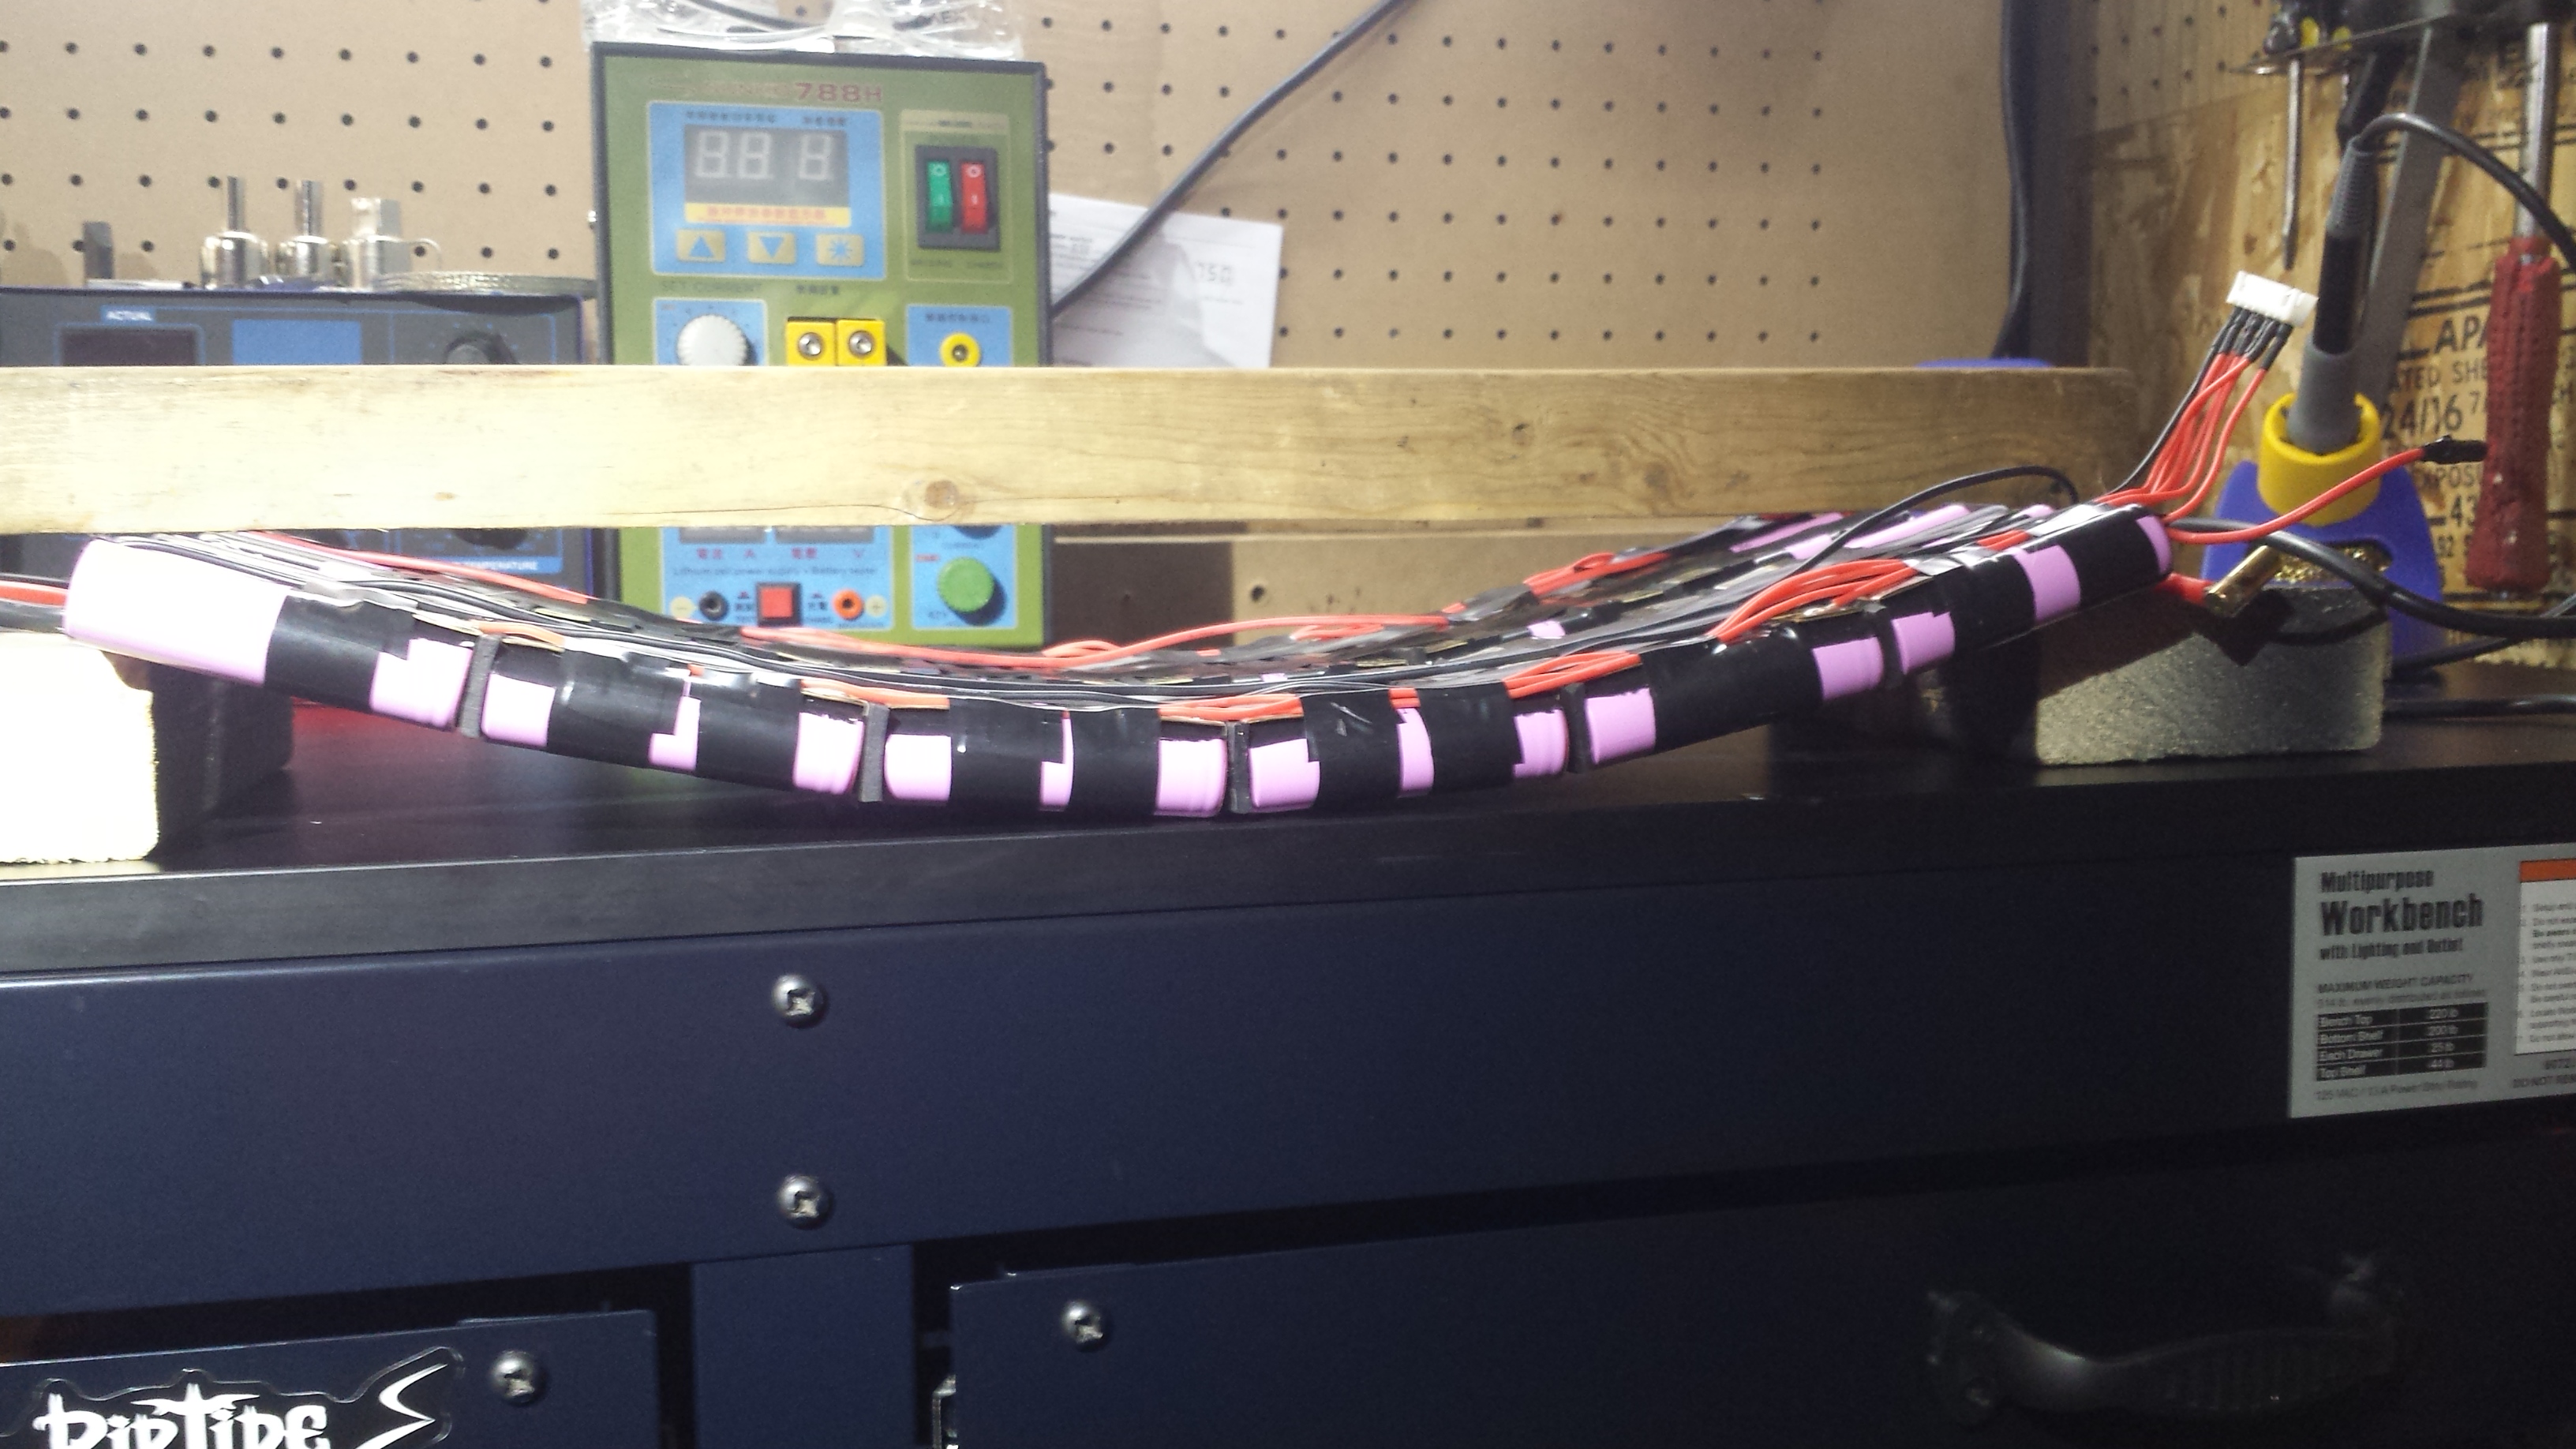
Also, of special mention on the battery build…I had some large brass strip rolls laying around, and I thought…hmm, wonder if I can spot weld that! Got a test piece of nickel and brass, gave it a shot, and it worked surprisingly well. I tried to rip the strip off with pliers and it was tough, tore the nickel before the welds broke. So let it be known, the Sunkko 788H is capable of welding .012" thickness brass. The battery can also flex with the deck and enclosure.

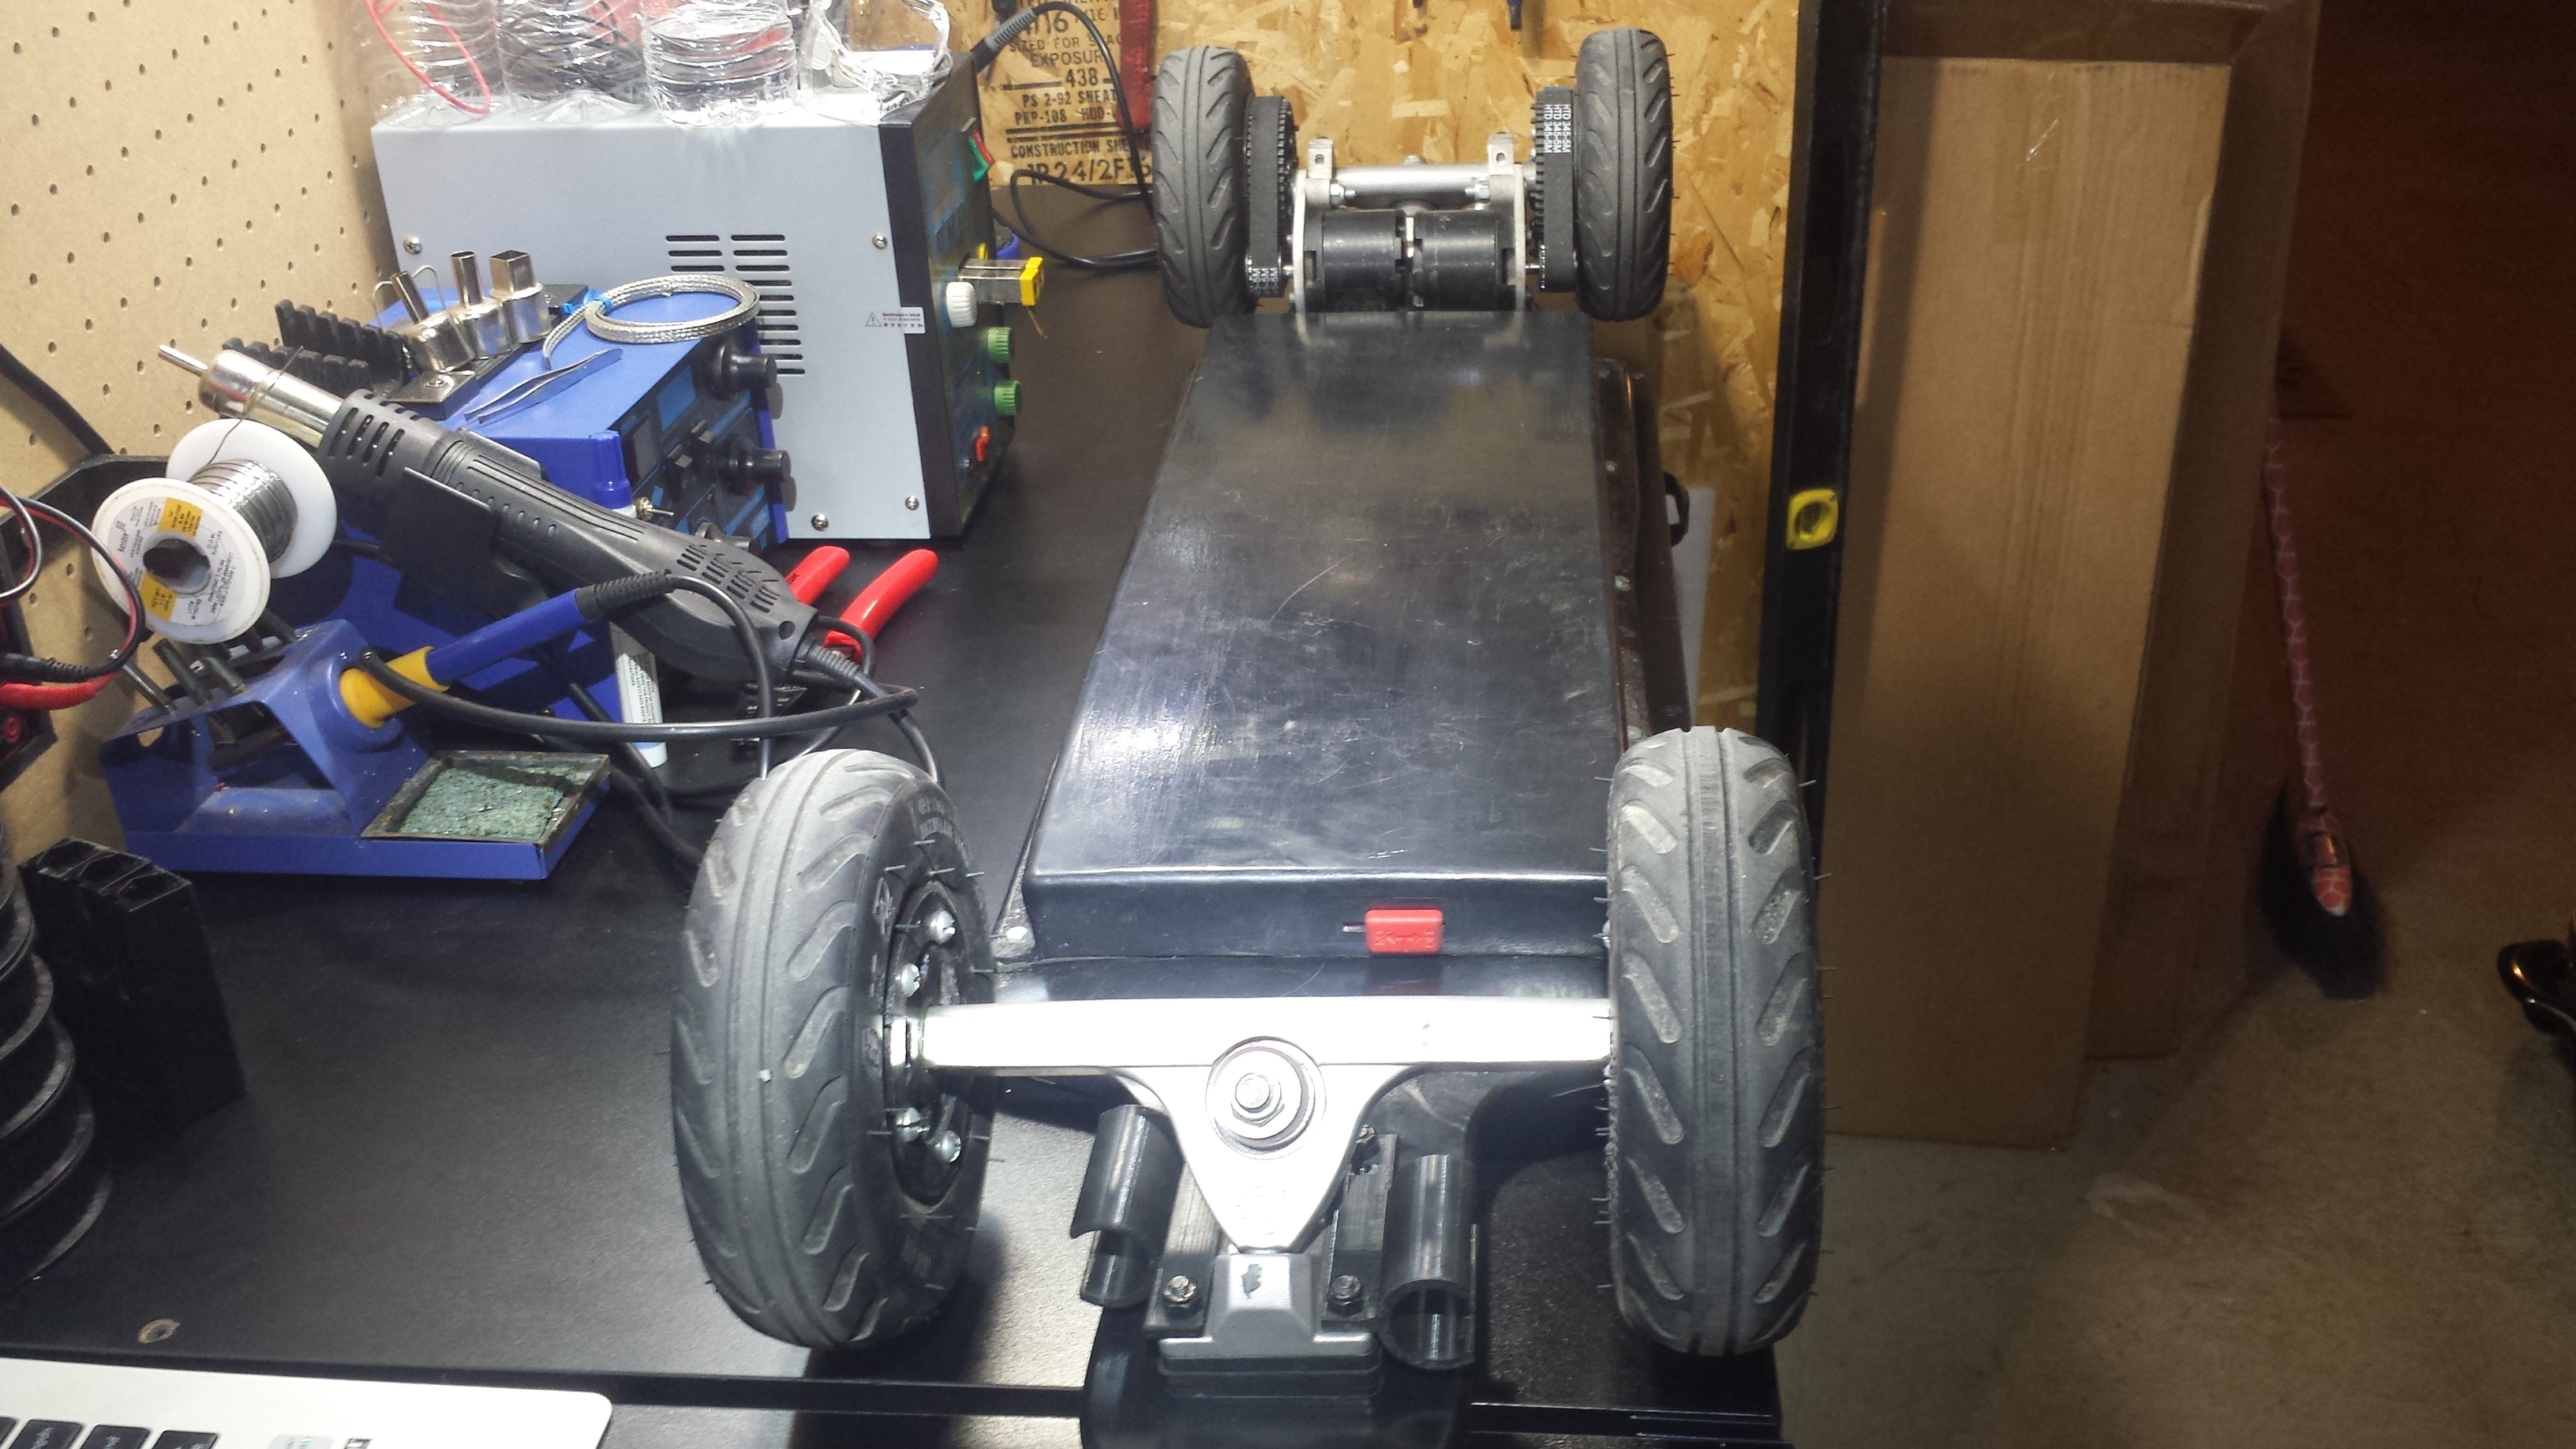
I was skeptical about the enclosure at first…the deck has some decent flex to it, not crazy, but far from rigid. I figured there was no way I could get away with a long, slim, ABS enclosure because of the flex. I experimented by fixing a spare enclosure to a piece of plywood about board sized, and jumped on it. It didn’t crack or even creak when flexed modestly so I figured I’d try for a slim, flat enclosure/battery even though the deck had flex. It worked out good though, the enclosure took out maybe 1/3 of the flex the deck did have, but it still flexes enough to improve the ride. I’ve tested jumping on the center @ 200 lbs with no issue. 4" of groud clearance too!

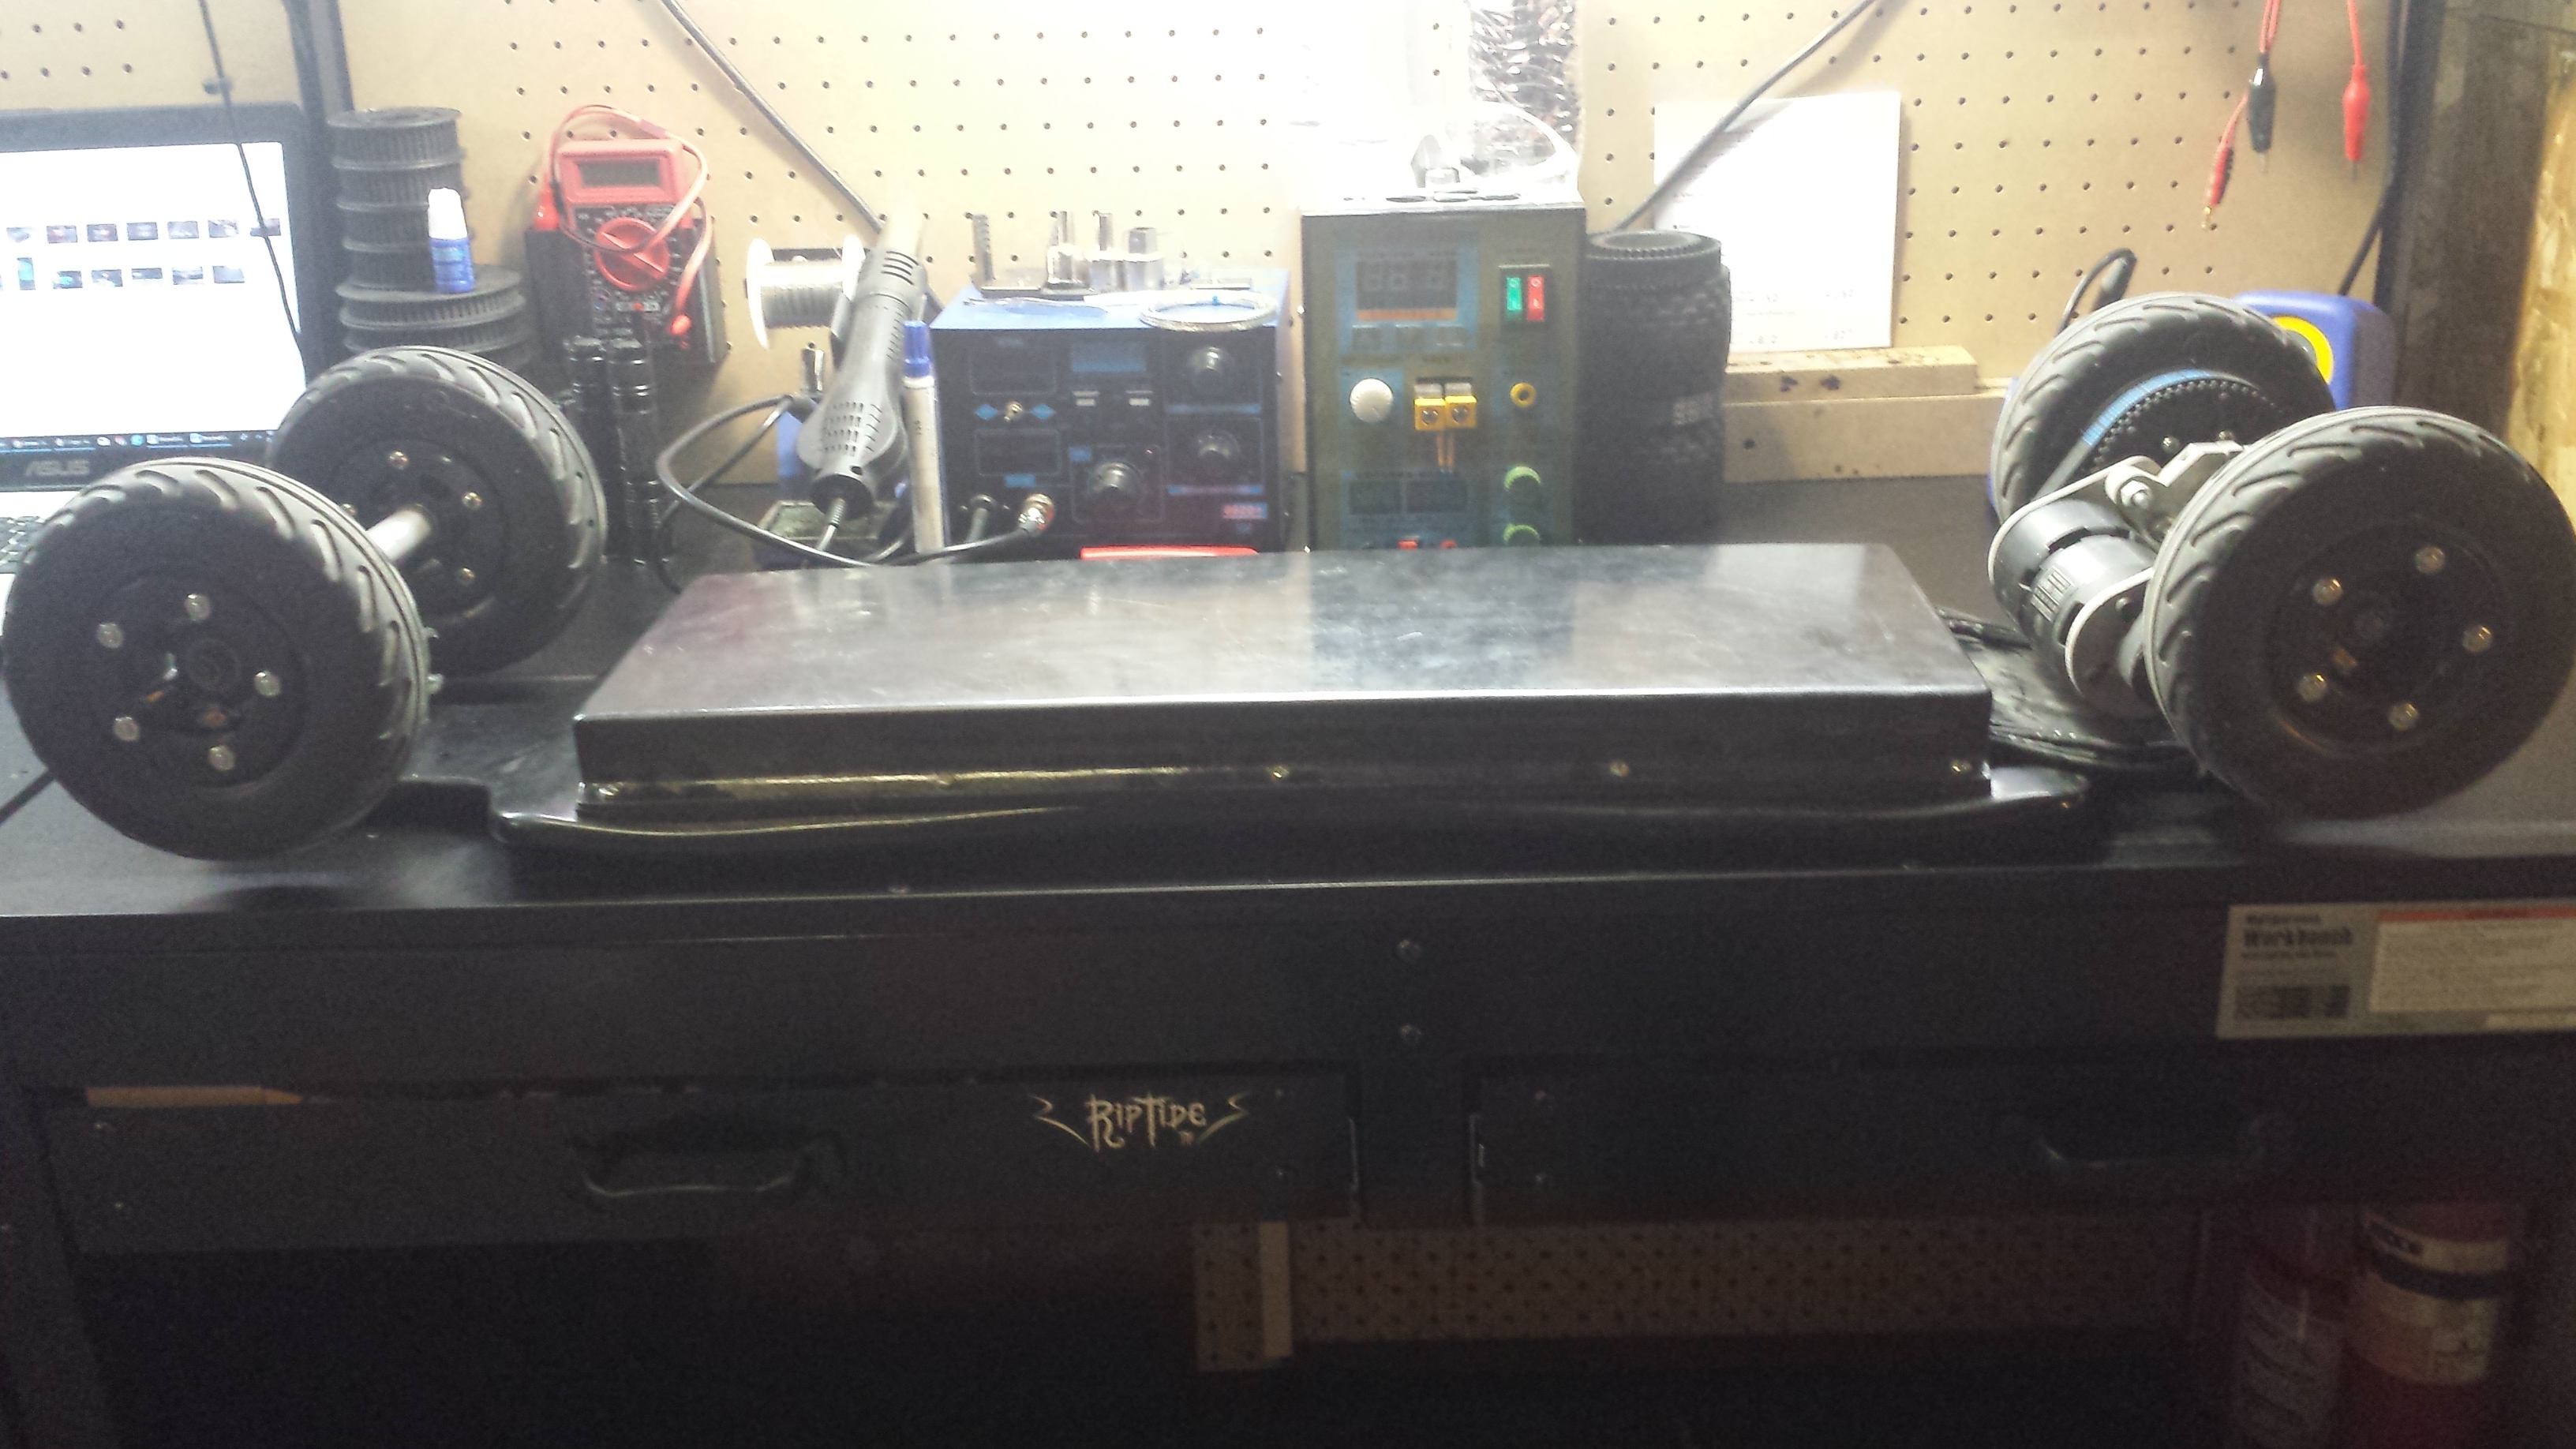
Other General Info: 40x9.5" 8 ply maple deck w/ W concave 218mm Torque boards trucks All aluminum Enertion motor mounts 40/15T for 100 mm MBS wheels 60/15T for 6x2 AT wheels Torque boards 6355 190KV FOCBOX running BLDC hybrid w/ Ack 2.54 watt control Nano-X controller HM-10 module 12s5p single layer 30Q battery 50A bolt on fuse 3d printed wheels thanks to @Maxid Riptide Krank bushings/ Zealous bearings 22x7.5"x1.25" ABS enclosure

I’ve only done about 5 charge/discharges on it, but it looks like range is about 20-25 miles with AT wheels, and about 40 miles with street wheels. I’m going to post a riding video as soon as I can.

Thanks for reading! :slightly_smiling_face:

18 Likes

Nice build

Genius in the AS150 slider. I wish I had had room for mine. :slight_smile:

Super clean dude I bet it’s awesome!

2 Likes

Nice, like the anti spark switch! Post a video soon.

1 Like

Dam son :star_struck:

Not sure if anyone noticed, but I didn’t actually have the 218mm TB trucks yet…until today! Plenty of room now! :metal:

8 Likes

I agree, Slider looks awesome… do you have the STLs up on Thingiverse?

Been riding this for the past few weeks and have about 250 miles logged. I have done a range test with the 6x2 tires, a combo of asphalt and gravel trails, some uphill/downhill, and kept my average speed at 15 mph. Ended up getting 25.7 miles @ about 22 WH/mile! I started at 4.15V/cell and ended at 3.0V/cell. It ended up being over a 2 hour ride if you account for stopping here and there for a couple minutes. Have yet to test the range with longboard wheels yet, but it should easily exceed 40 miles.

I also made the decision to ditch the 3D printed wheel hubs for the 3 spoke aluminum hub. Reasons being:

  1. I could not get any of the 3d printed hubs to run as true as the aluminum hub.
  2. At 12+hrs. of print time for a single wheel, Amazon Prime is quicker with aluminum hub.
  3. Aluminum hub comes assembled.
  4. Easier to mount pulley to aluminum hub.

I use VEX robotics glass filled nylon 60T pulley, just like psycho uses on the six shooters. 3D printed a small adapter that mates the 3 bolt pattern on the hub with the bolt pattern on the pulley. Pulley is press fit over the nubs on top then it all just bolts together.

Also of note is the wear on the tires…the rear ones are really starting to show age. The center stripes are nearly gone and I’m working on the outside lugs now. But I will say I ride pretty hard. I have had these tires going 35mph when I think they’re only “rated” to 30 km/hr. And I like to carve…

I have found some AWESOME riding spots though. Pennsylvania has some awesome rail trails (old railroad bed paths) that makes for perfect riding. I was out on the Swatara Rail Trail and 25 miles of range is no where close to enough to explore all the trails. A section of this trail is actually on an old abandoned asphalt road which is pretty cool. By far my favorite ride to date.

8 Likes

love the look of this thing! could you please explain the switch and how it works? also do you have a file? thanks

1 Like

Yeah I second that. The switch looks soooo cool and clean. How’d u do that?

1 Like

And how fast does this beast go?

1 Like

Now I notice it! Look at that motor gap!!!

Fantastic build! Before you switched to the 218mm Torqueboards truck, any problems with AT wheels on the calibers? Clearance, wheel bite issues?