Questions:
- How can I improve the enclosure I designed below? (deck is W concave, I don’t know how to taper the flange as I only started using an online tool for the design last night).
- I live in London, anyone know of a big enough vacuum former/3D printing service to get this done? I’m keen to jump back on my board ASAP.
- Am I good to use ABS, I’ve been thinking about aluminium (aluminum for my American friends), what other materials should I be considering?
After about 70 miles of testing my enclosure gave in to the vibrations and W concave of my deck. I vacuum formed it but the dimensions of the vacuum former meant that it was a little tight so I’m thinking about exploring 3D printing one from ABS to improve on what I learned from riding the streets of London.
Originally I only bolted the enclosure at the front and back for ease of removal since I take my lipos out for charging. The enclosure doesn’t carry any weight since everything is stuck to my deck with velcro so its purely a splash and stone shield.
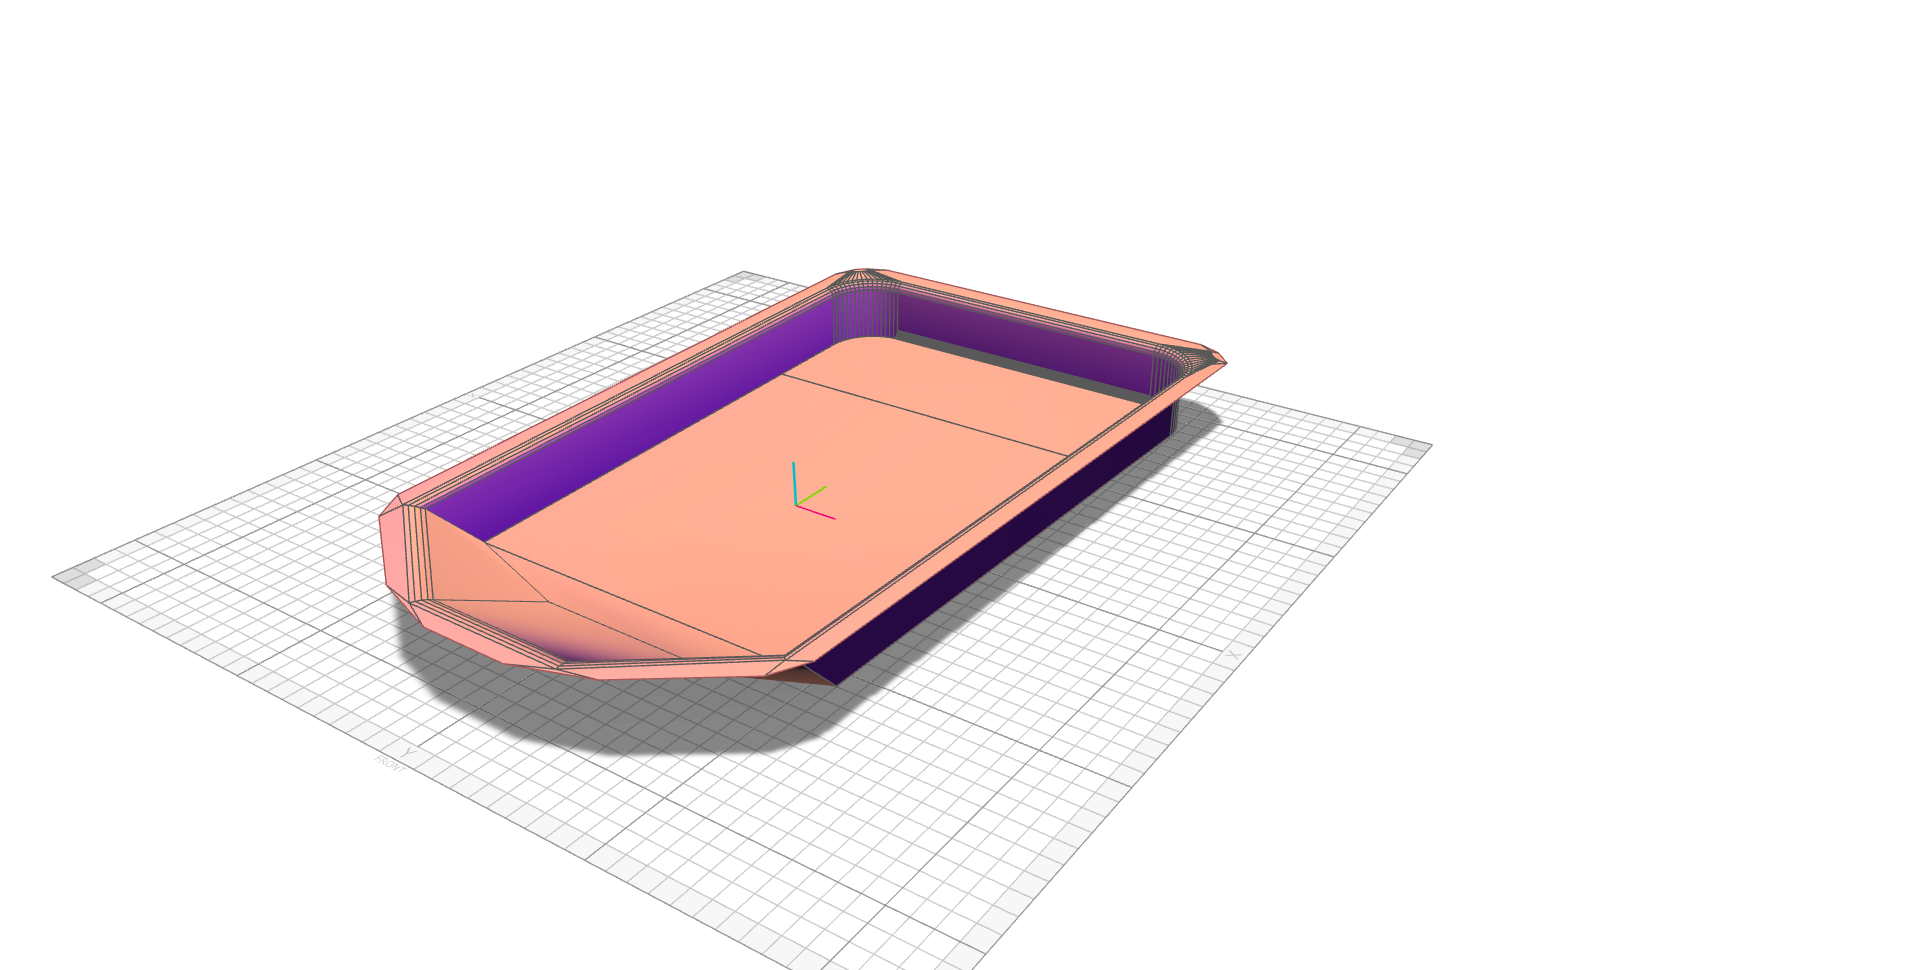
I’m no designer but below are pictures of my quick work using an online tool (Dropbox link to STL file for anyone interested). The enclosure needs to hold the VESC (+bluetooth module and reciever) as well as 3 3s 8Ah lipos.
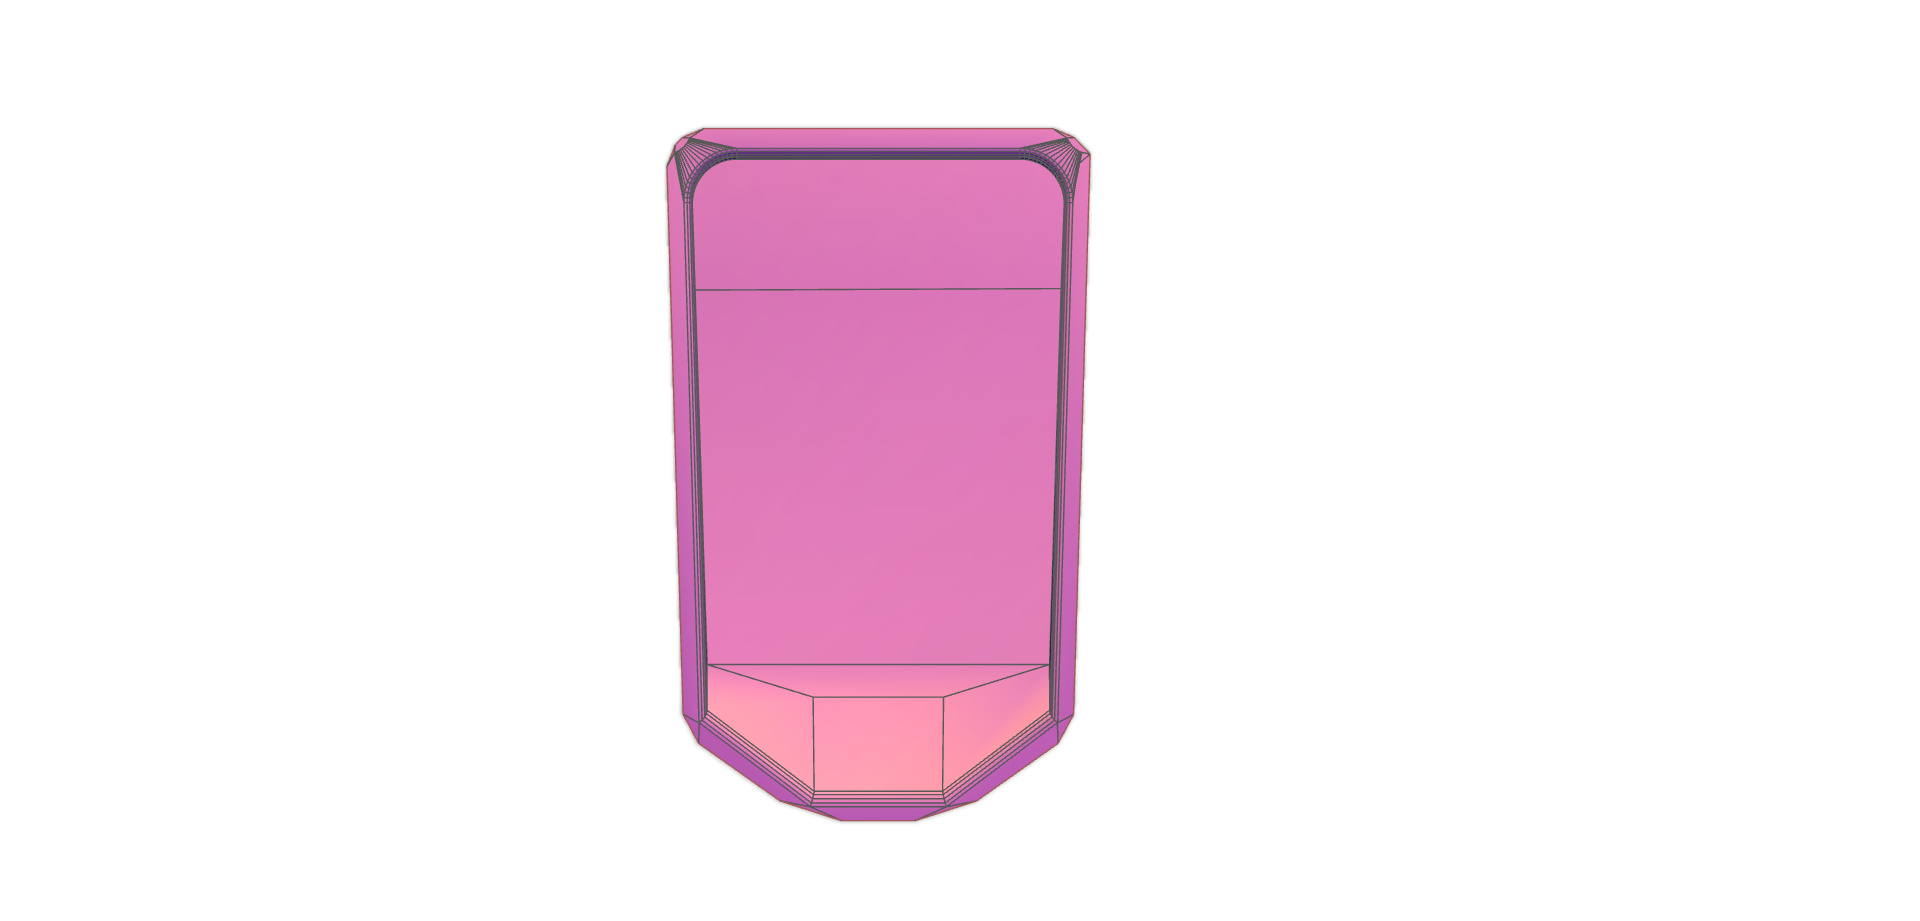
Top view, back is wider than the front so I can drill some holes on the sides to cool the VESC at the back (think rear-engine sports cars air inlet system).
What you can’t see is that I’ve curved the join from the sides to the flange to reduce stress when bolted down (I’m also considering using velcro instead  ).
).
This side view is to show the front taper. I hope to better direct stones and water downwards.
Thanks guys, I’ve been learning loads and keen to pick up more skills/perspectives.
Youssless
Youll need to add some wall thickness. If you go the printing route I’d recommend abs or petg. Youll likely have to split the parts since there are probably no public printers available that can do these dimensions in one go. I’d add more width to the flange to bolt it down. You can use a heat gun and slowly heat it up on the inside then press down on the deck to make the part curve onto your deck.
1 Like
Thanks, I’ll look up how to add thickness, 3mm is still fine here yes?
I’ll take your advice on board and find more printing solutions.
Have 3d printed a few battery holders and enclosures. Just wanted to double up on the advice about slicing it up, not only will you be able to more readily print the parts on small print beds but you can orient them for printing so they are stronger in the direction they will feel the most force (up and down) if you print this flat like how it will be attached to the board the layers are vertical compared to the ground so the delamination of layers from vibration is inevitable.
One of the ones I made is posted here
suggest doing something like these reinforced parts around the bolts (maybe not as overkill as I went with them but I figured if they were gonna be there I might as well make em sturdy 
For the curve on the board suggest trying to just model the curve on it’s own if you plan to actually have the bend of the board in the model, once you have a little strip that has the right curvature you can use that to adjust your model.
Ah reread your post I had missed the details about it being used mostly just for a splash guard in that case all the weight stuff doesn’t really matter… carry on
You made me chuckle with your edit. I think I’ll still splice it and see where I go from there. Not the greatest printing options for me atm (unless I pay an arm and a leg)