I decided to mod my GT2B using Badwolf’s enclosure. Printed the parts at Shapeways for about $37usd. Have had this part on my bench for a month and winter’s here!
Why do this? I’ve never had a single signal drop using GT2B, I trust it more than any other controller.
Here we go…
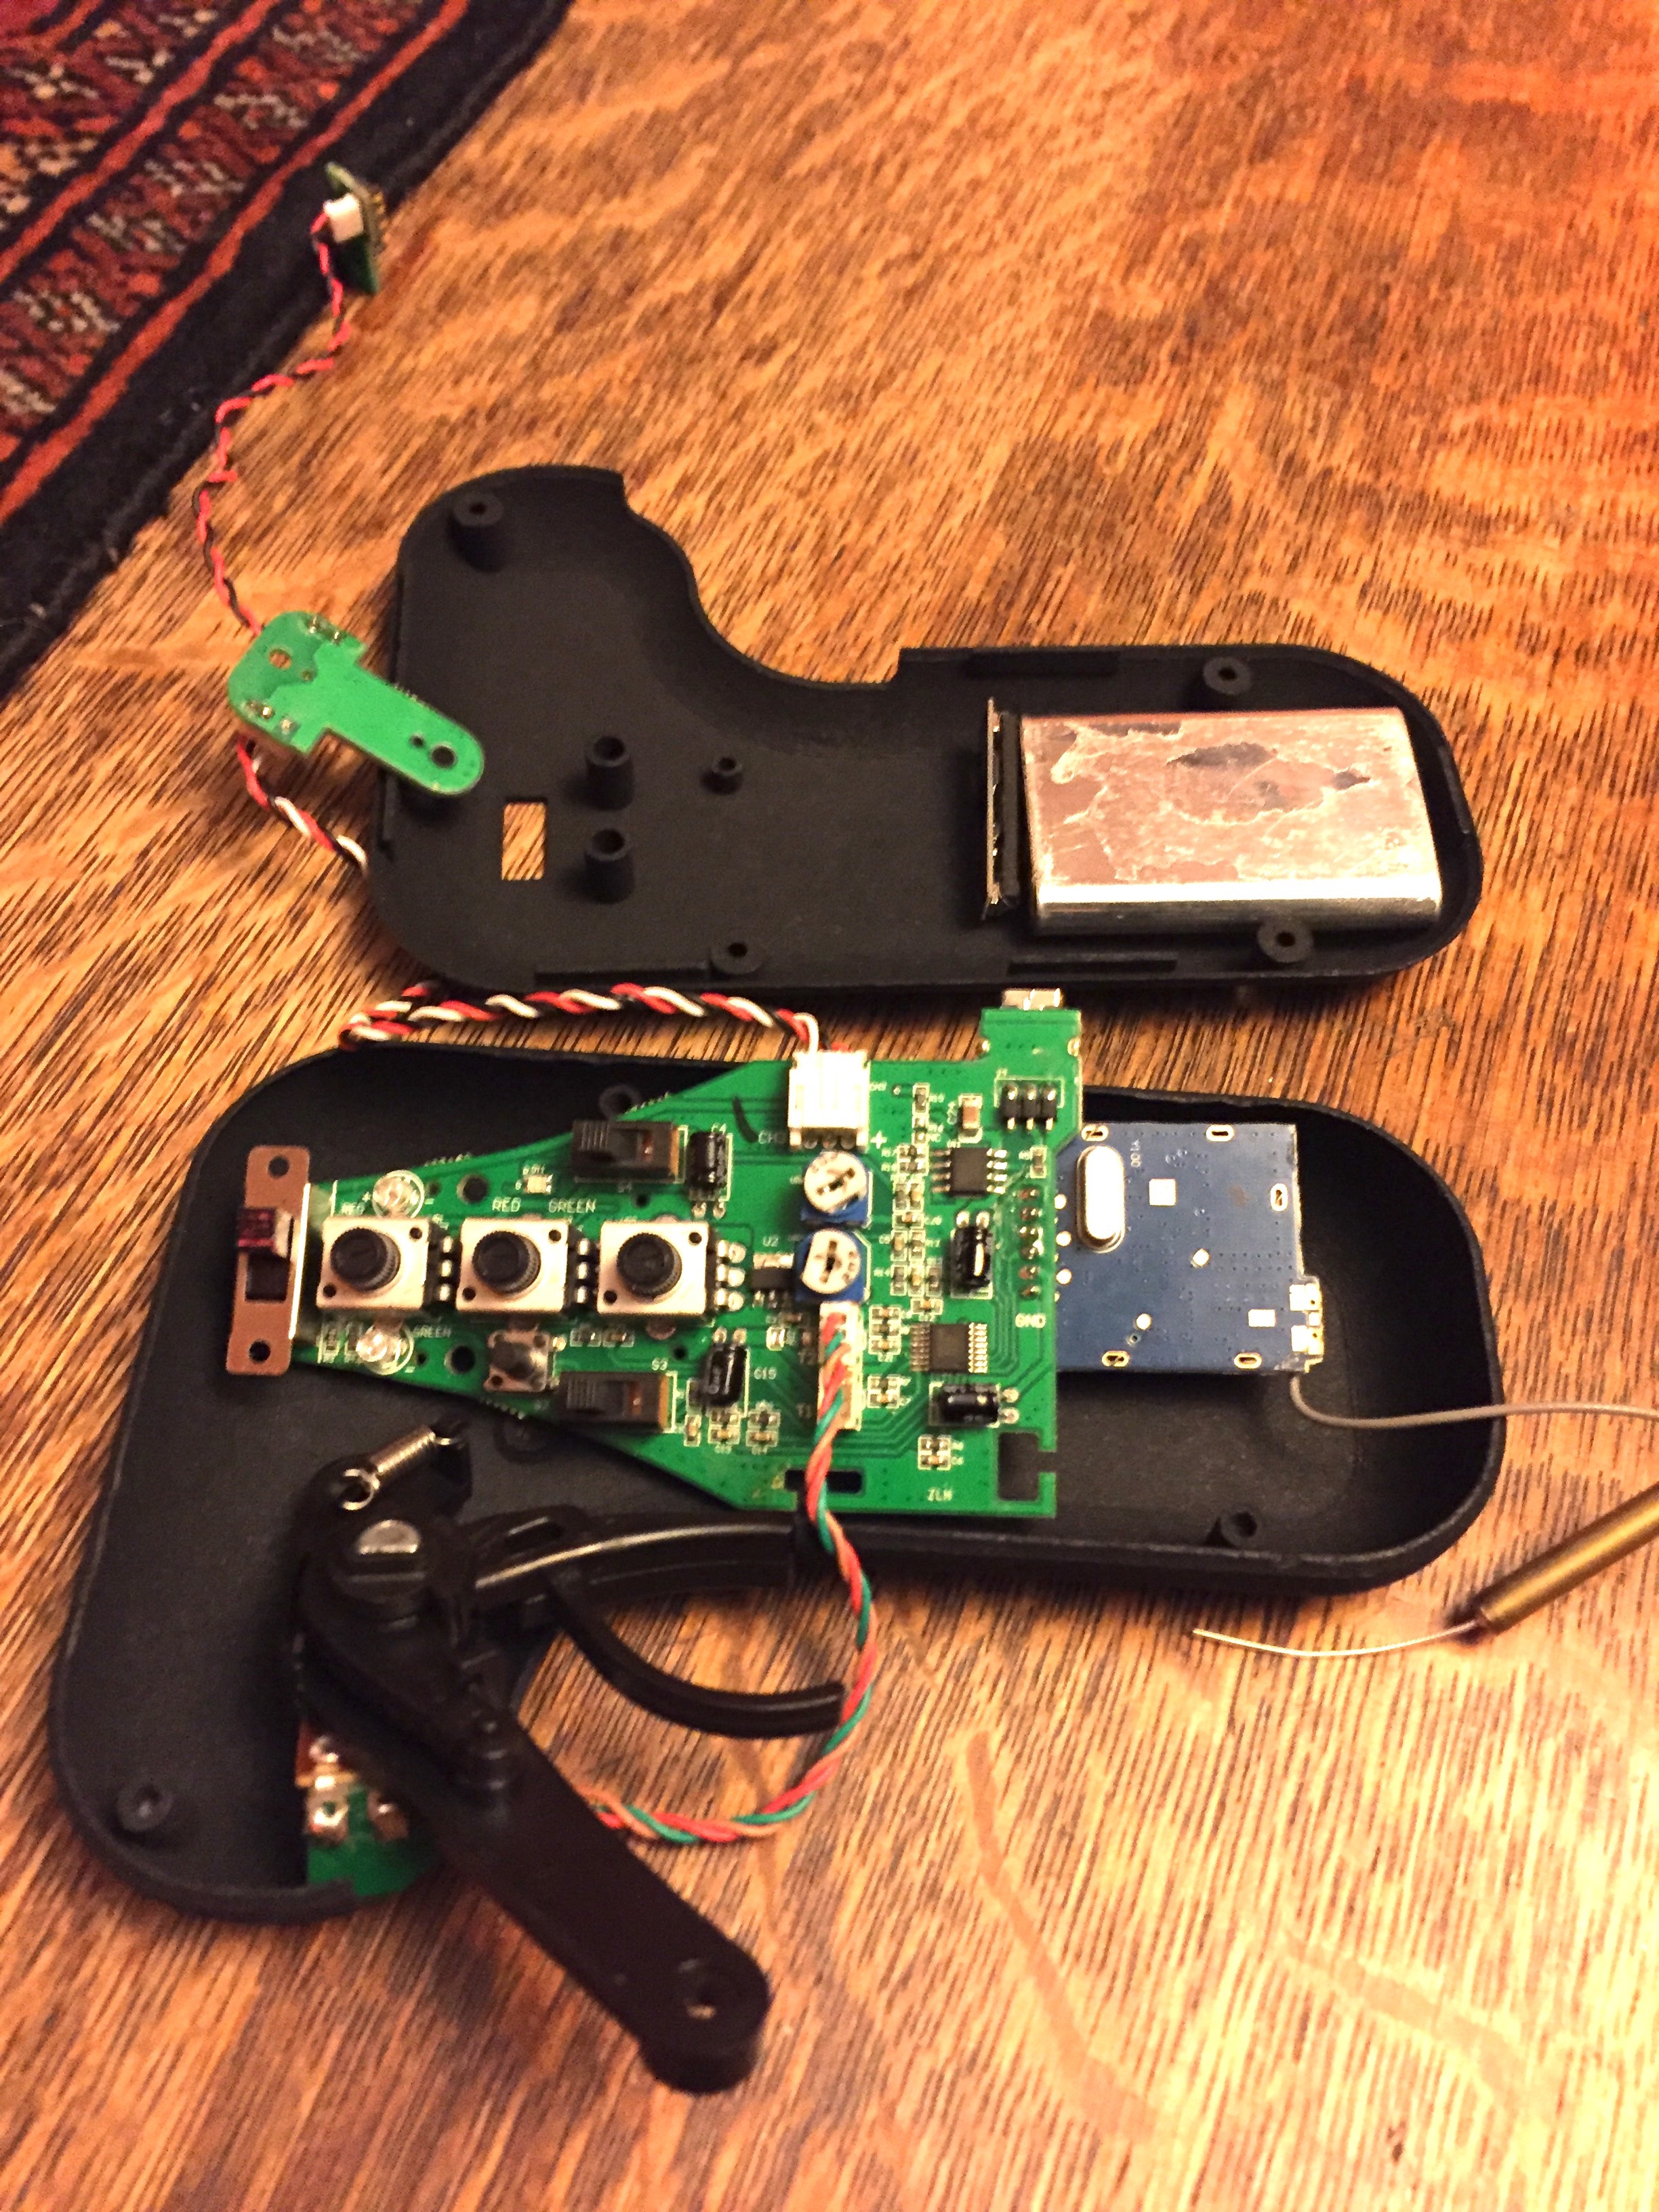
I managed to take apart the GT2B pretty easily. Here’s what I’ve got:
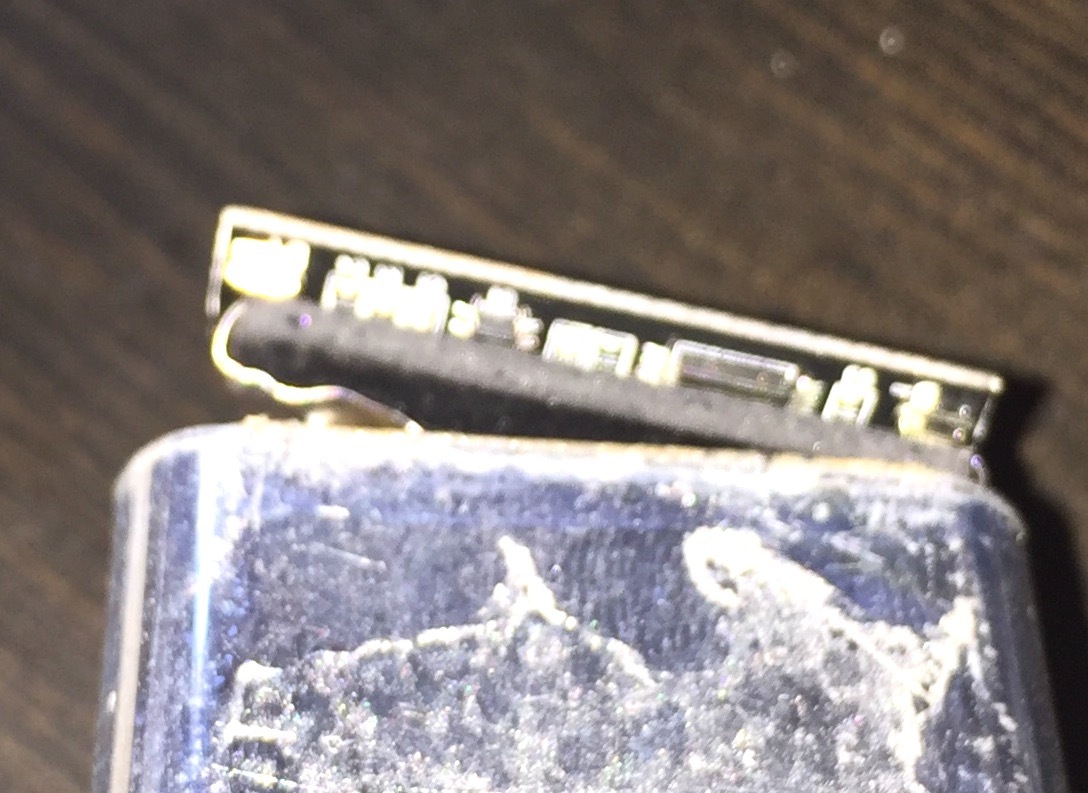
I’m having a hard time separating the USB port. I managed to removing the solder that crosses the PCBs, but the pump doesn’t remove the hole-through solder.
I use to heat the pins and lift the small PCB with a knife so that it has a small gap in between. Then I just cut the pins in the gap with a (very small) scissors. So you’ll get the USB separated.
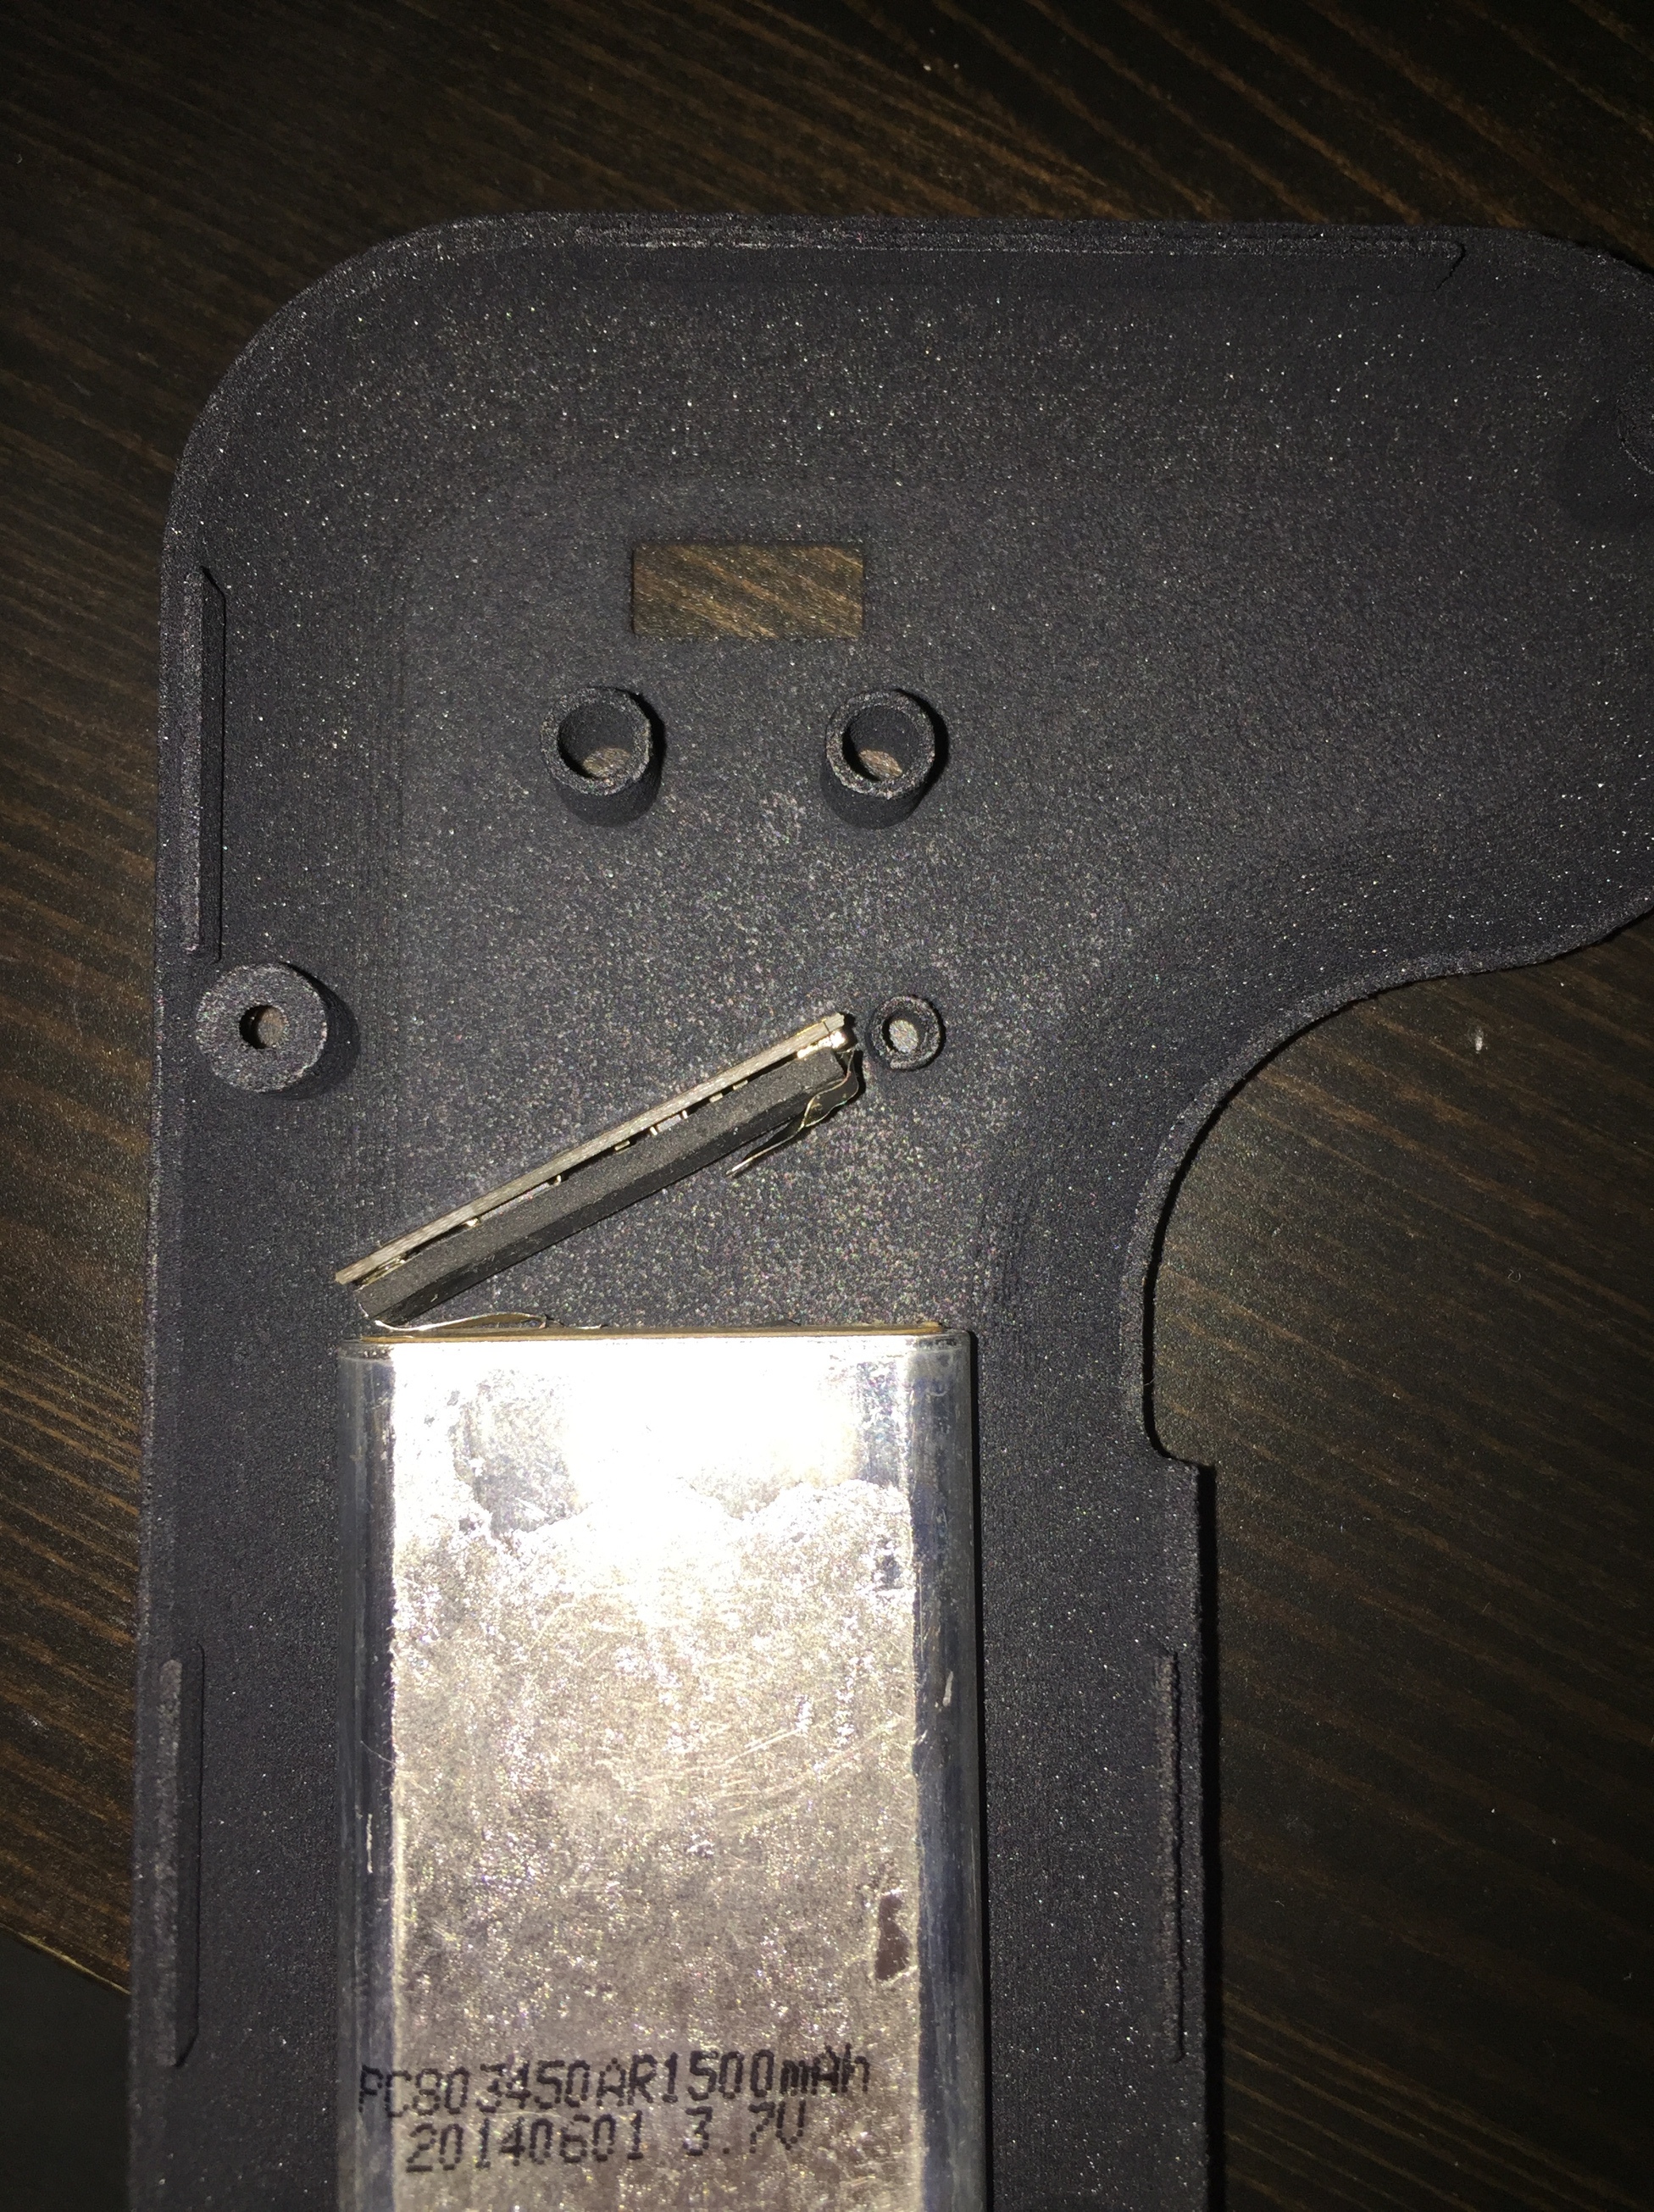
I got the battery wired up after the repair. Wrapped with standard electrical tape. I used the rbw wire and just cut the channel 3 wire off (the white one) since I don’t use it.
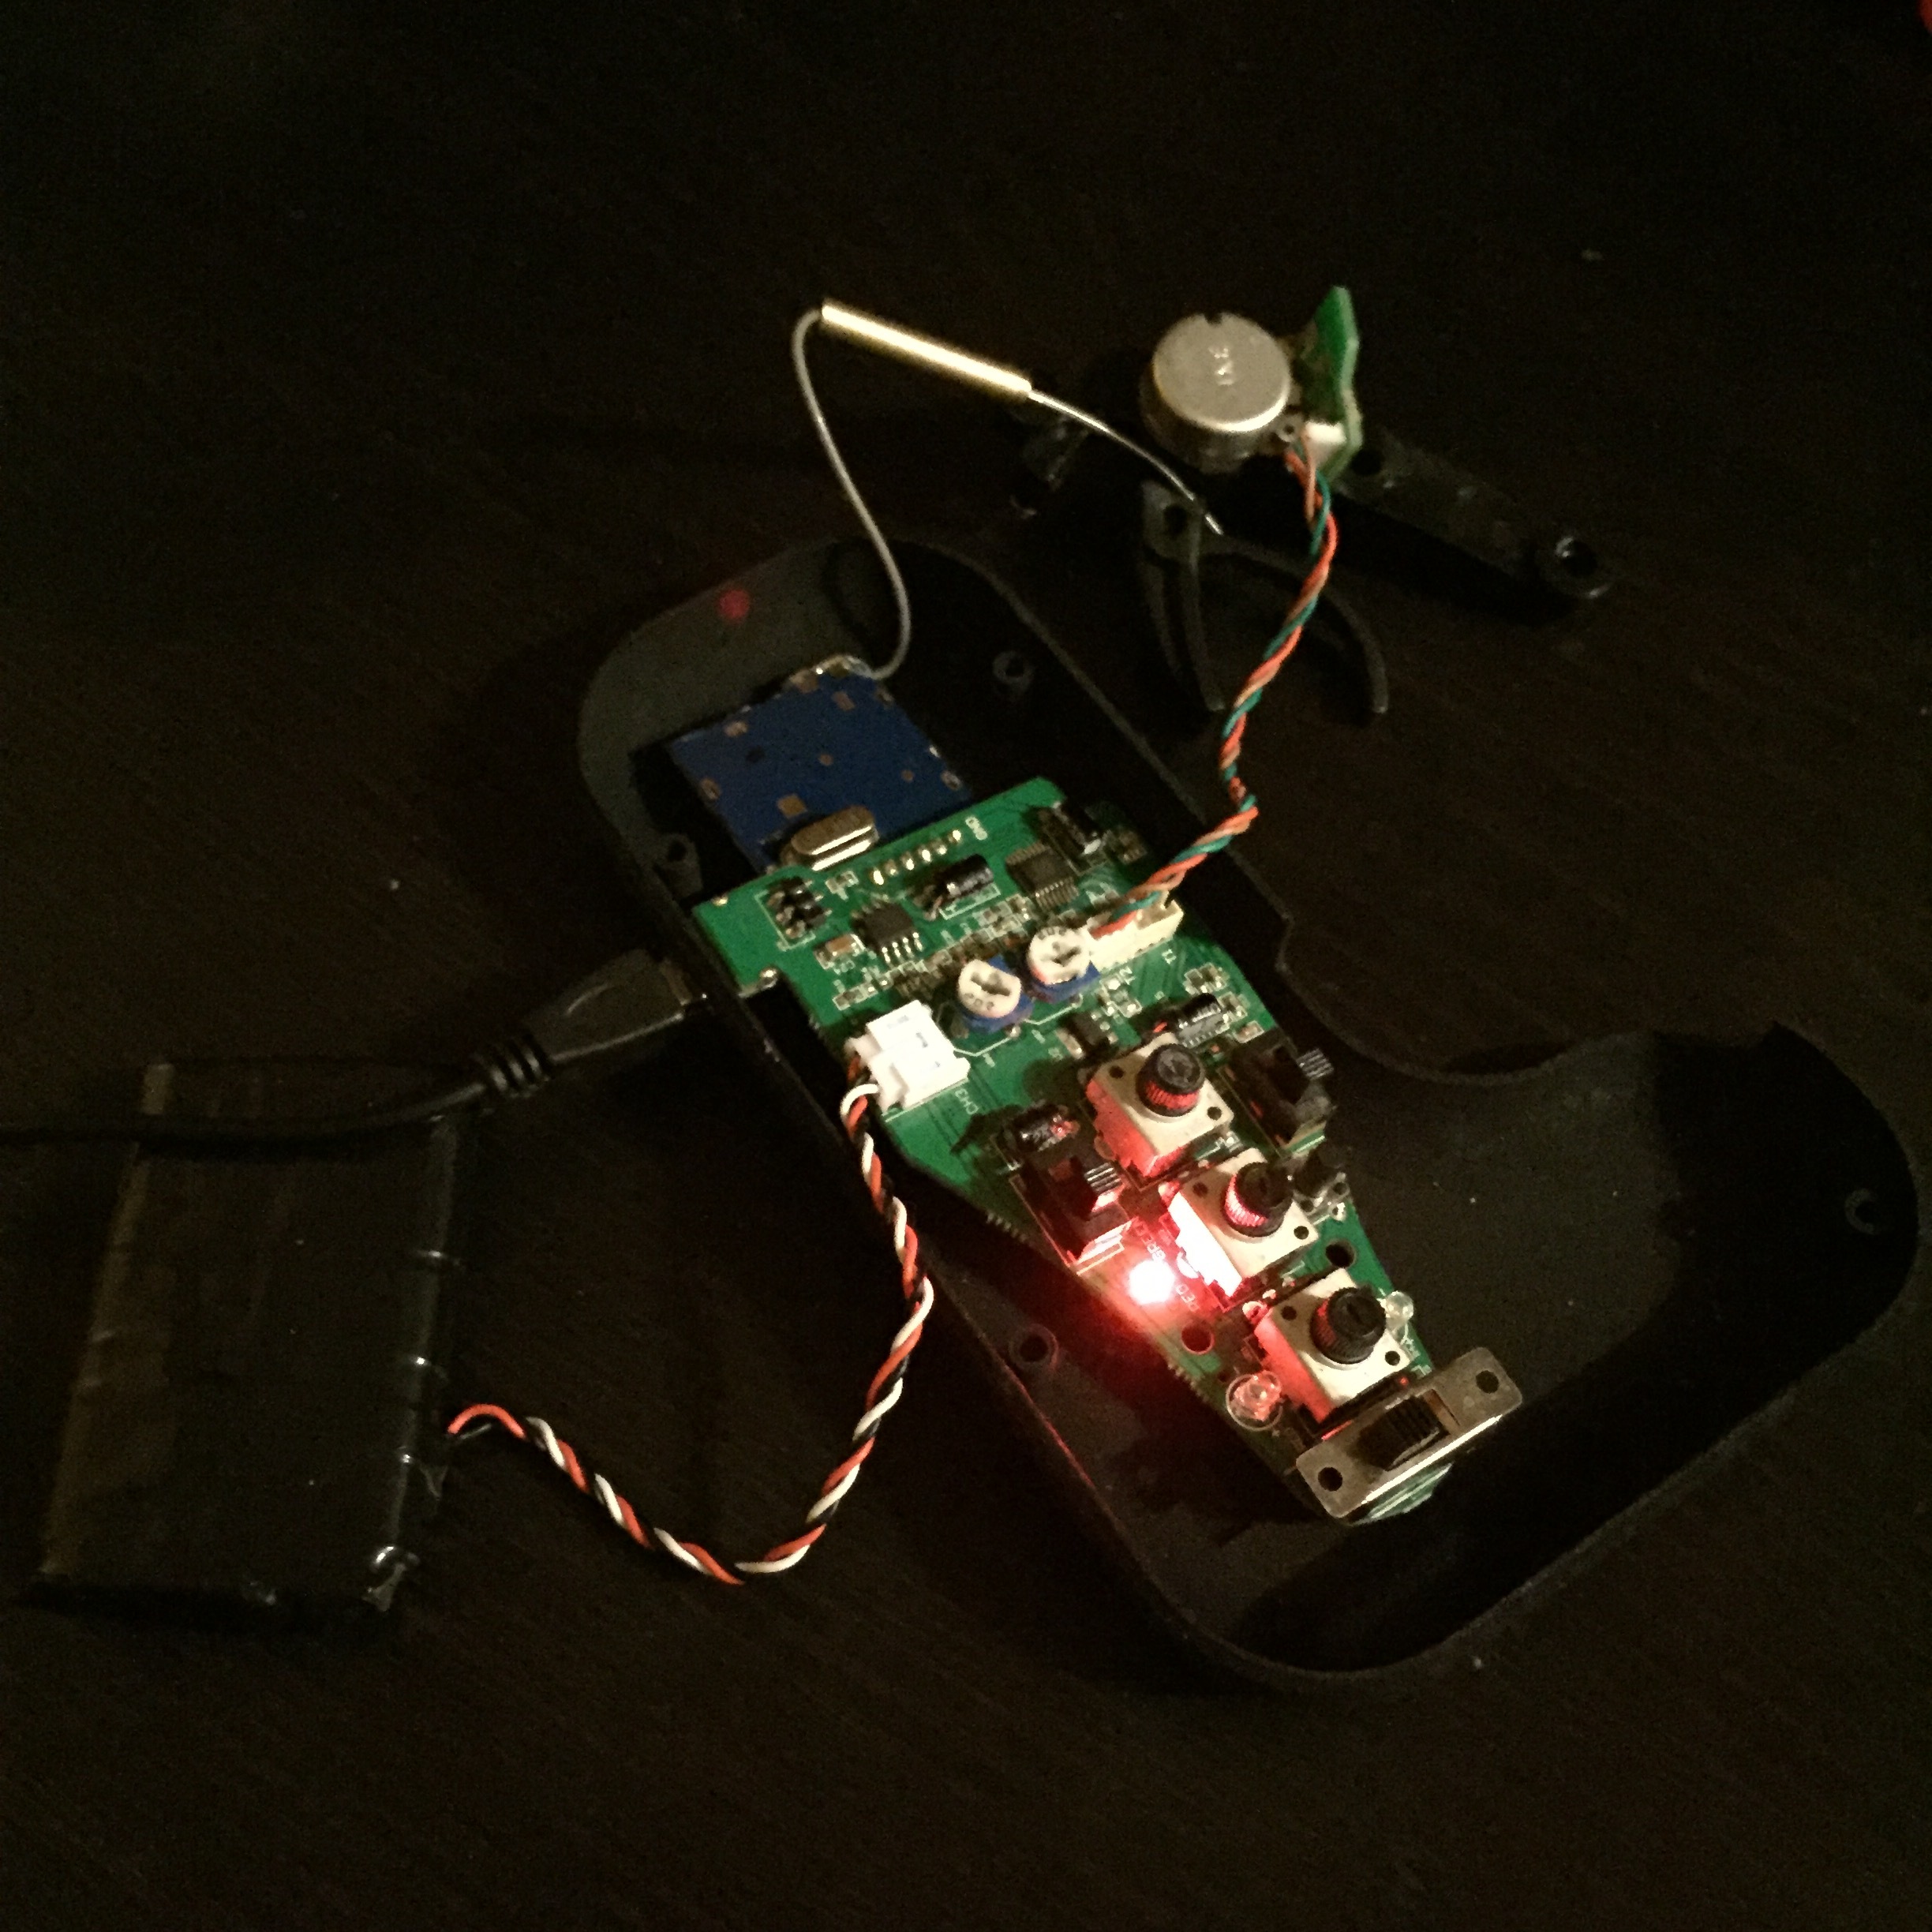
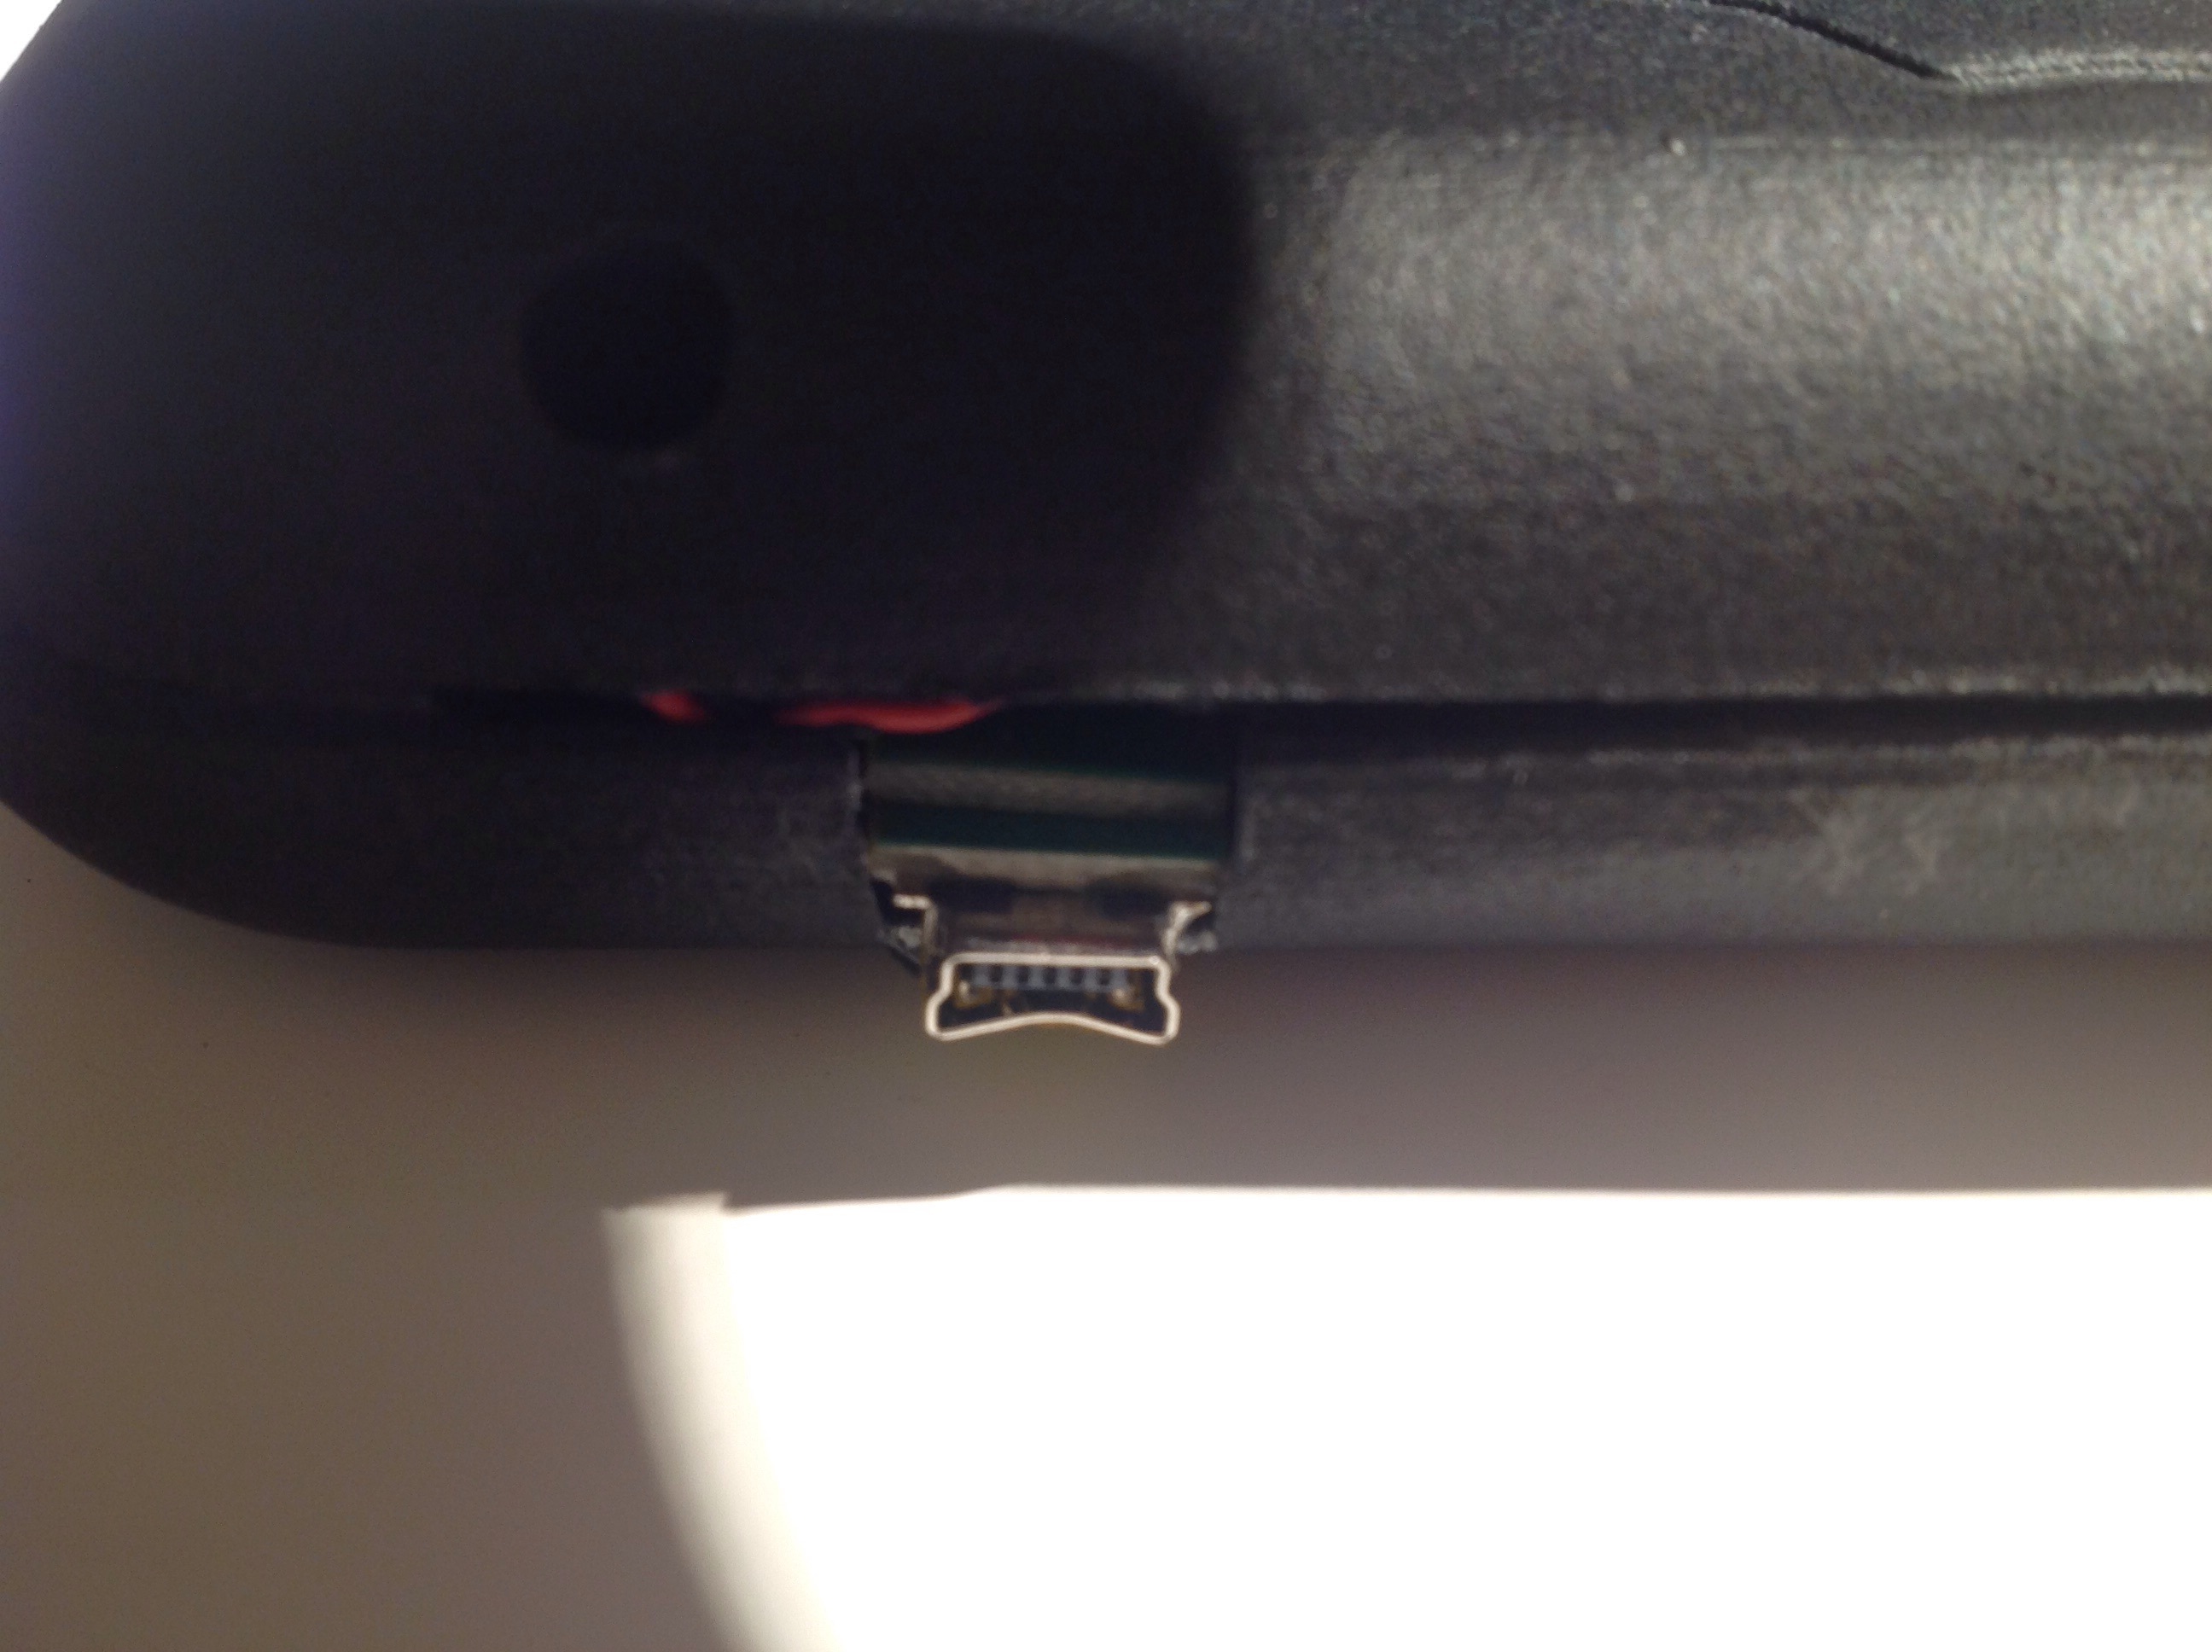
I decided to dremel out a new hole for the USB port. I opening is a little jagged; saved a lot of time a trouble though. I’ve got the battery plugged in and charging. So far no problem.
Nice call @cmatson I was wondering the same thing!
Thx @lox897 it looks like it is possible to get USB to just barely protrude. With a rubber grommet over it I bet won’t even notice it. I’m surprised that the enclosure design doesn’t just include this cutout by default.
One benefit of leaving the usb port intact is that it still routes charging through the rest of the electronics on the controller, so the charging lights still work. If you move the USB plug connect it directly to the battery, I think you’d lose this feature.
EDIT: @elkick confirms that the charing lights still work if you move the USB port.
Almost done with this mod… still tinkering with the fit of the trigger and trying to get everything to line up. I think I’ll find a way to wrap the handle in something with some grip to it; a silicone sticker or tape.
Mistake #2 I cut the arm of the trigger mount too short, and had to superglue it back together. It seemed in the way at first so I lopped it off. Whoops!Live and learn!