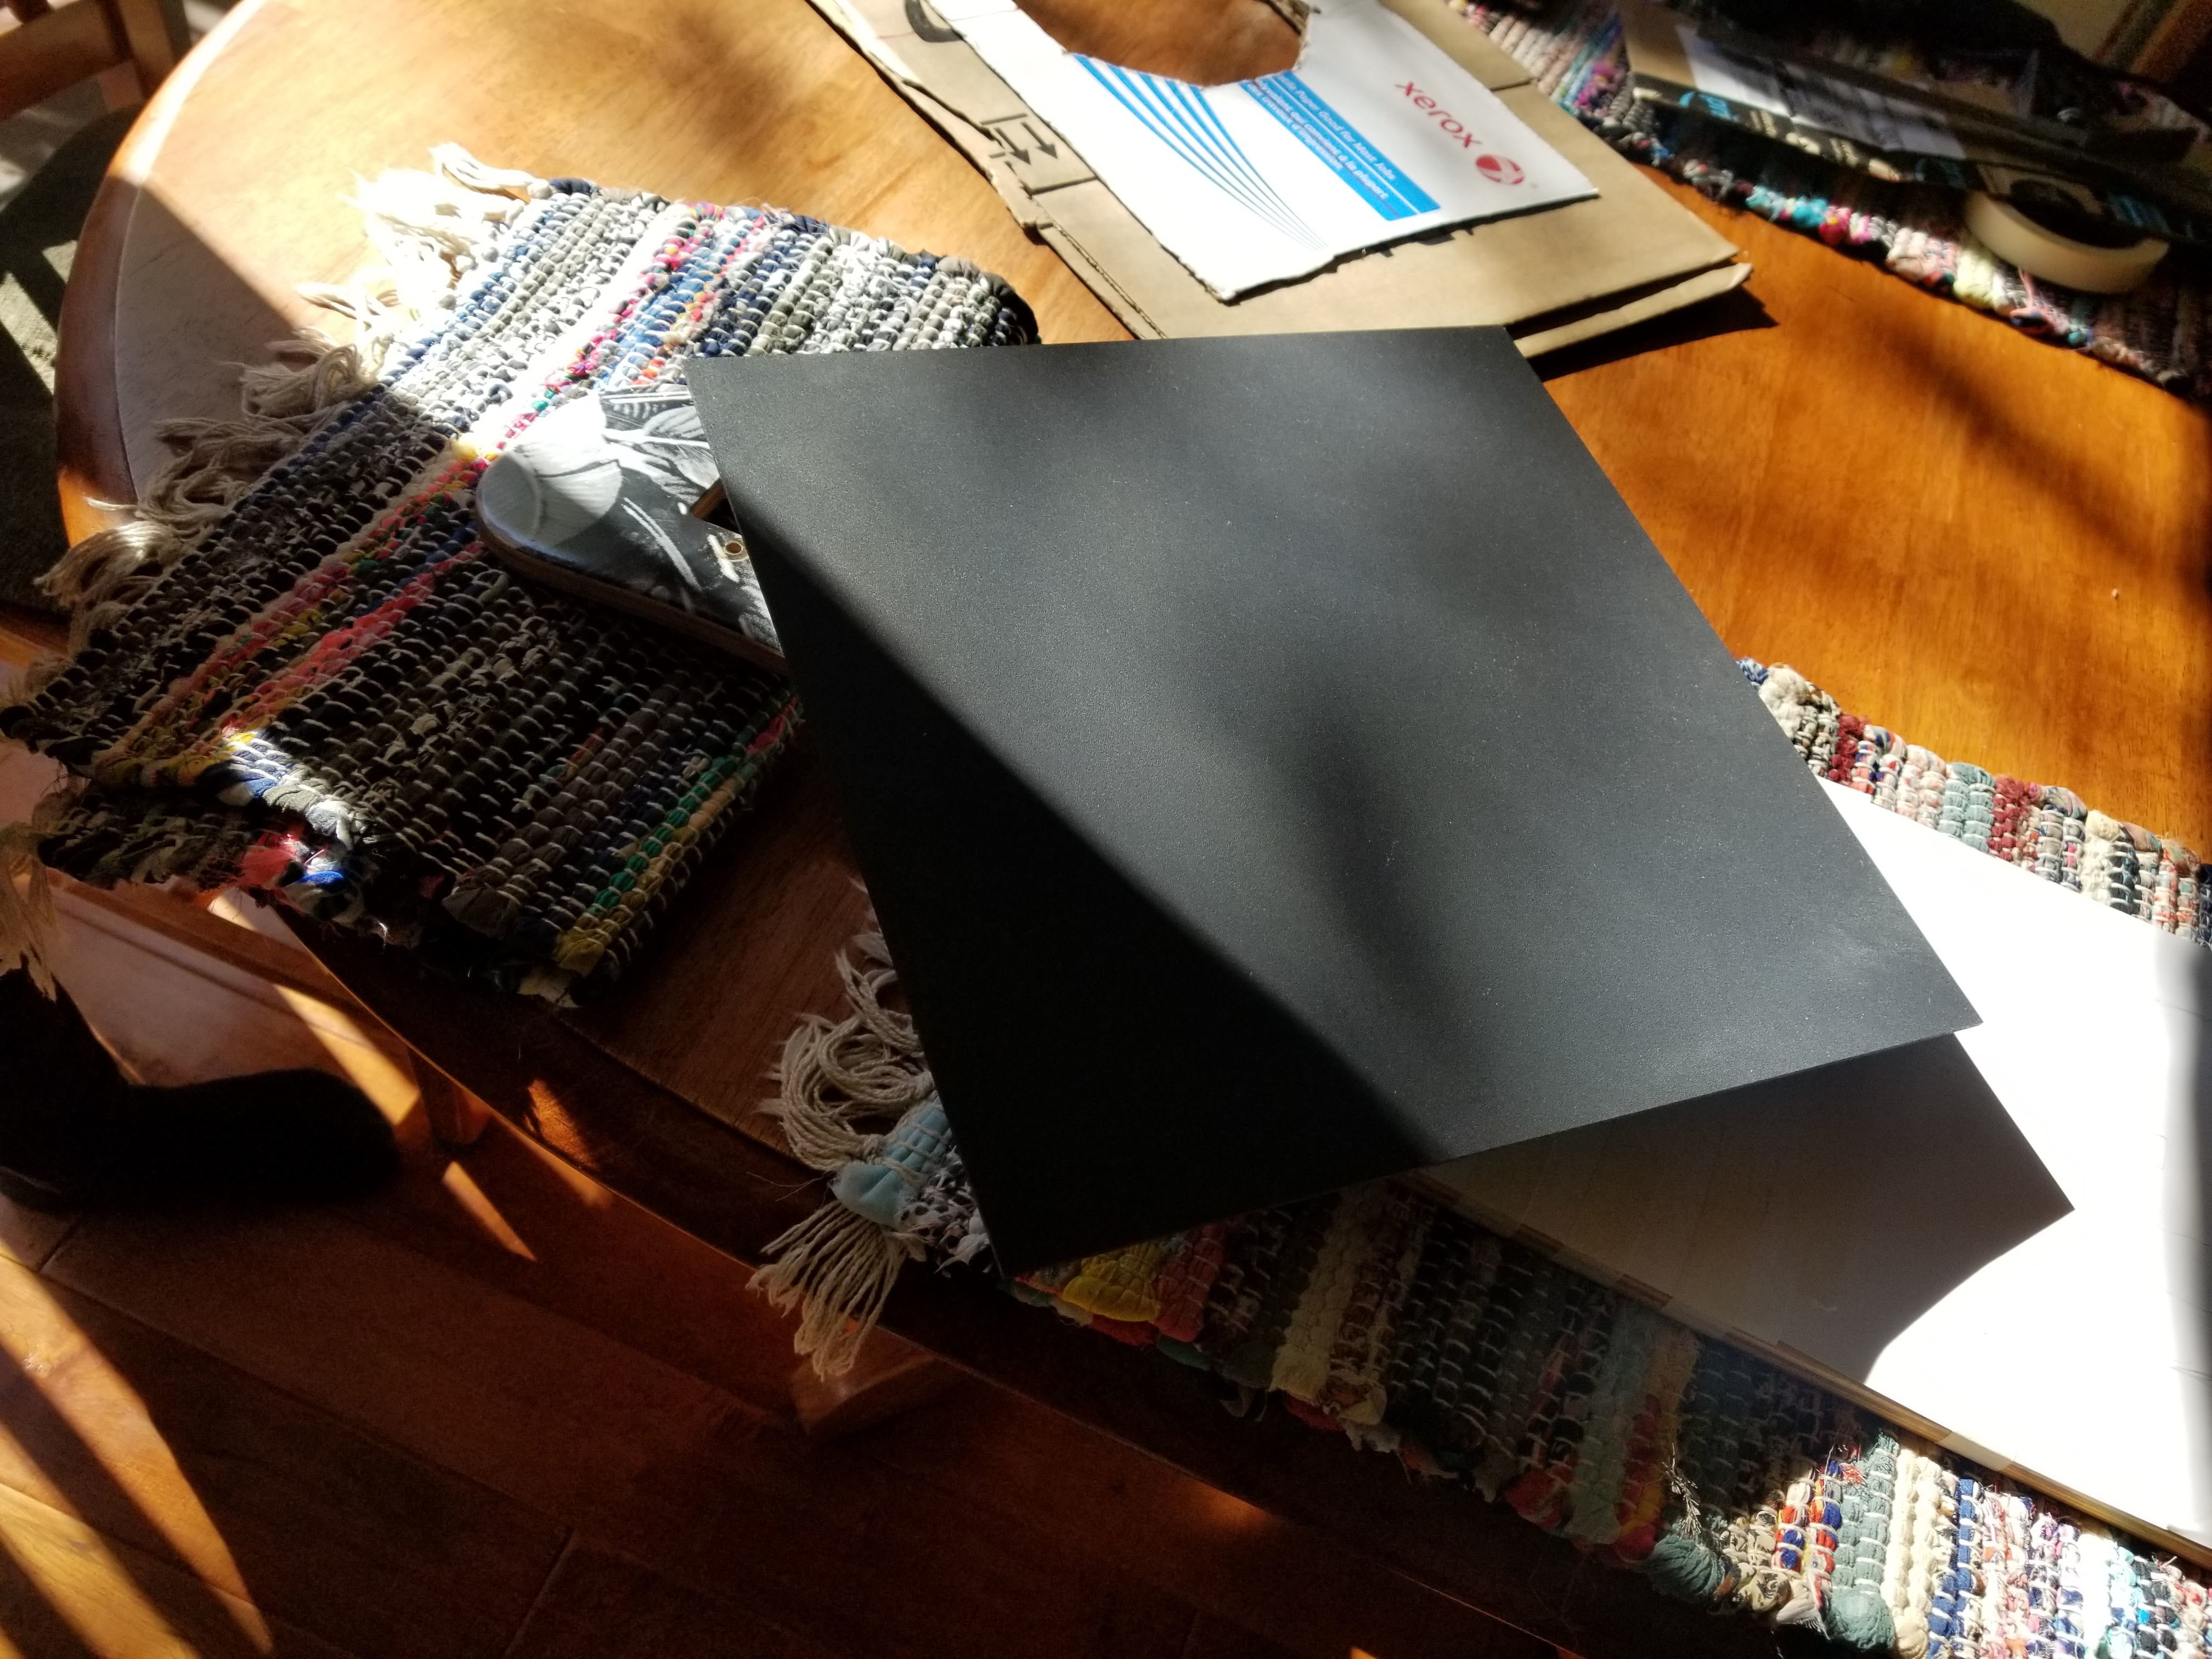
The final part of this build was to make the enclosures. For this portion I chose to use 0.08" Kydex. Kydex is an awesome material and is extremely strong. I got these sheets from Amazon and additionally chose to purchase a Porter Cable heatgun that was essential in completing these enclosures.
https://www.amazon.com/gp/product/B004Q04X44/ref=ppx_yo_dt_b_detailpage_o00_s01?ie=UTF8&psc=1
https://www.amazon.com/Plastics-2000-KYDEX-Sheet-0-080/dp/B077S64M76/ref=sr_1_1?ie=UTF8&qid=1545450889&sr=8-1&keywords=Plastics+2000+-+KYDEX+Sheet+-+0.080"+Thick%2C+Black%2C+12"+x+12"%2C+2+PACK
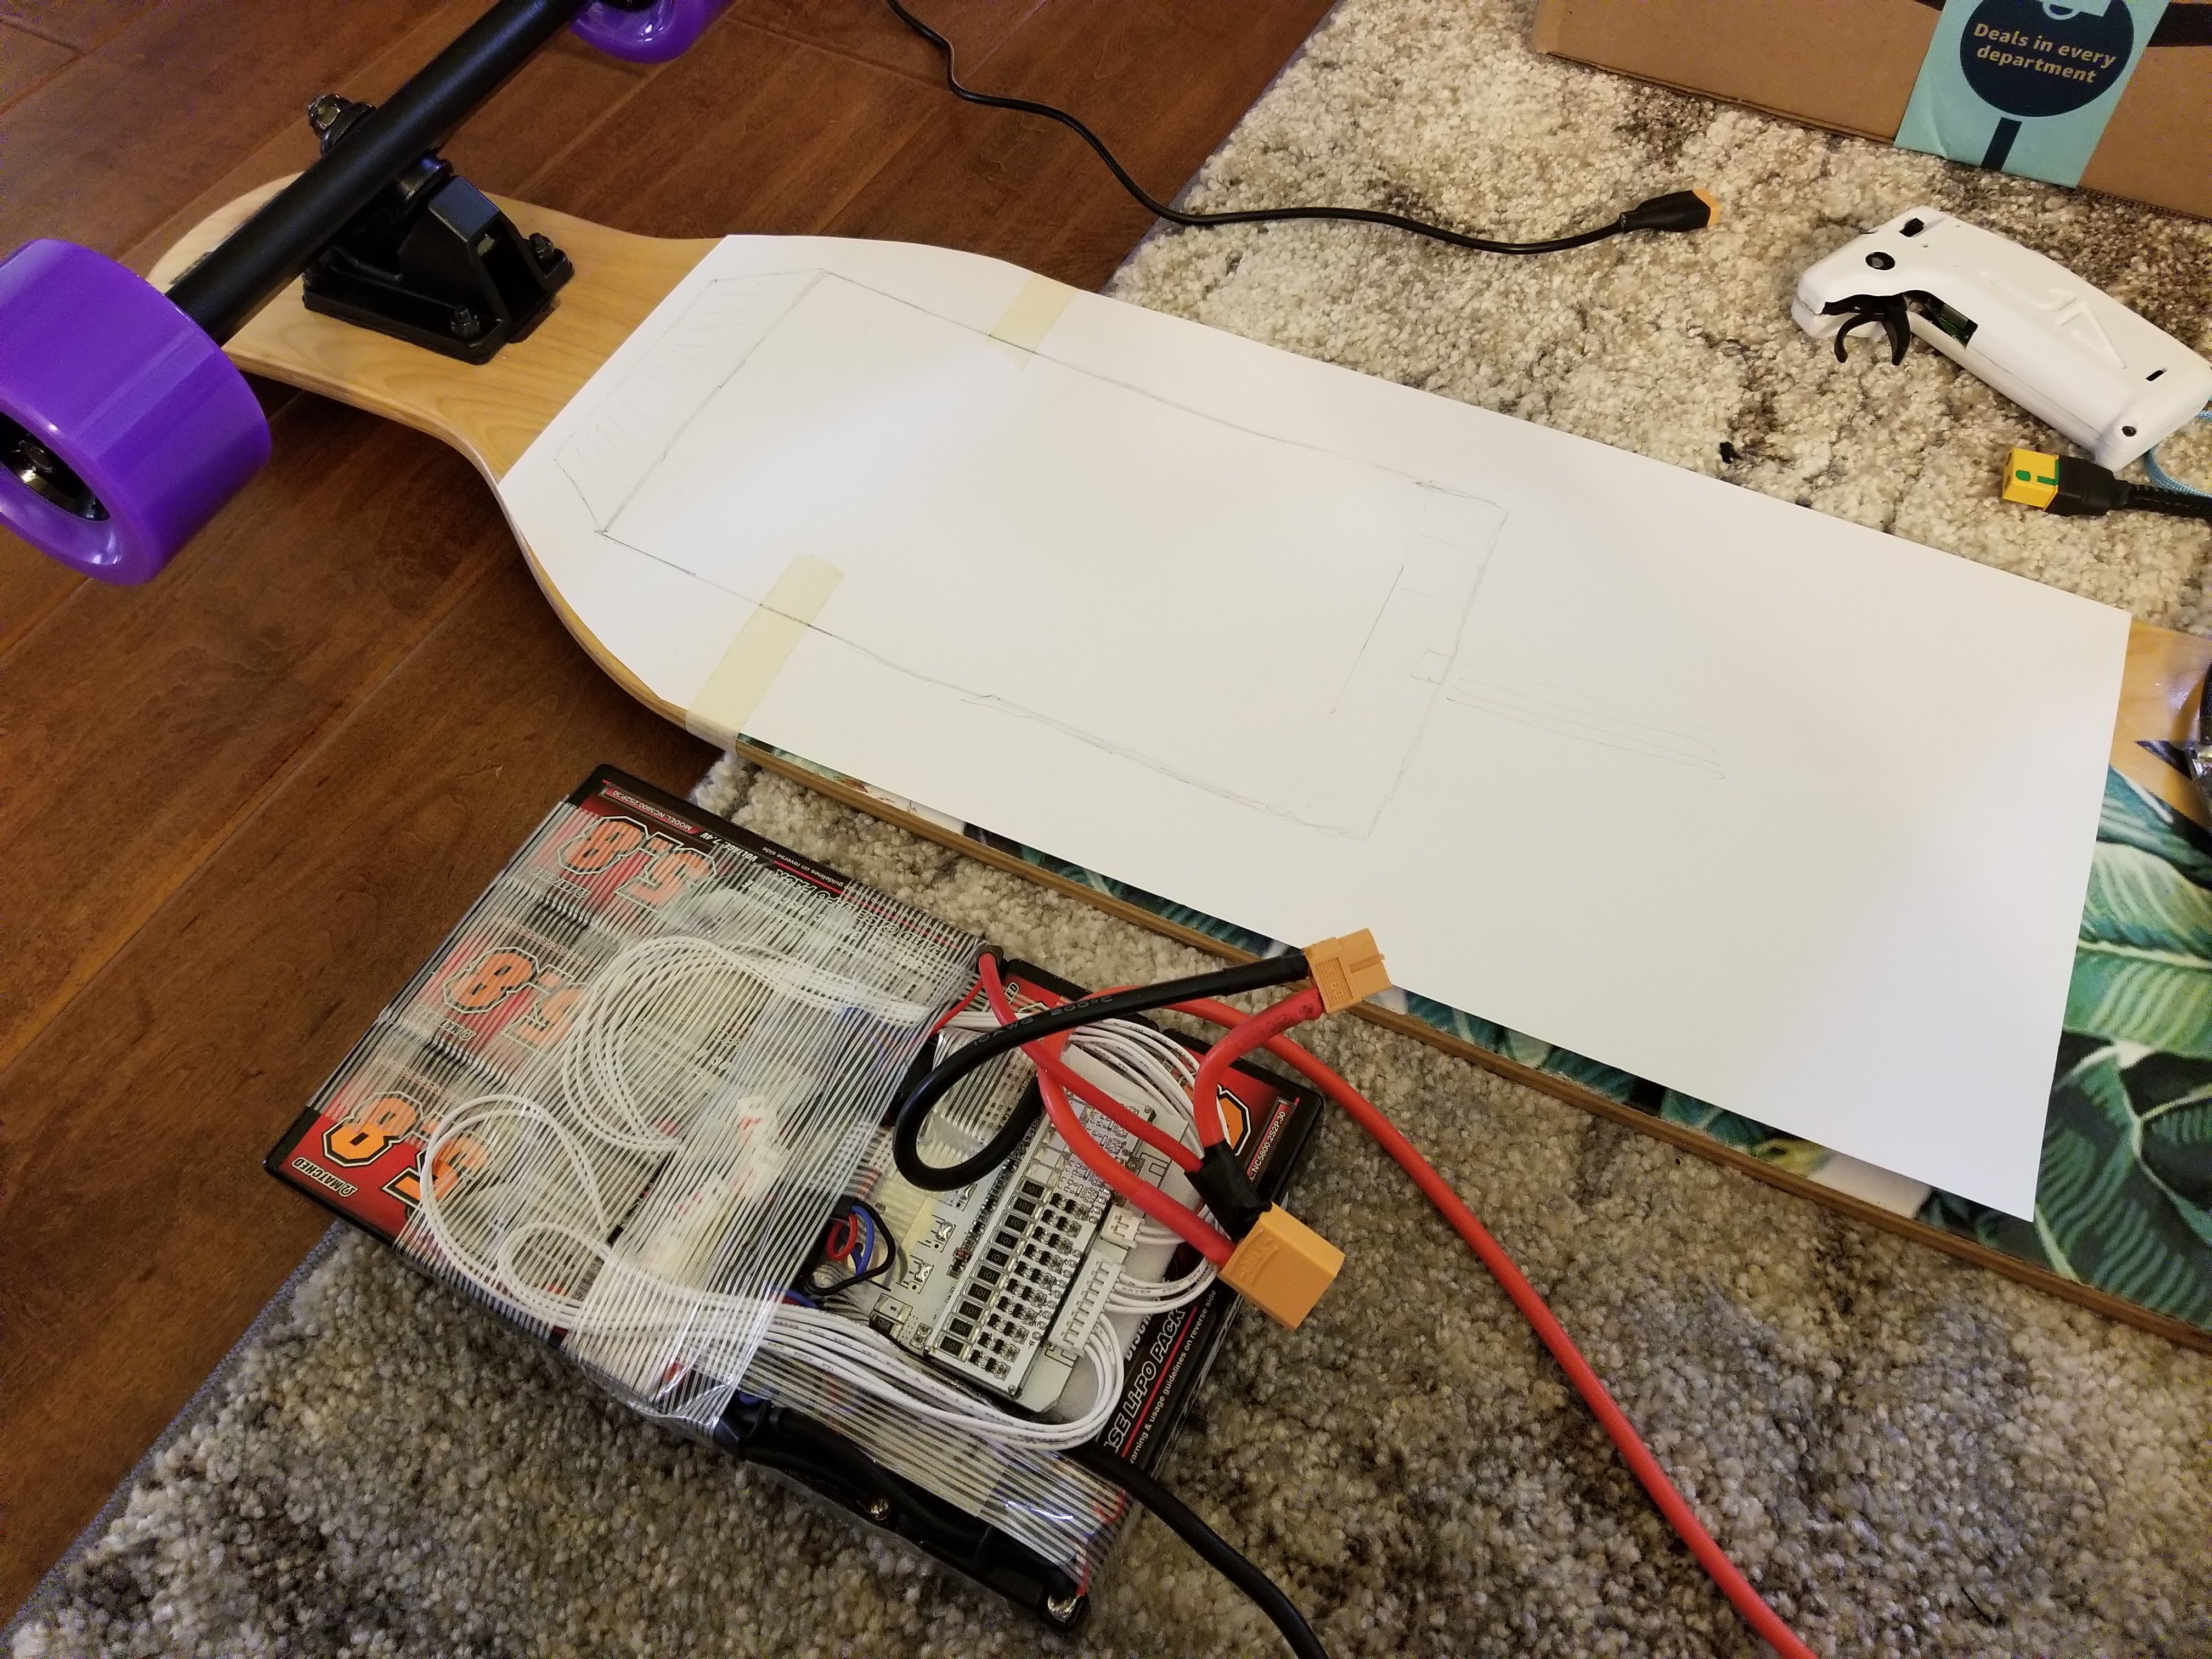
Got two packs of these Kydex sheets. I used paper on the longboard to trace out the approximate size for the battery pack enclosure, leaving room to mount the loop key connector and the charging port towards the bottom. I then measured these and approximated how tall I thought it would need to be. These sizes turned out to work great. I used two sheets for the battery enclosure.
After quite some work, I had a mold made for the front enclosure. I used some planks of wood that I got from the Home Depot scrap pile for free. I used a wood base on the front angled part and then some cardboard for the top. I had heard that cardboard can compress quite a bit when making these but I figured the two sheets for the additional thickness on top would be alright.
I glued these together with hot glue, but if I had more time I would have used wood glue instead. When I was gluing it I placed it on the board to make sure I got the curves correctly.
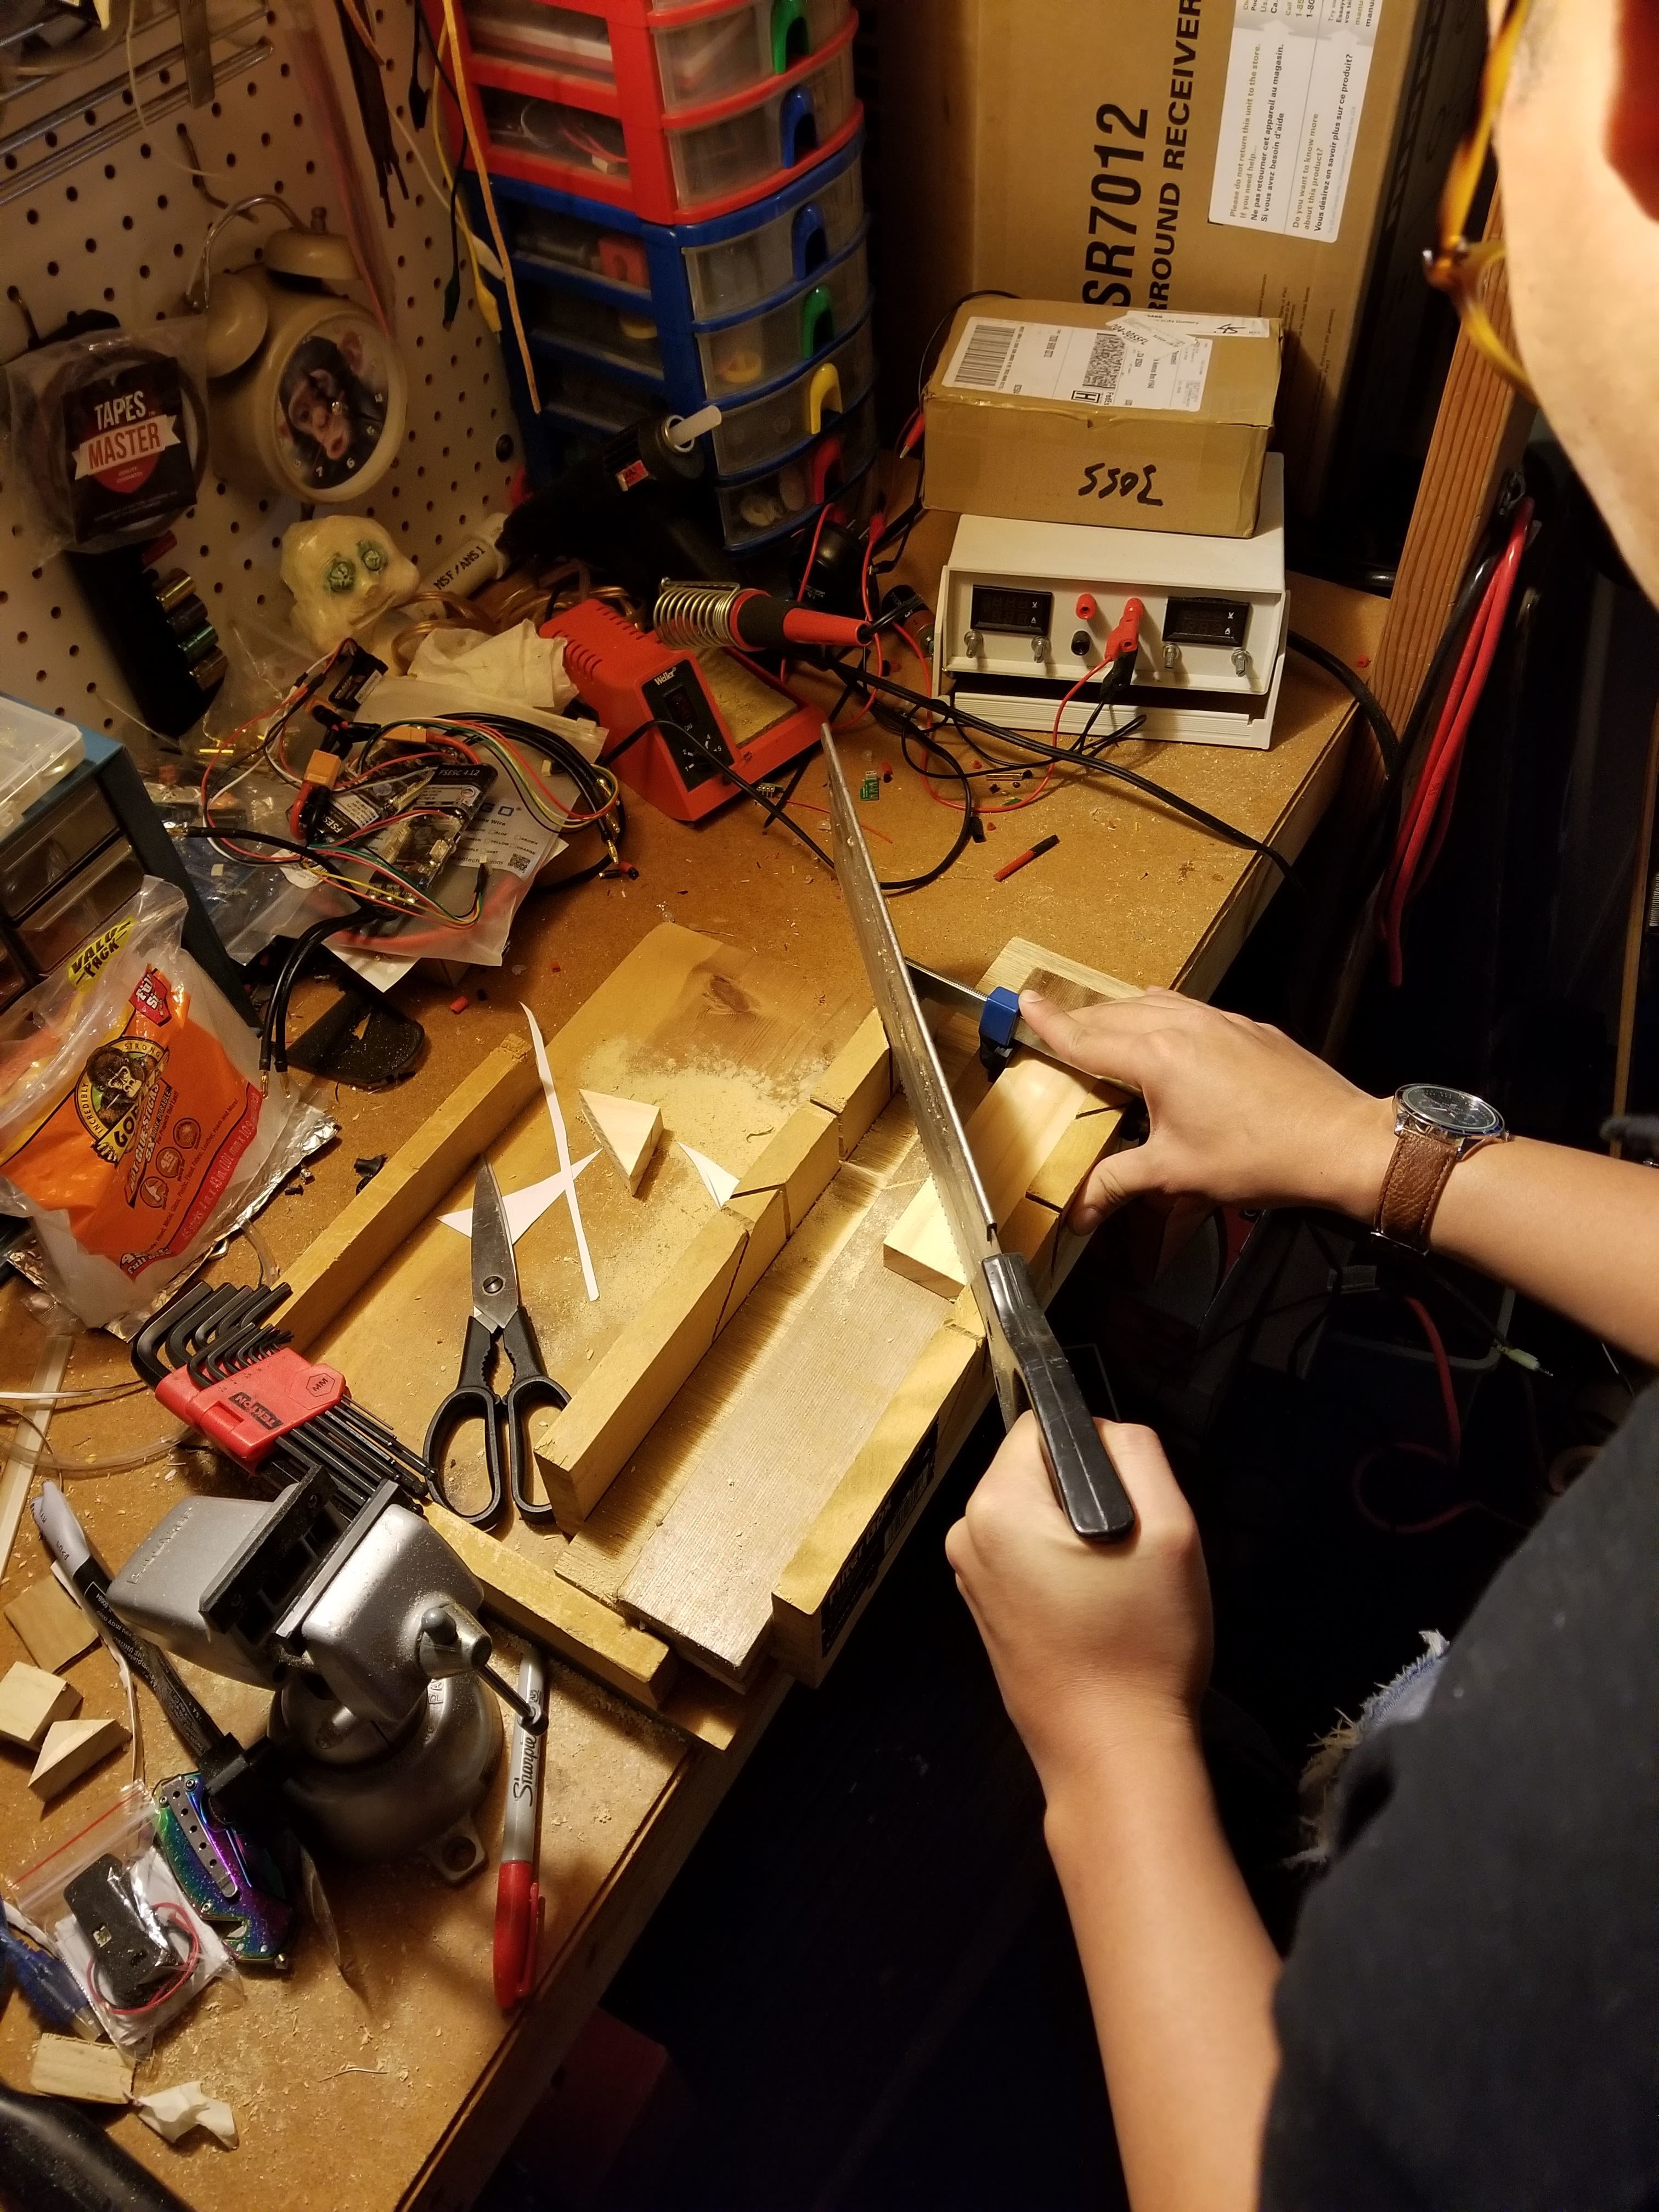
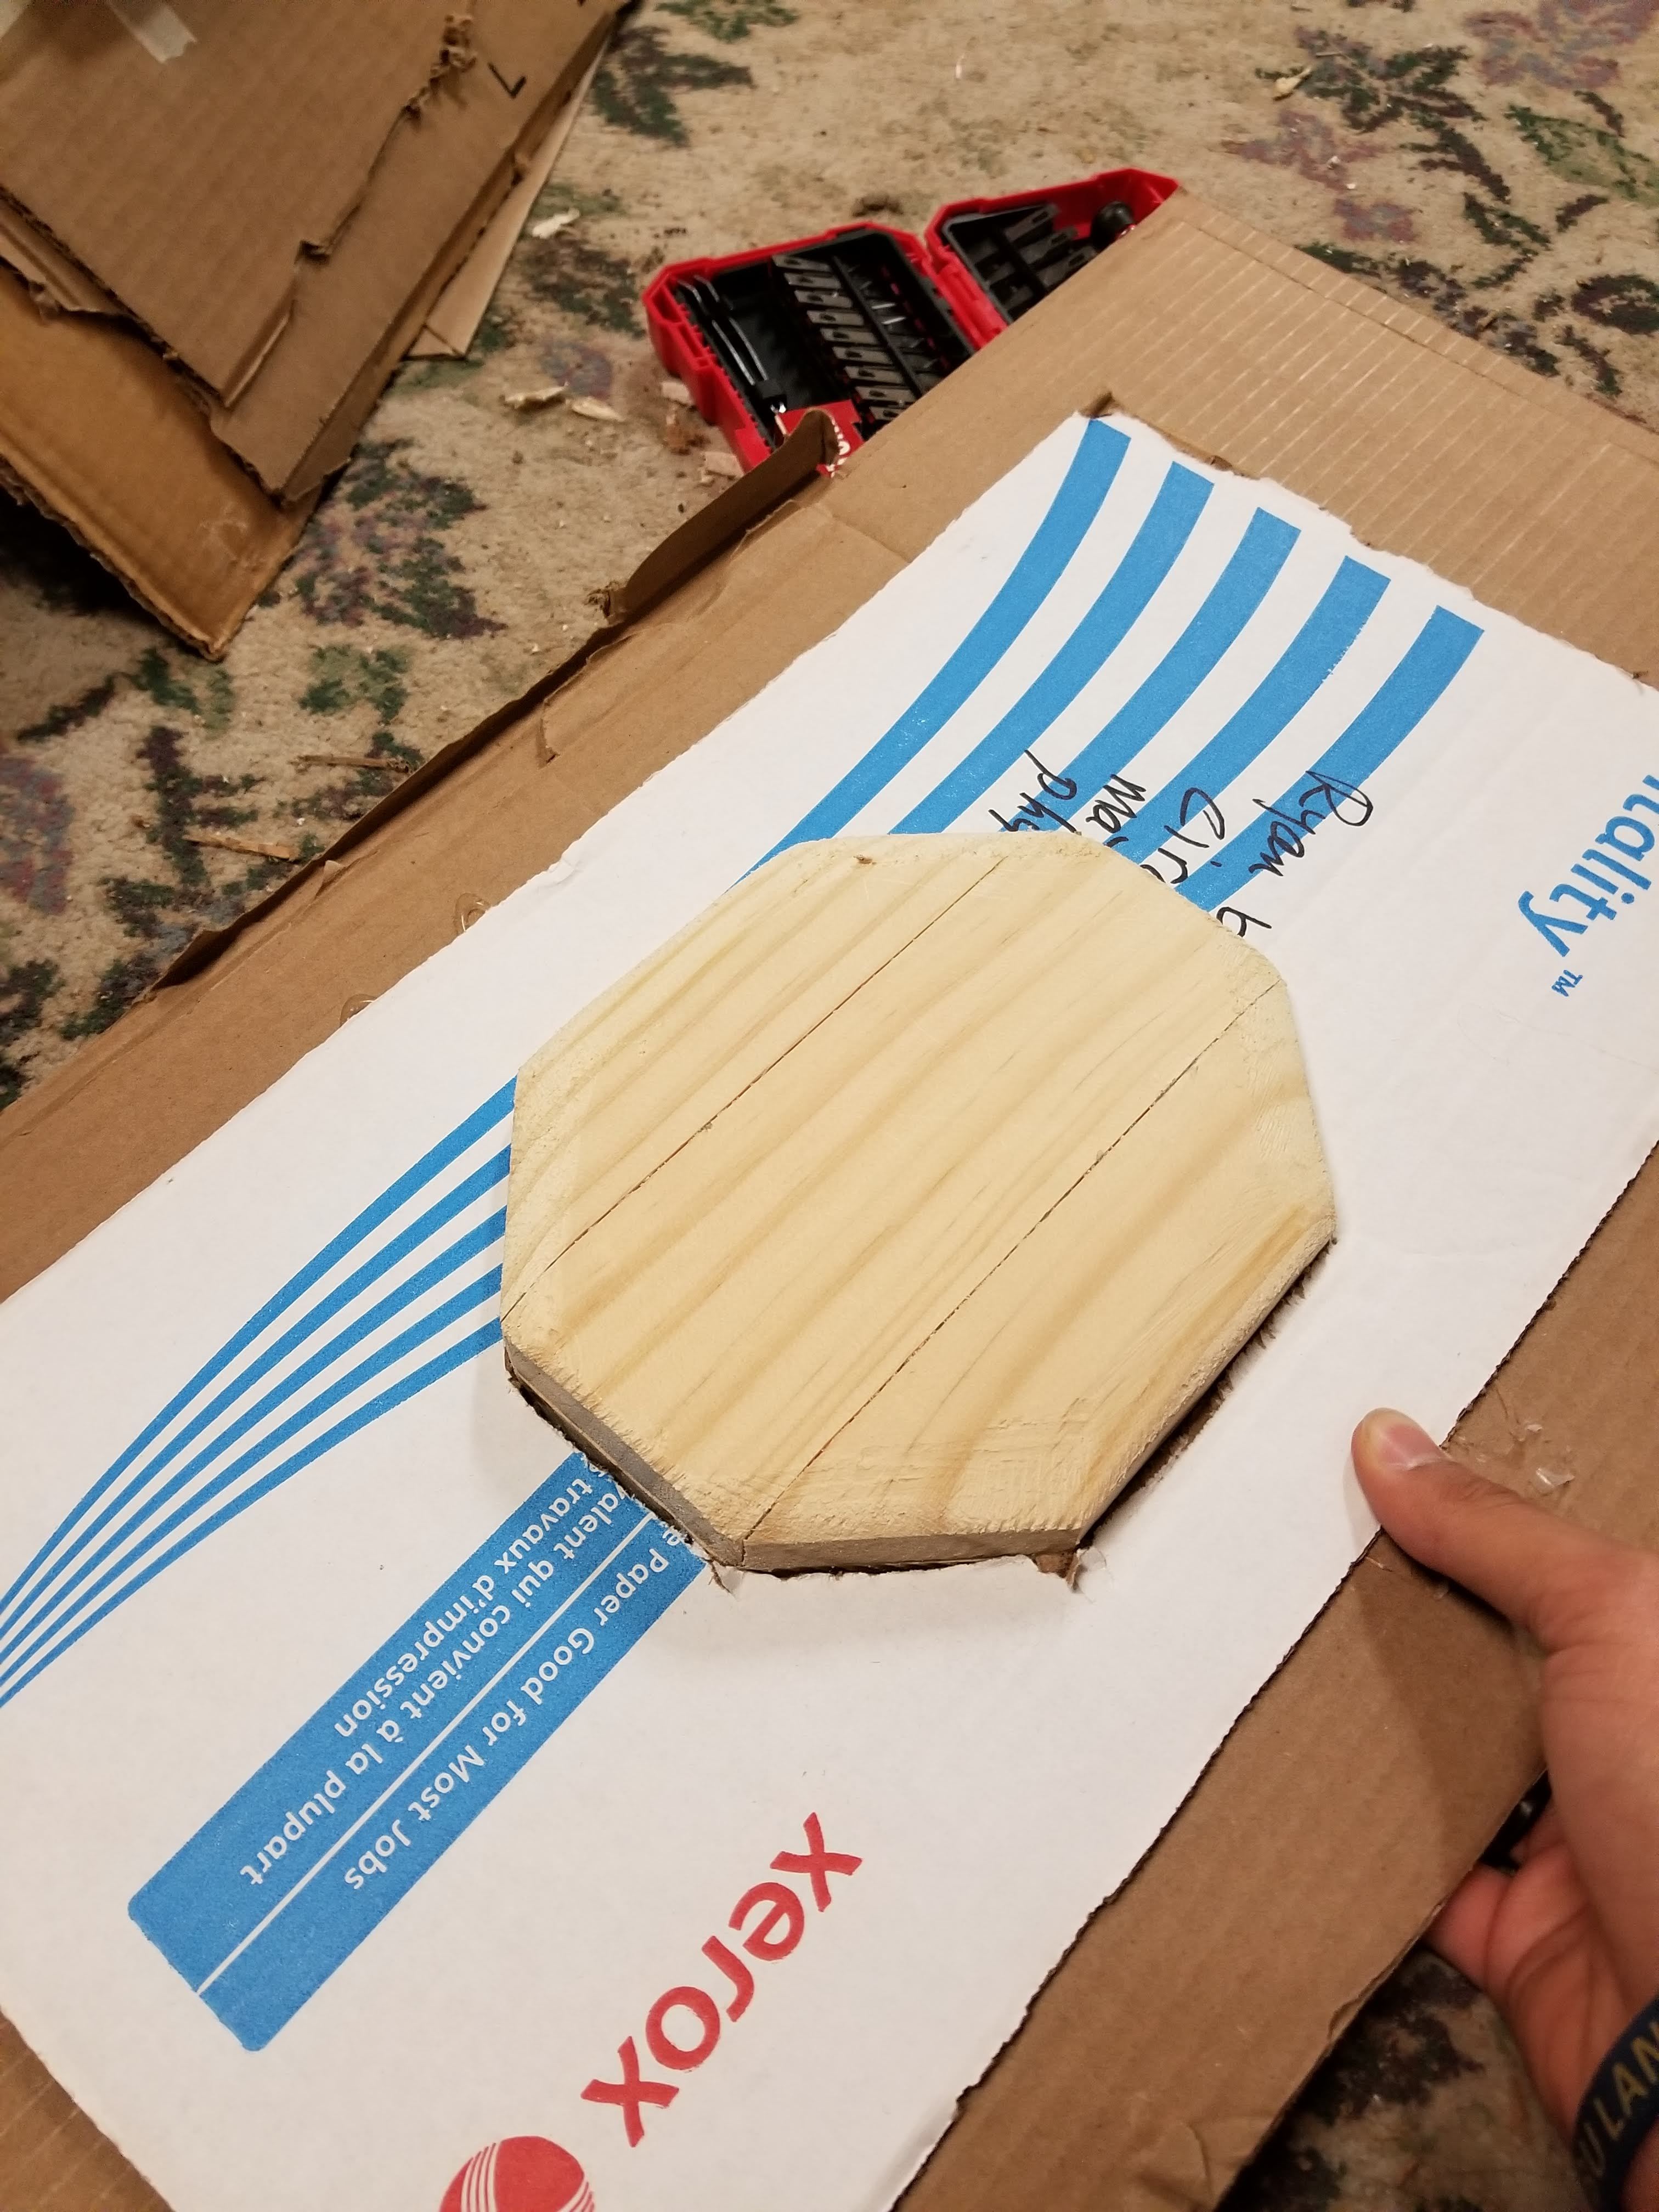
in a similar fashion, I made the mold for the back enclosure. I used a circular saw and a backsaw with a cutting box to do all of the woodwork for this. Additionally, a harsh rasp was very useful for shaping both the Kydex outline and the angles on the wood.
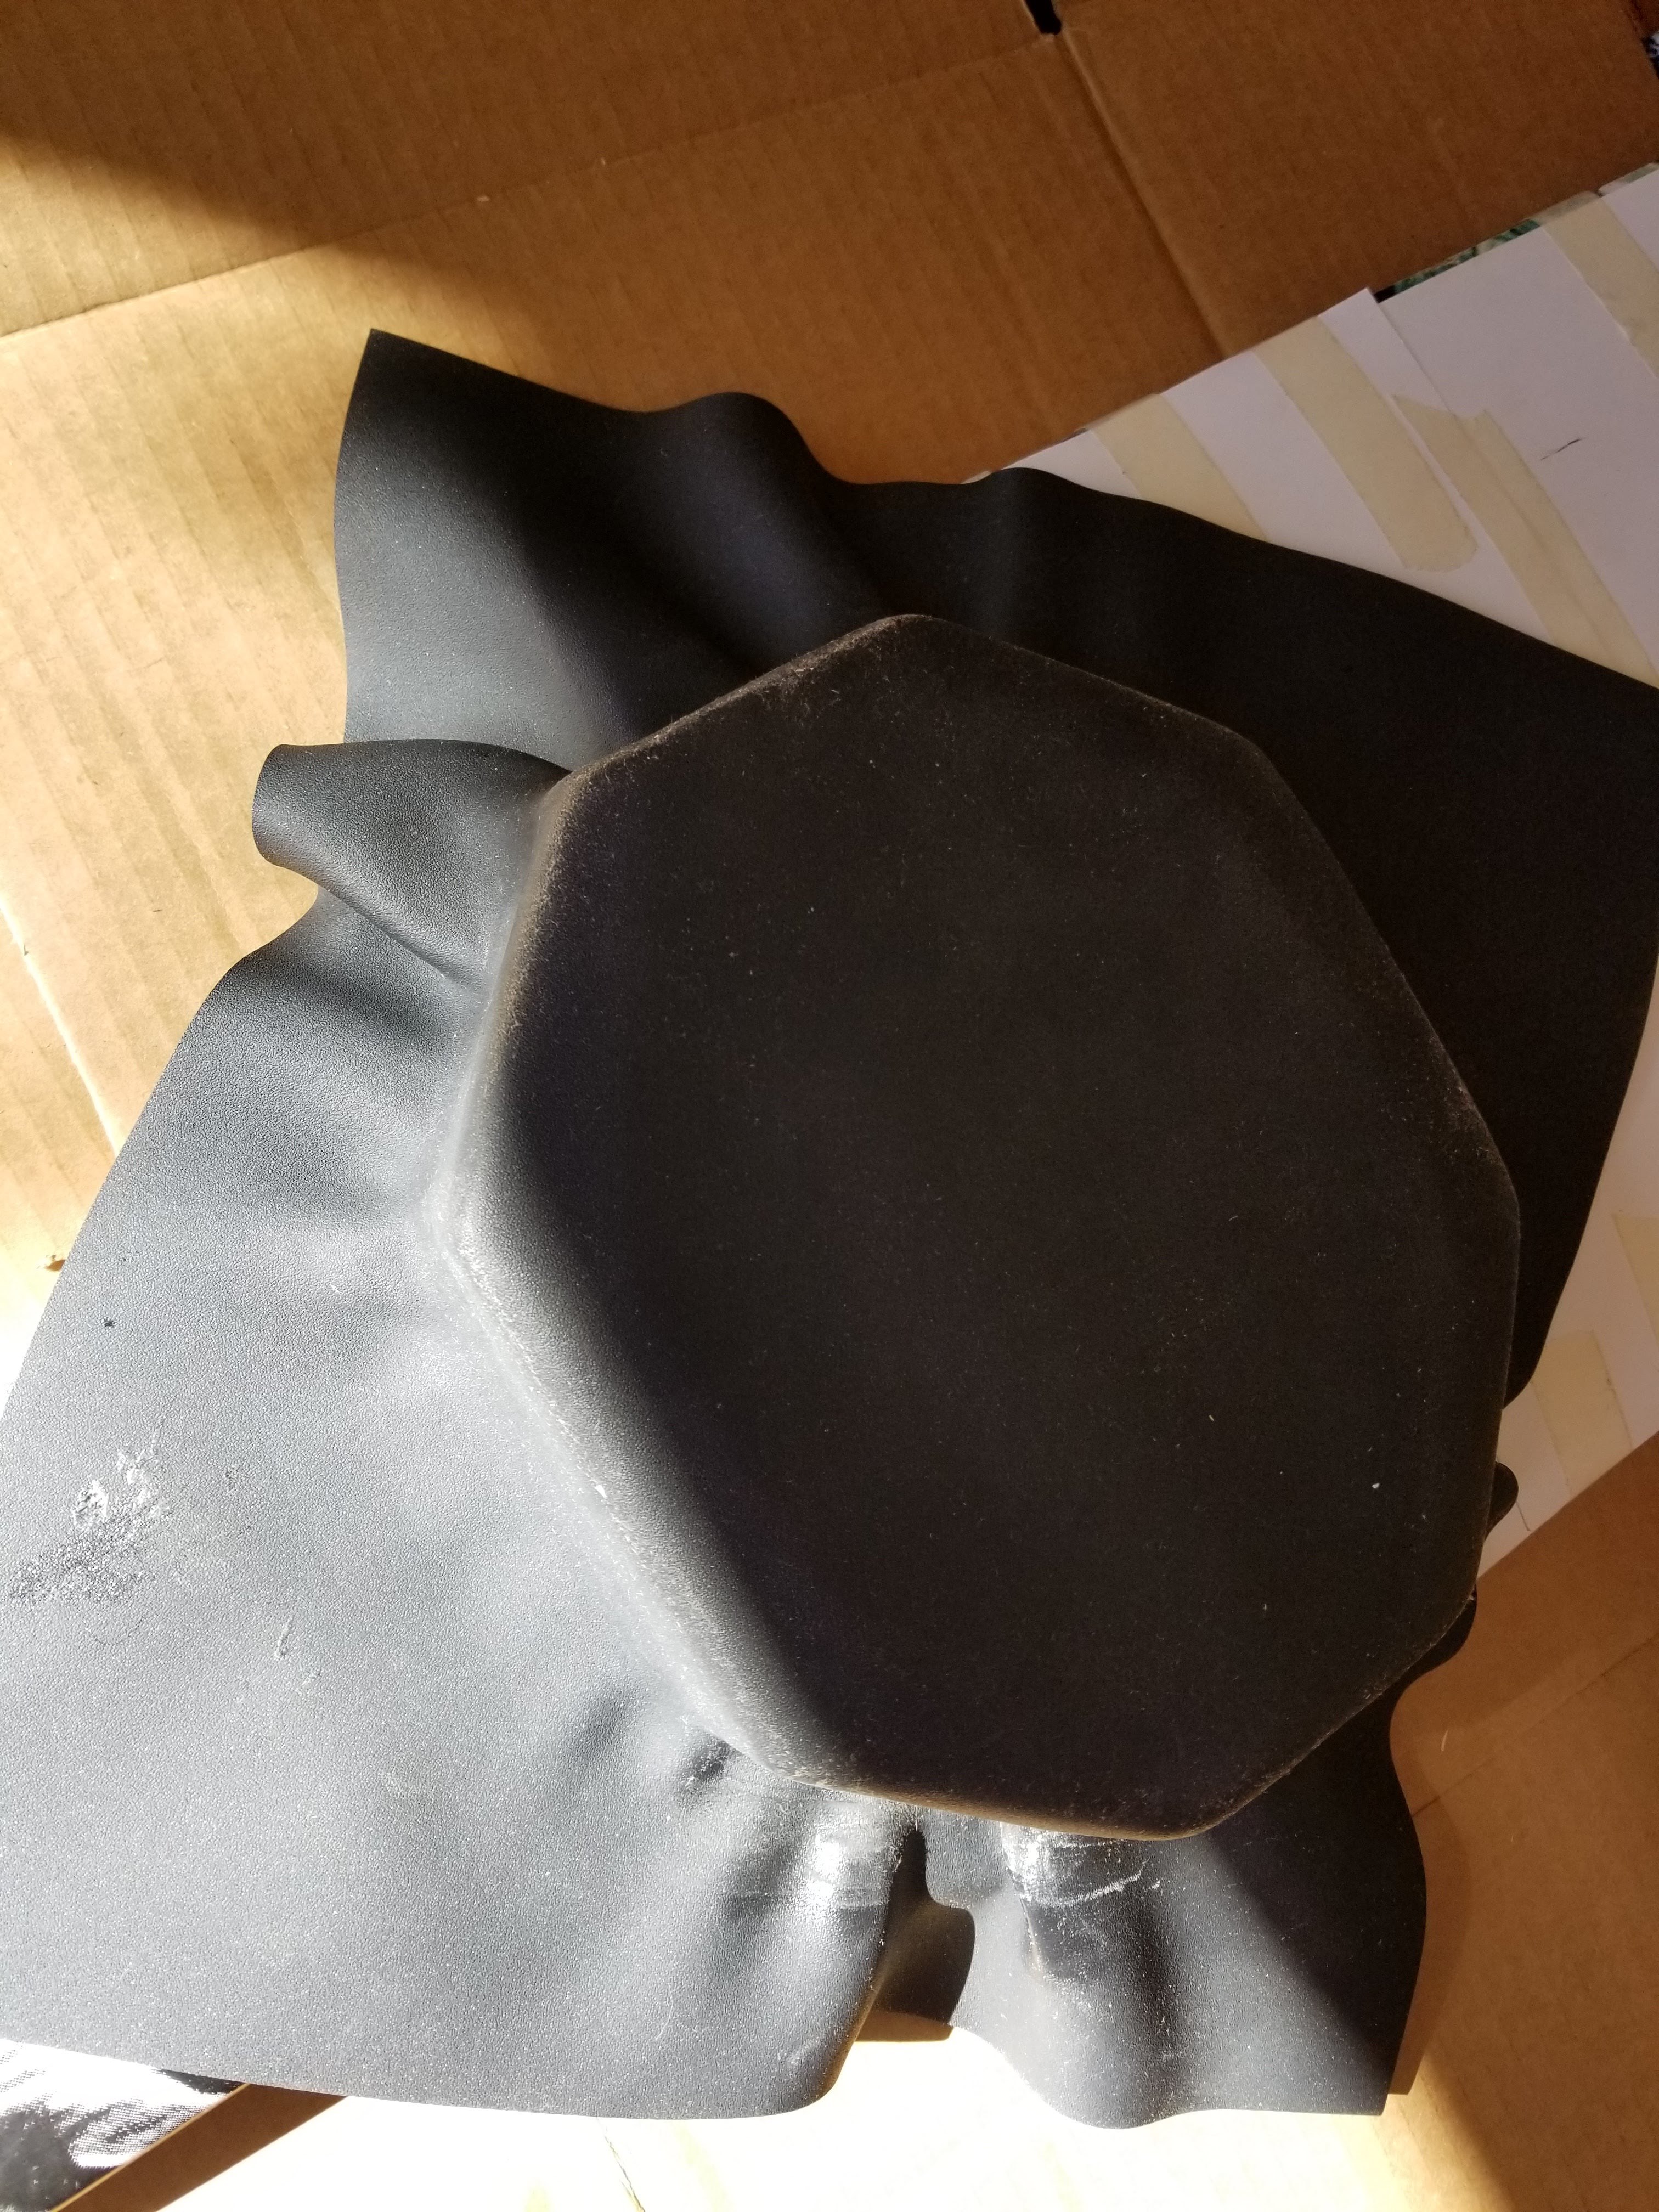
After creating the molds for the front and back, unlike most people who make Kydex enclosures, I was not able to find any strong foam that I could use to push down the Kydex, so I made cardboard positives. Here is the mold for the rear enclosure and its cardboard positive, along with the front mold positive.
These positives are all layered several layers thick in order to have enough strength to stretch the Kydex over the molds.
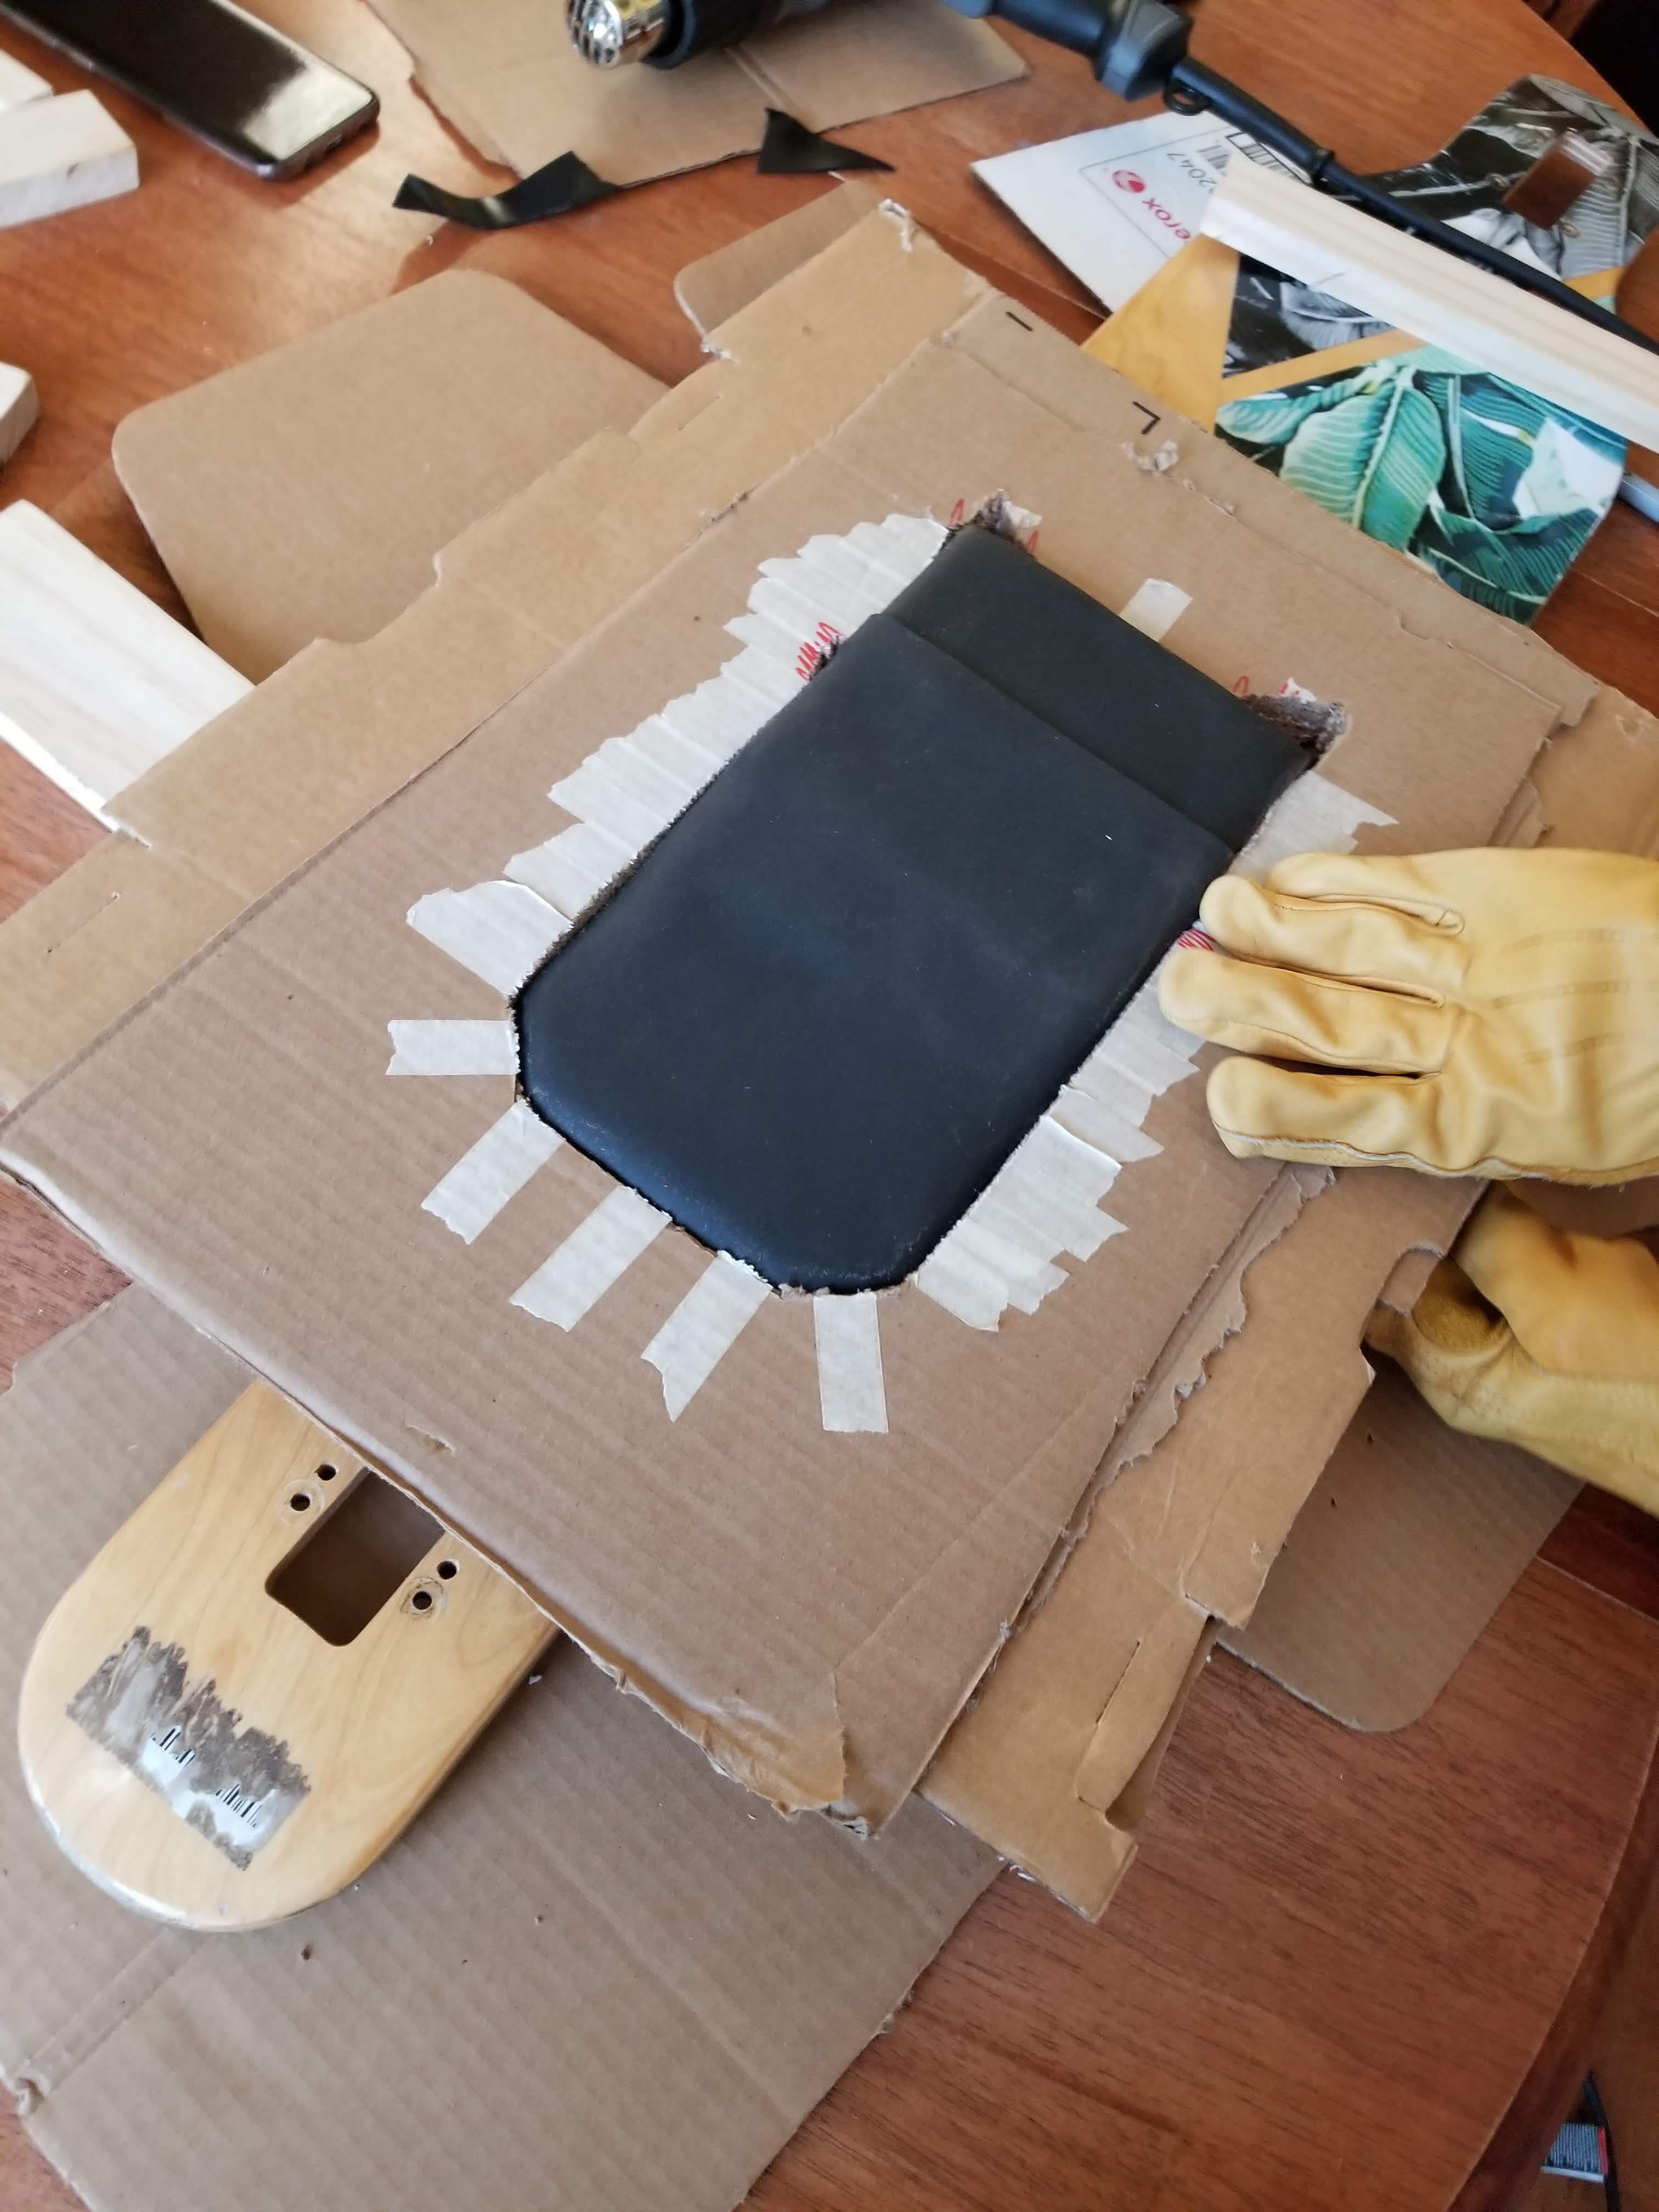
Moving on to the actual difficult part. I used a normal kitchen oven to heat up the Kydex sheets on a piece of cardboard. I set the oven to 350 degrees F on convection to heat it up and then changed it to normal bake mode when I set the plastic in so the fan wouldn’t unevenly heat it. Sidenote, the plastic gives a faint smell but it dissipates pretty fast and does not stay in the oven. It took about 7 mins to get the plastic to its soft state. The first one I did was the rear enclosure. This proved to be the hardest one by far, due to all of the angles on it. Looking at it again, going with larger angles and less of them would have made it easier, but I am still pretty happy with the end result. I was worried about one sheet being able to cover the entire rear enclosure, so I estimated and decided to turn it 90 degrees to press it on. The wooden mold is glued down to the paper, and the paper is taped to the board so we could push it in different directions.
After the first press, there were lots of ripples in the Kydex, seems pretty unavoidable with a shape like this.
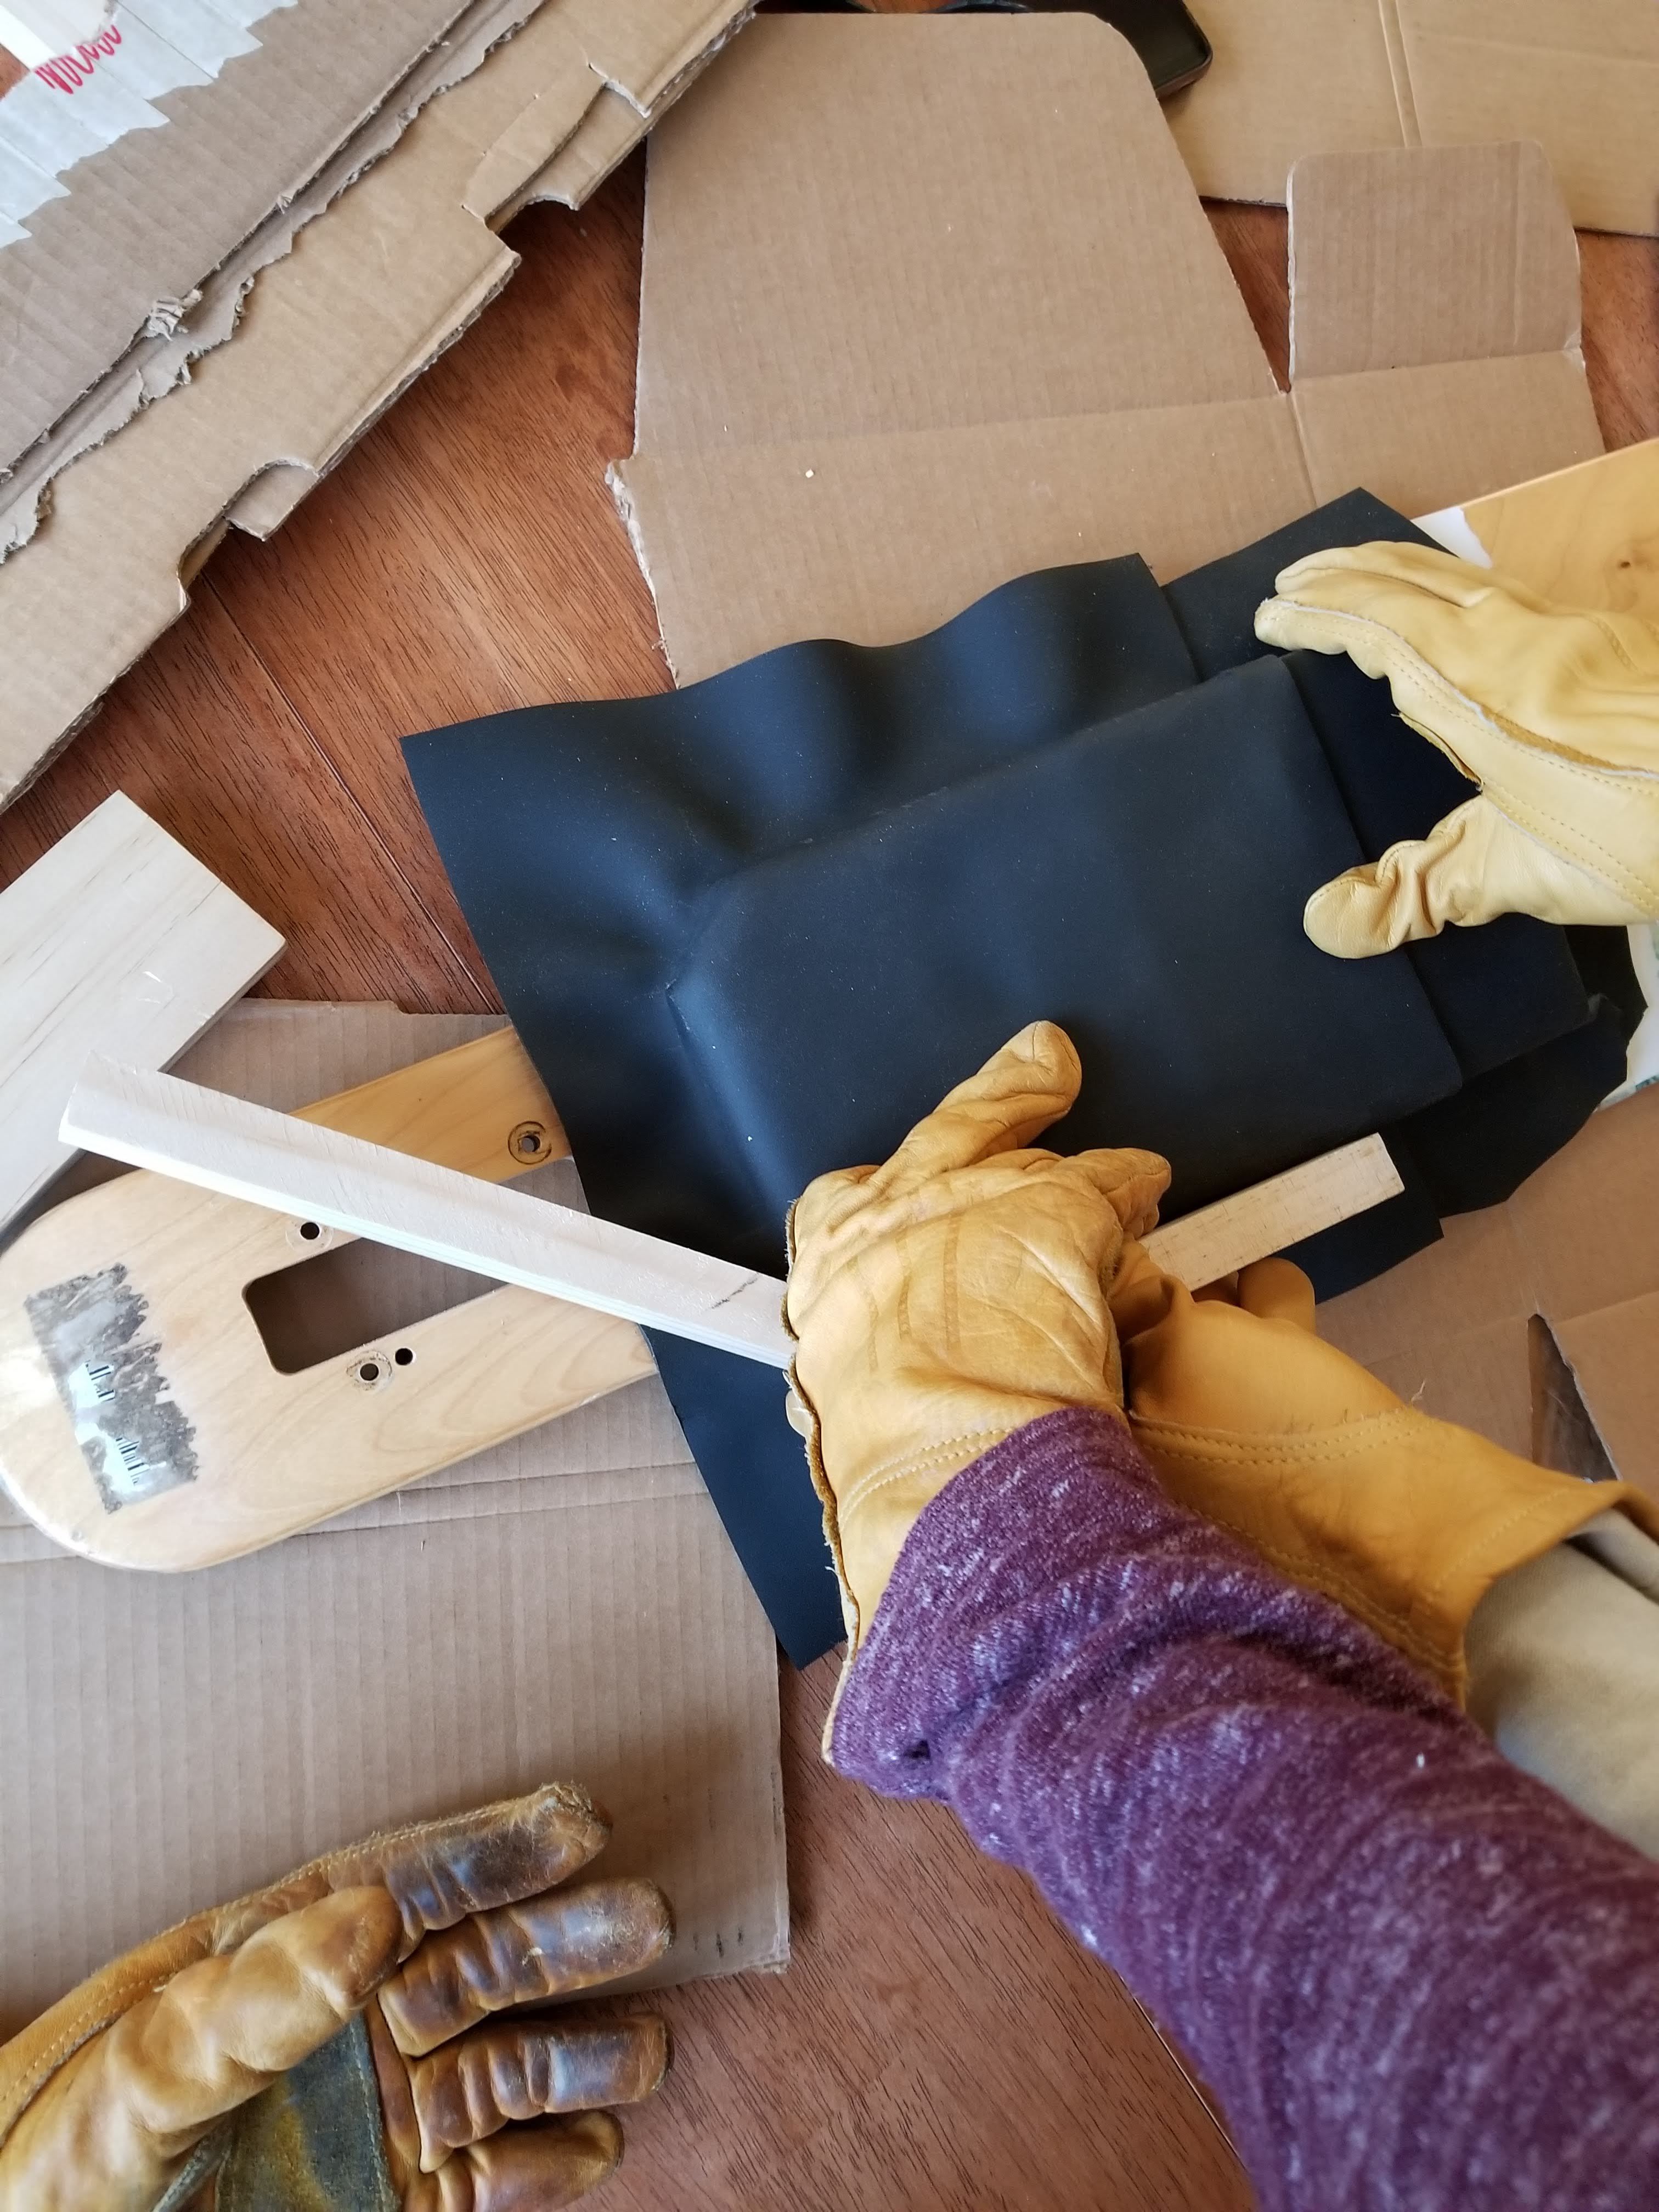
At this point, I switched to using the heat gun to heat up parts of the enclosure that were rippled and pressed out the ripples with some scrap pieces of wood that we had from making the molds. This process was incredibly time consuming and probably took 2.5 hrs to make this rear enclosure with 2 people working.
Moving on to the front enclosure, I started with the smaller piece, which would be covering the rearmost part of the battery pack. The first press went pretty well, however, this time I heated the plastic 3 seperate times in the oven to start working the shape into it.
After fixing up the rearmost part of the front enclosure with the heat gun and wood scraps, I then pressed the next piece of Kydex over it. The first press looked like it went pretty well, and it actually was pretty decent. This was probably due to the long straight edges and the fact that the front part with the angles was not nearly as tall as the octogonal back enclosure.
Fixing the front did not take as long but since there were two pieces, it still took about 2 hours to complete.
After all the arduous labor, the two enclosures were finally done and looking pretty great.
The final things to do were to cut out the hole for the battery meter, the charging port and loop key, and the holes for the motor wires in the rear enclosure.
After cleaning up the edges with tinsnips and a rasp, I applied some weather stripping around the edges of all the enclosures.
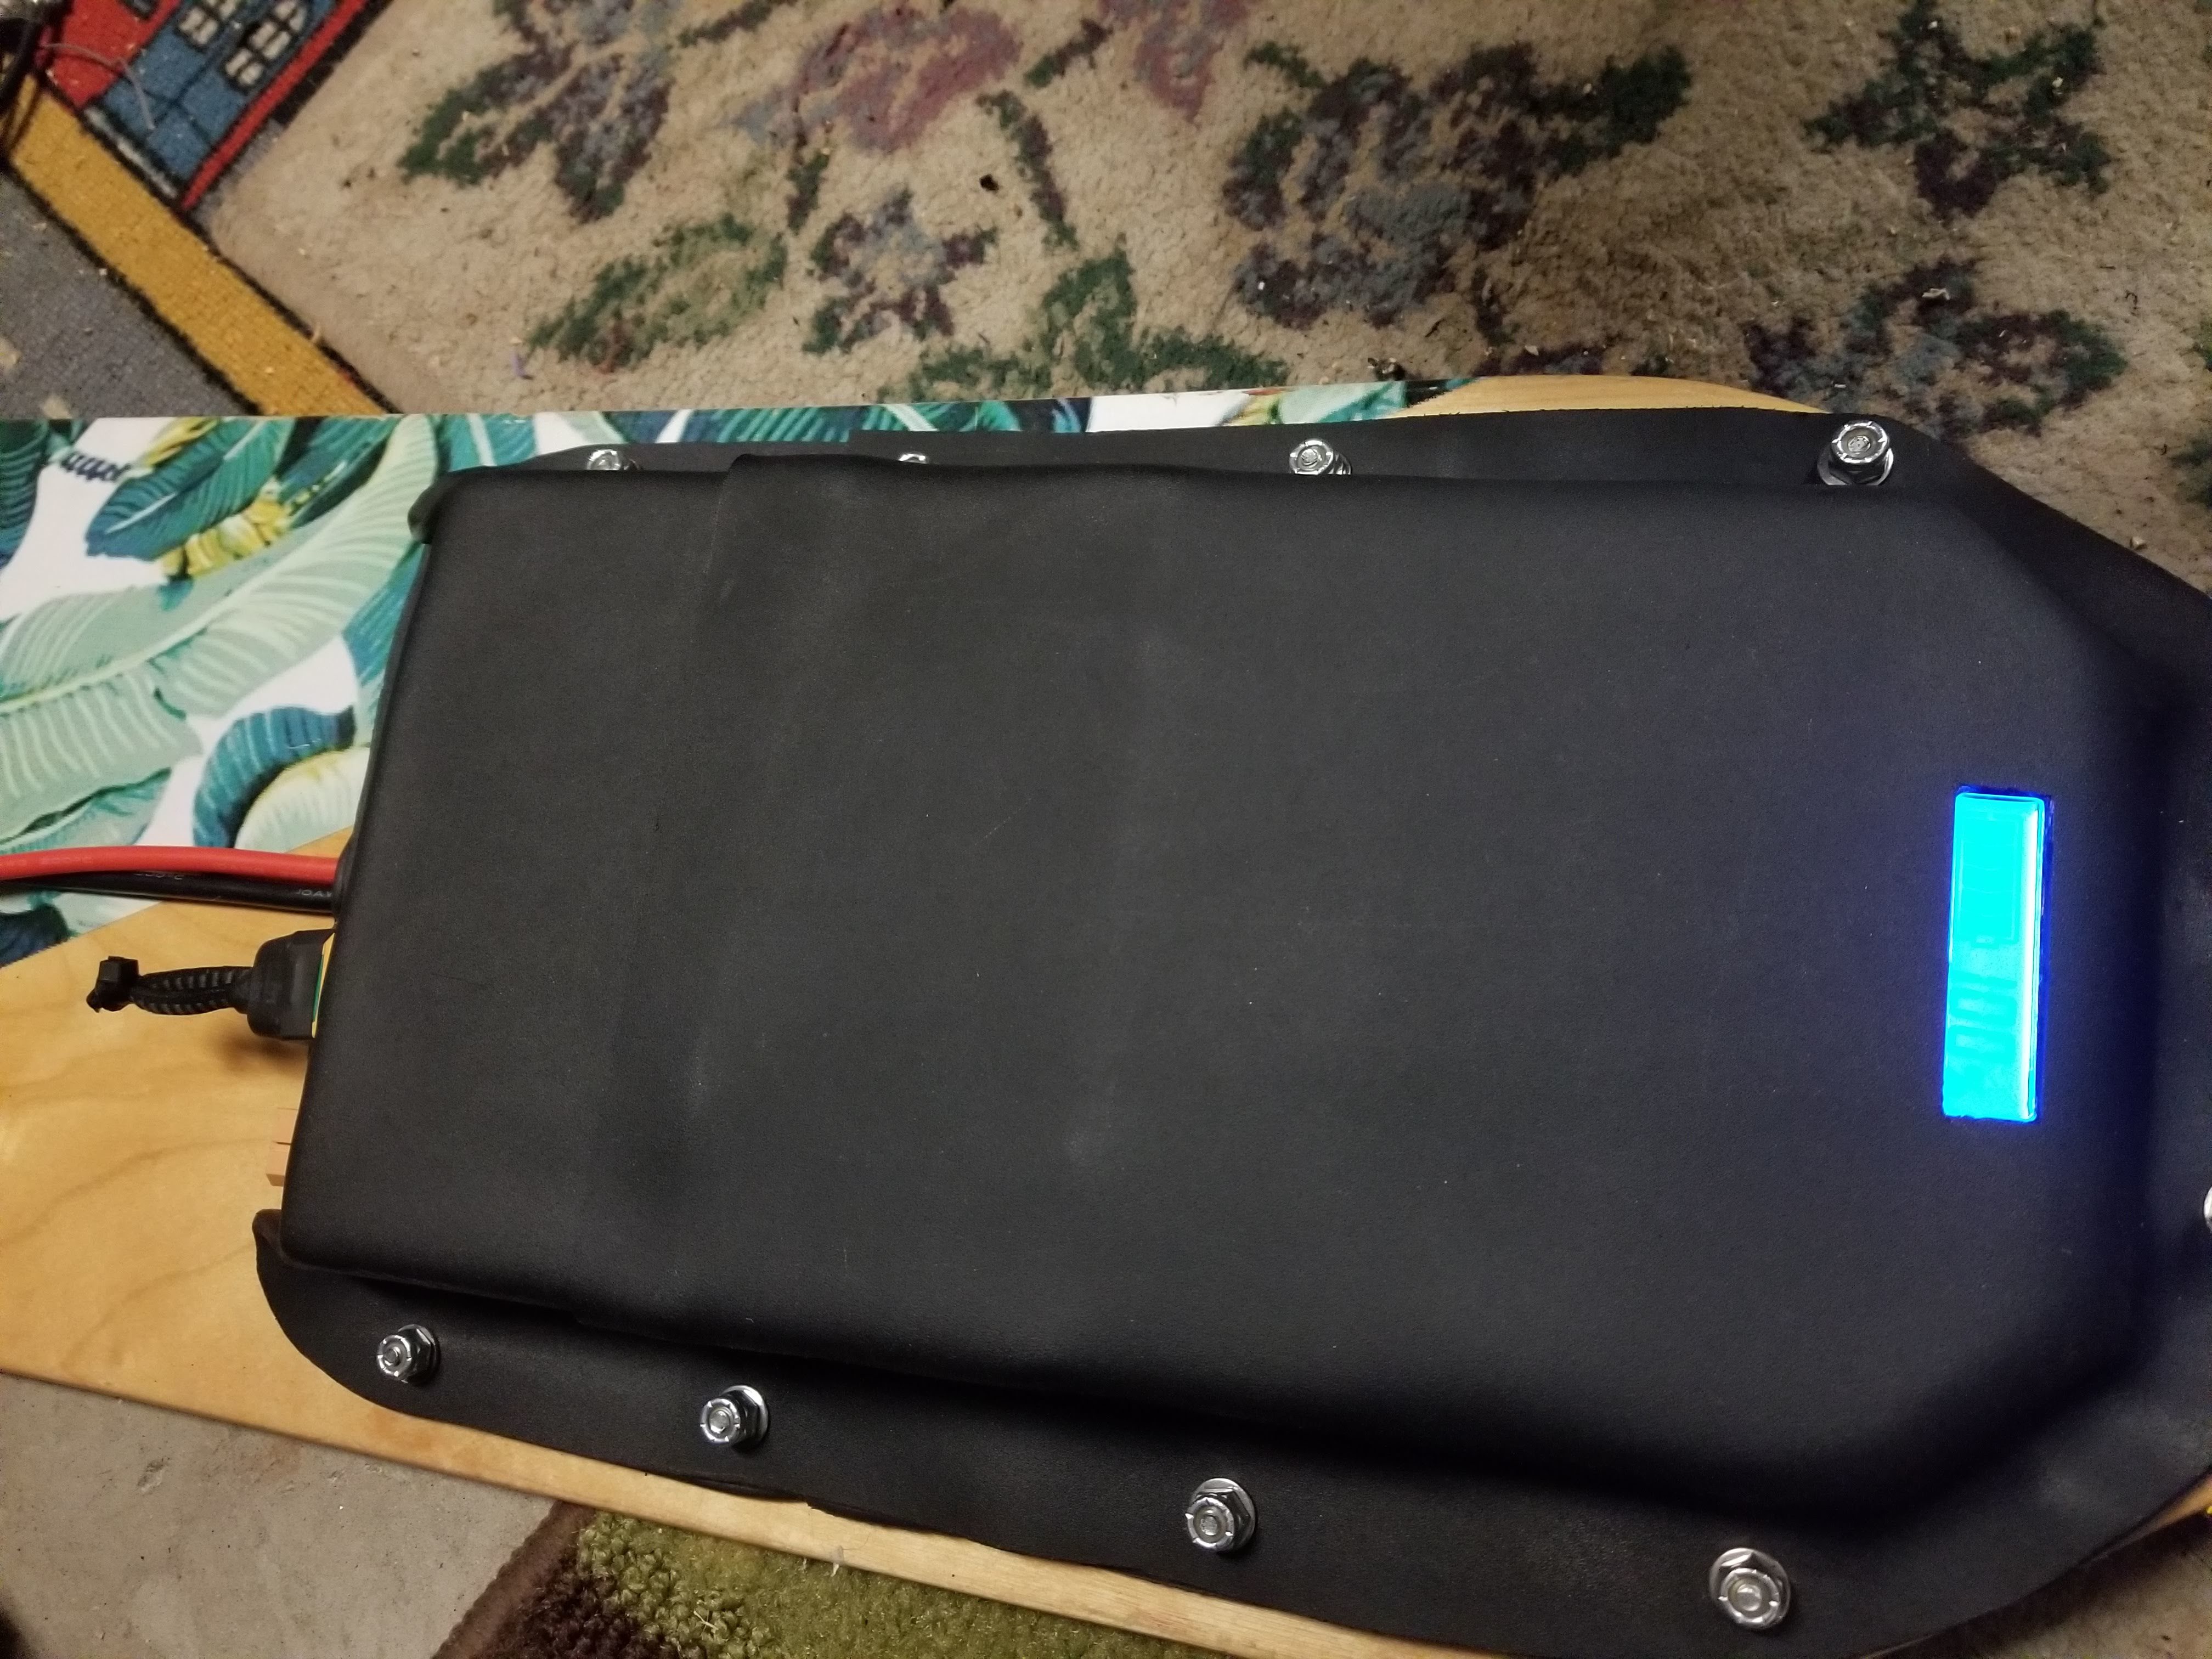
Front enclosure turned out amazing. I used #8 screws in attach it to the board, and heavily padded the batteries on all sides with weather stripping. The battery meter is heavily glued in.
Taped the VESCS together with fiber tape and padded the enclosure with weather stripping
I simply let the wires that travel from the front enclosure to the back enclosure go under the weather stripping and that worked out fine.