
This is my third and finest build. All of mine have been 4WD, and I only have one at a time, because I’m a little bit of a minimalist and I always need to scavenge parts from the old for the new.
My first build was a Hummie gen 2 hubs build, which was great, but a time came when I really wanted to try out Cronins and bigger urethane wheels. That led to my second build, which was basically comprised of the same parts, as below, but on a shorter Hi5ber board. On that ride, there just wasn’t enough room for an enclosure that could house all the electronics and not collide with motor mounts, front and rear.
Mostly, I prefer the symmetry and the way 4WDs handle, but they have several ancillary benefits, like improved heat dissipation, traction, braking, torque, etc. Some 4X4s are probably designed as beasty hotrods, but I’ve always been aiming for strong & balanced torque and traction, in mine.
Semi-final Electric Layout and @mmaner Phase Wire Guide

For this third build, I ripped all the components off of the Hi5ber and fabricated wires to make it all work on a Landyachtz Evo. I picked up tons of great info and inspiration on that deck, from forum members’ builds, and it was long enough for all of the 4WD components. I painted the Evo deck black to blend with the enclosure.
@Marcmt88 (Janux) Cast Ronin Motor Mounts, 30t Wheel Pulleys, 15mm Belts, 107mm Urethane

Some goals I had for the build were to run cast Ronins with very loose belts on 2:1 ratio, a completely screw-less quick access enclosure, a top mounted foot-switch, and a way to see if the board was powered on without flipping it over.
I commissioned the cast Ronin mounts from @marcmt88. His product and service were excellent, so when he started offering delrin pulleys, a bit later, I jumped on some 30t wheel pulleys and 15t motor pulleys, to get my 2:1, 4x4 ratio. I chopped off the boardside corners of each mount, to get more lean before the motors collided with the board or enclosure. I didn’t want very tall risers, but I do use a 5 degree, quarter inch soft wedge, at both ends.
Screwless Magnetic Mounted Enclosure

The quick access enclosure is made from a @psychotiller Evo enclosure and about 40 neodymium bar magnets mounted to the deck and enclosure. Pyscho’s enclosure is meant to be screwed down, to apply sealing pressure at the flanges. Since I wasn’t going to be using screws, I had to do pretty significant heat molding and hand forming of the enclosure, with clamps, heat gun, and gloves. This yielded a smaller gap for the magnets to attract. All of the component weight is velcro strapped to the board.
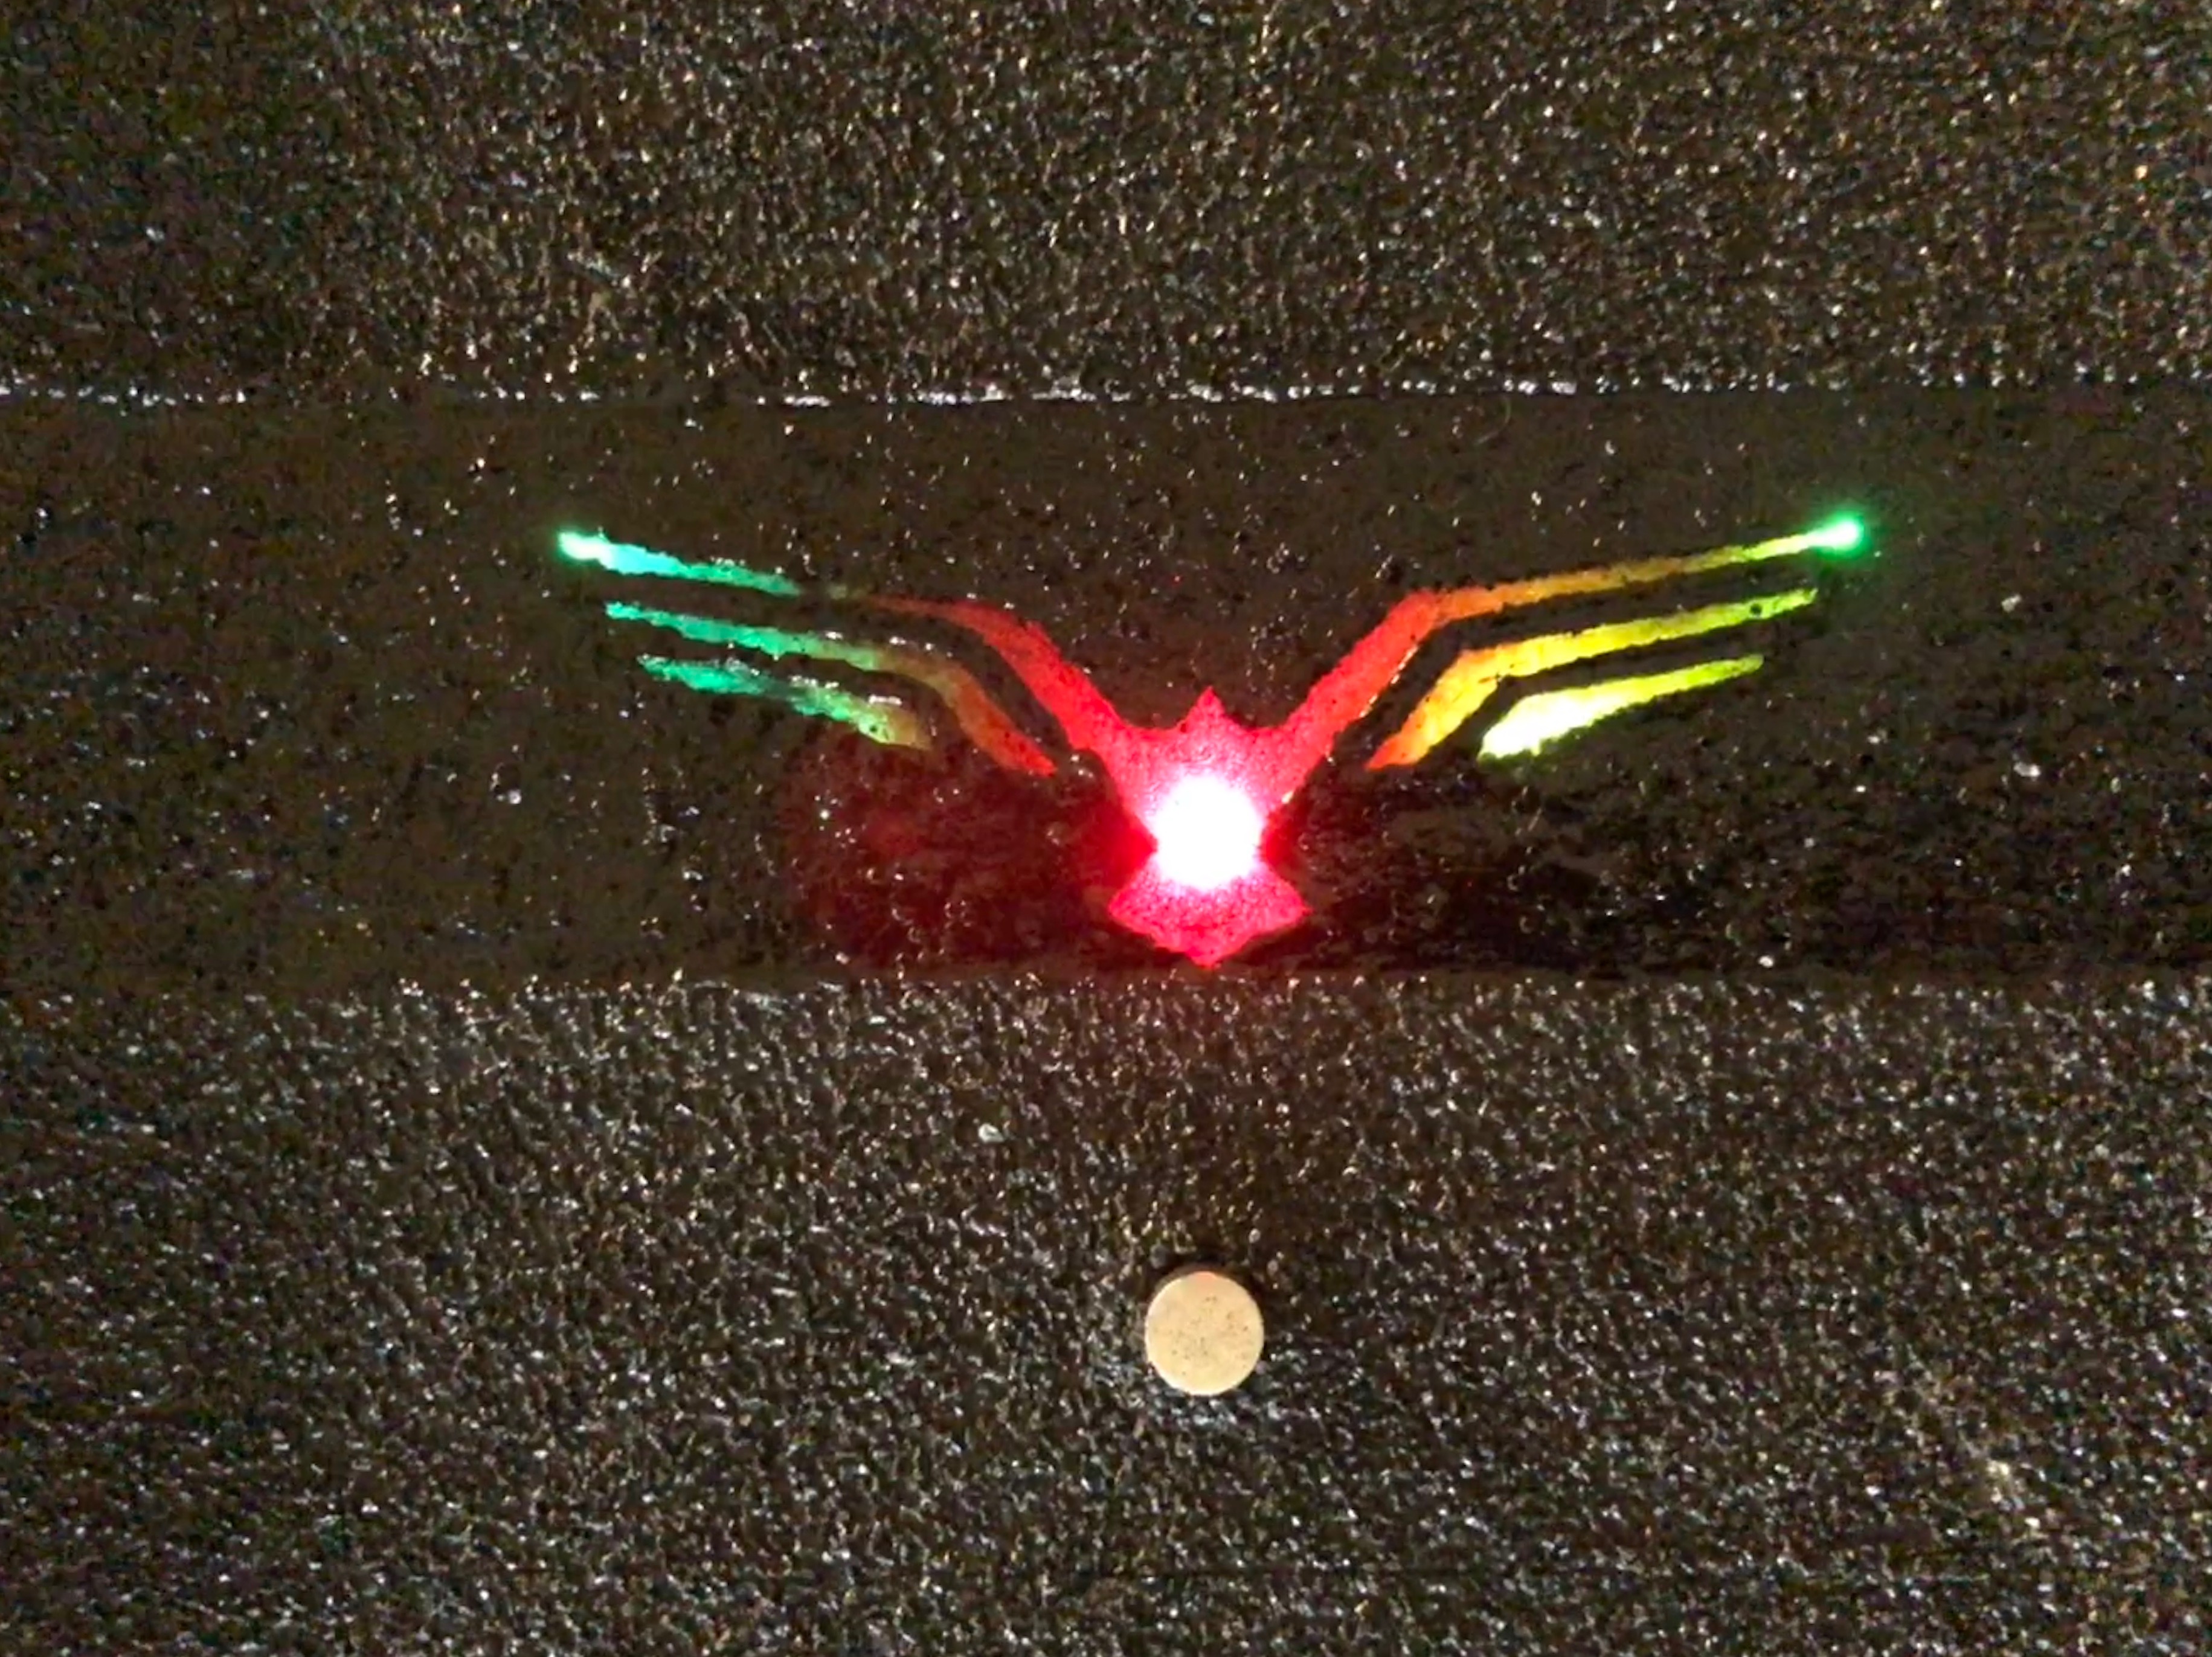
Top Mounted Footswitch & Backlit LED Condor
I bored a hole through the top of the deck and installed an SPDT latching foot-switch, like I’d seen on guitar effects pedals, then placed a rubber gasket and gripped over it all.
My crowning achievement was the LED backlit condor logo, which I made by routing out a shallow slice of the deck to fill in with alcohol paint and clear epoxy resin. I planned to have someone laser cut some vicious tape for a layover, in the shape of the bird, but I never found that someone. I just masked it off and painted; added glitter for texture. The backlighting comes from a 6 bulb LED harness that I fabbed and placed through drilled holes on the bottom of the deck. They draw power from an empty channel on my receiver splitter.
Triple Idler and 3D Printed Evo Tail Guard by Jhon Takenaka


You might see the 3 idlers, per arm, and think that is ridiculous, but I tried a lot of different things and landed there, by accident. It’s pretty great. My free rolling is better than it was on hubs. Maybe better than other belt drives; dunno I’ve never stood on another one. It’s certainly better than a 4WD on 15mm belts should be. Marc’s original mounts shipped with standard skate sized idler bearings. For some reason, those would always eventually start to tilt and cause me alignment issues. I read the entire “obsessed with idler bearings” thread and came across @deckoz post about mounting smaller bearings in the motor bolt holes. Gave that a try, and because my wheel pulleys are so small, it just shifted the tooth skipping from the motor pulley, back to the 30t wheel pulleys. I had a bunch of these small bearings, so I decided to put them in the idler holes on Marc’s mounts, in addition to the motor bolt holes. It was magic. Super loose belt that doesn’t skip at the motor or the wheel. It works great for this 15t/30t setup.
3d Printed Evo Handle by Jhon Takenaka

I used to want a performance commuter board that I could carry. If you have just one board, and you’re doing this for fun, it’s better to just have a performance board long enough that you can pull. A handle comes in handy…
The thing you aren’t seeing much about is the battery for this build. I don’t know yet. I took it on two runs with an old super saggy 25r 10s3p and things were great, while they lasted. I didn’t even notice any sag at the moderate speeds I was running, with the four 6355 motors and 2:1 gear ratio. It just eventually stopped, both trips. I think the battery has some cells out of balance, and later I found the BMS shorted some leads, during charging. The battery and BMS was giving me the willies, so I pulled it off the board. I’m looking at 8ah Lipos and balance chargers, very closely. That or N.E.S.E. 30q. Probably will run it without a BMS. More to come…
Primary Parts
- 2017 Landyacht Evo 39.5’’
- 180mm Cast Ronin Trucks
- ABEC11 Evolve F1 107mm Wheels
- Zealous Bearings
- 4X @marcmt88 Ronin Motor Mounts
- @Psychotiller Evo Enclosure
- 4X @torqueboards 6355 190kv Motors
- 4X BESTORQ 295-5M-15 Belts
- 4X @marcmt88 30t Acetal Delrin Wheel Pulleys
- 4X 15mm 15t Steel Motor Pulleys
- 2X Ollin Board Co. 4.12 Vescs
- 2X @torqueboards 4.12 Vescs
- Jhon Takenaka 3d Printed Evo Carry Handle (Shapeways)
- 2X @mmaner 3d Printed Phase Wire Guides (Thingiverse)
- Jhon Takenaka 3d Printed Evo Tailguard (Thingiverse)
- 5 Degree Wedge Risers Front and Rear
- Viscous Grip Tape
- 4x13x5mm Idler Bearings


