This forum is amazing and I want to give back by regurgitating my first build back into it in text. The amount of new information I have learned just by reading other peoples build threads has been awesome, so I hope someone can benefit from something down below:
Once I had finally watched enough videos and read through endless posts on esk8.builders (the good stuff… and some drama), I started to order my parts. I ended up hesitating on a few things which staggered my deliveries. I recommend deciding on what you want and ordering ASAP. The wait for that missing piece to complete your perfect Frankenstein is JUST THE WORST.
My goals:
- 12-15 mile range
- 25+ mph
- Compact enclosure
- Integrated BMS
- Get there fast and lean a lot
**My build parts and specs:**
Electronics:
-
Optional Bluetooth Module (other cheaper, open source options available but I wanted to check out metr)
Non electronic parts:
-
Torque Boards Single Motor Mount w/ Drive Wheel Kit (13 tooth motor pulley, 63mm motor)
Other important bits to have:
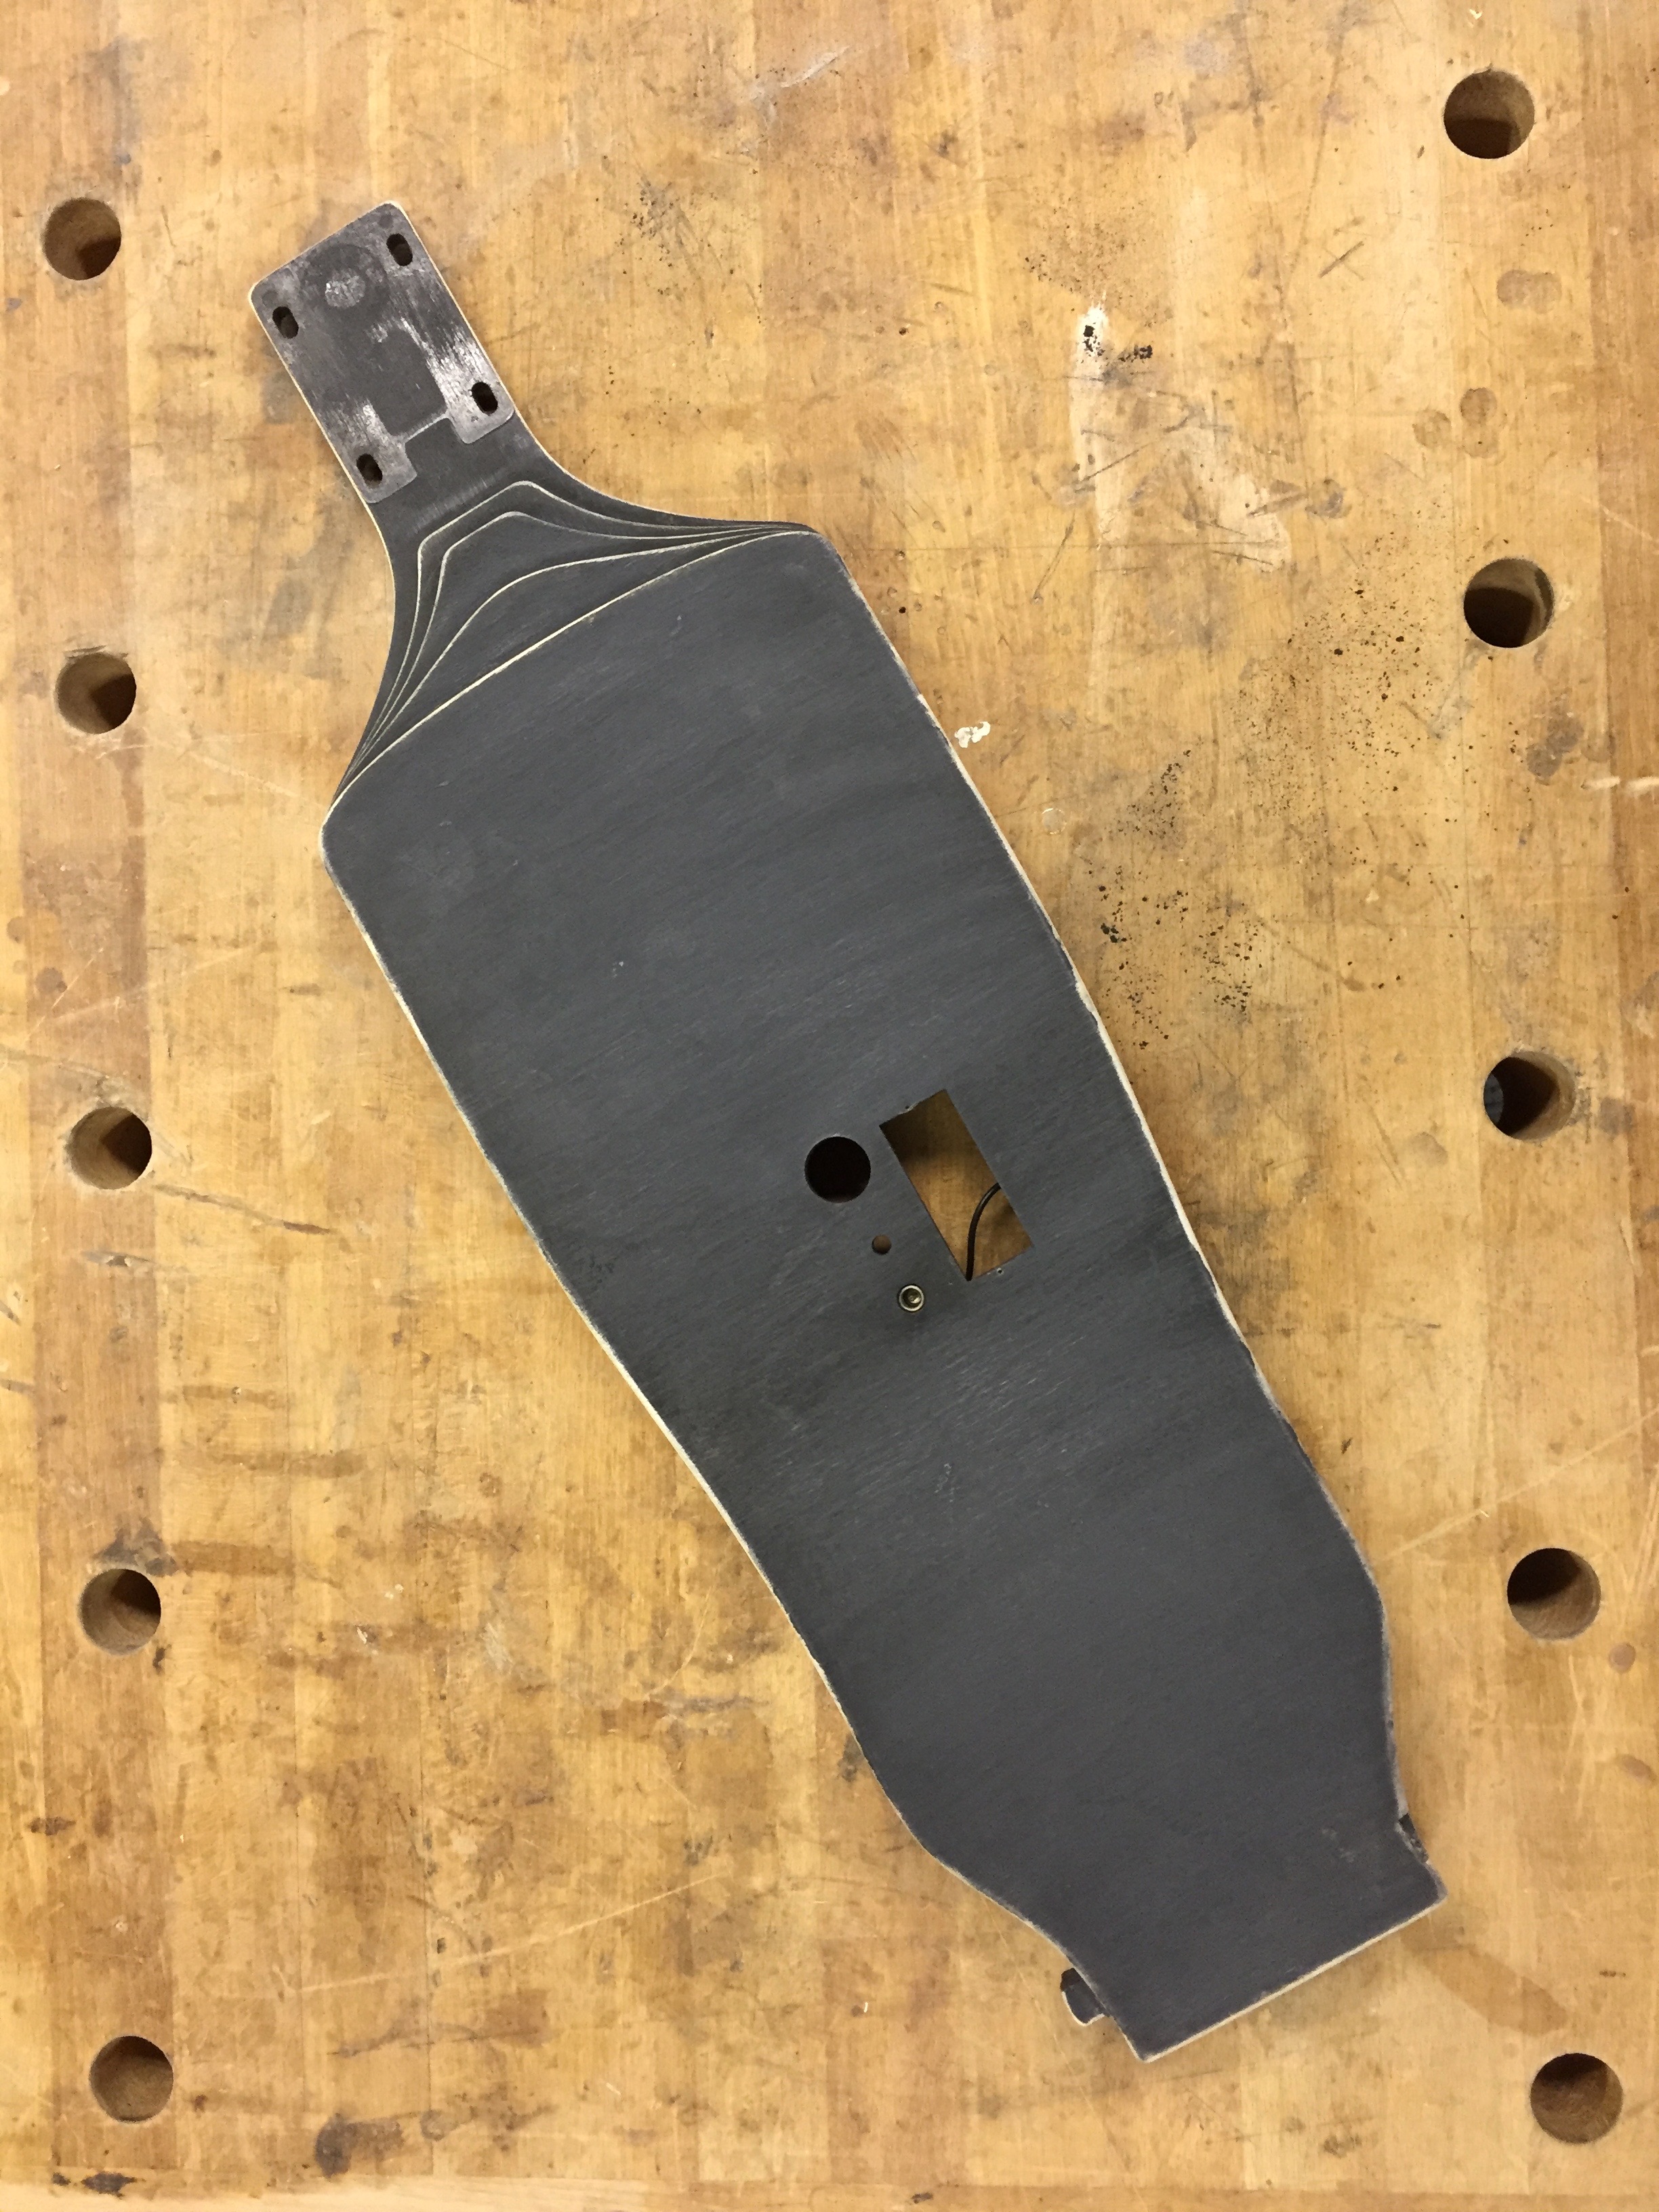
I am using a deck that I modified from an old Sector 9 longboard. It was originally pretty stiff, but with my custom profile, it now has a medium amount of flex. I have have multiple friends tell me it is a very comfortable and predicable feeling board.
My parts slowly came in and I began assembling.

My first realization was that the FOCBOX came with both an XT60 power input and 3.5mm bullet connectors. Luckily I had extra 5mm bullet connectors around and swapped them out.


As soon as I realized it was working I decided I wanted to ride it home from work. Fortunately I work at a shop with a few laser cutters and whipped out a simple base plate to mount everything to. This was my first attempt at making it as compact as possible. In the picture you can see the custom male to female 4mm bullet jumpers for connecting the batteries in series.

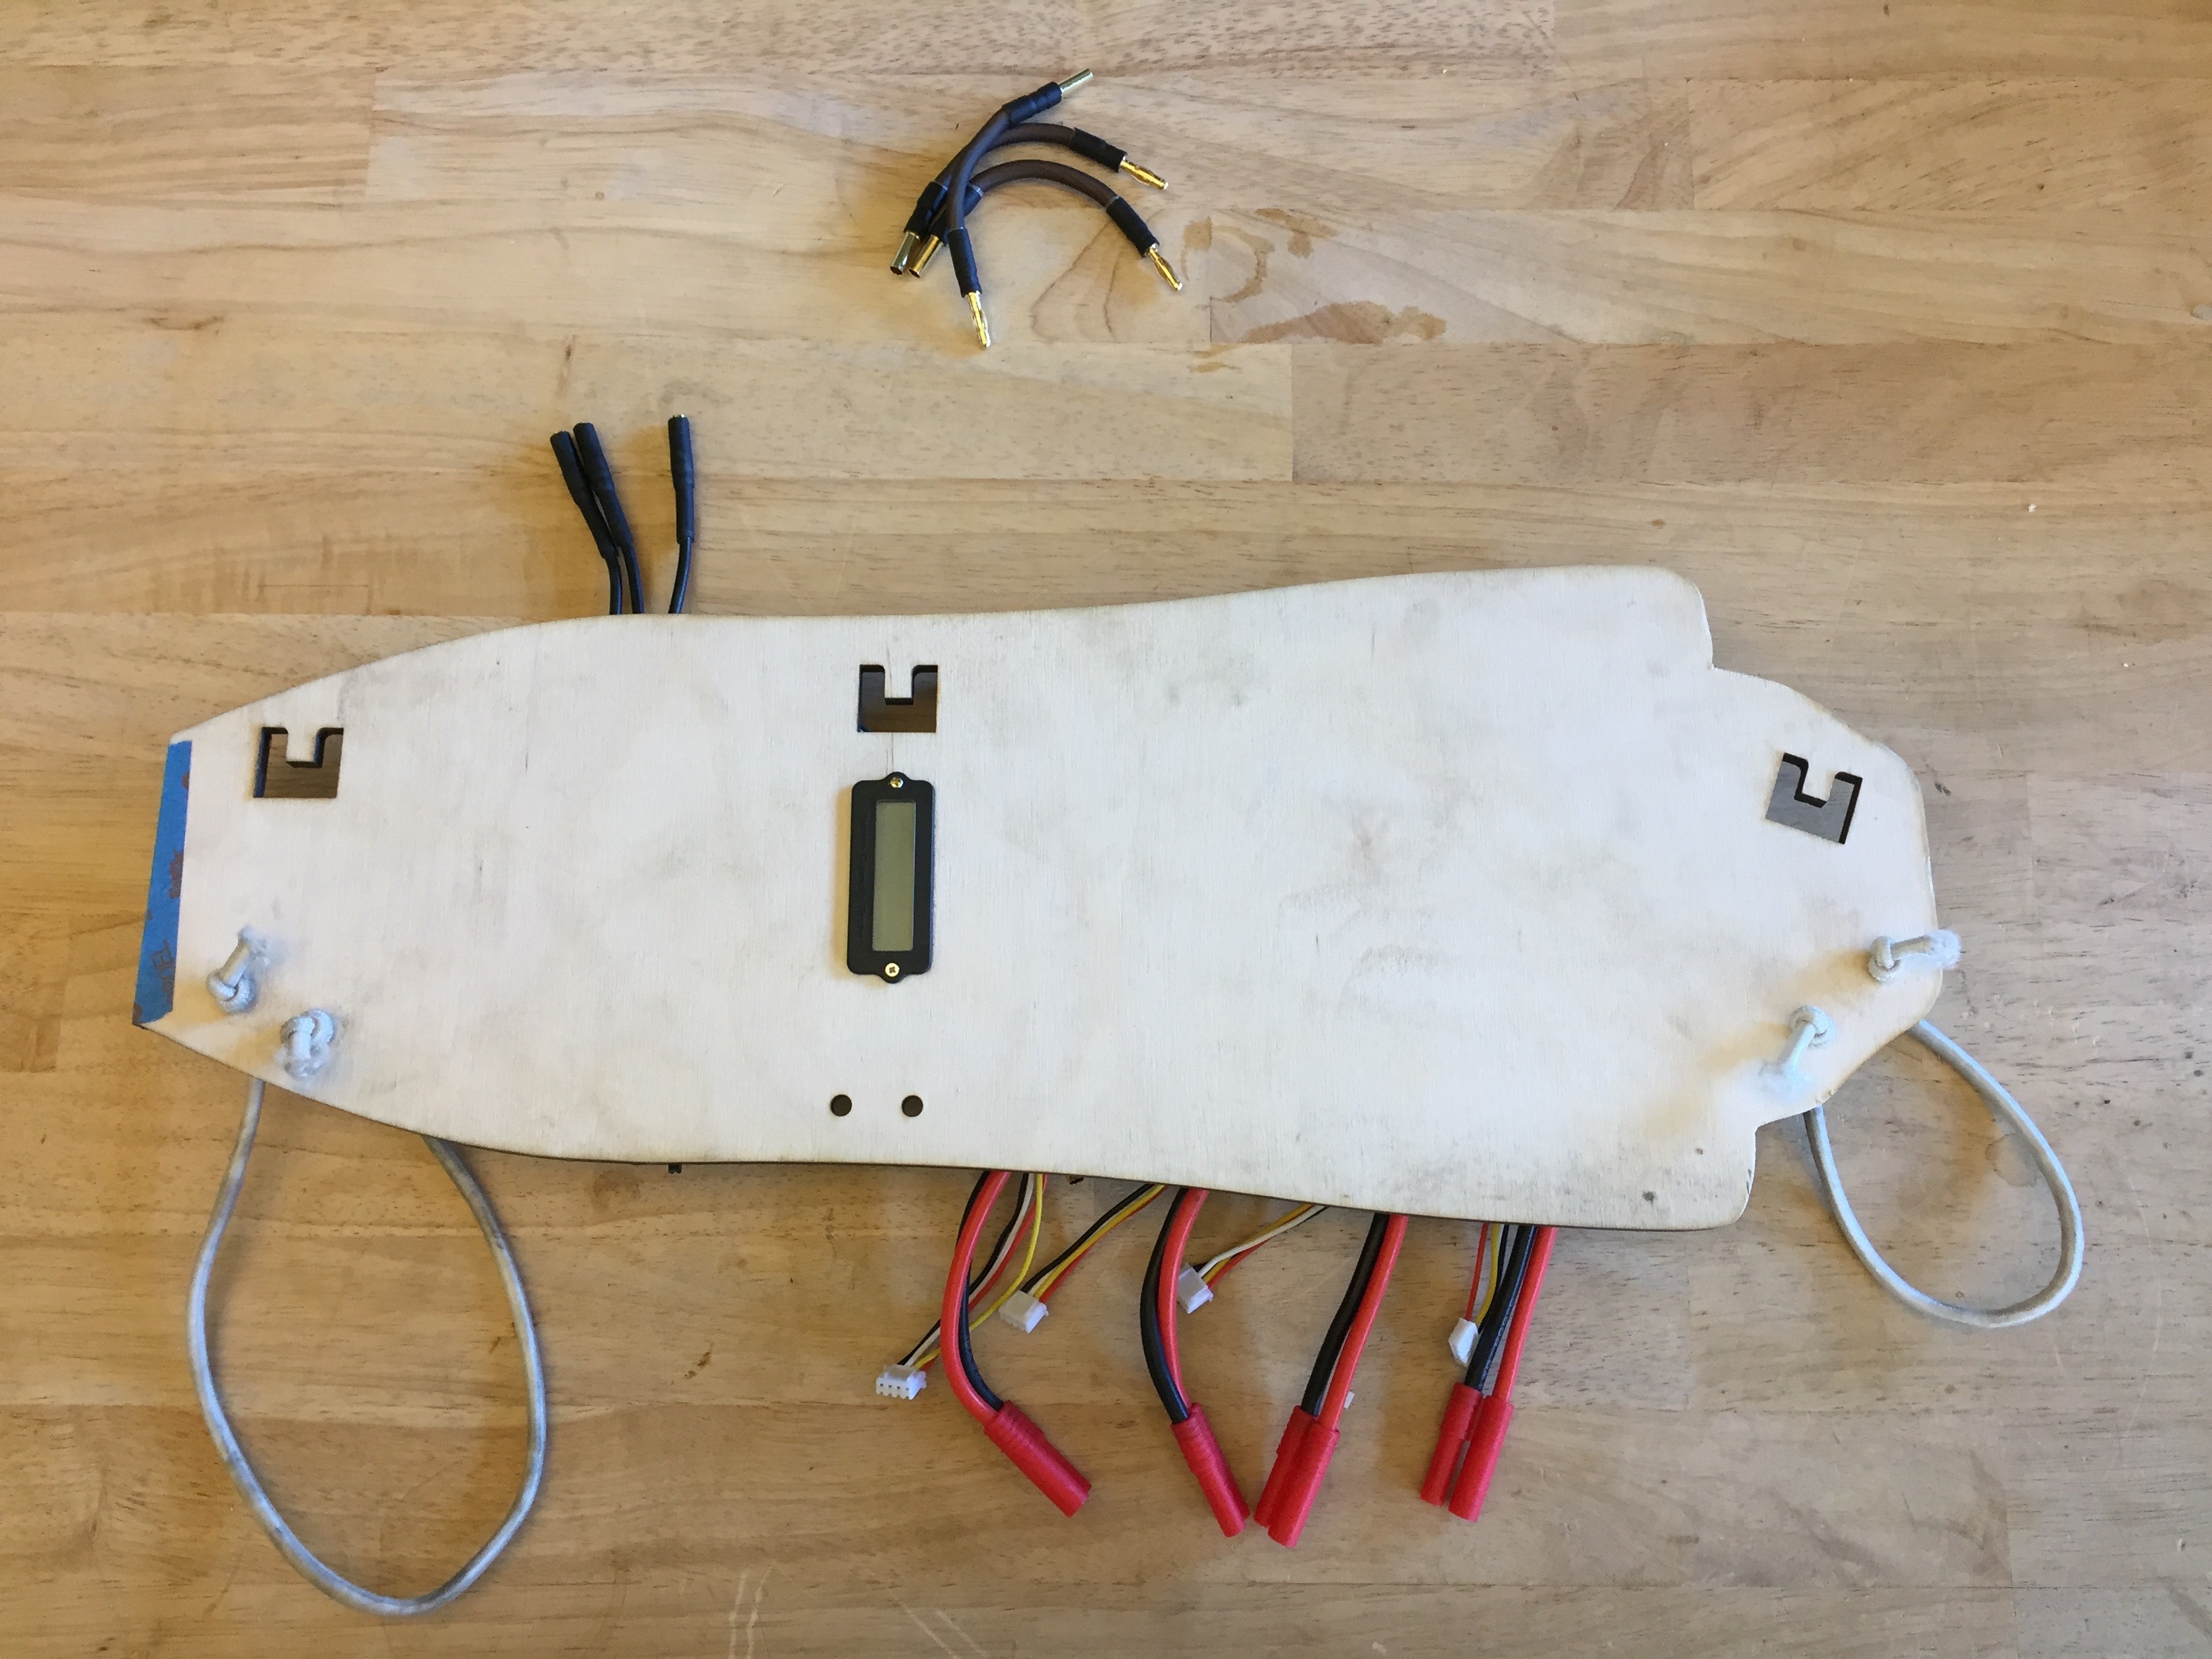
I thought it looked decent and the time… even though it looked like I had a bomb attached to the bottom of my board.


I rode about 100 miles on this accident waiting to happen with minimal issues. I found that it was important to electrical tape any bullet connectors in order to reduce the chance of slowly vibrating apart. I also neglected to put a threadlocker on the setscrews of the motor mount which meant I got about 100ft before the unit started to rattle. I tightened it up at a local bike shop, but ended up loosing a screw over the course of my first ride.
USE LOCTITE ON THREADS. VIBRATION IS REAL.
At this point I was charging and balancing each battery separately while waiting for my BMS to arrive. Because of this, the bungie cord straps made removing the whole unit pretty easy, but that didn’t mean I wasn’t frustrated with the whole process.
I decided to try a smaller diameter wheel for more torque… but the Enertion wheels (that I may have picked up one of the last sets of) barely held up after a 2 mile ride. I quickly moved back to the 97mm wheels.

I decided I was done with the full GT2B remote and printed the Mad Munkey enclosure. The migration of the components was going well until I realized I fried the throttle potentiometer when soldering (the symptom was that it would no longer bind with the receiver). I was able to use the potentiometer from the steering channel with some finesse in BLDC_Tool.

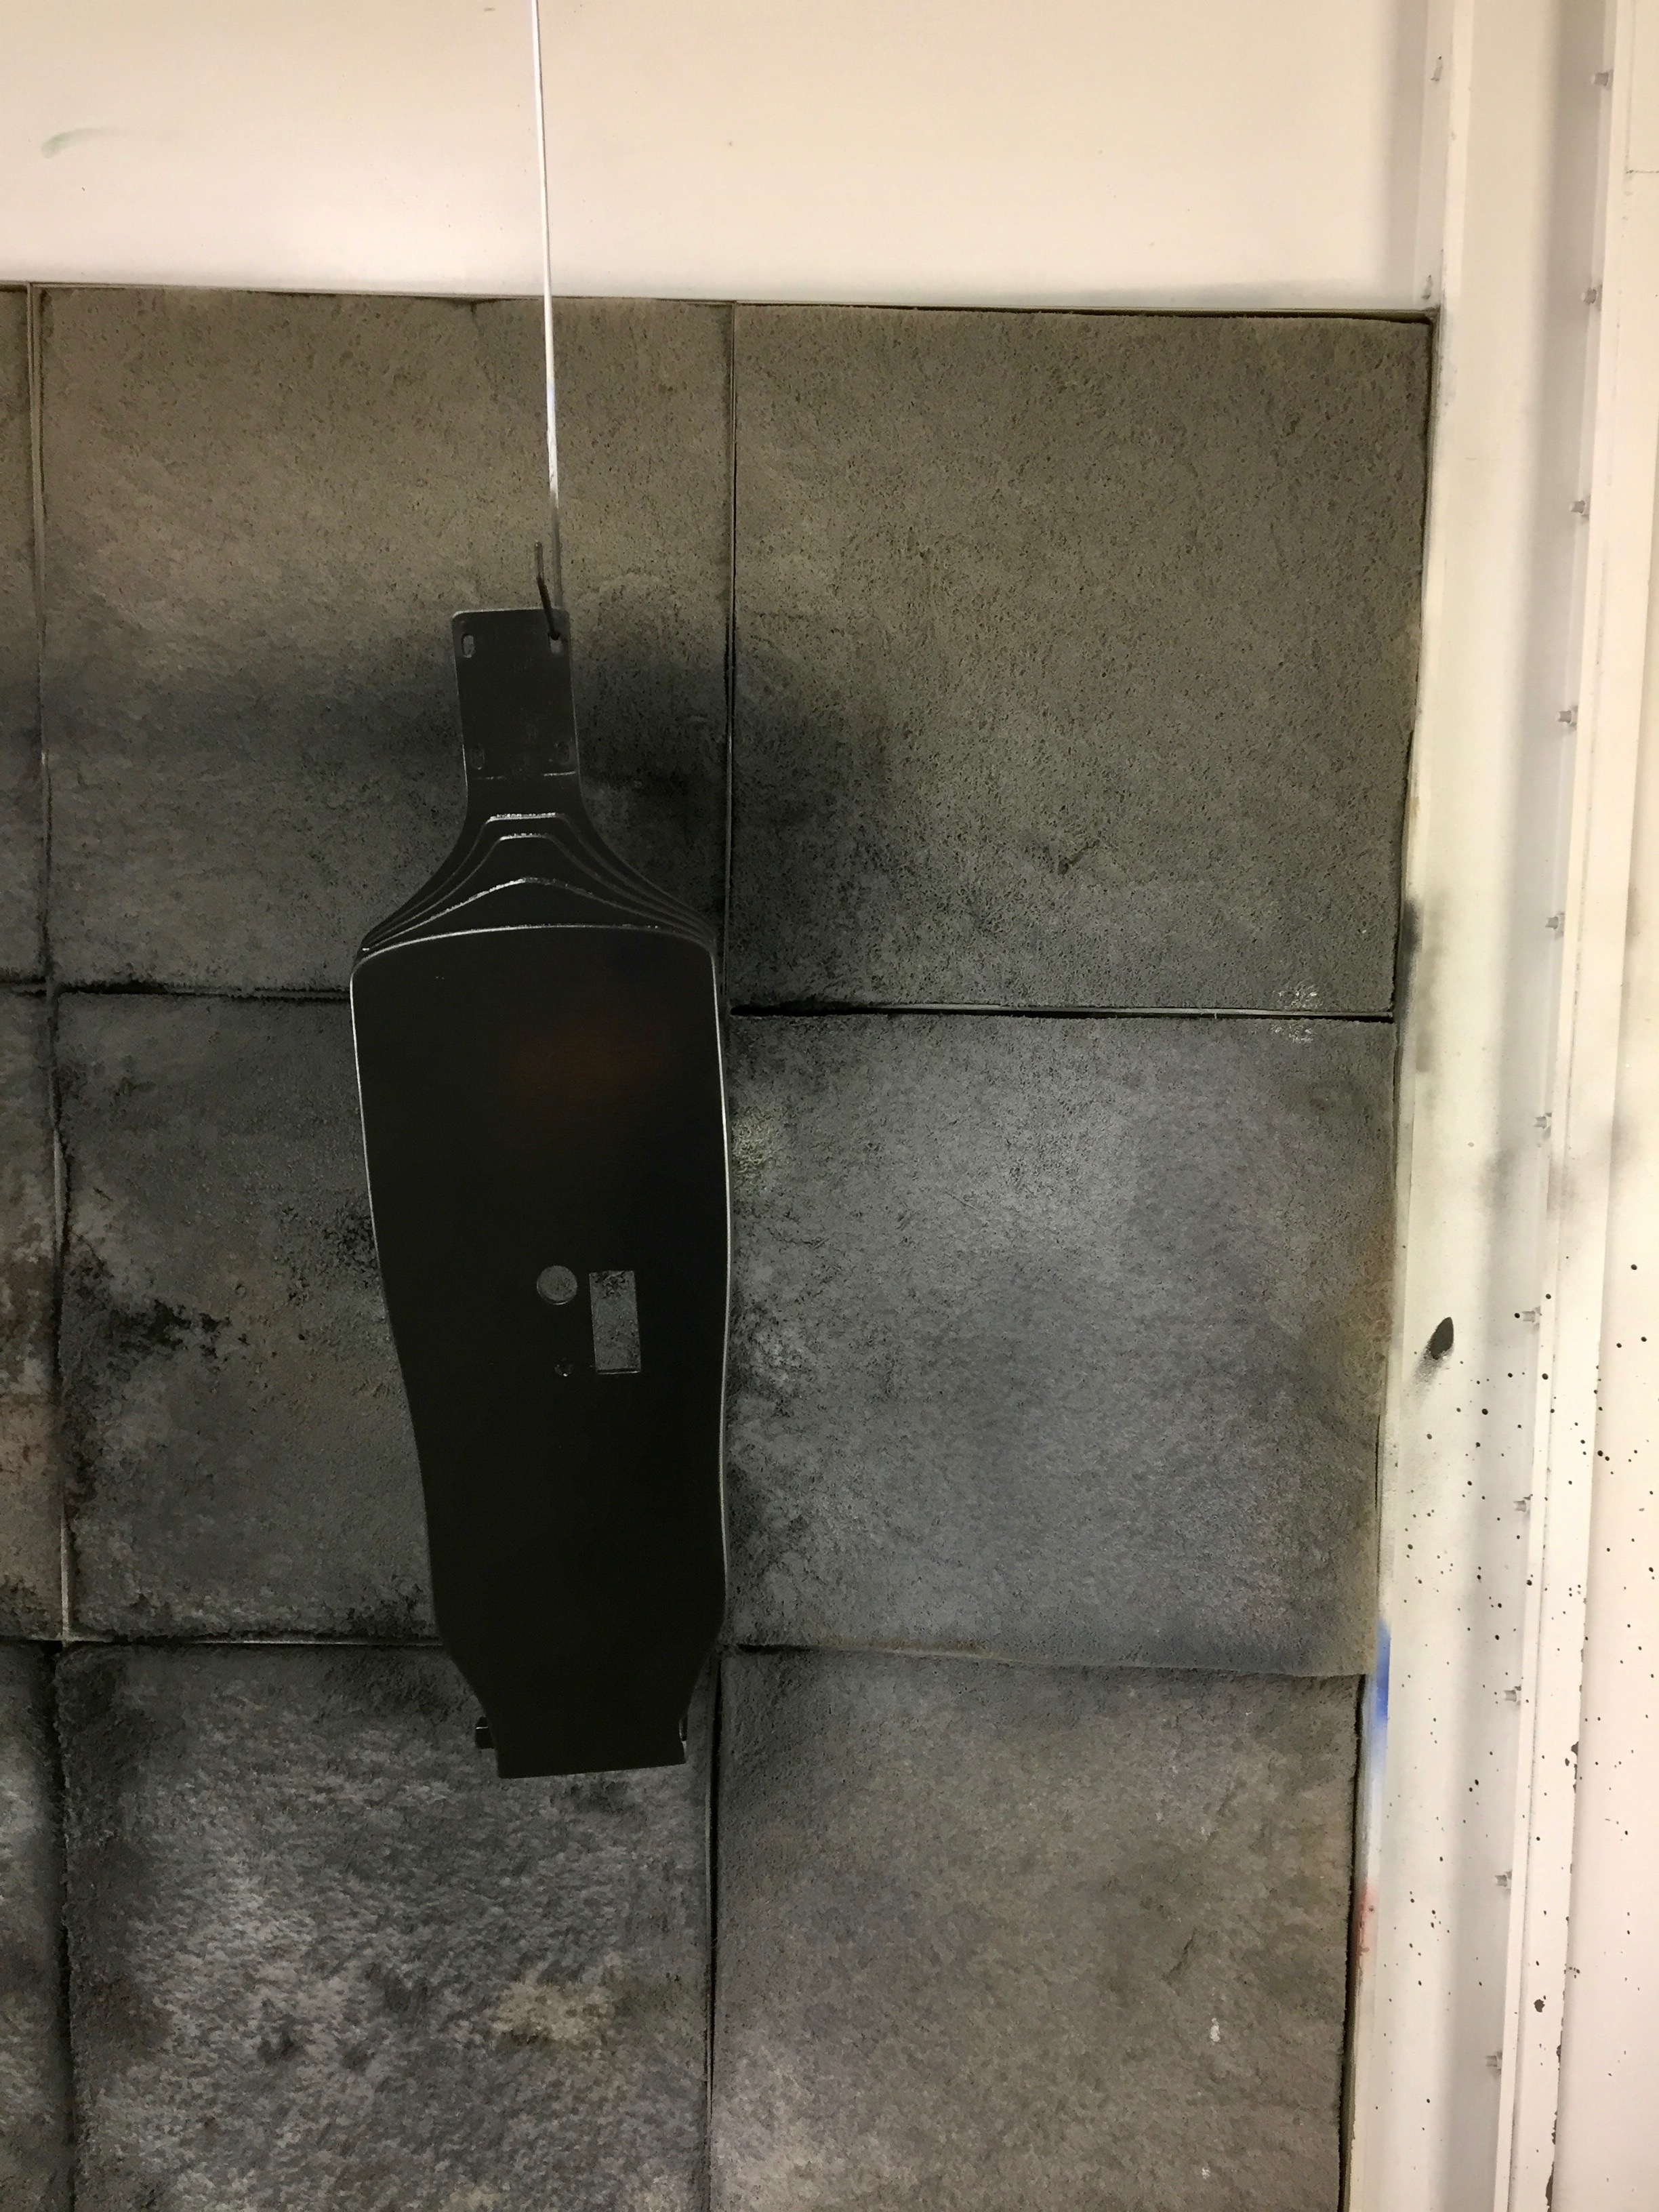
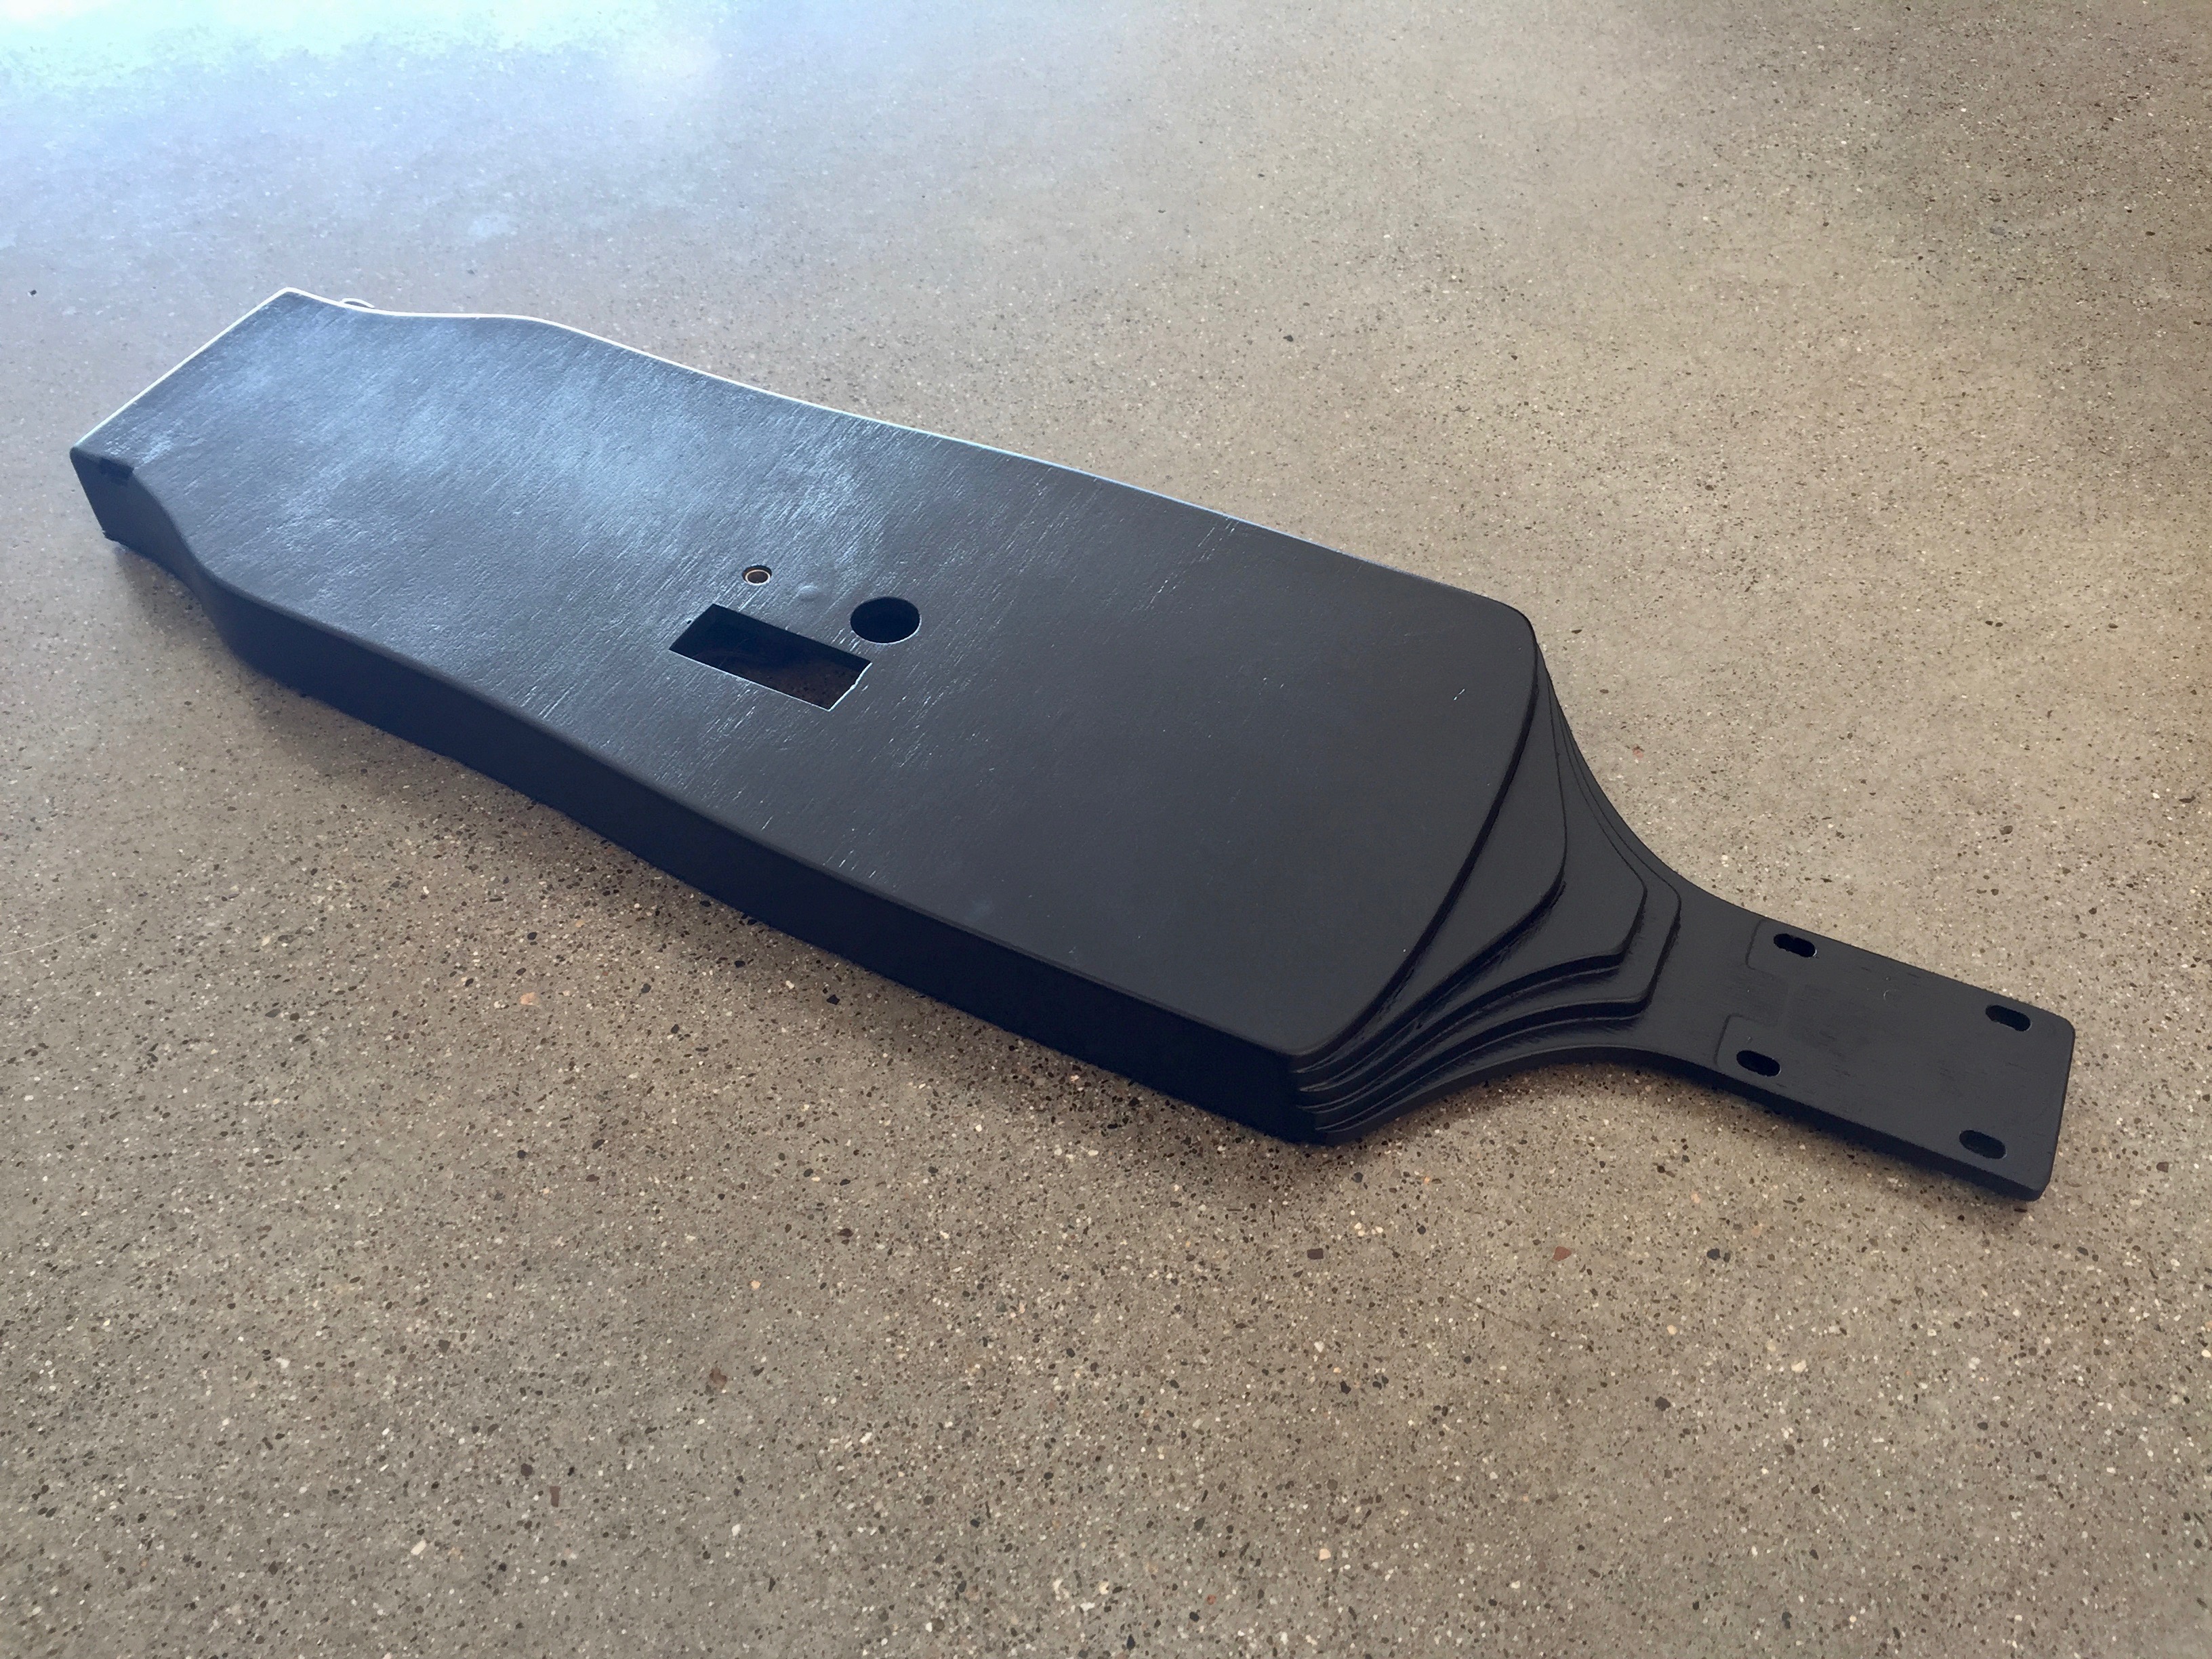
Next was to try to make this board more enclosed and integrate the BMS. I once again leaned on laser cut ply to get there quickly. I did a poor job of documenting that process, but it was glued up and held together with a few screws for good measure. From there I spray painted it black and added some weather stripping to seal it up against the board. This iteration uses the front truck as a mounting point, but still relies on a bungie cord towards the back of the board.

Everything fit as planned and I managed to hook up the BMS without frying anything.

Thinking through the BMS wiring…

I had initially tried to use a Meanwell power supply because I was able to get it within the US. While this power supply was so solid and worked great at first, I had neglected to turn down the current adjuster from its max to what would have been appropriate for 110V (it can go up to 220V) and quickly fried something in it. I ended up ordering a 2A Charger off of eBay in the meantime and it came very quickly.
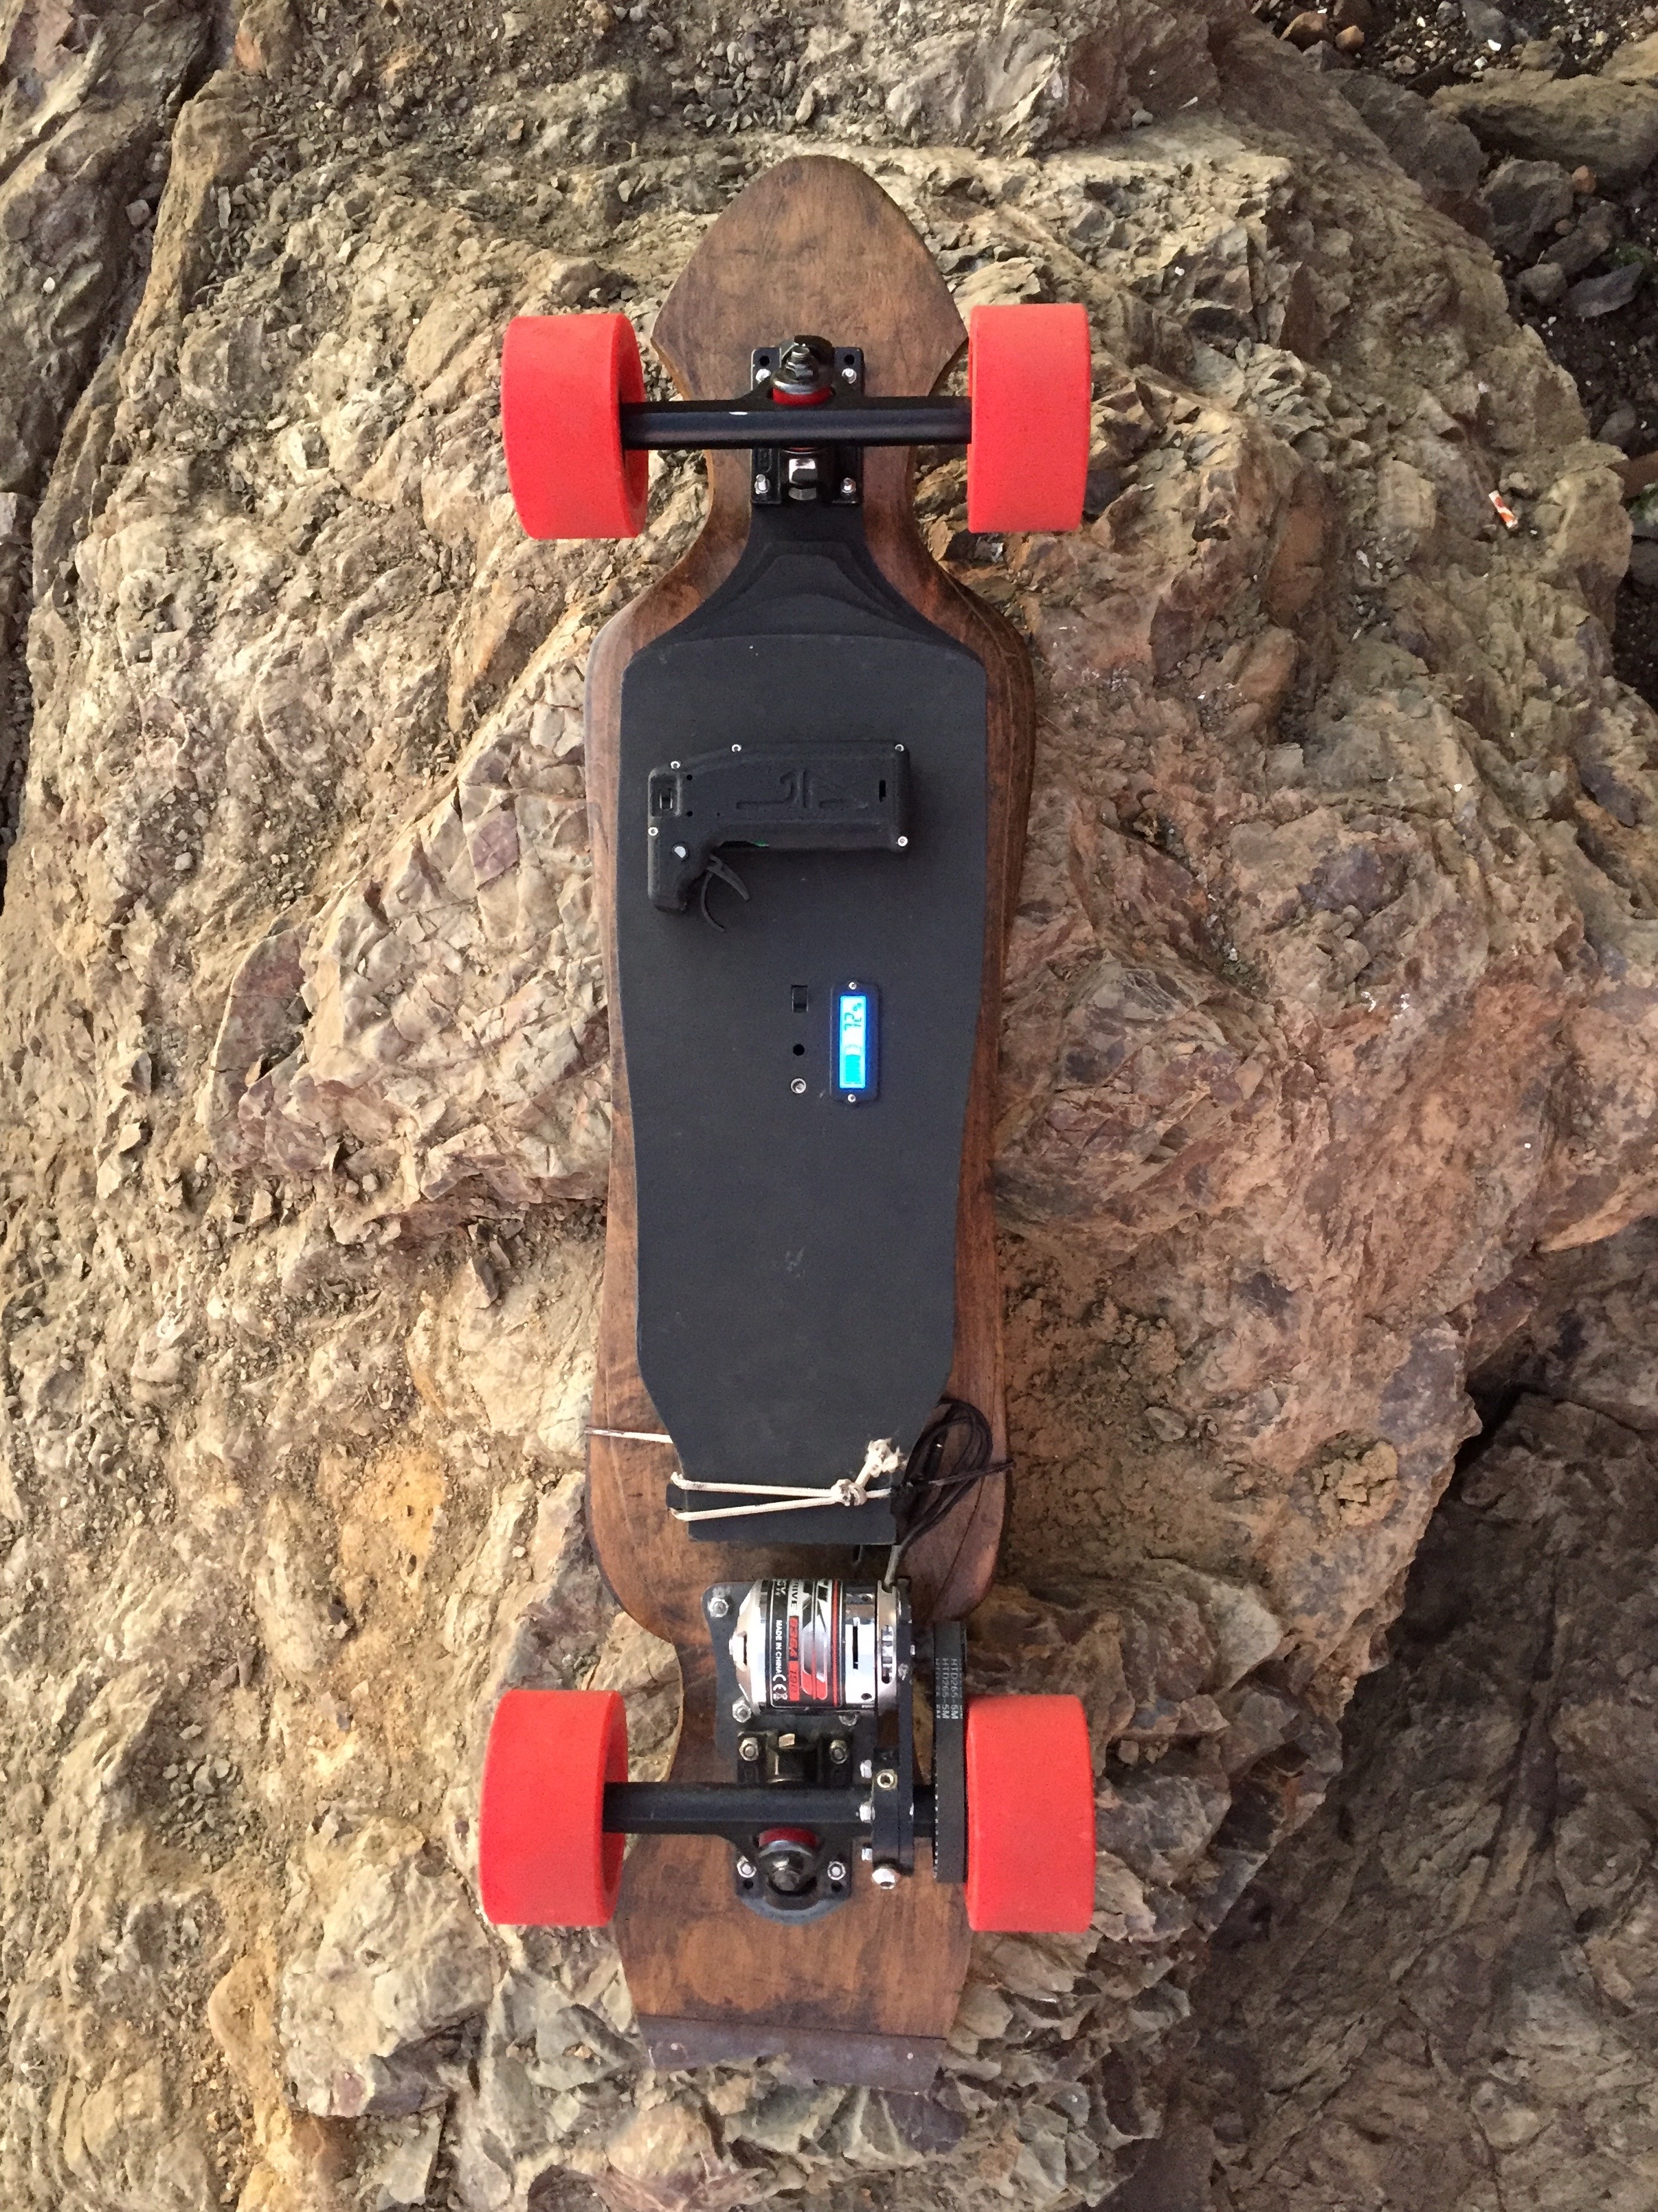
I am able to get 31+ mph top speeds and around 12 miles per charge. If I were to ride more conservatively and in flatter areas, I could probably get a bit more range. The LiPos have been very consistent and are staying balanced. I have added an additional layer of felt between my deck and the electronics to minimize vibration and the ingress of dust.
A few glamor shots:


As I’m writing this I have a dead FOCBOX sitting next to me (around 300 miles). I have been running it in FOC with no issues, but all of a sudden I started getting over current faults the moment I applied any current to the motor. While I do not have an answer to why this happened, I fortunately had purchased the extra warranty and had no problems getting it replaced after a screen share debug session. Now to wait patiently.
My to do list:
- Develop a magnetic charge port
- Print a belt guard
- Upgrade power switch to a waterproof button
- Add headlights and tail lights
- Reduce profile of enclosure
- Add handle for comfortable carrying
- Build an Arduino-based remote with an OLED screen
Long term to do:
- Develop a quick release enclosure system that does not require hardware to remove.
- Design and mill custom truck with integrated motor mounts
I look forward to continuously adding to this as my build gets more refined. Please let me know if you have any questions, if I missed any key bits of information, or you have suggestions on things I could do better.


 Do you still get it and working well?