the finished product:
please excuse the missing screw on the front truck…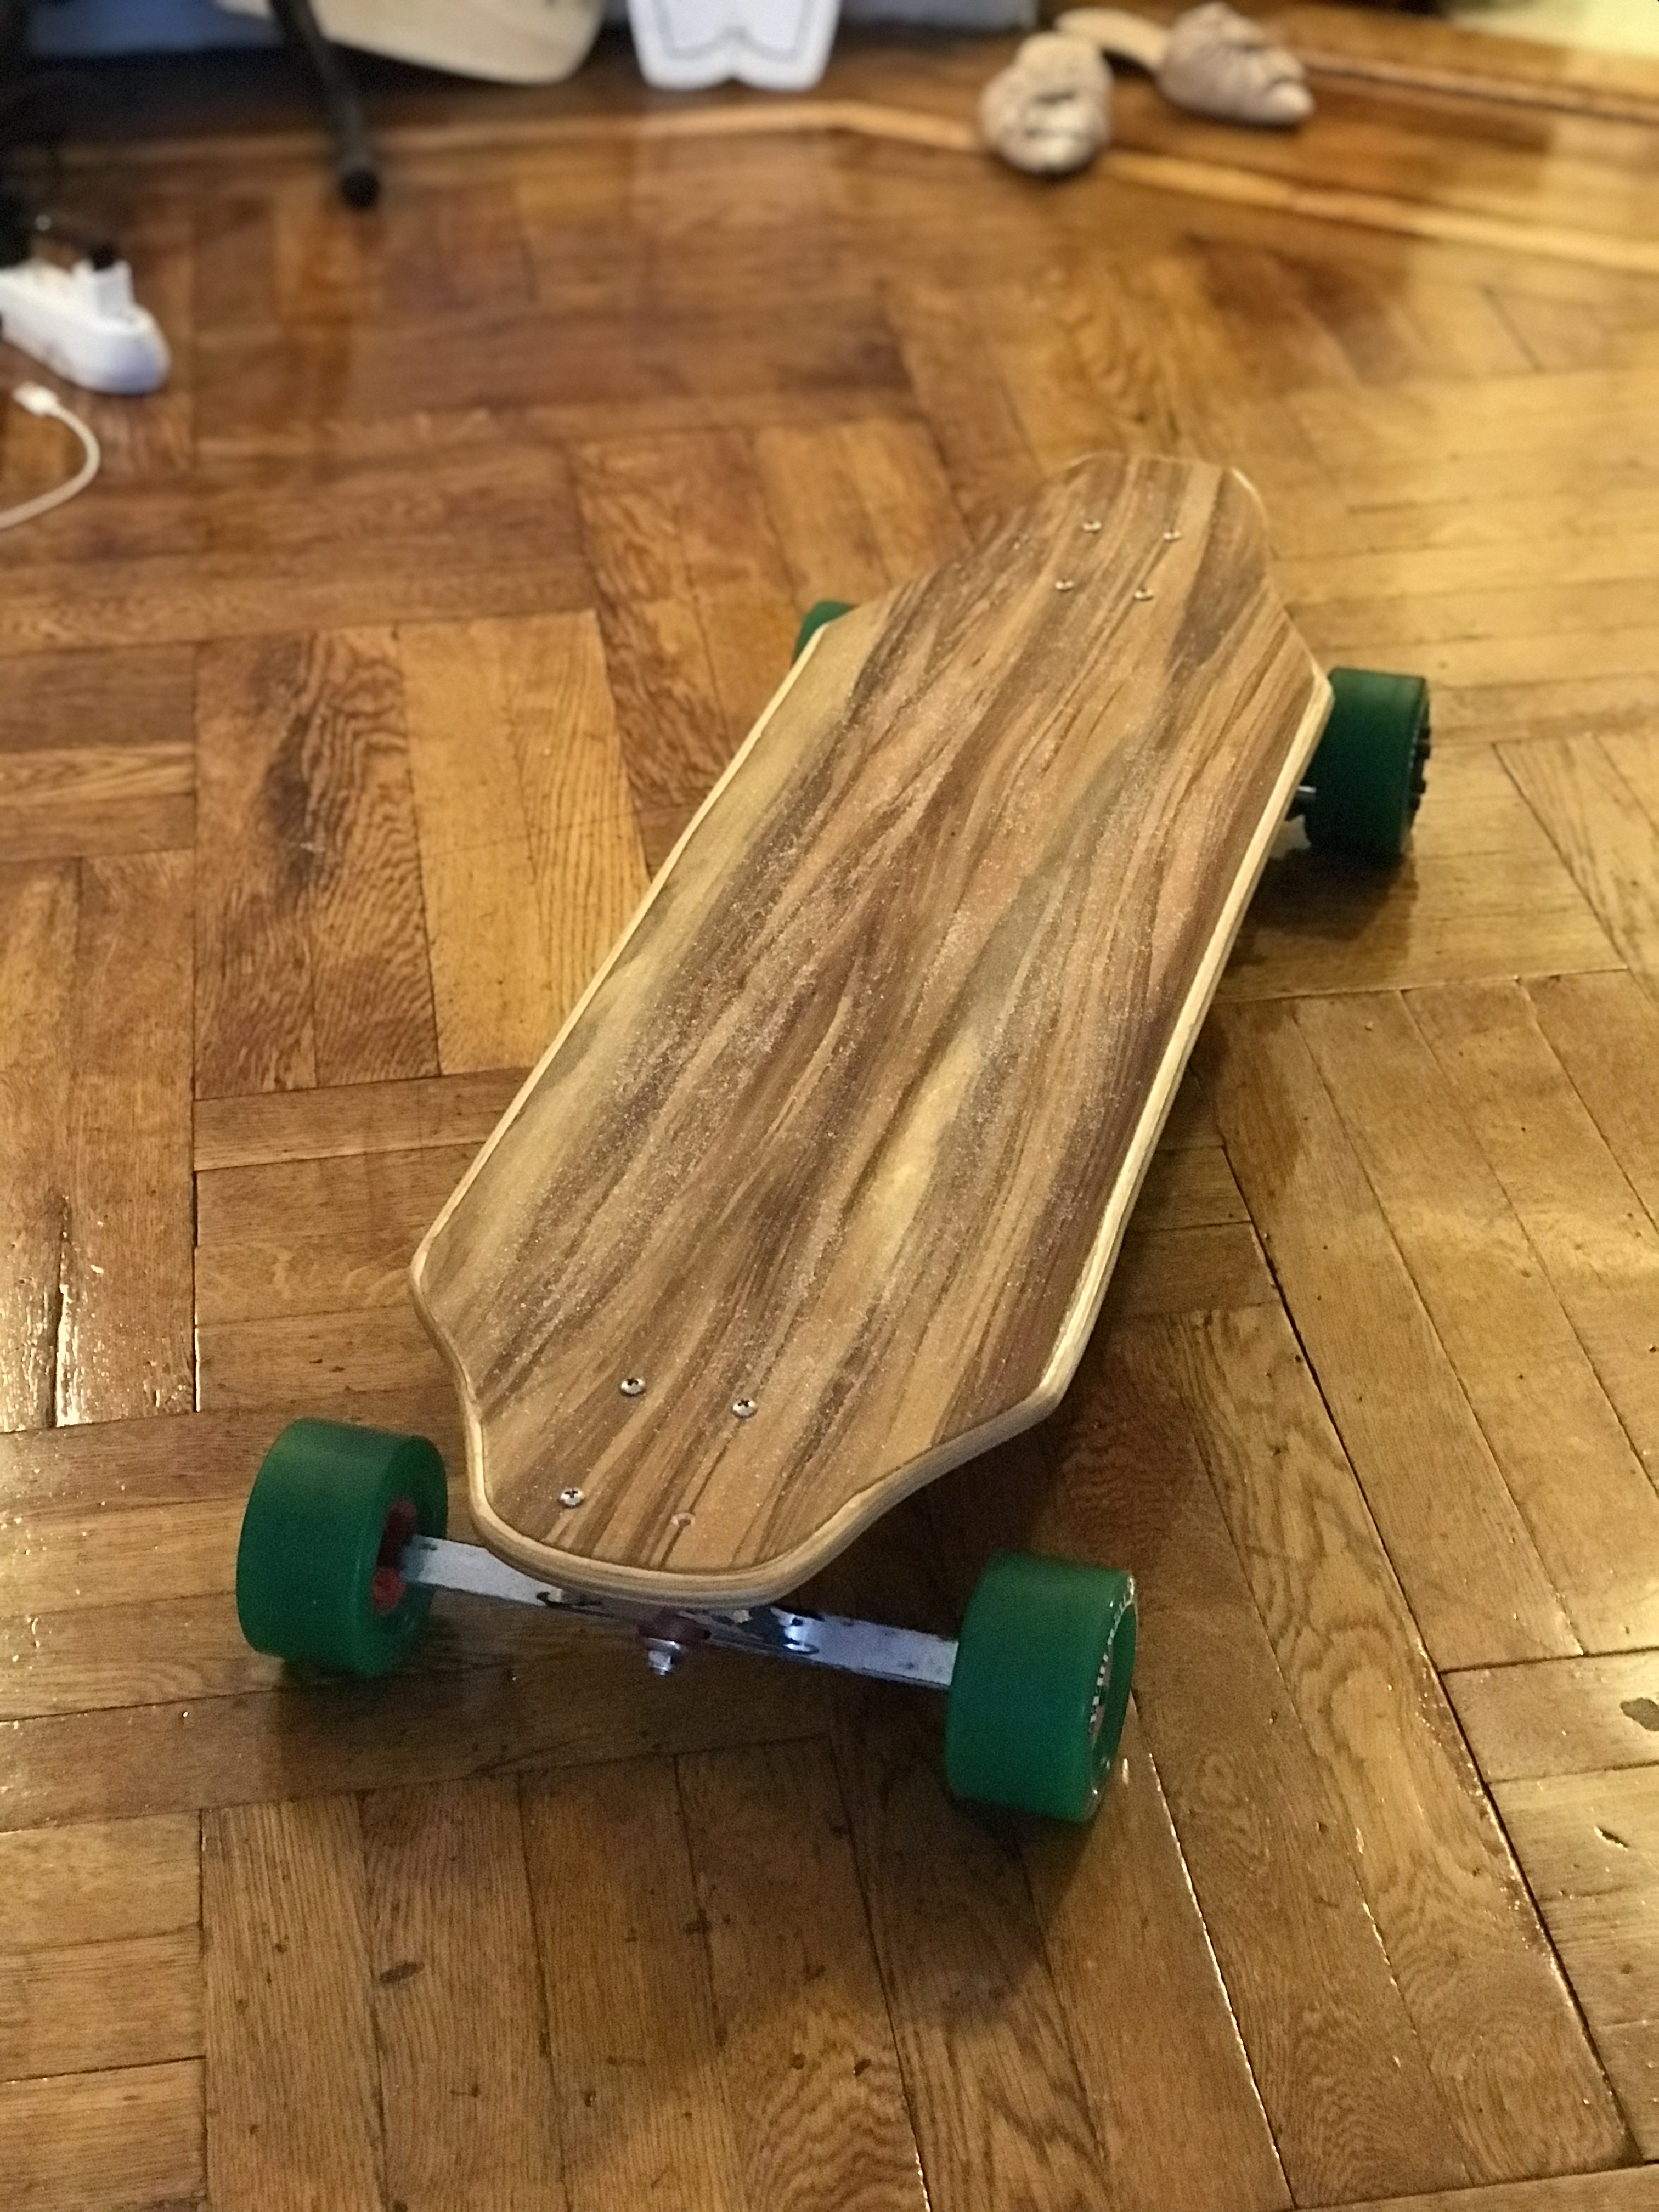

I began this project without having ANY knowledge of electronics, batteries, motors, soldering or woodworking. But the internet can be a very helpful place and I wasn’t that surprised to look at my profile and see that I’ve logged in 6 days of read time… Anyways, thanks to everyone in the community for sharing their knowledge - I literally couldn’t have come close to making this if it weren’t for this forum.
Here’s what I used:
10s4p 30q battery built by @barajabali
dual 6375 dark matter motors from @scepterr
photon remote made by @Wajdi
33" custom deck, 9 ply maple with red gum veneer top, made by me (with the help of @aigenic)
218mm trucks by @torqueboards
custom enclosure by @Eboosted
motor mount by @longhairedboy
dual focboxs from @onloop
90mm abec flywheels by @ChrisChaput
clear lucid grip tape
My goal was to make a board with over 20 miles of range, relatively high top speed (I used to have a boosted), and for it to be as short as possible. And I wanted a natural wood deck with no holes on the top and raw metal colored trucks. I took inspiration for the deck nose from the prism origin v2 and for the deck tail from the bustin spliff. I also made the width of the deck a little wider than usual (10") to try to make the XL torqueboard trucks look a little more proportionate.
To begin, I took these unpressed maple plys and red gum veneer,
shaved out a mold for the shape of the board from foam, and pressed them all together via a vacuum sealed bag: After getting foam all over my apartment from the deck mold, my girlfriend made me finish the rest of it out on the fire escape, which was probably for the best.


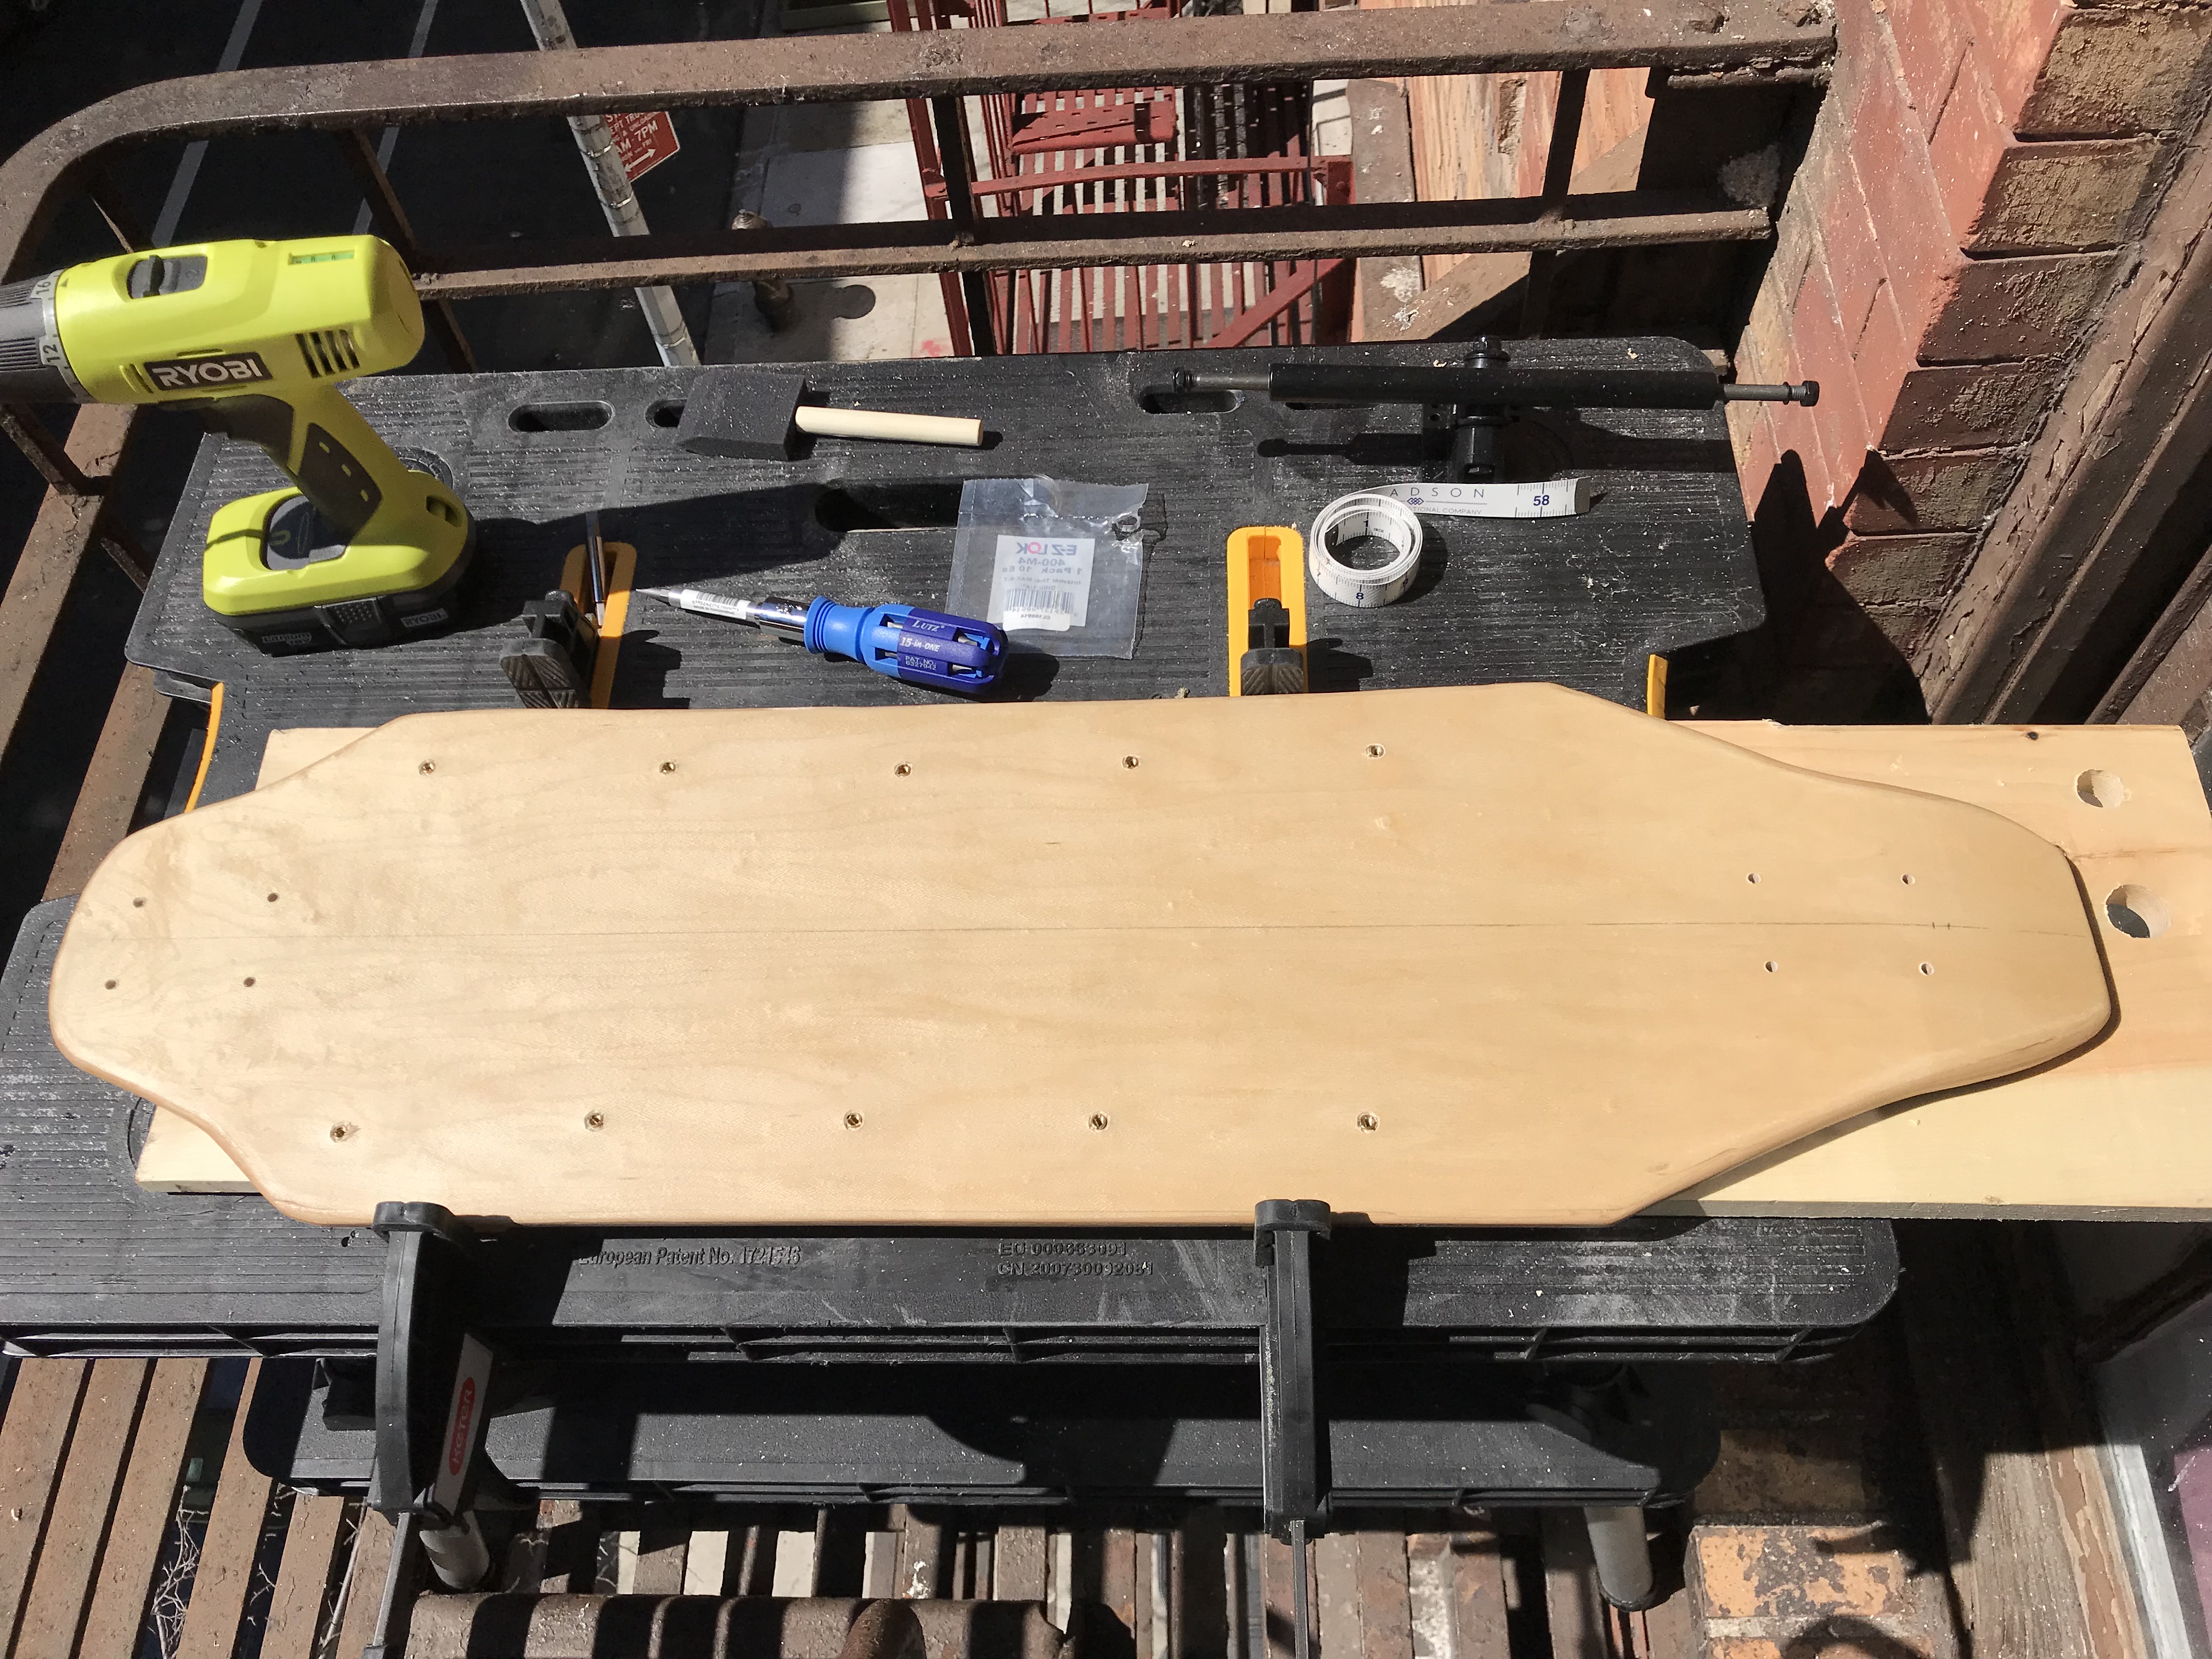
So after I cut the deck out, I used a router to round out the edges, which made the board look SO much thinner than it did beforehand. Then I sanded it all down, which was EXTREMELY satisfying, almost therapeutic. I really wasn’t expecting to enjoy that part as much as I did.
I then used a belt sander to try to erase the mistakes I made with the jigsaw.


I soaked my motor mounts and trucks in greased lightening to remove the black paint in order to try to increase the range:
No offence LHB!
But for some reason the trucks were totally unaffected
Which just turned into another excuse to use my new belt sander I love how the black detailing ended up around the letters and logo

I then accidentally drilled this huge hole in my enclosure:
How it happened is a long and boring story, but it was very unfortunate. I wasn’t going to put a battery gauge on this deck as the photon remote eliminates the need for that, but I will probably put one where the hole is just to cover it up. I secured my battery and focboxs to the bottom of the enclosure with velcro, and then put a layer of neoprene between the deck and electronics. Seems to be working pretty well so far.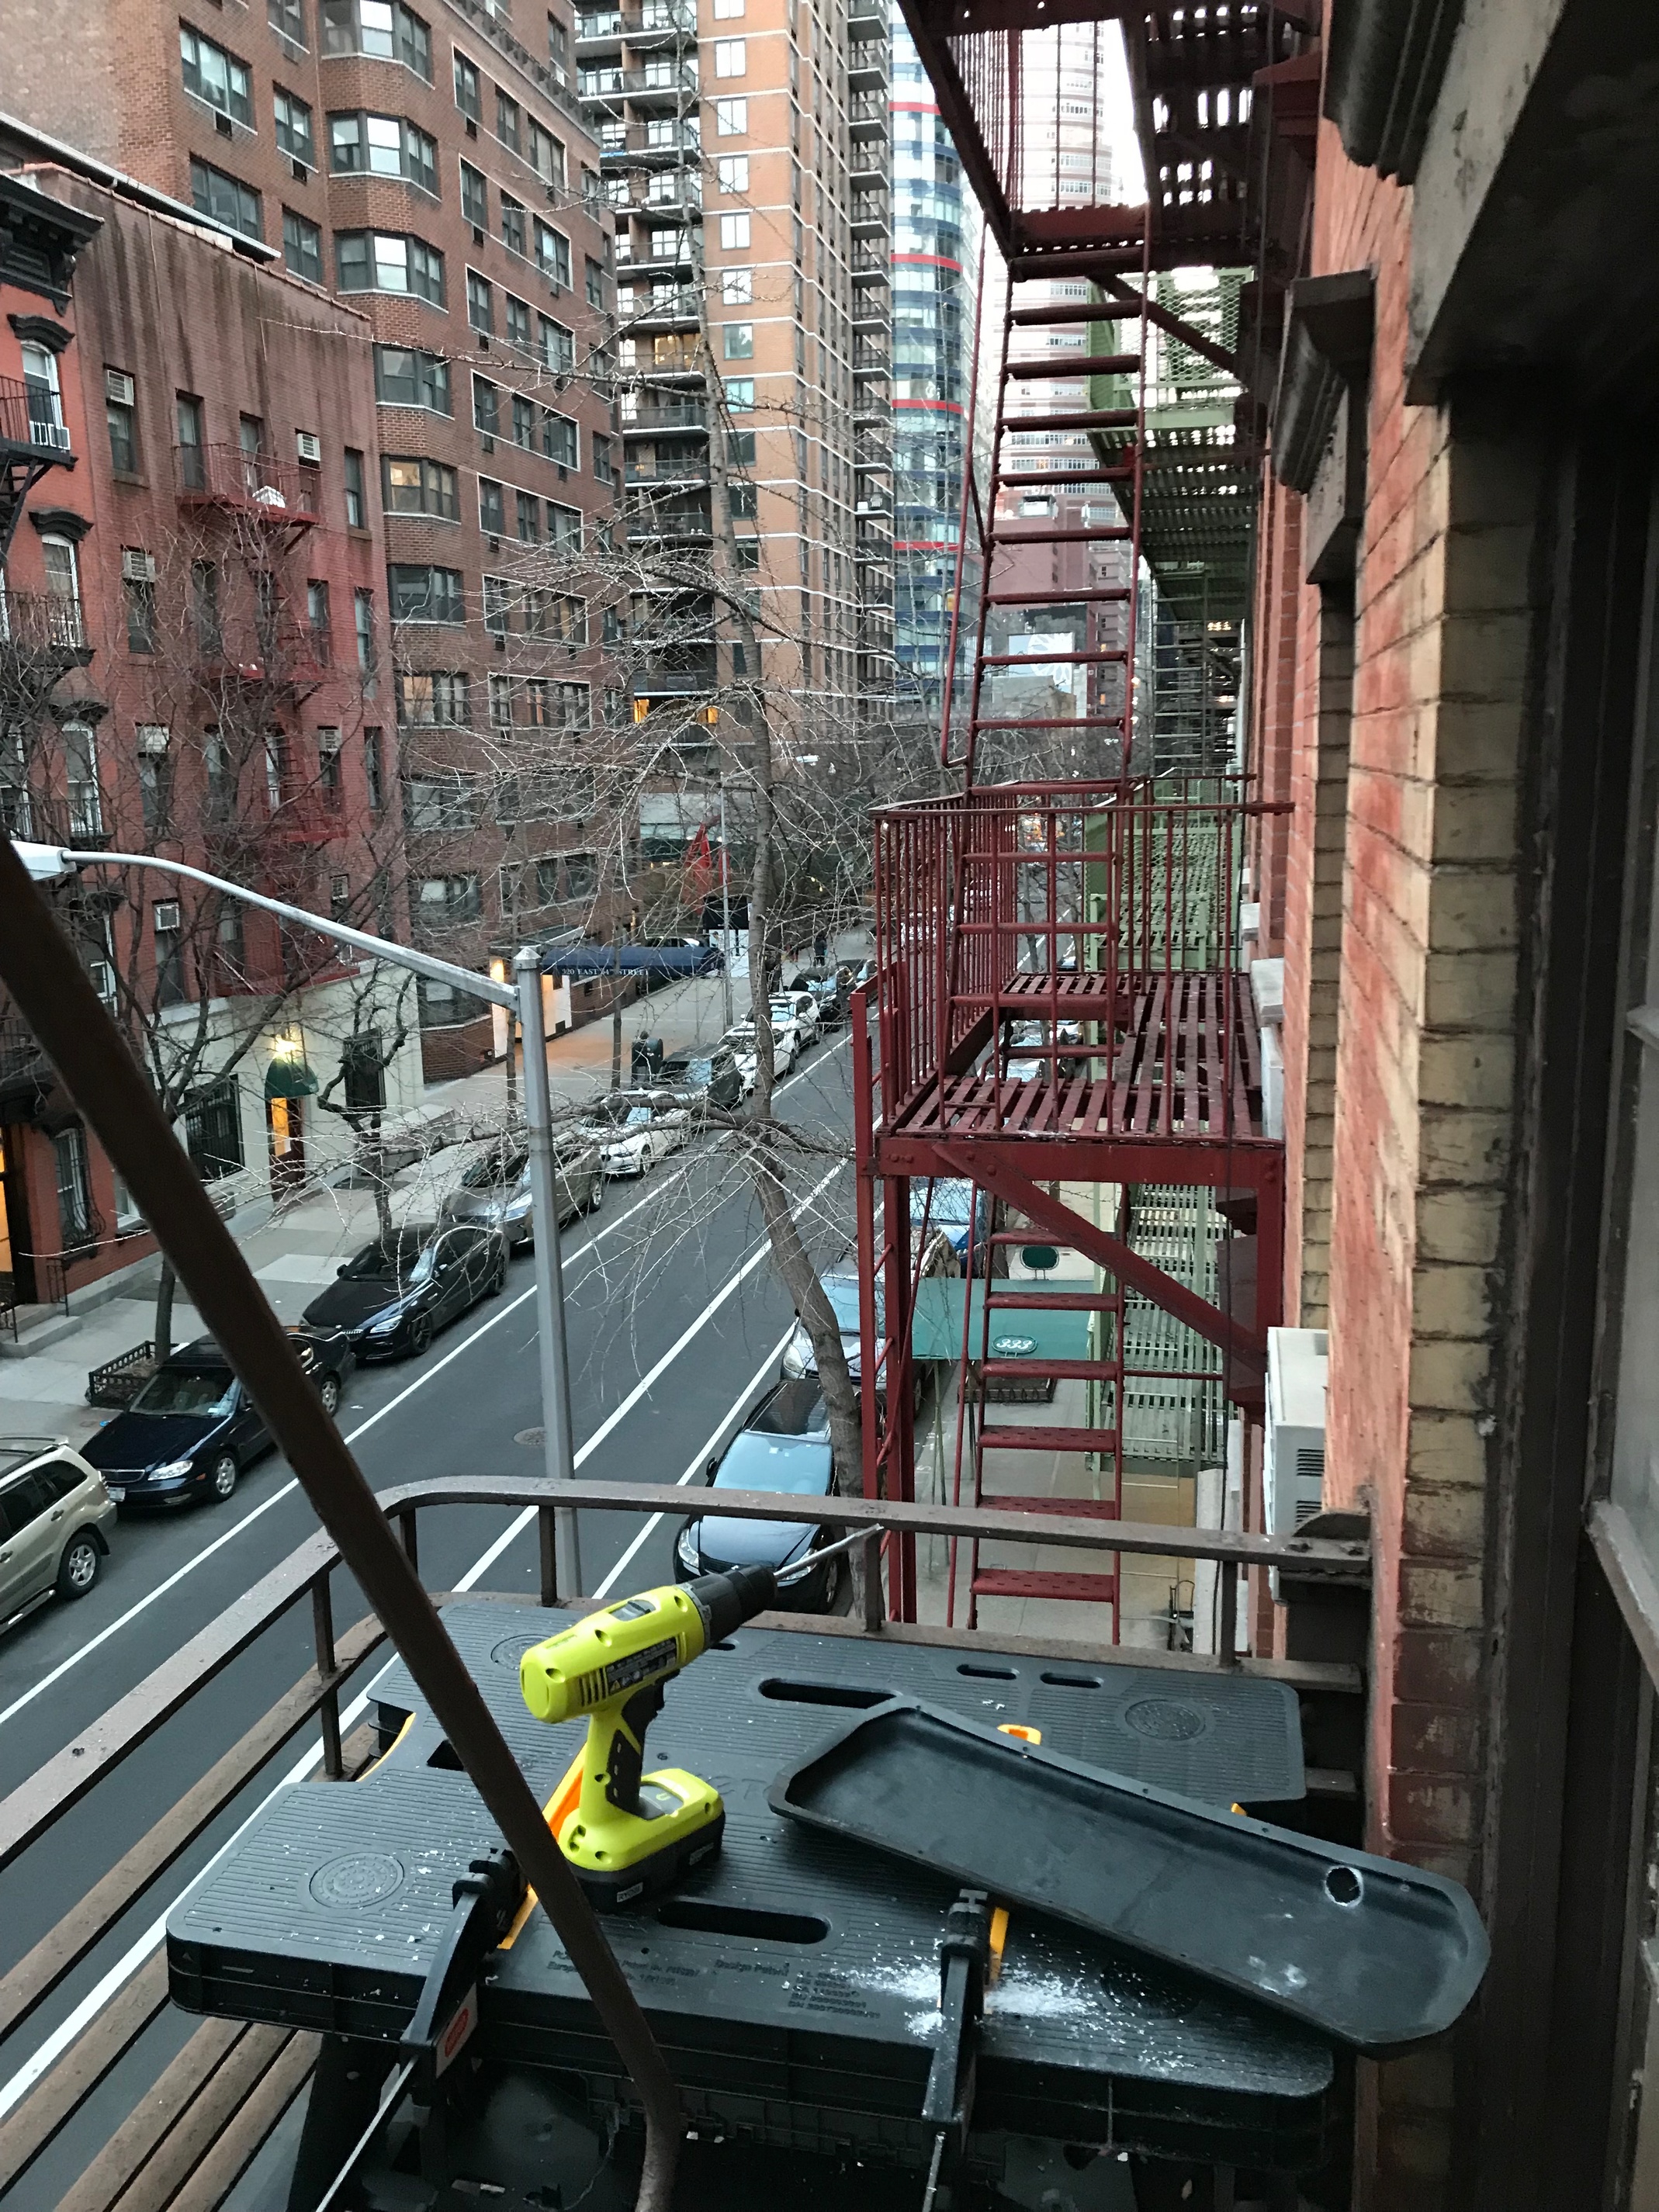
Finally, I coated the board with UV resistant waterproof polyurethane varnish and applied the lucid grip “tape”:
It looks like there’s sugar on the deck You can sort of see the W concave here (the W concave is not as lop-sided as it looks in the photo, although it isn’t PERFECTLY even either) Then I put in the screw inserts without drilling all the way through the deck (very nerve wracking) And that’s basically it. I’m officially addicted and am already building my next one.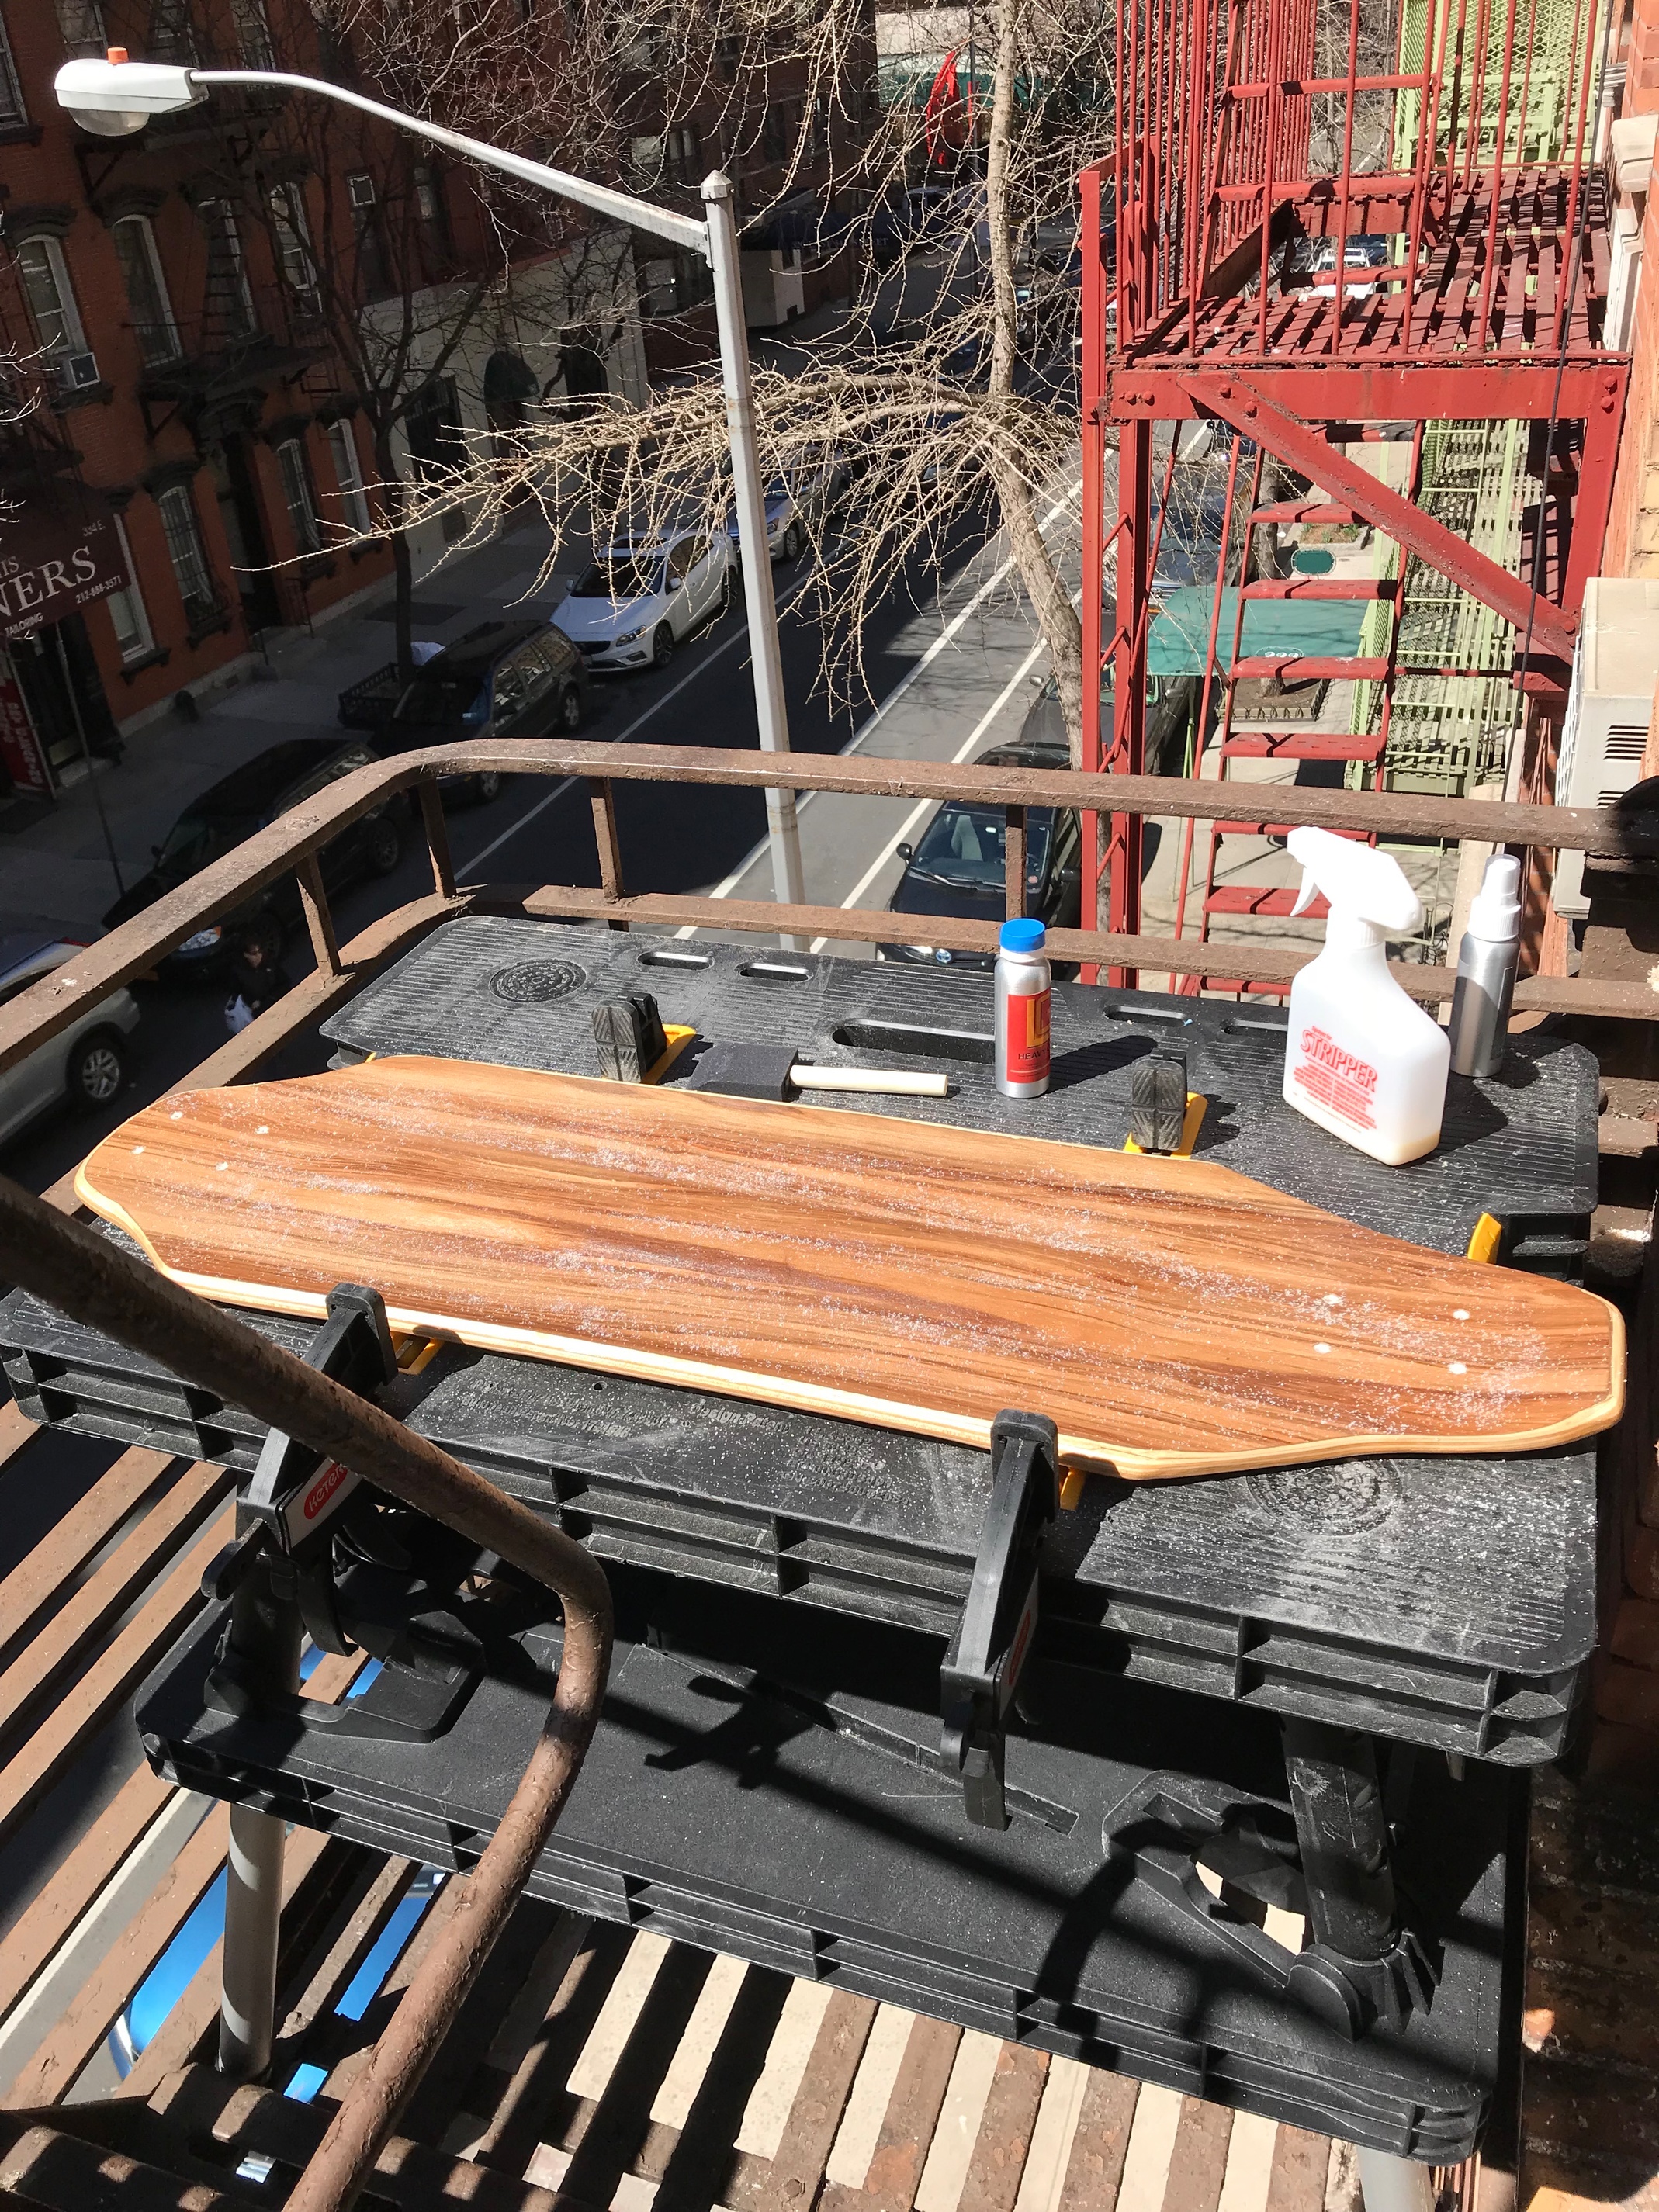


Configuring the vescs was kind of difficult for me to learn and I’m still tweaking it (the brakes momentarily cut out when I brake hard but only when I’m at full battery…), but I am THRILLED with how the board performs. It is more powerful than I imagined and it seems to be very reliable. I’ve probably ridden less than 100 miles on it so far and I’m still learning to trust it. So for now I mainly ride it around central park. It will probably be a little while before I trust it enough to ride it through rush hour traffic like I did on my boosted (which is now sold!!!)

