Remotes, they’re as important if not more than the board itself. I personally go for aesthetics for my builds, so if the board looks sick, the remote must too. I’m currently getting into DIY remotes and unfortunately the casings are often 3D printed. Don’t get me wrong, 3D prints are great and some can produce prints with fine resolutions that would be good enough for most. I do not like the look of a 3D print so i have a few methods of smoothing out a 3D print to look like an injection molded piece or even better!
This is XTC-3D. It’s essentially a resin that is two parts, you mix the resin with the hardener at a 2:1 ratio and then brush it onto your print. It self levels so it will fill the lines and eliminate the ‘staircase’ effect that is caused by the printer.


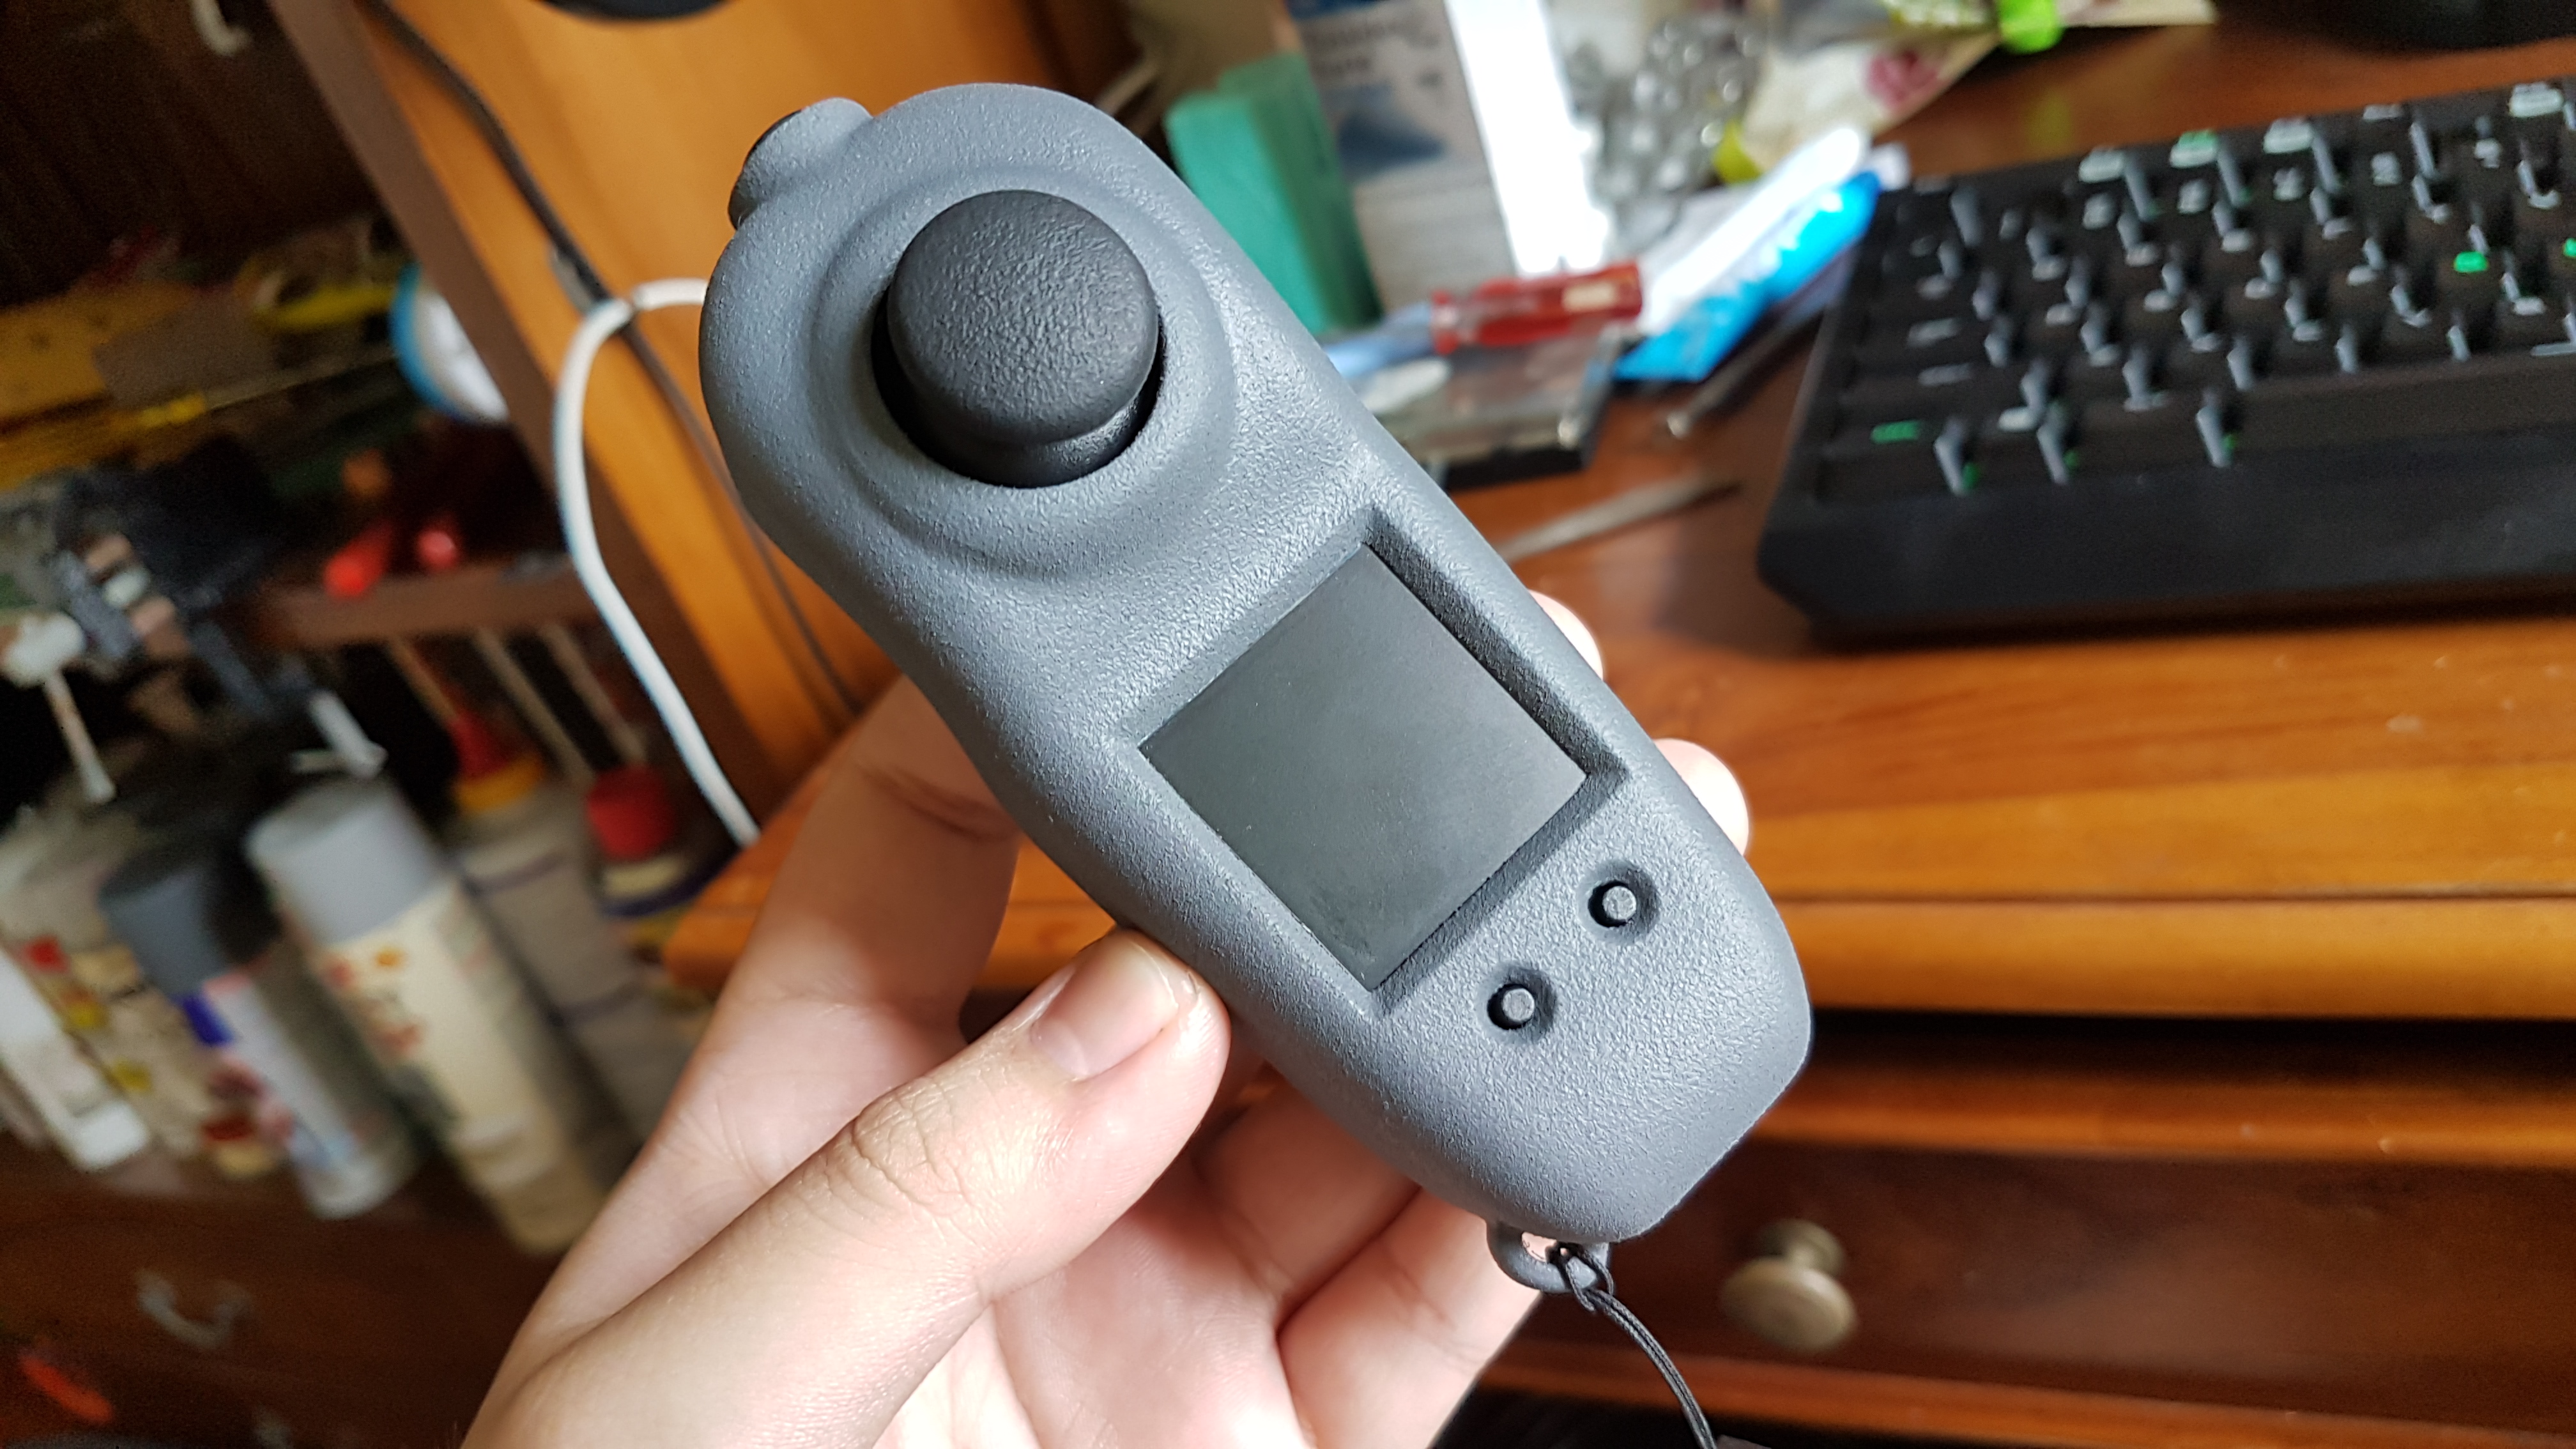
I got a Photon remote months back, the print was very fine actually, but i went ahead and smoothed it even further.

This is just from one coat!

I sanded the first coat and applied a couple more to fill up the words. Sorry @Wajdi ![]()

And there it is! You coooooould leave it like this can call it done, or use a scotch brite pad and make a matte finish as you see fit.
Hello there Plasti Dip

Plastidip is a rubber spray, usually used on flexible materials or on surfaces that need traction. This works great for remotes as it’ll prevent slippage from the hand.
My method of spraying is one light coat, then a normal coat to get the surface wet, and the third and final coat is sprayed from about 2 feet/60cm away to get this ‘orange peel’ effect on the surface. Wait 30 mins per coat.

Here’s some more pics of the surface. Oh! If you do this, spray a coat of primer first, and lightly sand the primer a bit, it’ll give the Plastidip something to grip on.


But Lin! I don’t wanna spend 20 bucks on resin! No worries, there’s another method.
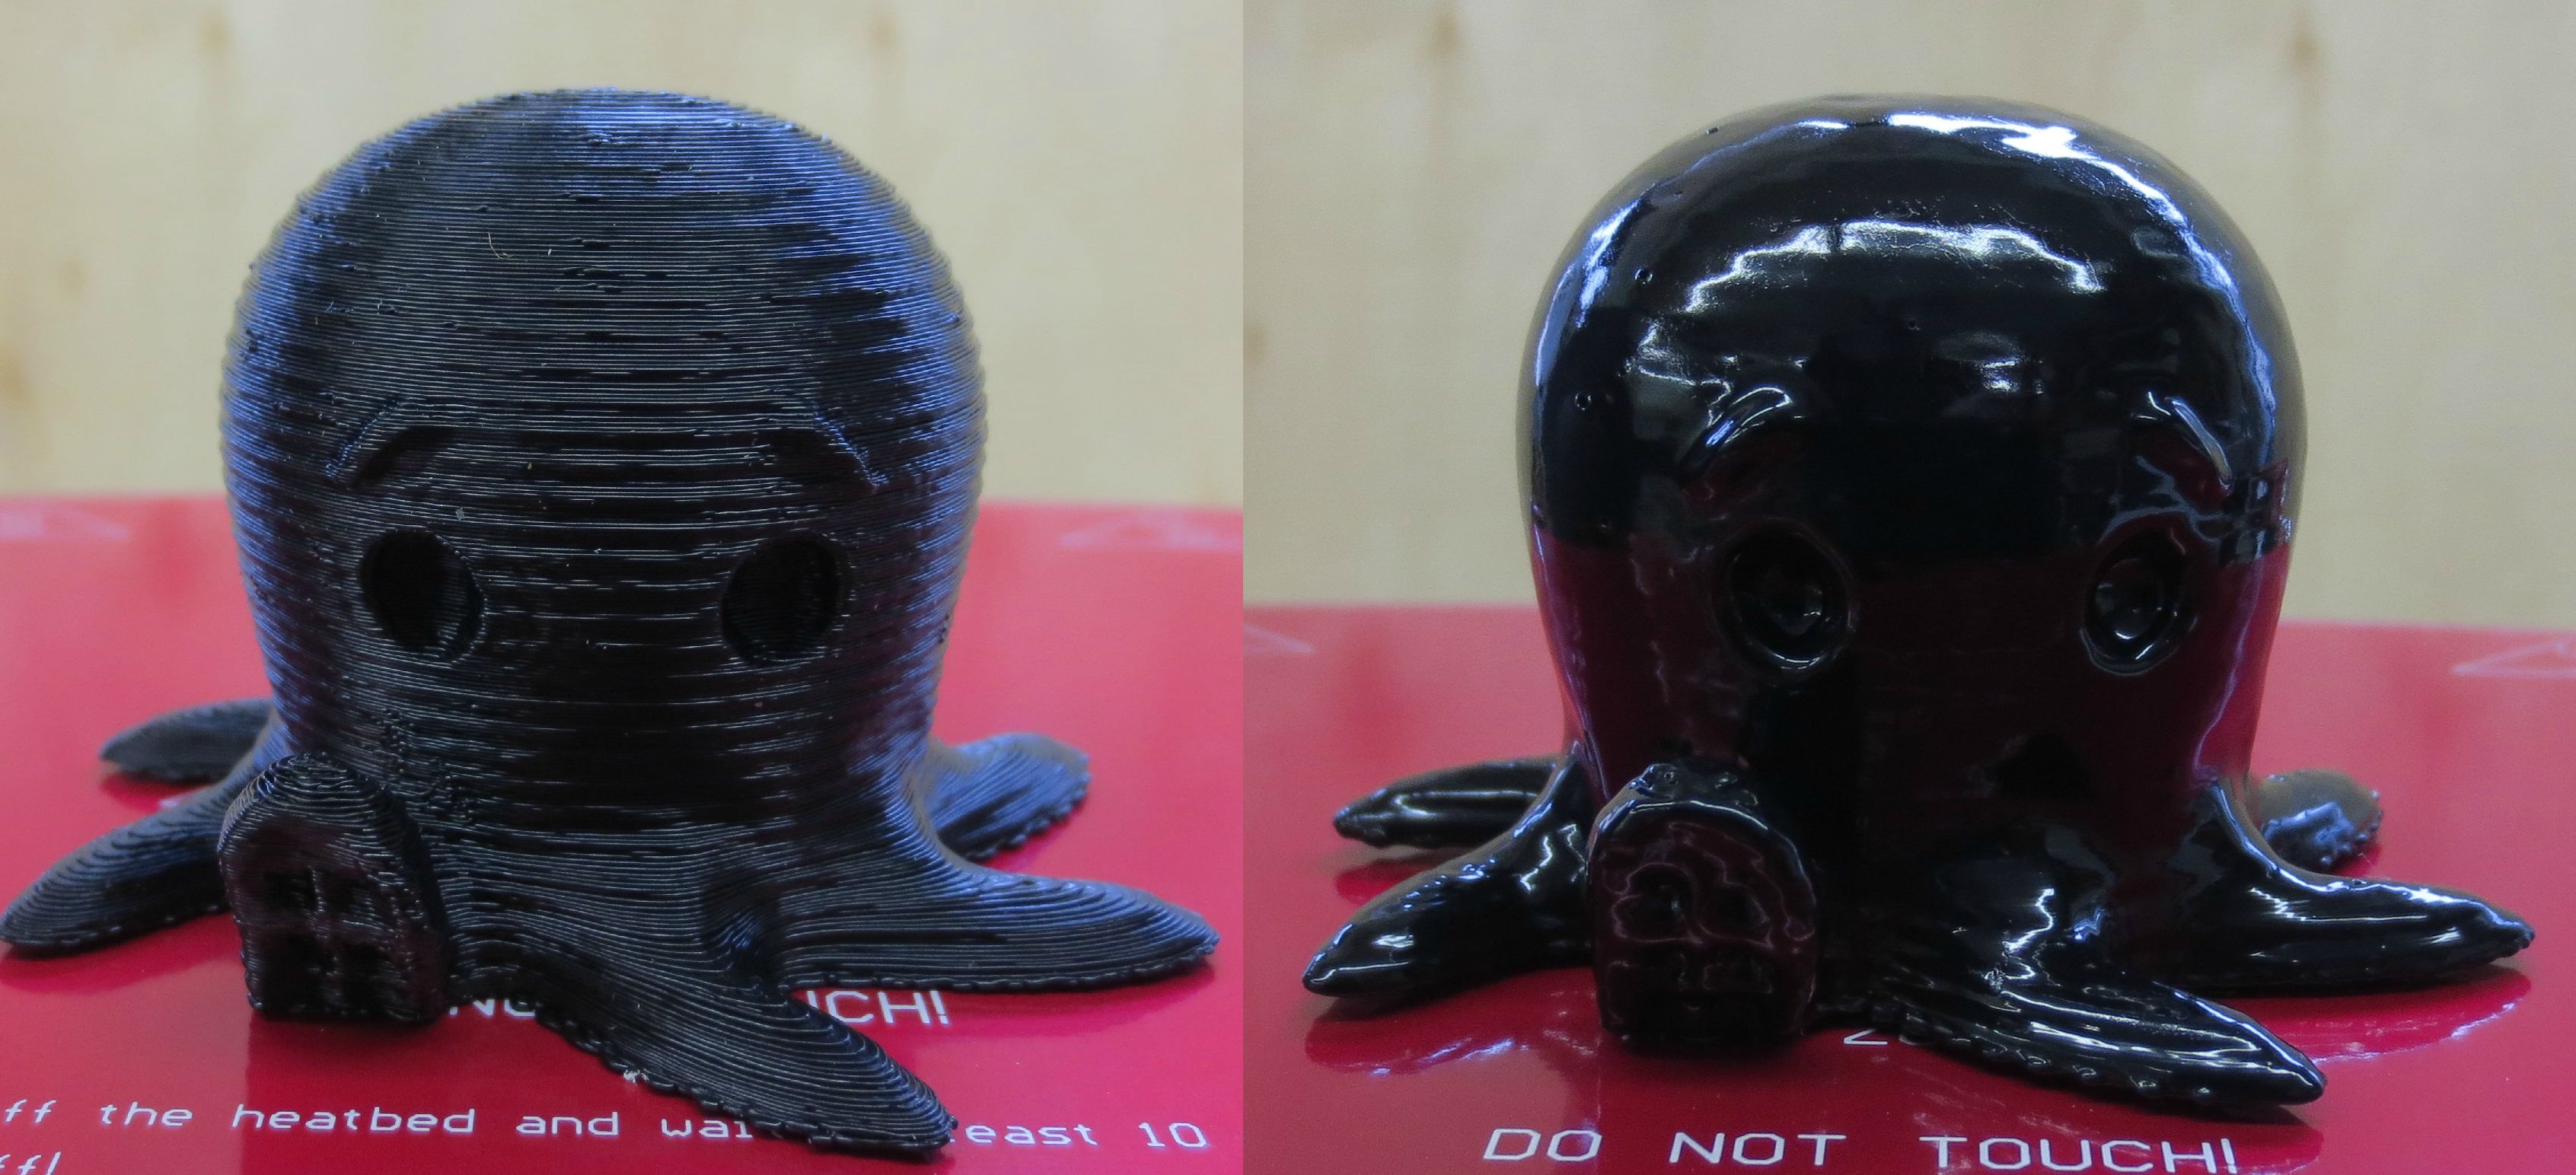
Acetone Vapor bath
 I ripped this picture from the net because i myself have not tried this. But i have seen some incredible results from others.
Acetone is a solvent that is often used to clean oil from parts and also melts plastic materials and styrofoam, and a few others that i can’t remember from the back of my head. Do note that if you’re doing this to your print, ONLY ABS WILL WORK.
Doing this with PLA will cause it to be very brittle and will snap rather easily. Not sure about other filaments like PETG or Nylon but do feel free to experiment if you have some acetone lying around. Do not try to brush Acetone on your ABS print as well as the surface when it dries will usually be worst than before. Hence the Acetone Bath method. It’s a more controllable way to let the vapors wrap around the print and circulate, causing the print to slowly melt from the surface and fuse.
The pros of this is that your print will be 100% solid and stronger as the print lines are fused and becomes a single piece, with no risk of delamination.
I’ll link a video on how it works down below, using a cheap method with a glass cup and a paper towel with some acetone absorbed.
https://www.youtube.com/watch?v=yyoefQ4k4BA
https://www.youtube.com/watch?v=6xFUNFG-UKE
So if you’re doing a larger piece, use a bigger container that is not ABS and hope for the best! Do leave your print to dry overnight prefably after removing the print from the bath so it’ll dry fully.
Filler Primer
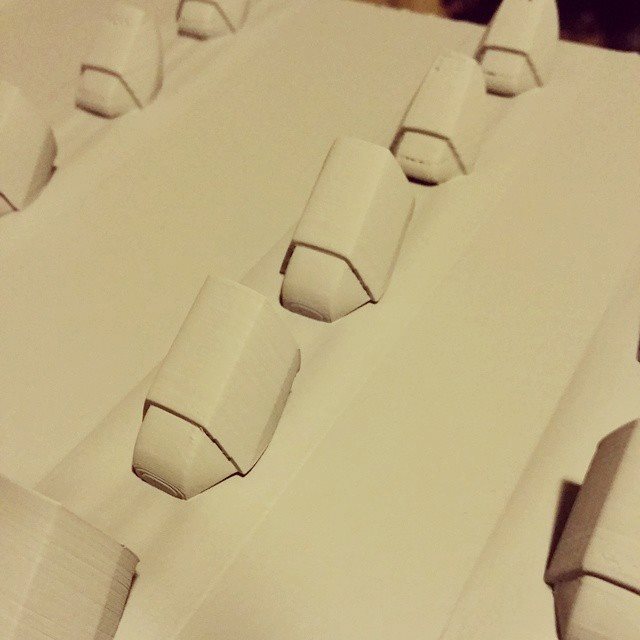
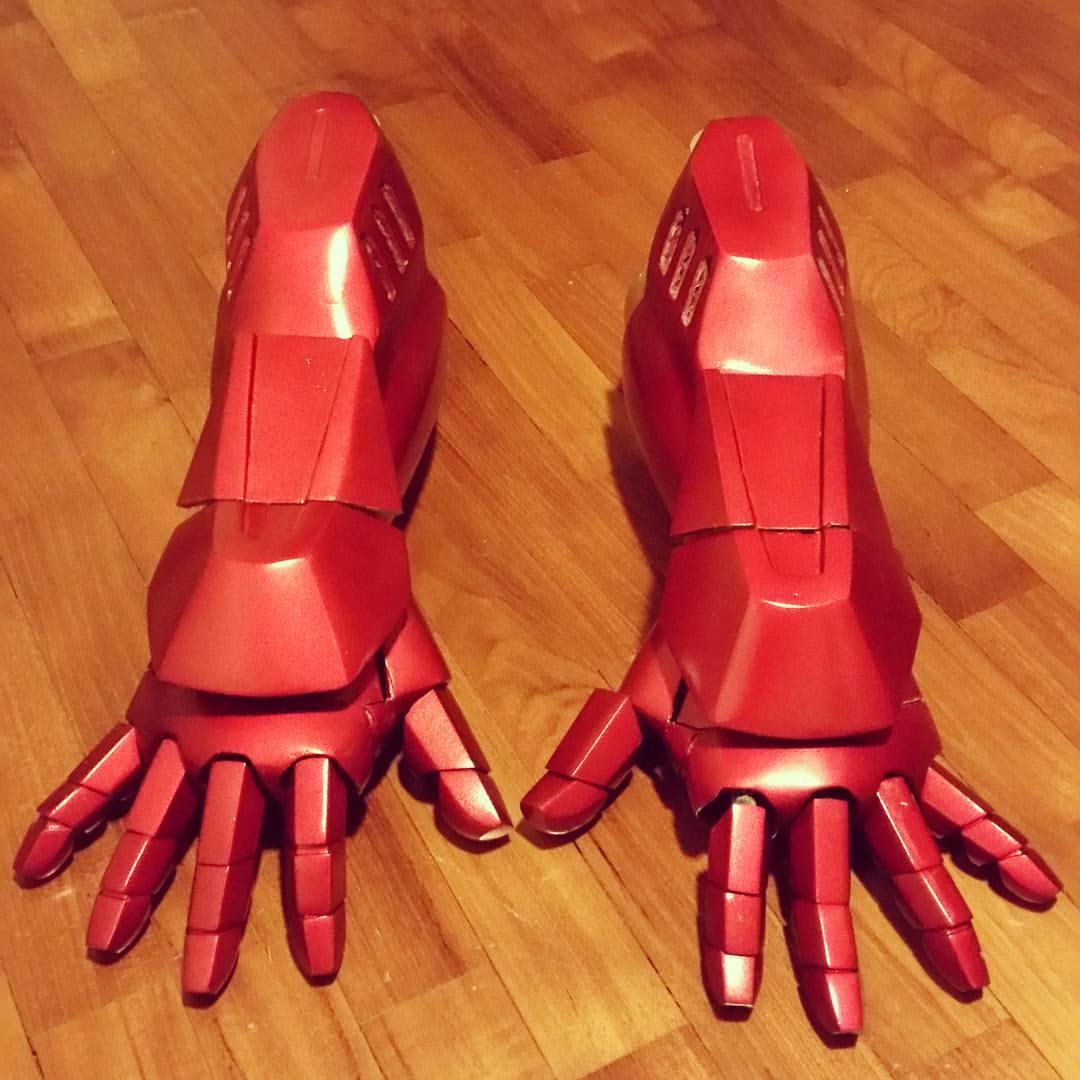
It’s a primer spray that fills up the 3D print lines, less mess than the XTC- 3D. I didn’t do this for another remote but i did use this for a little project i did three years ago. I made an Iron Man suit and got the fingers 3D printed. The rest of the suit was made of cardboard and then fiberglassed.
Taped the 3D printed fingers to my cardboard tray…

Sprayed three or four coats, wet sand with 400 grit to even out the layers if needed
Nice and smooth.

Spray a few coats of your desired paint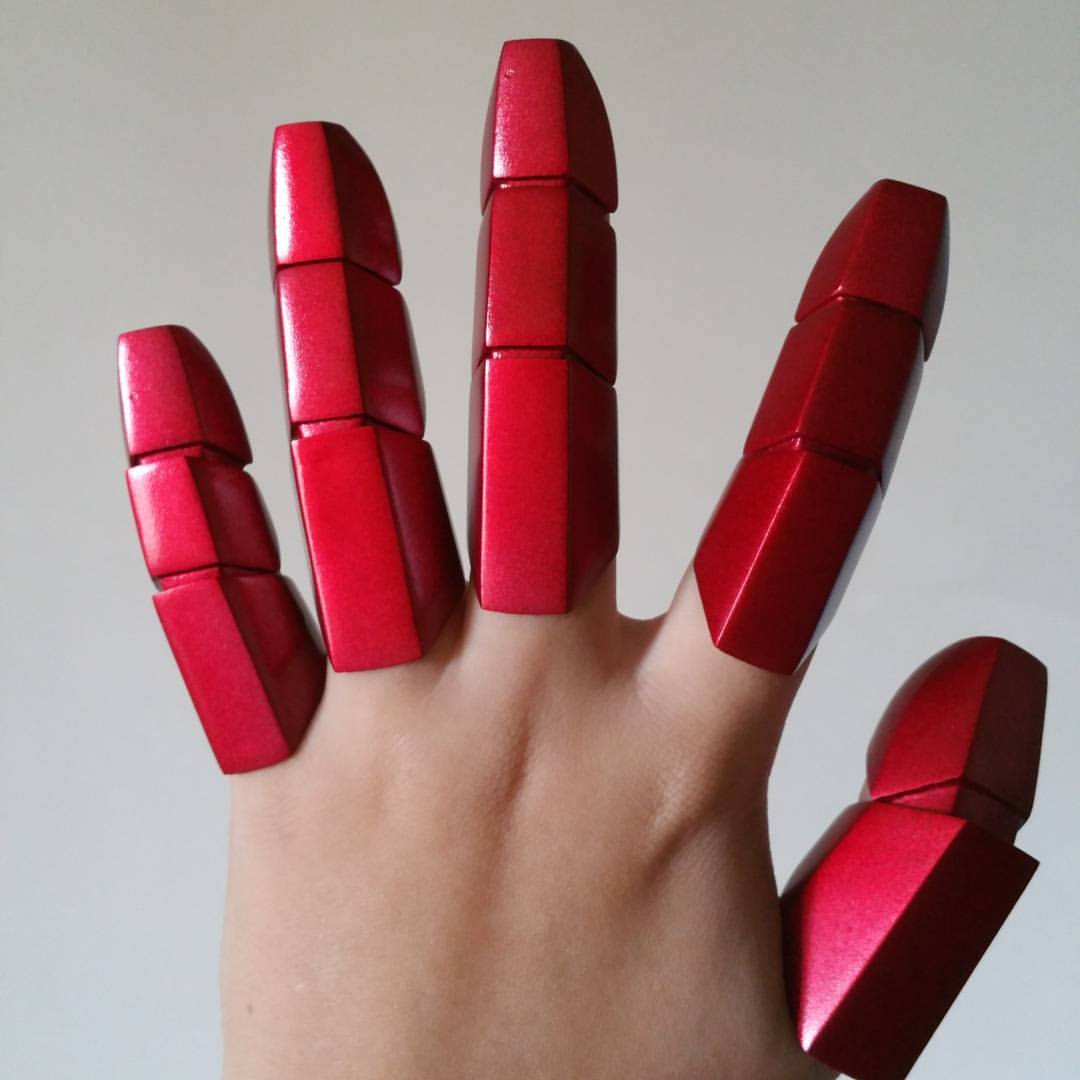
 But yea, the method is the same if you were to do that on your remote or belt cover etc.
Now, if you want to change the shape of the remote and give it some bulk for example, then you will have to use this.
Automotive body filler/Bondo
This is a body filler, usually used to fix car dents. This is not recommended if your remote has a complex shape like the GT2B, you will have a lot of sanding to do.
How does it work? It has the body filler which comes in a cake icing consistency, and a tube of hardener. The usual mixing ratio is 98:2, yea i know it’s weird. But i usually mix a golf ball size, and two drops of hardener. So if you’re mixing less, then divide accordingly.
Commonly asked questions, Does more hardener make the filler stronger? No, it’ll just make the filler cure faster, which is not good because you will have lesser time to work with it.
Can i use the body filler without the hardener? No, it’ll never cure/dry and will remain sticky and yucky. I’ll link a video to how the body filler works, and how to apply it. In the video he’s applying it to a car part, so if you’re applying it to a small item like a remote, i recommend using popsicle sticks or poker cards.
https://www.youtube.com/watch?v=fRPEDZ7Q3vM
I did this method for a DIY remote @ervinelin made, as the model’s edges were a chamfer, and i wanted a round edge throughout, so off i went.
I sanded the surfaces with a rough grit before applying, so the body filler has something to grip on.

Here’s a tip, PLEASE work in one section at a time and use small amounts. Once it starts to harden, which is usually around 2 mins, it’ll gum up and won’t be like a cream anymore. The piece above started to harden, as i was working too slow, and it balled up and the surface was bad. Nothing a little sanding can’t fix, but it’s extra work.
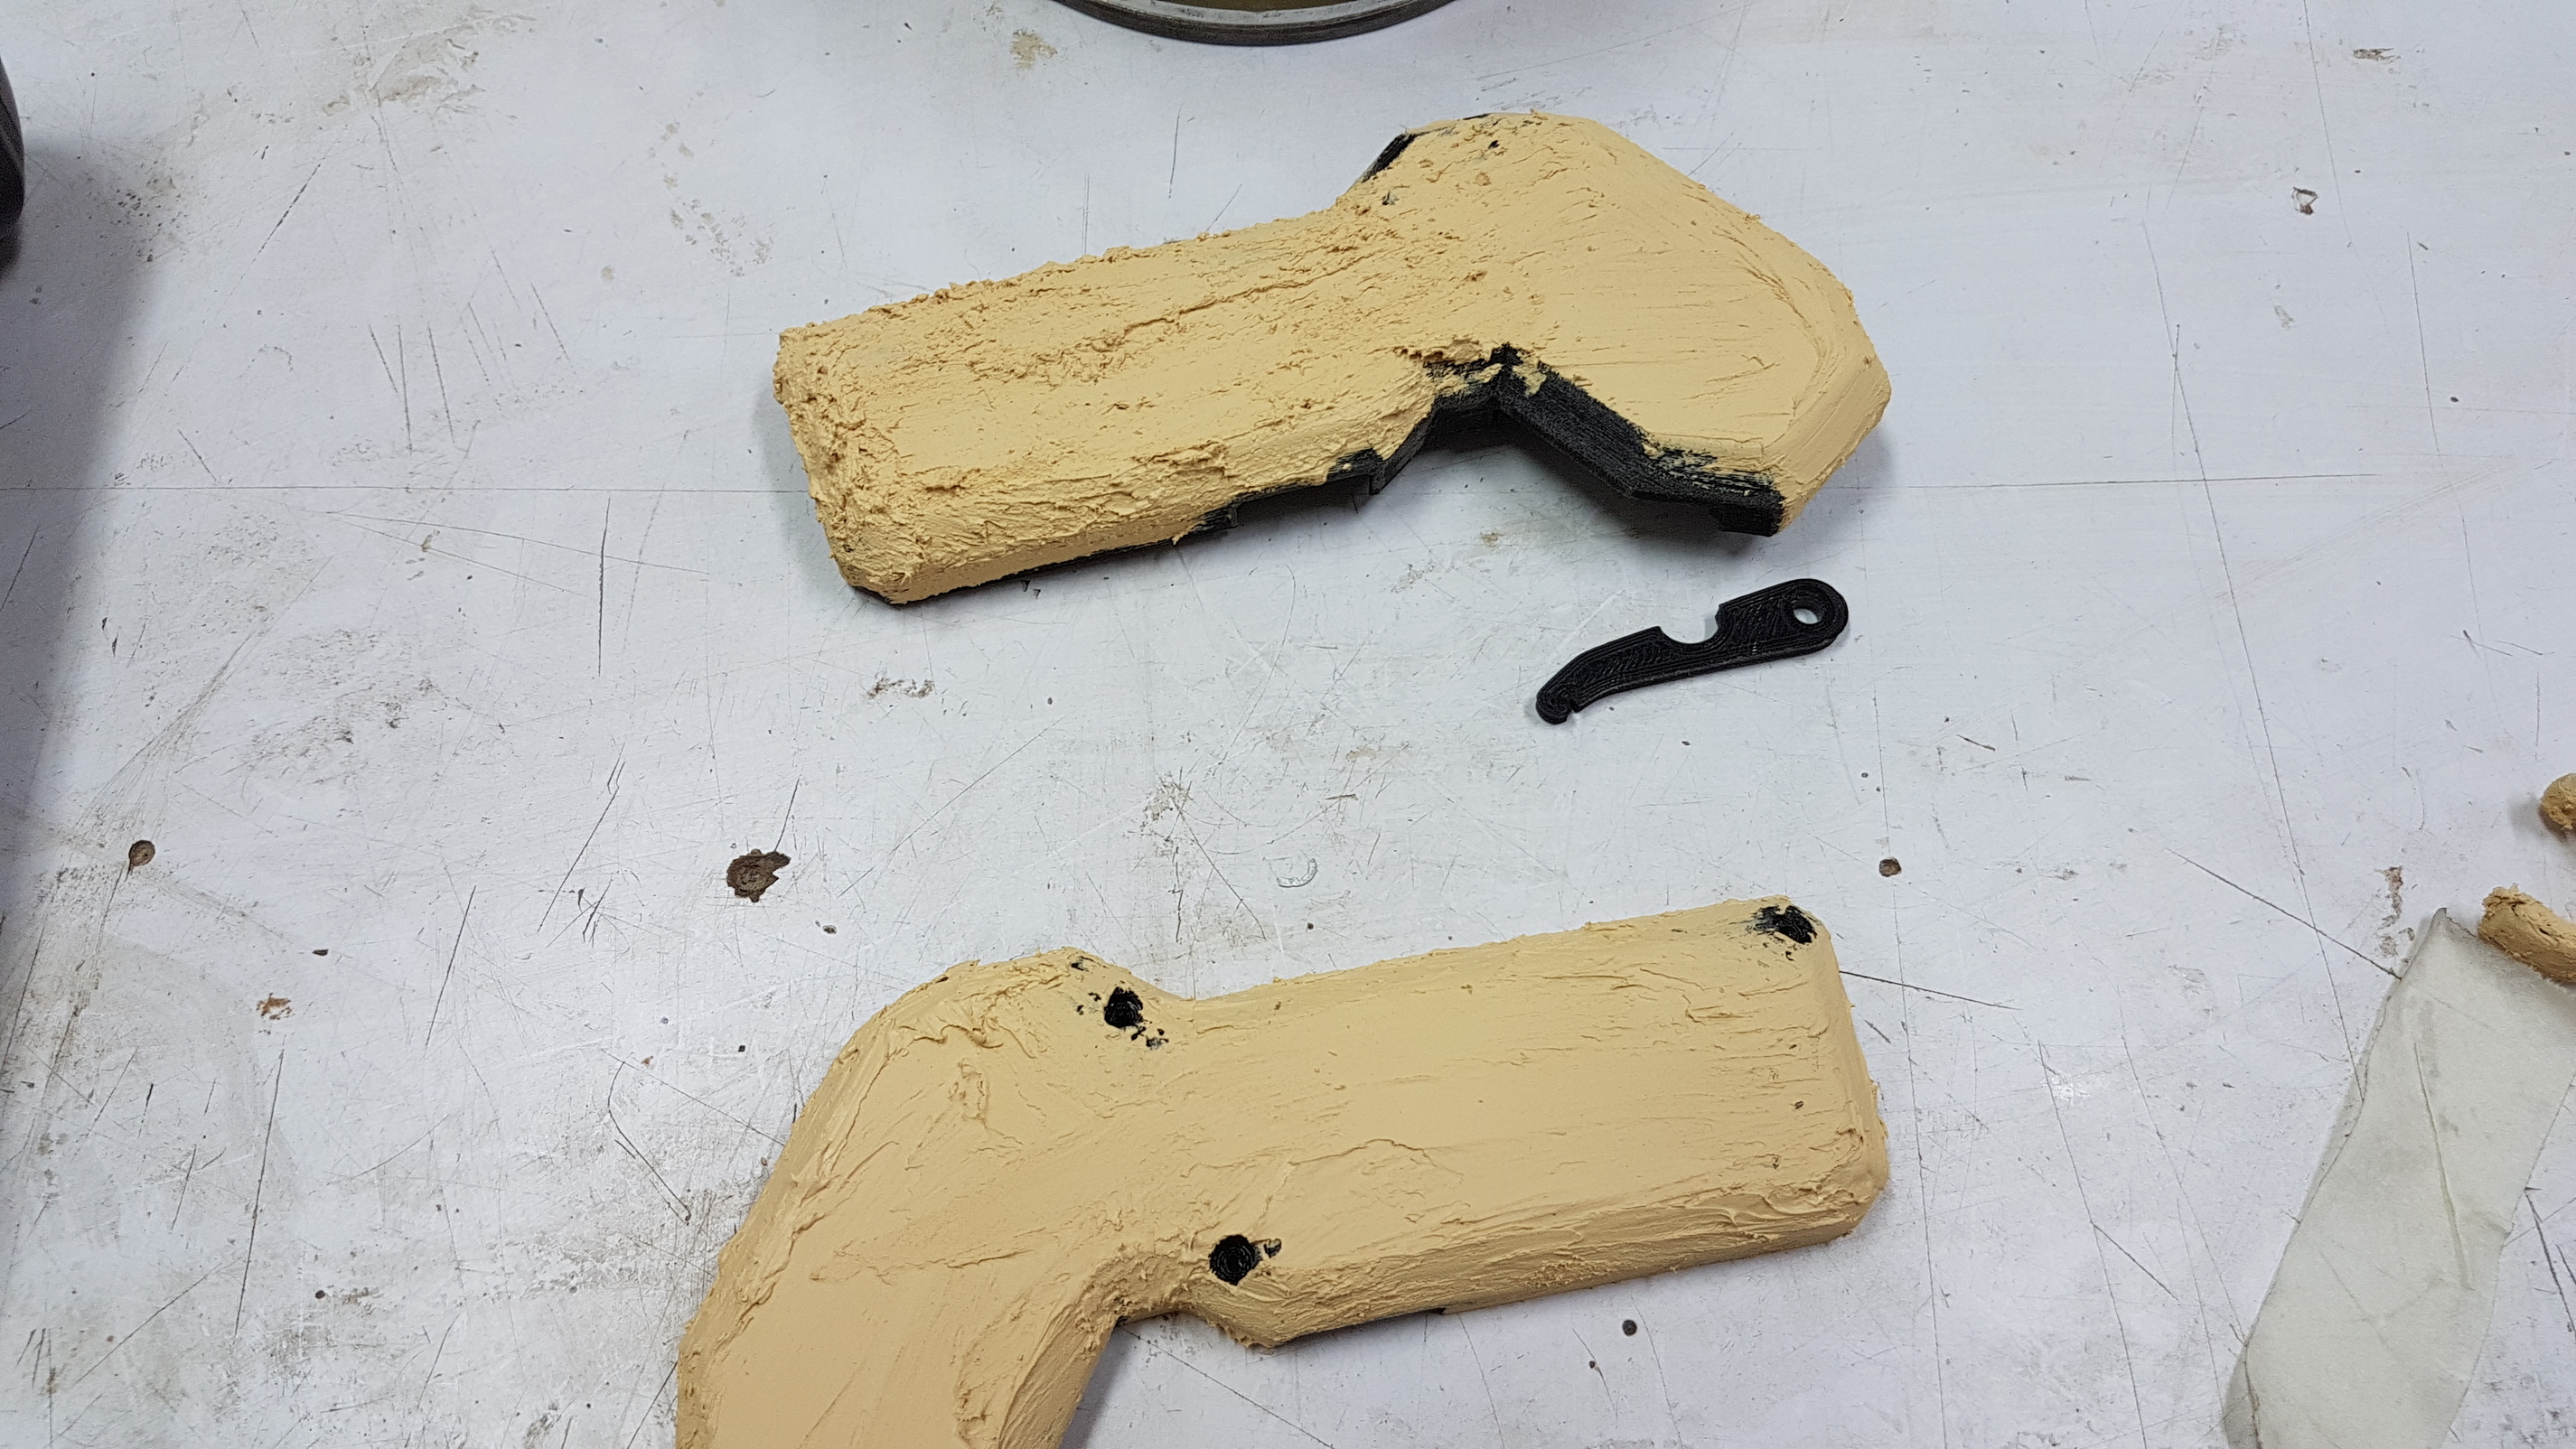
Kinda look like chicken legs.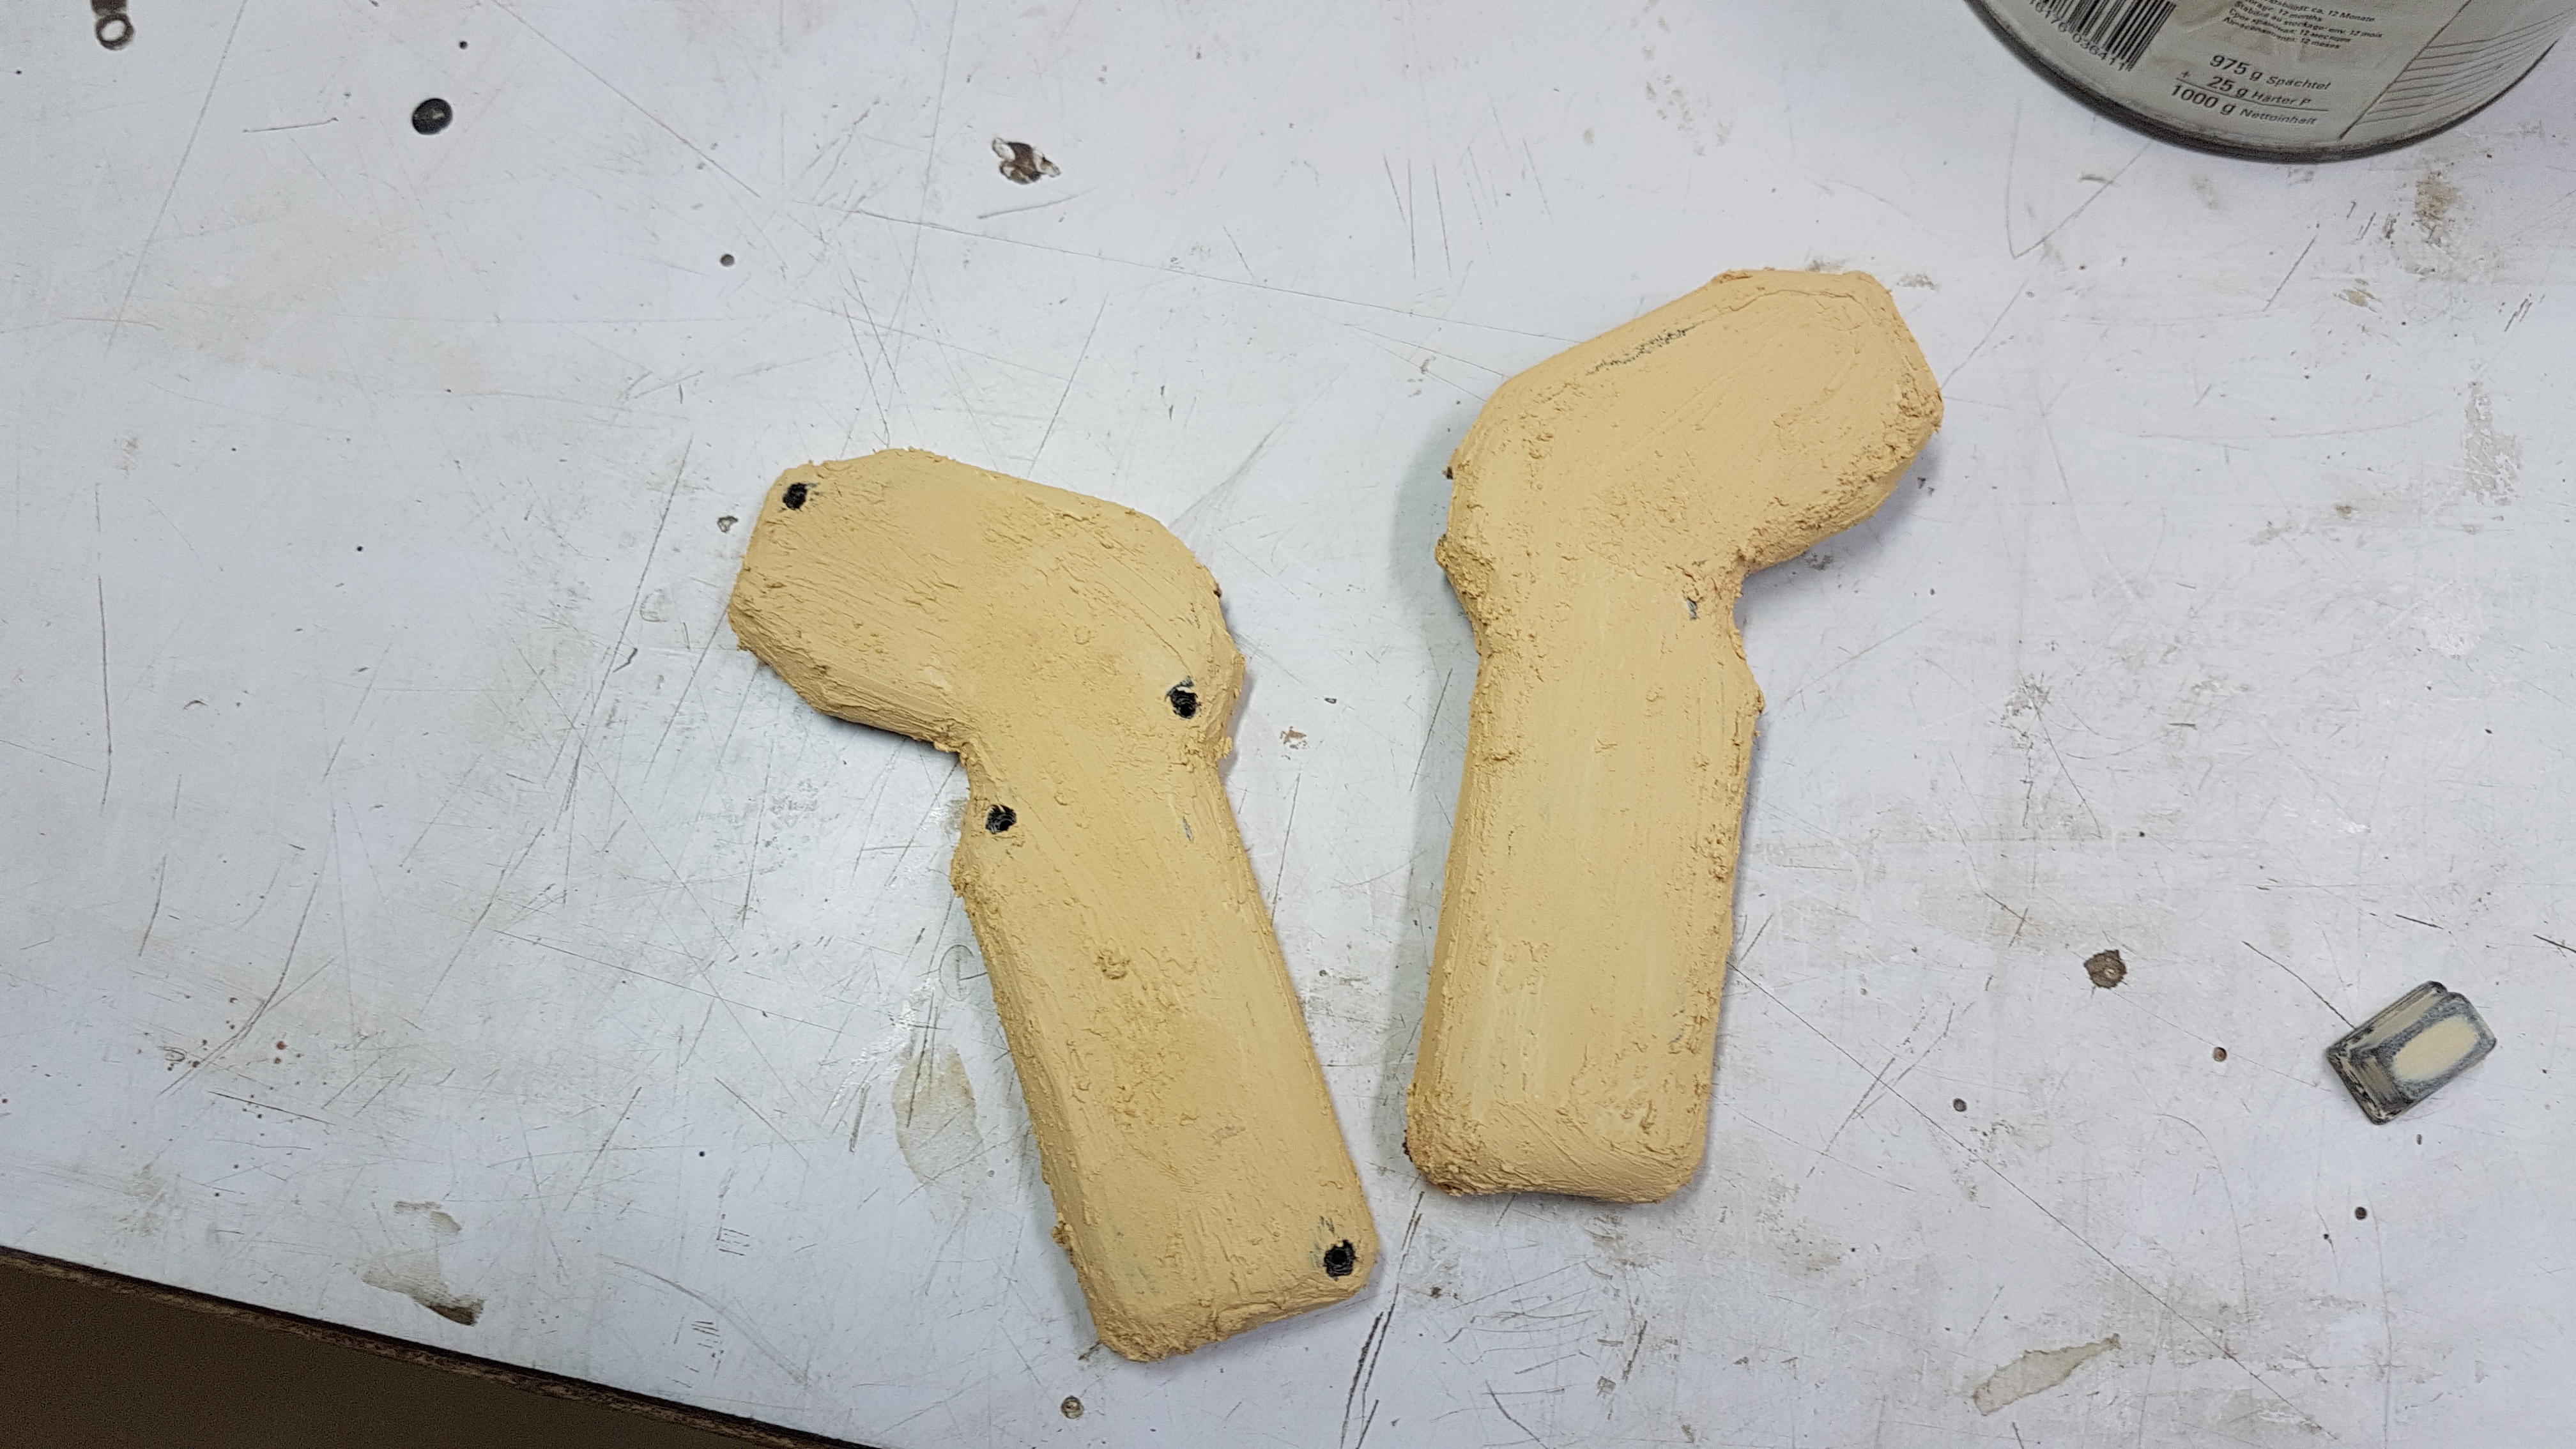
After some sanding. Note that you won’t be able to get it done with just one coat. You have to sand each coat, and then fill up any imperfections with more filler.

After three coats, sanding in between and got it nice and round.

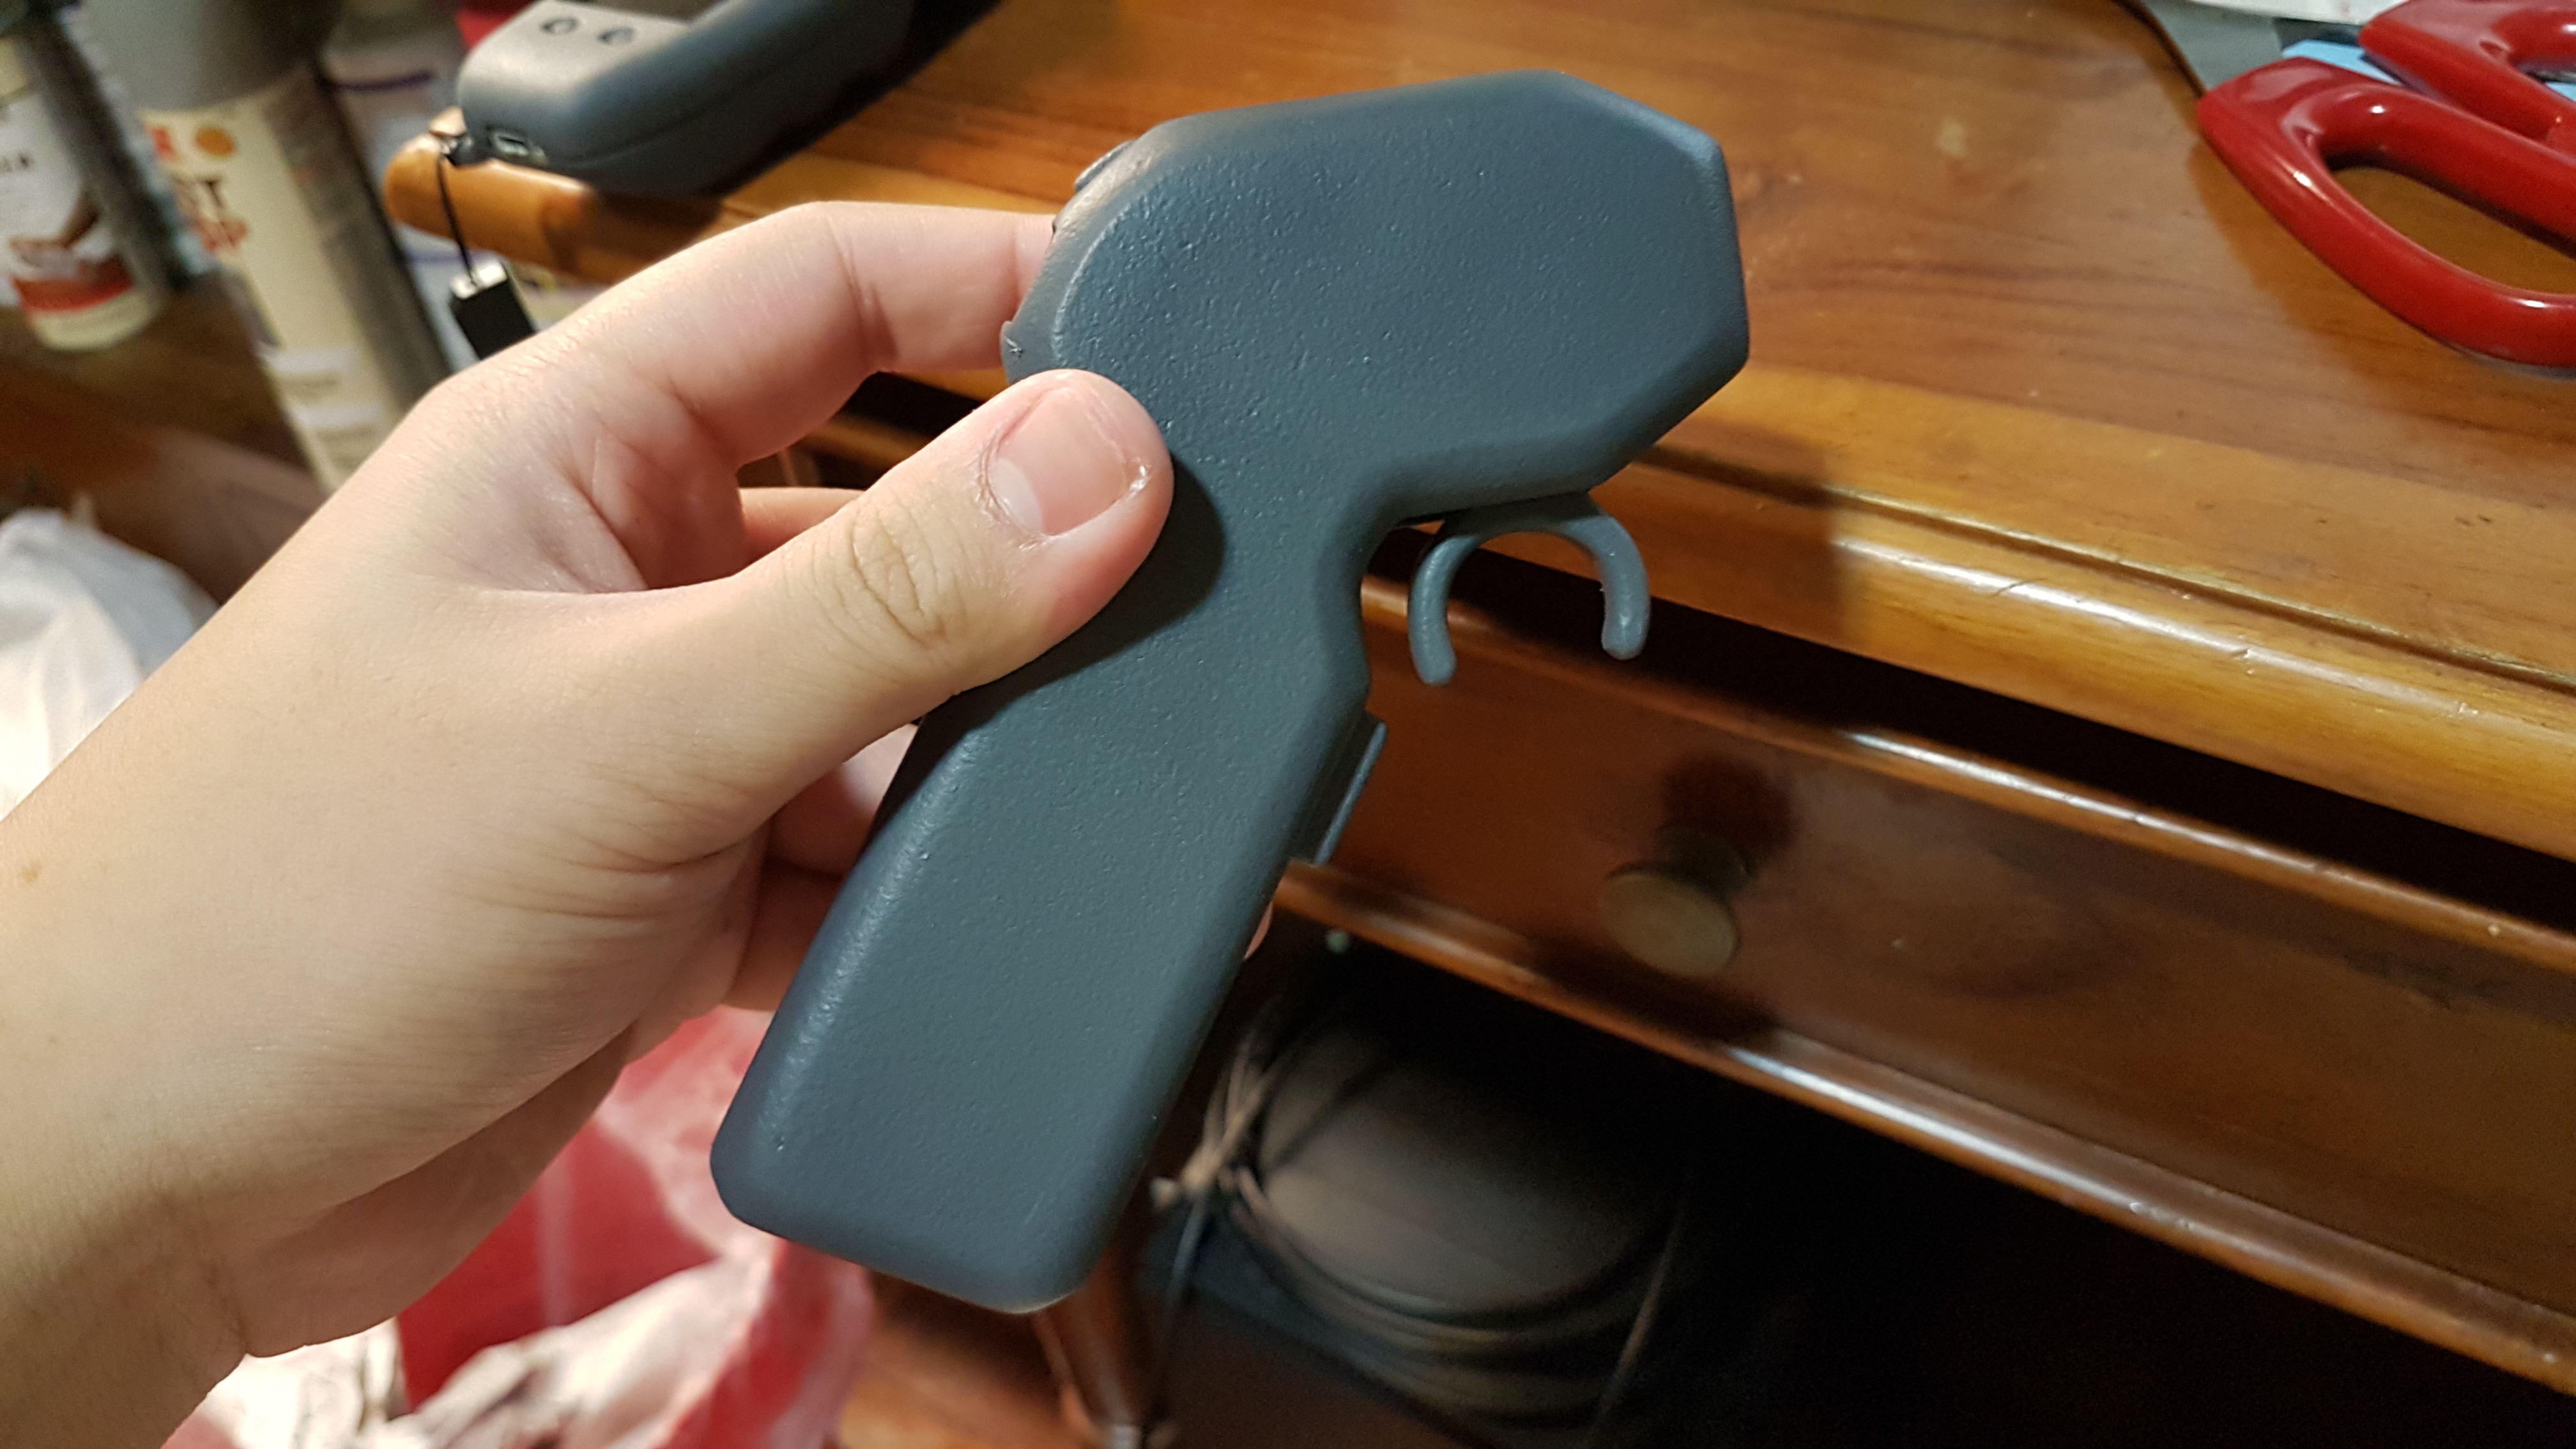
In comparison with the 3D print
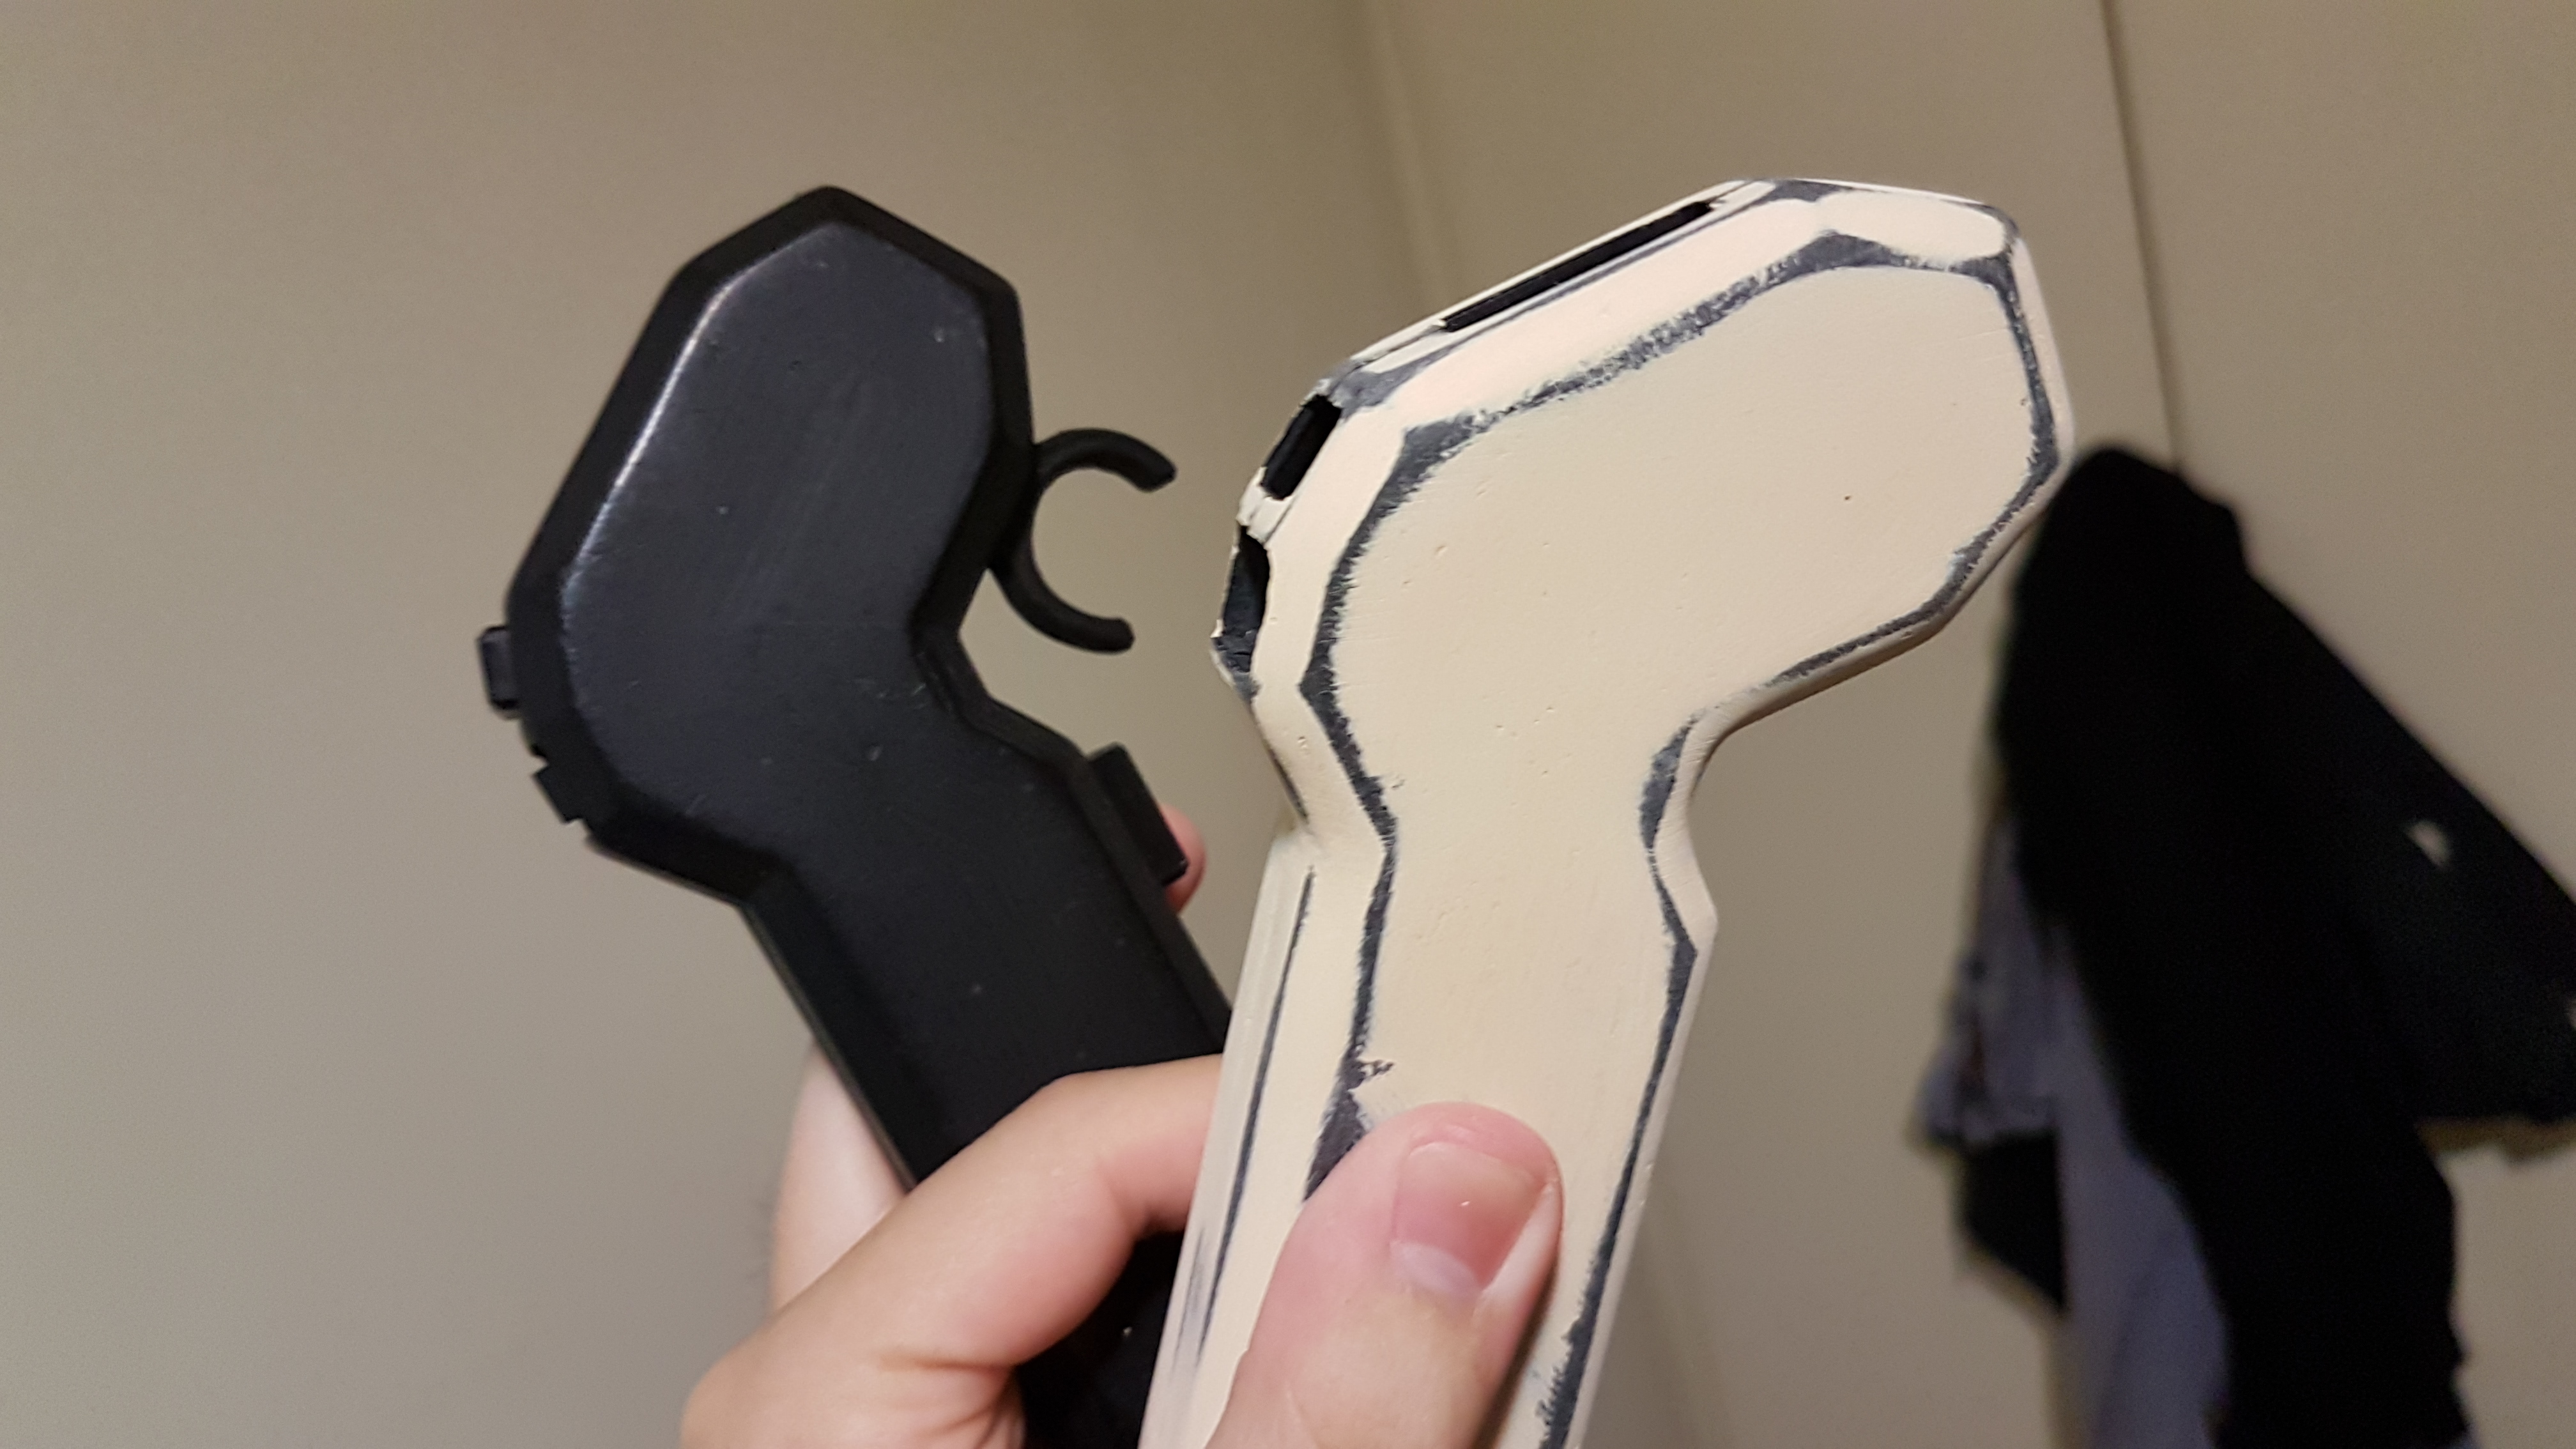
After that, spray a couple coats of primer and choose your color of choice and call it done! I went with the Plastidip method after that and it looks really good. I chose Plastidip because it has a rubbery feel and won’t slip off your hand easily.


So yea, these are the methods i use to turn a 3D print to a professional looking piece. If you guys have any other methods, do share with us as well!


