Hi guys,
Here is a quick review of the mounting process of @nowind’s steering dampers mounting brackets. The link to order yours : https://www.e-toxx-shop.com/trampa/steering-damper/
Pre-requisite :
-
The truck is disassembled. Hanger and baseplate are separated.
-
You own all the equipment used in this tutorial before you start (drill bits, center punch, tape, thread lock…)
Disclaimer :
I simply present you the way I did it. I’m not responsible in any way in case of damage of your trucks or injury if something wrong happens while riding. There is maybe a better way to do it. If so, please feel free to comment. Also, english is not my native language. So, some stuff may sound weird (such as technical words). Please, correct me, I wanna learn more !
Here we go !
1. Validation of equipment
First of all, check that the steering damper is working fine in both directions.
Some products may be faulty and you don’t want to figure it out while riding.  Also, if you install a steering damper “mount-side”, measure the clearance by presenting the steering damper in its final position.

Everything’s fine ? Let’s go ahead !
2. Drill the baseplate (skip the step if @nowind do it for you)
The baseplate will hold equipment (it misses 2 screws on the picture, sorry) :

For this, we need to drill 2 holes to let M6 screws go through. Tape the baseplate with paint tape then draw these dimensions on it using this pattern :

How I proceeded :
I put the baseplate “upside-down” on a flat table then I used a mechanics ruler to draw the holes axis precisely (13mm away from the table). I drew the center of baseplate axis and I ensured that I measure 30mm from the holes axis. I also used the center as the middle point between both holes. Be as precise as you can during this phase ! It may save you a lot of issues.
You should end up having this :

Let’s go drlling it !
I advice you to find someone who can share (and help) a drill press with you. You will achieve a way better work as you may have with a hand-drill, sitting on the ground, holding the baseplate between your knees 
We start with a “center punch” then the drill bit. I used a 6.5mm drill bit, but if I could I would use a 6.1mm one. My drawings were precise enough, holes were well aligned with the brackets.
(the trickiest part was to find a way to hold strongly the baseplate into the vice. I ended up using a wood block).
Use the mouting bracket to check if everything is well aligned. Put a droplet of thread lock and strongly screw (with small ones) the baseplate mounting bracket.
(image of e-toxx website, mine was a bit confusing).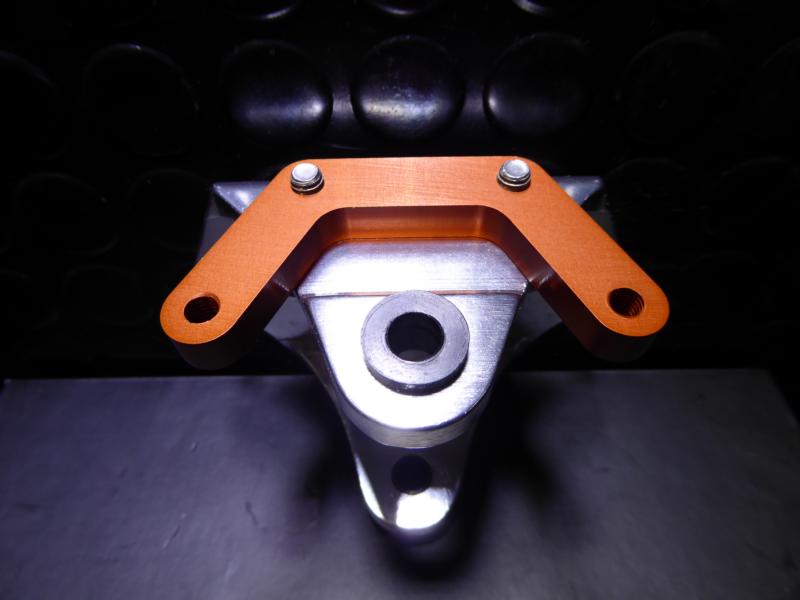
Baseplate is now ready ! Time has come to sweat a bit with the hanger.
3. Reassemble the truck
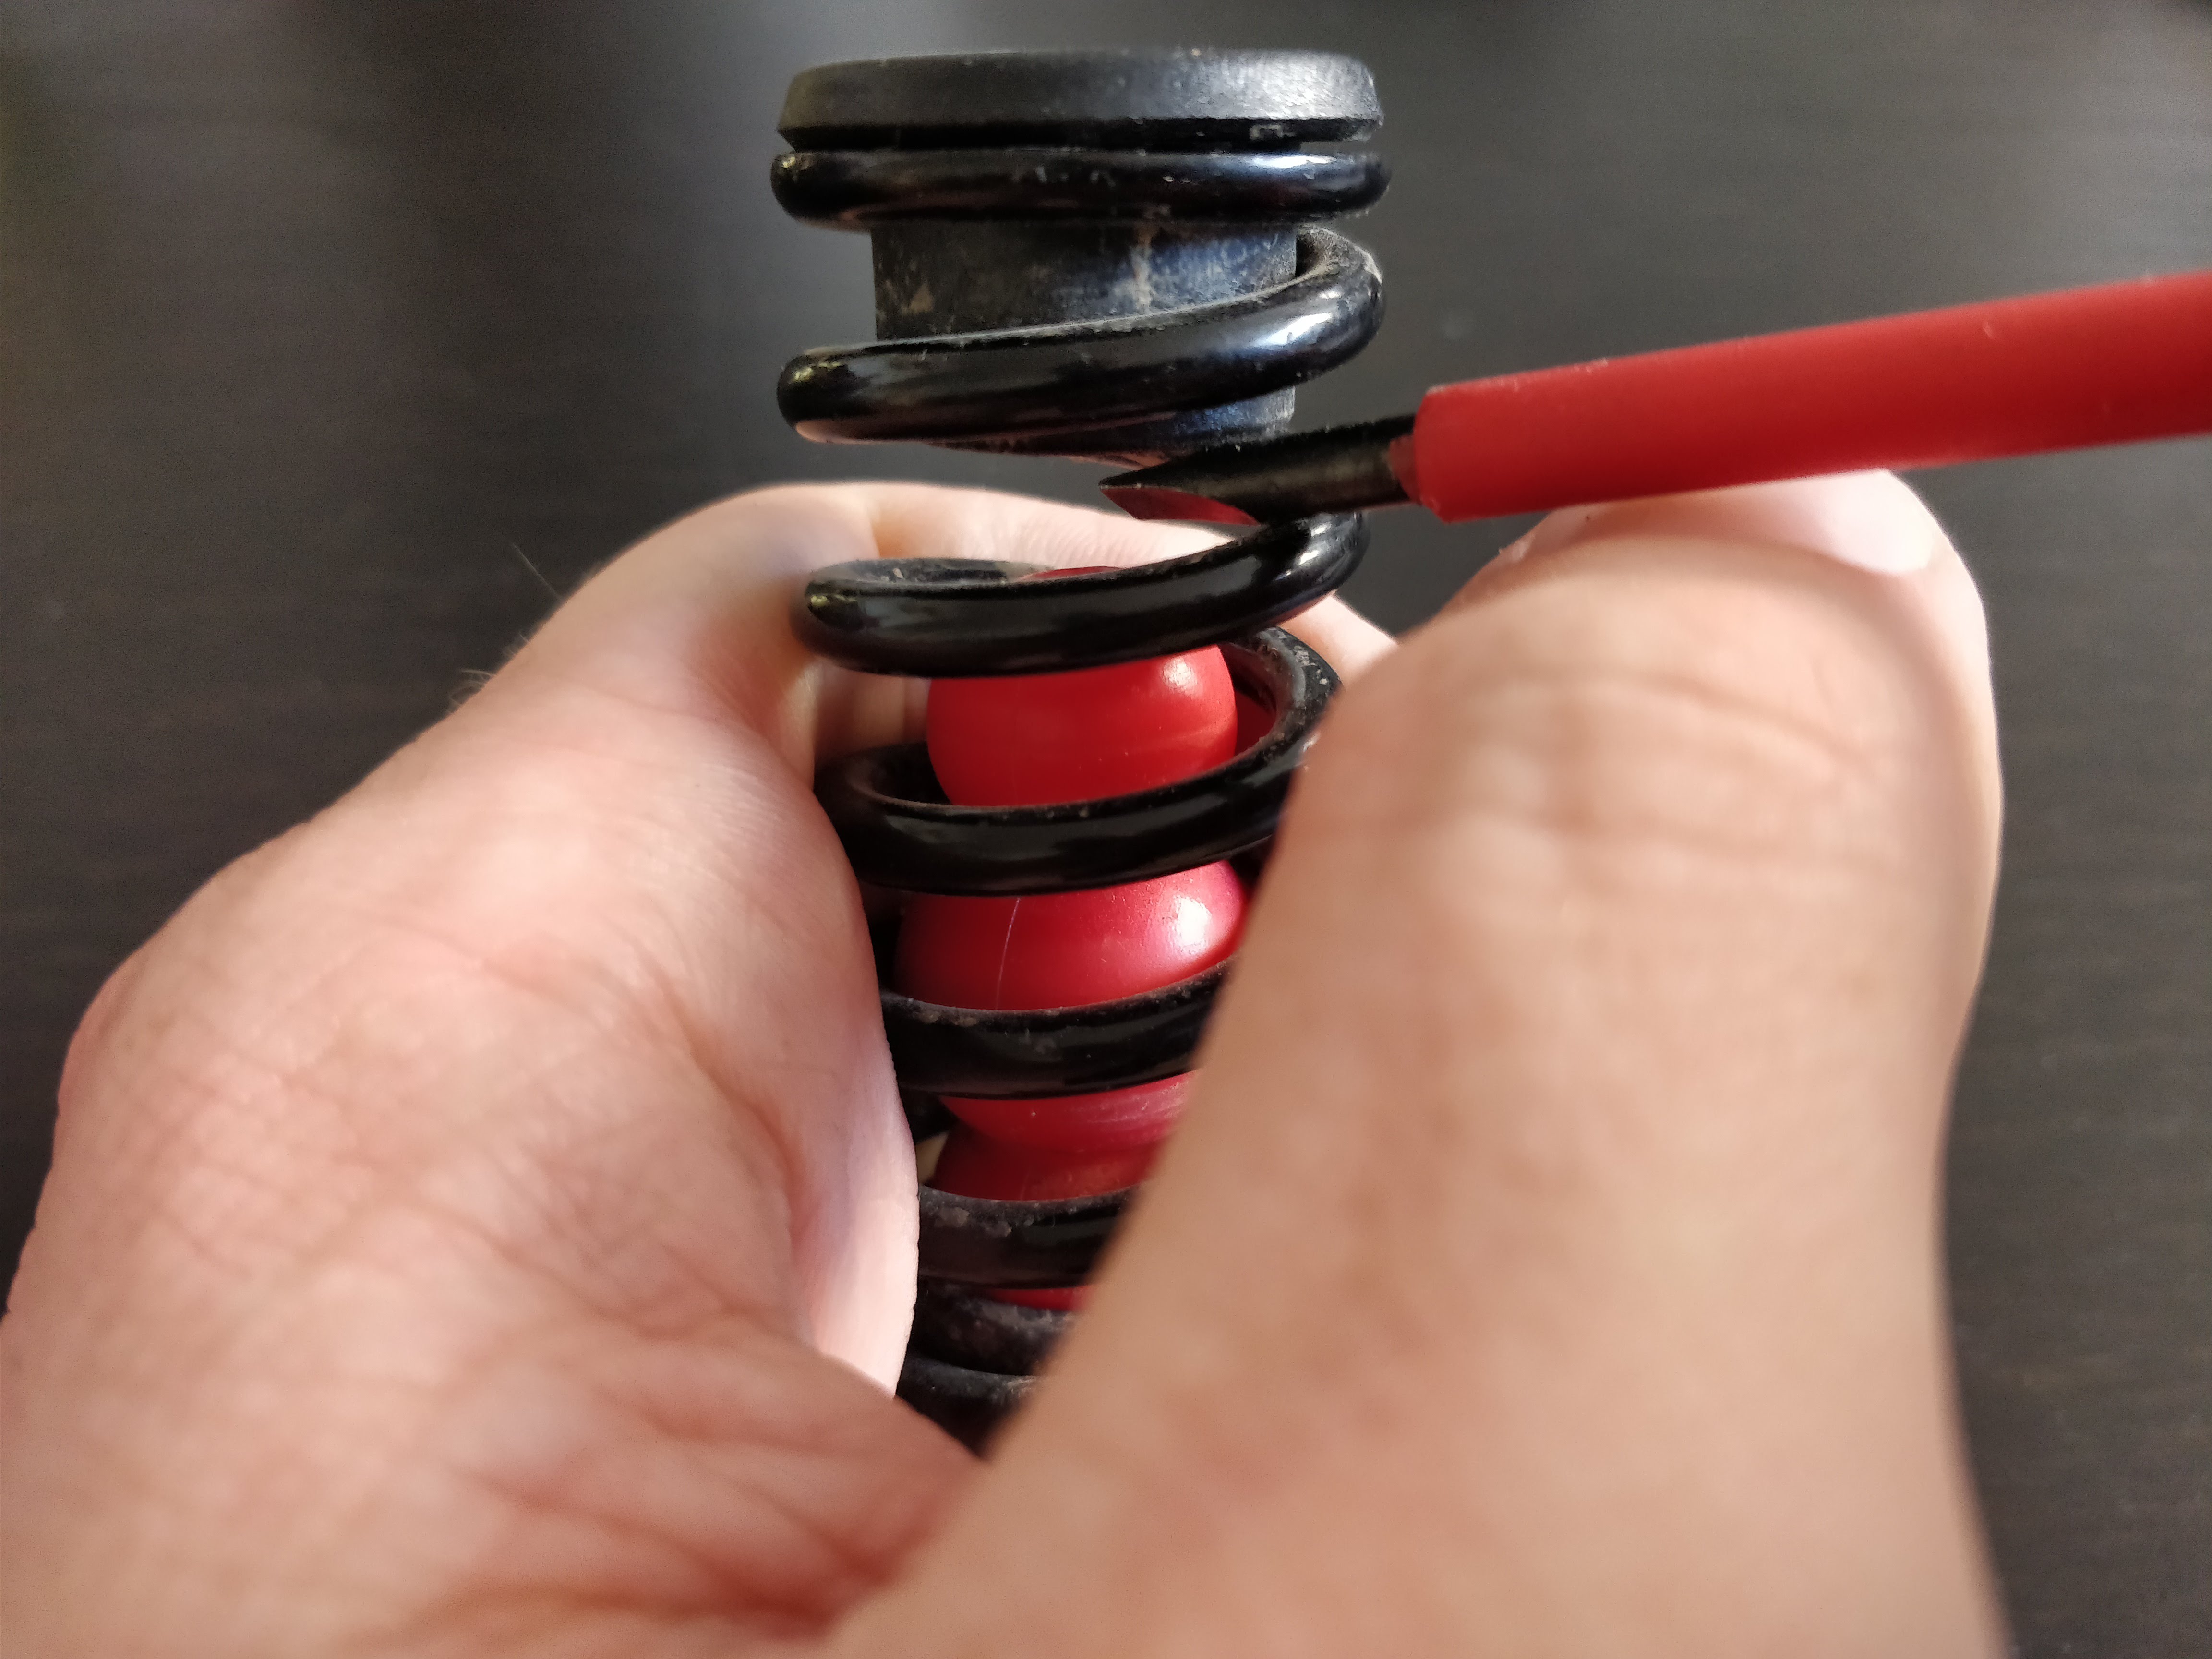
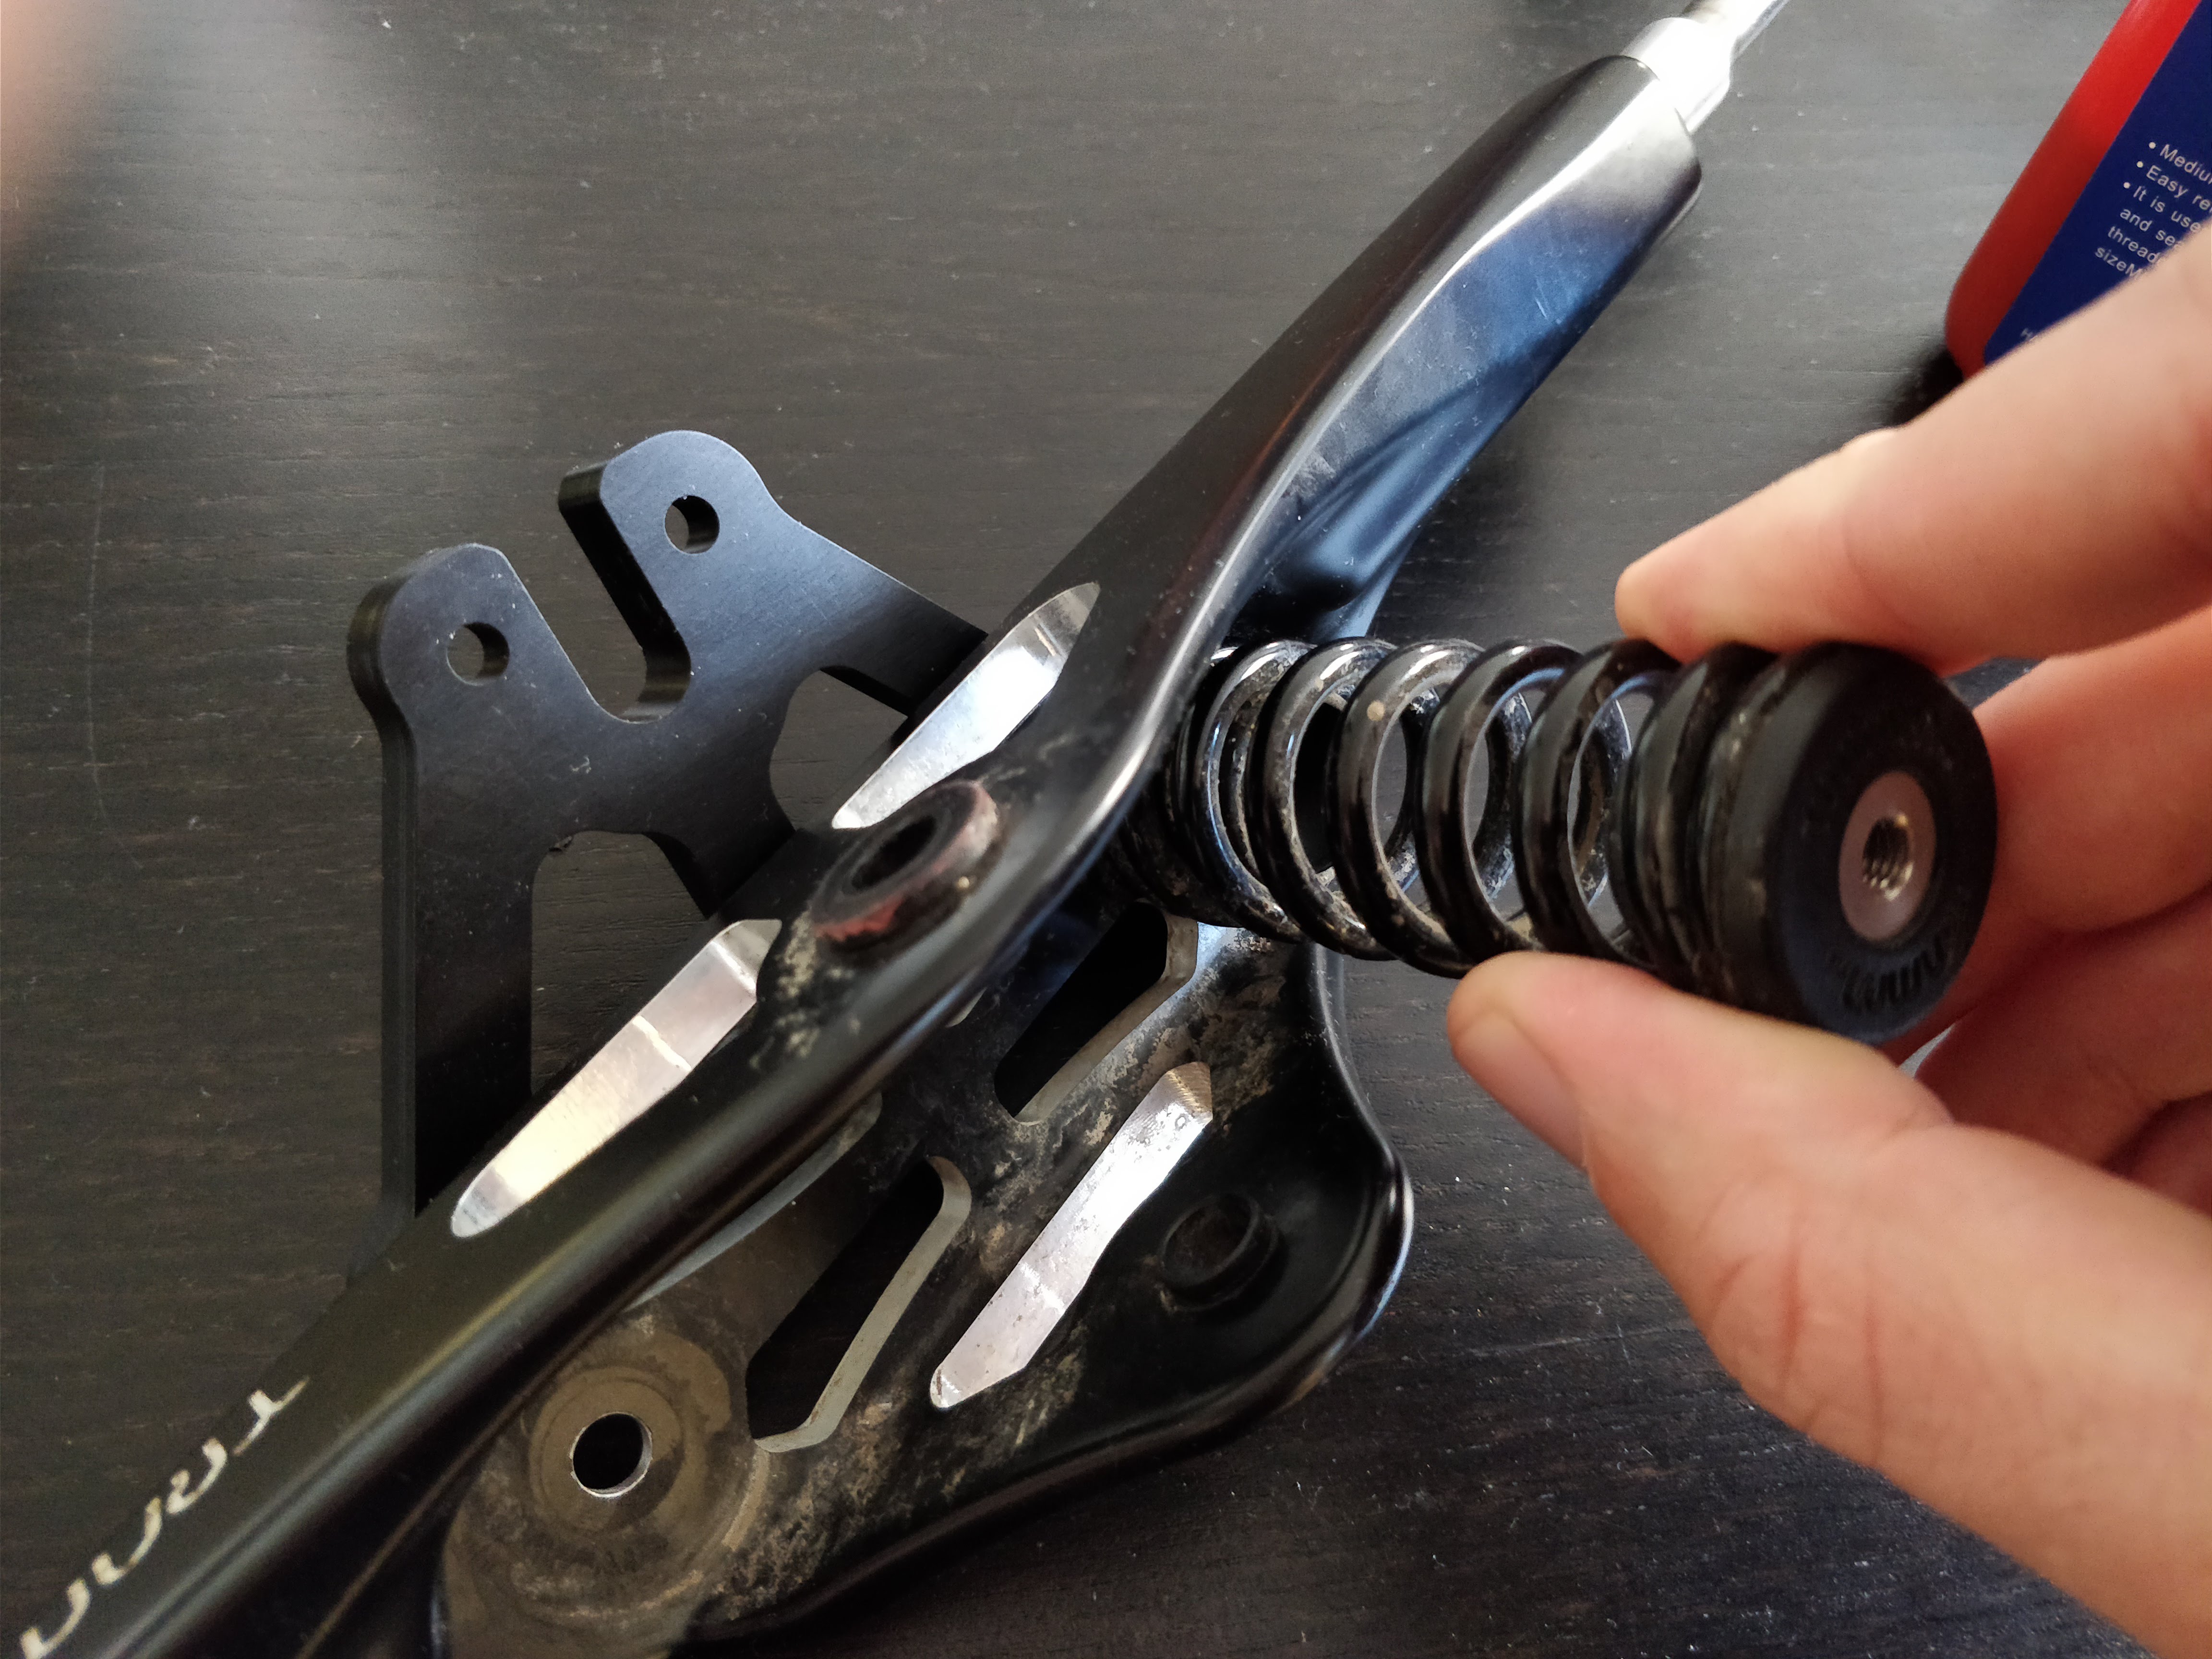
First, we need to remove bushings from the springs. Use a flat screwdriver as a lever to release a cap.
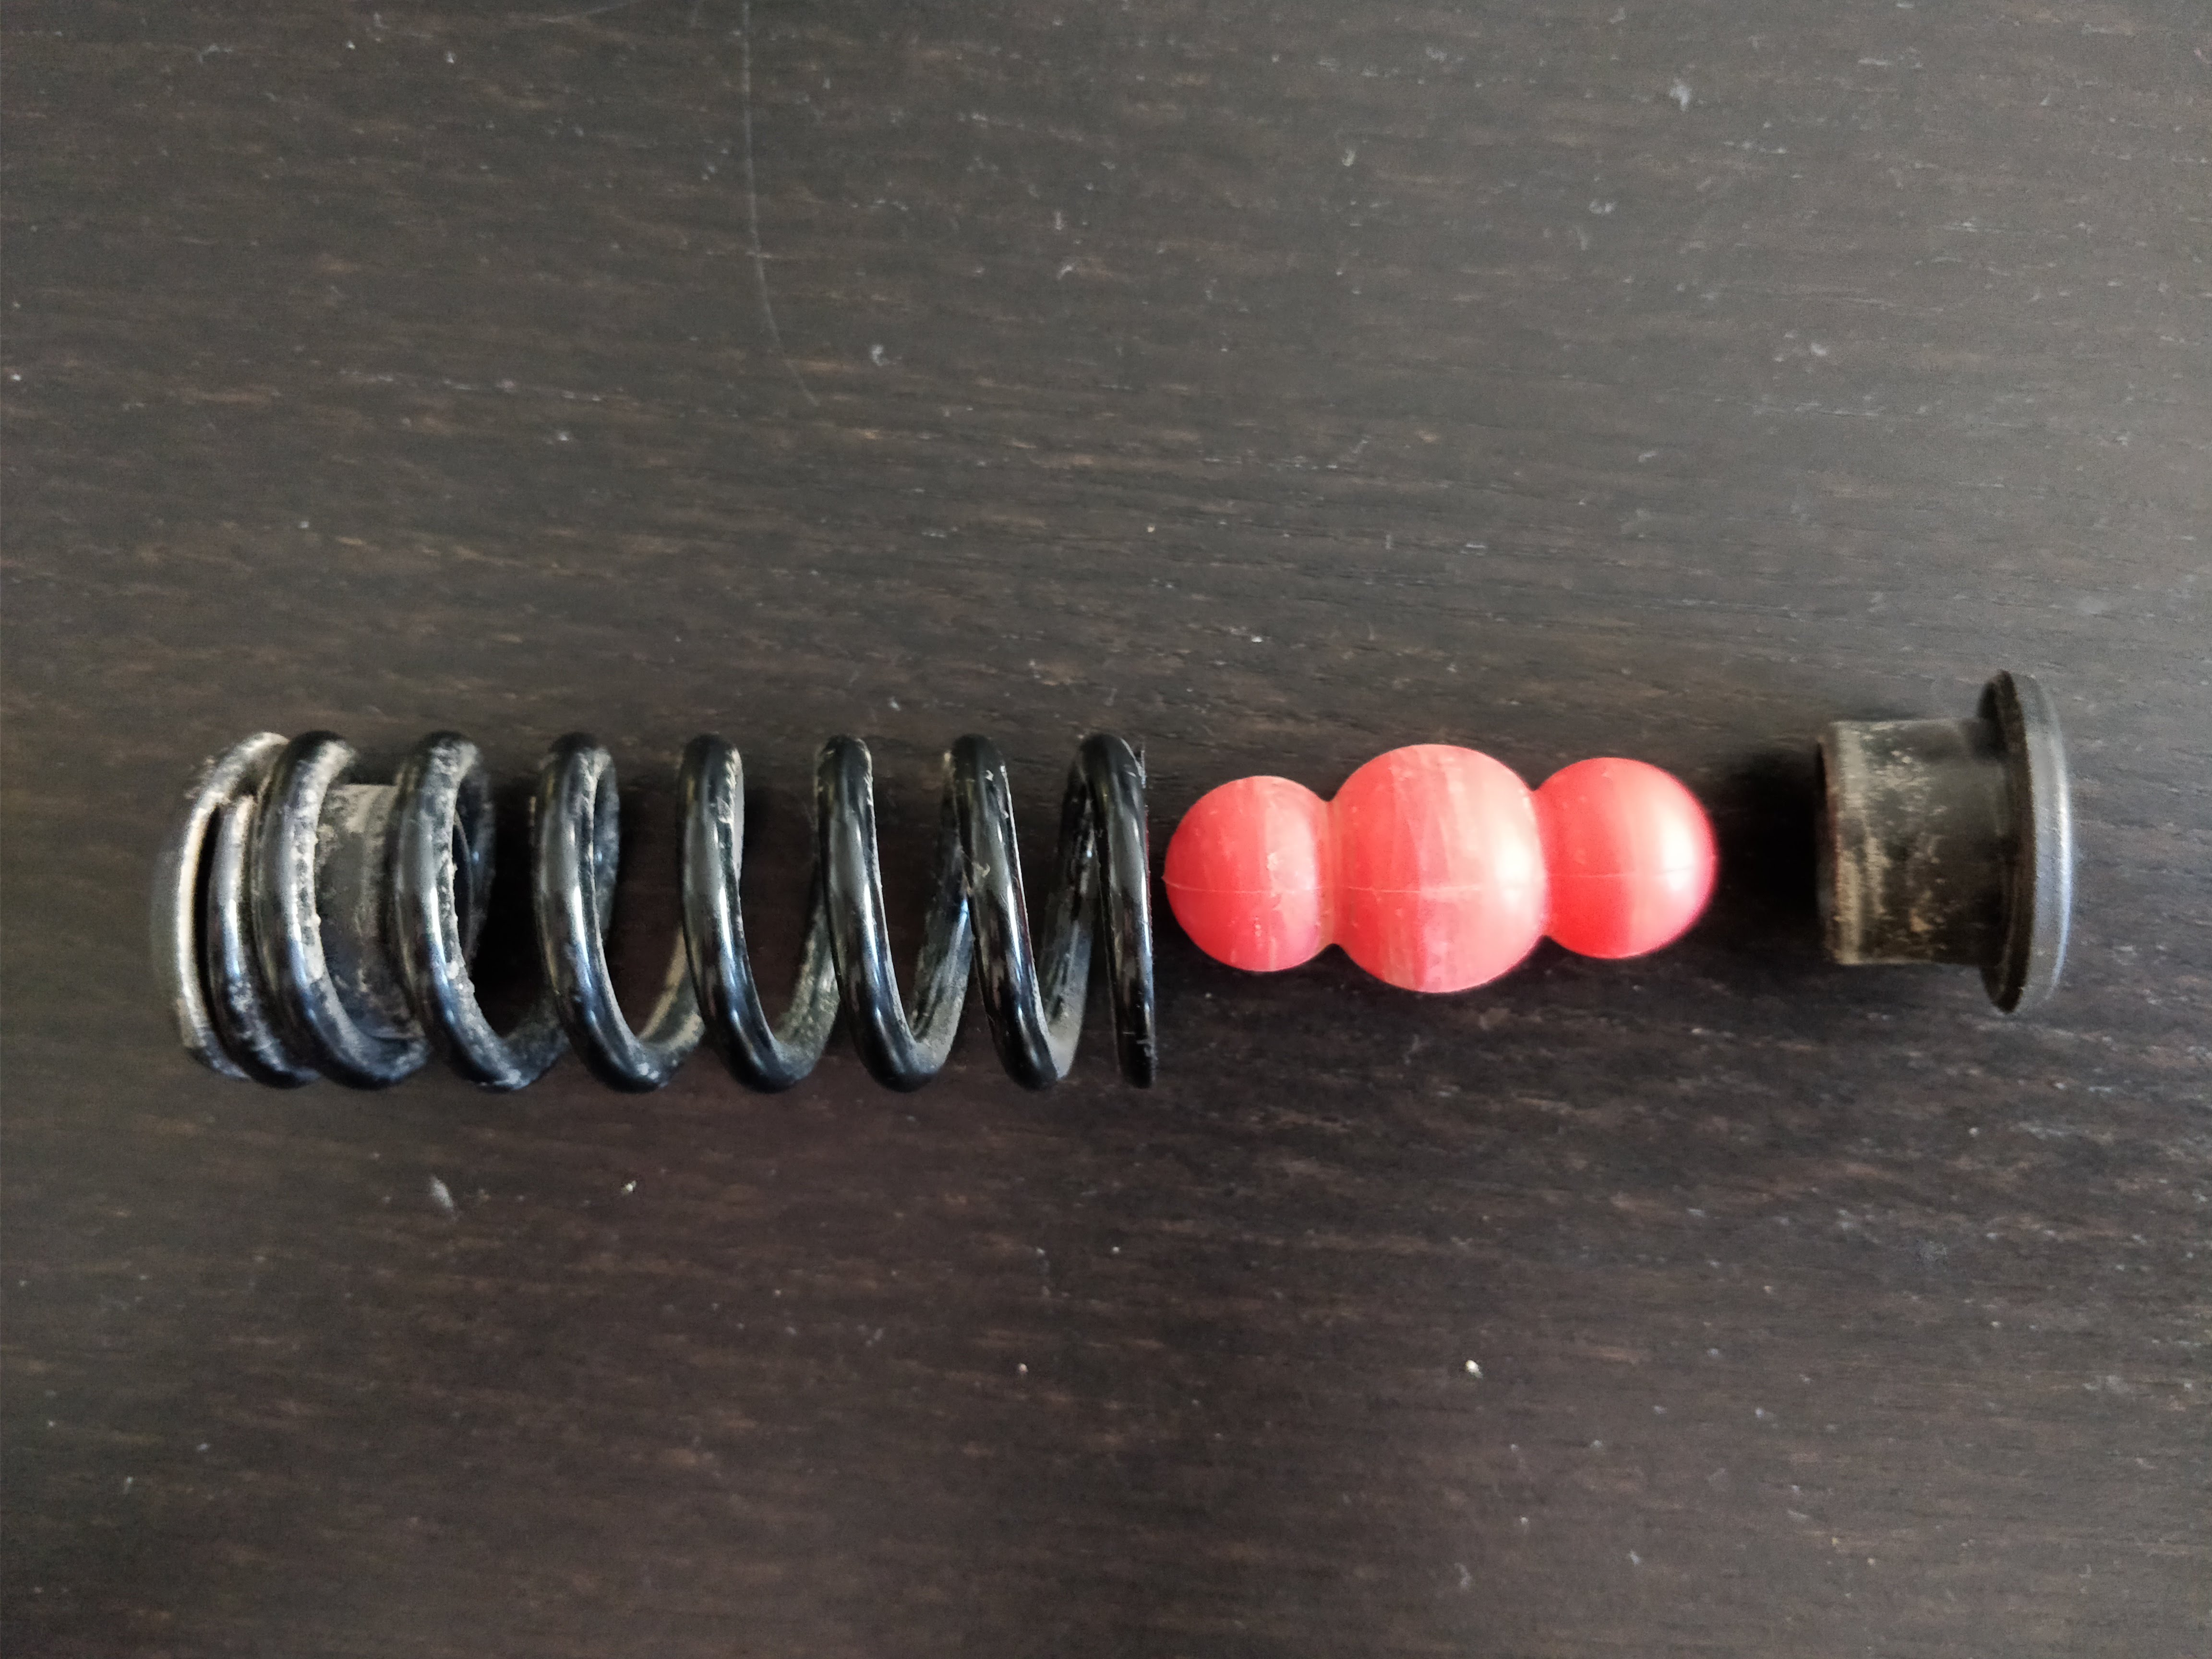
Then take the bushing off
Align the hanger bracket and screw one spring only
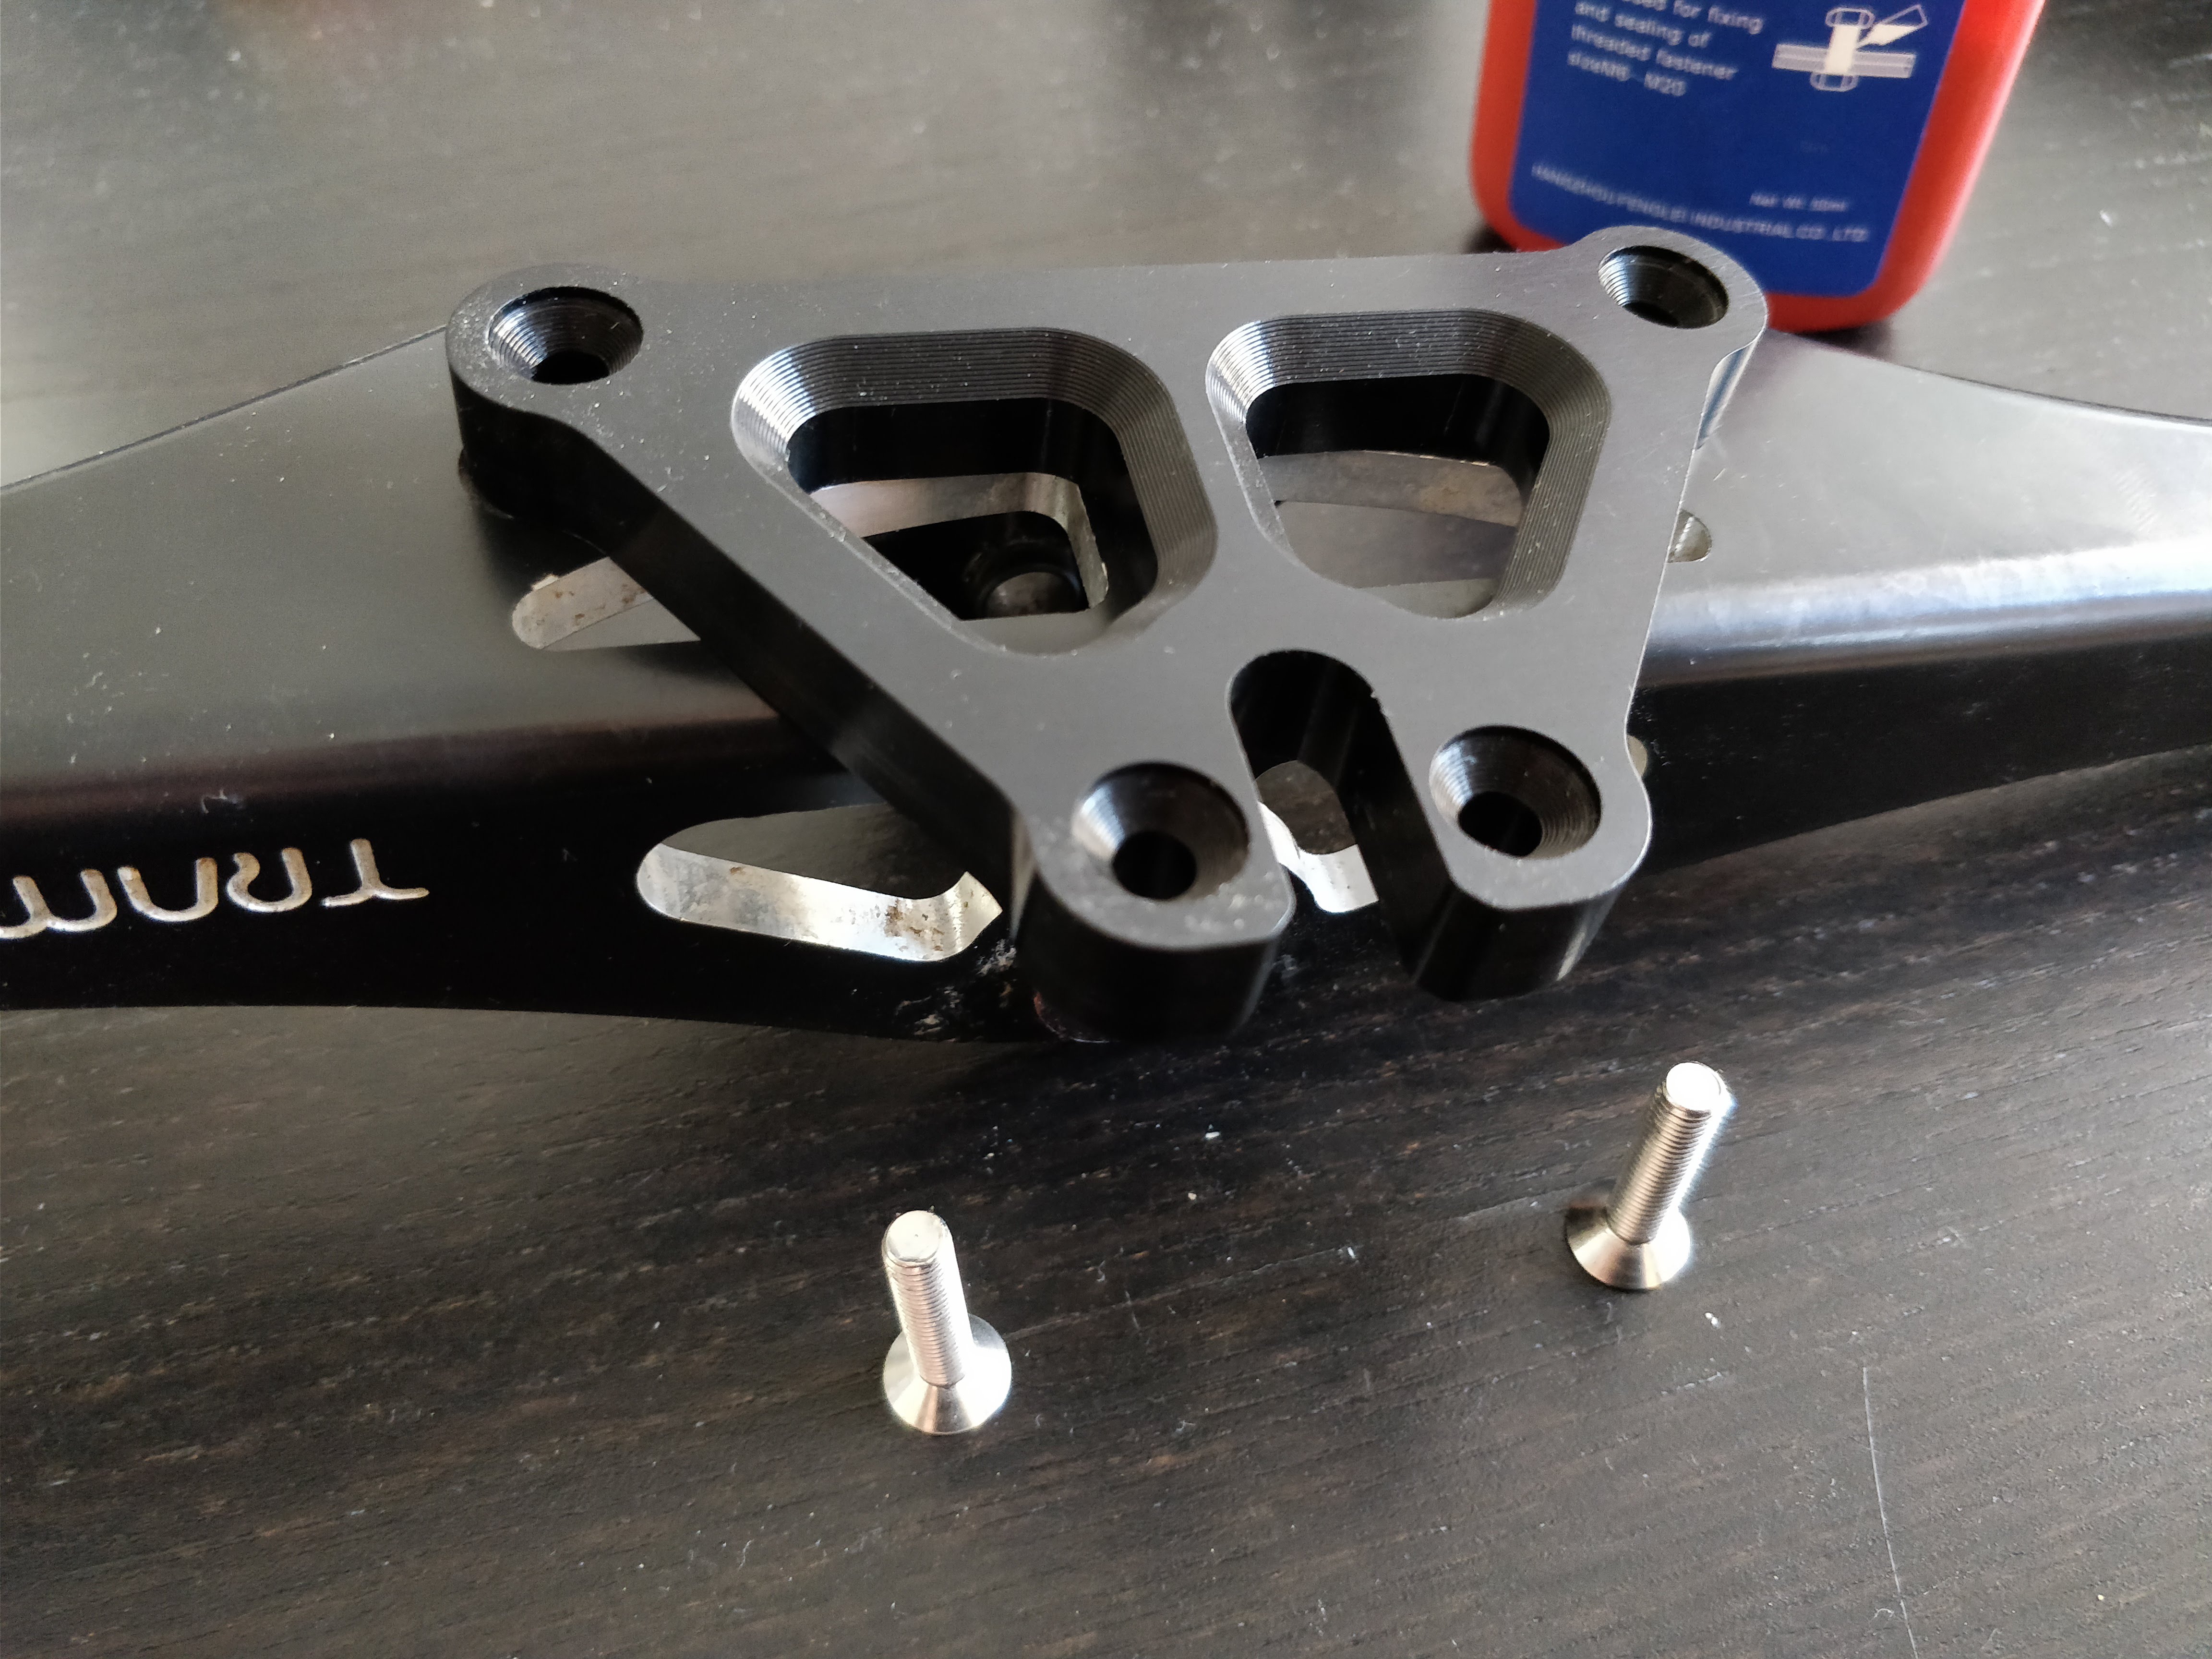
 Take care of the side ! The slot has to be on “Trampa” mark side.
Now comes the effort… Fighting against the springs !
Align baseplate and hanger axis and install then screw the axis. With a clamp, tighten the spring to open the other side enough to install the second spring.
 This is very hard (at least, it was with my cheap clamp) and can be quite dangerous if the clamp slips and the compressed spring is released suddenly ! So be careful (wear glasses at least to protect your eyes).

Install the second spring and screw it. You’re almost done !
4. Install steering damper
Ensure that the axis is well tight (not too much to avoid damaging the plastic spacers). Use a droplet of thread lock and insert screws into damper holers. Then put spacers on.

Align damper “needle” with the hanger bracket slot and screw the damper to the baseplate bracket. You’re now done !!


5. Adjust settings
Tighten the spring to the previous settings. Then, I suggest you set the damper “force” to the middle. The knob works this way :
- Turn clockwise to increase damping effect
- Turn counter clockwise to decrease damping effect
The knob turns infinitely, but you can feel a gap with no “click”. If you cross the gap, you restart the cycle (e.g turning clockwise, if you cross the gap, you go from full damping effect to soft damping effect).
Be careful for your first ride test !
This damper (if set strongly) can compensate a too-loose springs setting until a certain speed.
I ended up suddenly wobbling @ 45 kph without any hints because my springs were not tighten enough.
So, spend a bit of time setting your springs and dampers, it’s worth it 
Hope this tutorial helped.
Cheers !
