Hi there as mentioned on the title I have some pics and will try to explain on how I modded my mini controller from using disposable batteries to using a single lipo rechargeable battery with a lcd voltage meter to know when to recharge the controller.
These are the parts I used. But you can choose to use something different.
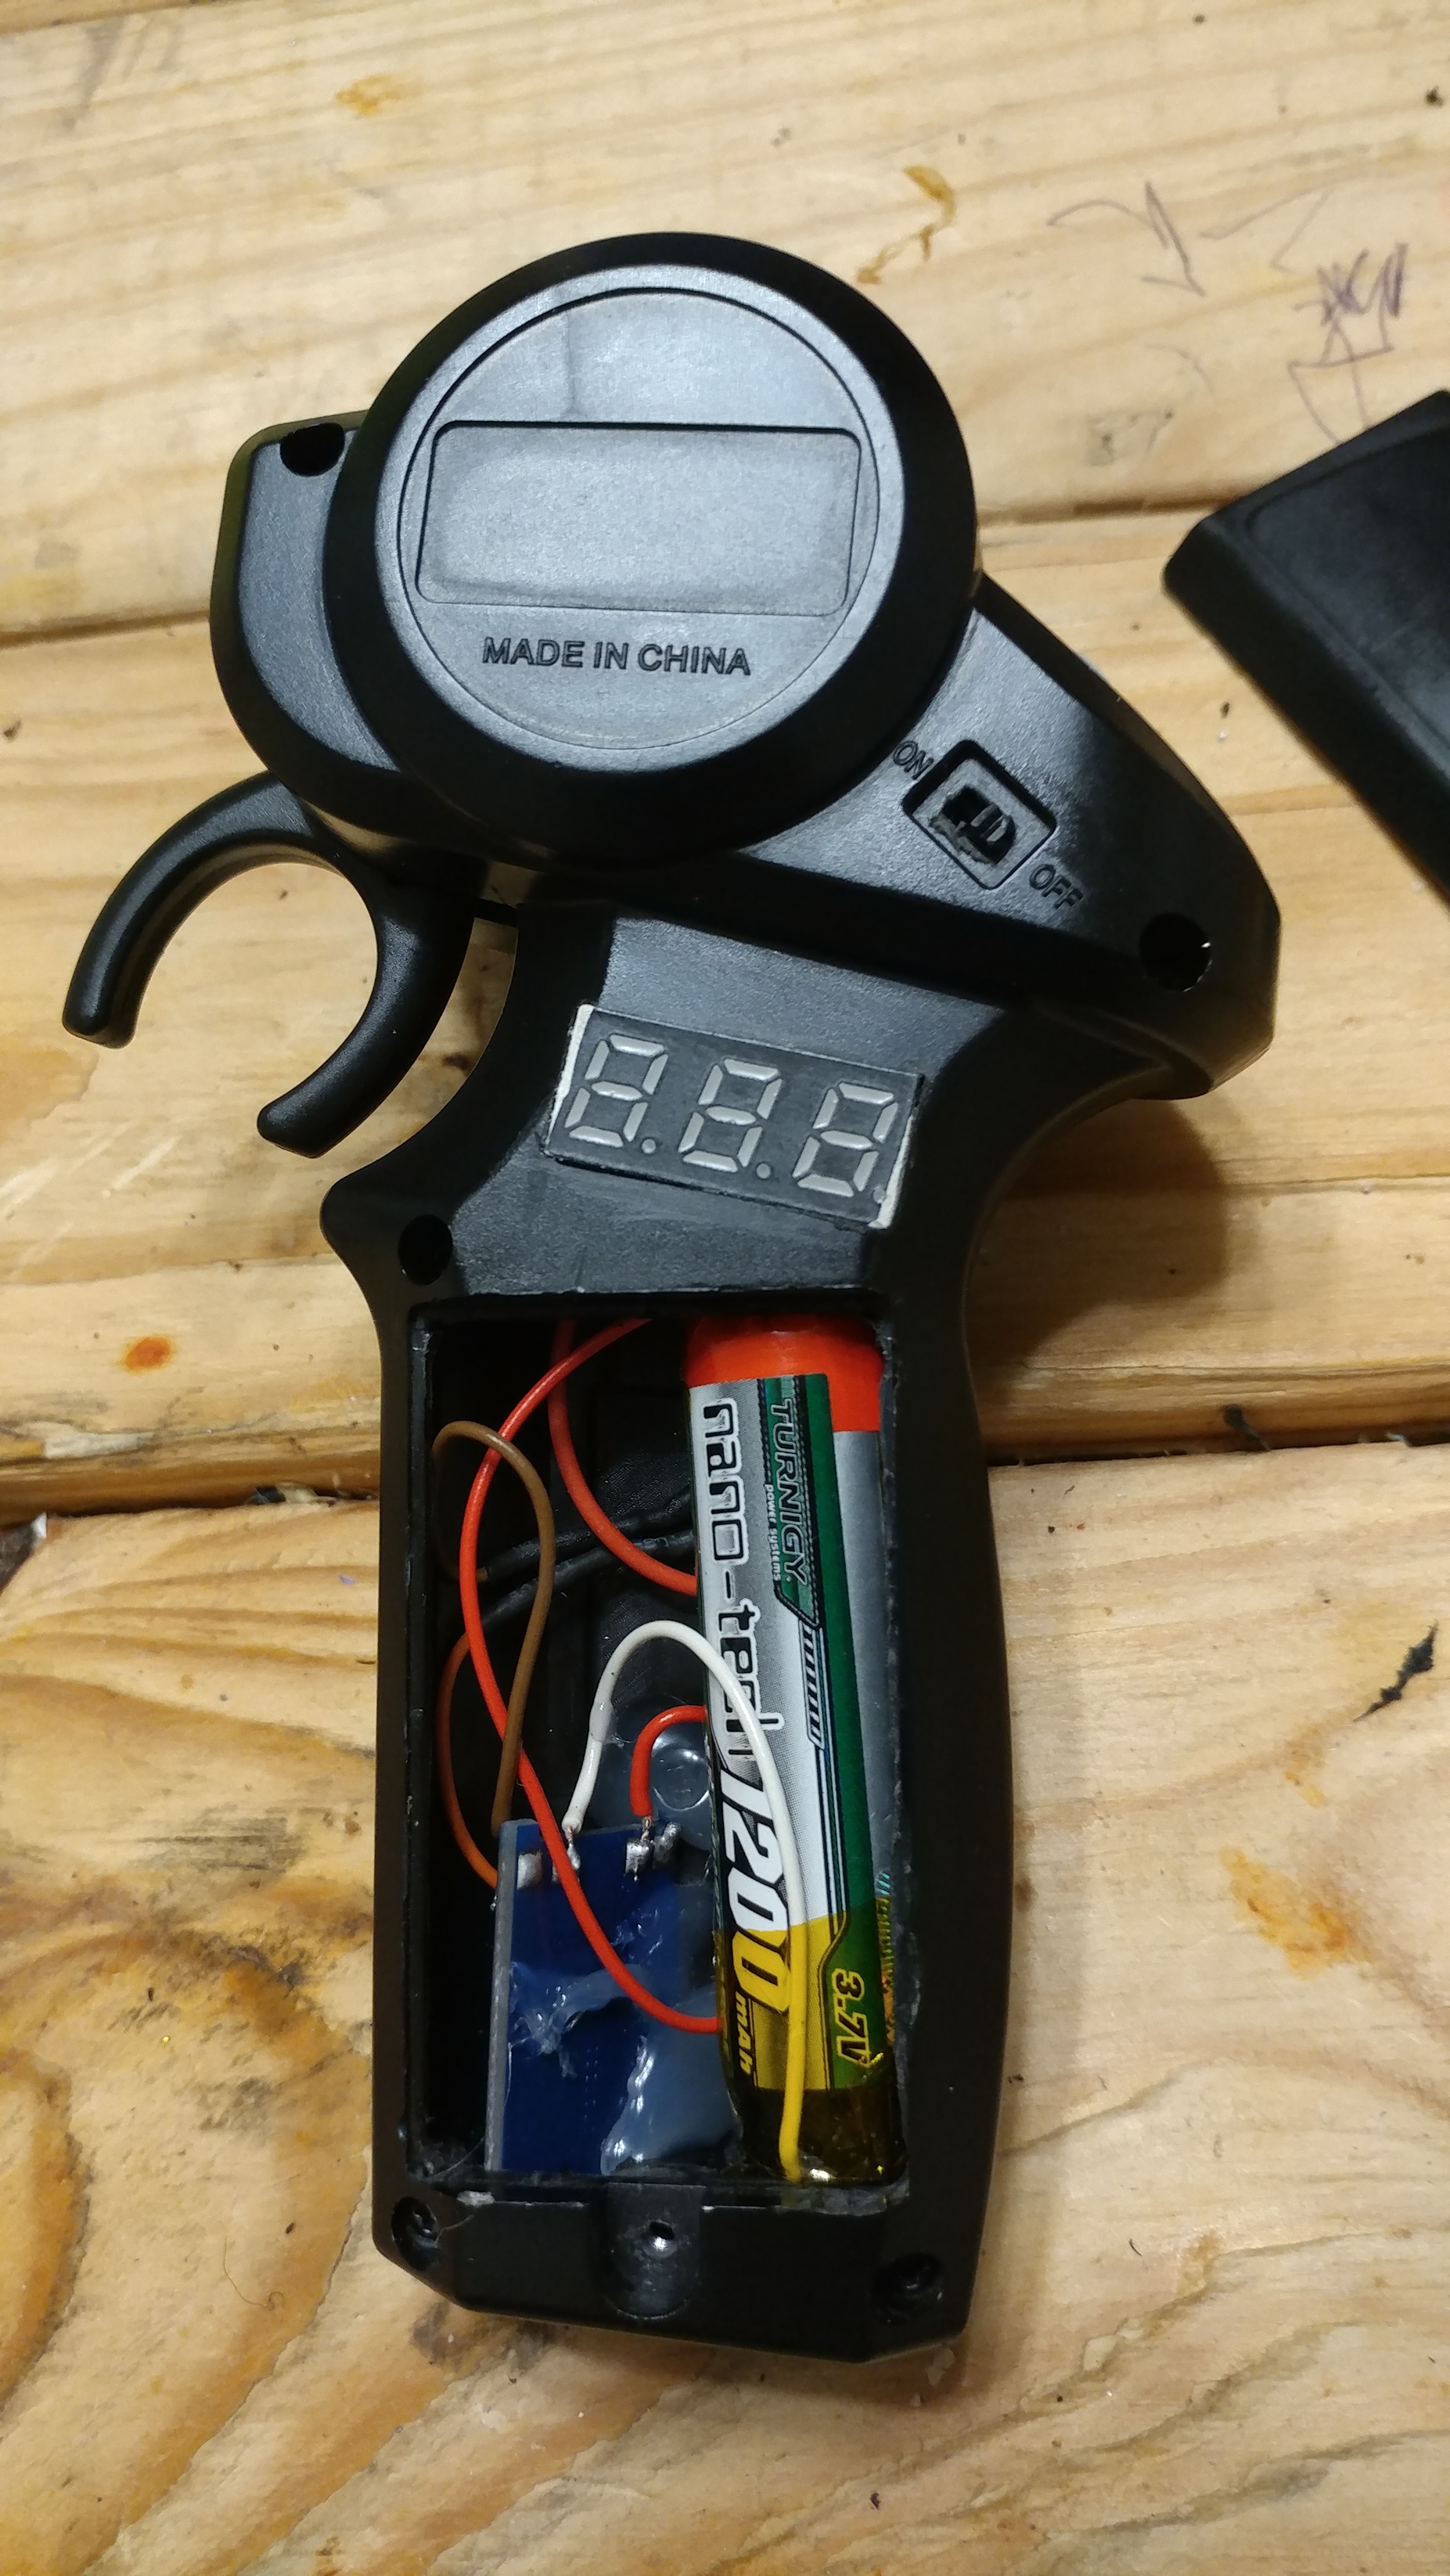
I started by opening the control and removing the tray for the AA batteries to make space. Then I soldered the battery leads from the remote to the charging board here.
I soldered it this way to use the undervoltage cutoff from the board.
After that I turned on the remote to check if it was working while it was on I used a voltmeter to check where the negative and positive were on the switch located on the control to solder my lcd voltage display which were these. If you want to do the same please check your control to know which is (- and +) on you remote.
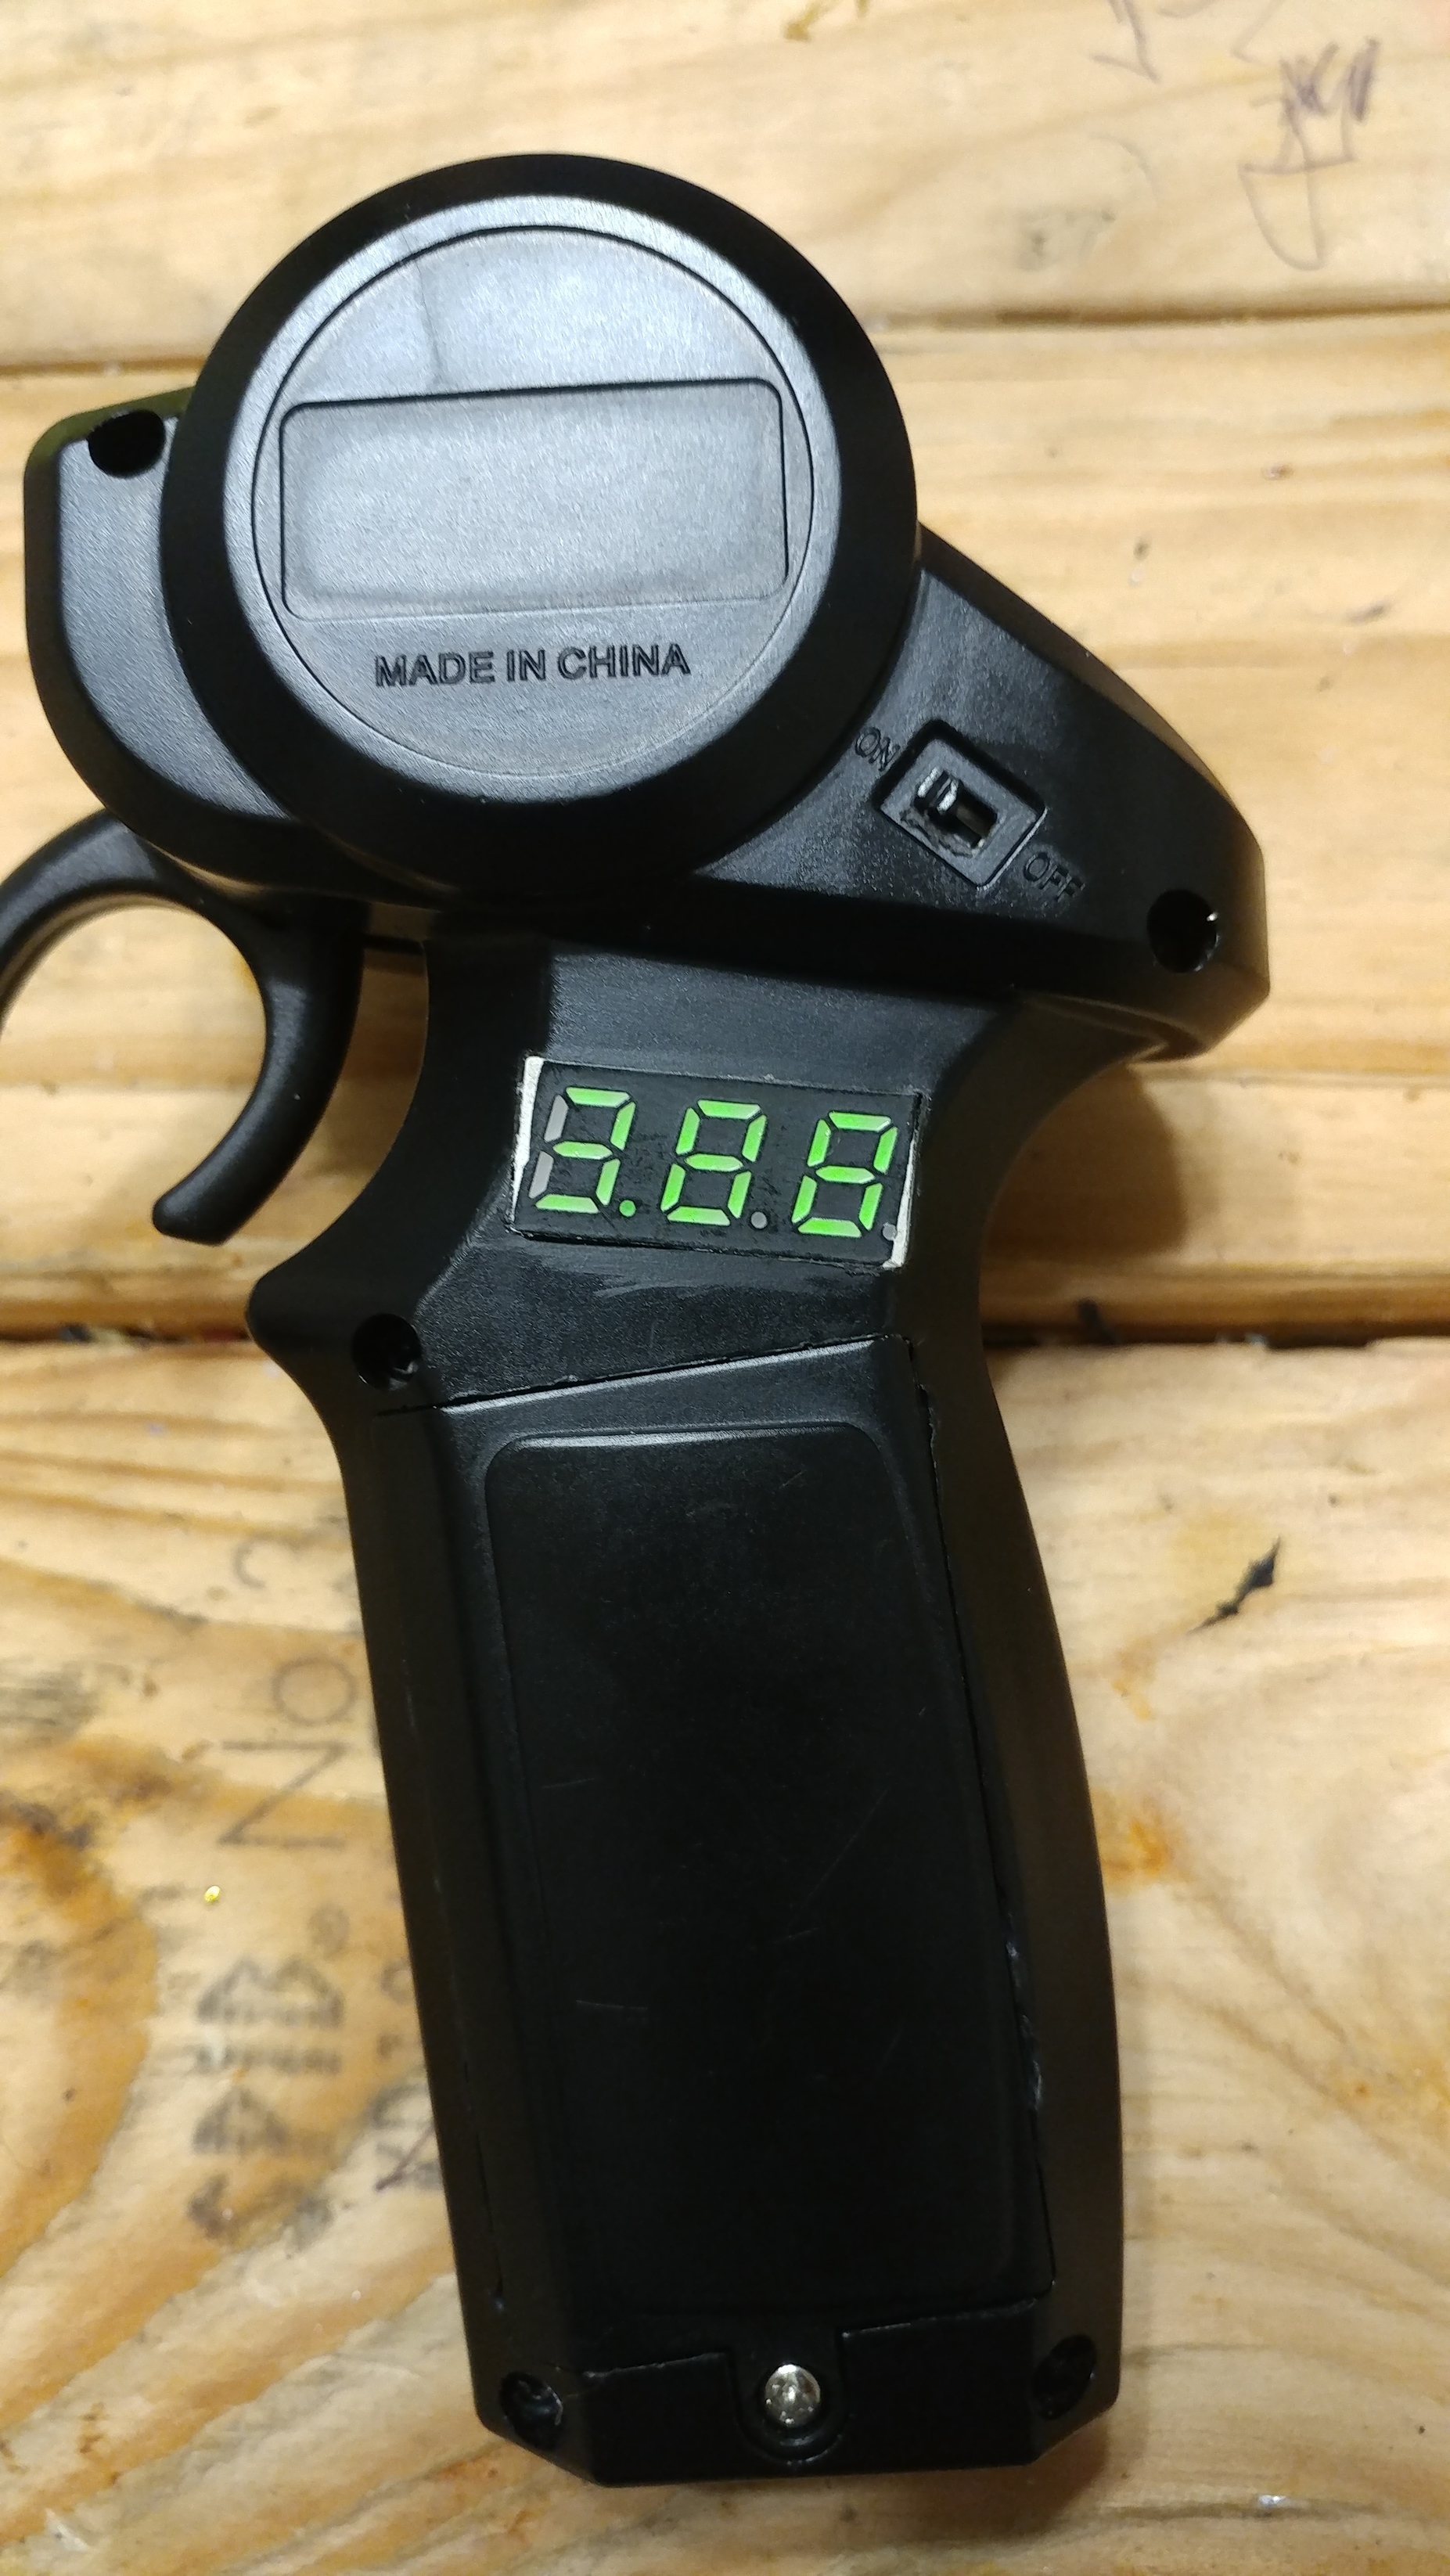
After I made a hole for the display and hot glued everything down. Now my display’ s edges came out too much so I filed it down which now shows white edges but it didn’t mess up the display. You don’t have to do that I just didnt like how it felt on my hand. Also the battery I am suggesting as opposed to the one I used is smaller and would go in slanted if you purchase it becasue of the cost. Currently the one I’m using is expensive at around $23 with international shipping and the one I suggested is arpund $8 with shipping.
This is how I put it all together. If you have any questions please feel free to ask. I will try to answer as best as I can. Also if you can’t make it yourself for any reason I will try to have some made but I can’t promise many at this time because of financial issues. Thanks for taking your time to read this.
I love this work. You have inspired me to try the same also. Going to try some other modules to monitor battery voltage. Will post pictures when I get parts and do it.
I plan on cnc milling the controller case to get the best accuracy
@deucesdown@LukePL no magic smoke so far but I havent had a long run with it unfortunately it is too cold out here where I live to properly test it but it shows promise on a bench test. I would doubt it would smoke up since its only 1.2 volts higher than the AA batteries plus the charging board discharges at a max of 3amps but I doubt the control uses that much or even the display.
@evoheyax I would love to see pics of this once your done please post them on here too.
That test would actually be a wonderful one and the results will show us all how to really go about it and know what are real safe parameters for the remote
Thank you, its great to see this mod broken down in simple steps!
You’ve made a great controller even lighter and more intuitive.
Your a step closer to charging right from the board too!
Thank you for testing the 4.2V as well, I couldn’t step up to the plate myself.
Where you placed the voltage monitor, I installed a large rocker switch to replace the micro on/off switch which failed after some heavy use.


 Thank you for testing the 4.2V as well, I couldn’t step up to the plate myself.