This build started with the purpose of getting me to the store down the street a little quicker. Then I started reading about all of these crazy build people were putting together. It turns out that the route I’ve chosen is overkill for a ride down the block due to the weight and size of the thing. But I feel that it will be better served for cruising the mountains around me, and for long distance rides.
Now it’s almost finished. Today I will post some photos of the steps that I took. Can someone please go over my Focbox settings with me sometime to make sure it all looks good? That will at least give me some peace of mind for the first run.
@bigben Your enclosure looks excellent! It’s even more robust than it appears. @Jlabs The battery pack and modular pulleys are perfect so far. Thank you for all of your help. @Alphamail I appreciate the advice you gave me for getting this board configured for the deck, dewedging, and my bodyweight. @Deckoz Thank you for helping me with all of my little questions!
-
Electronics
- 12s4p battery pack: 30Q cells, 2A charger, E-switch, BesTech 80A BMS, voltage reader, and xt60 adaptor. BuildKitBoards.com
- (2) Enertion Focbox
- (2) Focbox Sensor wires
- VESC CAN Bus Connector
- Male to Male Servo connector
- Metr Pro Bluetooth Module
- TorqueBoards Nano remote control
-
Drivetrain
- (2) TorqueBoards 6374 190kv motor
- (2) Enertion Motor mount (Carbon/Aluminum)
- (2) 15t 15mm Motor Pulley
- (2) 36t Flywheel Modular Pulley
- (2) Jason 270-5M-15 Synchronous Timing Belt
-
Skateboard
- Landyachtz 39” Evo Deck
- Abec11 Superfly 107mm wheels
- Bronson G3 Bearings
- TorqueBoards 218mm Trucks
- Front
- Khiro Angled Wedge Rail 5 Degree dewedge
- Baseplate from 44° Caliber II
- Rear
- 3d printed cable management riser
- Hardware
- M5 x 0.8 Flat Head Socket Cap Screws 45mm
- M5-0.8 / 5mm - Nylon Insert Hex Lock Nuts
- M5 / 5mm - Metric DIN 125 A Flat Washers
- M5 BLACK Anodized CNC Billet Aluminum Finishing Washers
- Bushings (Riptide):
- Caliber II pivots 96a front and back
- Front- KranK Canon / Canon 87a
- Rear- Krank Canon / Magnum (roadside)
- Front
-
Enclosure
- Big Ben Fiberglass Enclosure
- 20mm / M4 x 0.7 - Flat Head Caps Screws
- m4 anodized cup washers
- m4 self-tapping wood inserts
- Silicone O-Rings 5/32" ID X 9/32" OD
- Weatherstripping (B shape)
- Big Ben Fiberglass Enclosure
-
Extras
- Loctite Blue 243
- Neoprene 1/8" thick sheet
- Dow Corning 737
- 5.5mm & 3.5mm Bullet Connectors
- 12AWG Silicone Wire 2m (Red & Black)
- Nylon XT60 Connectors Male/Female
Photos:
First part arrived! Landyachtz Evo Deck - with Elon ready to go
More parts are coming in. Motors, Trucks, bushings, bearings, wheels, bolts, and washers.


Front Trucks TB 218mm with 44° Caliber II baseplate and 5° dewedge
Rear Trucks TB 218mm - no changes
Comes out to 54/35.


Fiberglass enclosure arrived

Drilling holes for inserts

Inserting… Inserts


Carbon fiber & aluminum motor mounts are here


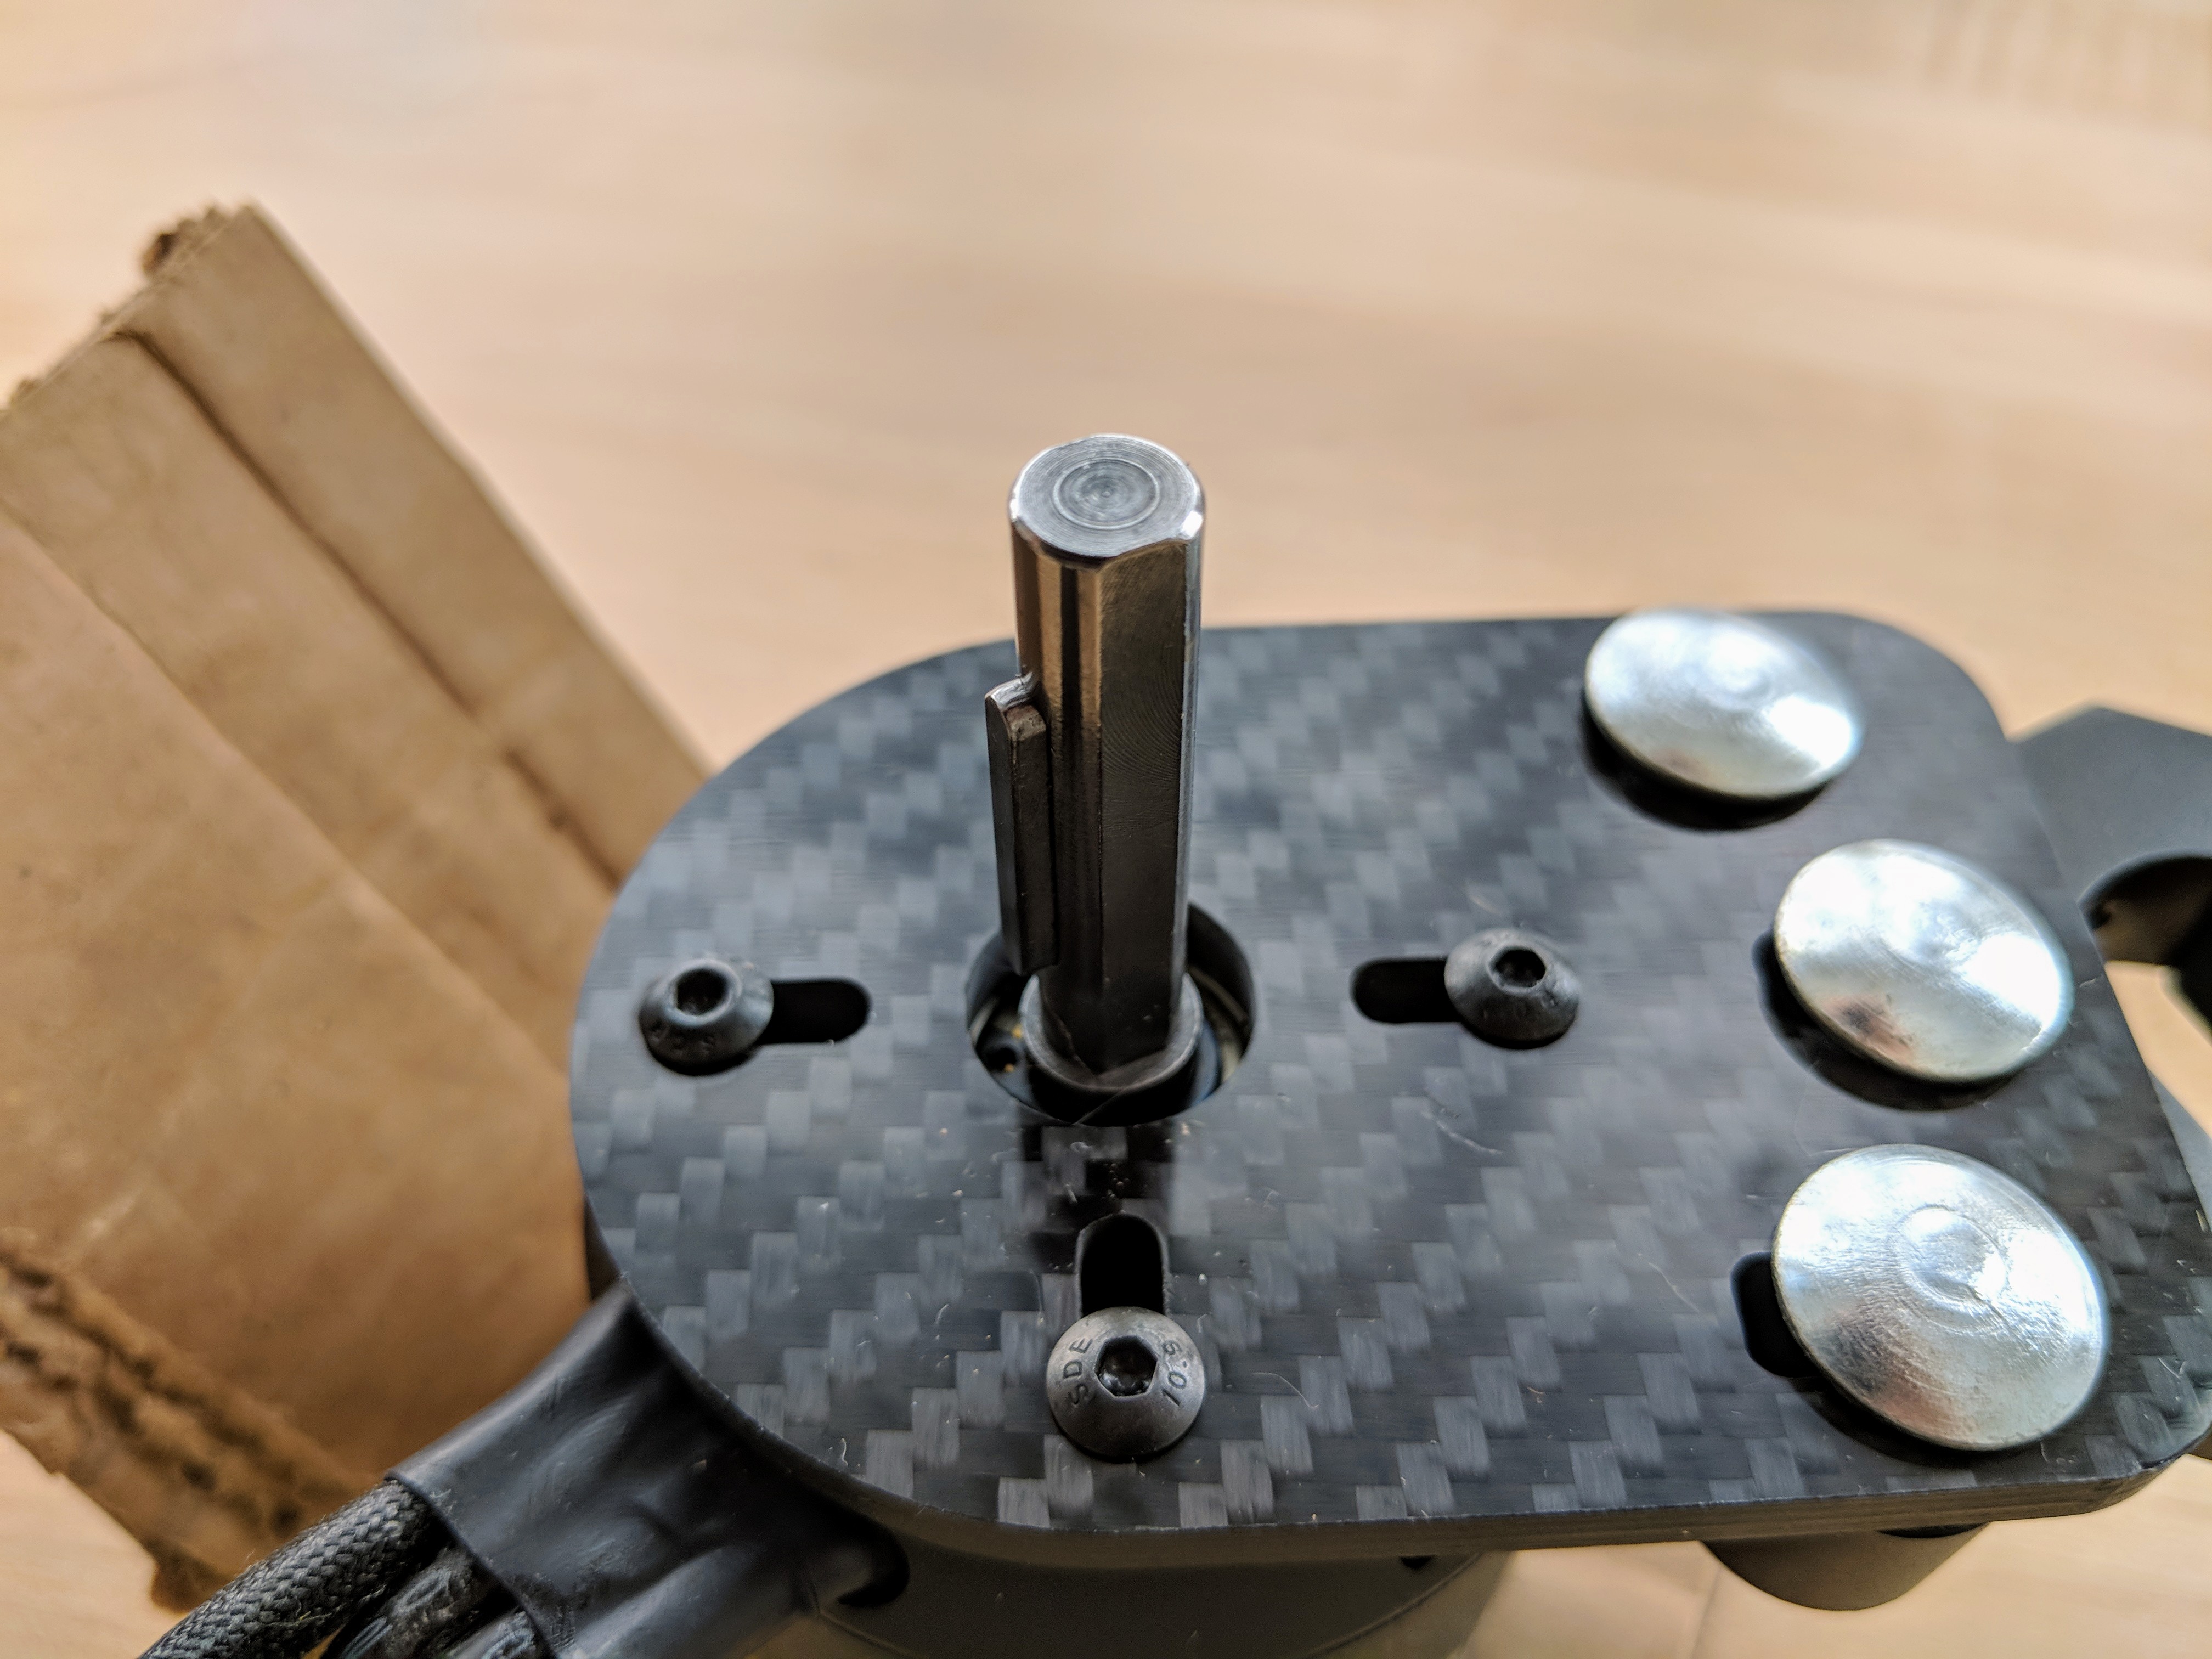
Inserting motor shaft keys and installing pulleys
 I used pliers to press the key into the shaft. The cardboard is there to protect everything from scratches.


Installing pulleys into wheels. - Pressing in the extra wide bearing wasn’t difficult.
 Pressing in the hub required a lot of force, and I didn’t have a clamp. I ended up standing on them.

Get the Loctite and bolts out. - I’m using Wera Hex-Plus tools for everything. These things are really cool. I never liked using hex tools for the smaller stuff because of their tendency to strip the heads. But these tools, combined with high-quality bolts, are unstoppable.

 Not as flush as I wanted. But I’m pretty sure that it won’t go any farther. @jlabs This is normal right?

The battery pack arrived - Trying to figure out what to do with it.

Parallel connector for the speed controllers - Elon is beginning to trust the butane soldering iron/heatgun


Programming speed controllers with the Bluetooth module - It will be nice to have once everything is bolted together!

Here’s the receiver - Not much to say here, haha.

Managing motor phase wires - This process used way more solder than anticipated! The riser was 3D printed.


Added weatherstripping and neoprene rubber to the enclosure
 This stuff smells aweful!

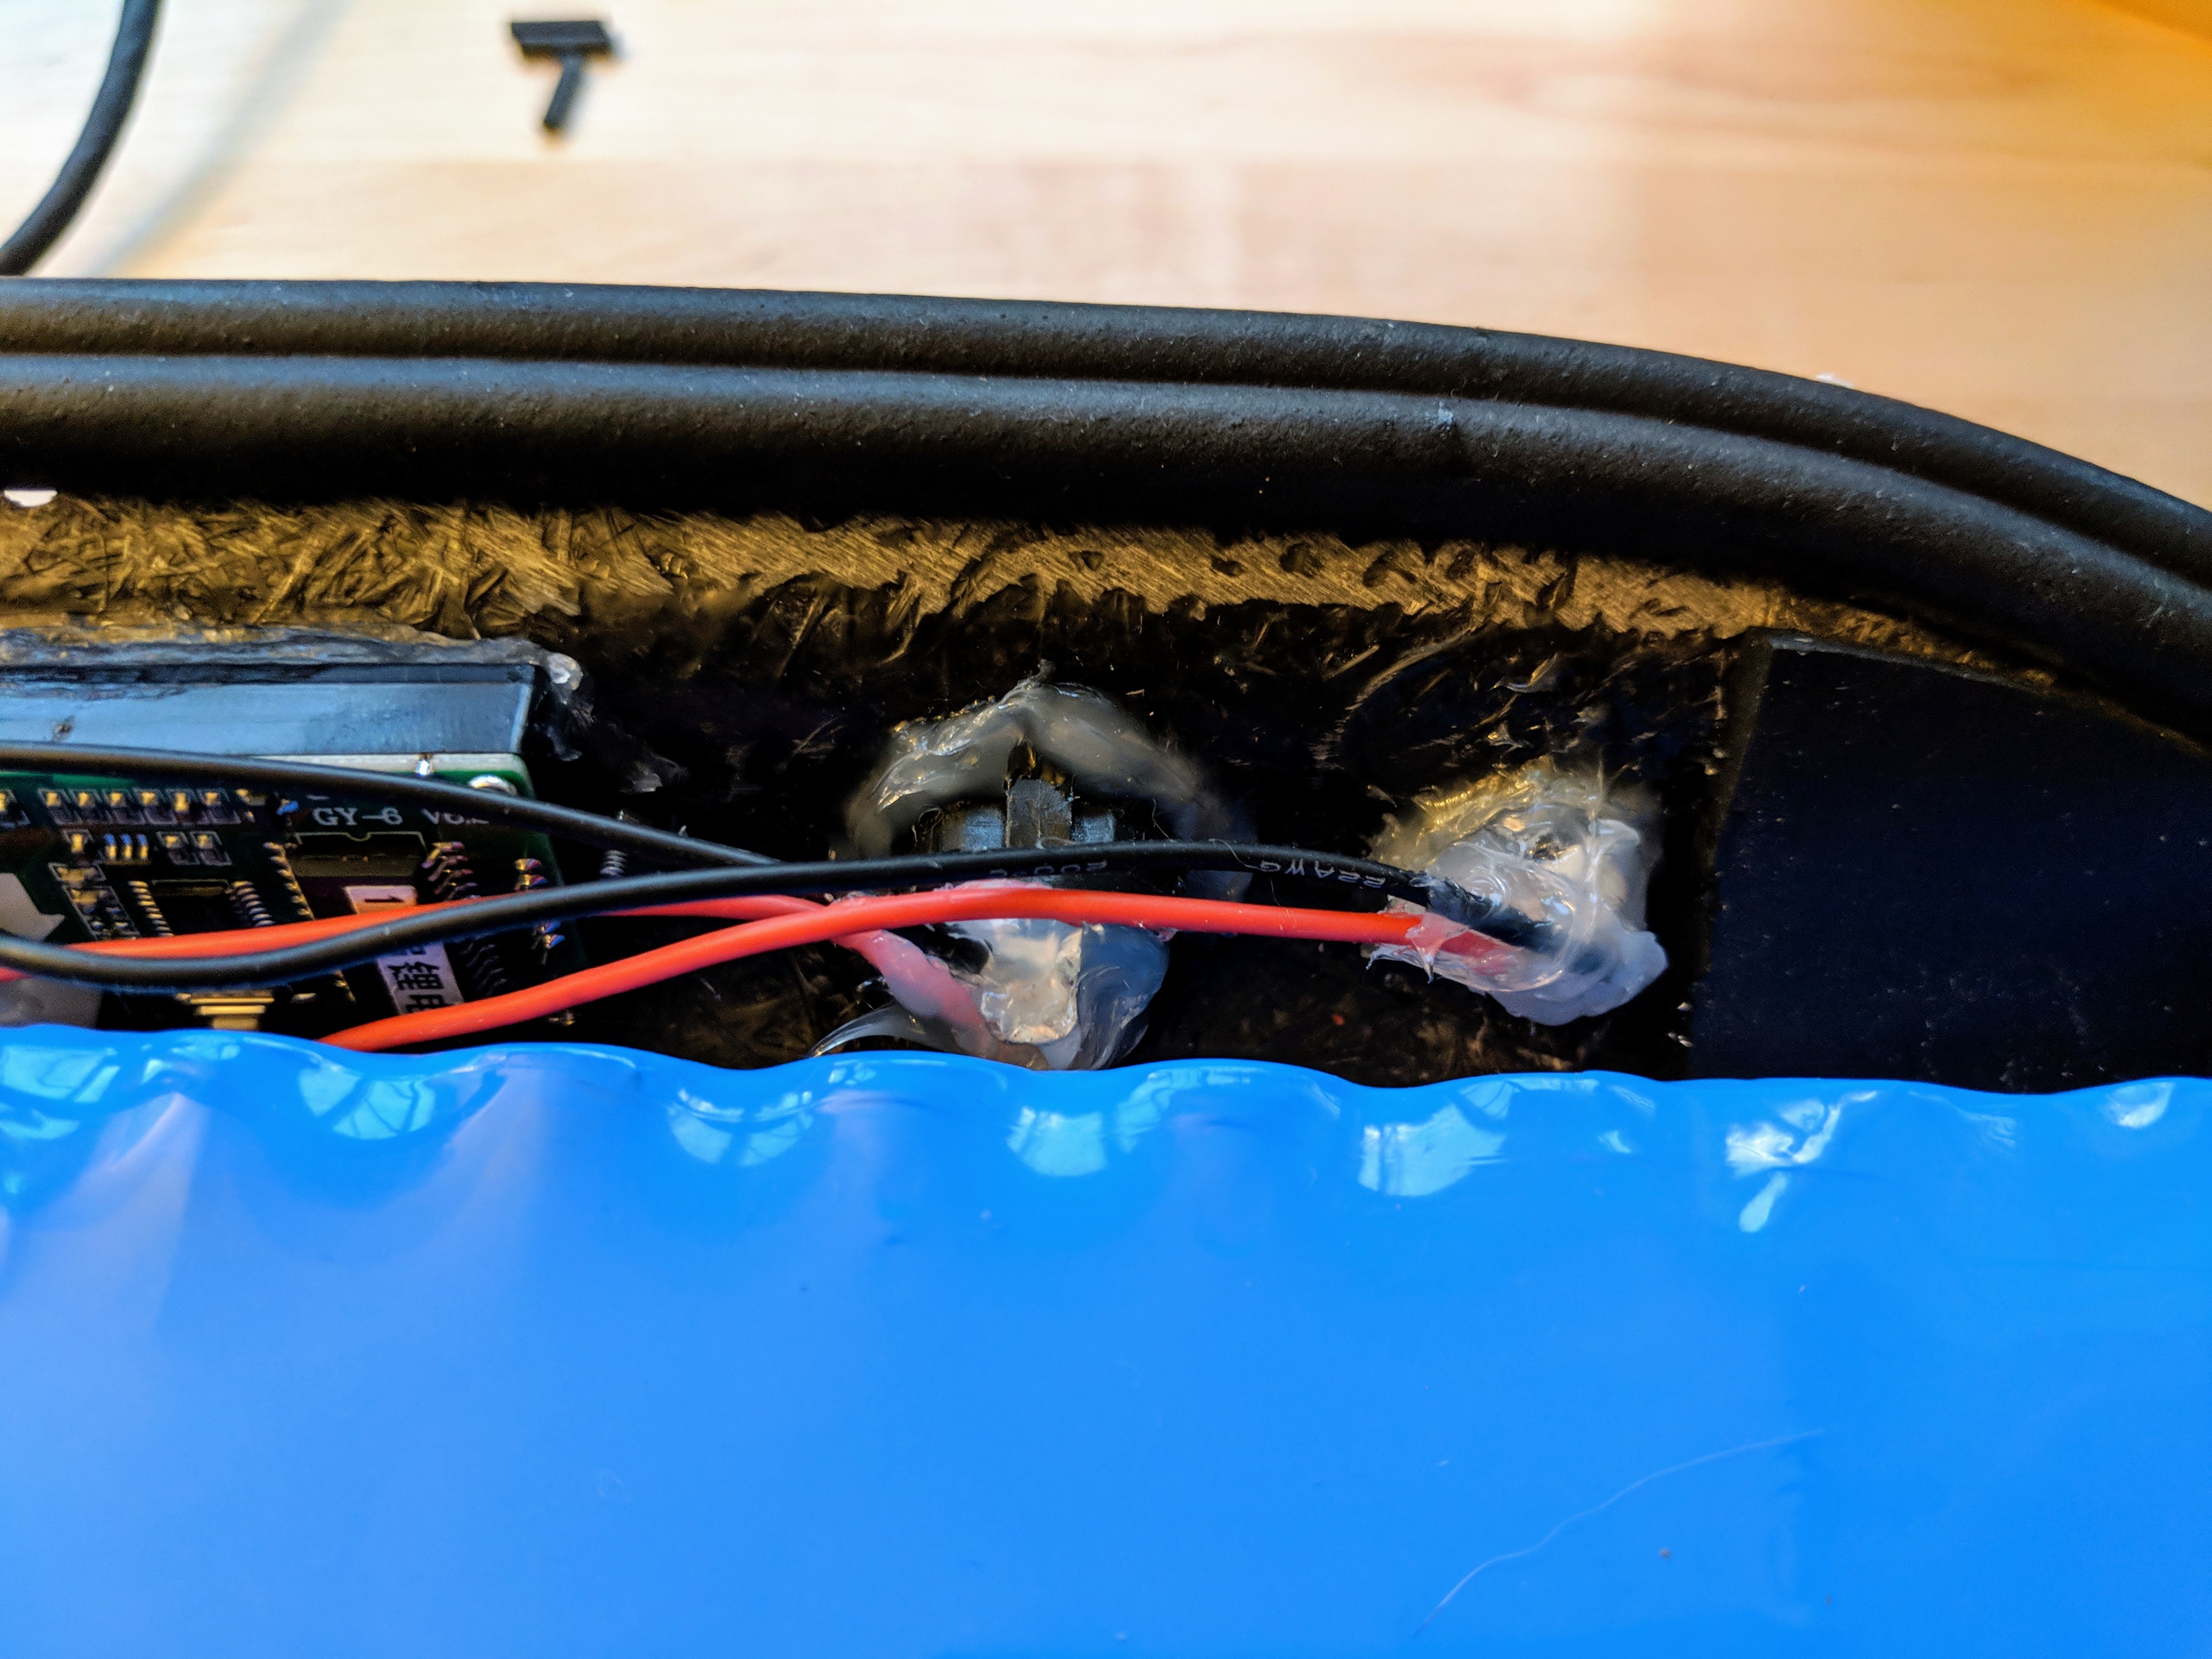
Electronics going in - This was tougher than I imagined it would be. There wasn’t much space, but I eventually made it work.

I ended up extending the receiver wires. It’s not in the photo, but the receiver was placed towards the front right corner of the board/enclosure, away from the mess of wires in the back. I’m hoping that this will decrease interference and give me a more solid connection.

Installing the battery meter, on/off switch, and charging port - After drilling and filing holes for these things, I used neutral cure silicone to keep the enclosure sealed.


Not my best work or proudest moment  - Any ideas on how to make this look better?


Belts installed

Enclosure mounted - Lots of things left to clean up. The o-rings under the mounting bolts are binding and popping out. I’ll have to figure out a fix for that.


Almost done - Still needs to be cleaned up


