Two weeks ago (as of Oct 2018) I came across two motors fresh in their box and I had always thought I would use them for an airplane or two (these motors are sold for RC airplanes). Then it popped into my head that they would be the perfect electric skateboard motors!!!

Then it happened… I found myself obsessed with building the ultimate commuter board and addicted to this process of building an electric skateboard. I commute via airplane (LongEZ) weekly to San Fransisco and have been seriously considering buying an eboard for getting around SF while I’m there. The only problem was I felt like the small wheels on the commercial boards would be problematic on the streets of SF. Could I build a better board? During my initial research, I found this forum and realized people were doing this successfully and often. Great community here! I’ve taken the eSk8 crash course over the last week. Now its time to BUILD!.
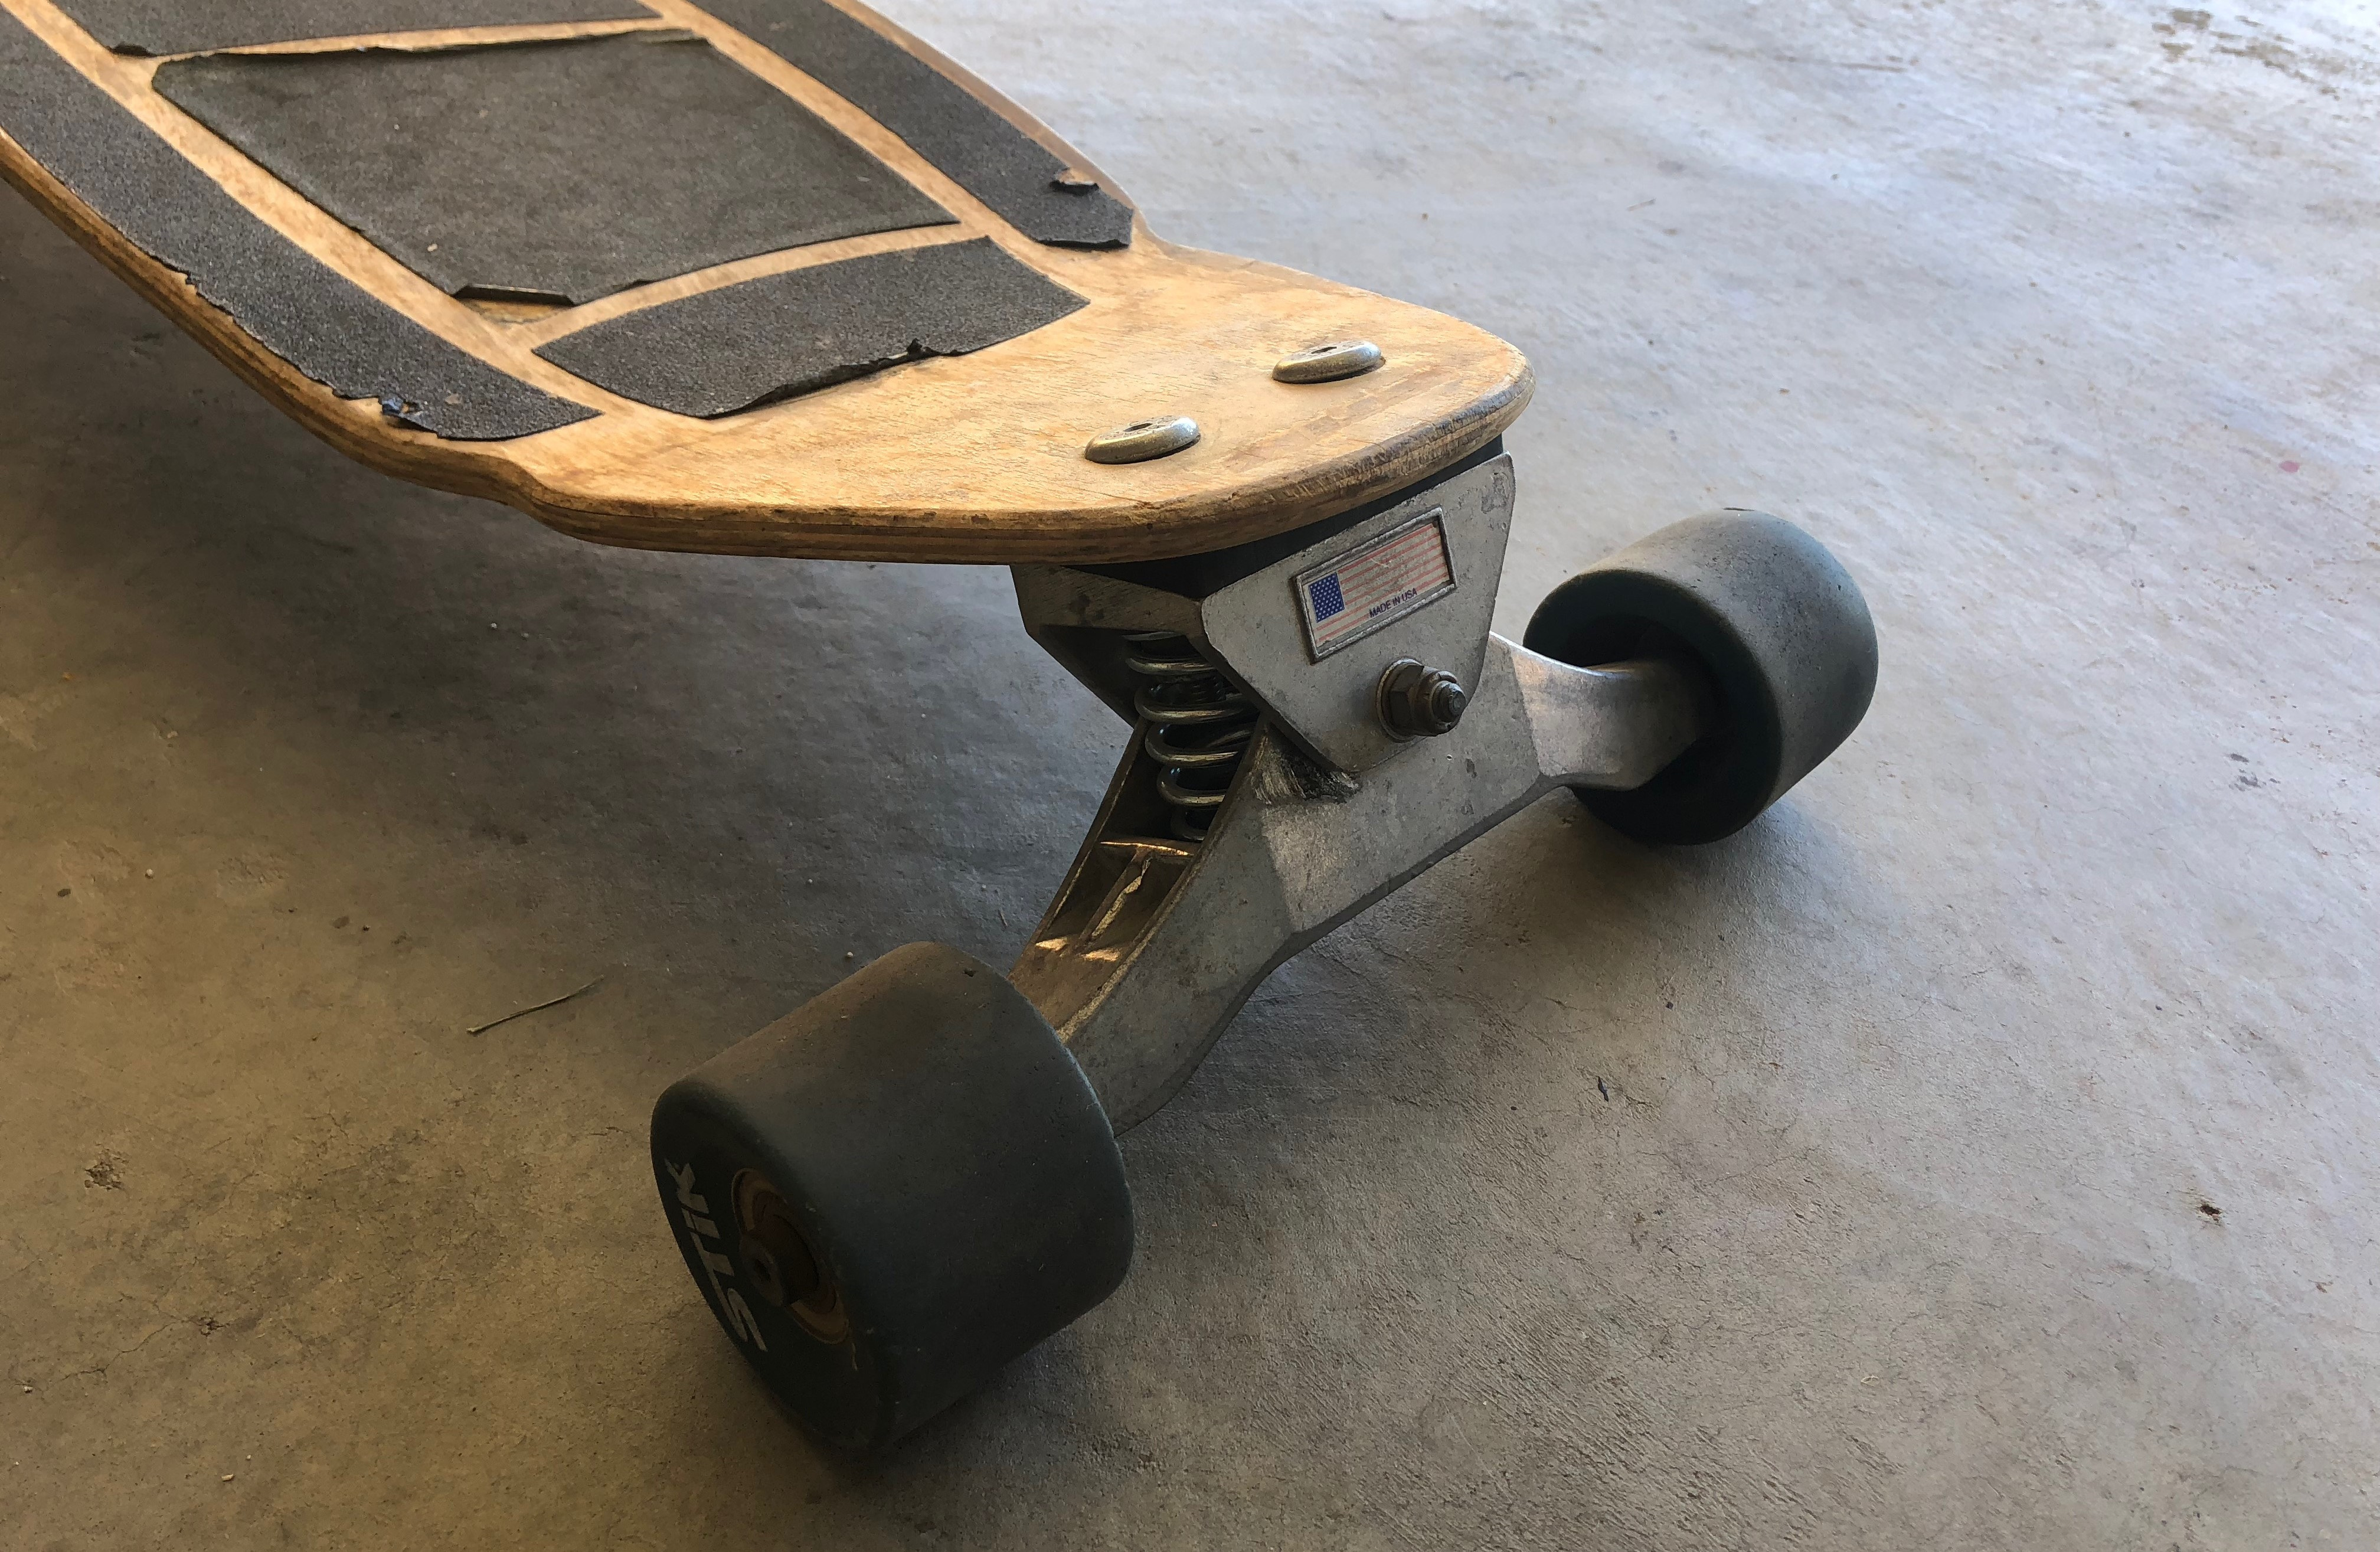
Objective: Build a fast and robust eboard for commuting that can handle tough urban and rural terrain, use the CarveBoard Stick chassis as a starting point. The CarveBoard Stick has been a GREAT skateboard!!!, iv ridden it hard for 10 years and now its time for a refurb and electrify it.

Requirements:
- Waterproof
- Not get tripped up on rocks, cracks, uneven pavement.
- Off-road capable but not a strong design point
- Stable at speed 30-40mph
- Reliable electronics
- Tough drive system
- Cost under $900 (not including parts I already have)
- Easy to use i.e. easy charging, operation, on/off,
- Fits in my LongEZ
Performance:

Specs as of Oct 2018 Two - Monster Power Series - 6356 kv295 Trucks - CarveBoardUSA - Stick Deck - CarveBoardUSA - Stick Wheels - 6x2 pneumatic Drive - Chain 5:1 (11T - 55T) ESC - Flipsky VESC Battery - 6 2S 6200mAh 50C LiPo Controller - XCSOURCE 2.4GHz Radio Motor Mount - Custom Carbon Fiber Battery Tray - Custom Carbon Fiber BMS - 48V 12S 80A Lithium Battery BMS
Phase I - Buy a bunch of parts to get the project going
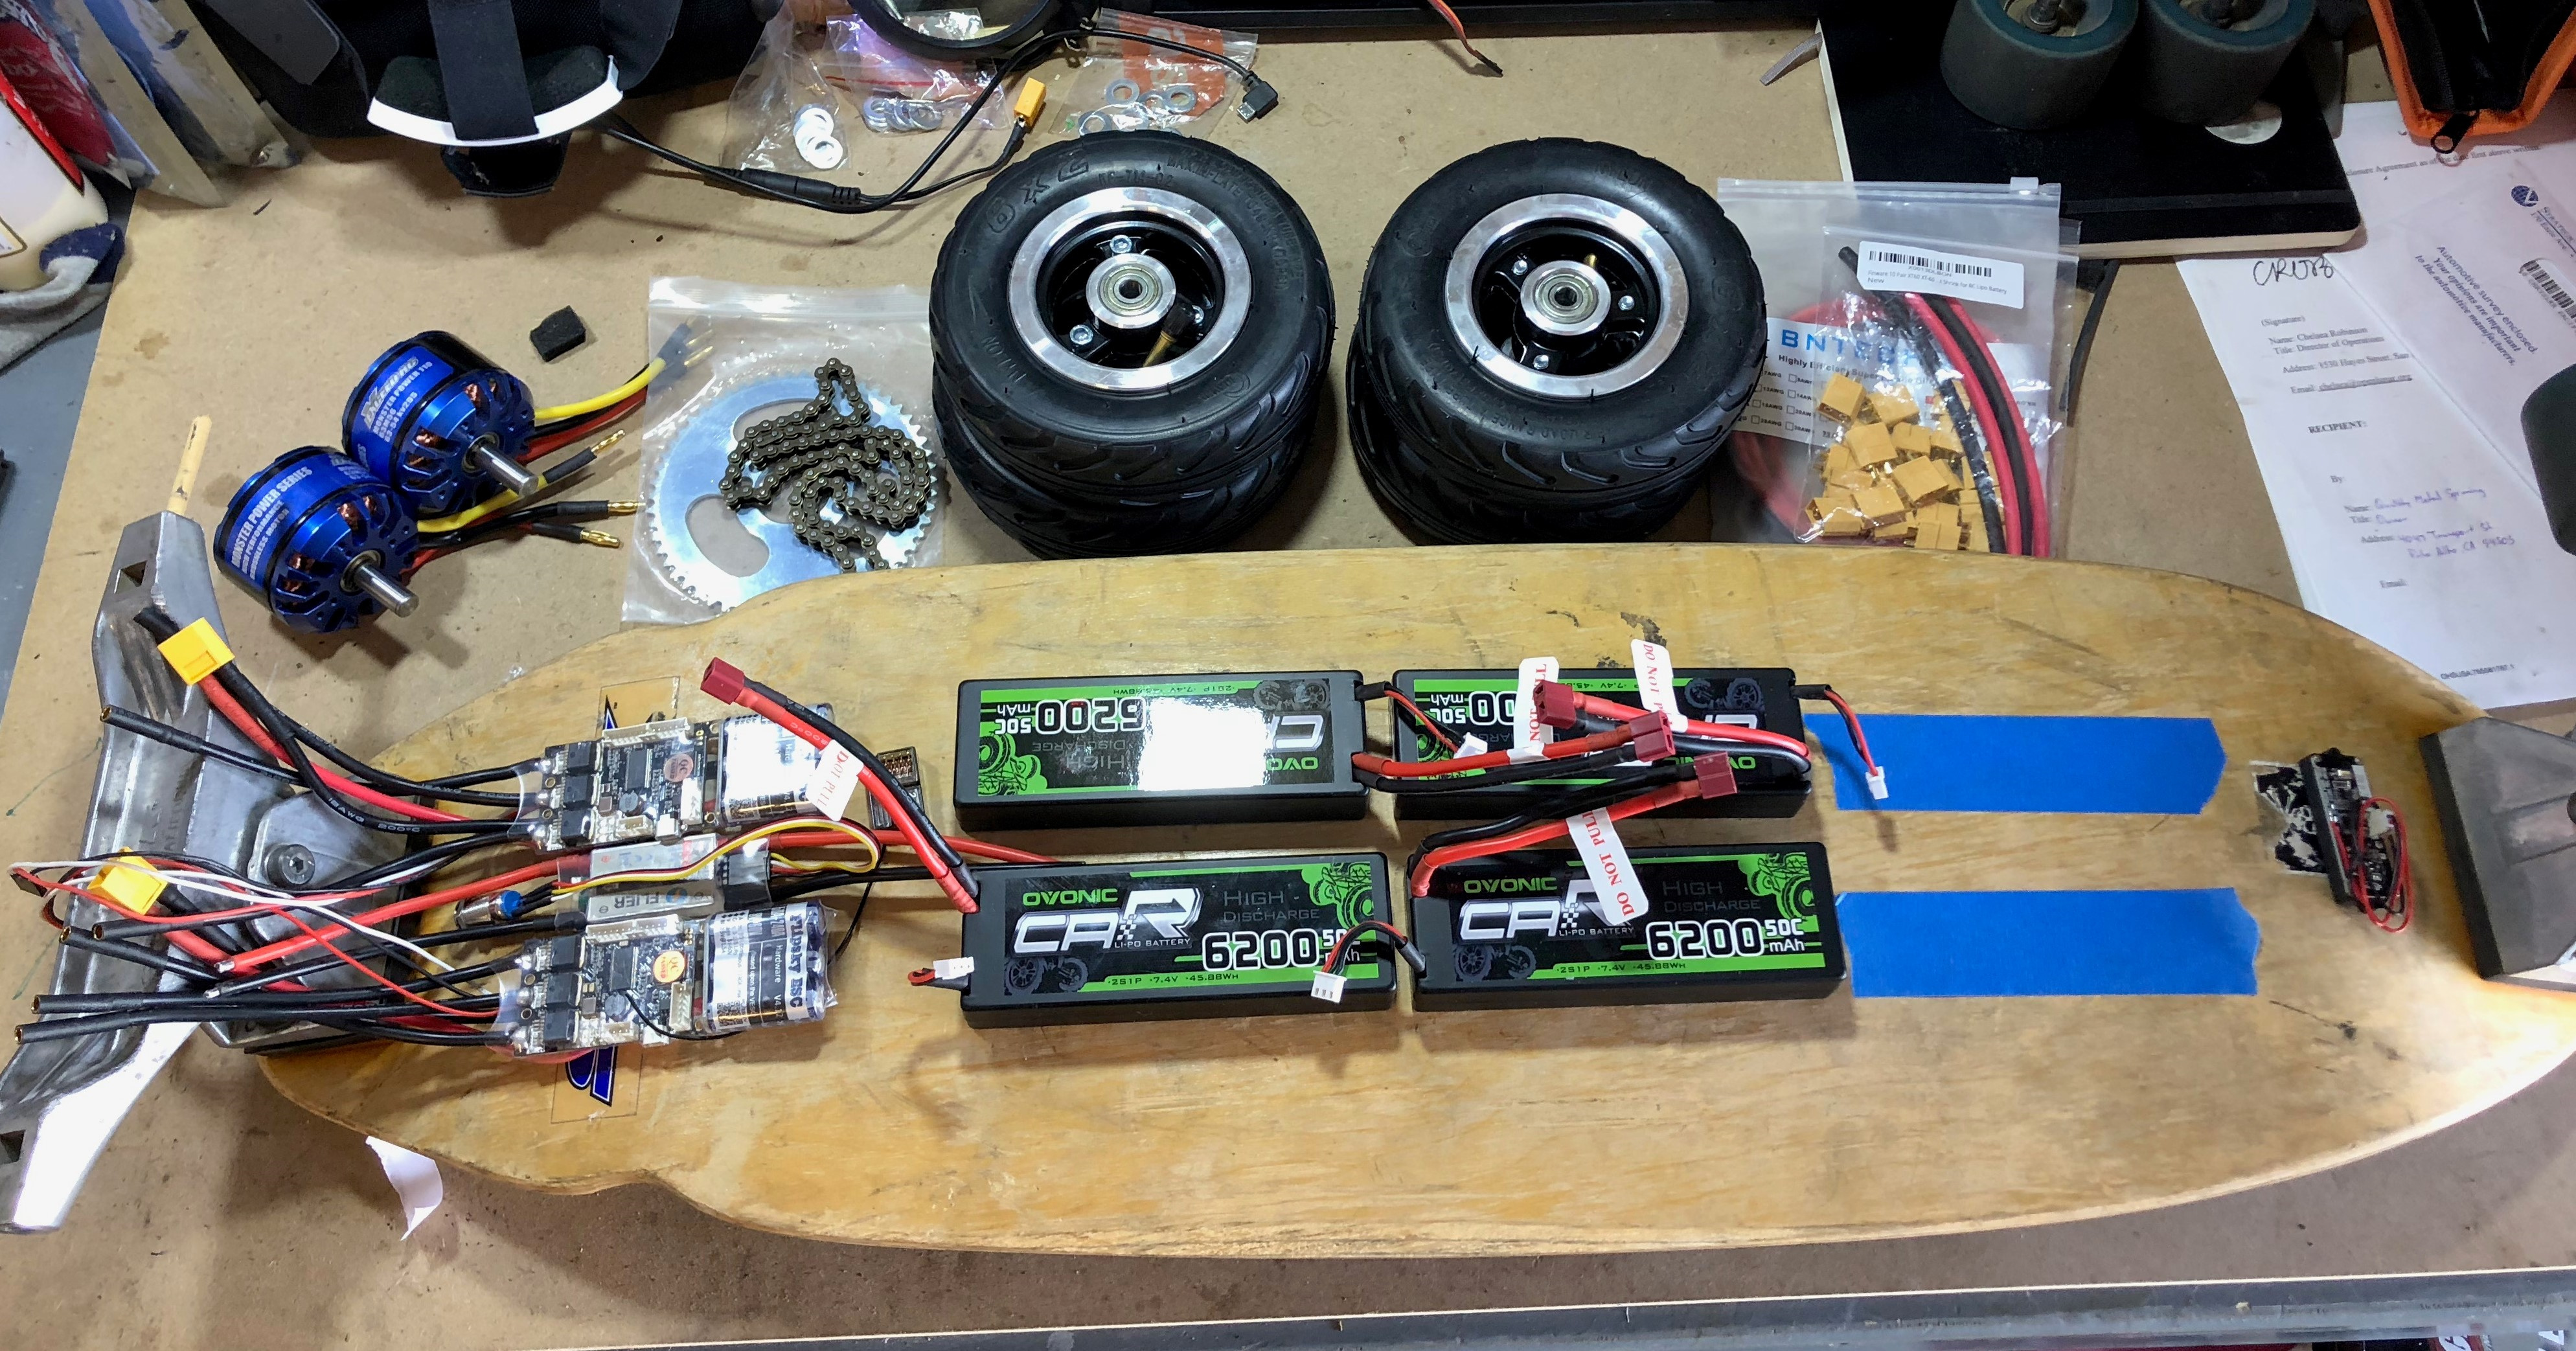
(picture)
Amazon Order: 4x 6x2 pneumatic tires Trivent Electric Skateboard Power Switch 6x OVONIC 2S 7.4V 6200mAh 50C Lipo Battery 48V Battery Meter Flipsky DIY Electric Skateboard ESC Based On VESC XCSOURCE 2.4GHz Radio Transmitter Remote Controller BNTECHGO 12 Gauge Silicone Wire Finware 10 Pair XT60 XT-60 Male Female Bullet Connectors #25 Chain Drive Sprocket 55 Teeth
Monster Scooter Parts order: #25 Motor Sprocket - 11 Tooth #25 Chain Sprocket 3 Holes and 55 Teeth #25 Chain Sprocket - 55 Tooth #25 Open Loop Chain - 3 Feet
Phase II - Design layout and motor mounts
Motor Placement:
I did some CAD to help with the motor mount design. If anyone would find some of these models useful let me know and ill find a way to upload them.


Layout: My plan is to use3M Scotch 5952 VHB Tape to stick all the components down including batteries. With the BMS and batteries attached to the deck surface and the VESCs + antispark/switch mounted above either on the battery tray or spaced above the BMS (stacked). Question: Do I need an antispark/on/off switch if I have a BMS?
I’m very open to any opinions anyone may have about this board. Please let me know if you see any possible issues or opportunities to improve.
Some questions I have at this point: My motor seems to be on the high side of kv from what I have seen on most builds. Does high kv negatively affect low-end performance? My motor: 6356 kv295
I read that the VESCs can have wired breaking issues at high speed. One of my missions is to do some re-gen downhill runs. What would the best ESC be for that? and will the VESCs be ok?
Next: CAD and CNC motor mounts, mount sprockets to wheels, and order BMS.


