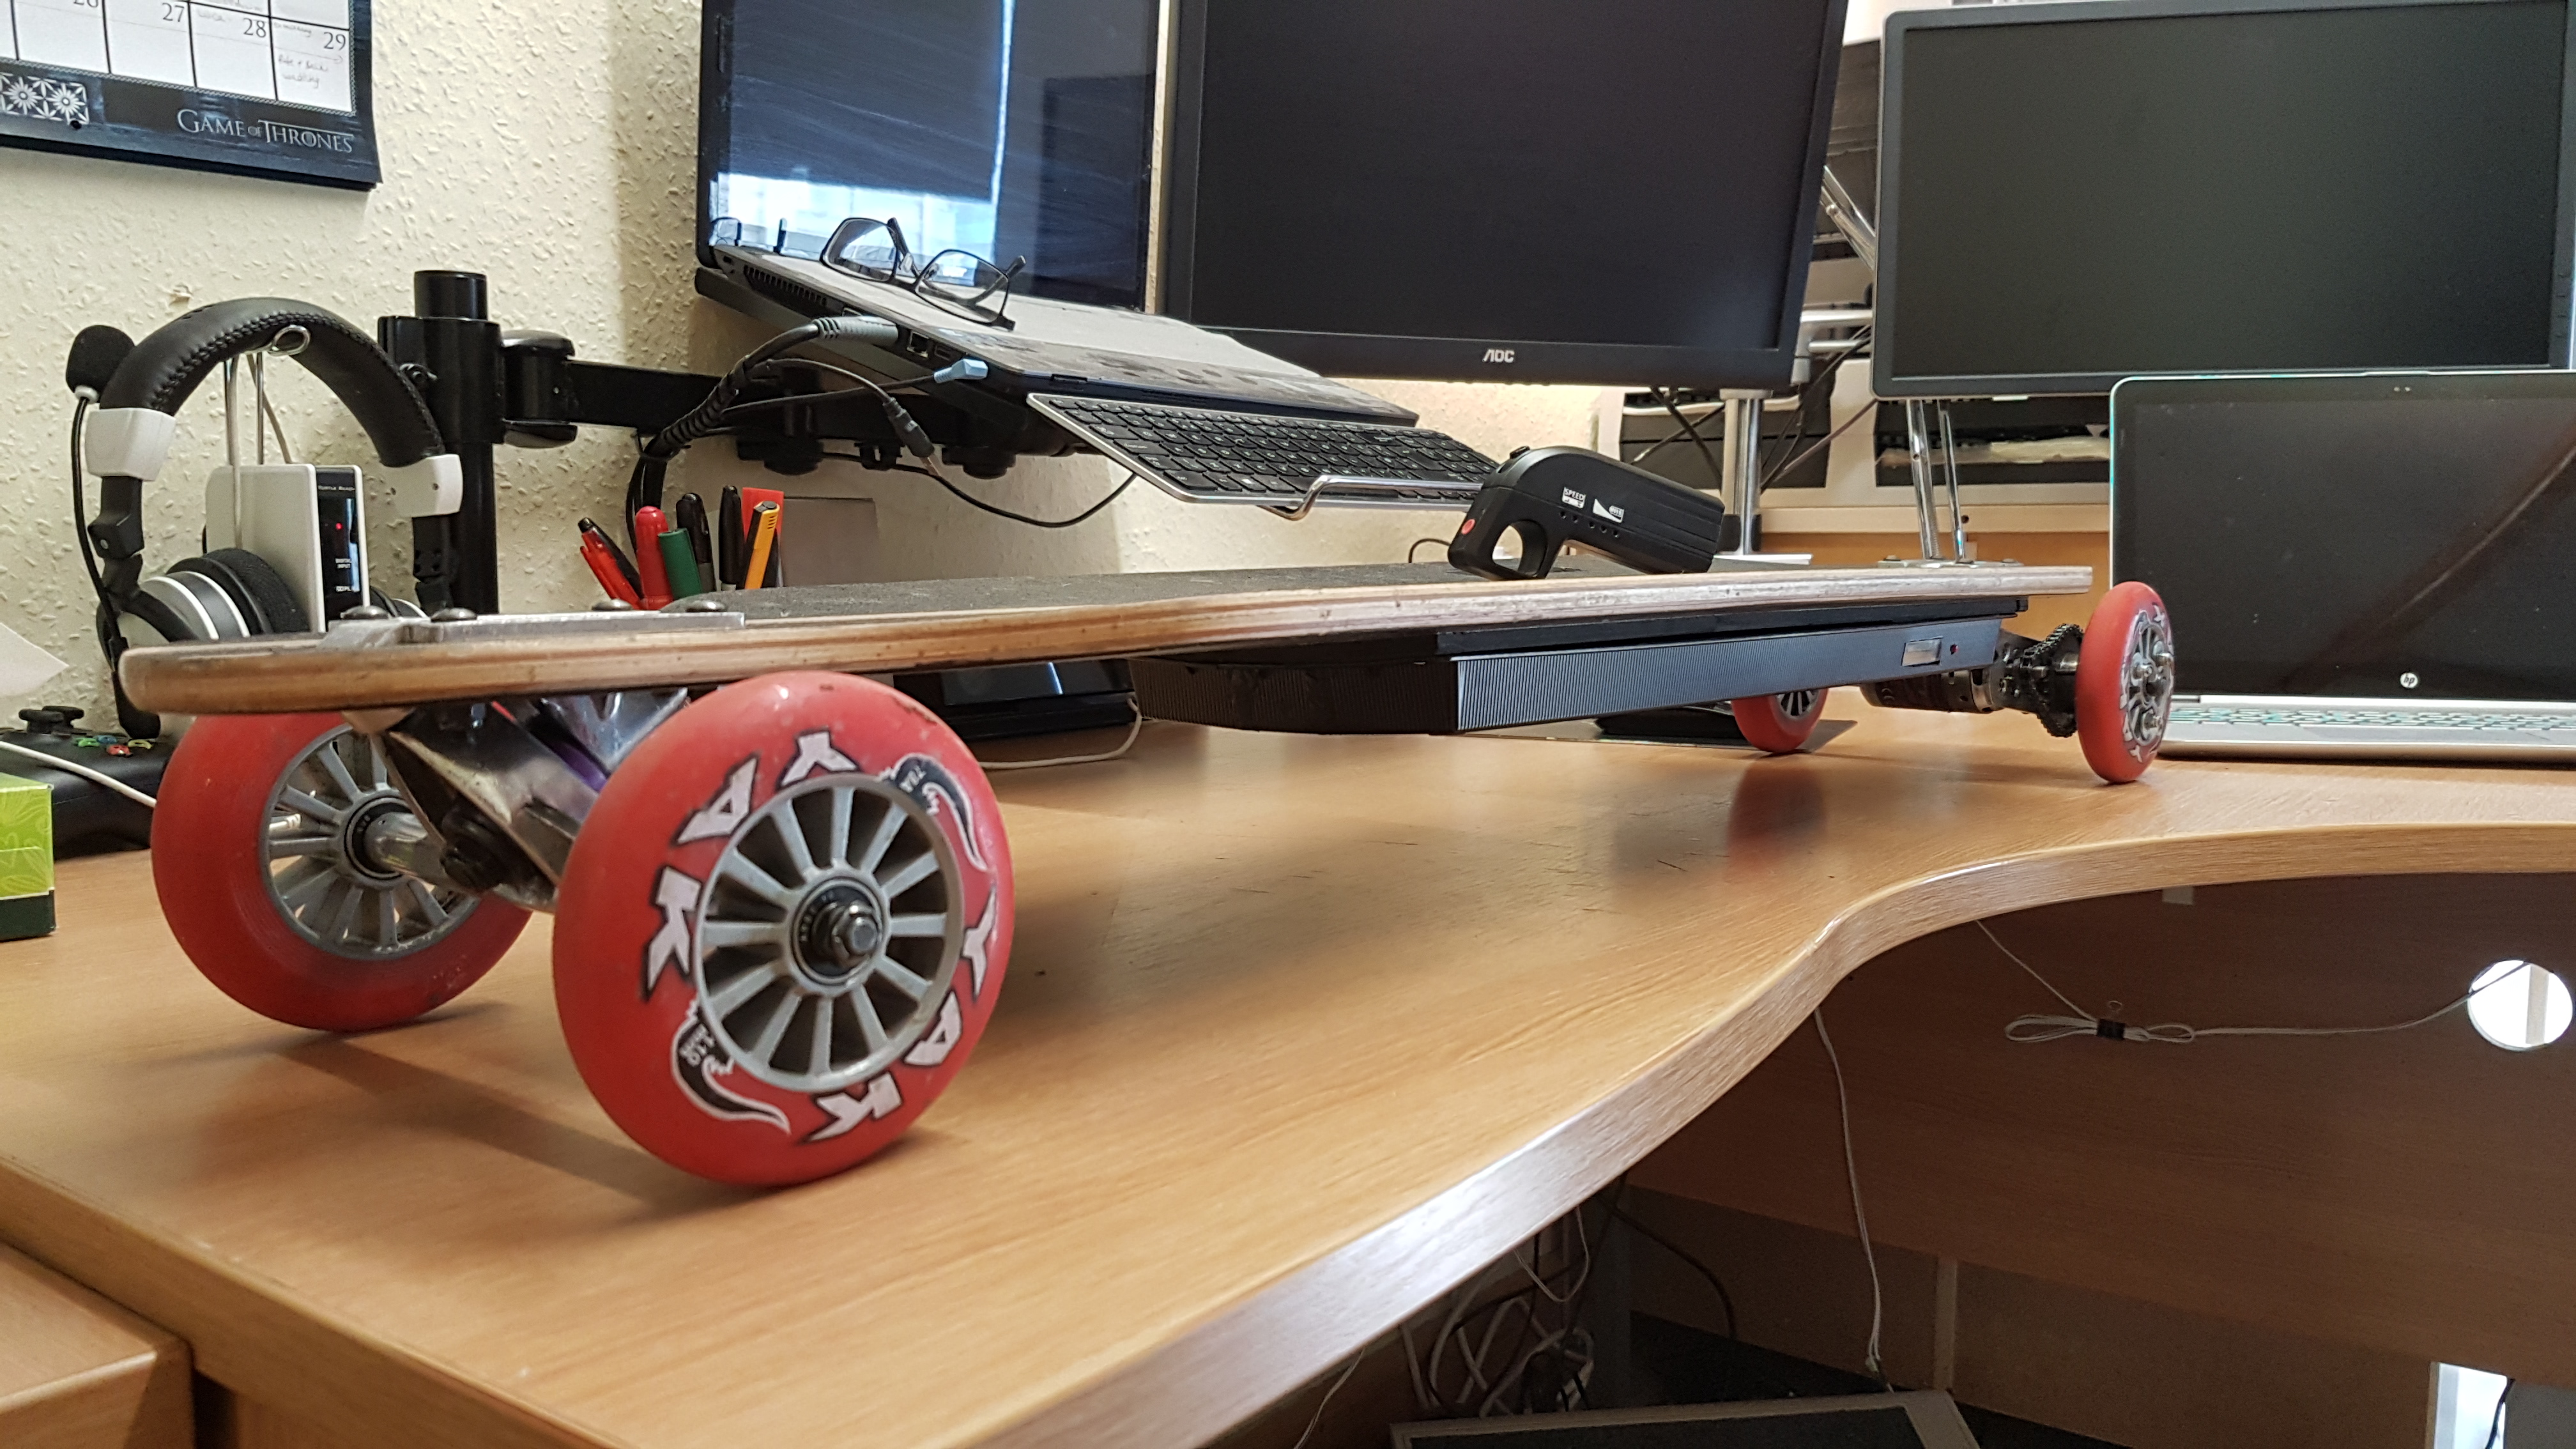
Holy sheet! I just finished re-building my board with; a respray, a new enclosure, a new on/off switch and a new DIY 8s4p Li-ion battery pack…
I jumped up from 6s Lipos to this new 8s4p Li-ion pack that I built myself and the difference is crazy! Putting the power down is smooth (still using VESC), but there’s loads more top end there if I want it too! . . . Truth is half throttle was plenty fast enough for me!
The great thing about my re-build, and the main purpose was that now I have around 17 miles of range (28.5km), and I can charge my board without having to open the enclosure all the time and plug in to my balance charger, by means of a power brick and a 2.1mm DC connection port.
Hmm I’ve been using it in this orientation for the last year and it’s been OK so far… I don’t think they’ll stretch that far to be honest so I might just leave it how it is and see how it goes, but thanks for the advice
whoa what size are those pizza cutters, I mean wheels? I once ran a street luge on rollerblade wheels, while it made it faster there was a lot less traction and was only good for going strait. Hows the cornering performance?
The enclosure is actually two florists flower trays (cut, not quite down the middle on my band saw), plastic welded together to make it wide enough. I also welded it with an arc the same as my board has so it sits flush.
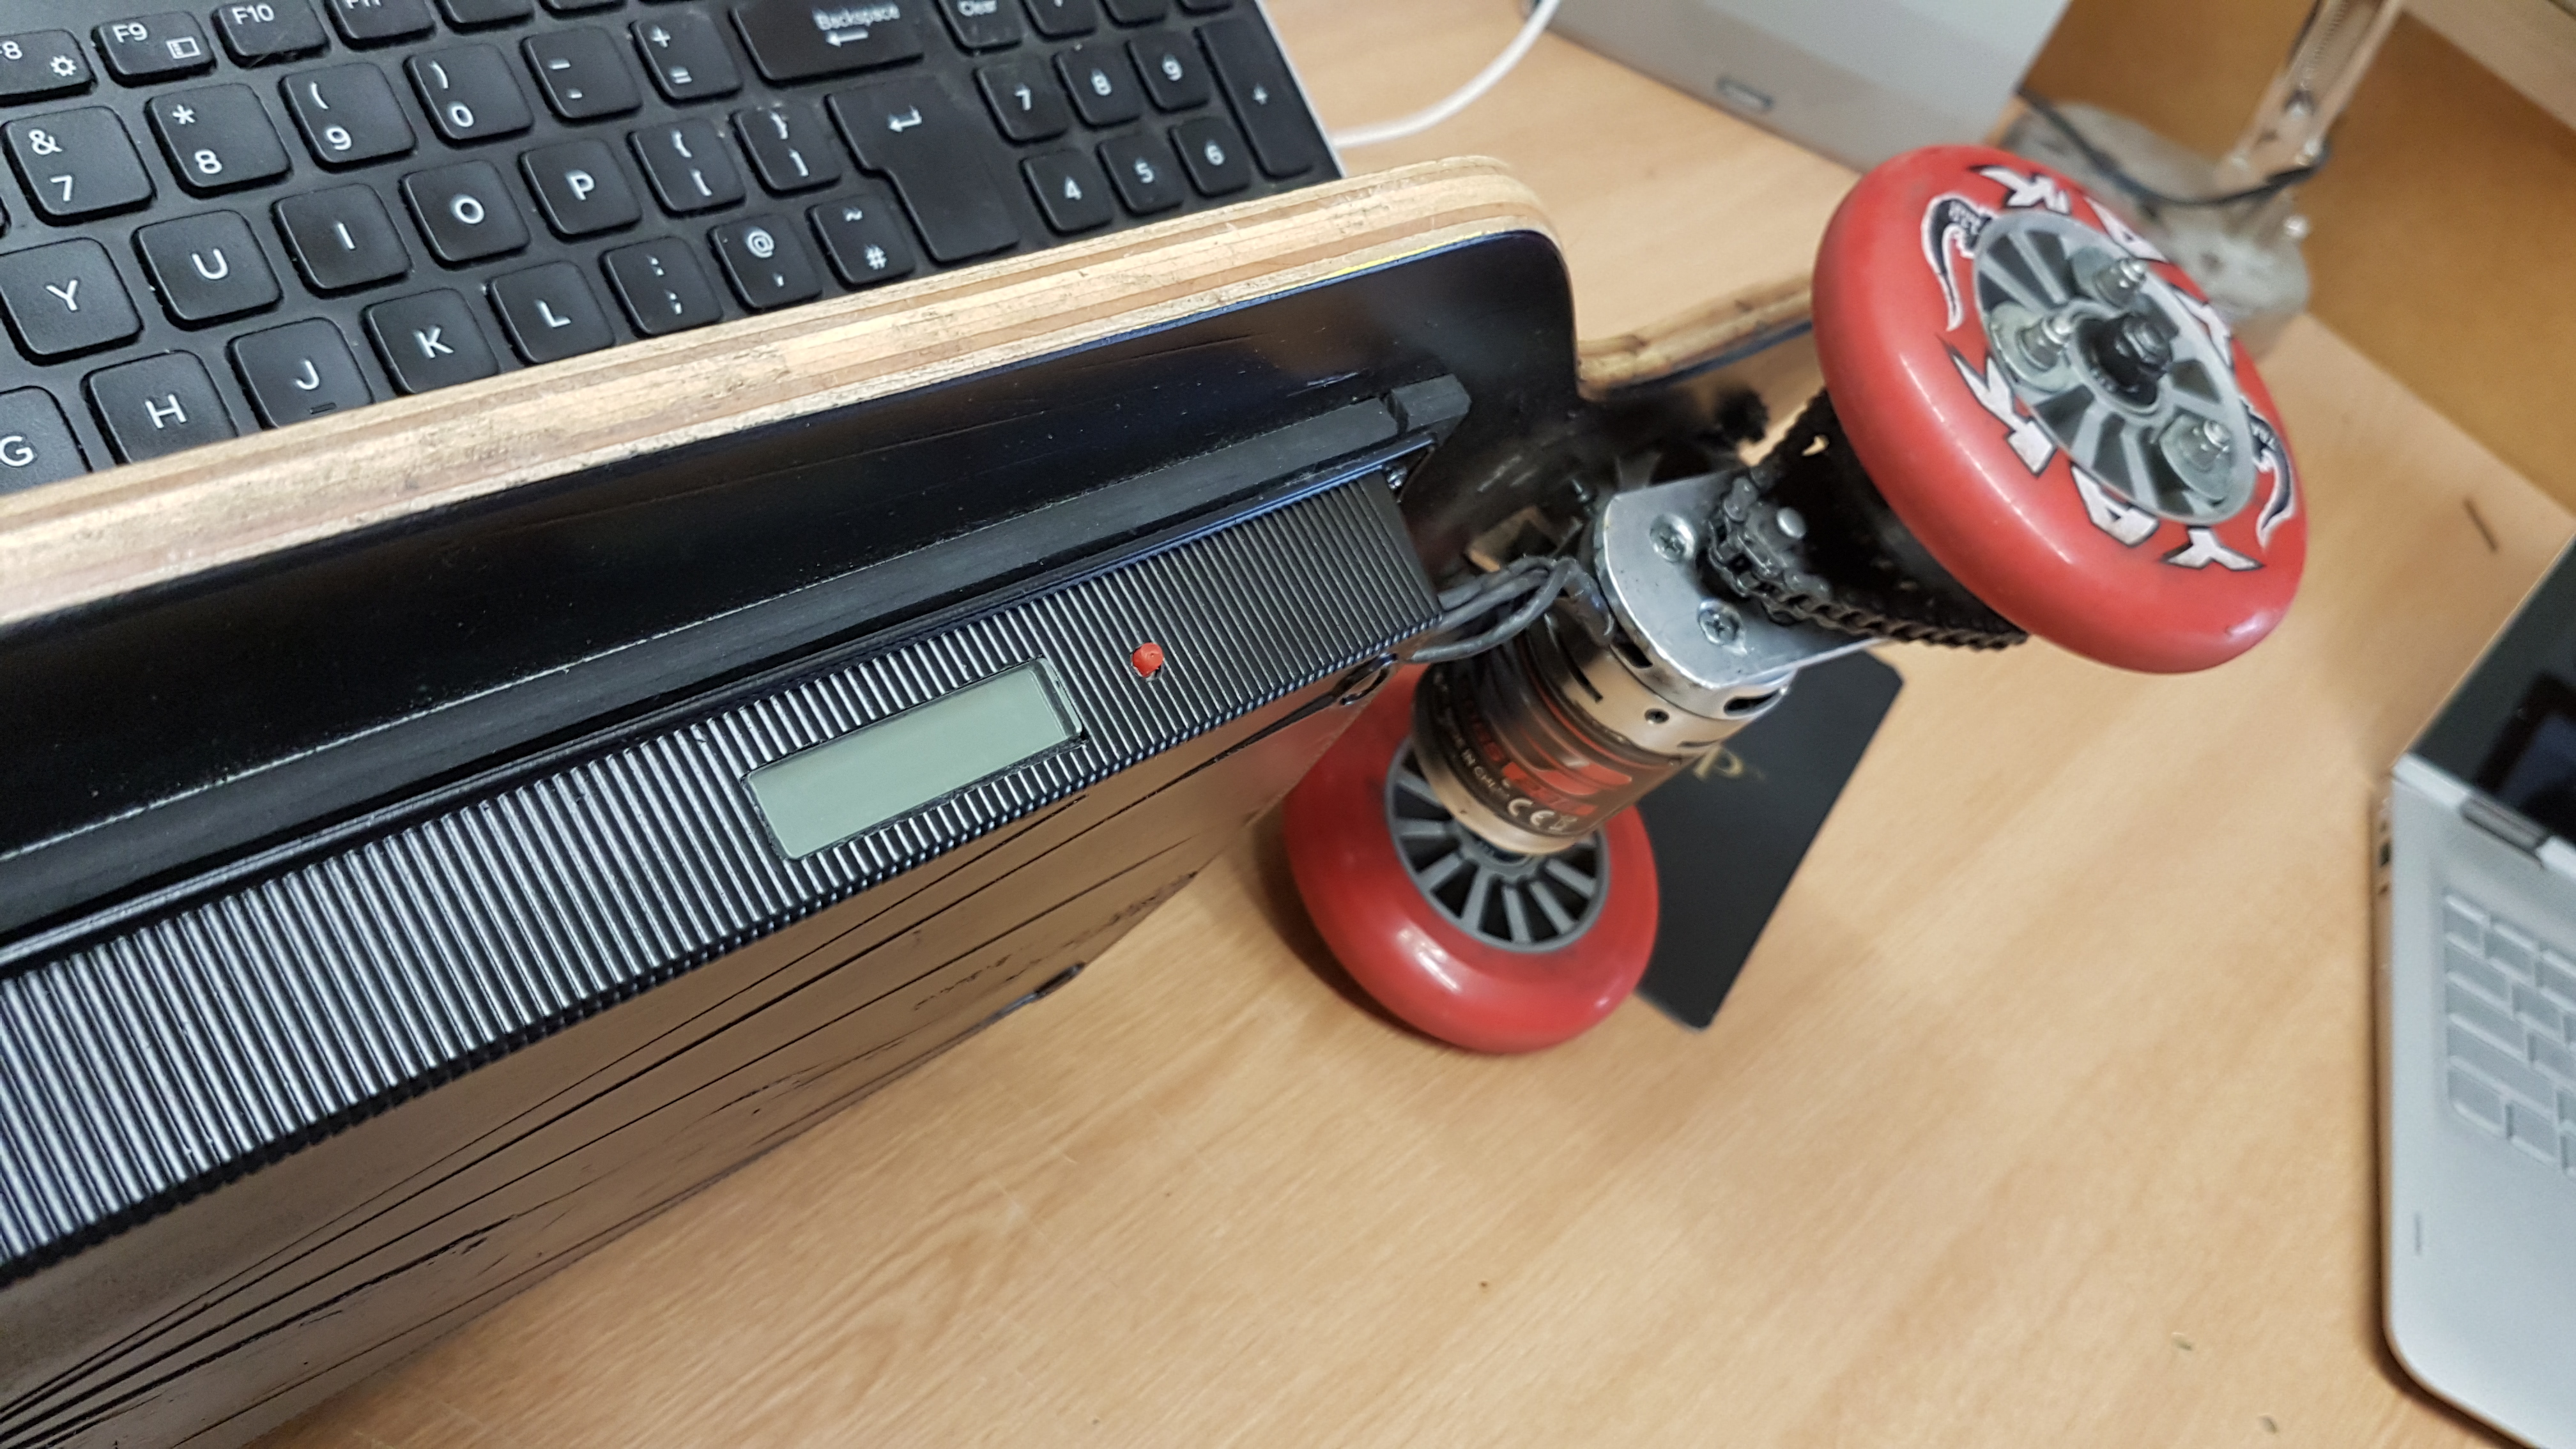
The only problem with this enclosure is that it was too thin to contain my VESC believe it or not, but it’s a VESC with a nice big aluminium heat sink on it so it’s quite fat.
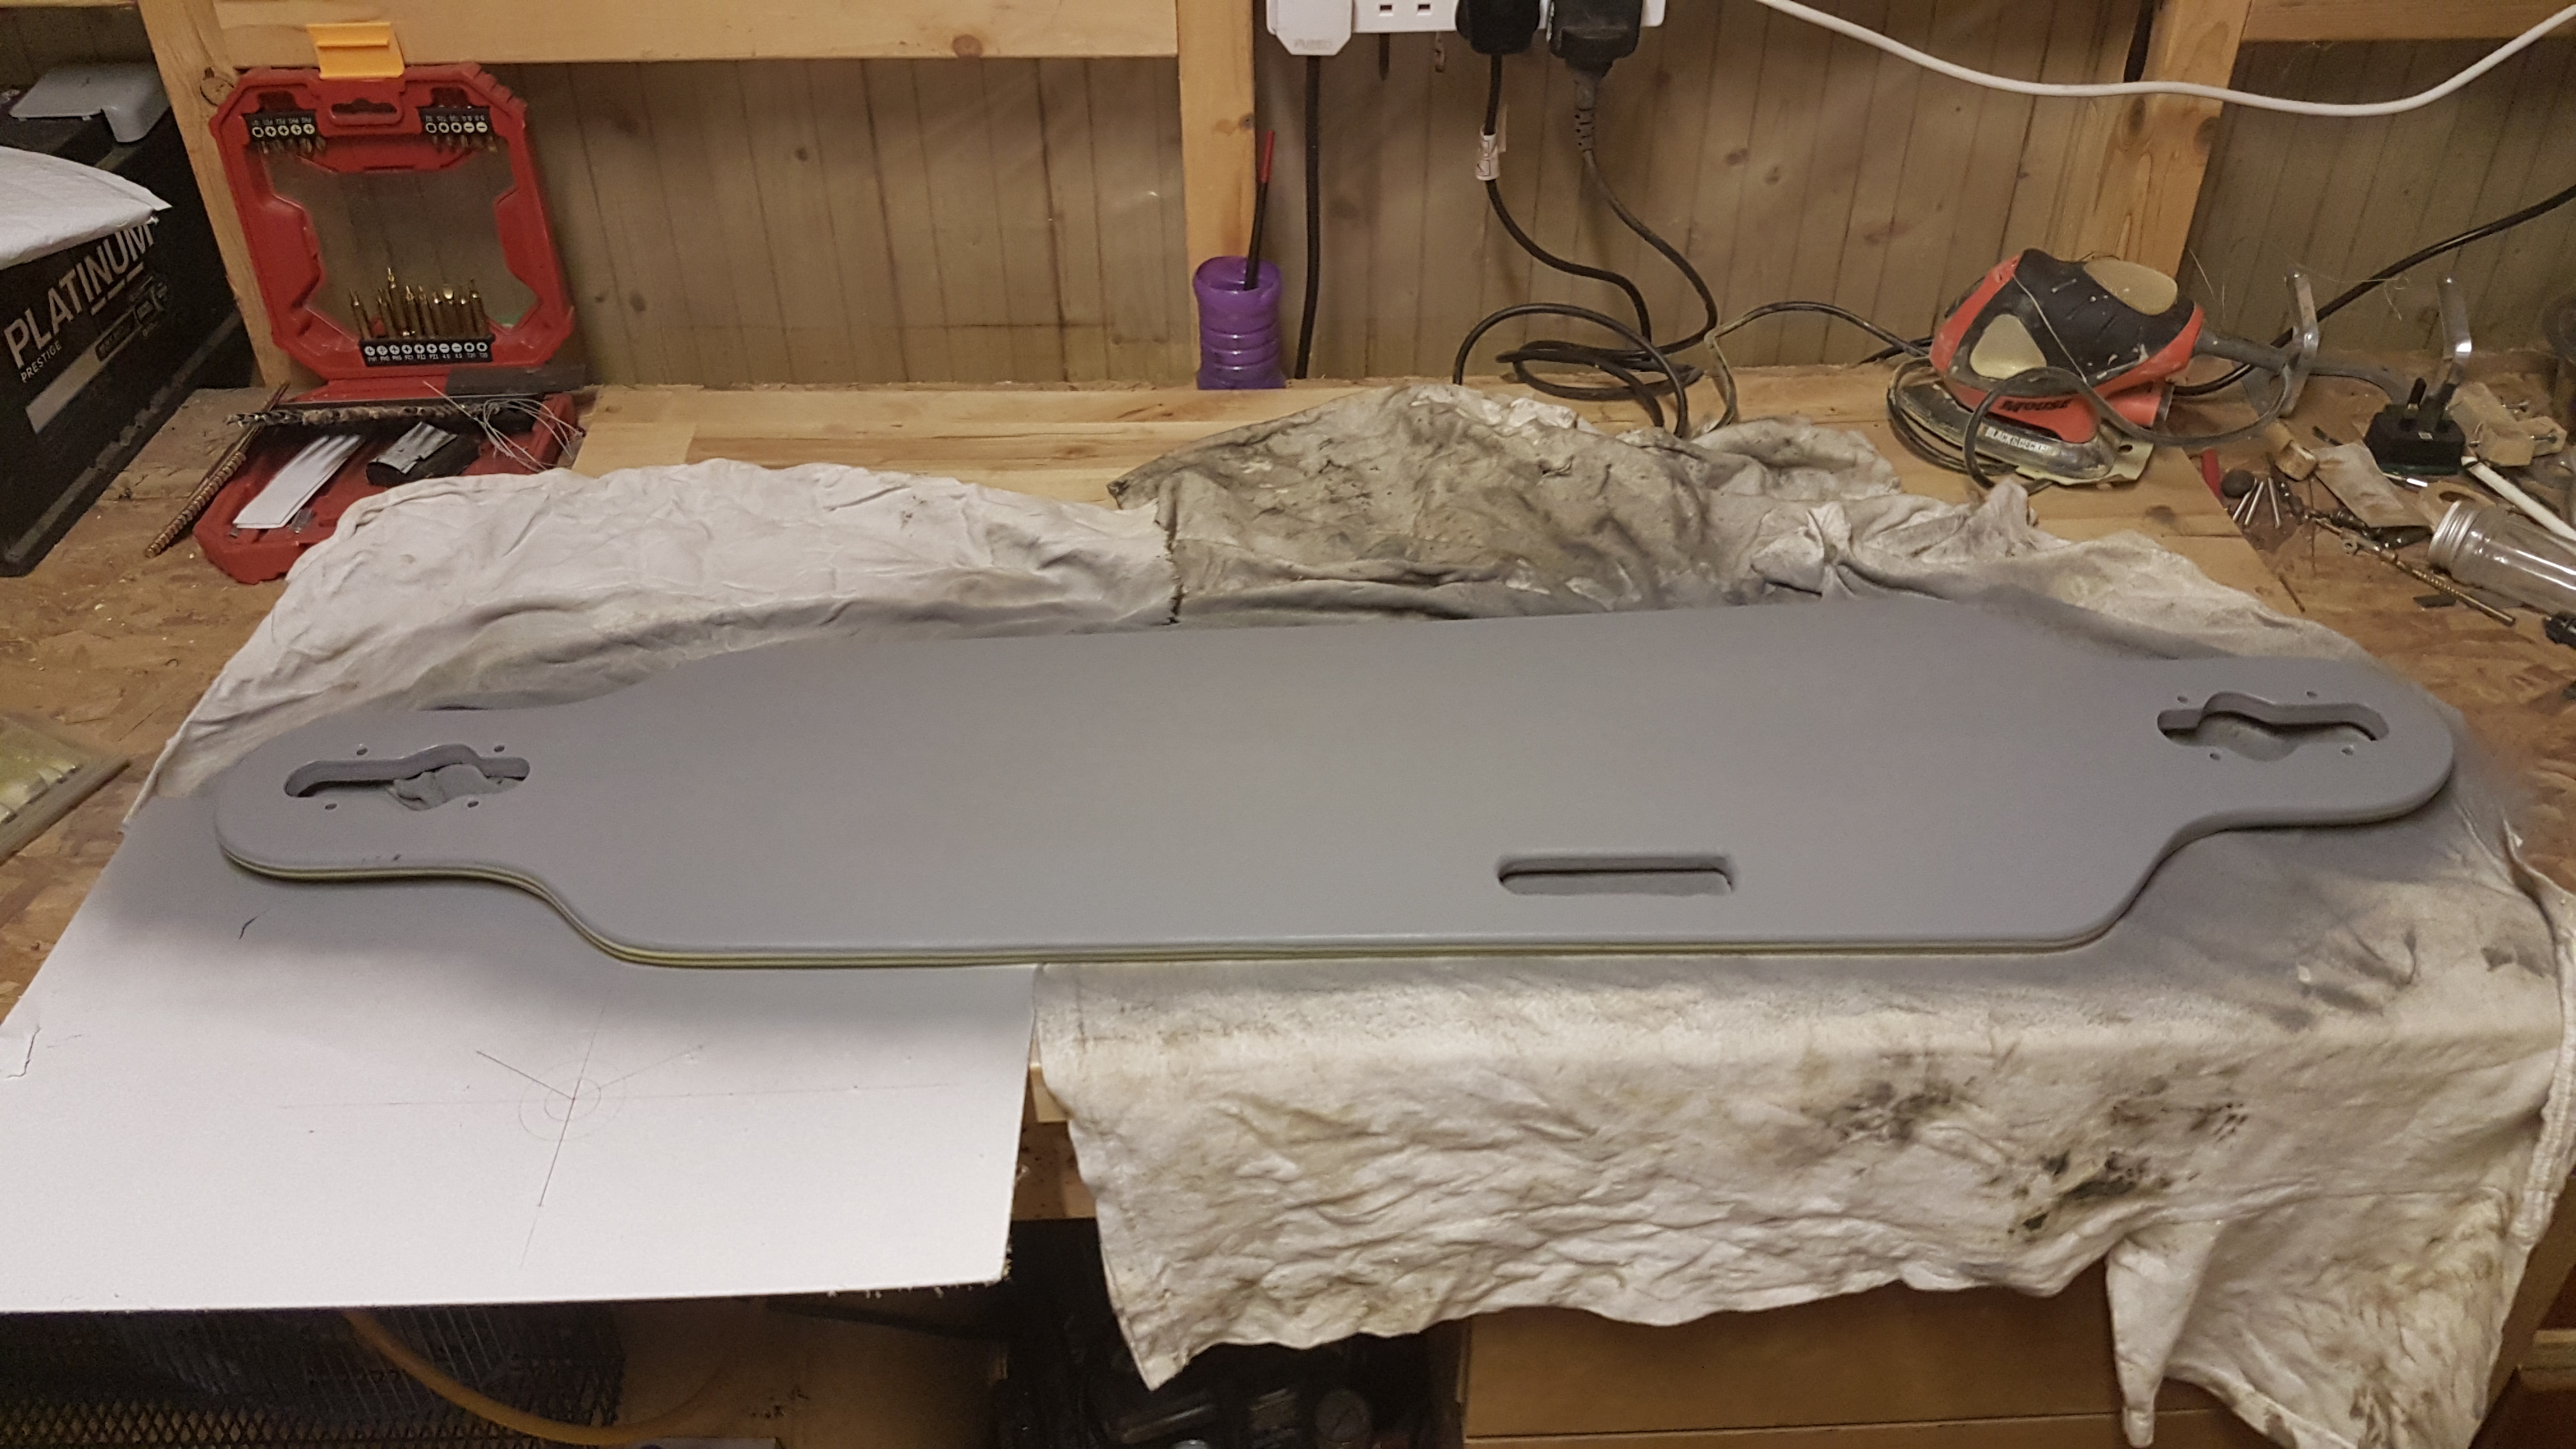
However, I overcame this by adding thin strips of 8mm thick hard (but flexible) rubber sheet all around the perimeter, which gave the enclosure enough depth to then house the VESC adequately. I also lined the insides and the bottom of the board (inside the enclosure) with very thin neoprene strips to dampen vibrations. You can see this rubber in the last photo. The pictures of the enclosure were before I rubbed it down and sprayed it.
I’ve actually slightly improved this build since my first post. I found that the tray wasn’t quite deep enough to house my VESC as it’s got a nice fat ali heat sink on it, and actually, my board slipped from upright and where I’d cut a hole in the side near one end for the battery indicator, it cracked, so I decided to do what I wanted to in the first place, which was re-do the layout inside and plastic weld the enclosure properly.
The plastic welding you can see above. However below are a few photos of what it looked like in the end…
To get some extra height I bought some 8mm thick semi-rigid rubber sheet. Neoprene was going to be too squishy. I cut 10mm wide strips from it and double-sided taped it to the deck around the perimeter of the enclosure, effectively raising the depth of the whole enclosure by 8mm.
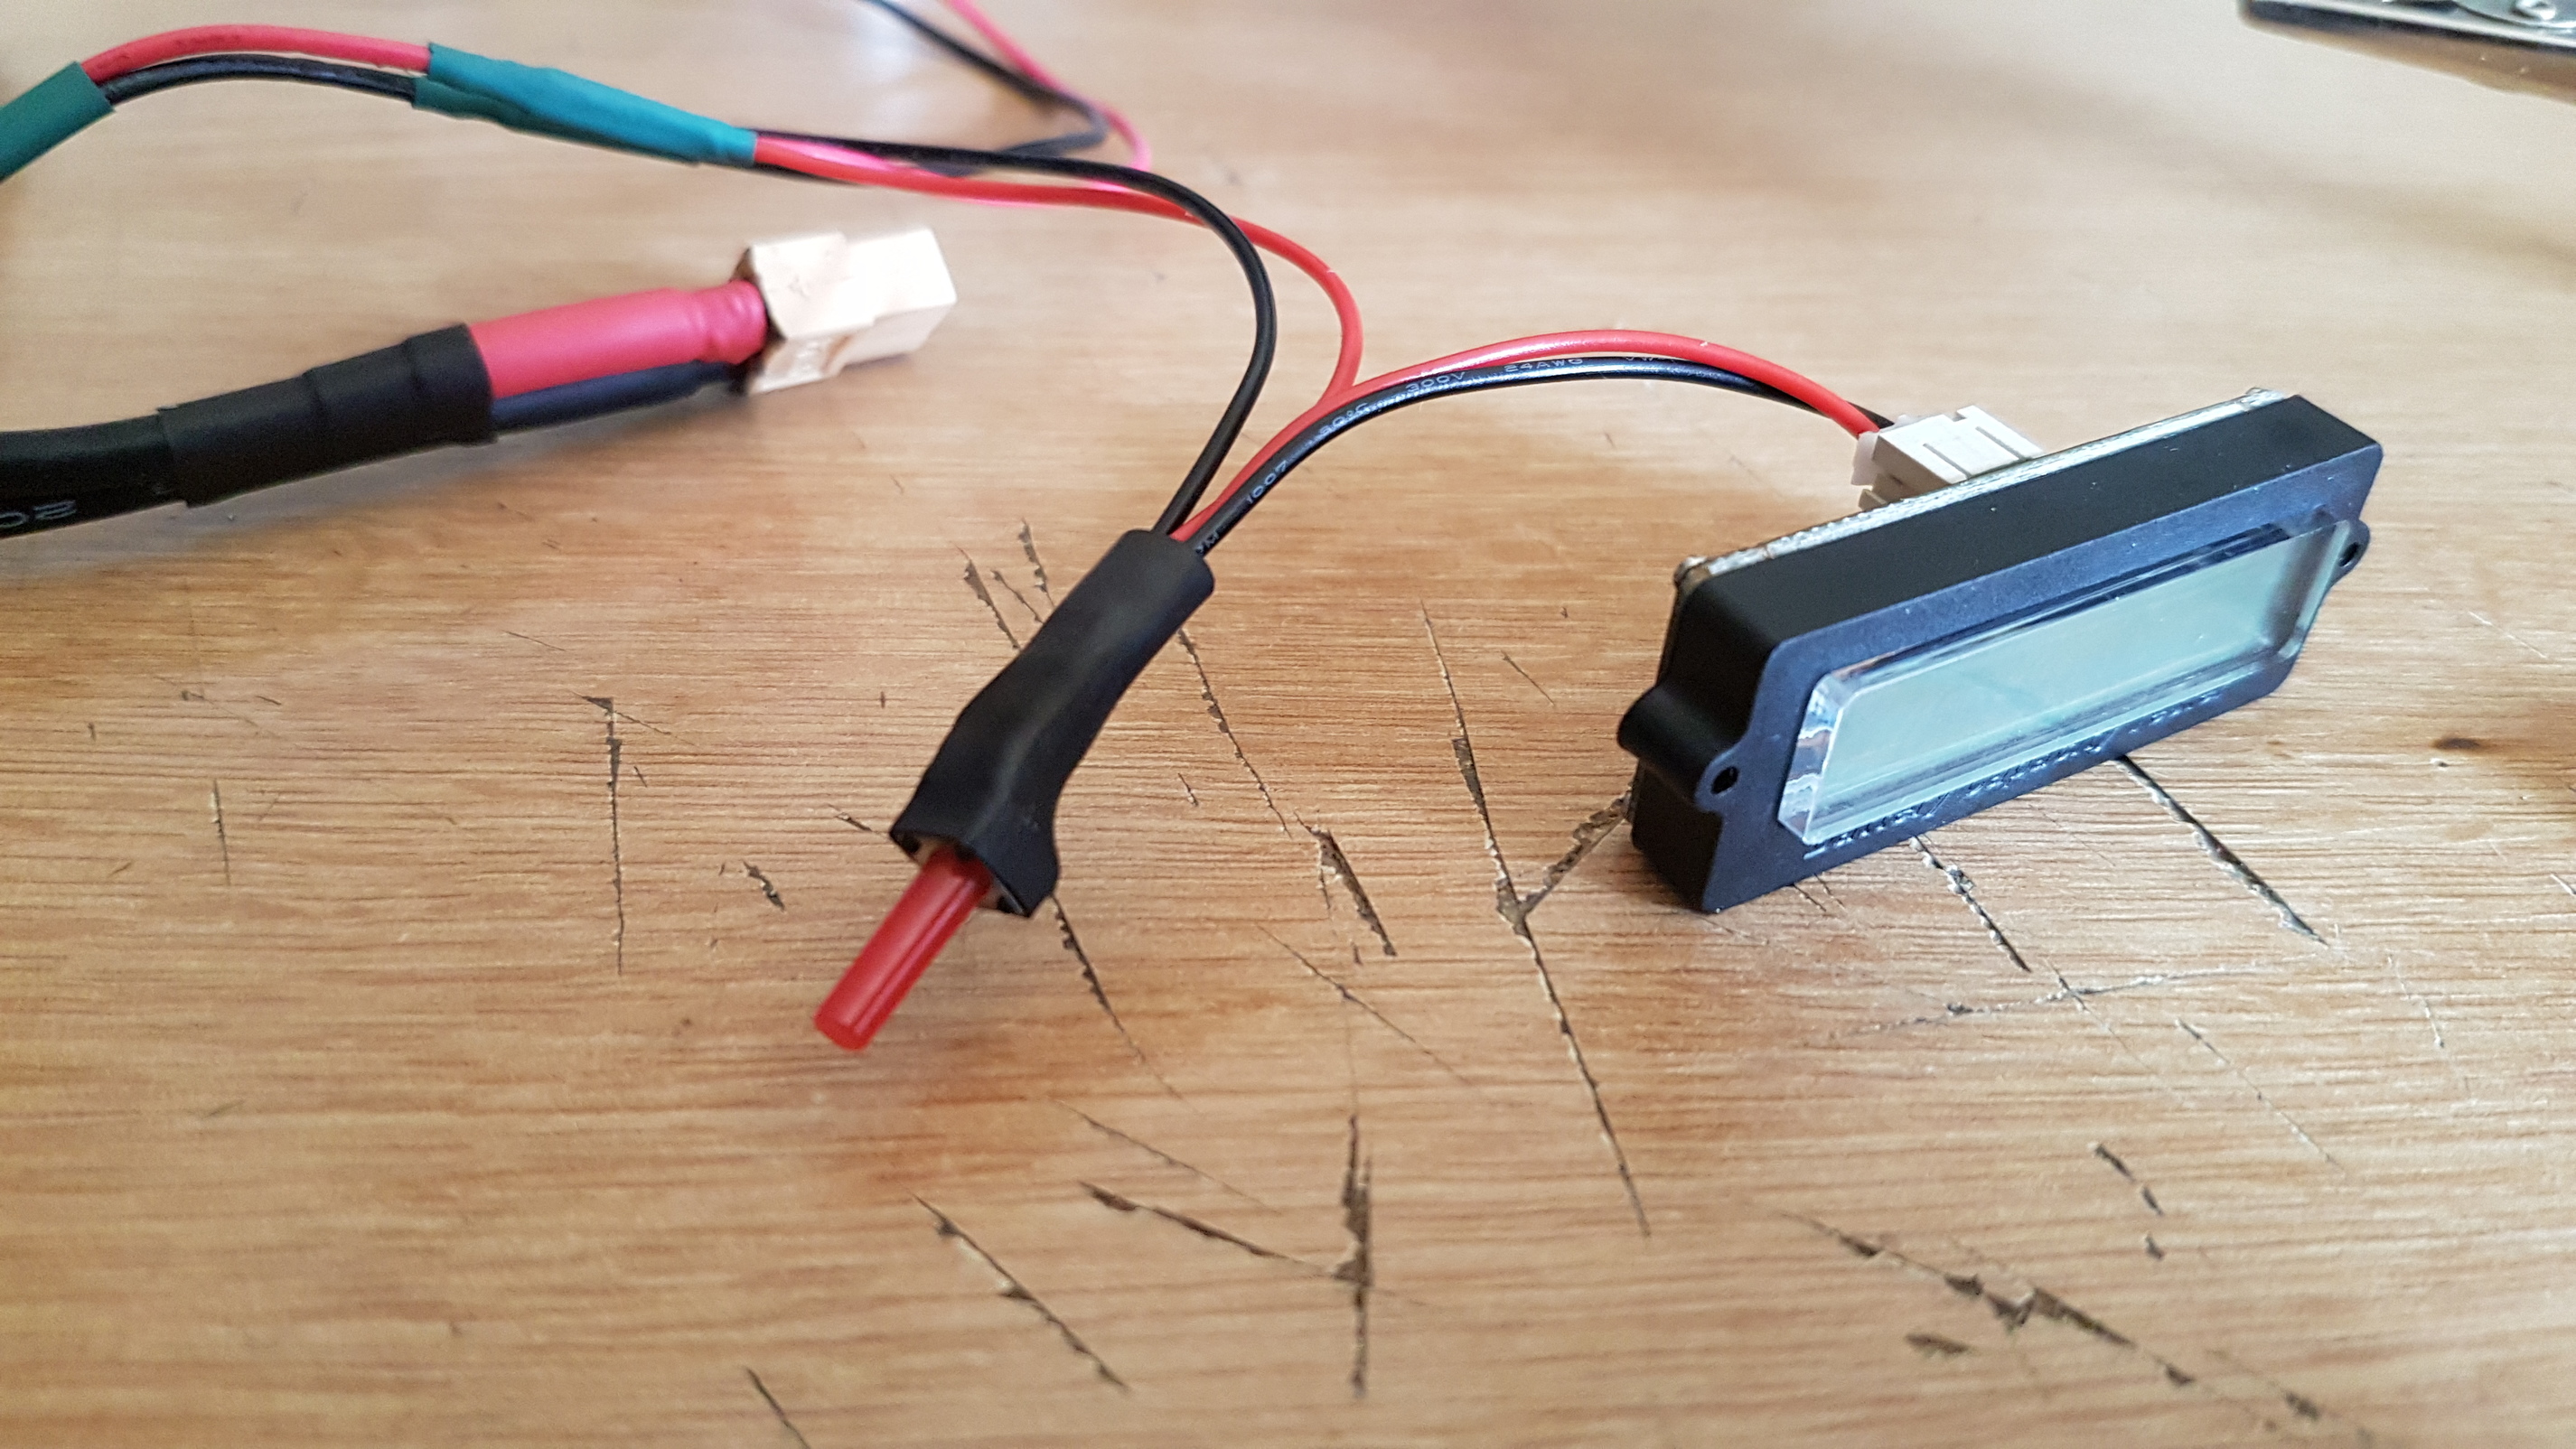
Here is the new layout in the enclosure. I switched sides for the charge port, moved the battery indicator closer to the middle of the enclosure and shortened a lot of the wires…
Although I’m pleased with how well my wheels handle bumps and cracks in the roads and pavements, it just doesn’t look right to me in terms of a longboard/skateboard, so I think I’m going to invest in a set of these.