One month and two hard falls in
It came pre-bound to the receiver and has never dropped a connection - a great bonus for us who have run into bad binding issues with cheapo controllers in the past. It hardly drains double A batteries like my previous controllers and is going strong on the original ones I put in to start with. It seems to also be able to take Lipo with some DIY hacking, it already has a charging port for a little jack connector (a mod for down the road) and makes mentions to using a lipo in the manual. The thing is REALLY durable! Recent experiments with rain and speed boosts has seen two instances ending with me eating the pavement pretty bad, and scuffing the controller pretty bad as well. On these impacts, the battery cover has a tendency to slide out and batteries go flying if not properly secured, but still remains strong as a rock - I noticed that whatever hand I used to hold it on impact is the one with no abrasion injuries  . For a really low price for 25 dollars on Hobbyking and this much reliability, you can’t really say no. One thing to be wary of is the potential of bad quality-control and inconsistencies for individual controllers, or have I just been lucky in the four years of ordering off of them?
Modding experience Instead of studying for my exams, I decided to procrastinate with a quick 30 minute build that defied my prime directive = if it ain’t broke, don’t fix it! (Bricked my last cheapo quanum controller) Luckily enough the mod took only an hour, works fine, and now fits in my pocket. This was just a proof of concept that this thing could work without the wheel pot connected and be reliable on the road, I will definitely be working on an official hard-case mod soon!
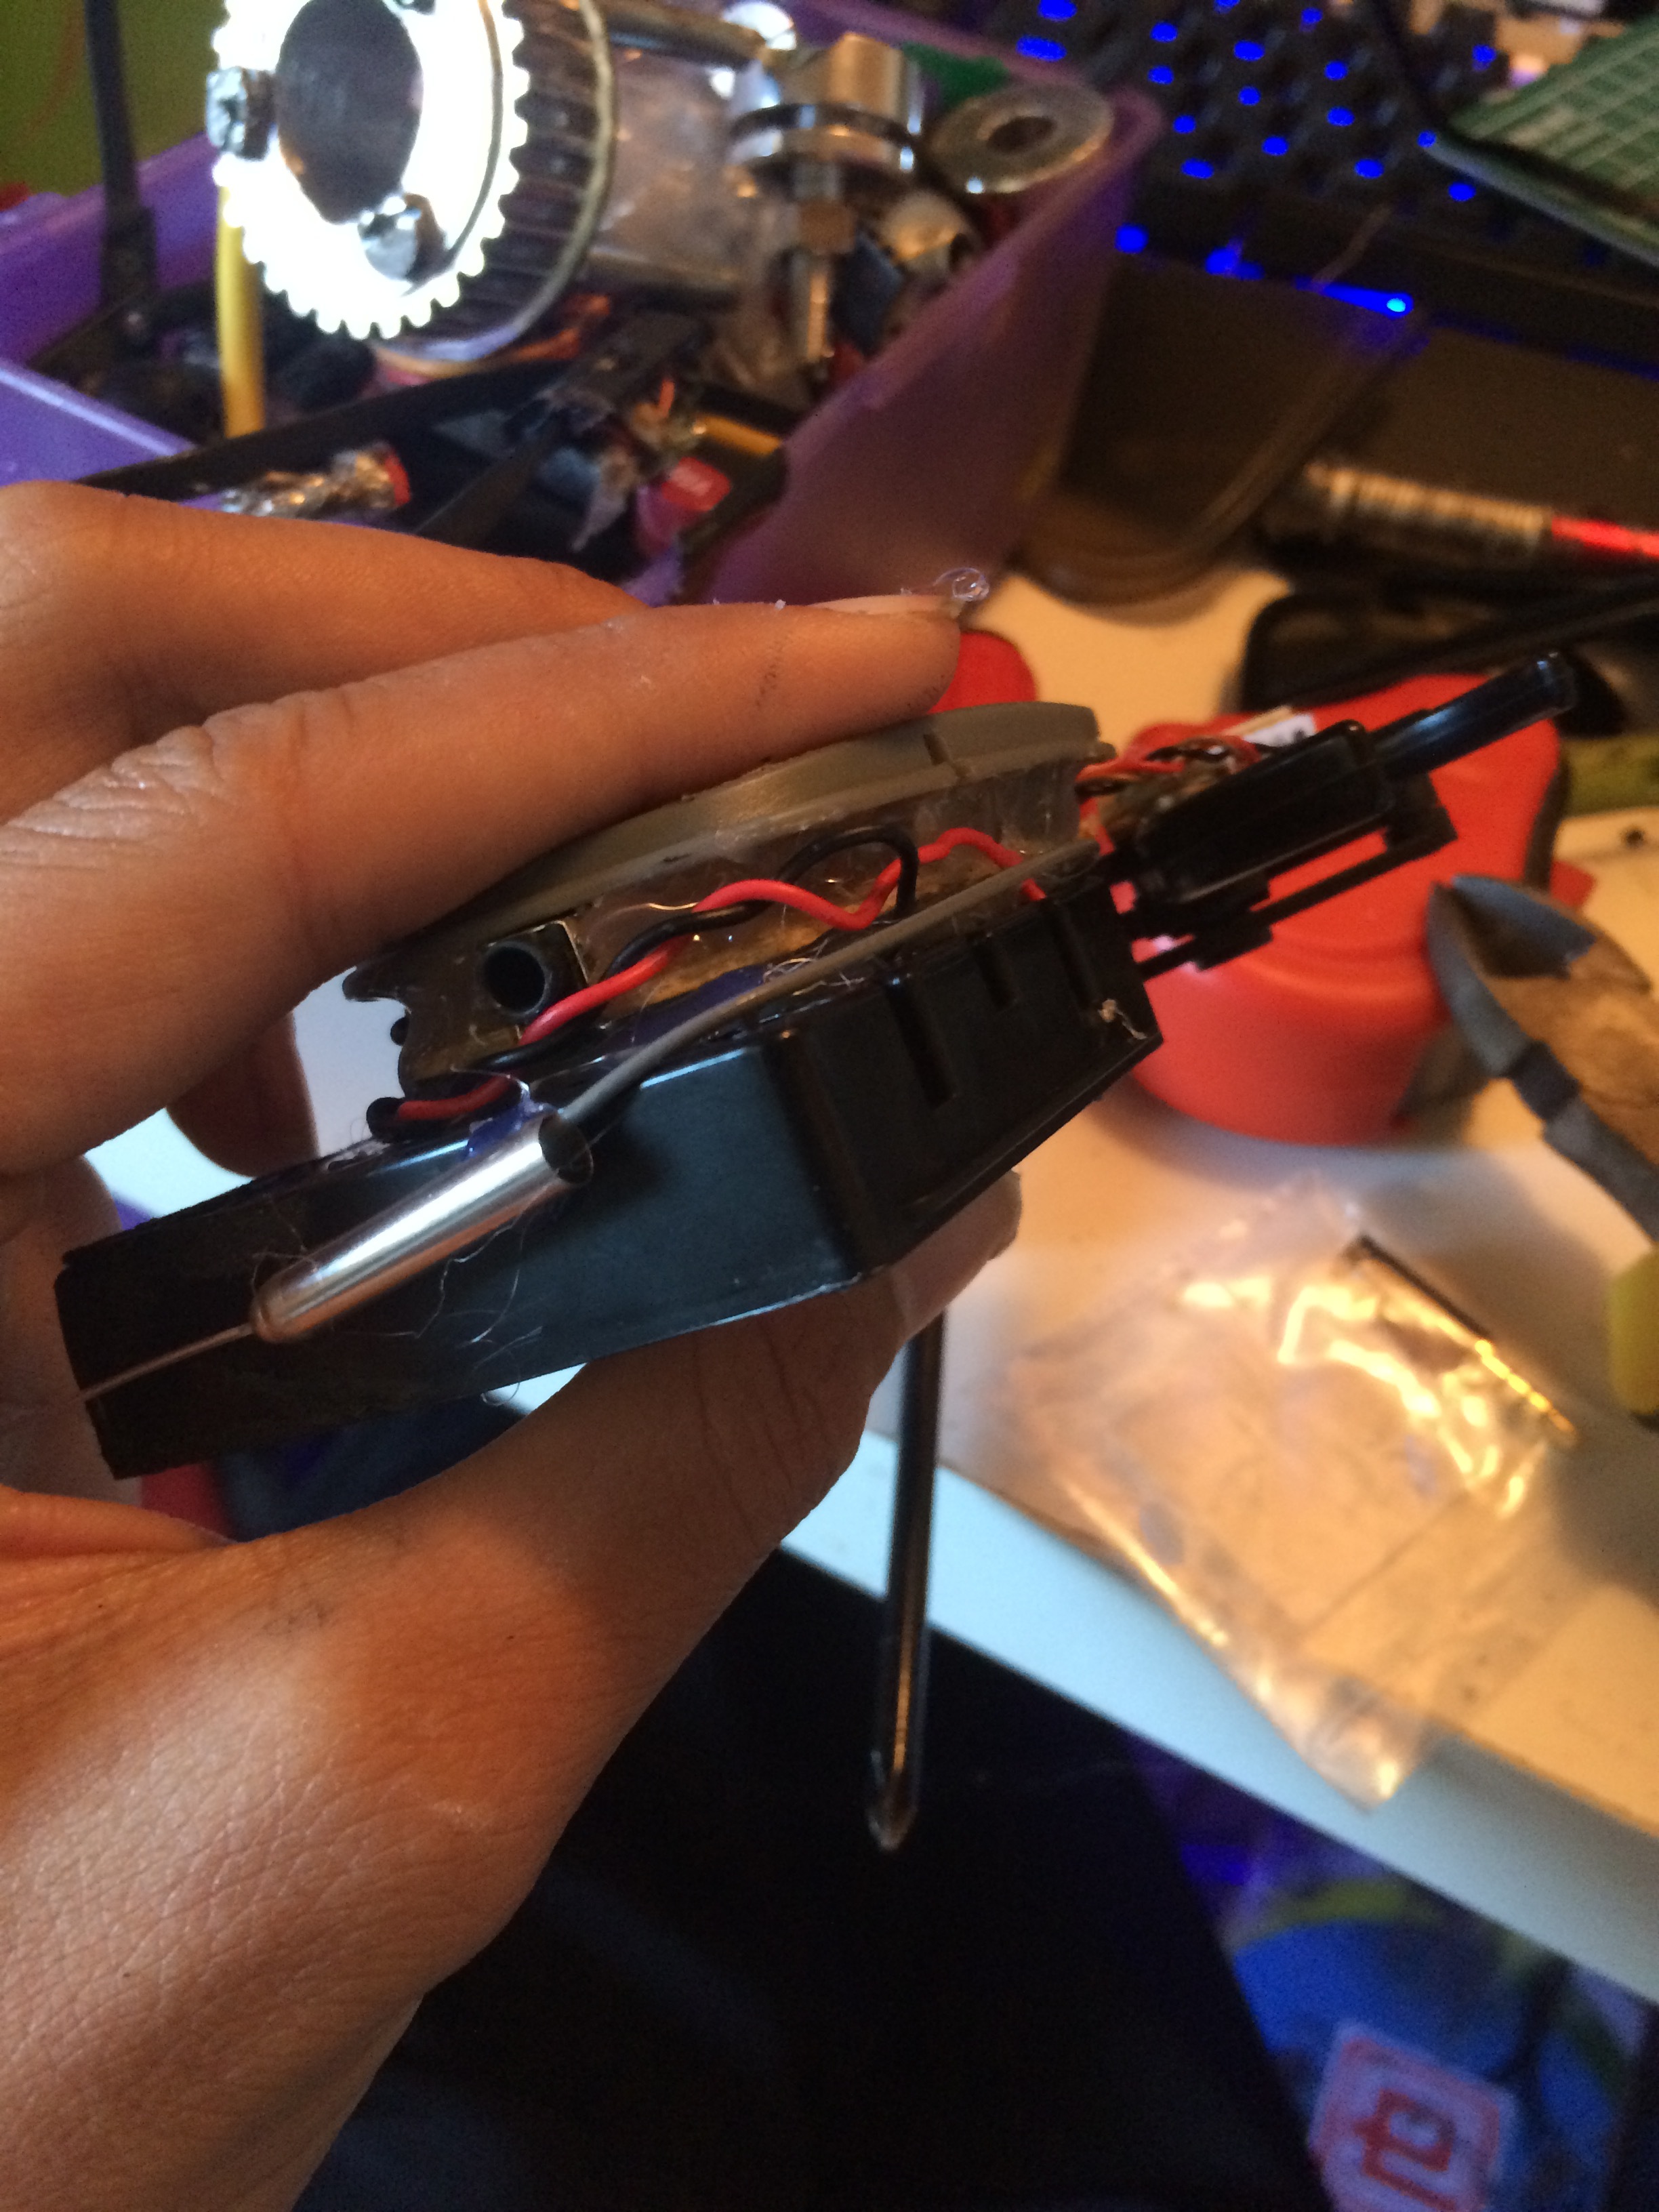
Extremely easy to take apart and it becomes clear that there are four modules:
- Main board
- transmitter
- Pot 1 (useless wheel, can throw into the parts bin)
- Pot 2 (useful trigger)
each module is connected to the main board via a plug and is easy to tug on and un-plug.

Here I have used heat shrink to cover the transmitter (be careful with heat, radio modules are pretty delicate?) and because I was impatient and bored, hot glue to insulate any exposed pcb.

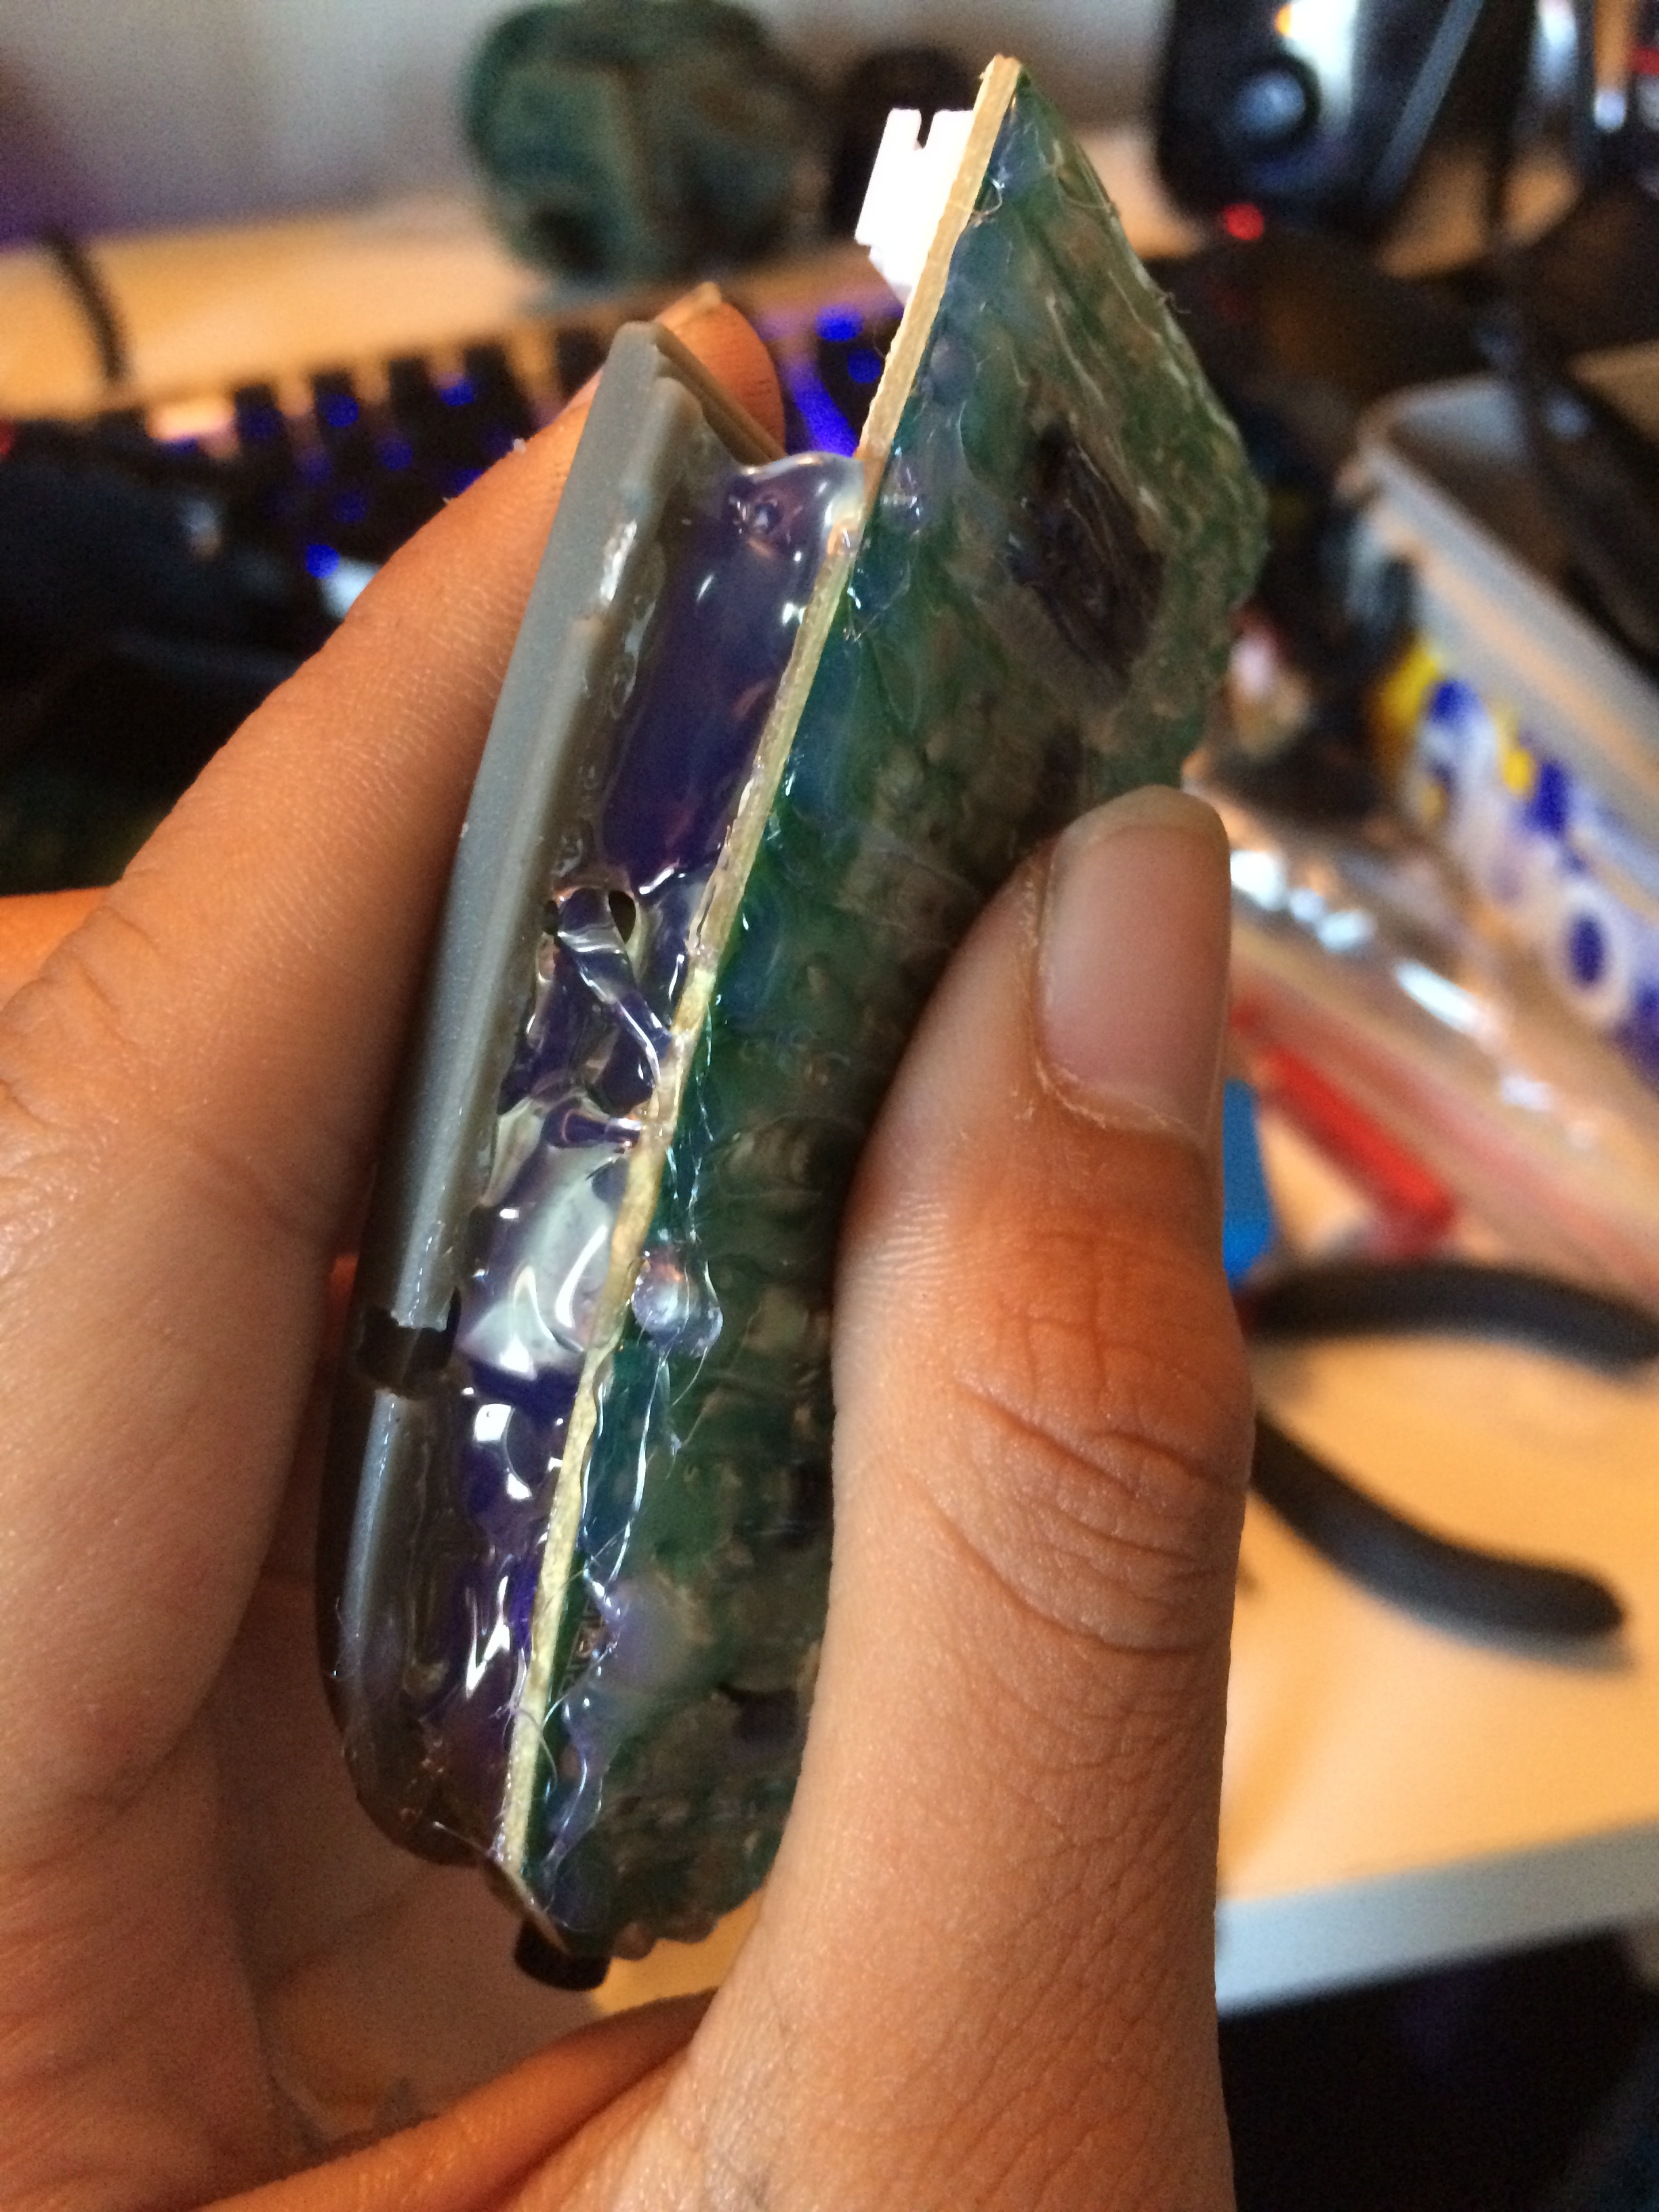
Another case of 30-minute-builds-out-of-boredom, I couldn’t be bothered finding a lipo to fit remote spec so I just went with the default double A’s since I knew they would work. Rotary tool with a cutoff disc made quick work of the casing! and I can always tear the bulky battery housing out to replace with lipo.

With each module individually ready, I first connected everything up and tested the dangling monstrosity with the board and it revved up fine. I then dry fit the components together to what seemed to feel comfortable in my hand and hot glued the parts together (working on an enclosure should be simple, next stage of the mod I guess)
This worked great but I realised that the batteries should be flipped to allow clearance.
All things in place, I hot glued each part and then plugged each module back into the main board, testing it once again before finally electric-taping the thing together. It is semi permanent because of the batteries needing changing every million years but as a proof of concept it totally surpasses my expectations of bricking the thing.


30+ Km in and it feels a lot more convenient not worrying that I am carrying a space gun, but now my mates think its a detonator for a bomb… need to work on a hard case for sure. The only drawback is losing the protective bulk around my hand in case of a fall but that comes down to just not falling. Works just as well as it did before and I look forward to your feedback! Does the mod deserve a name? Tell me what you think of it! Improve on my prototype and update us on it!