Hello everyone! My name is Tom and this is a showoff for my recently completed first electric longboard.
I can only estimate the total cost to be around 700€ to 800€ with around 50 to 60 hours of work put into it.
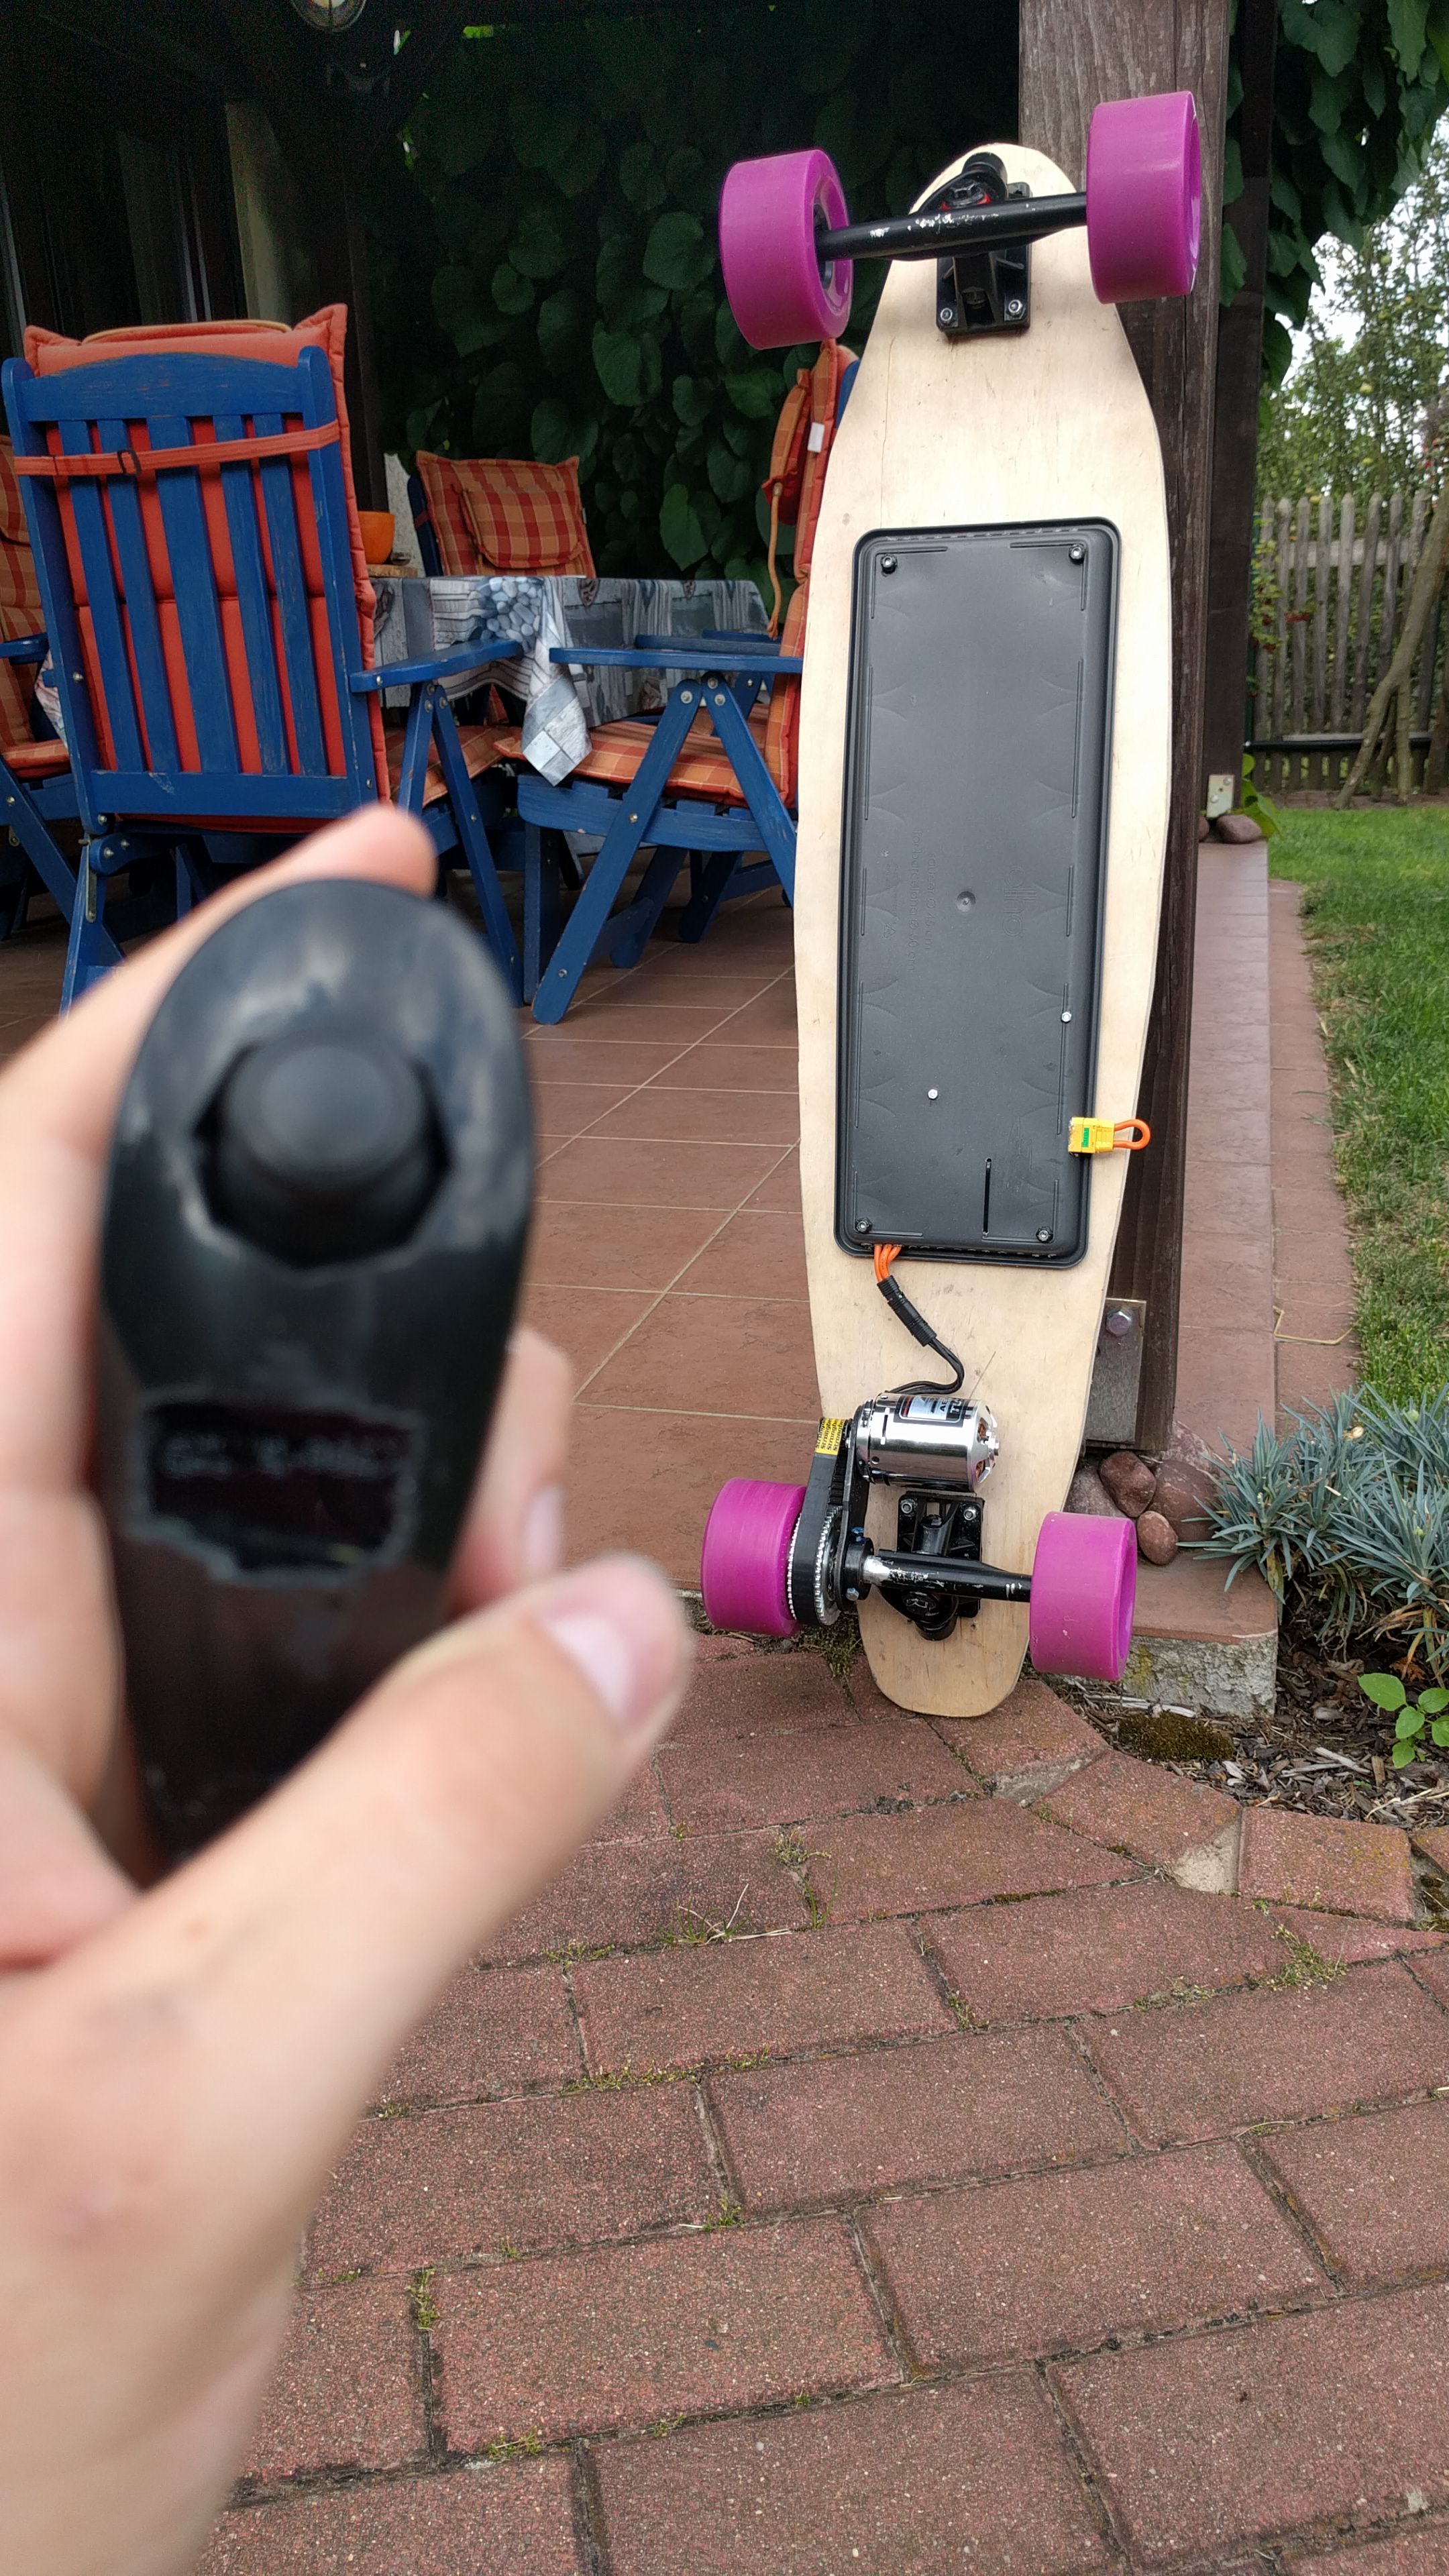
First a pic of the finished Board:
The deck is made out of 6 sheets of 3mm plywood glued together and crudely sawed out. (need to work on my woodworking skills :D)
Trucks are Amok Downhill 180mm (i believe it´s a kind of cheap brand? idk works for me though) with 12mm raisers and the wheels are 97mm Flywheel Clones called Blank Pro.
The Drivetrain
I use the Turnigy SK3 6374 168kv motor. Originally i wanted to go for an Alien 6374 with 10mm shaft and 130kv but that wasn´t in stock. The SK3 already makes a rattling noises, i hate HK. It´s powered by a Esk8.de VESC i bought right before they announced their Esk8 Controller. Man i would have liked to upgrade to that. Btw. the 3-phase connector is called MT-60.
On the SK3 sits a esk8.de 15mm pulley with 12 teeth, connected to a 48 teeth pulley on the wheel with a 325mm belt. A bit too long, 305mm would be better.
It was a lot of work to fit the wheel pulley and i was very proud that it runs that smooth. Also i fucked up mid way, that´s why it looks so janky.

The threaded rods with locknuts hold everything together very well.
I mounted the motor using this. Don’t really recommend it as it’s really hard to work with.
The Remote
First an foremost, credit to RollingGecko. I didn´t really copy his code but it helped me a lot to understand how to communicate with the VESC. Without his library this wouldn’t have been possible.
Here´s the finished remote: (yeah someday i will make it look clean
![]() )
)


So i bought a knock-off nunchuck to start experimenting, but ended up switchting the potentiometer and buttons to the original nintendo ones because the knock off’s were plain crap. Inside is an Arduino Pro Mini, a HC-05 Bluetooth Module, a 1 inch OLED Screen, 2 mylipo 1s 205mah Lipos in Parallel, a 1S Lipo Charger and a Polulu 5V step. Sounds like alot but perfectly fit’s in there.

For turning it on an off i used a pair of dip switches because space reasons and a jst to connect to 5V for charging. Batterys should last around 5 to 6 hours, 50ish mA draw.
I wrote the code myself, essentially it transmits x and y of the potentiometer as well as the buttons to the receiver and receives Voltage, Current, Speed and Capacity from the Board. Current and Capacity aren’t working as of yet because i made a mistake and pulling that thing apart for programming is a pain in the butt.
Failsafe is handled by the Receiver, basically a light brake when something happens.
The Box
Most people i showed the board to commented on how clean it looks with the box. But there is a dark truth behind it.
It only cost 7€ and is a saucer you put beneath your planters in the garden or something. It´s called “elho Barcelona” in case someone is interested.
Inside is the VESC, an Arduino Mega with the other HC05 Bluetooth Module and 10 Lipo Cells split up in two 5S packs for charging. And a XT90 Anti Spark loop to turn it on and off.
Here it is ready to go, still a cable mess but i didn’t know how long to make the Lipo leads, probably going to shorten them sometime.

The Batteries
I had 2x 4S 5000mAh and 1X 3S 5000mAh 20C from Zippy (Hobbyking) lying around. Sooooooo, very careful soldering outside was needed.

I recommend using a very strong soldering iron with aluminum based solder to prepare the pads on the individual cells and then continue using regular solder on the wires.
In the end i had 2 (physically) flat 5S packs and i was very glad that the inner resistance didn’t go up in the process.

The Result
It’s amazing. I don’t have much experience in skating so i choose a high gearing ratio to have more power and less top speed, also because i live in a hilly area, and it plows my 105kg ass uphill no problem. Still didn’t dare to go full throttle. (only cruise at 15 to 20 kmh/h) So far i rode it for two charges in my neighbourhood and put around 25km on it. Range should be at 15km’s and top speed right around 25km/h. Totally in love with this hobby now.
I hope i wrote all of this ok, not a native english speaker and i’m happy to answer any questions you guys may have!

