"Unintended Awesomeness" (First Build) | Rayne Otherside 38” | Caliber II 50 degree| esk8.de 200KV| PsychoTiller Monolith low pro| 10S4P | VESC

Sooo, quite a while has past since my first intend to build my own esk8:

Had a very steep learning curve almost trashing my battery pack (https://www.electric-skateboard.builders/t/battery-pack-help-needed-aka-i-messed-up-tell-me-how-much/21955) and actually trashing a VESC on the way. I also changed quite a few of my original build part plans.

I got all needed parts. I just need a few pointers on how to assemble it all in the best way.

Help needed: (thank you in advance!!!)

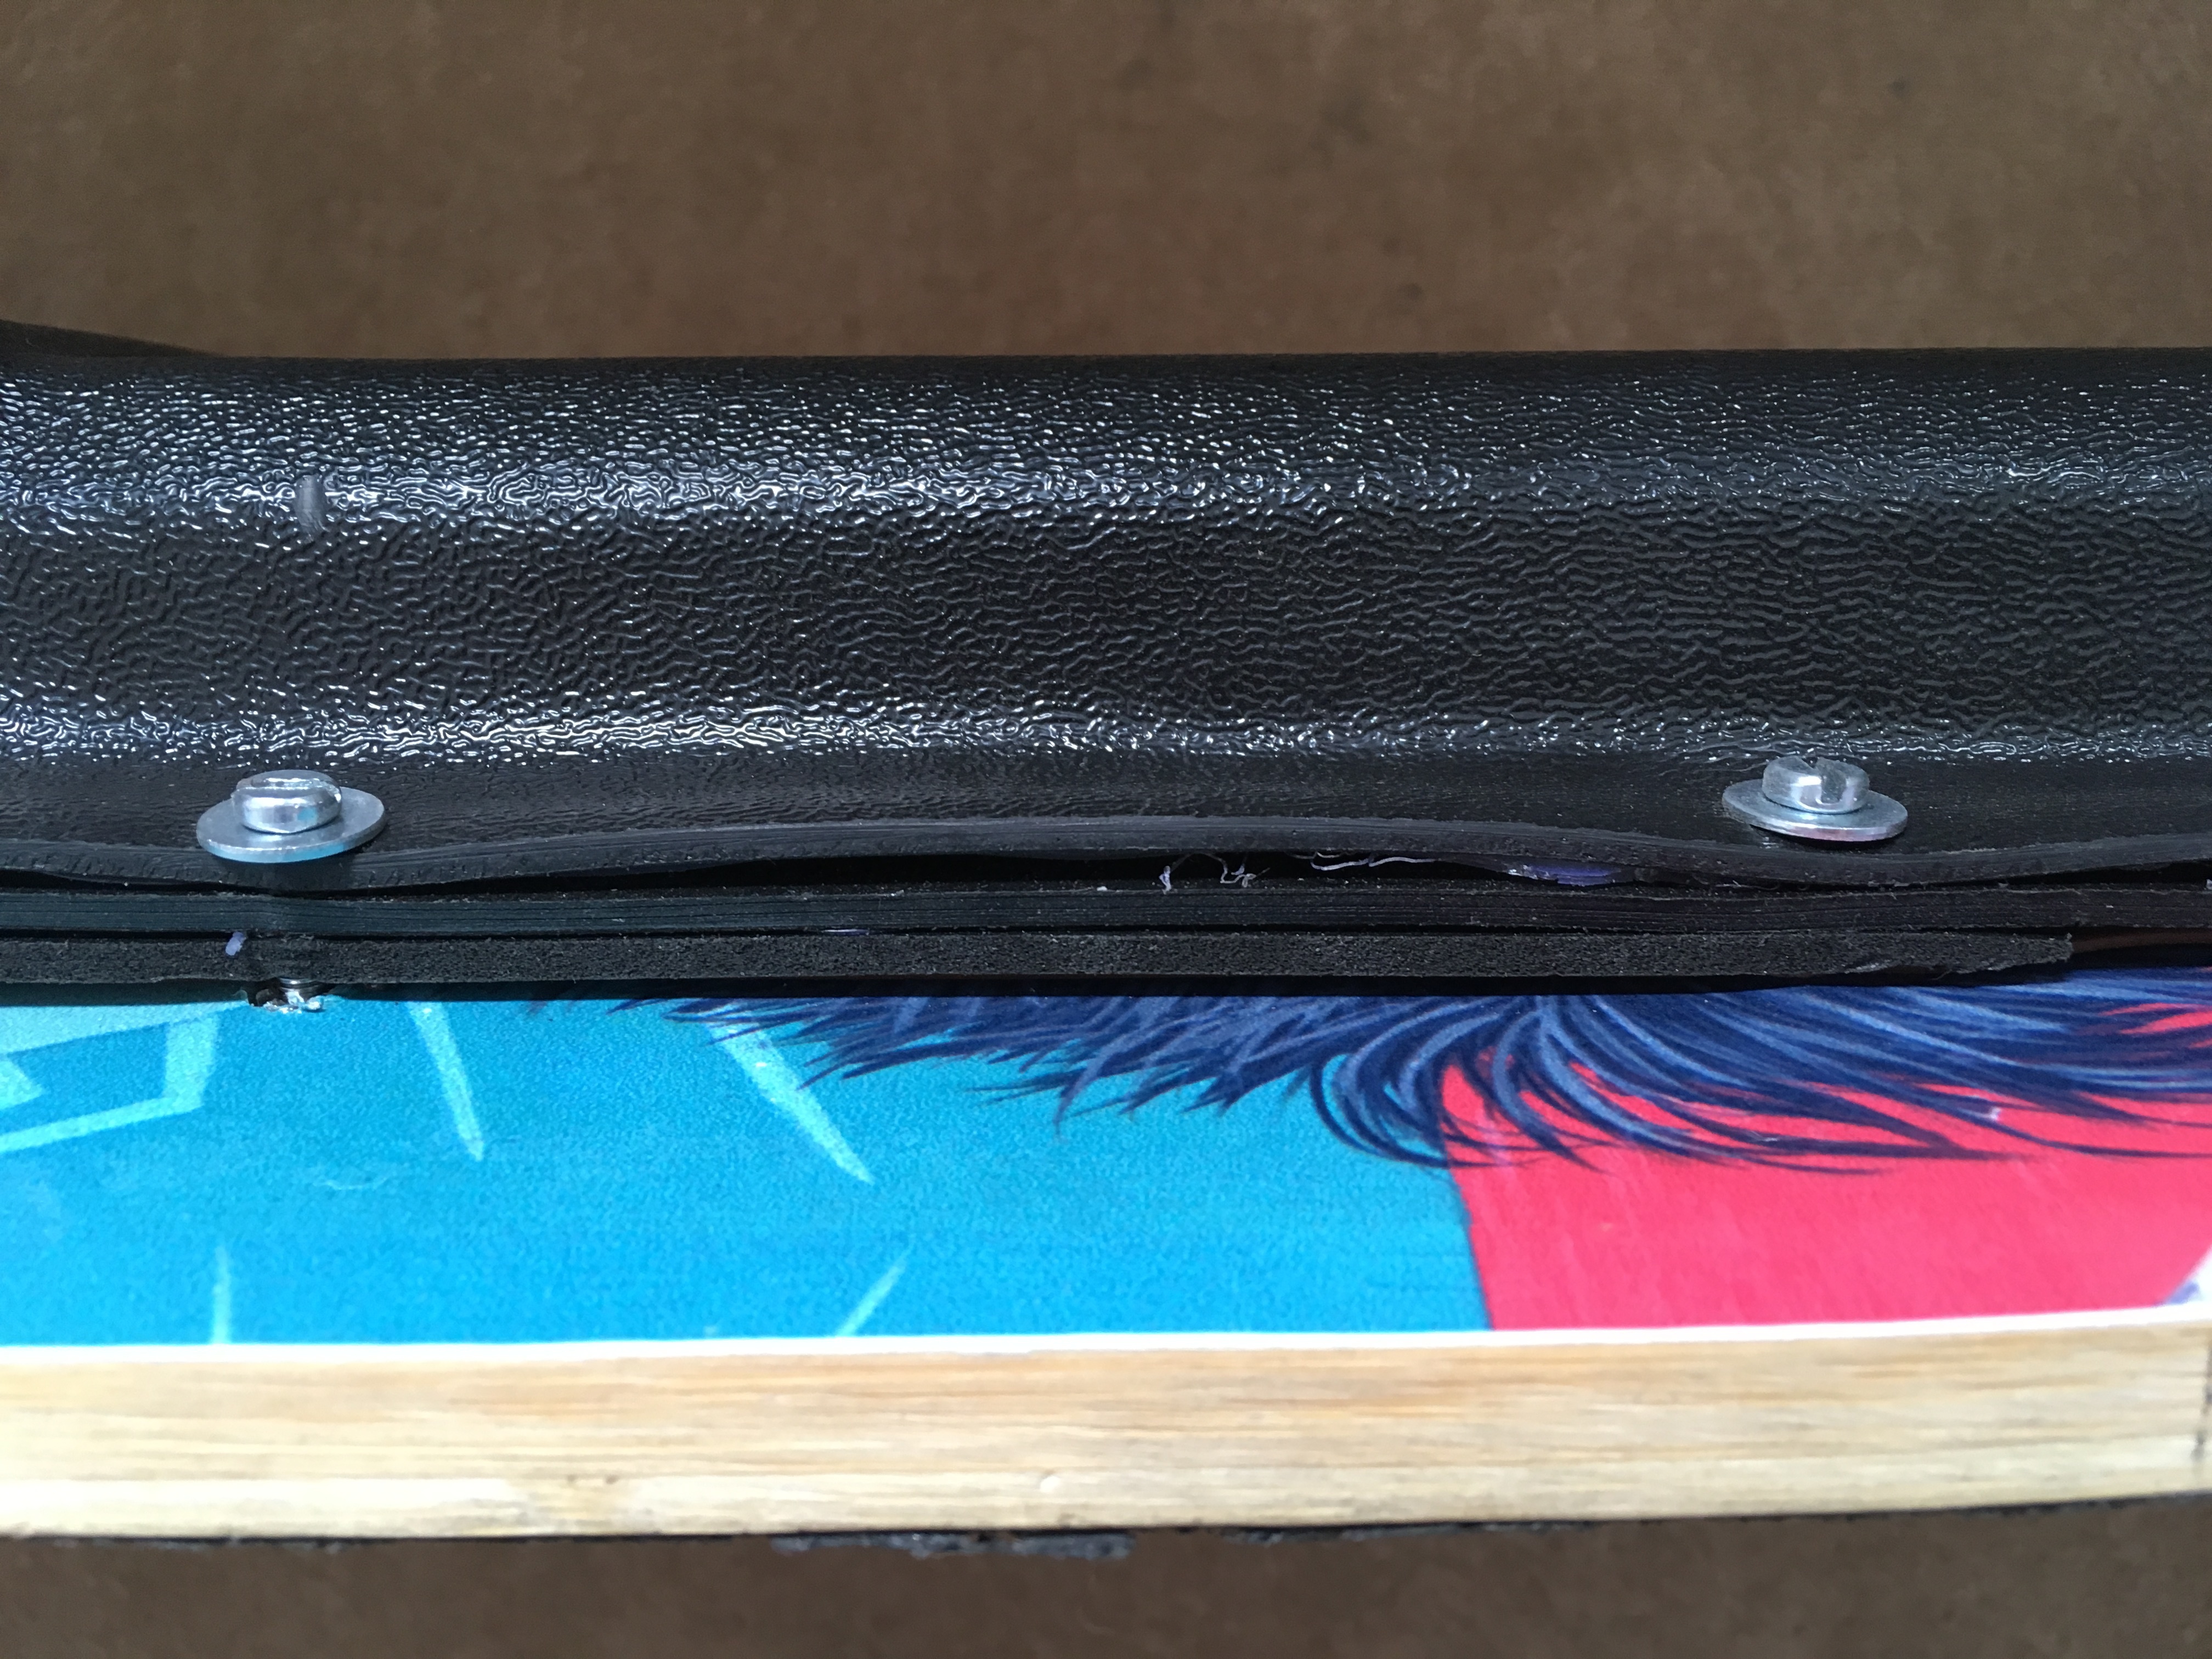
  1. How can I best glue/attach the battery pack and VESC to the enclosure?

  2. I glued the motor pulley to the shaft. Now i noticed that the belt is too close to the motor mount screws and is rubbing a bit on them. So I need to get the pulley back off with a heat gun. BUT I have a carbon motor mount. Can I just go ahead and do it, or do i have to take precaution as to not melt the mount?

Here’s the list:

Deck I had a Jucker Hawaii Skatesurfer (https://www.juckerhawaii.com/JUCKER-HAWAII-longboard-komplett-SKATESURFER). But when I did my first test ride it felt really, really unsave and unpleasent. Also the deck had to much flex for the battery pack. So, that’s why I went to my local skateshop and got an awesome Rayne Otherside 38" https://rayne.com/longboards/freeride/otherside-v2-longboard-migration/ (discounted since it’s an older version) I just now tried it without any electronics and that was amazing. Can’t wait to ride it when electrified.

VESC esk8.de VESC (I actually went through an eskating.eu VESC)

Battery Got mine from @fedestanco through this group buy (https://www.electric-skateboard.builders/t/also-usa-10s4p-samsung-25r-190/12458) It is very sturdy and surviced my stupidity as mentioned above. So, that’s great!

Motor esk8.de 6374 200kv

Trucks Caliber II 50 dregrees

Wheels Had some Flywheels 90mm. MBS All Terrain are on their way. Let’s hope that the risers give enough clearance for them

Remote I actually have two. I was part of the never ending group buy just for a Mini Remote and bought a Hobbyking GT2B since i thought I would never get my mini.

Motor mount eskating.eu Double Carbon XXL

Wheel-/Motor Pulley Getting this https://www.electric-skateboard.builders/t/europe-15mm-steel-motor-pulley-40t-abec-flywheel-mbs-all-terrain-pulley/21733 Have this http://eskating.eu/product/htd-5m-36-teeth-nylon-carbon-wheel-pulley/

I think I am too heavy (90 kg) for 14t/36t. For me it’s to slow at the beginning and to fast when speed increases.

Motor pulley: esk8.de 14t

Riser Pads 2* Bolzen 1/2" Plus UnikBoards Motor Riser Pad

2 Likes

Dont. Attach it to the board with double sided velcro, 3m double sided tape, servo tape, etc. Then put the padded enclosure over your components.

Yes, please shield he carbon plate with a piece of sheet metal or something, it will melt.

All of the parts look good, I would suggest a 15/36 gears to start. If you want more torque increase the teeth on the wheel pulley. You can 3d print wheel pulleys easily allowing you to experiment, and they last a long time.

Thank you for your hints!

I will get some strong velcro and hopefully get some assemblying done during the weekend. Will post pictures soon.

1 Like

What kind of padding do you use?

Most people use 1/8 to 1/4 rubber or neoprene. I use whatever I have on hand, mostly shipping foam shets.

Soo, I actually took some time to finish my build:

Here is the board without any modifications yet.

Completed build. I used inlays to mount the enclosure. Will probably use two component glue to fixate them even more durably.

Here you can see the clean look the unik e-skate riser pad gives.

I had to switch to a Gullwing Sidewinder truck in front to get the needed space between front wheels and enclosure. Since I am in it more for carving than speed, that’s more than alright for me.

I used hot glue and ABS sheet to increase the height of the enclosure. I am not happy about the asthetics of it. But it works for now. I will probably remove the hot glue and replace it with 2 component glue.

So that’s it. All in all it took me much longer than I thought. But I am happy with the result so far. Here are my todo’s which are left:

  1. Fix sensor wiring (oh yeah, forgot to mention, that I get an error when trying to setup the sensors - only since final build)
  2. Calibrate the battery values in BLDC tool. Cut offs start at around 45% and totally shuts down by about 40%.
  3. Remove hot glue on enclosure and replace with 2 component glue. Switch padding from window padding to neoprene.
  4. Fixate inlays with 2 component glue
  5. Switch rigid 1/2 riser pad with shock absorbing one. (It’s really stiff AND resonates the motor/wheel noise to the board)
  6. Try riding with only one of the angled risers in front. I noticed in the pictures, that the Sidewinders make the board look going upwards in to the front.
  7. Try on a 40t wheel pulley(longer belt is on it’s way)
4 Likes

Hi!

Soon going to build my first DIY build with same motor as you have, are you satisfied with it? What top speed you get and any good acceleration?

First off I am with 90 kg on the heavy side.

I ride a 14t motor pulley and 40t wheel pulley. I like to carve between 20 and 30 km/h and have some torque to start off.

This setup works great for me.

I had a 36t wheel pulley and the torque I got beyond 30 km/h was way too much for my need for safety.

So if you are lighter than me and want speed this setup should get you beyond 40 km/h with enough torque.

And I had no problems with it so far.

Okay thanks, Im also around 90 kg so probably going to stick with lower gearing :slight_smile: You are not by any chance swedish?

No, I am from Germany.