Hello guys, although I’m here for a long time, I’ve never did a build thread and since I may canibalize this board soon I decided to share it in details
This is my third board and I wanted something more compact to take to class, way more powerful and with dual drive for better traction since the a significant portion on the roads here are crap and there is lot of hills, on a few of them i couldn’t climb because of that
The idea started when I found a cheap and nice looking shape on the eBay equivalent from here. First thing I did when it arrived was to measure it and draw in CAD so I could print the enclosure with a perfect fit
I spent more than a year just mocking things up in CAD until I arrived in something that I liked
After that it was a matter of fabricating everything
But this is the final result, tomorrow I will continue posting the rest of the build
By the way this board has probably more than 600 Km on it so far, but there are a big issue that I will discuss later. This shows that even when you plan each part for a long time things will go wrong when trying something new. If you notice in two of the pictures I’m running a single 6355, that has to do with the big problem
EDIT: for some reason none of my uploads are working, will add latter
No as thin as I hopped since my deck has a pretty big concave, so even if the enclosure is thin, it looks bigger
The main problem was lack of space for washers, each time I open and close the plastic wears down, a few o-rings helped slow it down, but the damage is already done
Nice work! It is hard planning a new design a head - something always comes up. Looking forward to those uploads… what software are you using for 3D? Fusion360?
From the guy that make the most amazing enclosures it means a lot, thanks. I always try to sort everything before starting a build to save time and money
Thanks, all done in Solidworks, most of the time I don’t even bother to sketch things by hand since i’m pretty bad at it, but in CAD you can do 2D sketches just to see how things fit together
Here’s the final, not a great picture, but the best I have
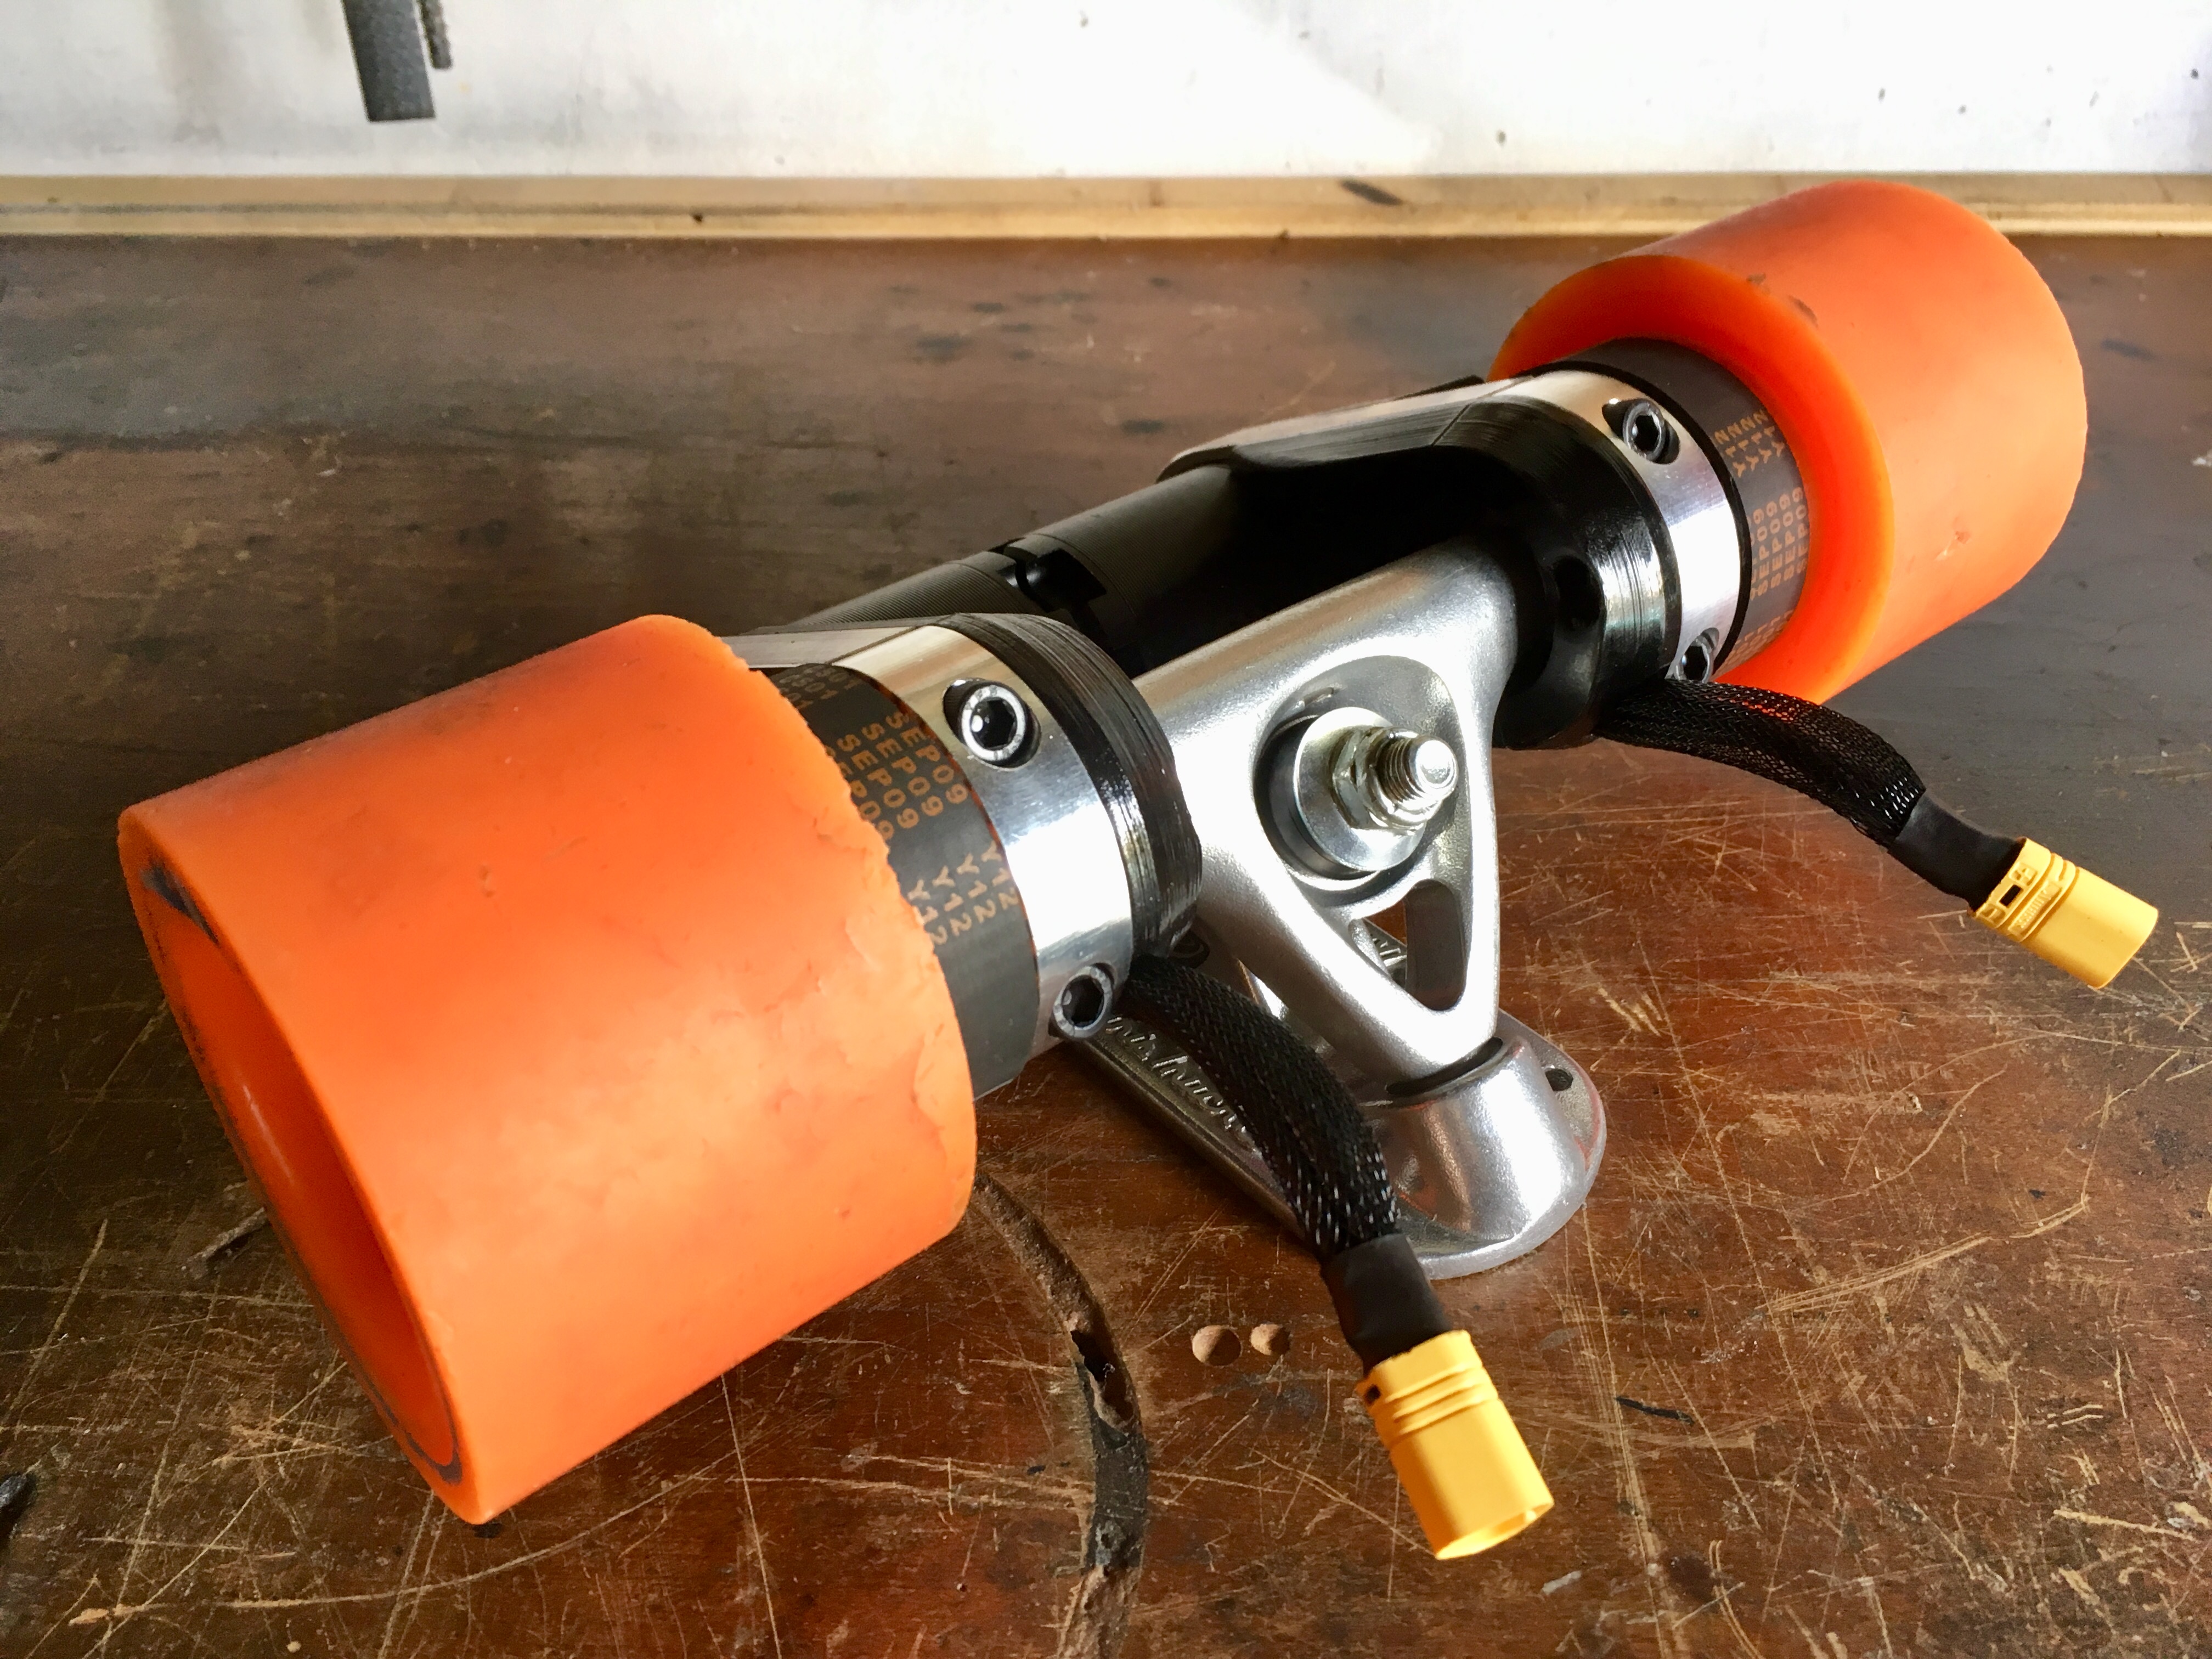
For the drive train I went with something totally custom, first because nothing available was ideal, and second where is the fun in buying something ready to use?
I always liked to use a bearing inside the pulley, everything stays in place and you lower the load on the wheel core. a 17mm bearing was used and the truck machined to achieve a perfect fit
For the mount it was a challenge since even on the 195mm Paris hanger there was almost no space for dual motors with 15mm belts
The space between the motors is just enough for the motors don’t touch
Also I made covers for the pulley and a inside cover that route the wire to the back
But them we arrive at the problem, 17mm was too much material removed from the axle or I got lucky and got a bad hanger. After the 500 km or so I noticed that the motors were close to each by a good amount and them realized that the entire hanger had bent
I’m glad I caught this early or I thing one of the wheels may have snapped and I kissed the road Boosted V2 style
I already made a way to leave more material using a bigger bearing and a spacer, but I will not implement since I’m parting out this build to make a new one
Don’t get me wrong, it’s a joy to ride it, but not where I live
The short deck means I ride with the foots right on top of the trucks, so no dampening from the wood, also the small wheels doesn’t help in rougher roads. There some streets that I can’t see if going anything faster than 5 km/h, the eyes start to vibrate and everything gets blurry
But when the roads is smooth is amazing, exactly by being short and light is super responsive
I will keep the basic structure of it, only removing the trucks and eletronics for the new board, this may become the test plataform for the hub motors I’m developing, but there’s a long way to go
Just some comment’s, I have managed to get 44km of range with the top speed limited to 25 km/h. I use it limited to 33 km/h, faster than that is not that stable, you can ride, I got it to 44 km/h once, but you have to be focused
And for last two videos that I did using Metr.at and the overlay from @rpasichnyk
I buy them in my local fasteners store, they go by ground pins, I don’t know the exactly nomenclature in english, they are made to aligne two parts of equipment with precision before fastening
EDIT: found, they should be called guide pin I think
This ones are 6mm diameter by 25mm length, the fit is really tight, you need a press or something similar to put them on, and a big hammer to take them off
First time I was afraid to crack the core, but it worked
The pins also hold the pulley in place, there’s nothing else securing it, so it need to be a inteferent fit
I don’t if this would work without the support bearing on the pulley since the belt would generate a moment that would try to pull the pins out of the core