Killswitch | TB / Paris | Riptide Bushings | dual 6374 / focbox | 107mm flys

For now I want to post this just to get to the meat and potatoes that I am most proud of, the dual focbox heatsink stuff… but i’ll start from the beginning. This build is still in progress, awaiting focboxes, battery and controller.

Background Been longboarding and downhilling for years. You can read my post in the intro section if you care about my background. A few weeks ago I came across a few kids in the neighborhood riding around boosted boards, meepos and e-gos. One of the kids let me ride his board, and I felt like a total creeper being much older than these kids, but the ride (although somewhat not super impressive) inspired me to follow through with building my own for the first time. This ride was the first time I have ever been on a motorized board of any kind, and ever since I started boarding 20+ years ago it’s been something I have dreamed of. So!! Onward…

Research and Newbie Expectations I originally posted to reddit looking to spend about $350 for a kit to mount to one of my existing downhill boards to help me go 50+mph on flat ground, since I don’t have many hills around my home to satisfy my downhill urges. I soon found out that was way out of line, found this awesome forum, started coming up with more realistic expectations, spending time learning about ESCs, VESCs, settings to use, voltages, power draw, etc. I watched a ton of youtube videos and build logs here, educated myself on erpm limits, vesc failures, more etc. At this point after a few days of solid reading and hours each day of research, I started parting my build out:

Parts I ordered the parts before going on vacation for a week. Crazy how many different places to order from.

Ordered:

  • Psychotiller X2 Cohron Dual Enclosure
  • Torqueboards 218mm Trucks
  • Chibattery 10s4p 25r
  • Bunch of nuts and bolts, t-nuts, CAN cable, XT60-XT90 and vice versa connectors and adapters, bullet connectors 3.5mm and 5.5mm, neoprene foam padding and stripping
  • Torqueboards Motor Mounts
  • Varying length belts, 15mm
  • Nano-X controller
  • Focboxes
  • BT module
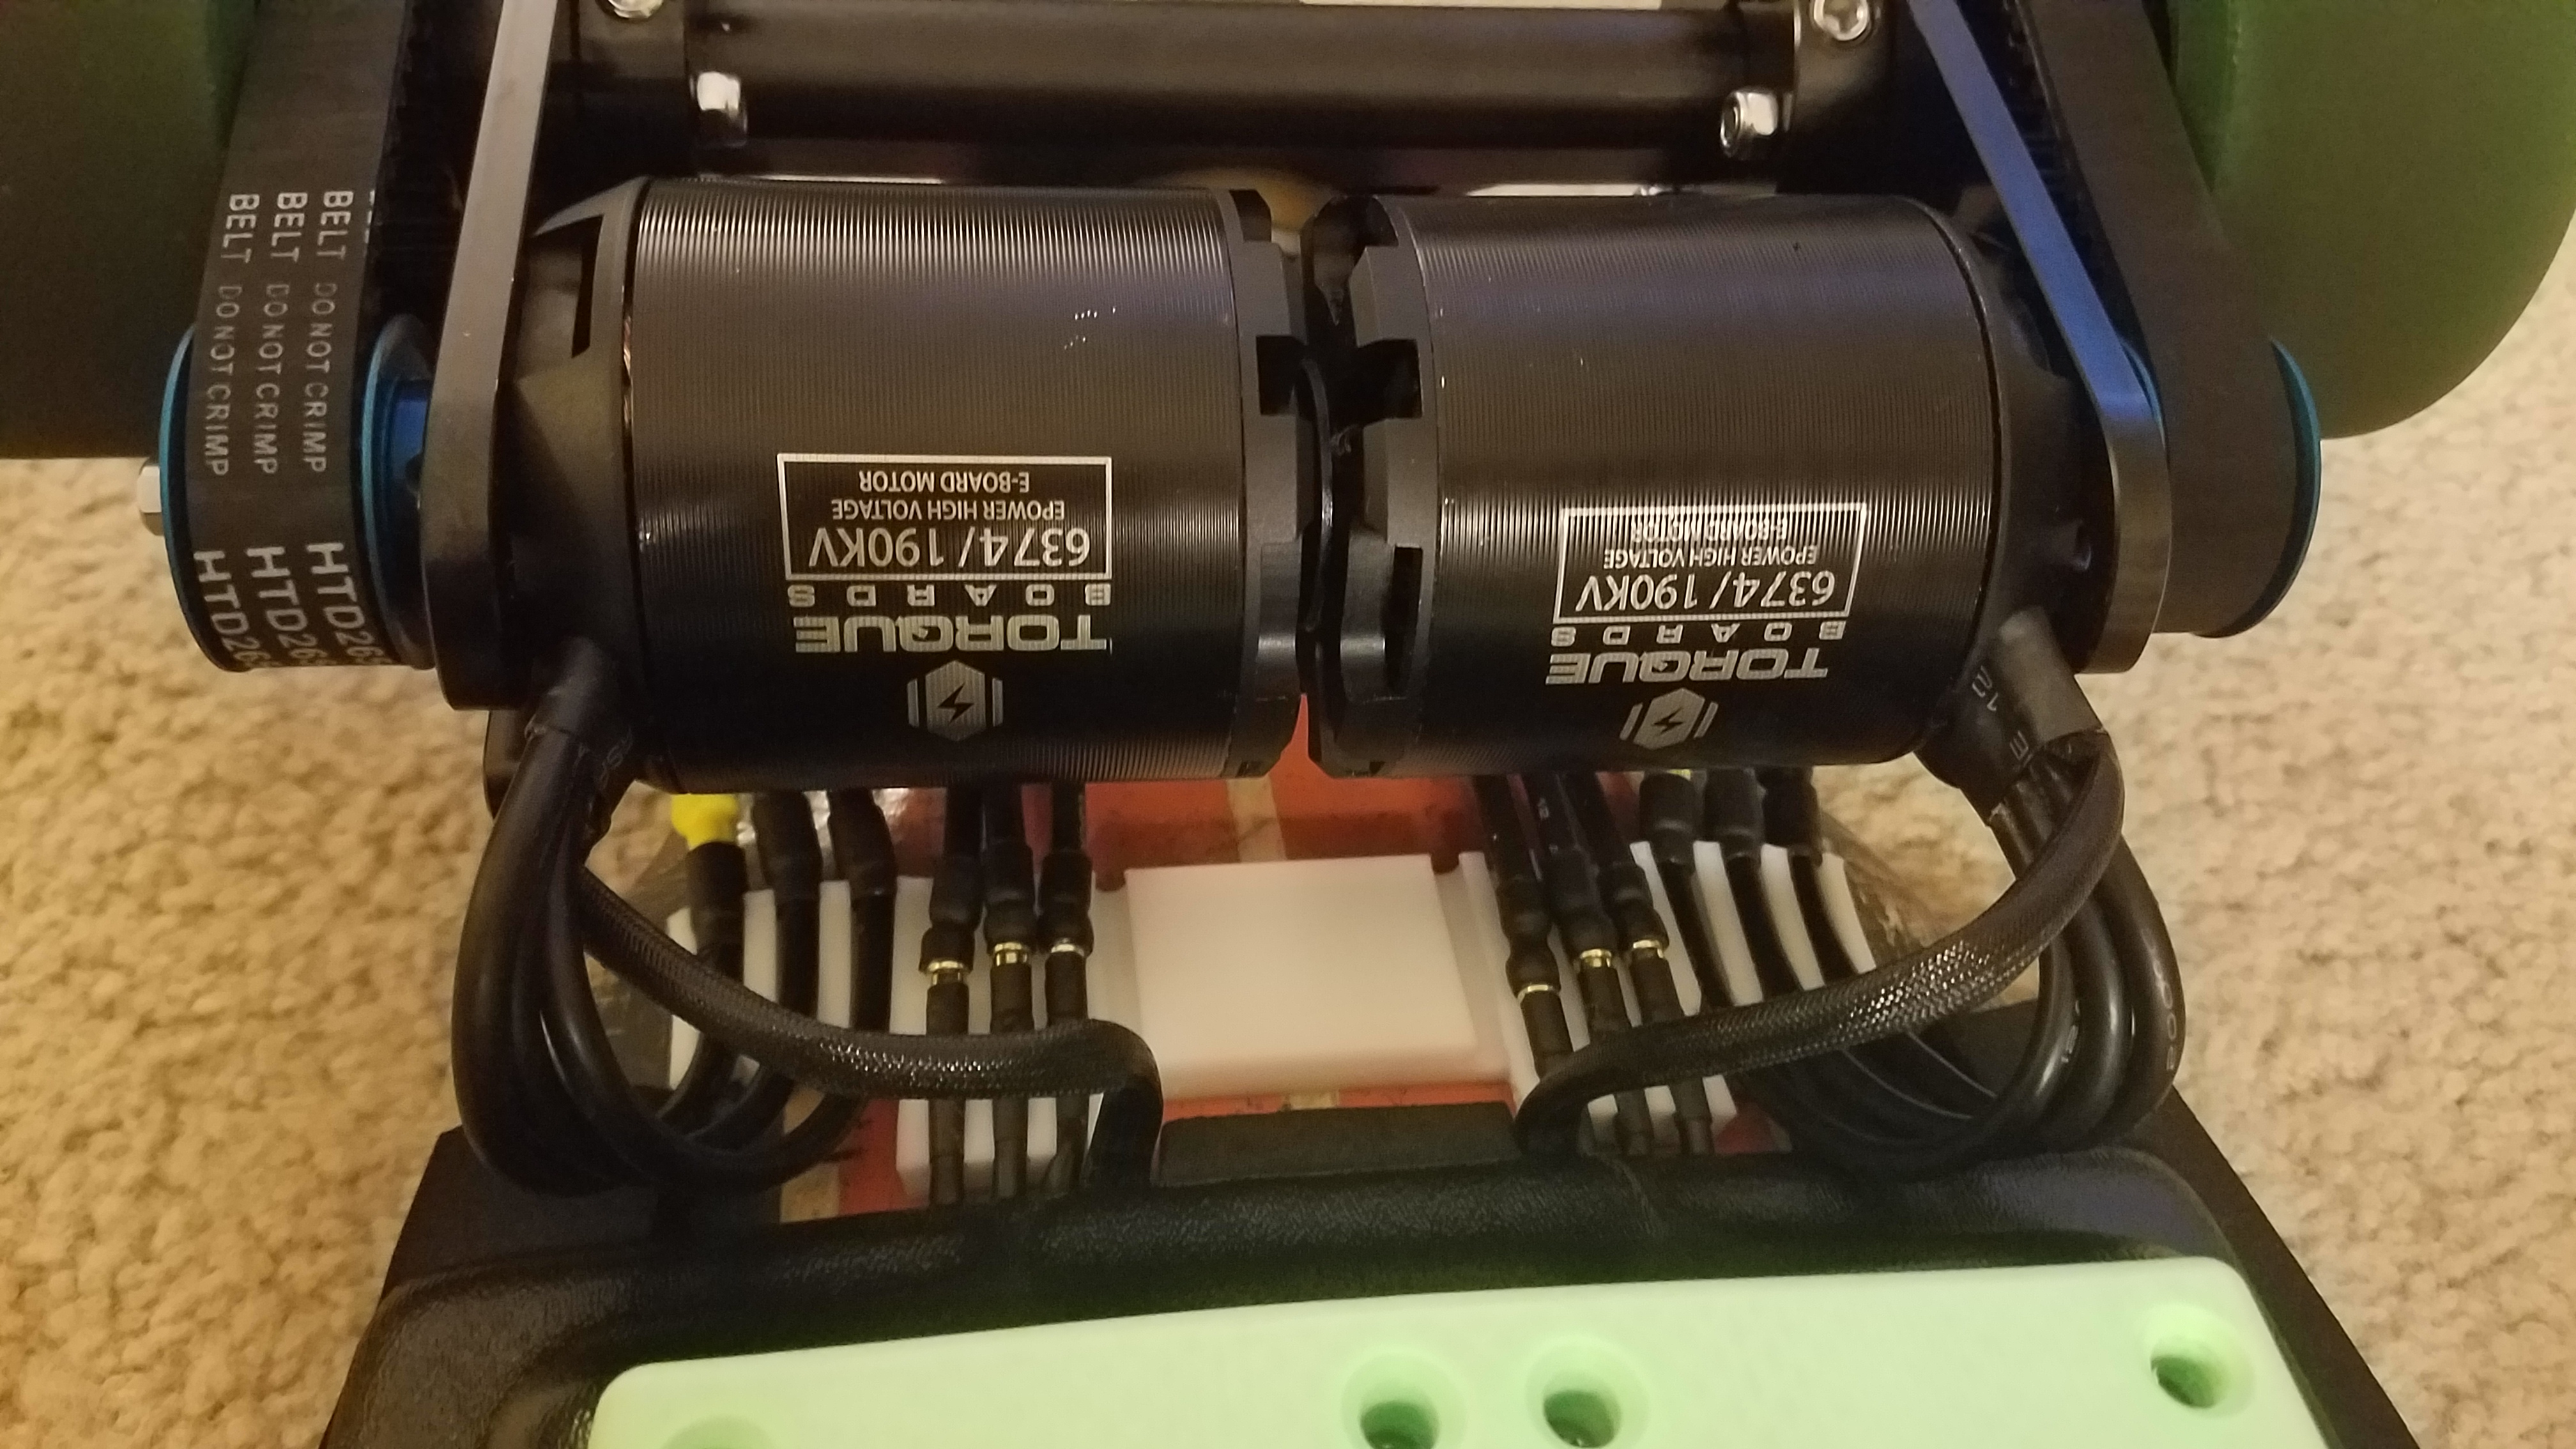
  • Torqueboards 6374 190kV motors
  • Pulleys - 20t and 15t - 32 and 36t
  • probably some other things I forgot…

Had on hand:

  • Longboard Larry Stingray… won at a race in 2006, been my favorite board ever since
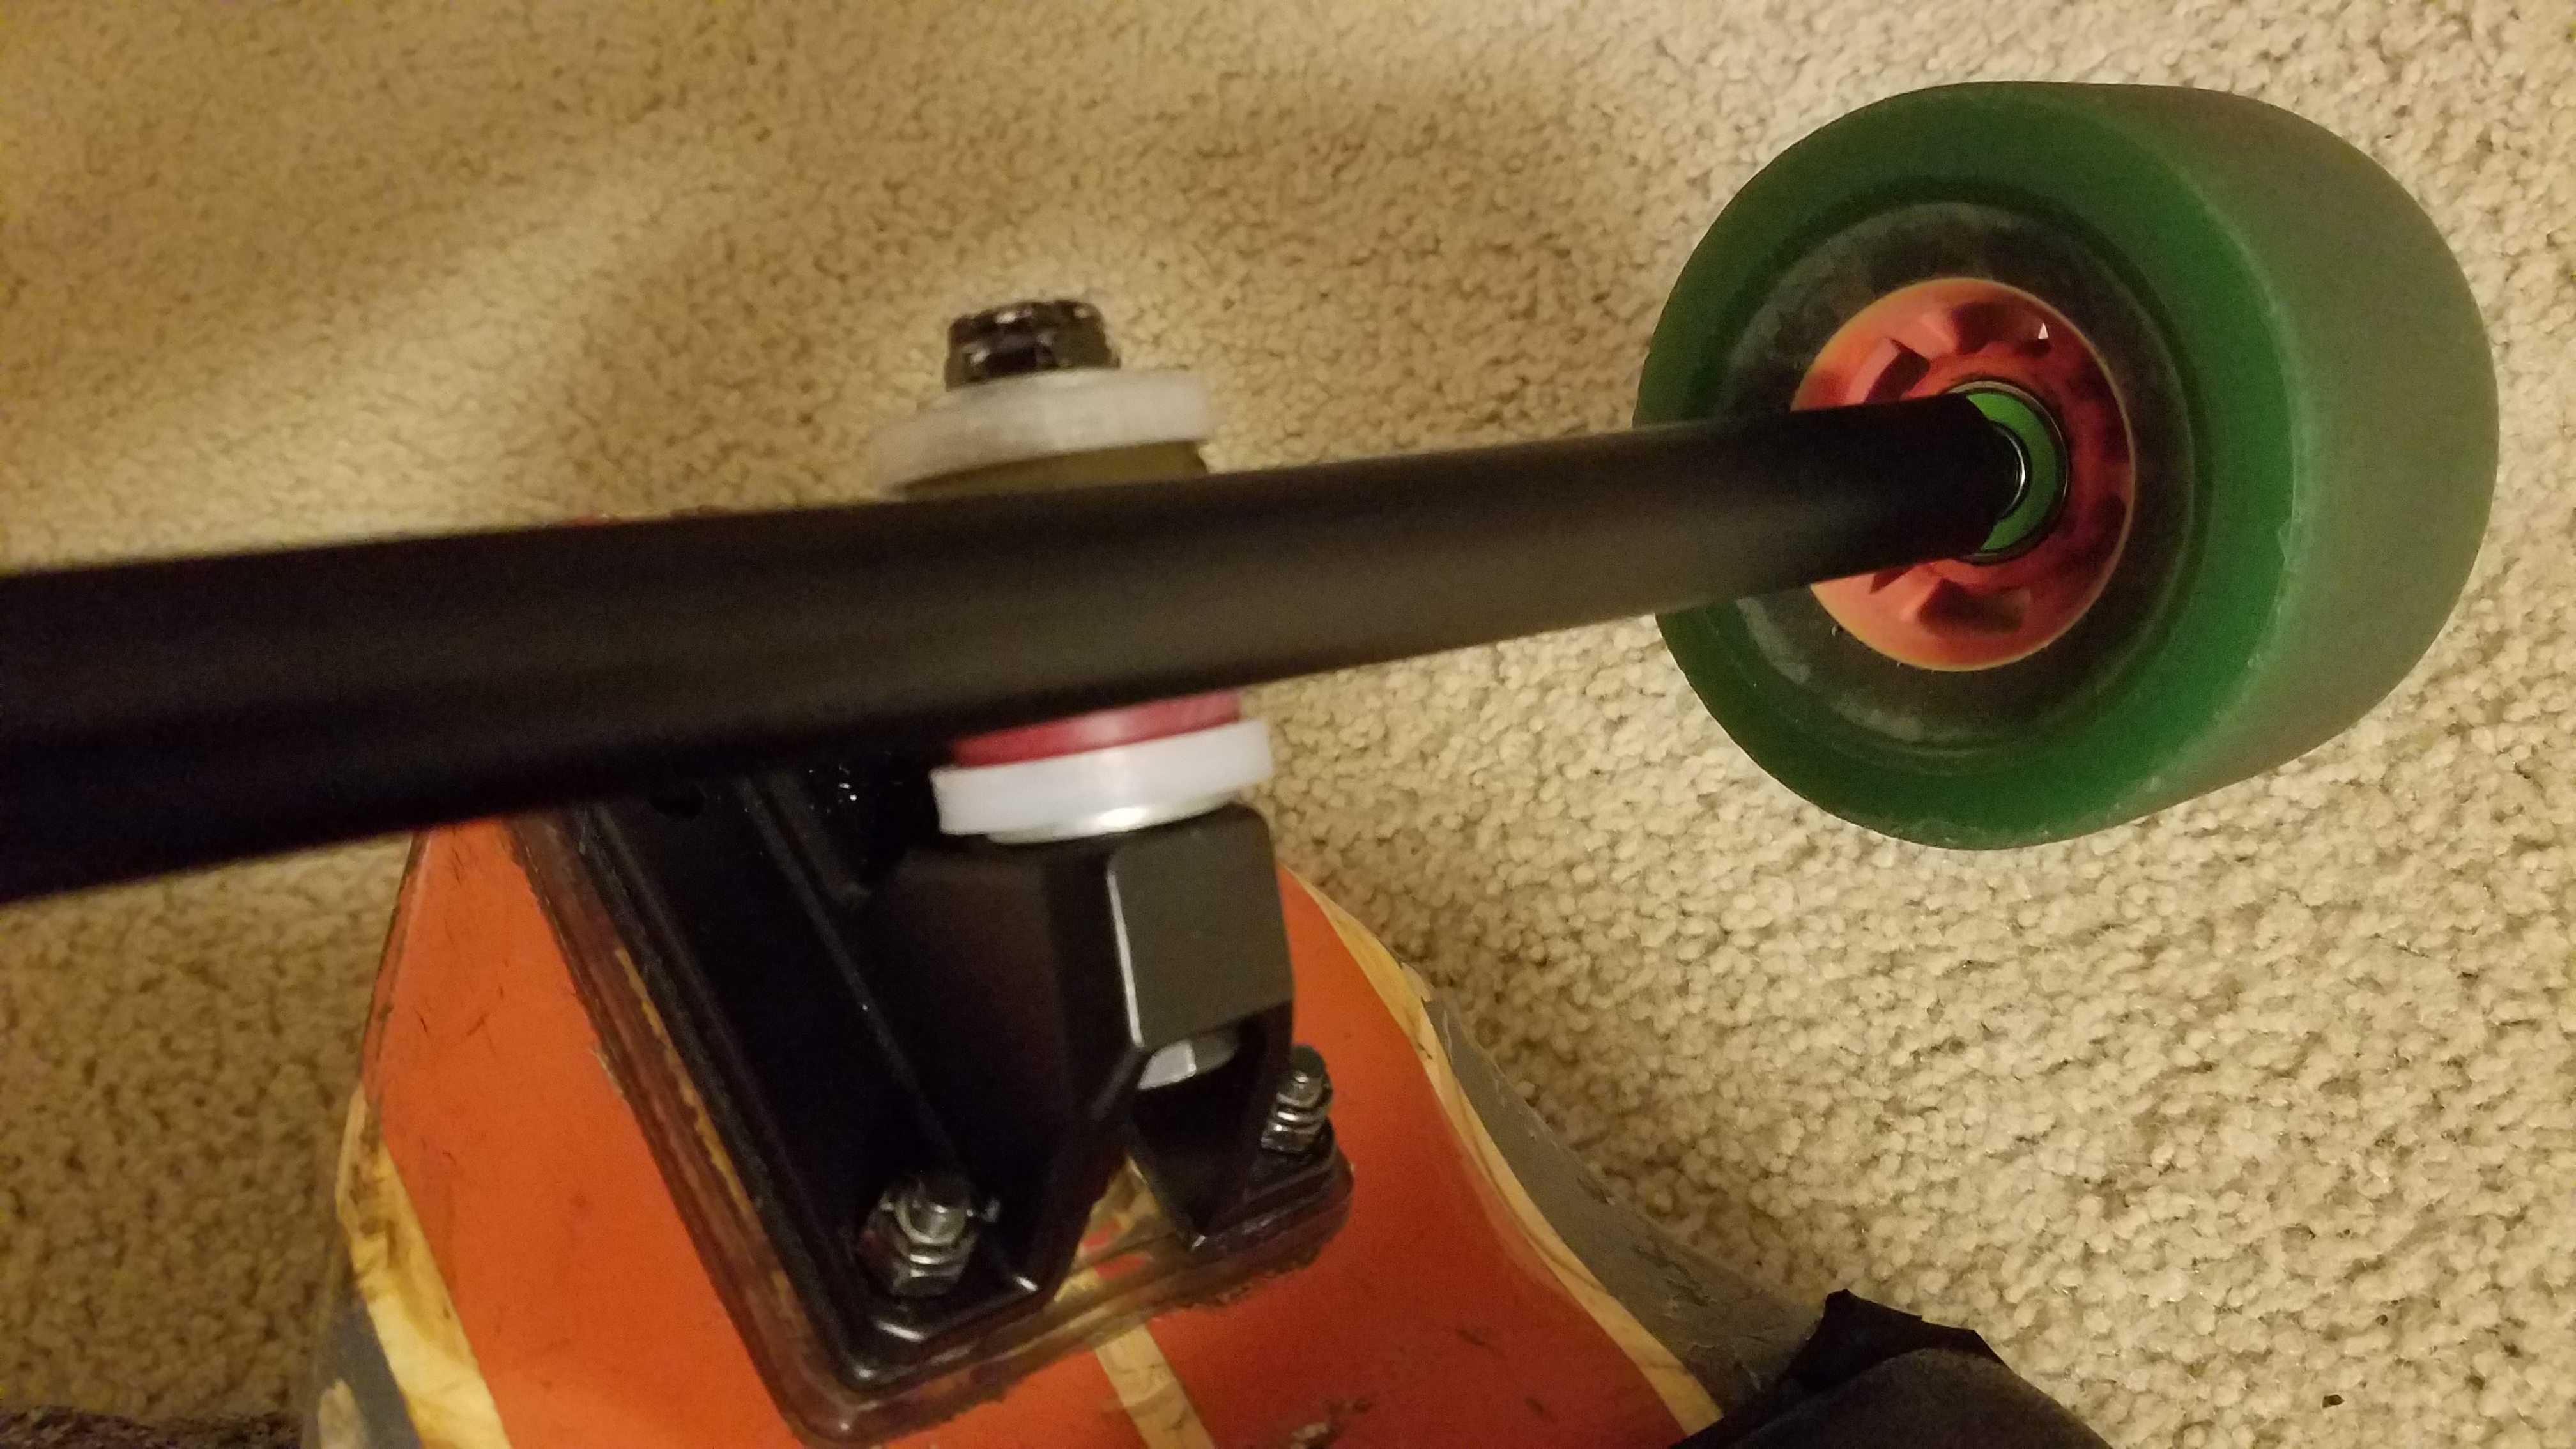
  • Old 81a 90mm Flywheels
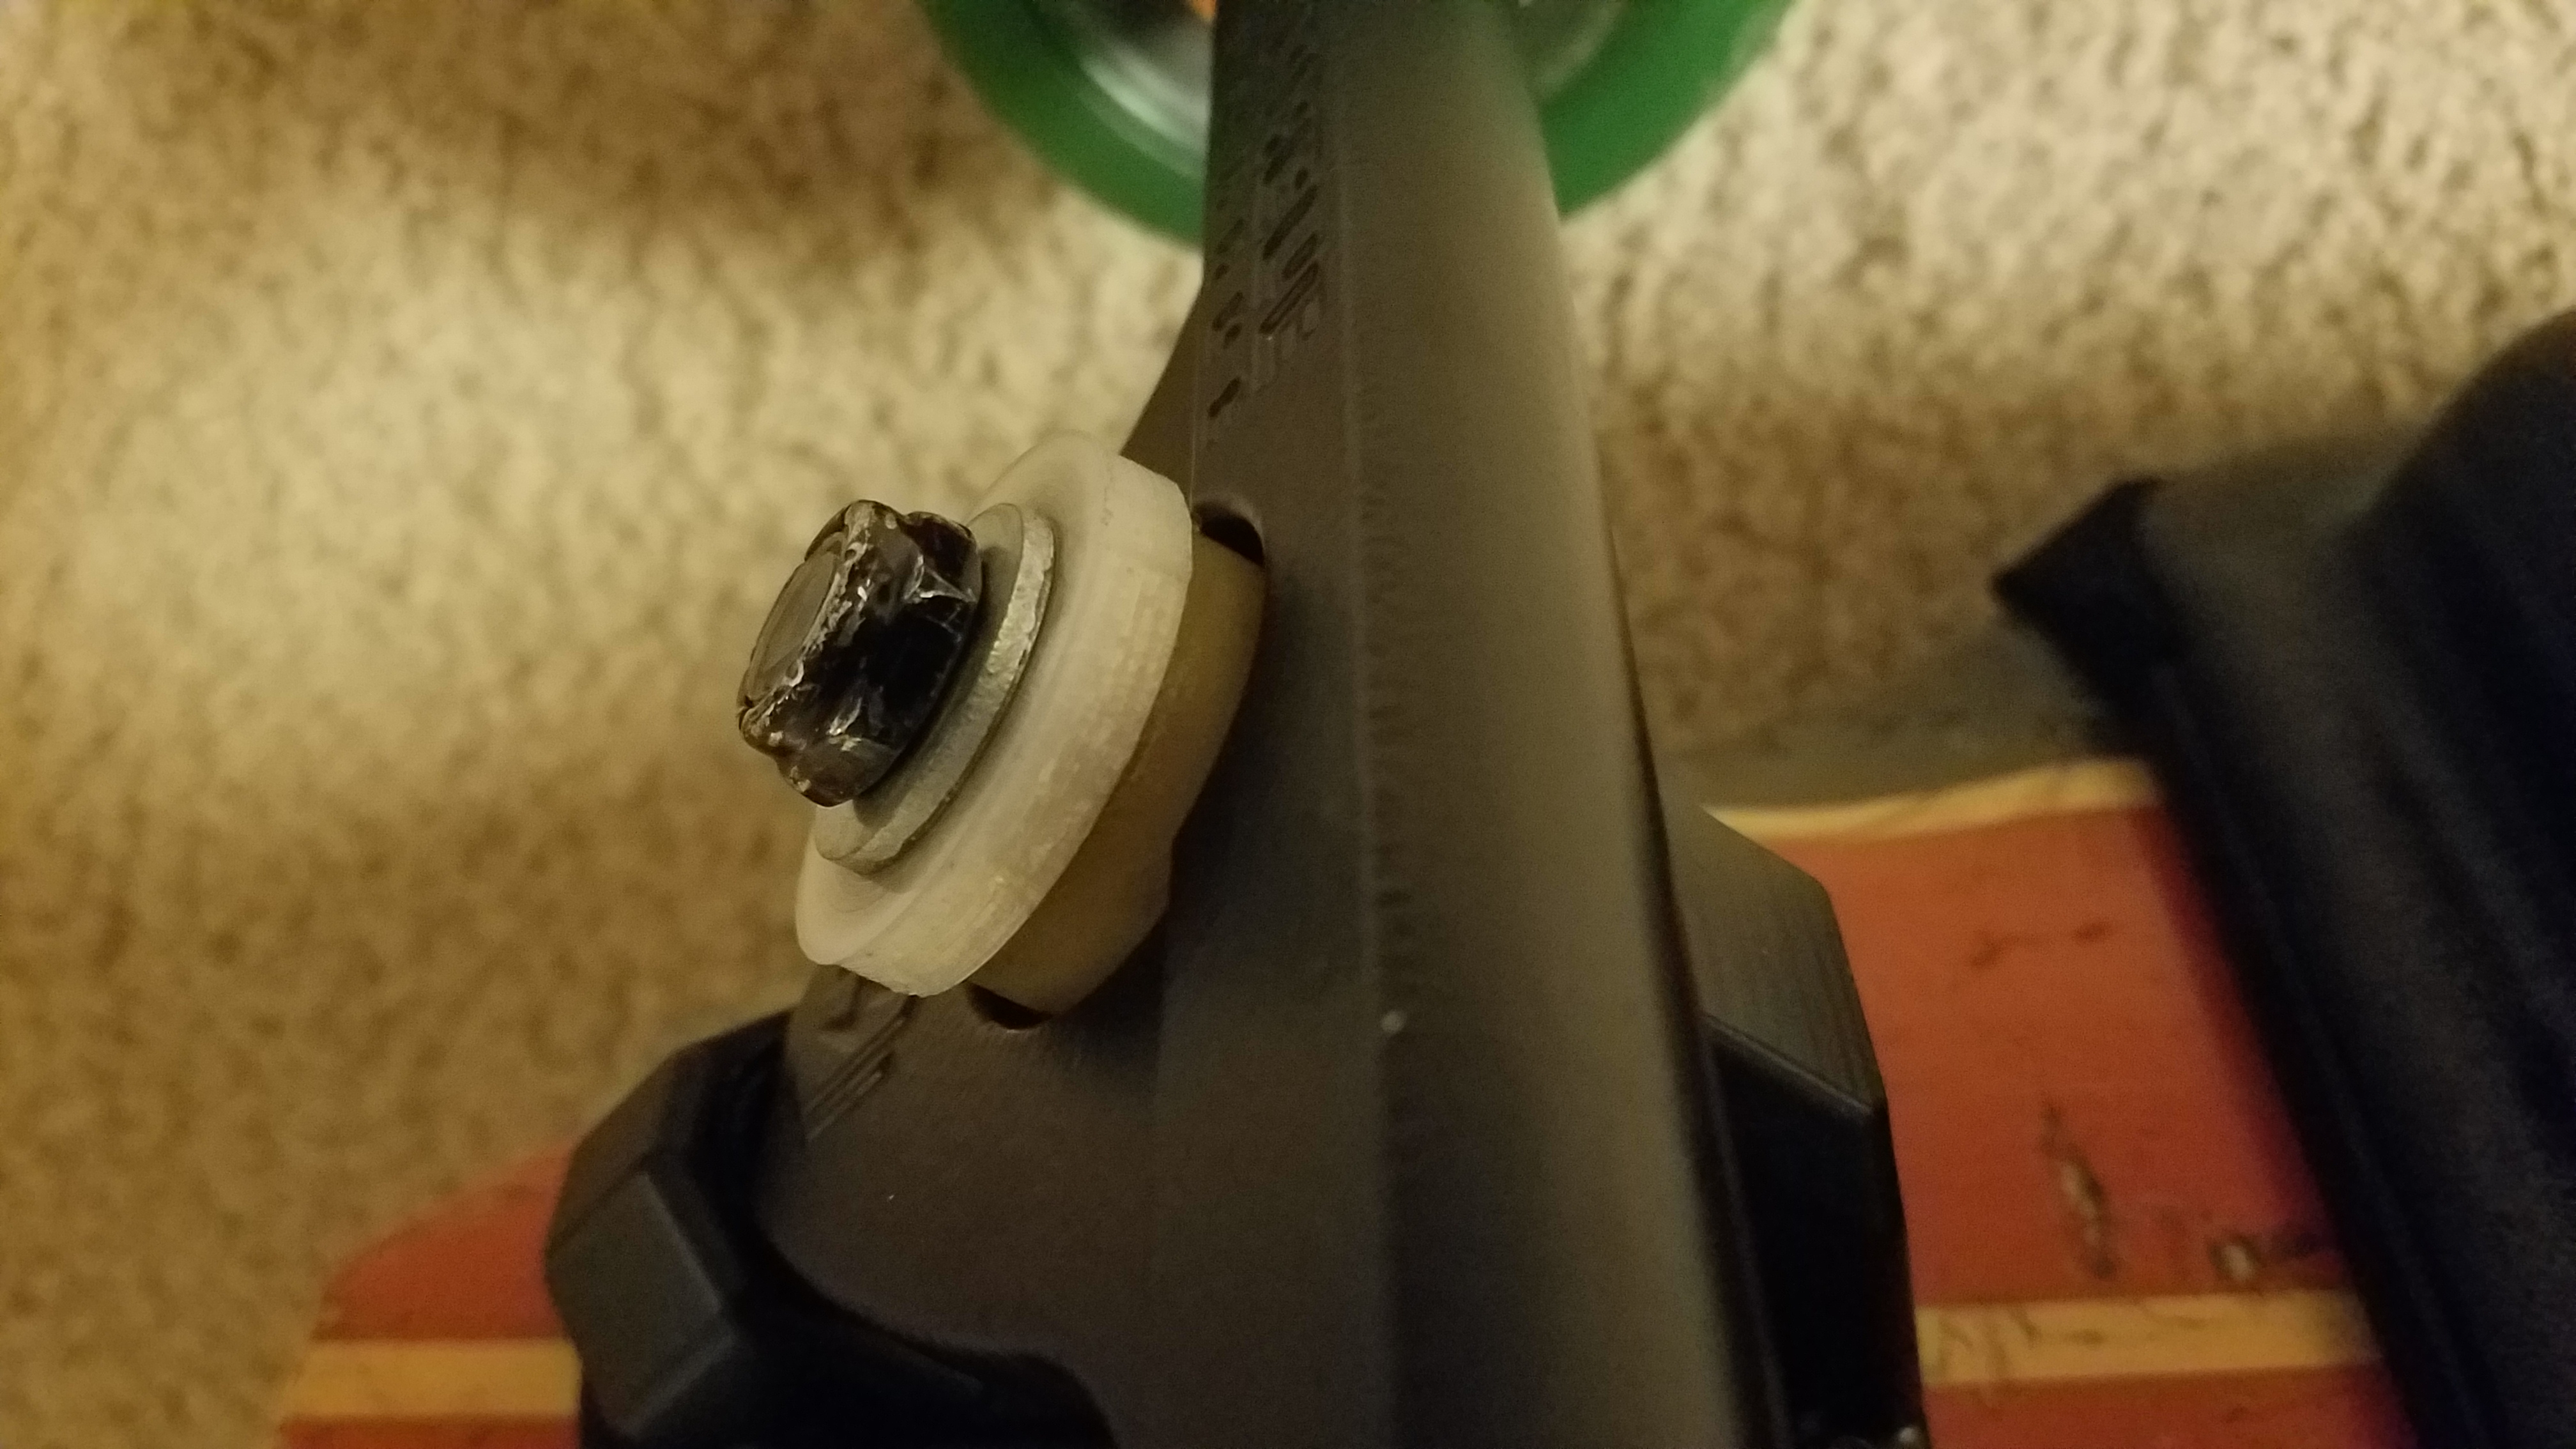
  • Zealous Bearings
  • Lots of bushings and other nic-nacs like riser pads, flat washers, etc that I have had forever and love
  • Have a lot more random longboard crap on hand that I won’t care to list out because it has no relevance to this build

After placing my orders I went to visit my family for a week. Returned home and some of the parts have arrived! I have spent the past few days piecing things together as parts continue to arrive:

I originally wanted to build on my Rayne Killswitch, drop through, etc. Stuff didn’t exactly fit easily and I had some ideas for adding a radiator to my enclosure and figured it would be too low drop through with the rads, and I have a better top mount board that I love much more than this guy. but parts!!

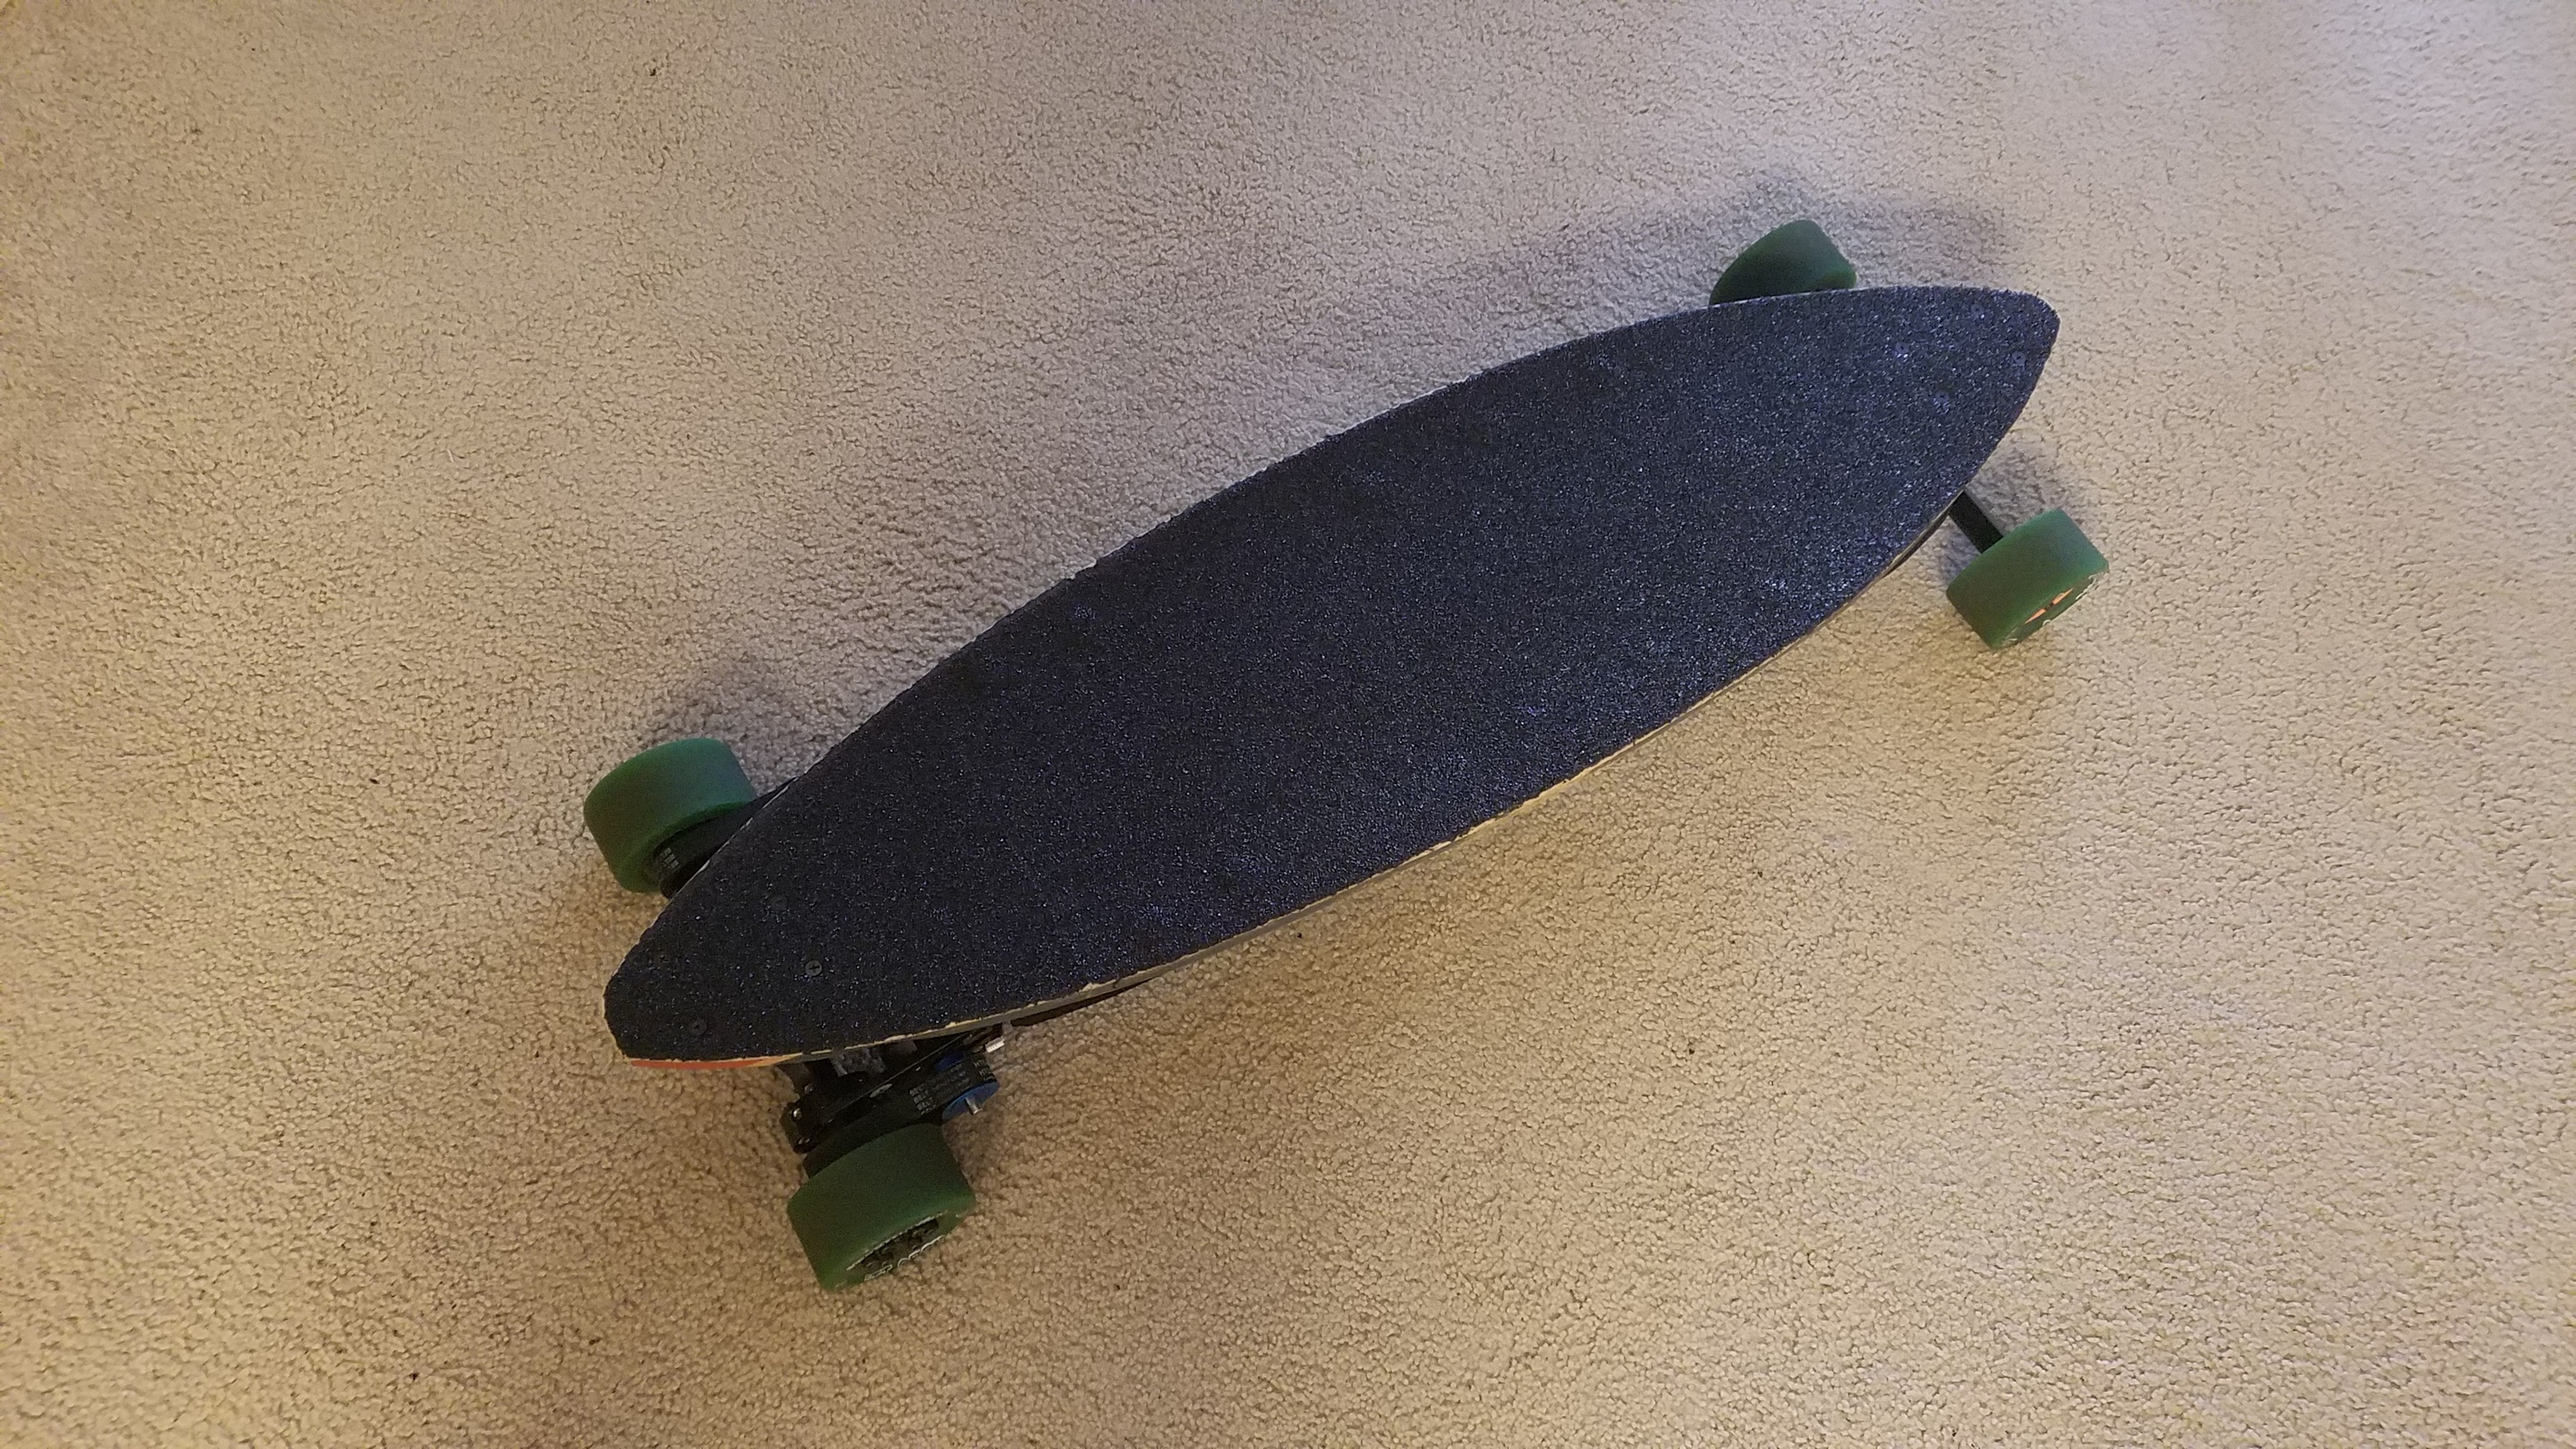
So I got to working, gutting up my LBL Stingray, trusty old board to fit the parts I got in my living room.

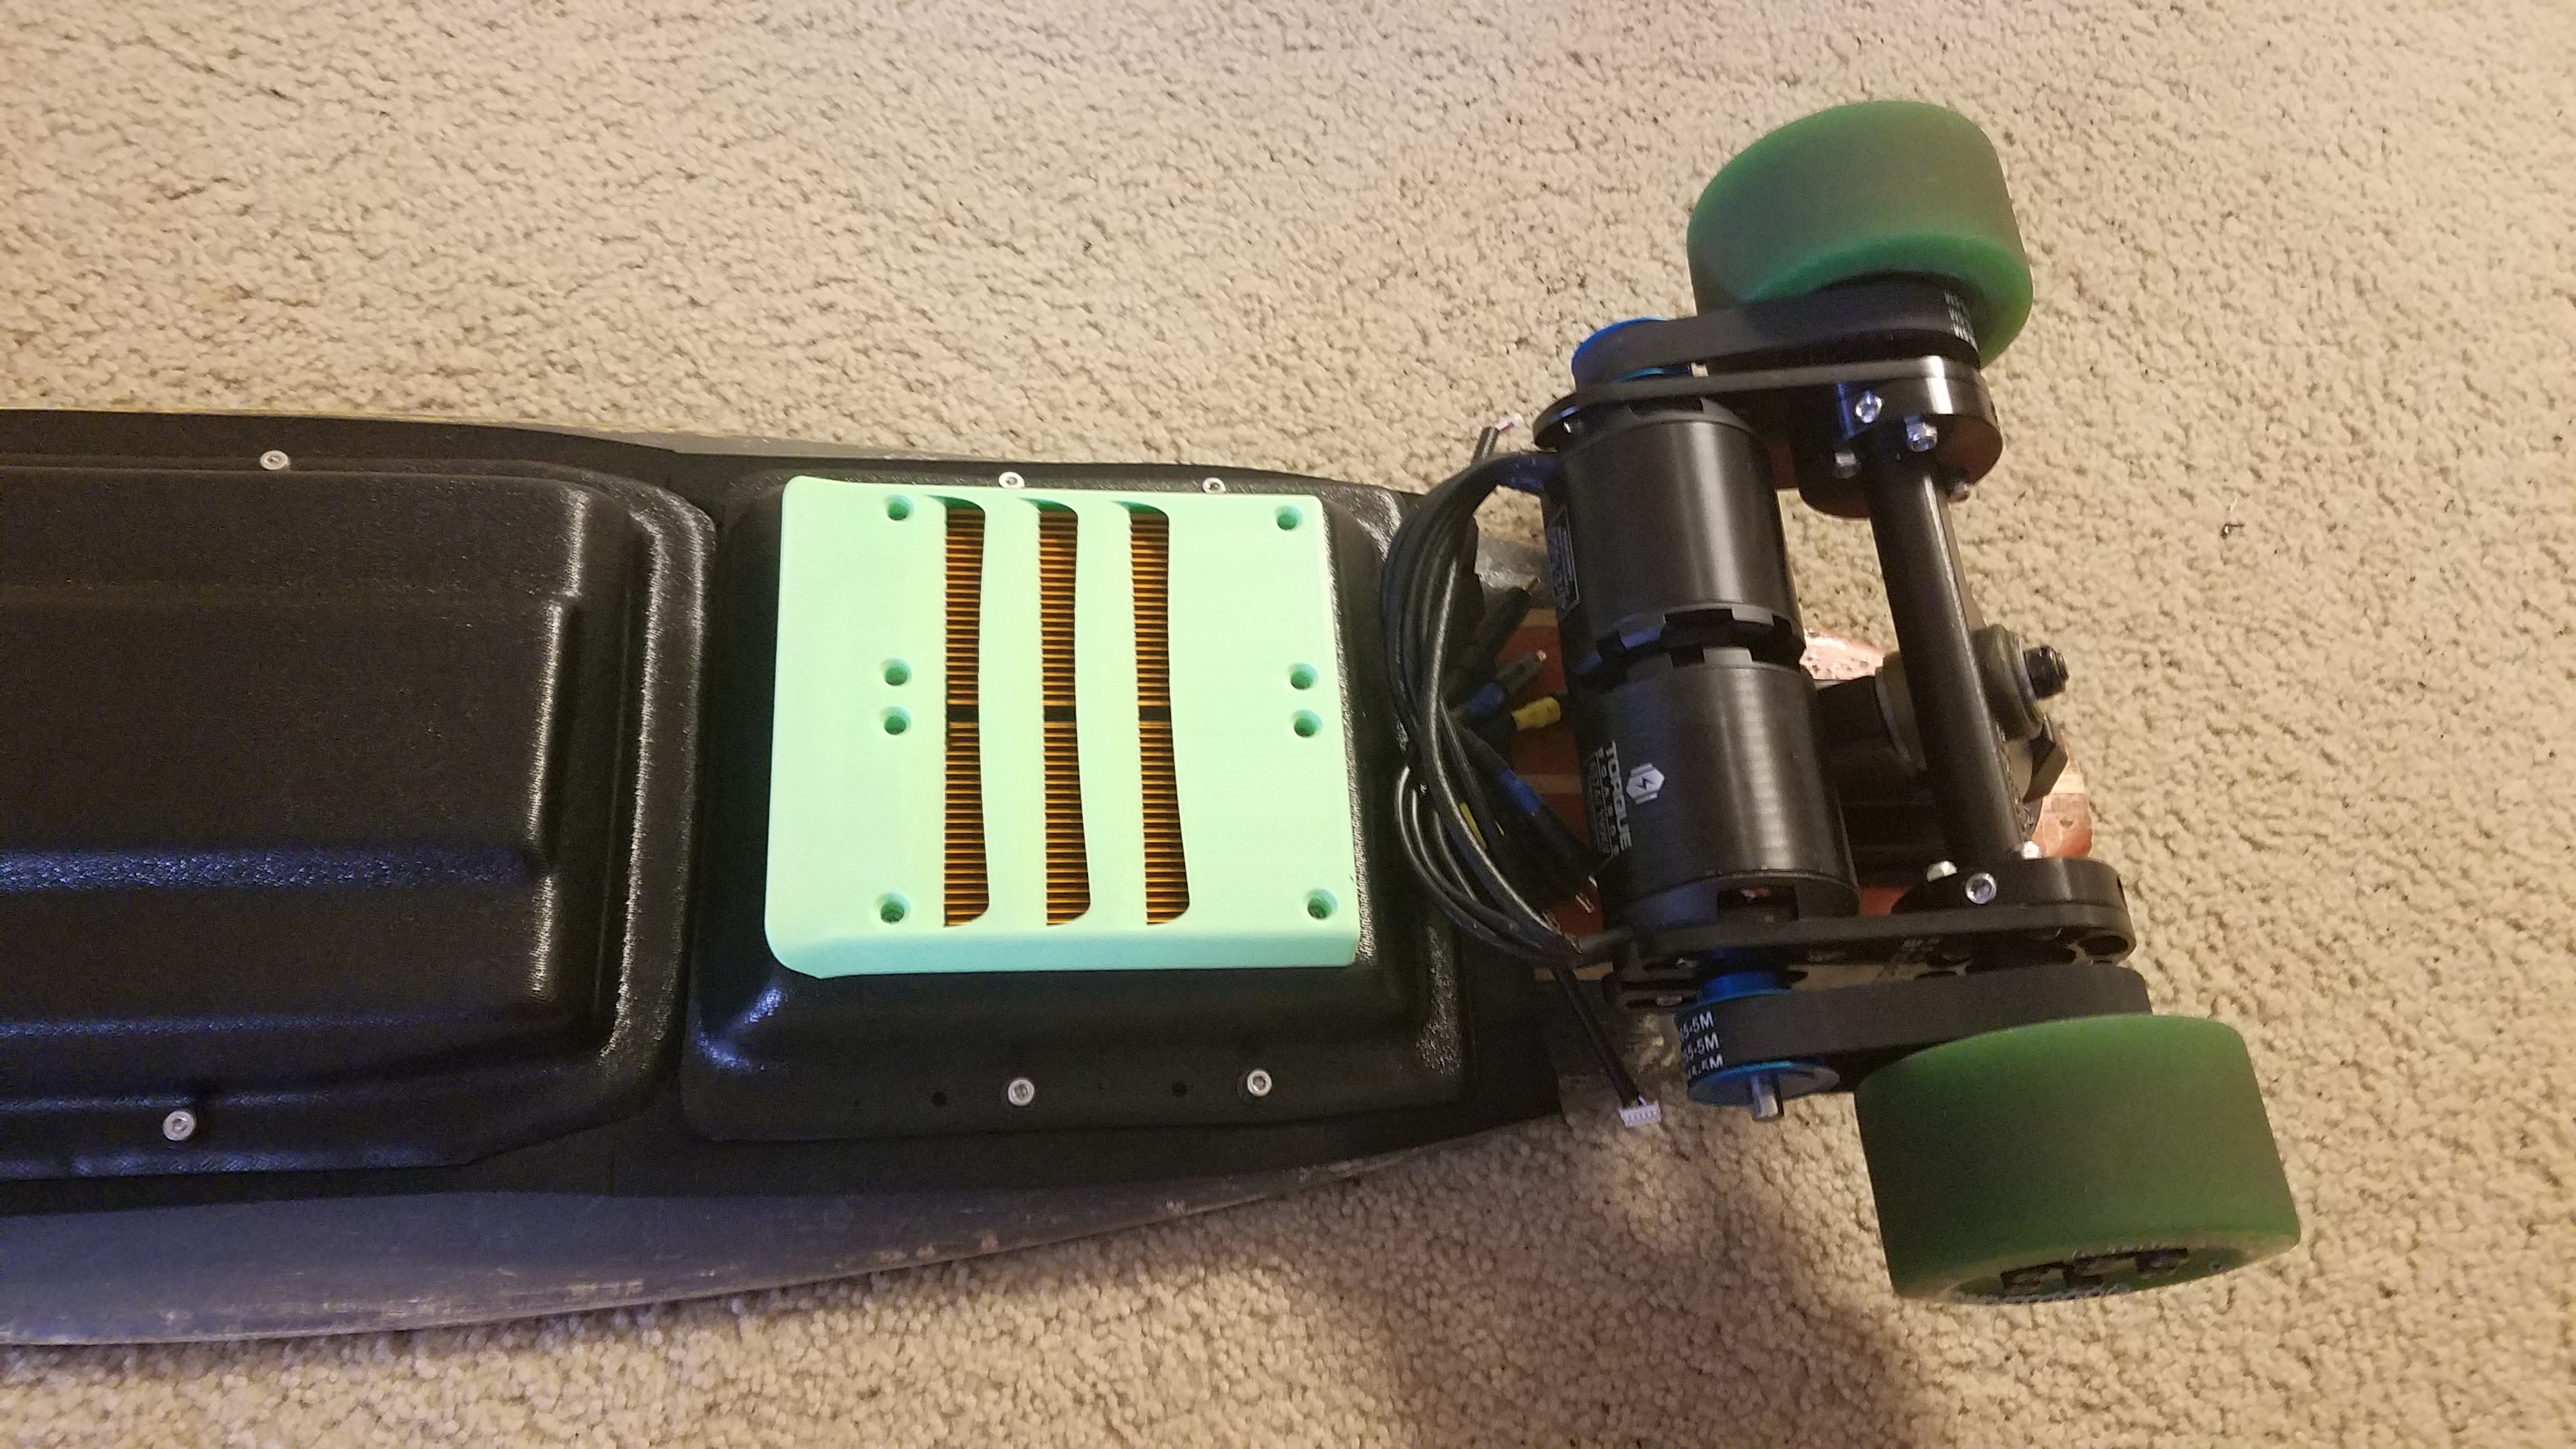
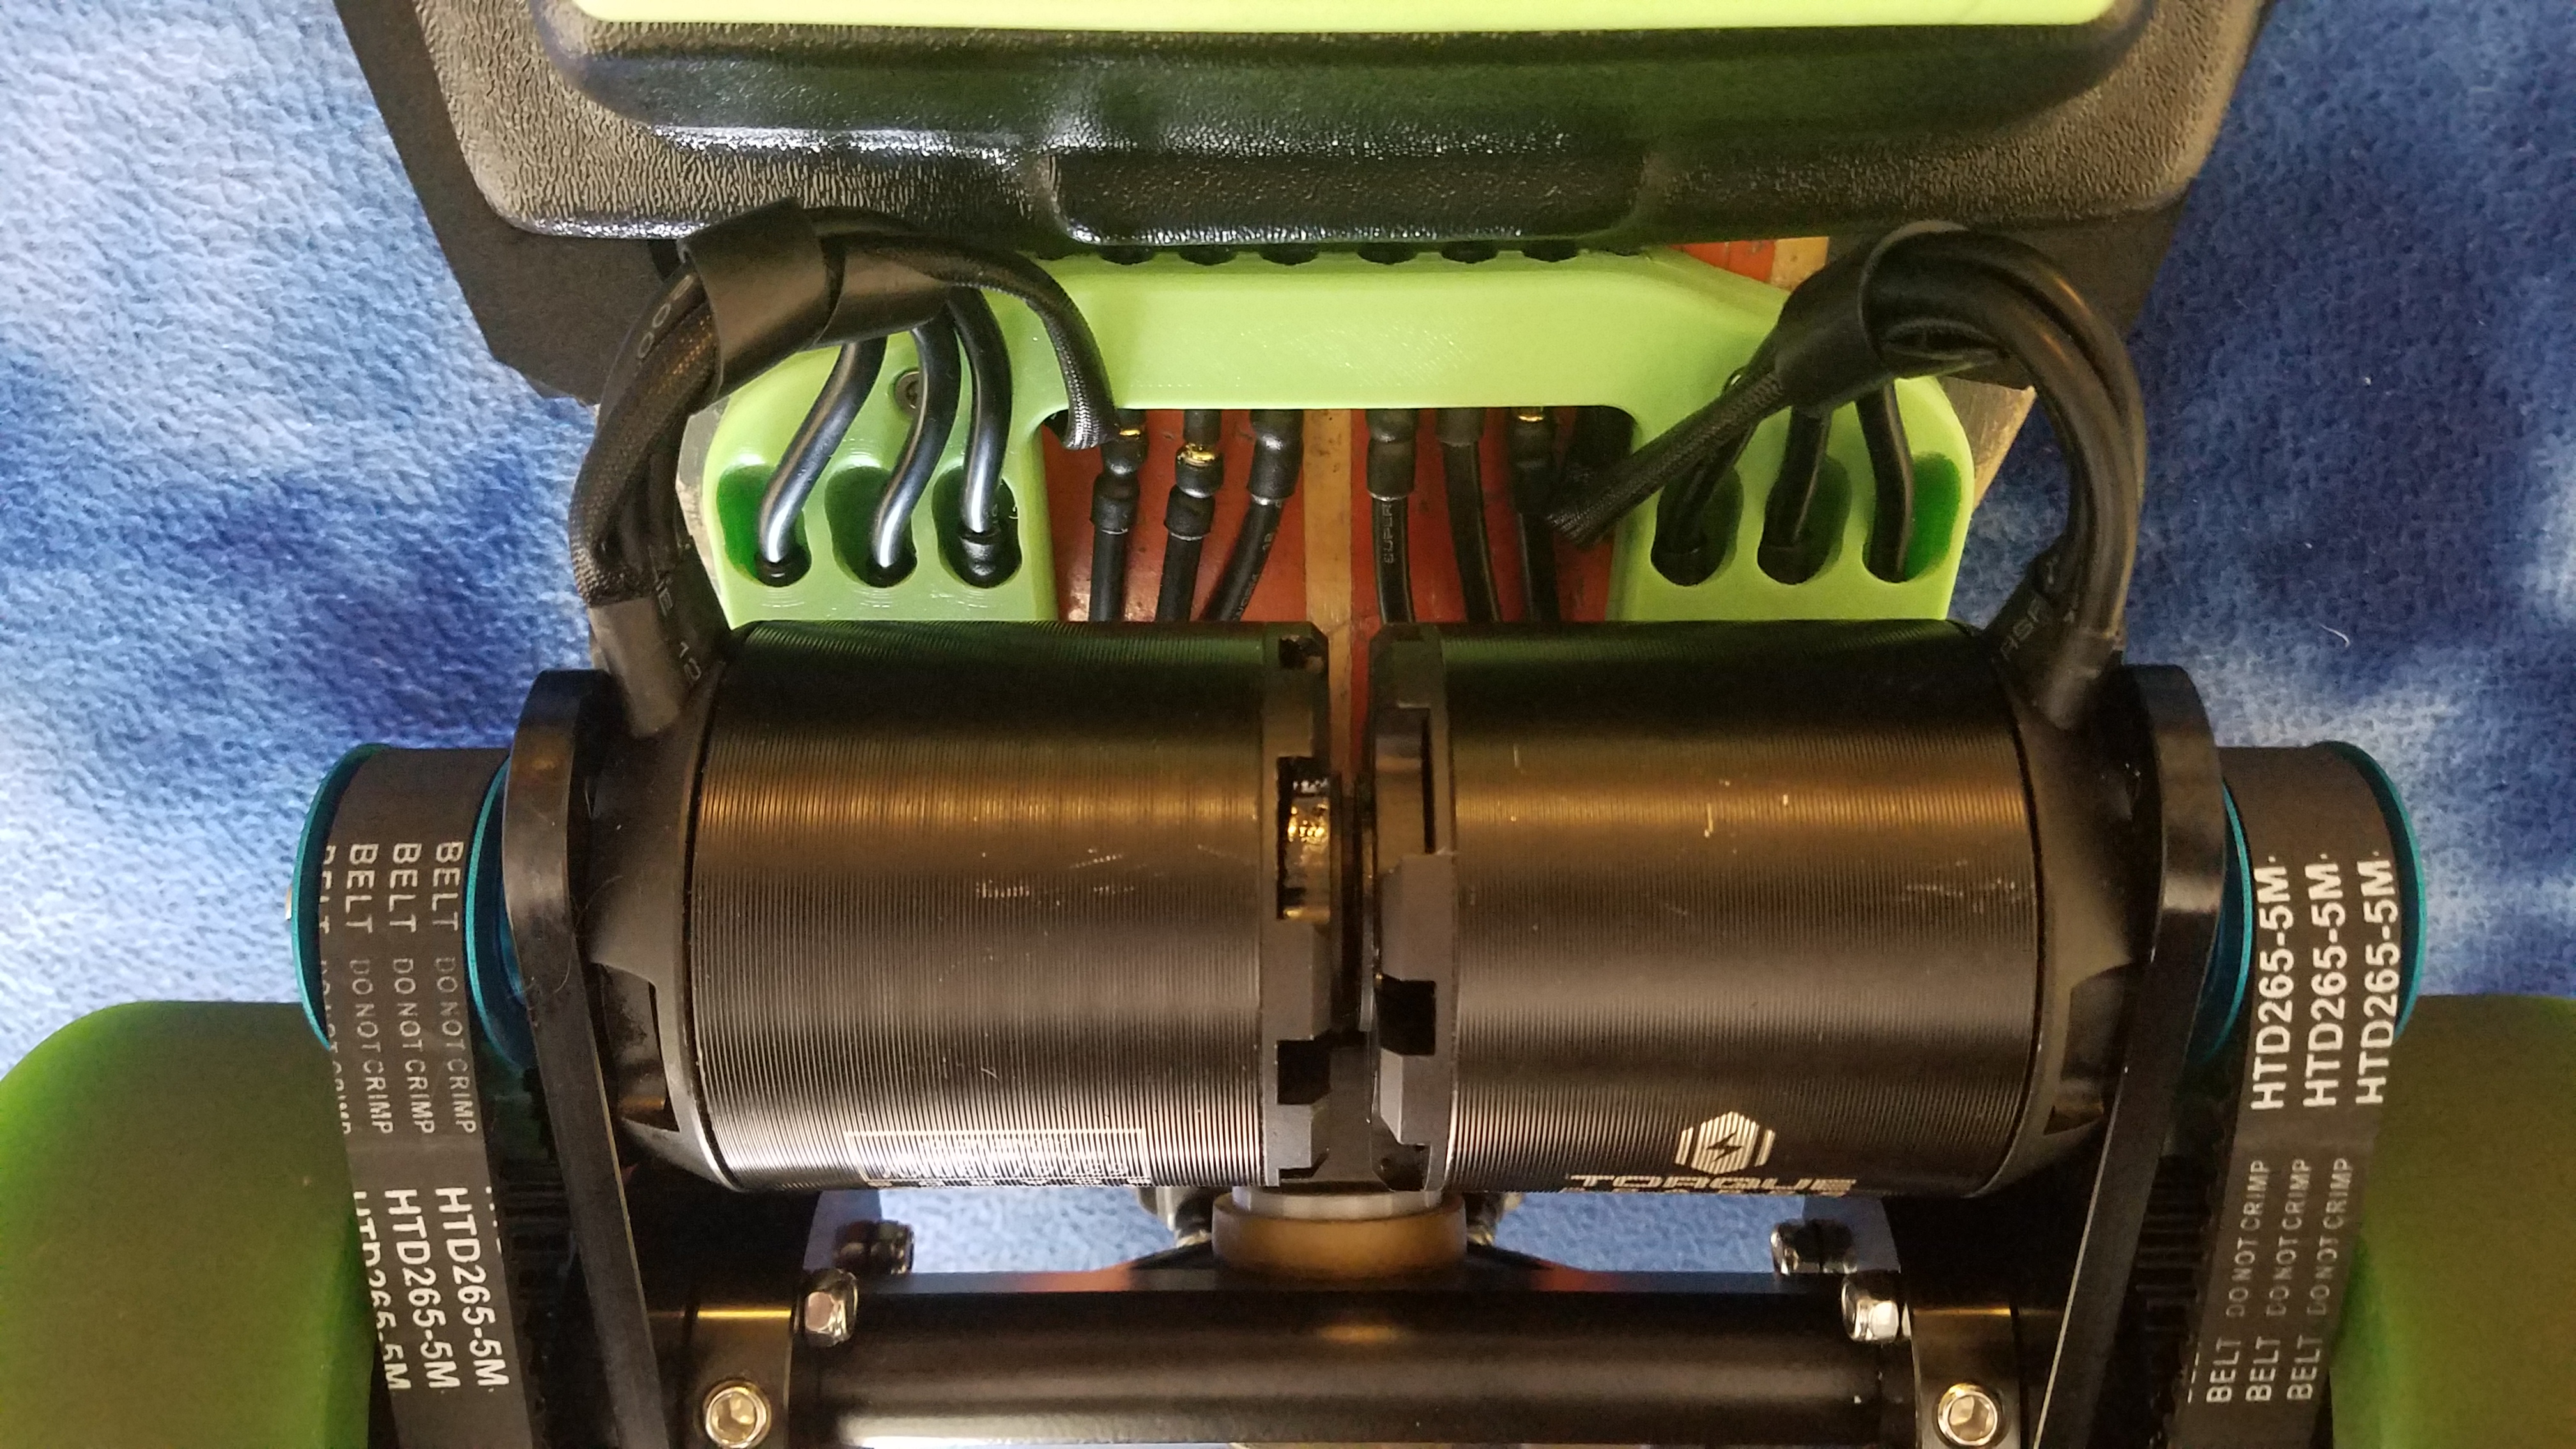
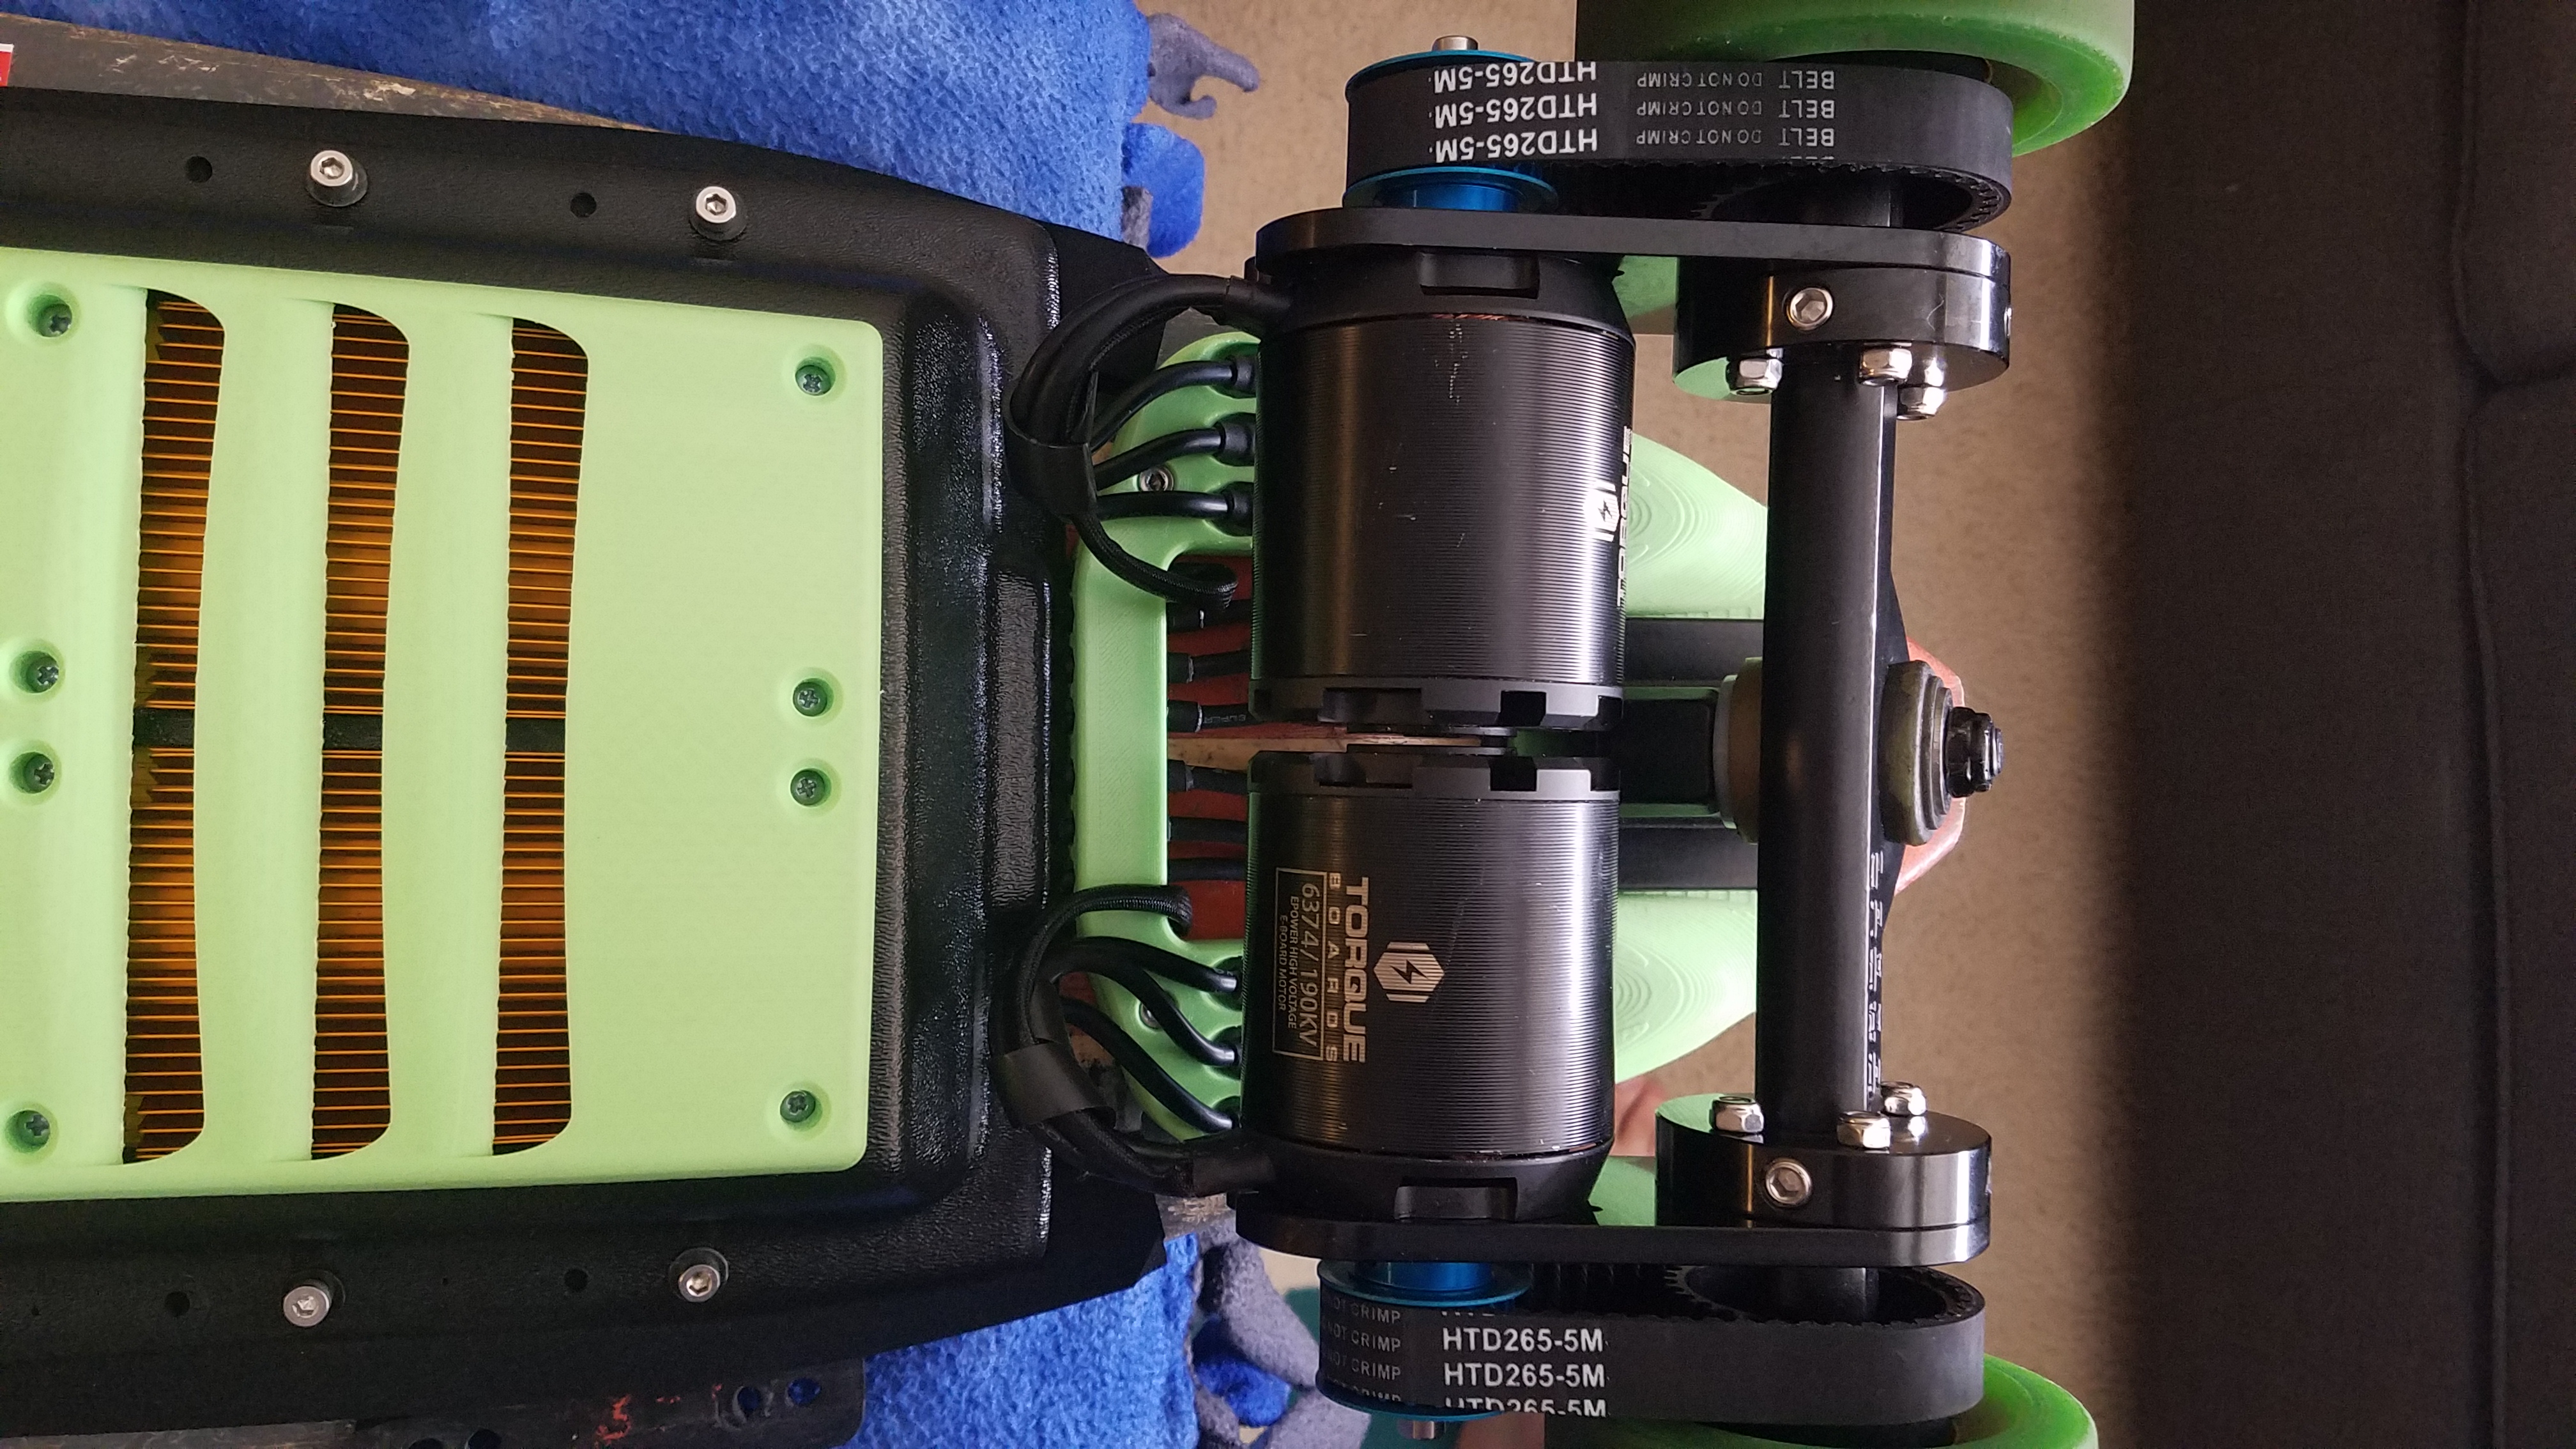
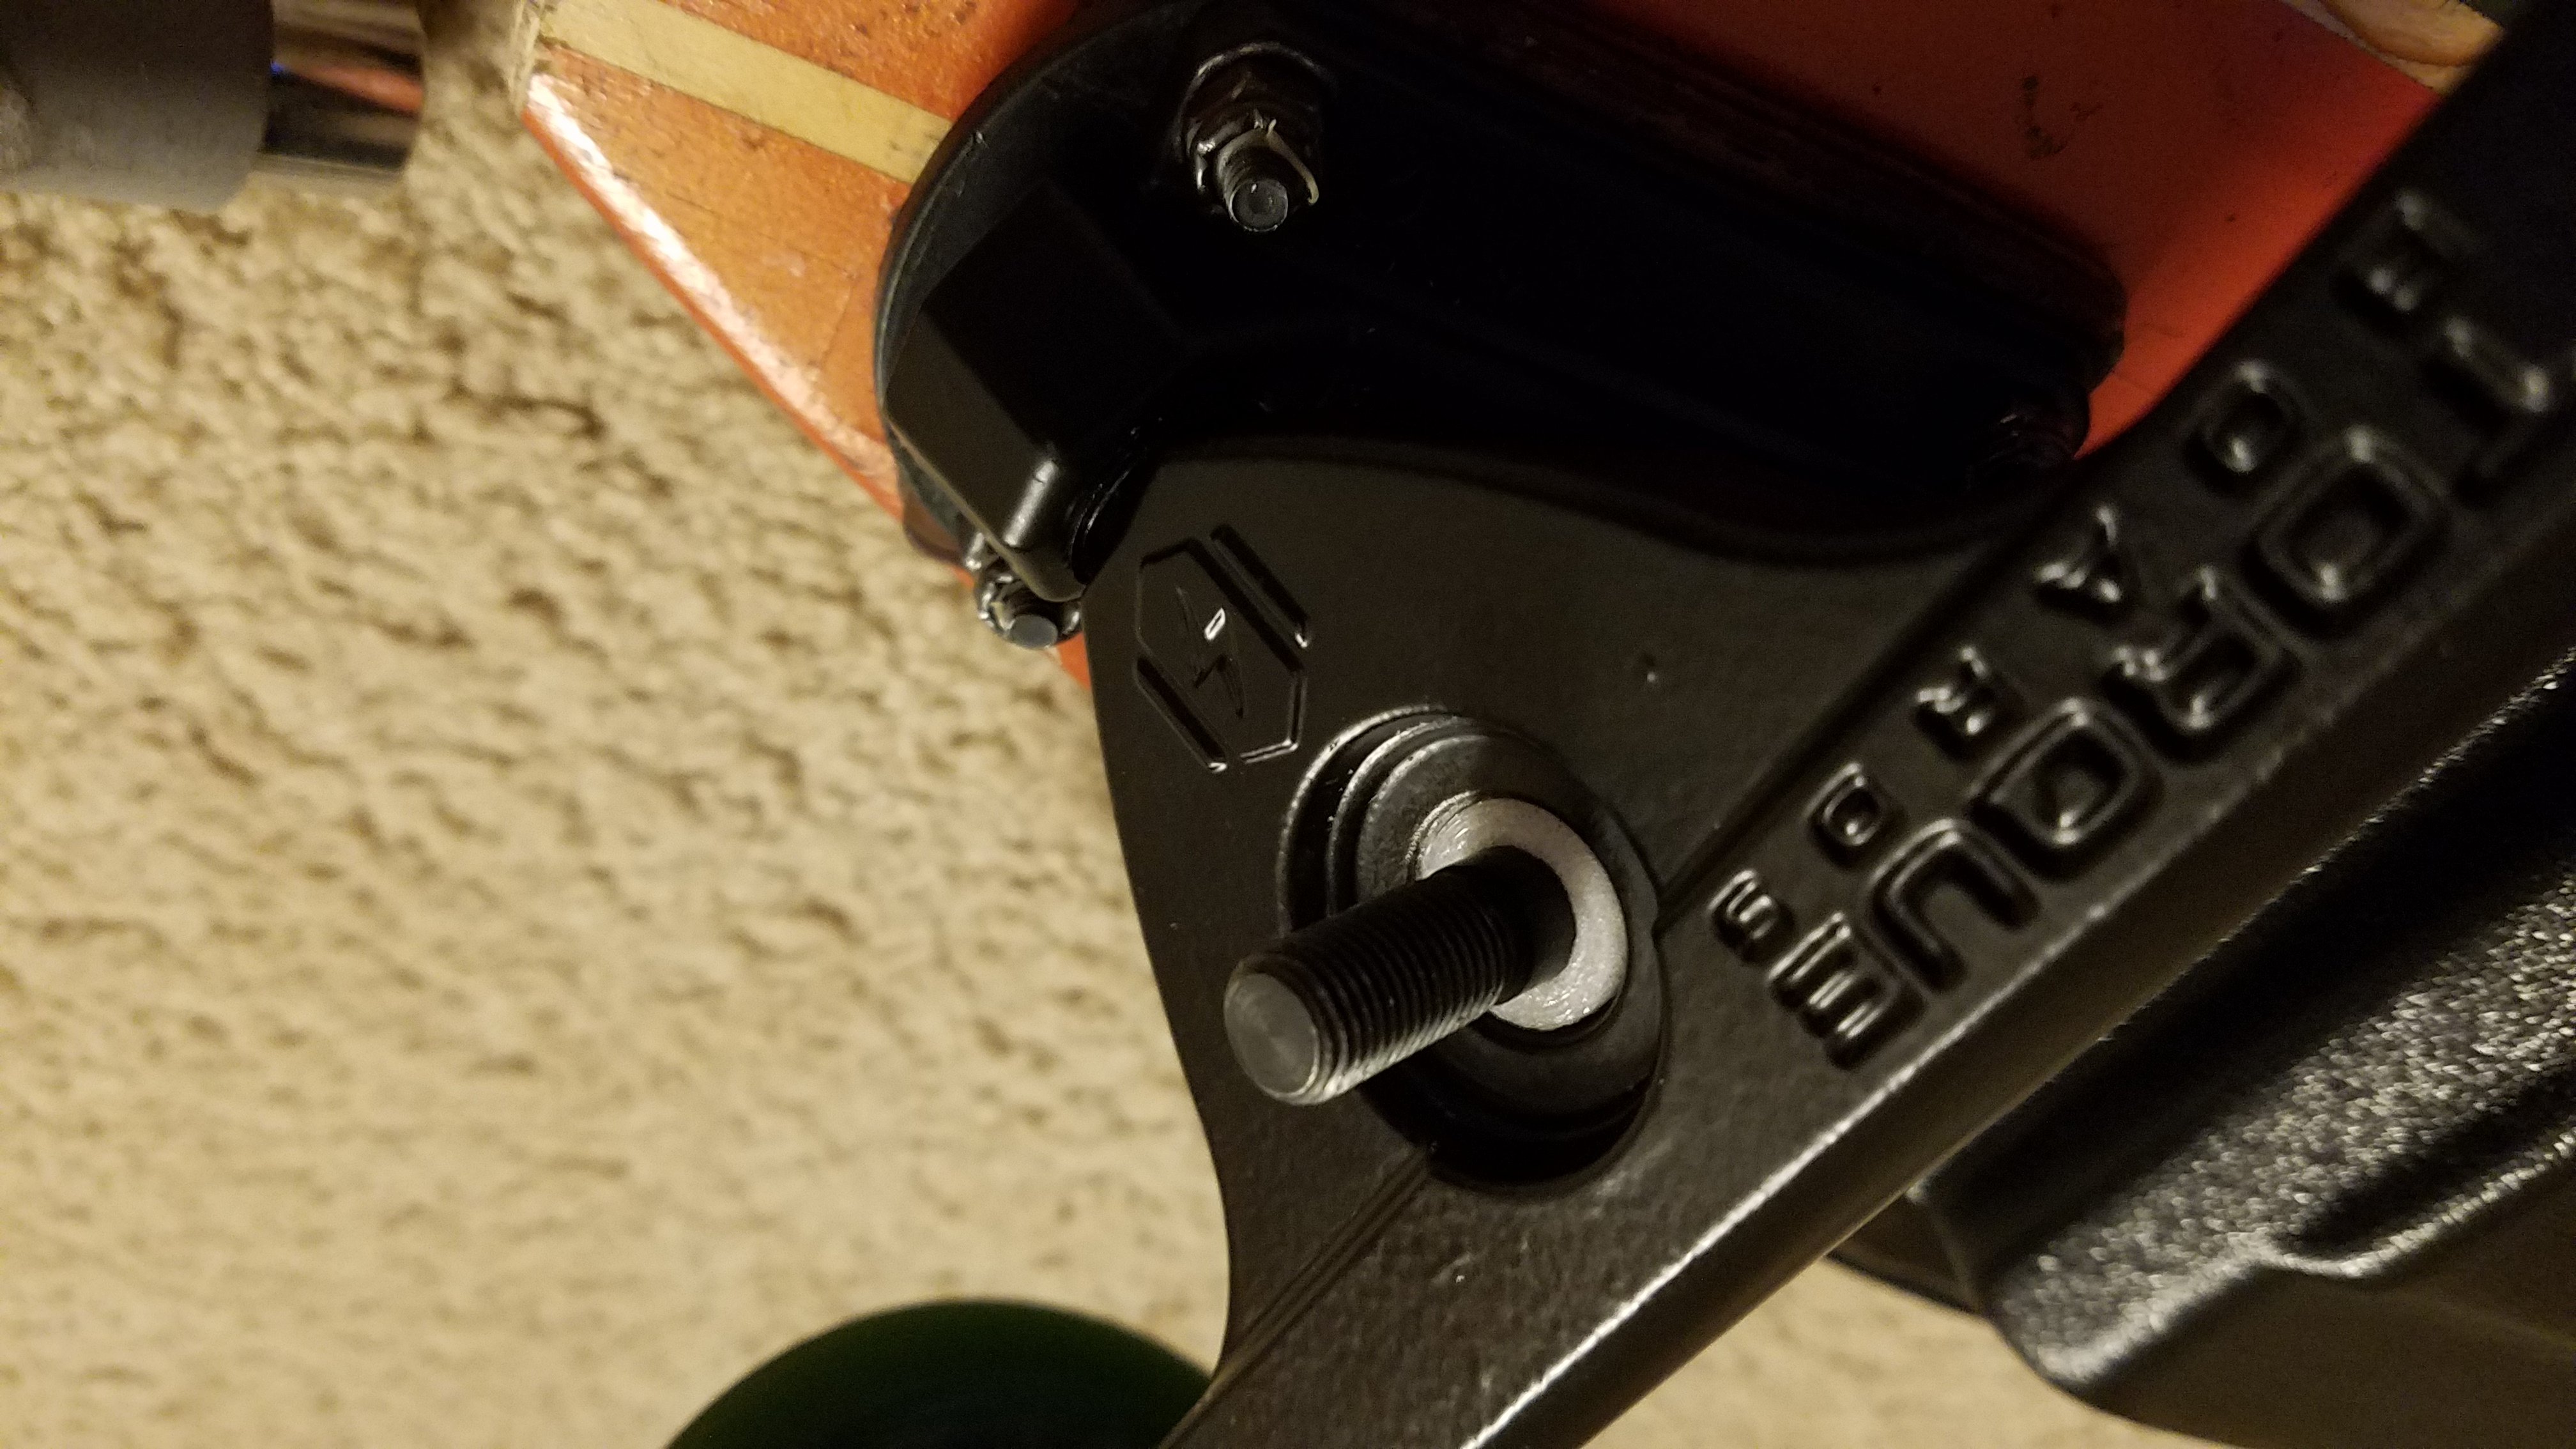
Got everything at this point mounted up and test placing the enclosures. I love the wide stance of these trucks! and the motors fit PERFECT with 15mm wide belt pulleys.

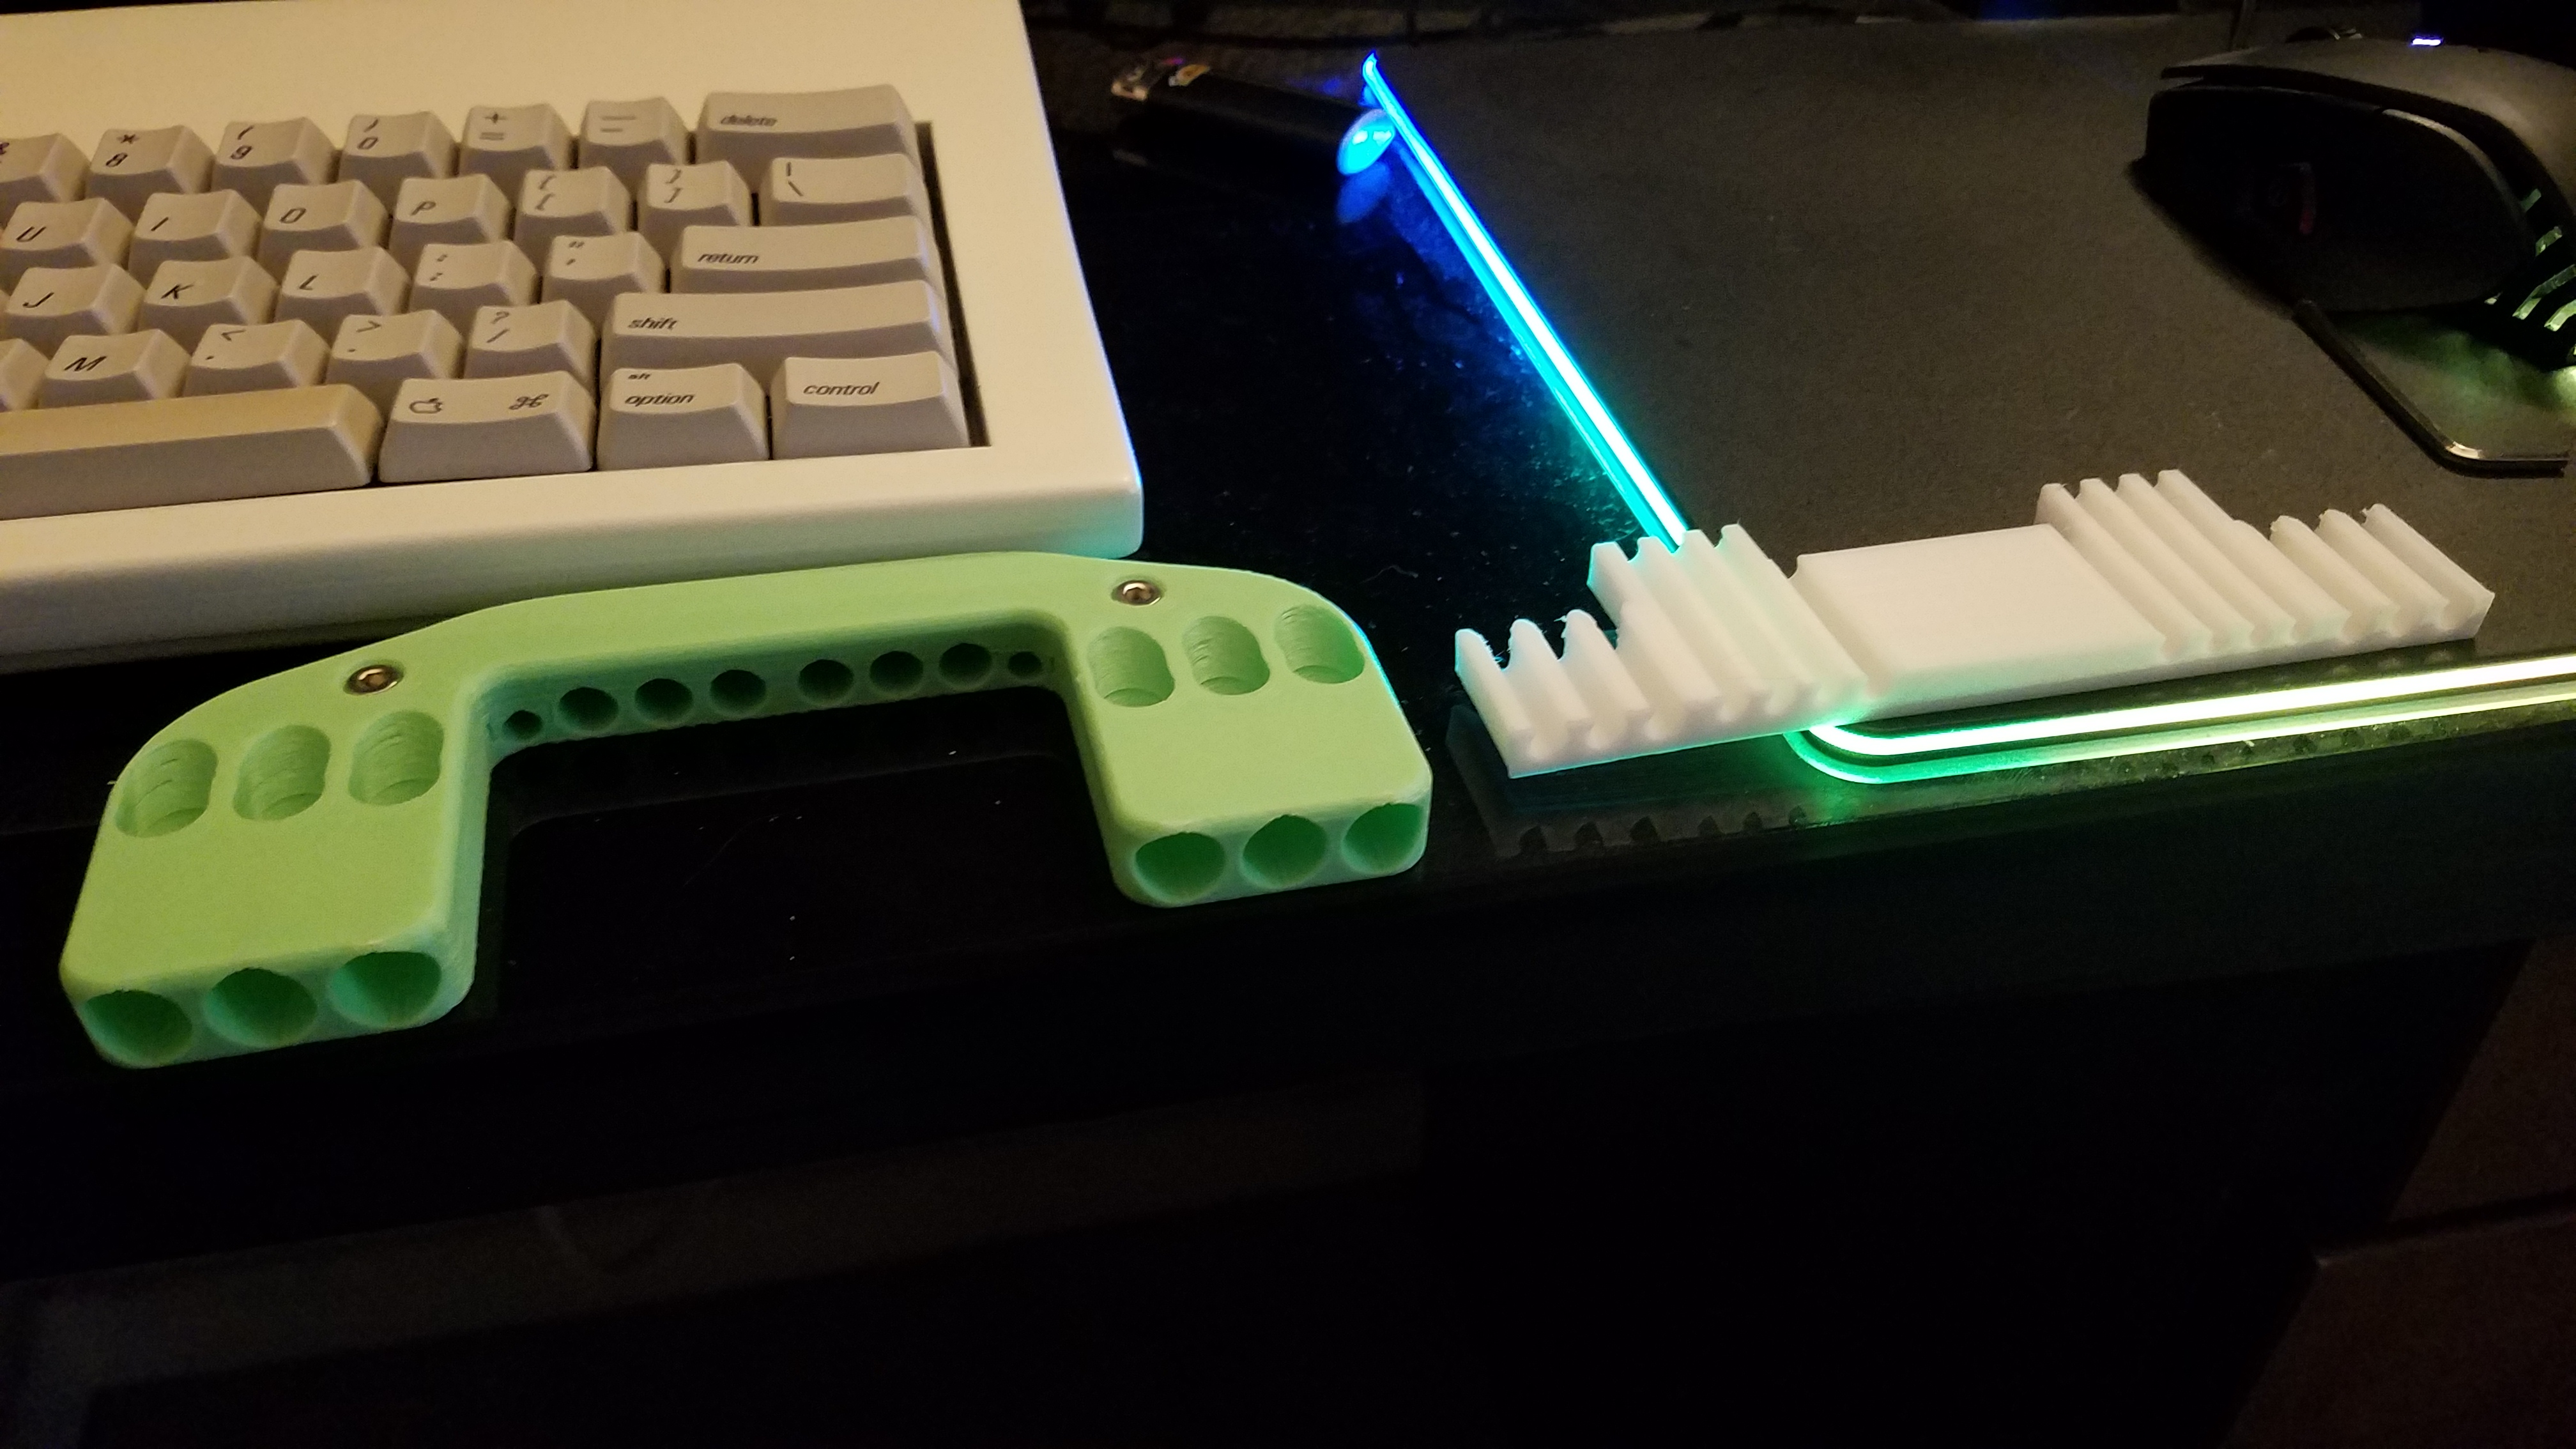
Various belts, pulleys, etc came in from unikboards and johnny_261 (partially…), and later that night I got everything tightened down and one by one all nuts and bolts loctited with blue loctite:

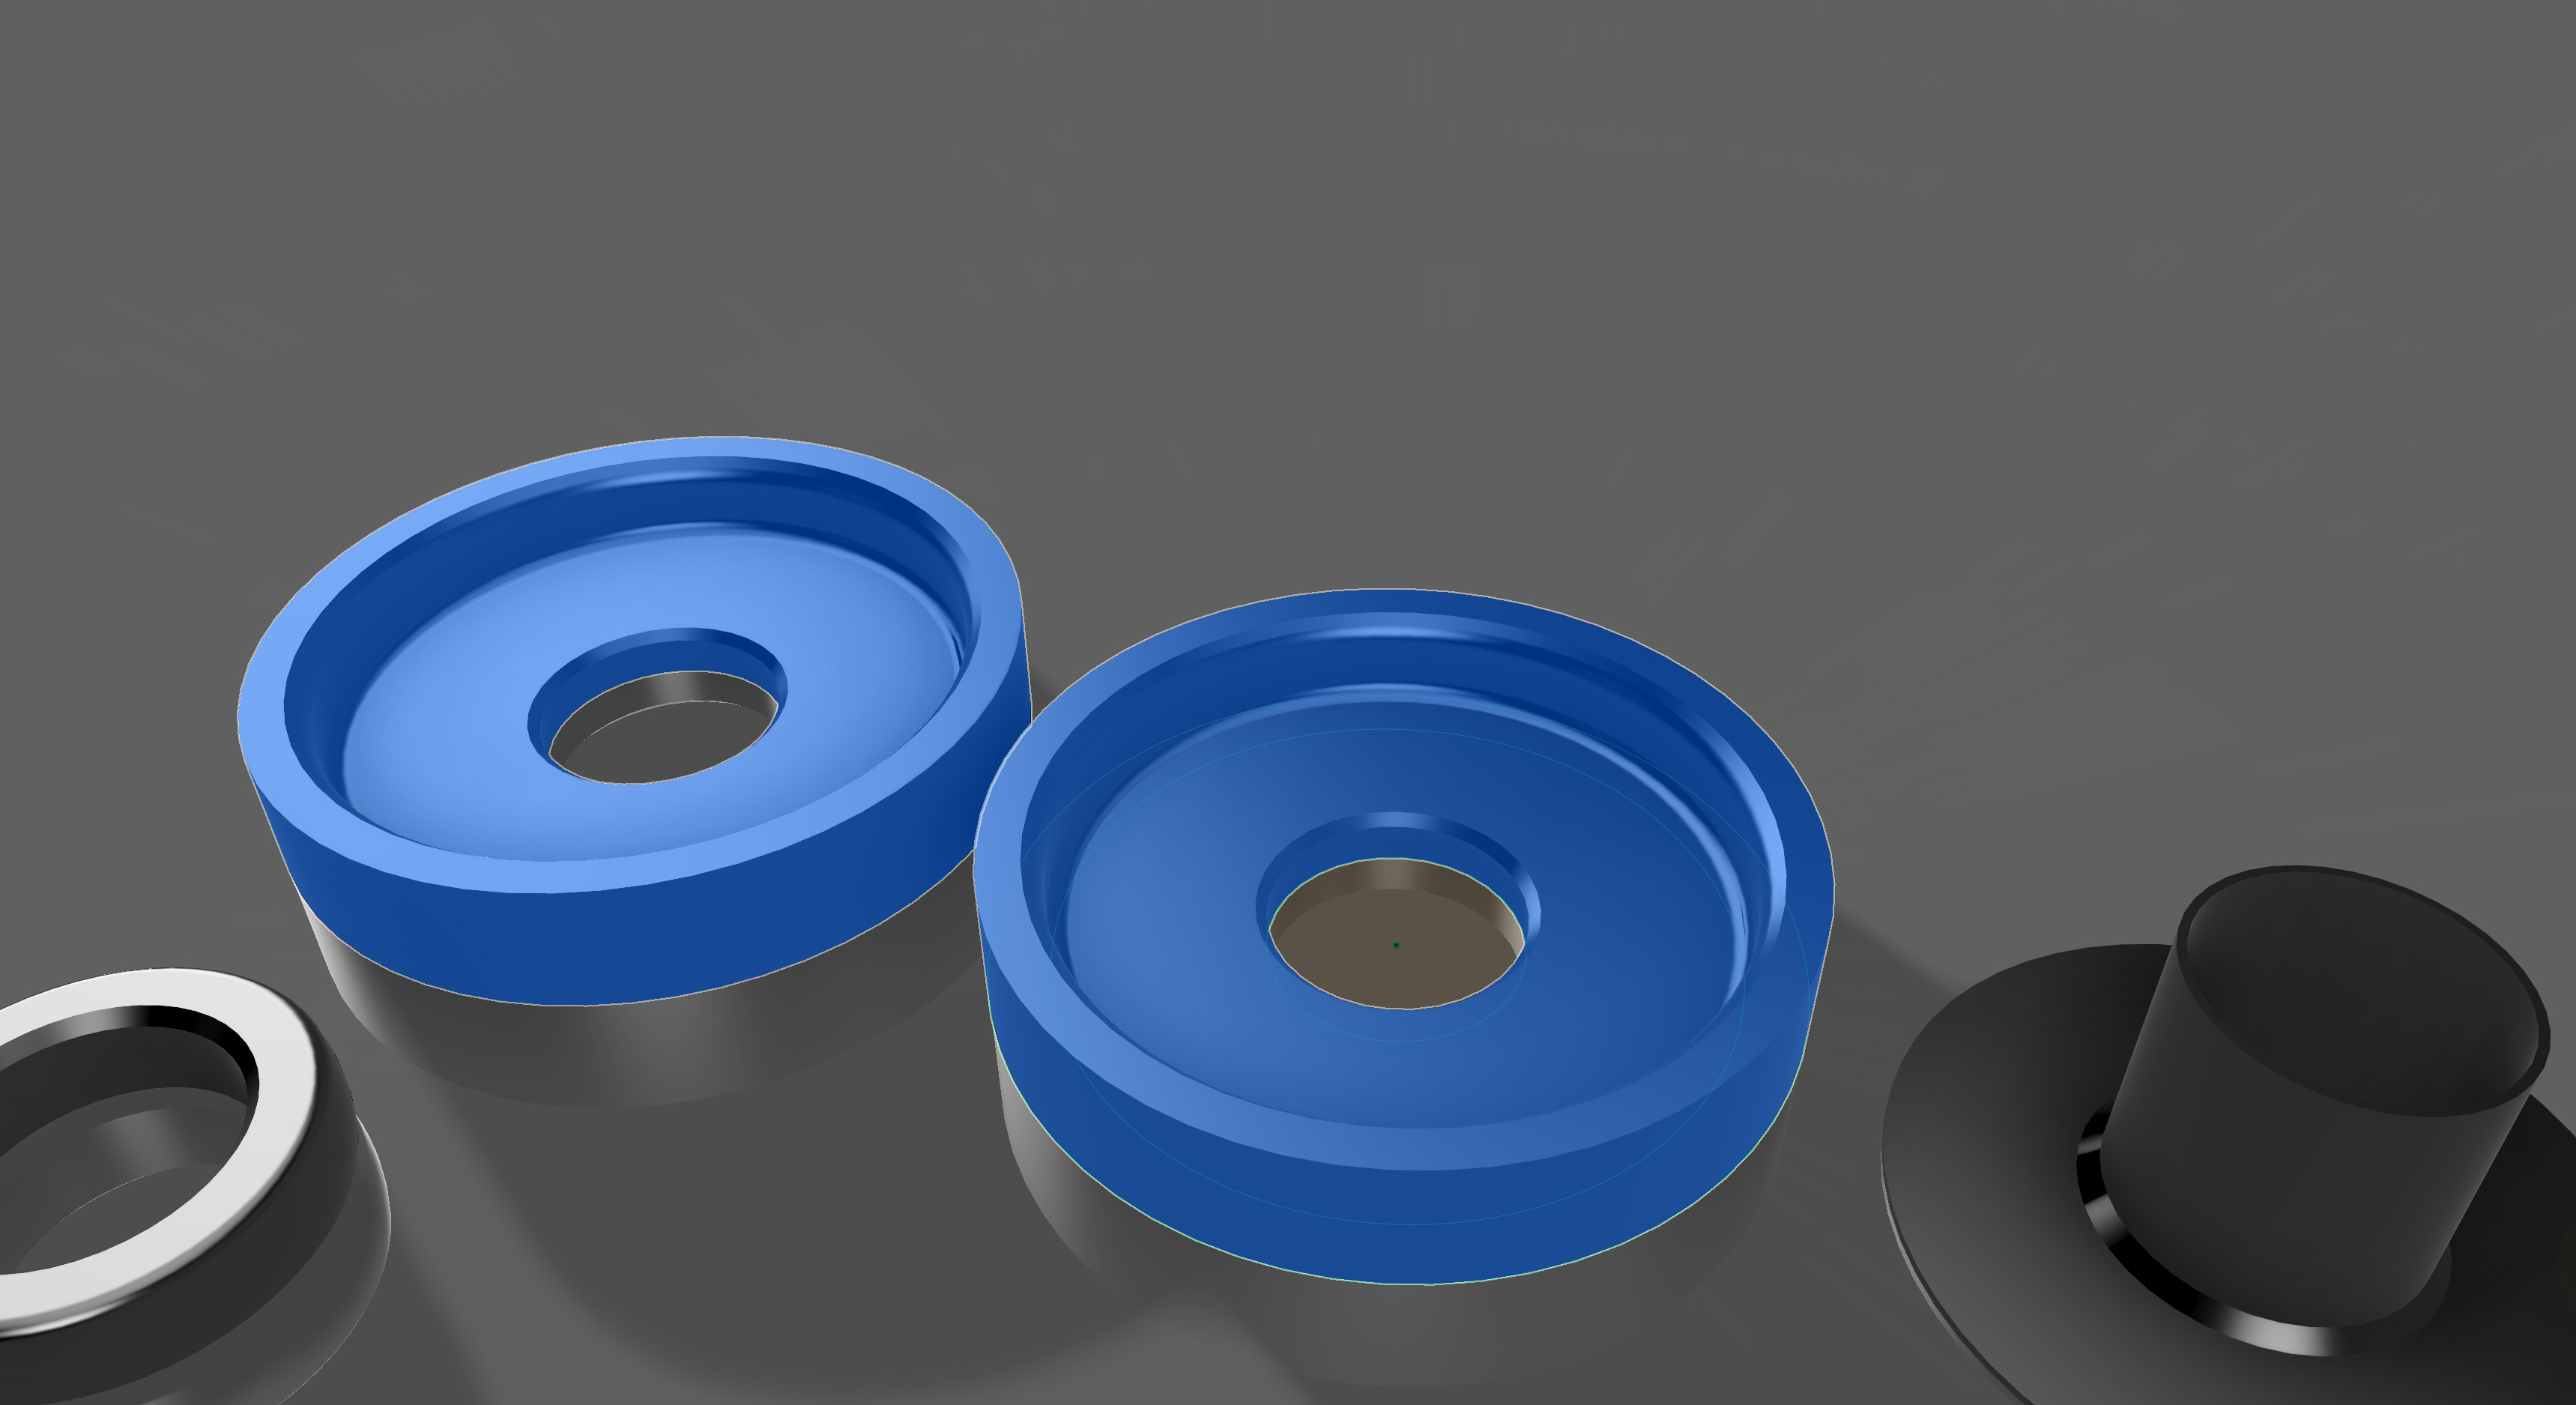
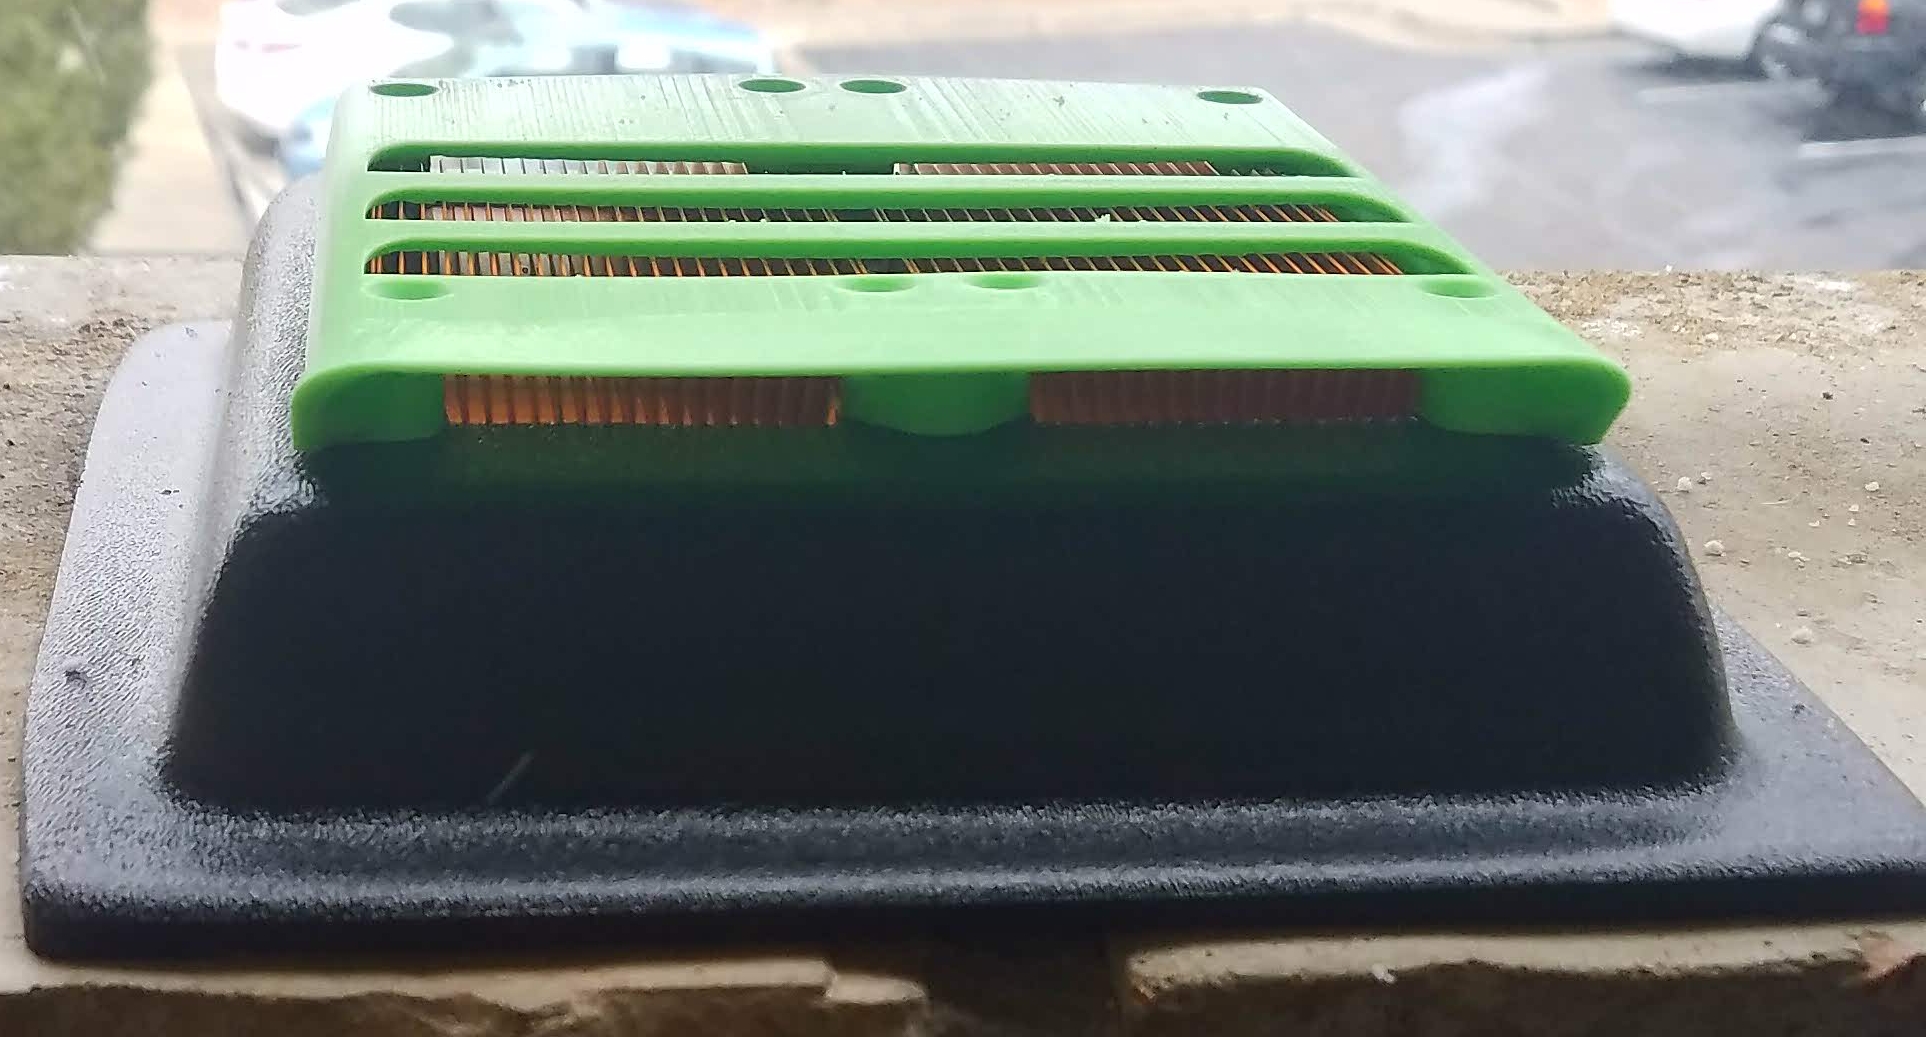
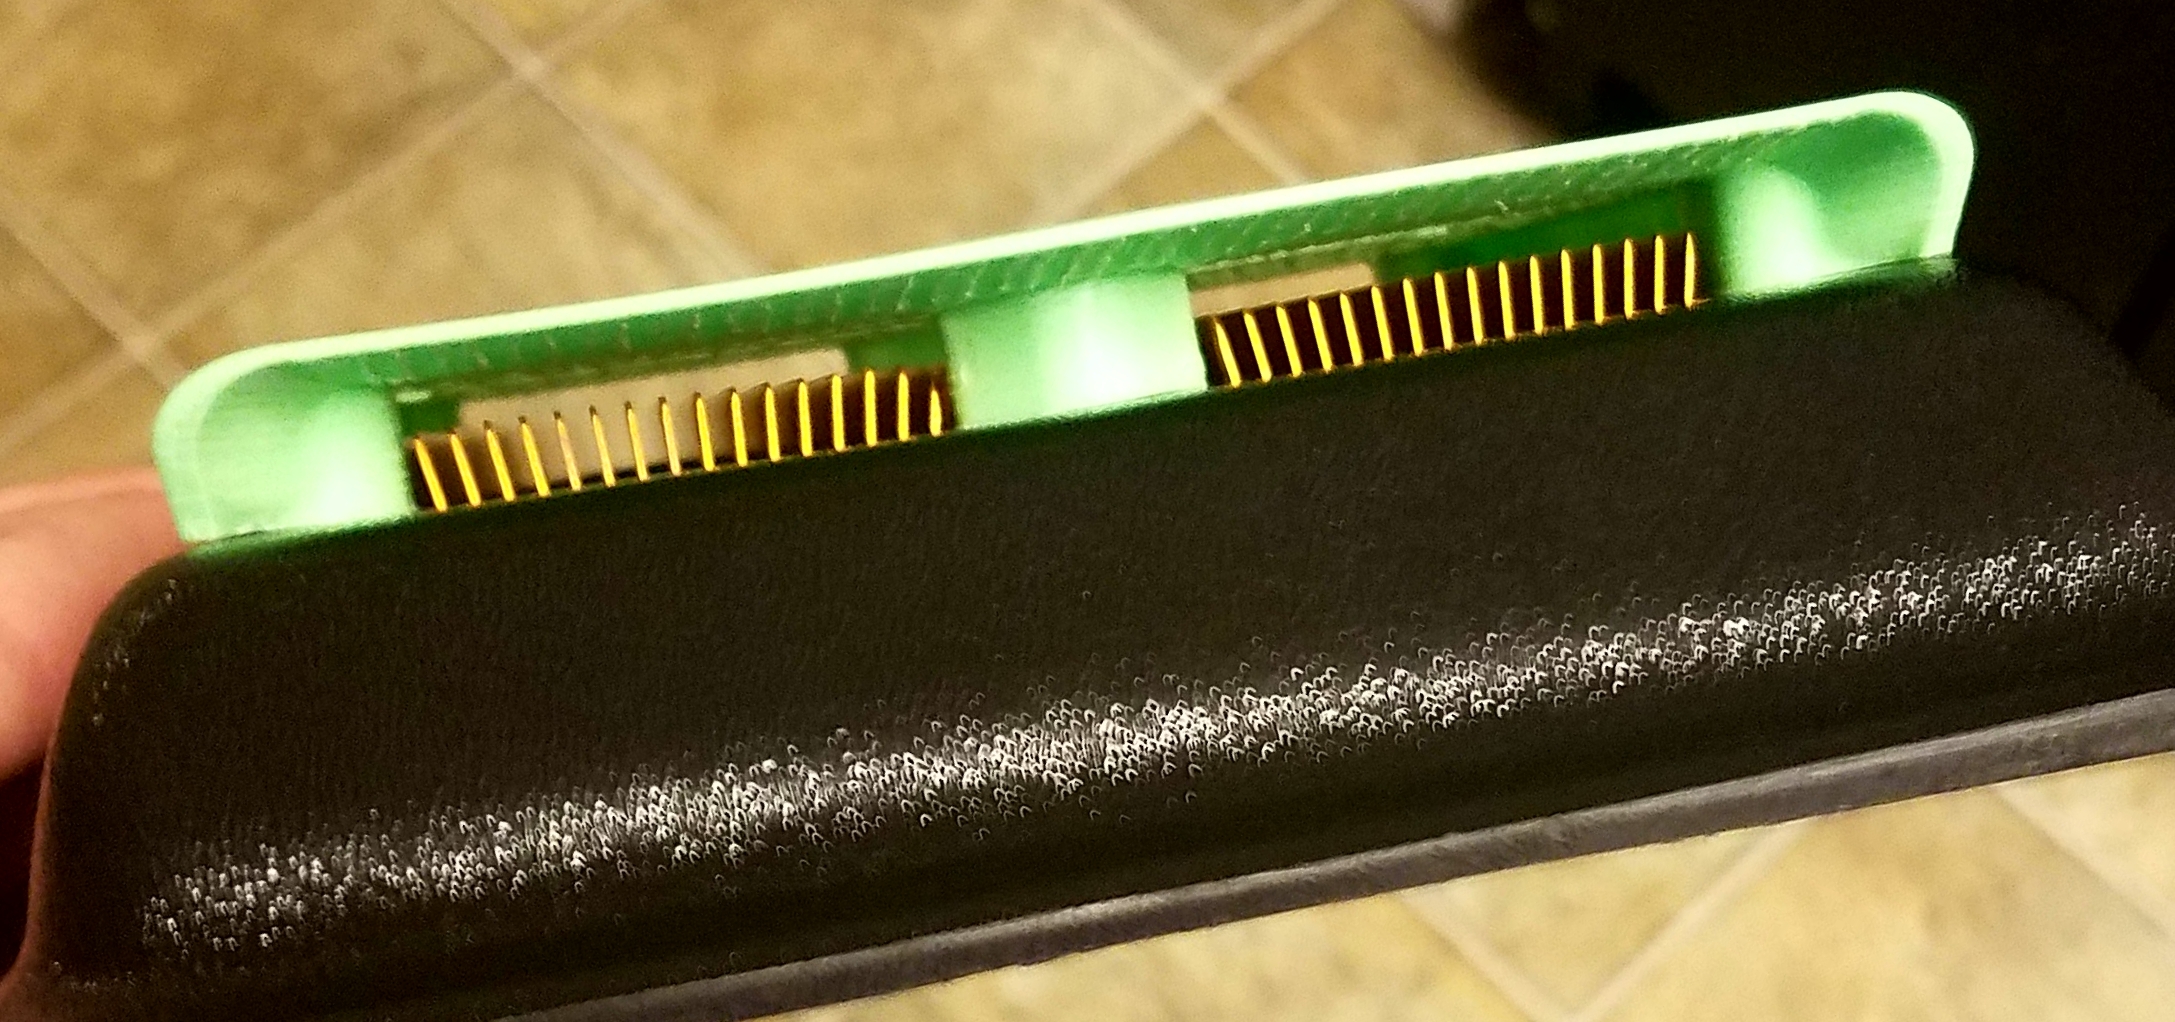
So since the beginning doing my research, I knew I didn’t want my focboxes closed up tight. I had an idea to use my 3D printer to facilitate an air-channel for heatsinks integrated into the enclosure. Originally I wanted to mount the focboxes to the deck but decided against it for the sake of space in the enclosure and increased airflow. I spent hours on digikey and mouser looking for just the right sized heatsink and found this guy that two of them can fit into the enclosure comfortably. They are sized just right for the focboxes, and are longer for more heat dissipation. I plan on mounting the focboxes to these guys with simple thermal paste and using foam padding to keep them snug in place on the sinks:

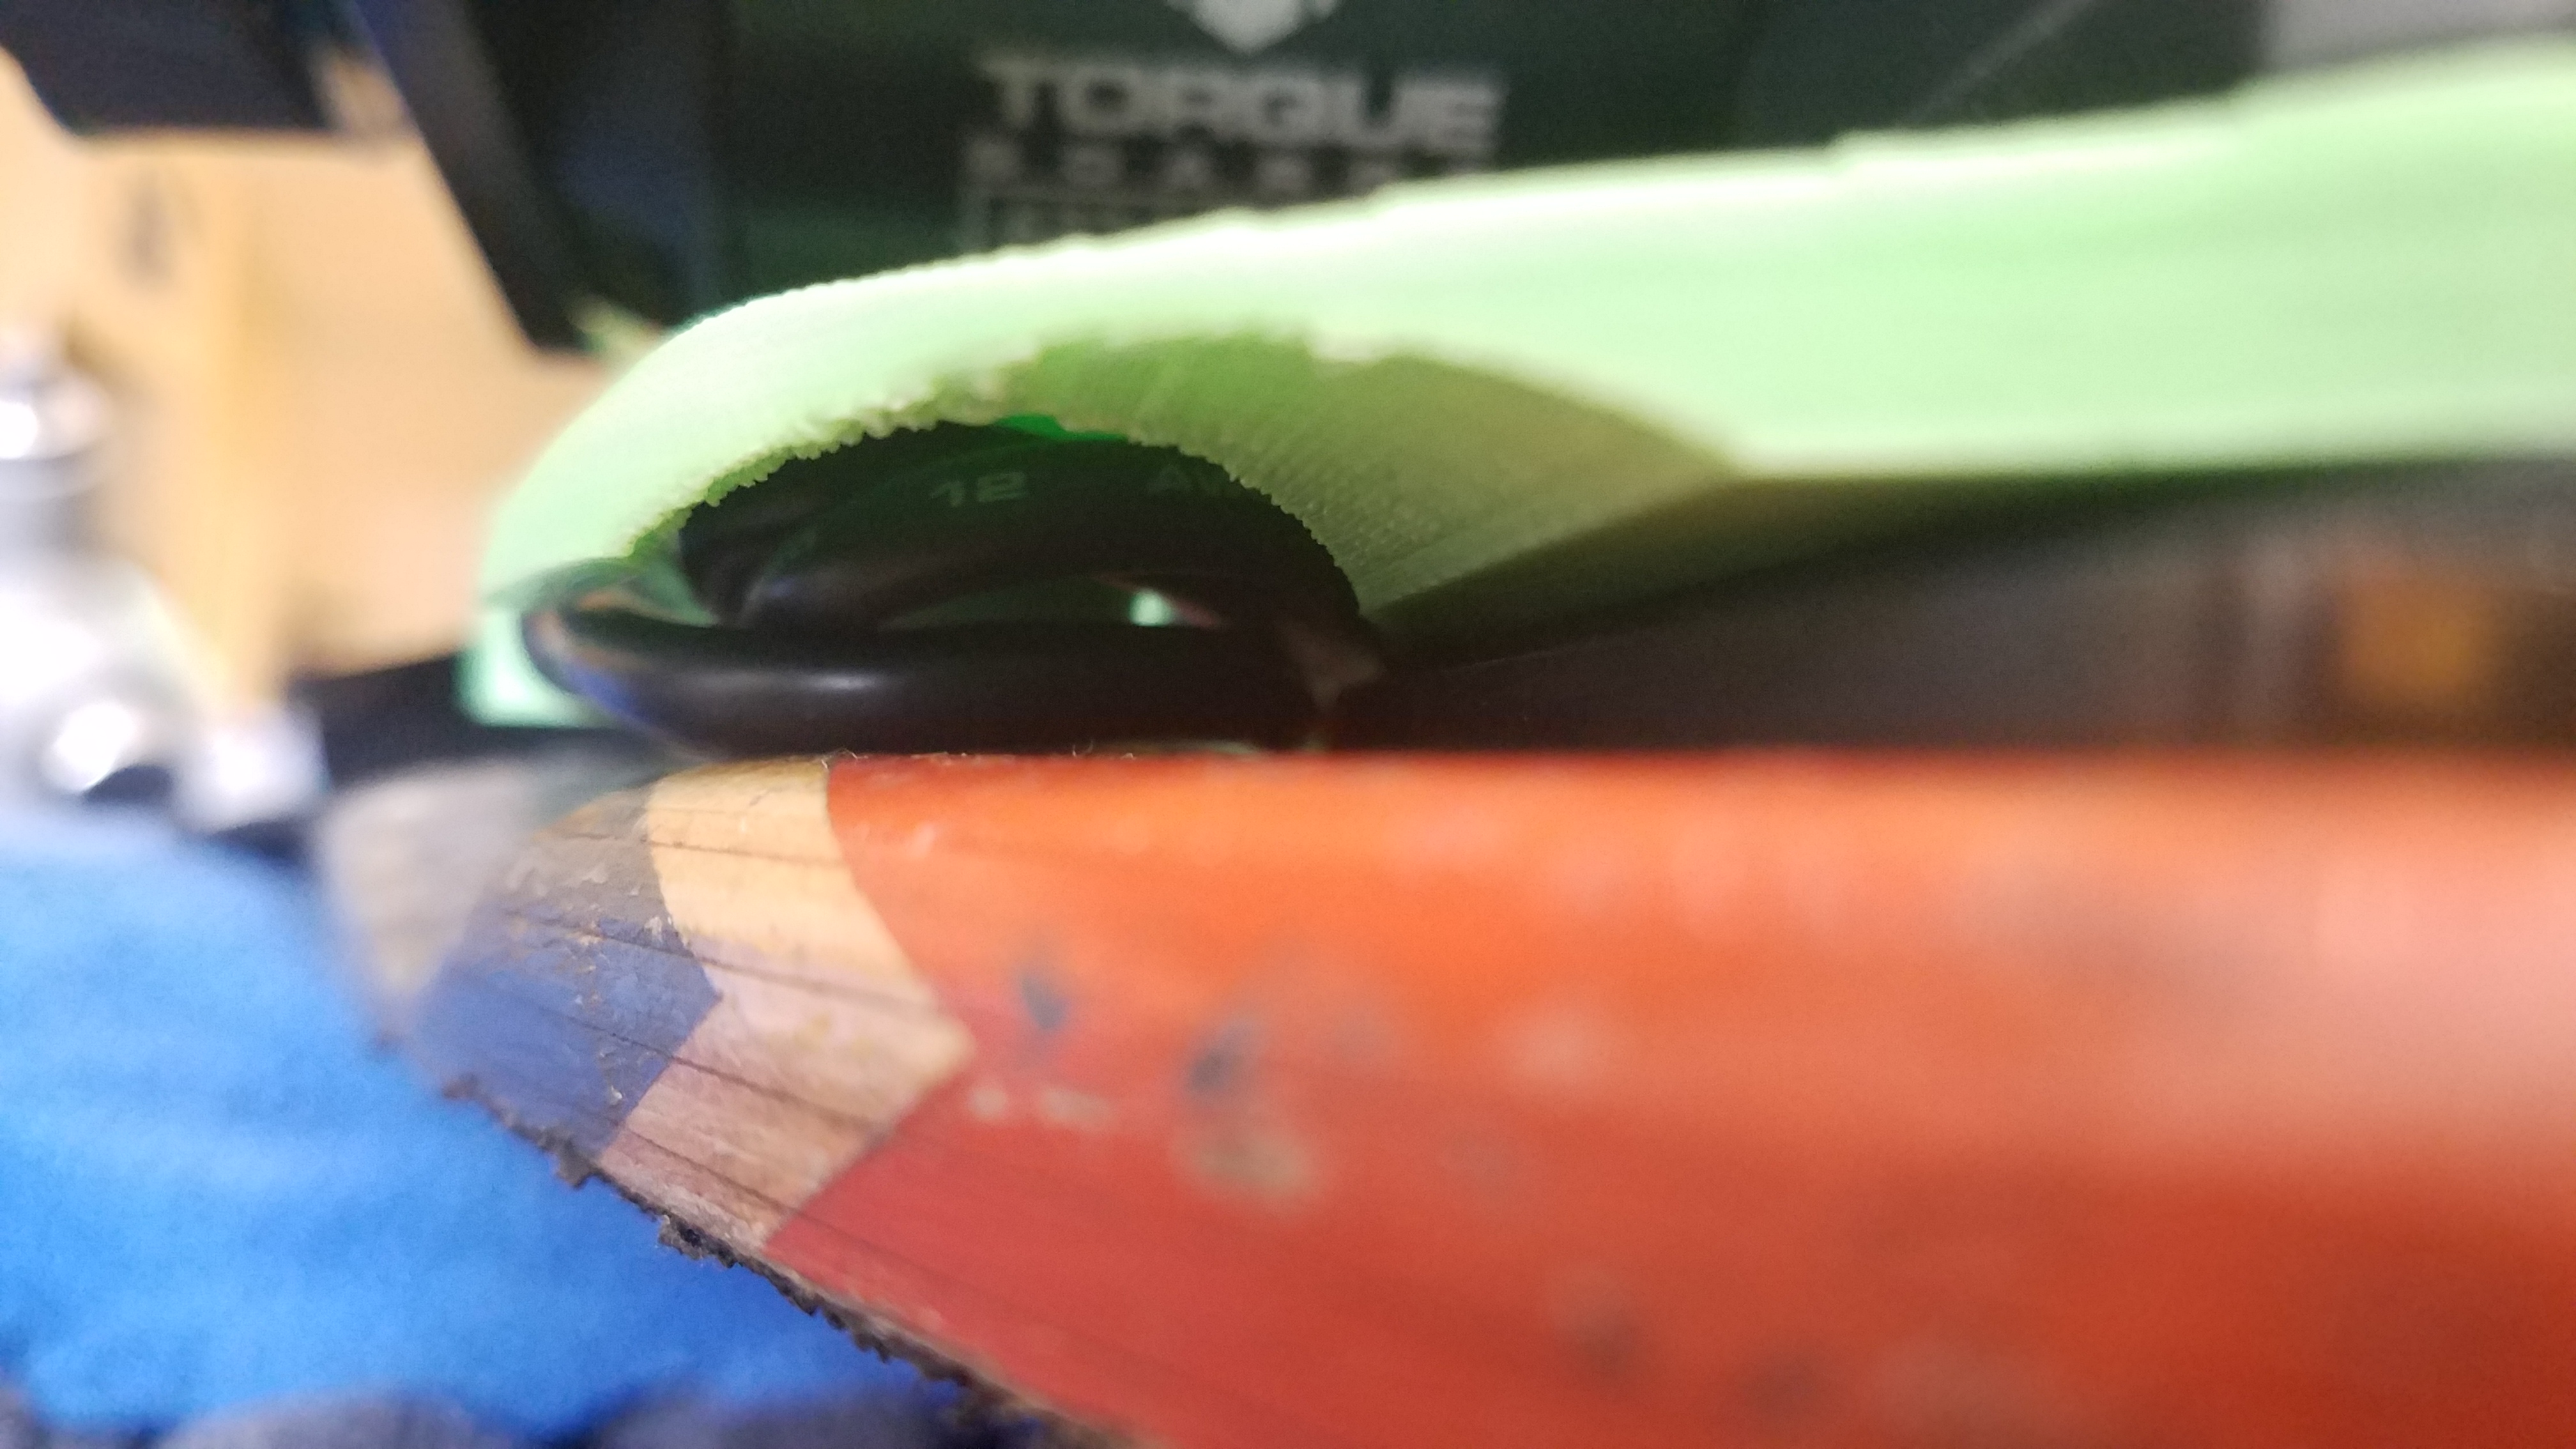
I was trying to think of the best way to do mount these and the focboxes inside the enclosure, and came up with this for the sake of vibration dampening, focboxes not mounted directly to the deck:

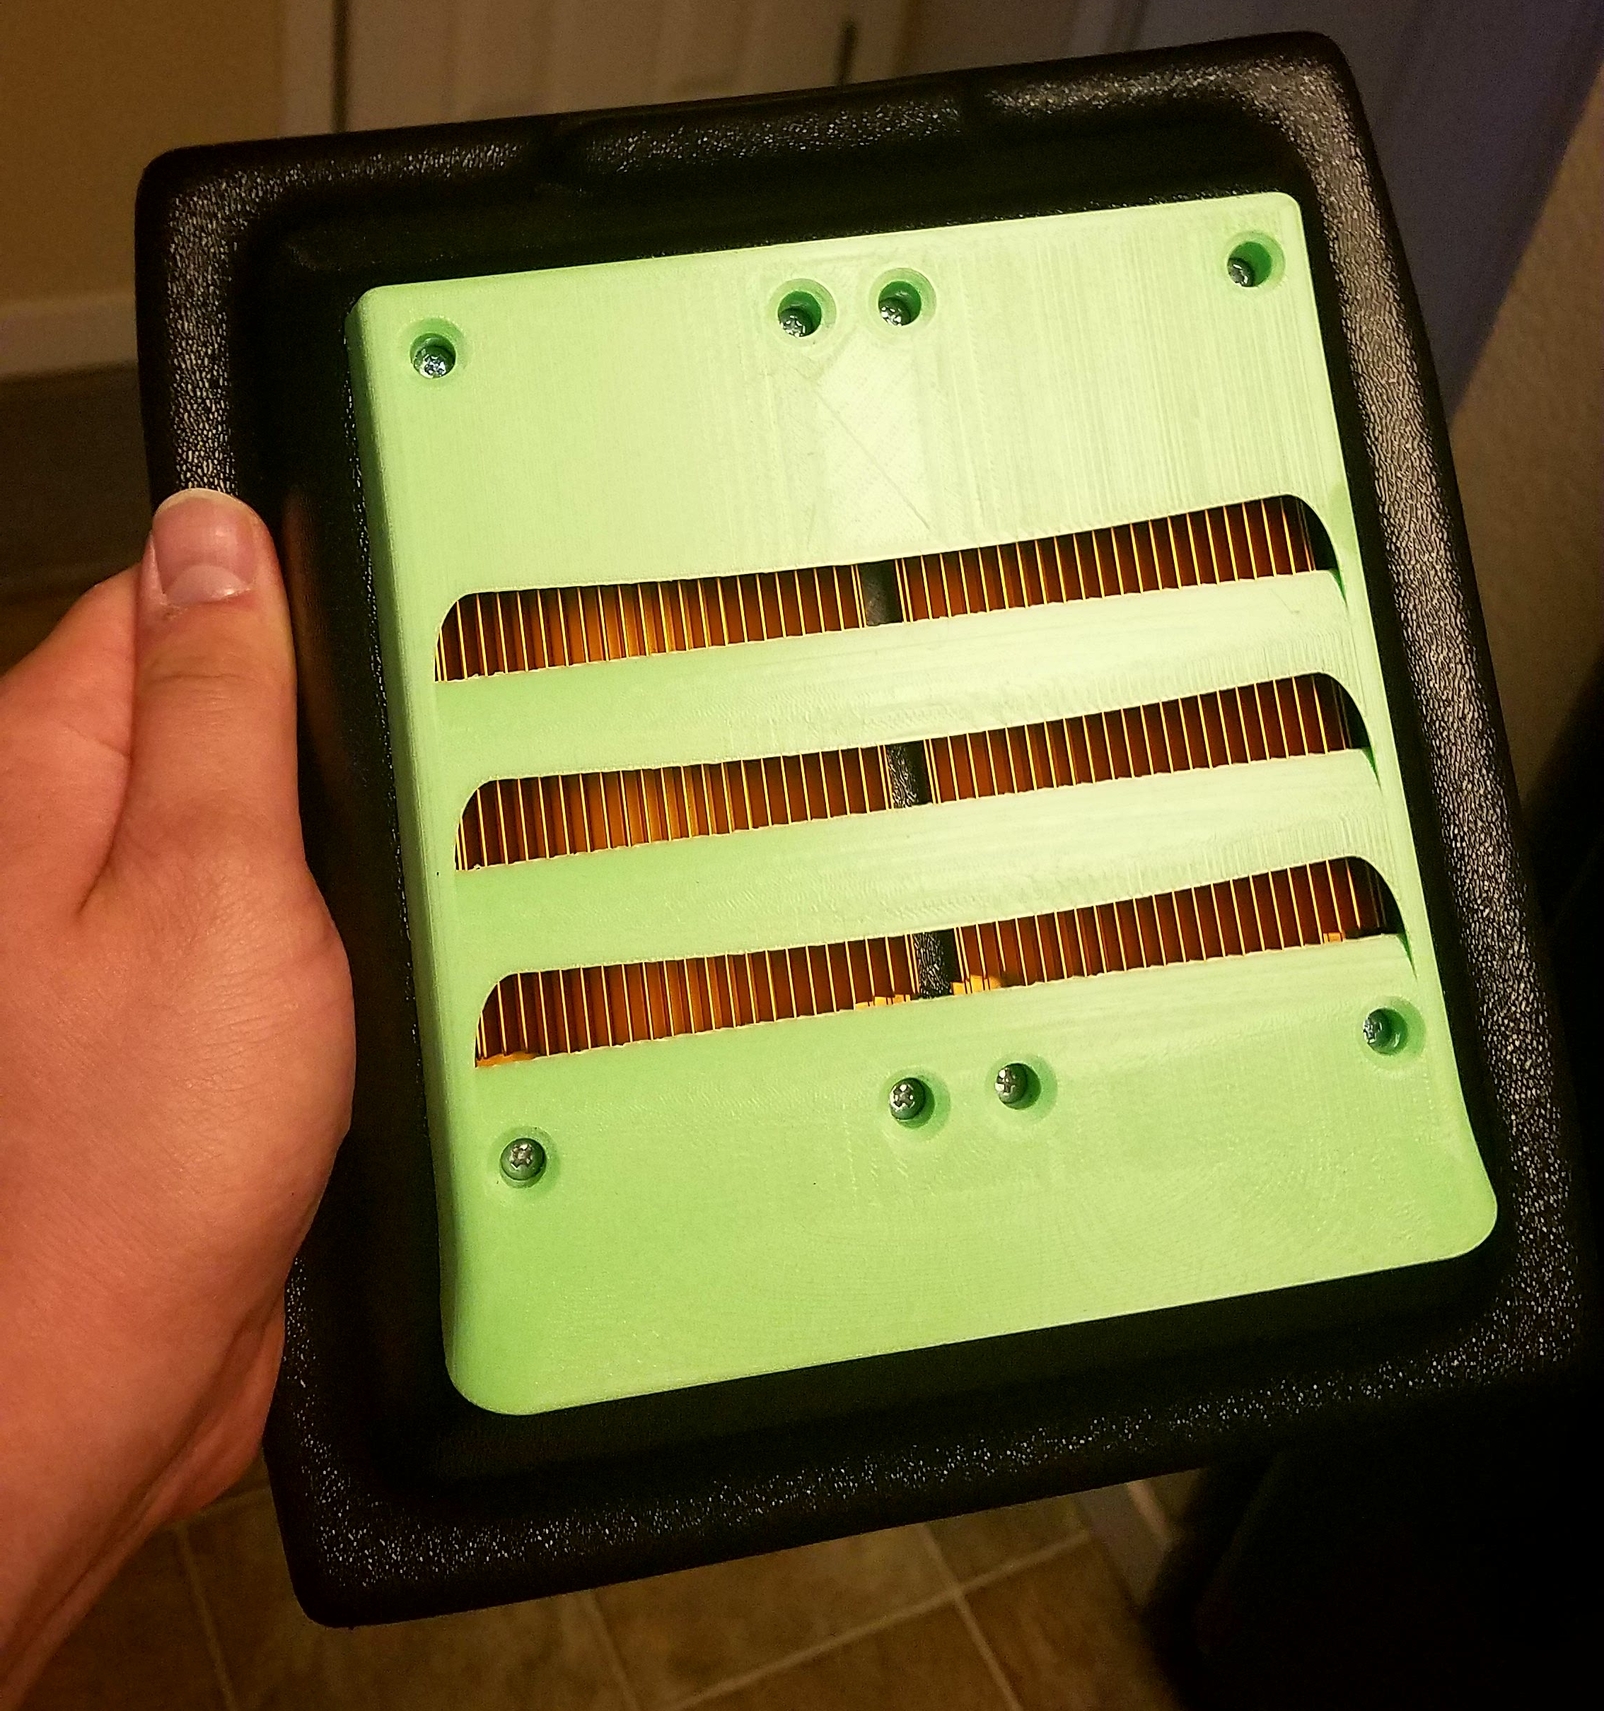
I got to printing! And everything lines up just right with my cutout plot:

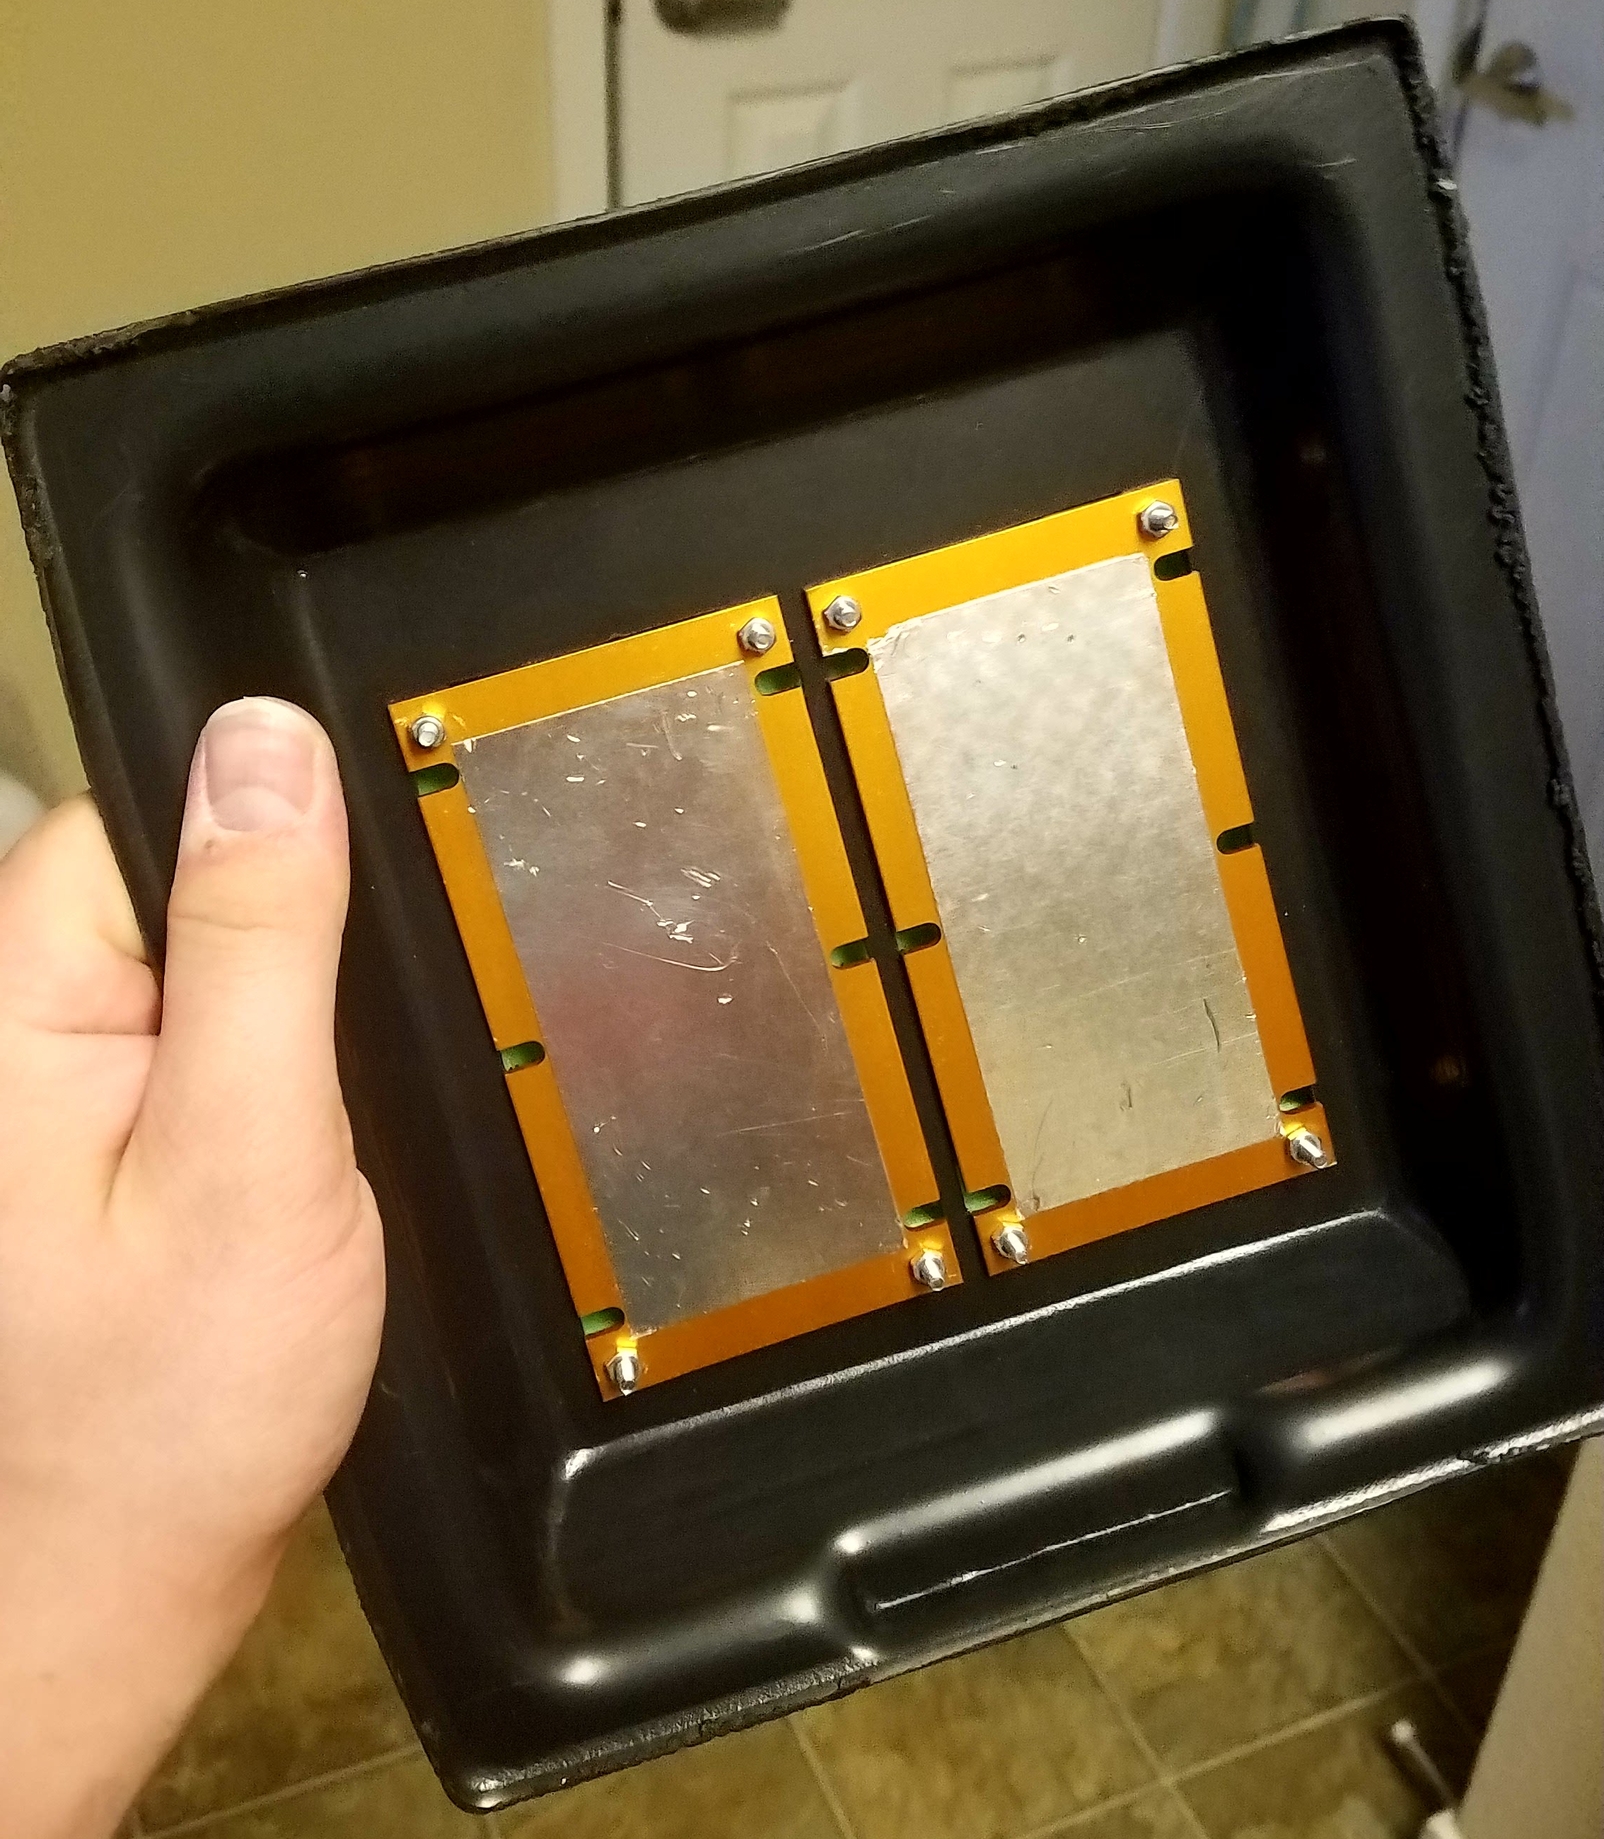
Sinks have arrived, and I turned my kitchen (for lack of a good workshop) into a cutting and fitting factory. Check out the mess:

Sinks fit good with a little fin bending for the outer angled fins:

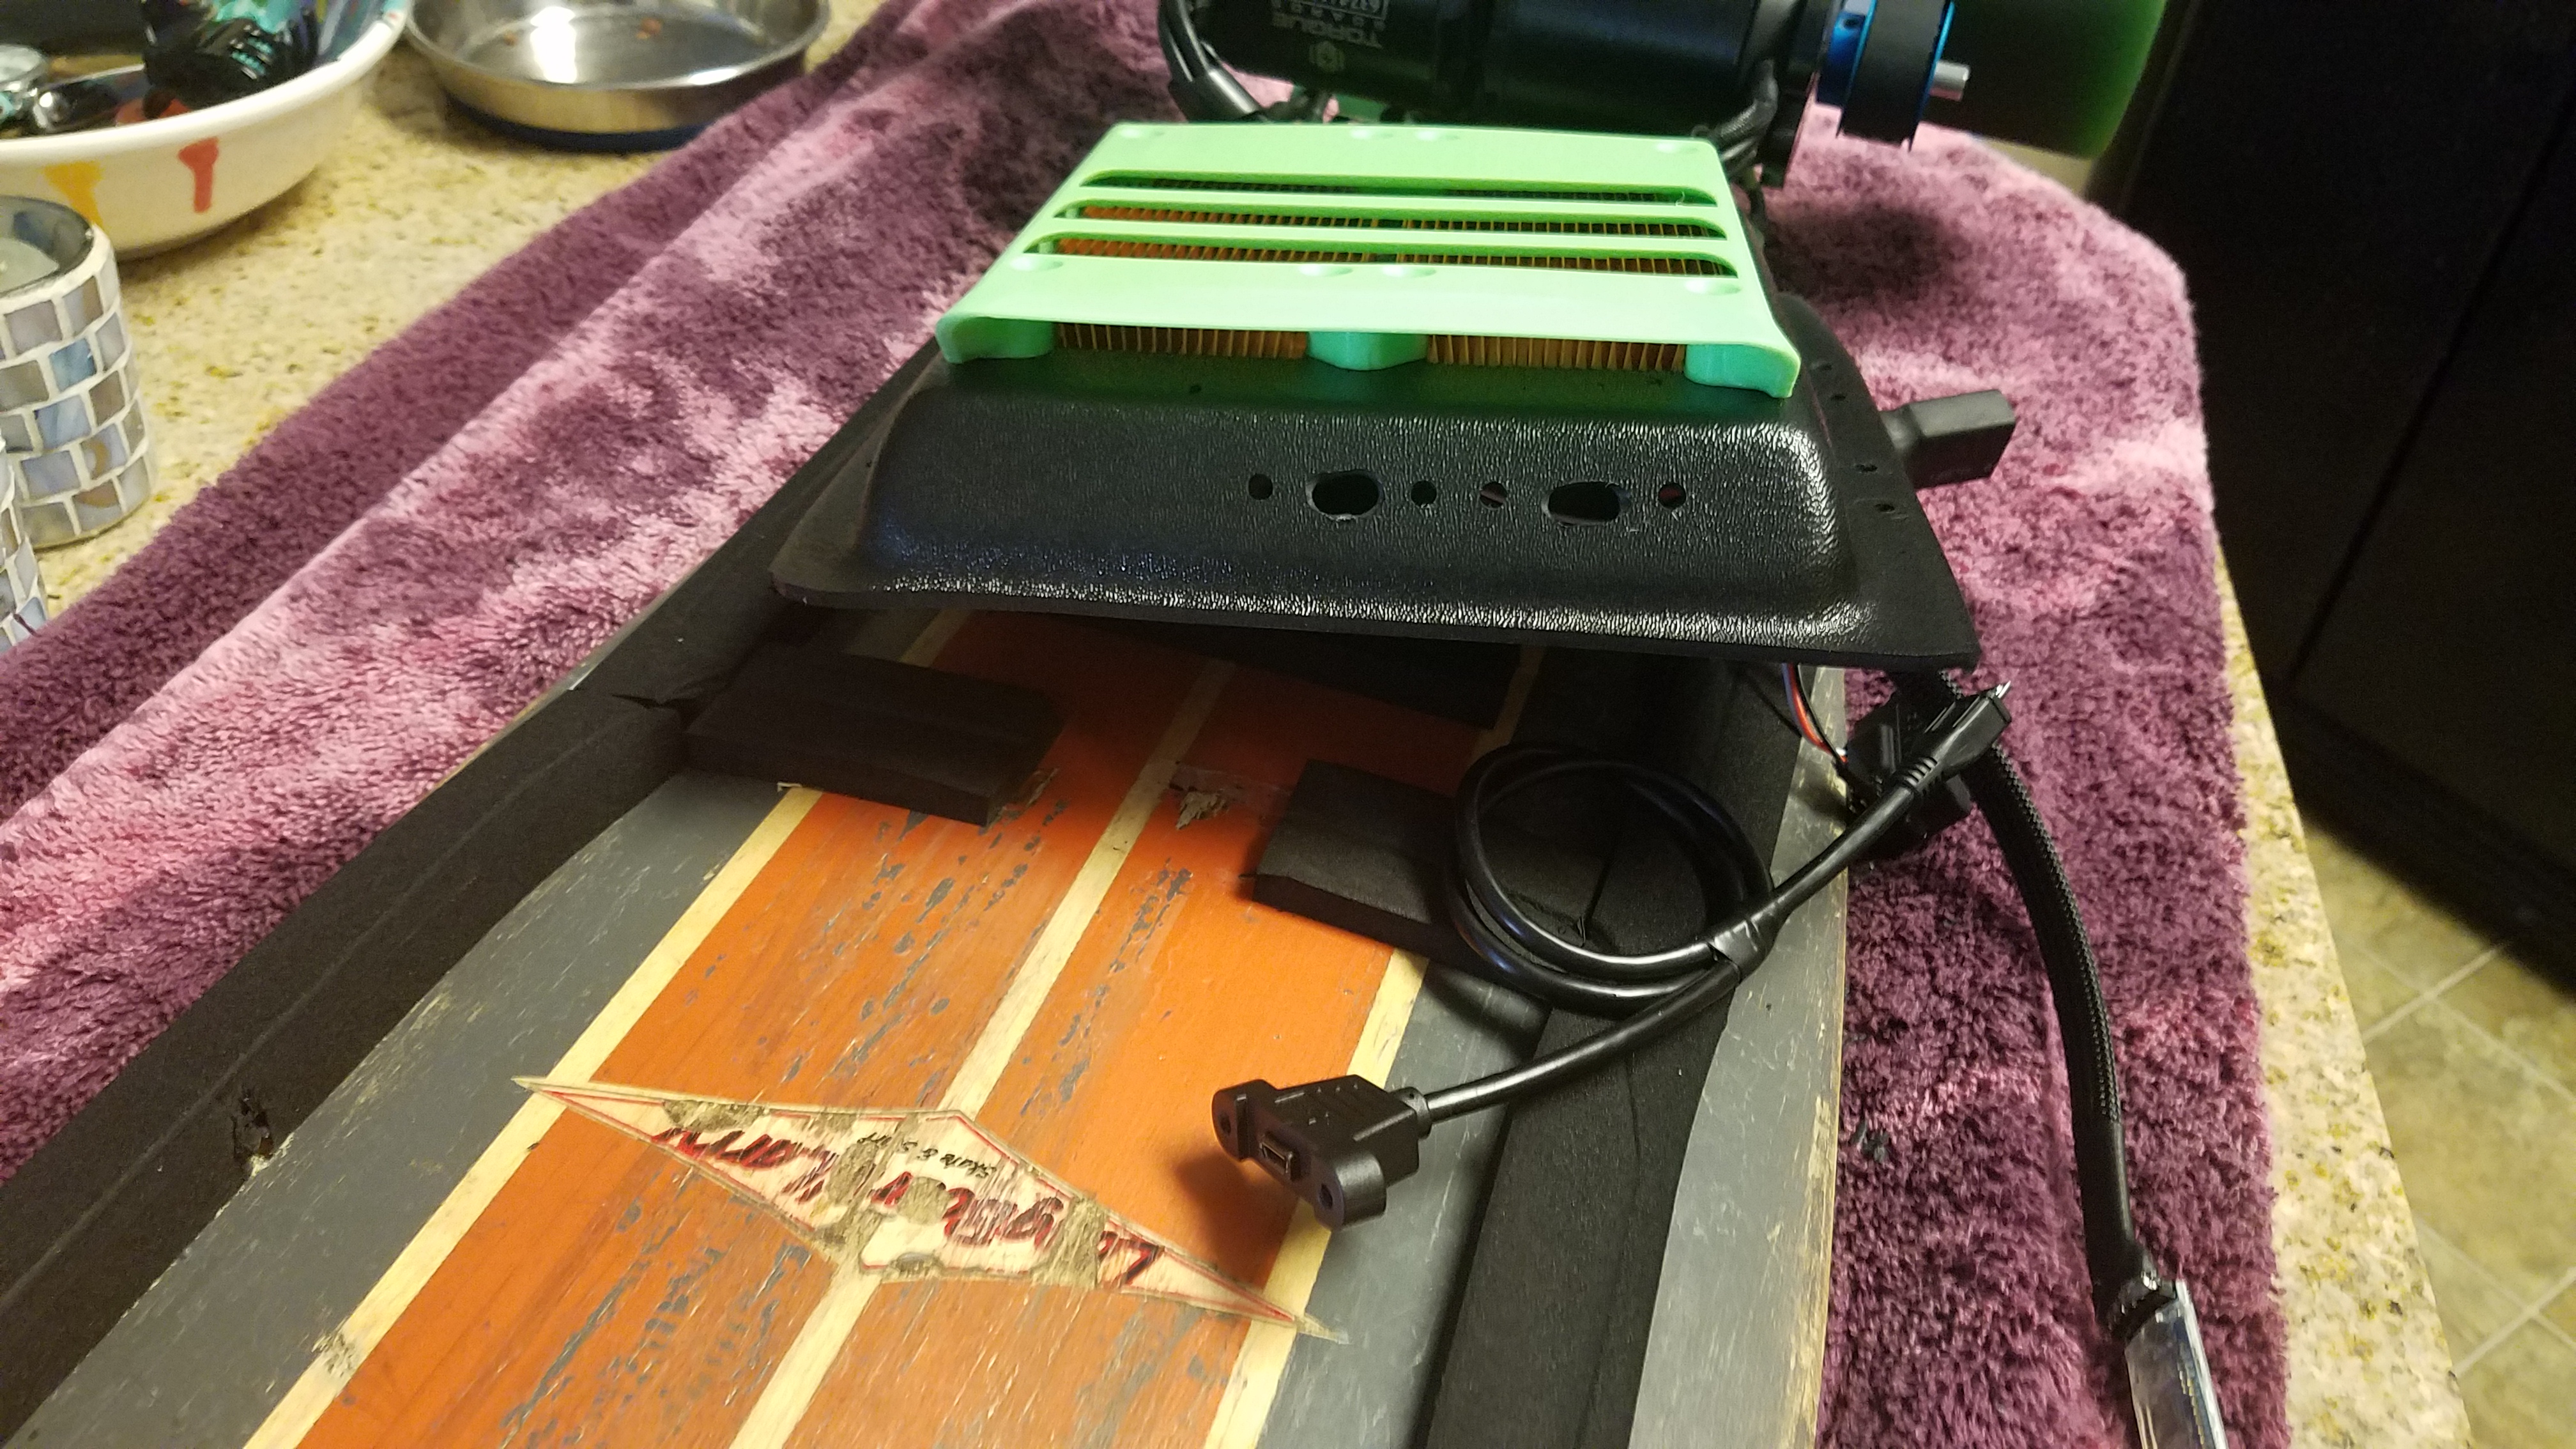
Finally, it’s all mounted up and here’s a few more glamor shots:

At this point, the focboxes and controller have shipped, but I have not got them yet to start cutting holes for the motor and sensor wires yet, and I am still waiting on bolts, t-nuts, and foam padding from amazon to arrive to start getting the enclosures mounted:

Well, that’s where I am at for now… i’ll update this thread as things progress. Hope you guys enjoyed so far.

46 Likes

Amazon order came it. Sealed up under the enclosures, it’s almost air tight at this point with the battery enclosure on. Got The nuts and m4 screws to bolt it all down installed, and a fresh coat of viscious grip tape. I trimmed down the vesc enclosure a bit to leave much more room for the motor wires to do their thing without any stress.

Still need to get battery and focboxes installed with foam to hold everything in place properly, cut wire channels in the foam and enclosures, mount the power switch / LCD display / charge port, water resistant seal some random small gaps and cracks, and program everything.

8 Likes

Really impressive, those focboxes will be the coolest around here.

2 Likes

Jesus how are you getting your parts to float in your living room? that is awesome

6 Likes

lol, the CAD drawings you mean?

1 Like

Yeah I never miss an opportunity!

Cool work enjoying it here

2 Likes

Making progress on the cable management channel. Making a riser with shapes to quell the rest of the mess right now.

Here’s my first prototype in TPU:

I knew the TPU wasn’t going to work so I went with a hard clamshell design next:

I’ll update later with the riser… Hopefully it fits, it’s angled -2.5 degrees for a tad bit more stability at speed.

21 Likes

Well done and well written write up! I love the innovative focbox air cooling channels. And nice risers. Where’d you get those cool blue pulleys? They look big, 20T?

Thanks for taking the time to do your homework.

1 Like

Thanks! The blue pulleys are (yep!) 20t from , discontinued. I figured if they were out of stock they wouldn’t list them and sure enough they had stock :sunglasses:

2 Likes

Here’s a preview of the riser with cable channels:

10 Likes

I double sided taped the cable manager to the deck, and got the riser on! Takes of the wires wanting to fall down towards the motors for sure. I need to swap out for slightly longer hardware and lift the truck up some more or angle the motors a bit more towards the road because when turning hard, the motor mounts contact the wires in the cable manager and I don’t want them getting torn to shreds when I’m shredding… You will see how close it gets when turning the truck hard in the fifth picture below:

Next up is setting up Passthrough USB panel mounts on the side of the vesc enclosure to make programming easy. I printed out these little TPU based dust blockers to stop road grime from gumming up the ports on the outside of the board… They fit perfect, snug but not too snug and flexible!

After that, foam filling some of the gaps between enclosures and wire channels to seal it up a bit more, some more hot glue sealing smaller gaps, padding and installing the battery and finally blue loctiting the few things that haven’t been loctited yet like the enclosure screws and cable manager bolts.

9 Likes

Today:

  • Installed external panel USB connectors with Red (master) and Green (slave) dust covers and sealed gaps
  • Applied more thermal paste to focboxes where it was lacking
  • Further taped and hot glued components such as Controller receiver, canbus connector cable, Bluetooth module
  • Shileded some very small exposed connections to be extra super safe with more electrical tape
  • Applied more blue locktite to enclosure bolts and USB panel bolts
  • My car cellphone mount somehow fits perfectly on my helmet with a flat plate on the inside so it’s not even really poking past the inside of the shell. Great! Hopefully will make for a good maiden voyage first person video.

Pics:

I’m thinking about printing pulley covers at some point. Also thinking about maybe printing a USB cover to flap over the whole thing with some sort of spring mechanism to further prevent dust ingress even around the dust covers, further protect the connections incase one of the inserts happen to come loose, and to make it look more professional… I think the drill holes are a tad bit unsightly.

8 Likes

Nice work. The focbox cooling is super cool :smirk:

What bushing setup do you have on the TB218’s ?

I’ve got a JimZ (what do you call it) double barrel (fat wide one with inner regular barrel size) on the bottom (baseplate side) of the rear truck with the same shape but softer venom on top… With standard venom barrels on the front, red on bottom and yellow on top. I forget what formula, I got them a long time ago. The ones on the front are high rebound and rear ones are just medium rebound… Flat extra wide nylon washers on bottoms and regular sized metal flat washers on top

Really cool design. Haven’t seen heatsinks like that in a diy before. But my question is what makes you think you need that?

10s4p means 80a max total, that’s 40 amp per focbox. And the focbox can already do that without any extra heat sink. On top of that, those motors might not even be able to do too much more than that, even if you increased the battery output.

Not trying to put you down or anything. It’s a cool design. Just trying to gauge where your coming from with that heat sink.

2 Likes

I guess overkill cooling? I don’t mind if it’s a bit overkill :sunglasses:

I did a bunch of research on gear ratios and came to the conclusion that running 1.6:1 or 1.8:1 and attempting to climb hills means a lot of amps drawn and heat buildup in the vescs. I want to make 100% sure that my VESCs don’t die from heat if I try to climb hills my gearing can’t handle and end up pulling too many amps.

Although 40A max each, your right. I’d rather just overbuild regardless… And I wanted it to look awesome while serving the purpose of what otherwise would have been some holes drilled in the enclosure for a tiny bit of airflow.

It will be interesting to see what over heats first, the motors or the esc’s.

“challenge accepted” :sunglasses:

1 Like

Maybe consider using a lipo? Since your gear ratio is geared so much towards speed, your torque won’t be that great on hills at 40 amps each. You need more amps than a lower gear ratio to get torque. And going up in battery size isn’t always an option. But with a lipo about the same size, you could easily do 160-240 amps total, or 80 amps - 120 amps per focbox/motor. Then you can really test the heat sinks (they will totally be needed).

If you have the bucks, you could also try both setups and make it so they could be easily swapped out so you can compare first hand the difference :stuck_out_tongue:

2 Likes

Now this is the kind of thread me likes.

1 Like

In the interest of better maneuverability, stability, and almost reducing slop completely on my TB218 trucks, I realized there were some things I could improve upon.

Originally when turning on my trucks (in the living room on carpet), they felt sloppy and would pop quite a bit if I wiggle around center weight without really turning the trucks at all. I know this is not good for stability at speed and really doesn’t help with control at all… slop that is:

  1. I noticed that the inner diameter on my bushings is larger than my kingpin diameter by quite a lot. combine this with flat washers that don’t adequately hold the bushings centered around the kingpin is no no no good.
  • To keep the bushings perfectly centered but not get torn up like metal tends to do, I printed out some very snug precision cups out of Nylon. They flex just right in contact with the hanger when turning hard… great! They are so snug on the kingpin I have to screw them on. Even better! I am not putting these on the rear trucks, just sticking with double barrels and flat washers, because I don’t need rebound in the rear for stability… I need dampening back there. Anyways, check it out:

  1. Surf Keyz on Surf Rodz are awesome. They are like spherical bearings on precisions, but they are cheap and simple plastic bits that fit snug between your hanger and kingpin to keep everything nice and perfectly centered.
  • So, I wanted to apply the Surf Keyz idea to Caliber style / my TB 218 trucks!

  • Nylon is also a great material for this… it’s super durable, semi pliable, and super slippery… you don’t want some little keys messing up your carves. They fit super snug on the kingpin almost to the point where it’s difficult to screw them on… use a flat washer and screw it down there to seat it in. The nylon stretches out as you push it on to make a great fit into the hangars.

  • Has anyone else tried making their own keys/spherical bearing type things for your trucks? let me know… interested to see your solutions to the slop issue…

  • If anyone wants to download these, here you go for the cups and keys, and here’s just the keys on thingiverse. Anyways, enough talking. Check it out:

  • here’s a video of these Caliber keys in action, you can see how much slop they reduce… at the end of the video, keep in mind I am on carpet and these things are still keeping the trucks turning great with little effort:
  1. Finally, I tried making some pulley covers to go over my 20T pulleys… they are still too small and rubbed the belt a bit, so I tore them up to see how durable they were- they were pretty strong, but I am not sure if I like the look or really even believe in the function of pulley covers, so I might just leave them off and forget the idea. Here’s a CAD look I guess:

14 Likes