Loaded Vanguard / Tesseract / Jet Spud: Vacuum Bagging Boards & Enclosures with Carbon

since I dropped some pictures every now and then of my last Tesseract build and my current Vanguard build in the “Just pictures, no words” thread, I had to answer a lot of pms lately, mostly regarding my carbon work, so maybe its not a bad idea to leave my build threads here with a few teasers since quite a few members here didnt go the endless sphere route, but arrived here directly. :open_mouth:

Im still undecided if I want to invest more time on “enertion forums” - I feel that my home is endless sphere, but clearly the community here is much more active and alive, the forum structure is much better and I like the whole community stuff like badges, likes, etc. but its still the “enertion forum” for me. in that regard, maybe its a good move that jason pulled out of the forum business to make this more like a diy community and less of a business extension of enertion. :neutral_face:

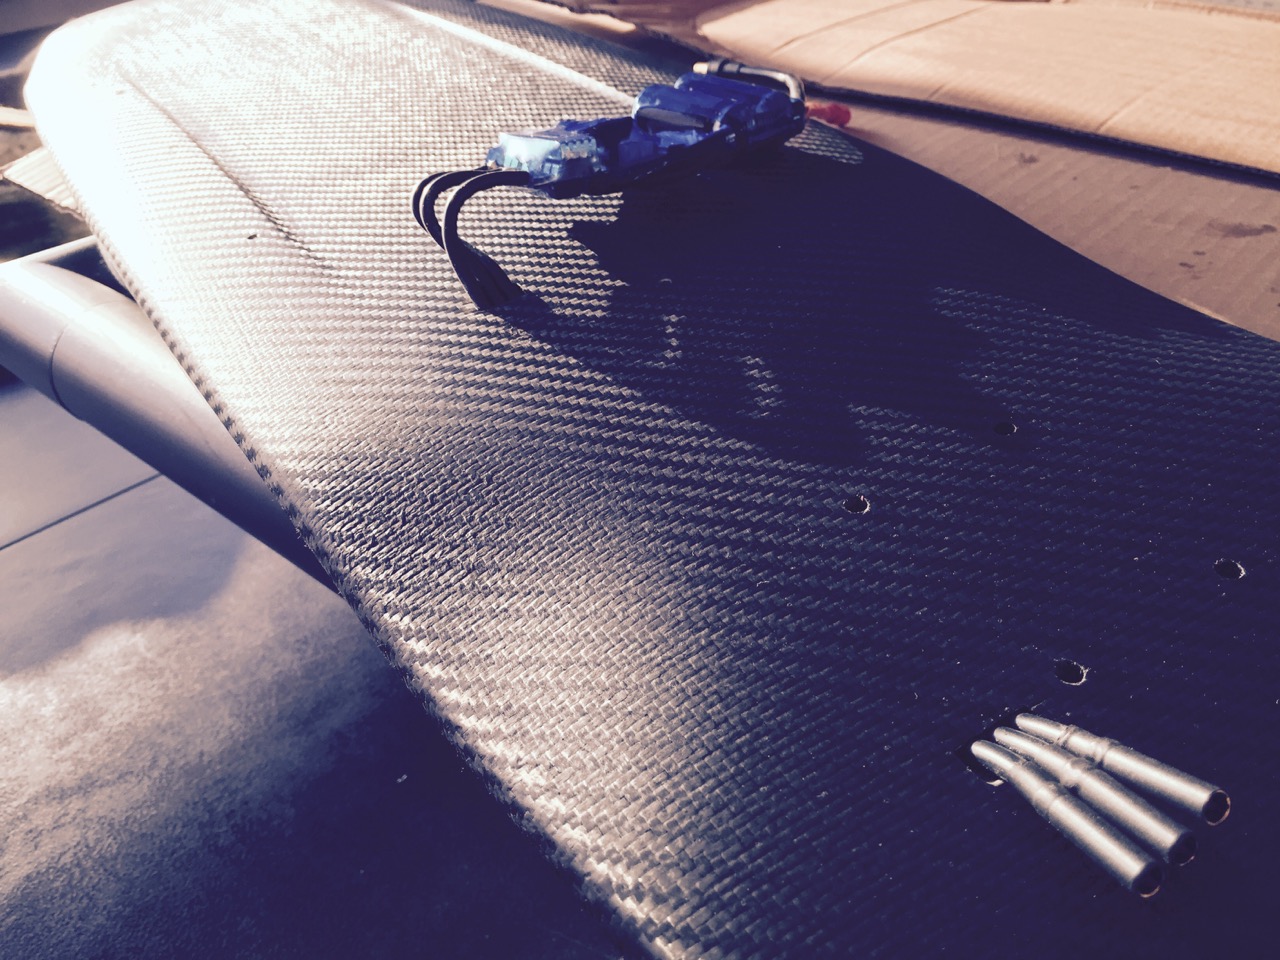
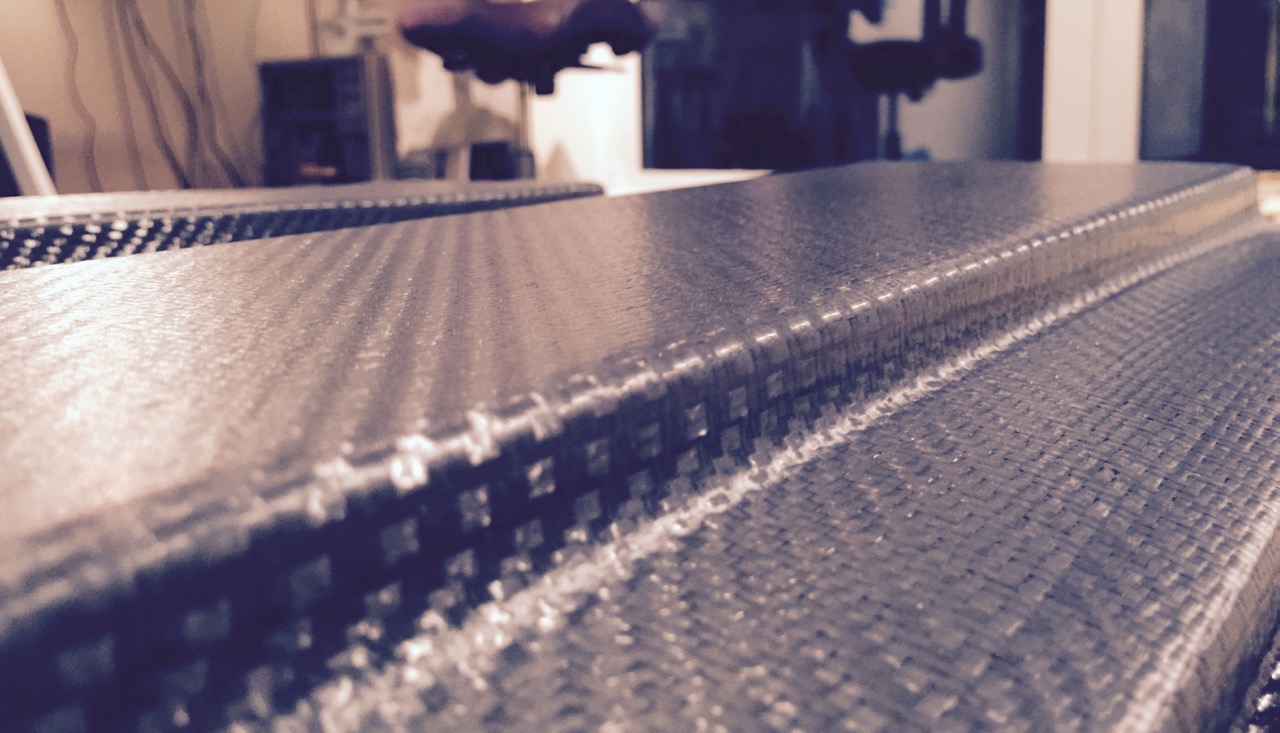
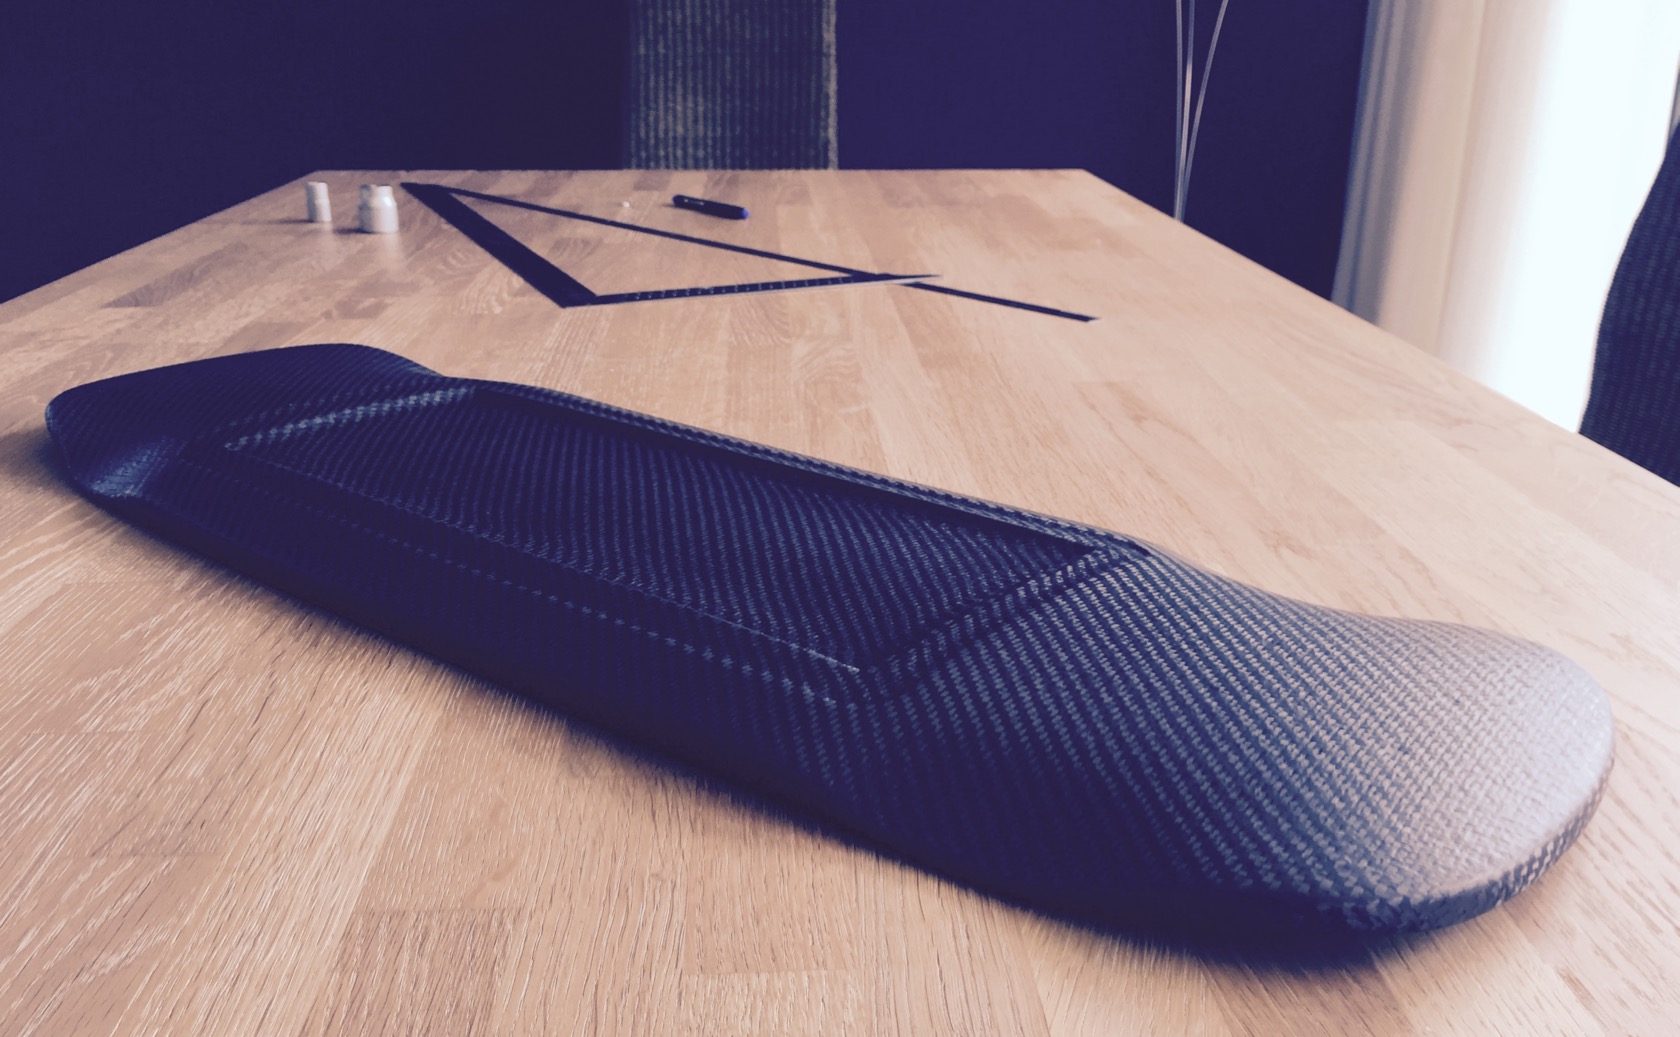
anyway, vacuum bagging with GFK and carbon is something that okp of the french community has inspired me to do. one of the biggest obstacles for me has been a proper enclosure, the rest is pretty much fire and forget with the “DIY” products on the market. most enclosures look quirky in some way or another, require extremely stiff boards or try desperately to cover the sometimes complicated 3D shapes of boards. vacuum bagging is an extremely accessible method that requires very compact tools (mainly a vacuum pump), is nearly foolproof in its execution and overcomes all problems of adding a box to a 3D shape in one go. I hope to inspire more people to try the same, because even as a rookie, the technique yielded great results from the first attempt for me! :slight_smile:

some teasers, for more details on the building process, please read through the added endless sphere links!


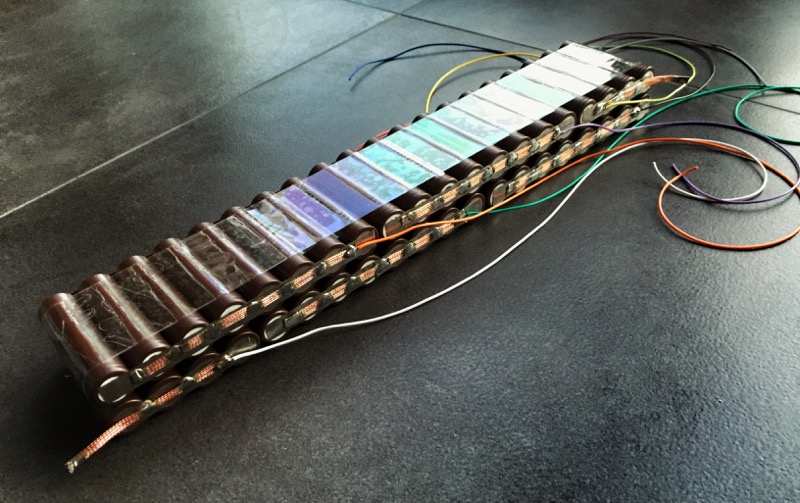
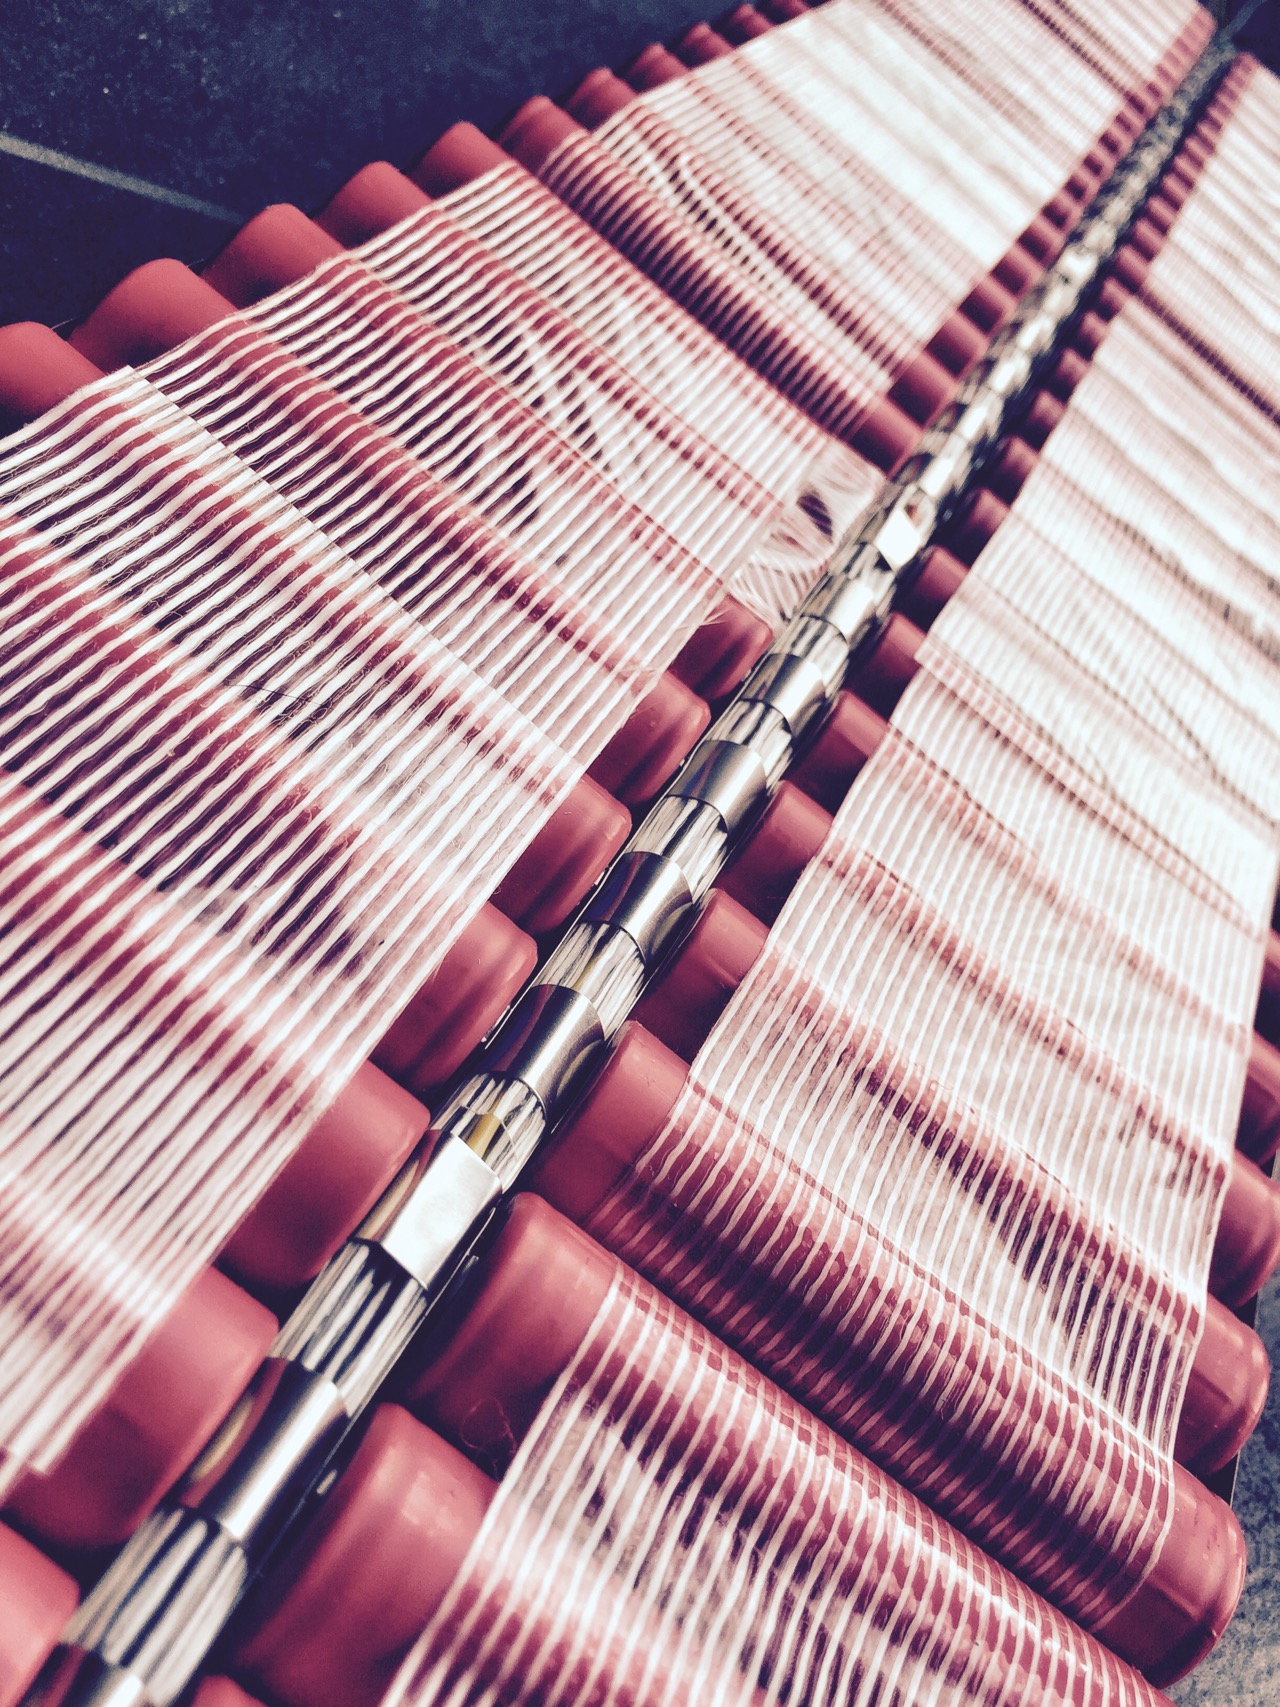
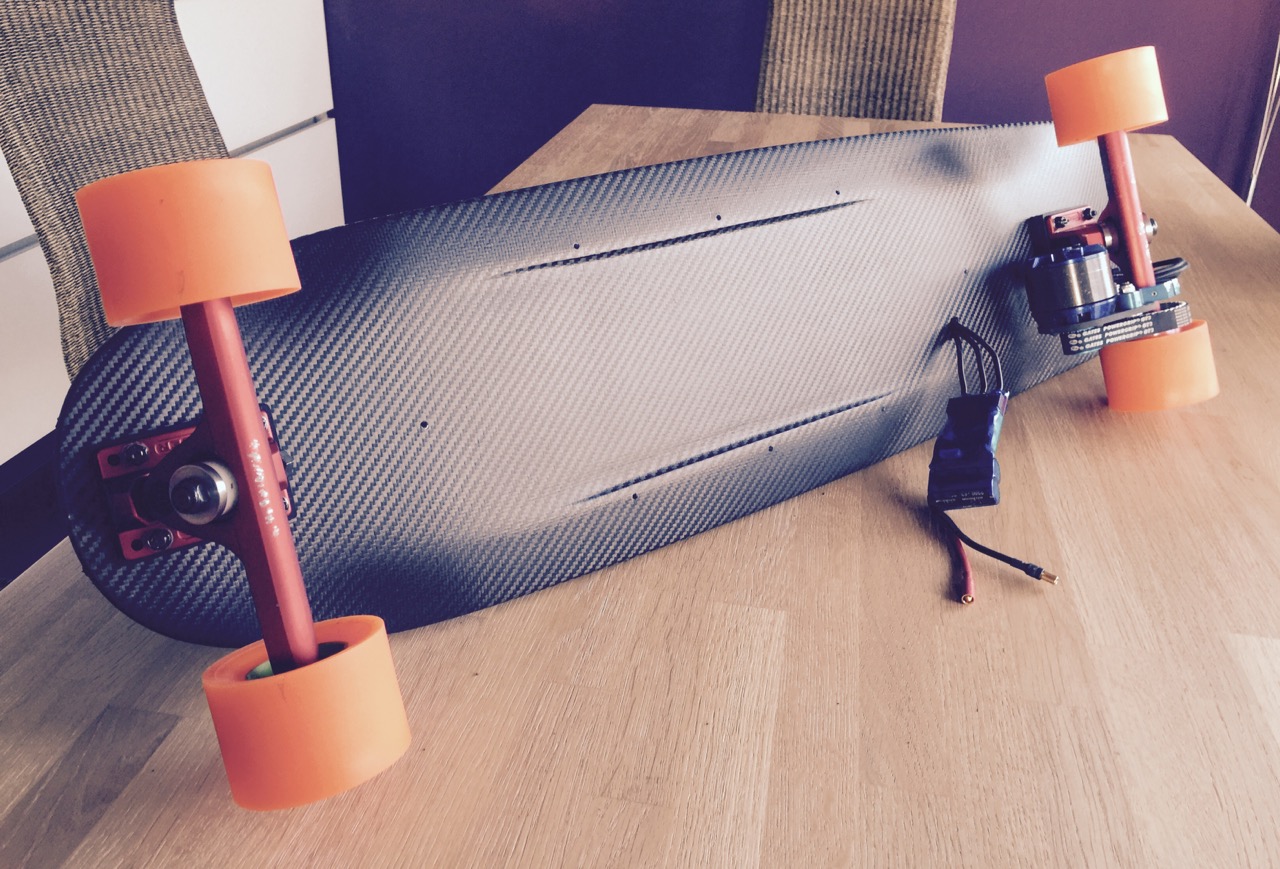
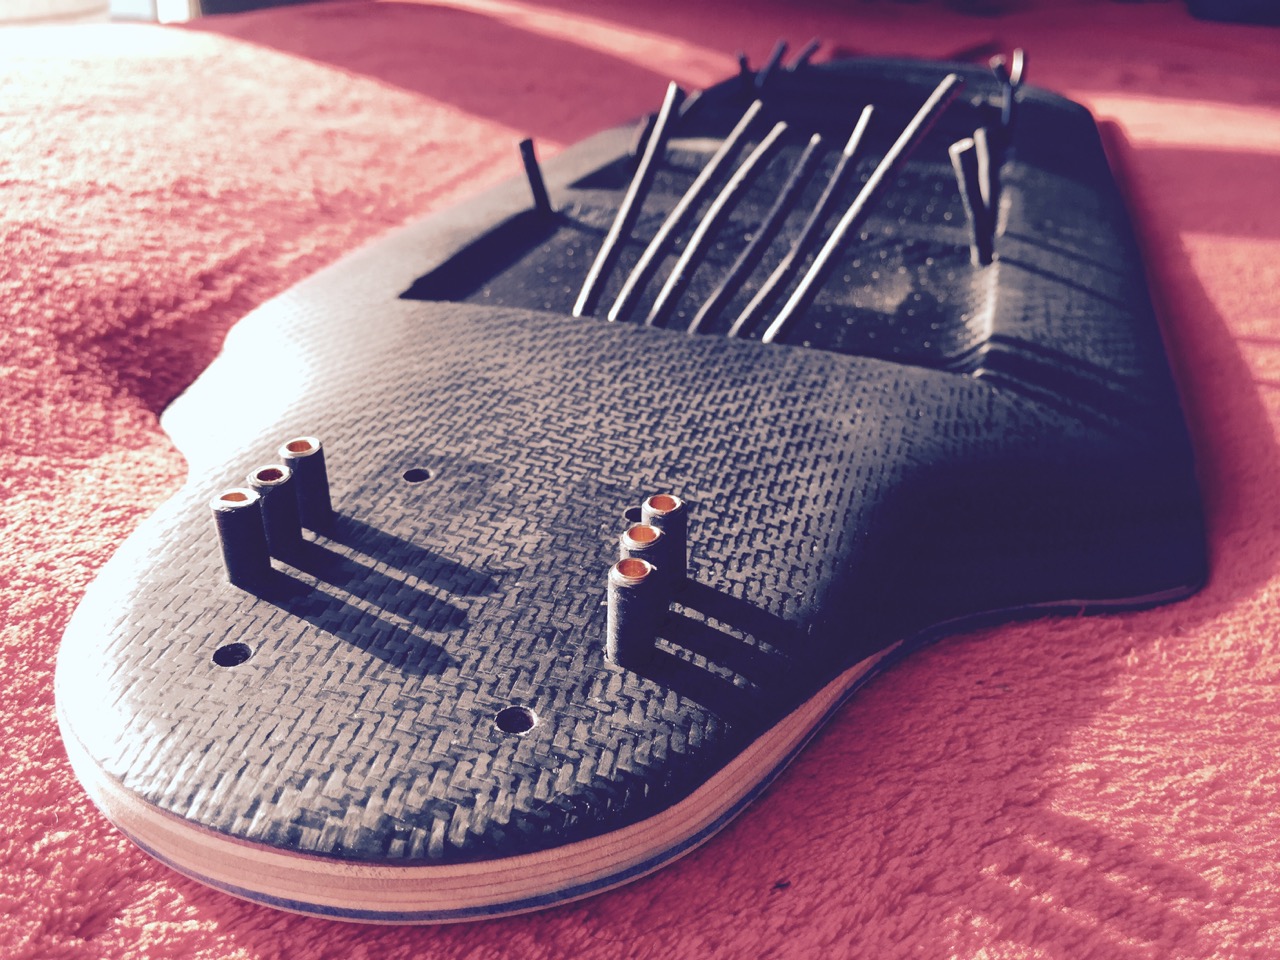
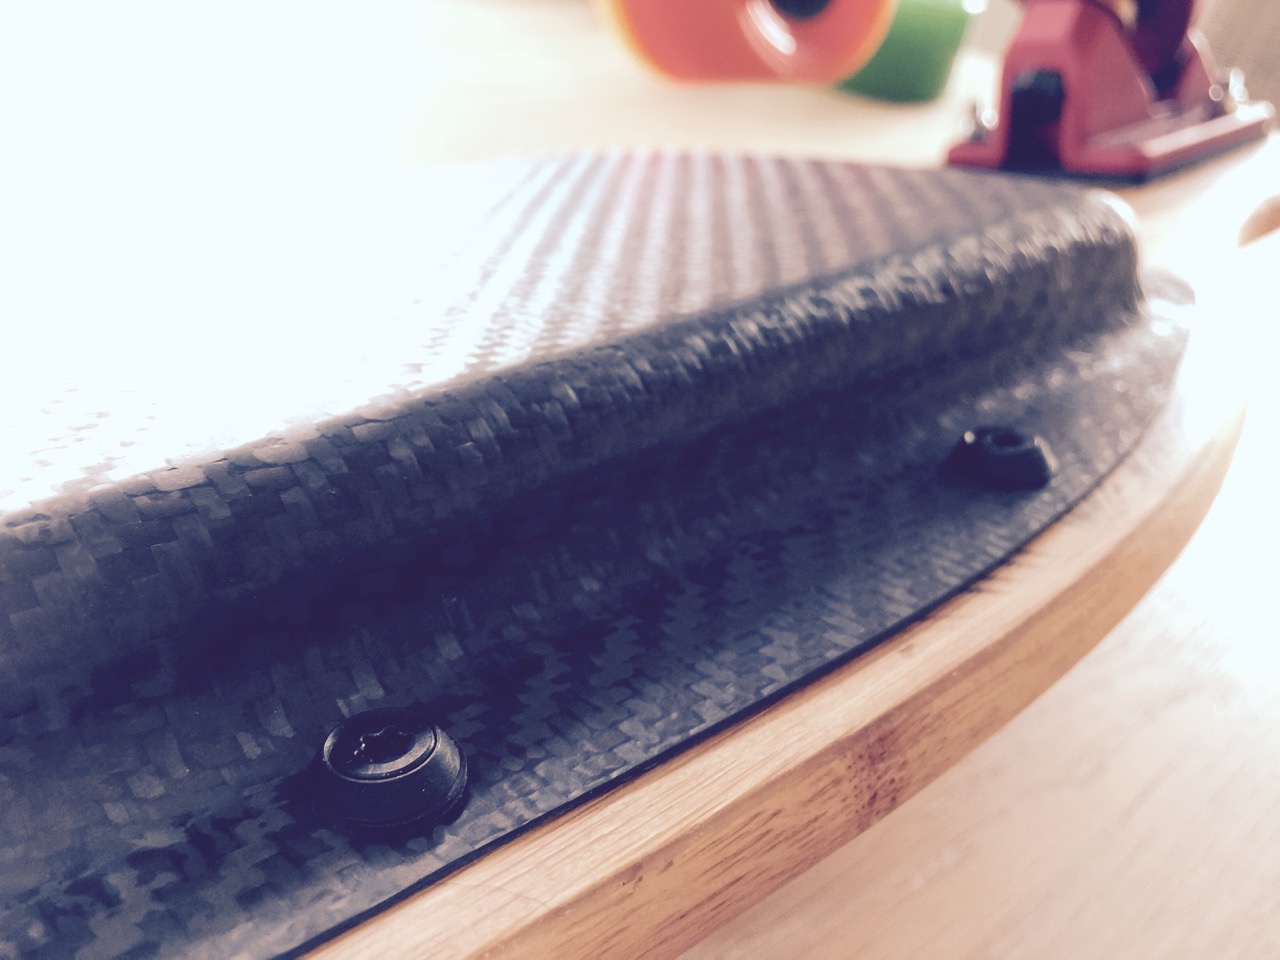
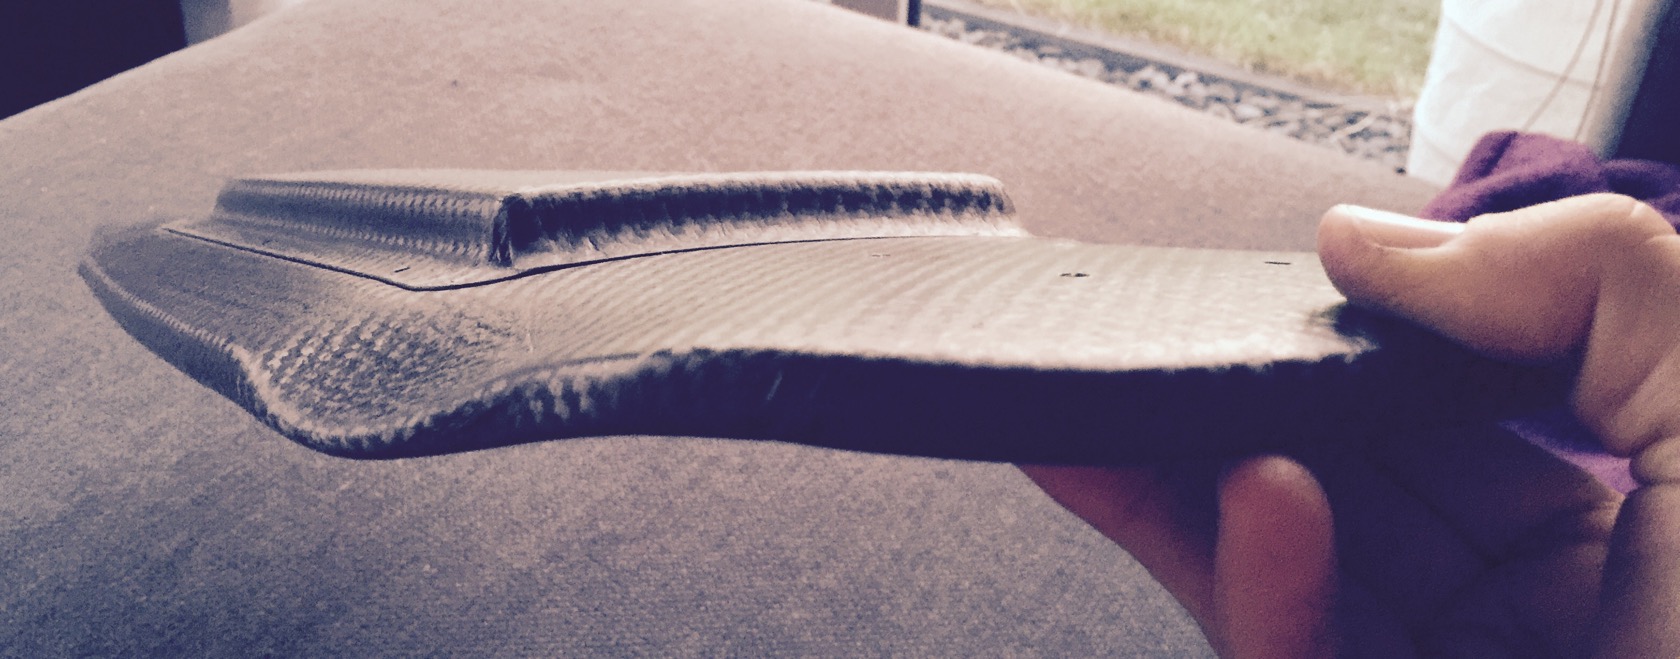
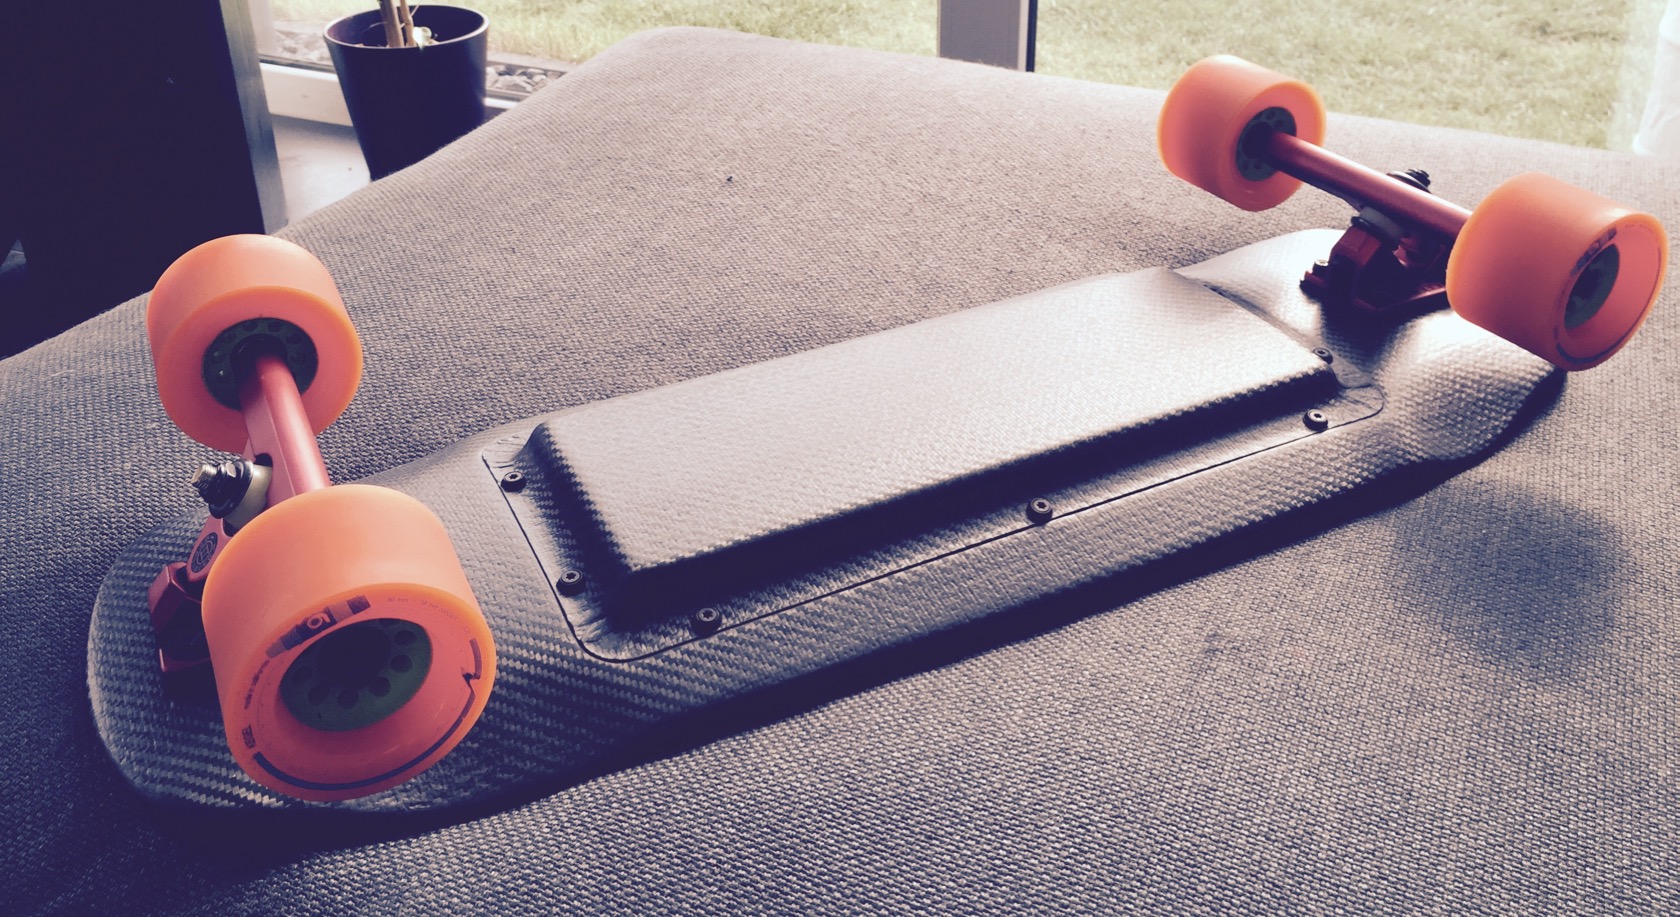
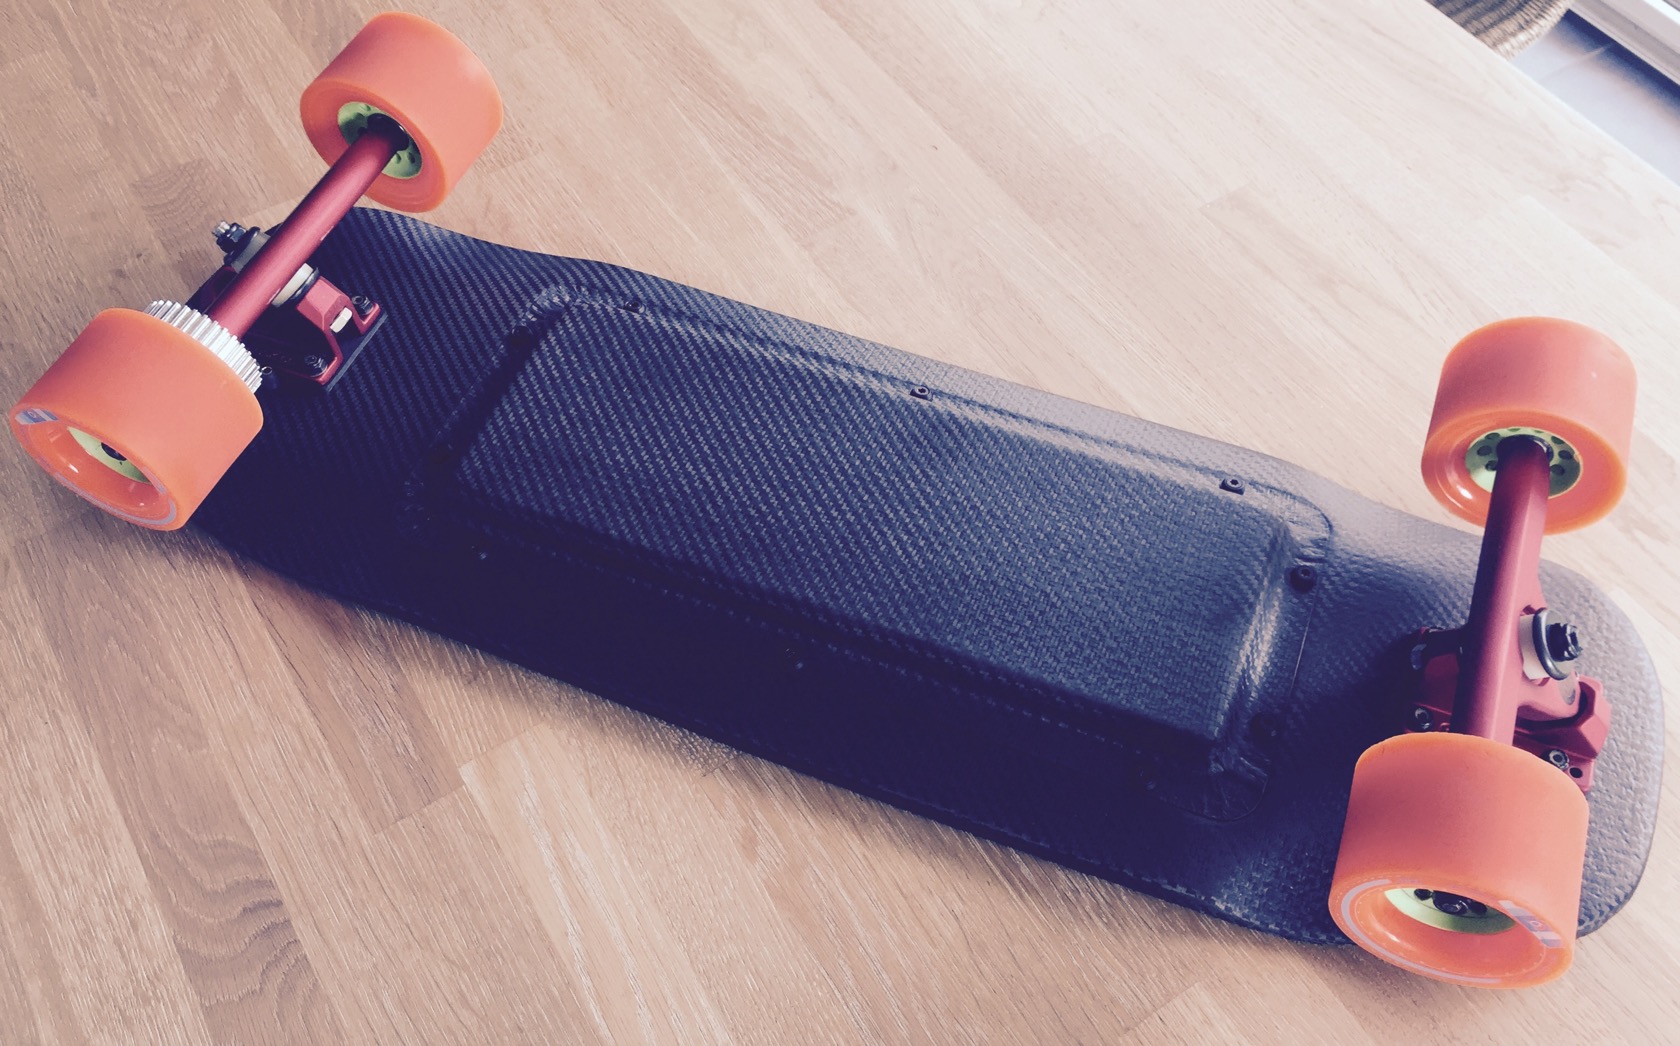
loaded tesseract: removed rocker for 10S4P battery by manual routing, added a wire channel with hard foam under carbon and dissolving it later with acetone, reintroduced structural support with 2 carbon layers

thread: https://endless-sphere.com/forums/viewtopic.php?f=35&t=75291&start=75#p1170801


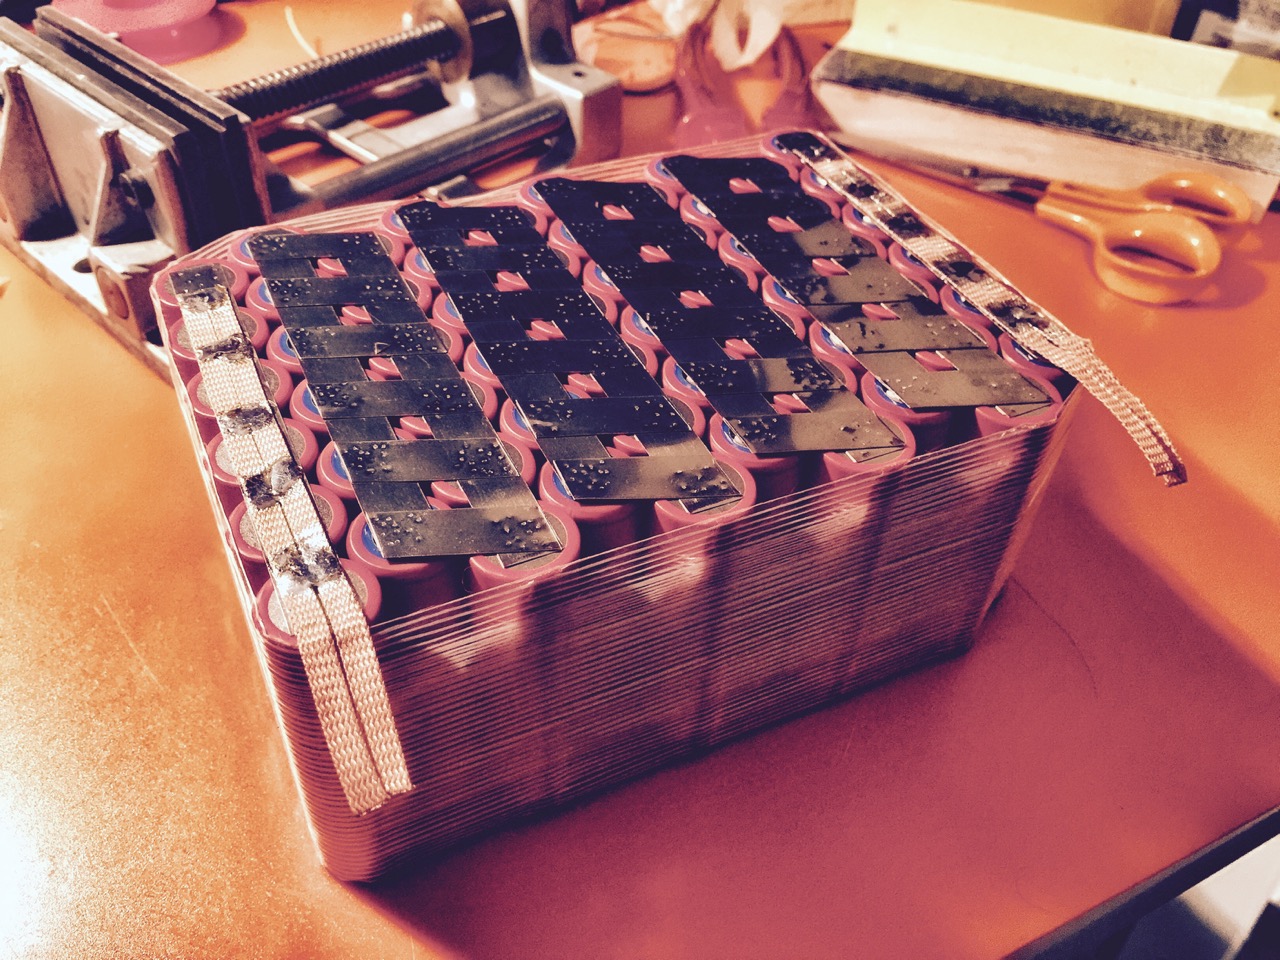
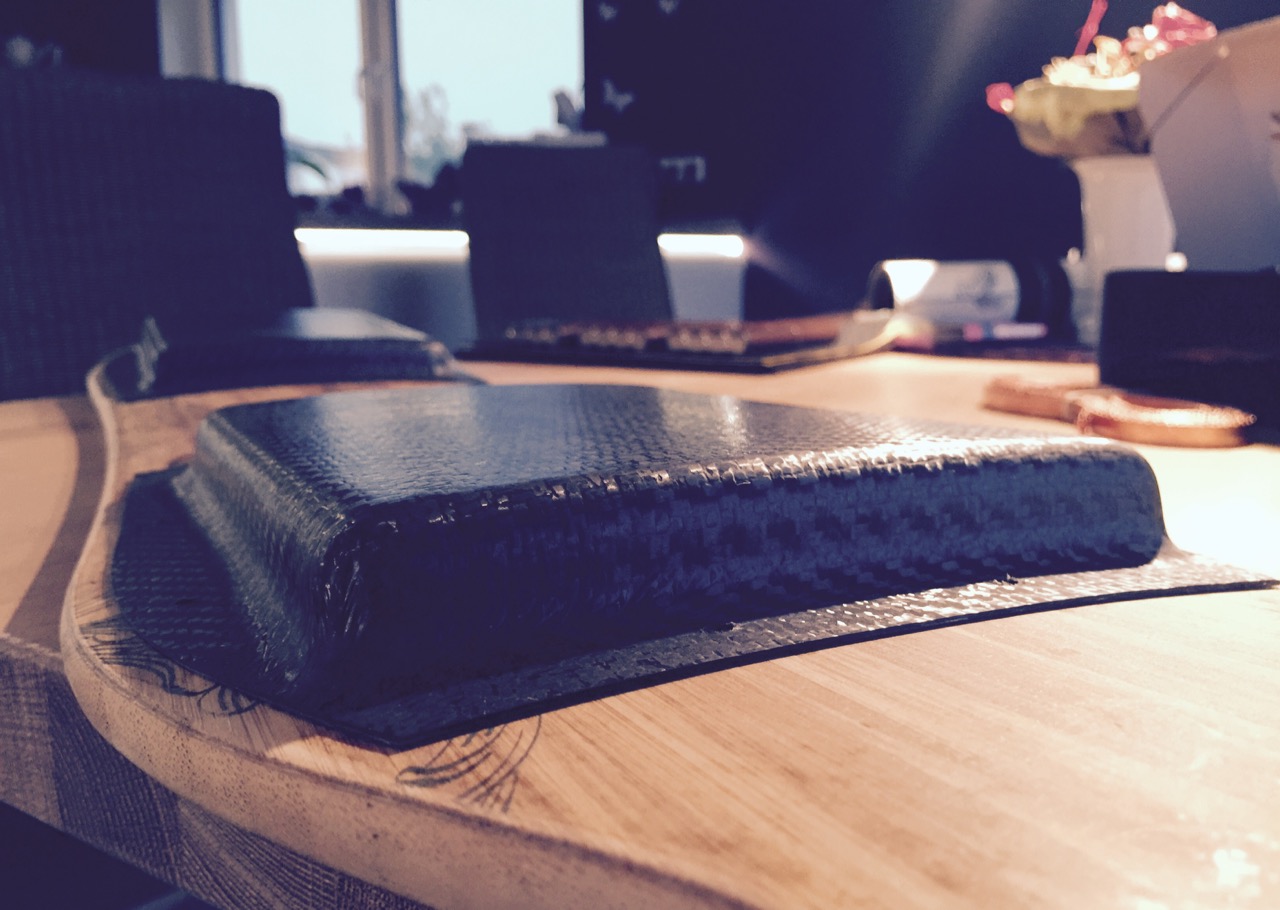
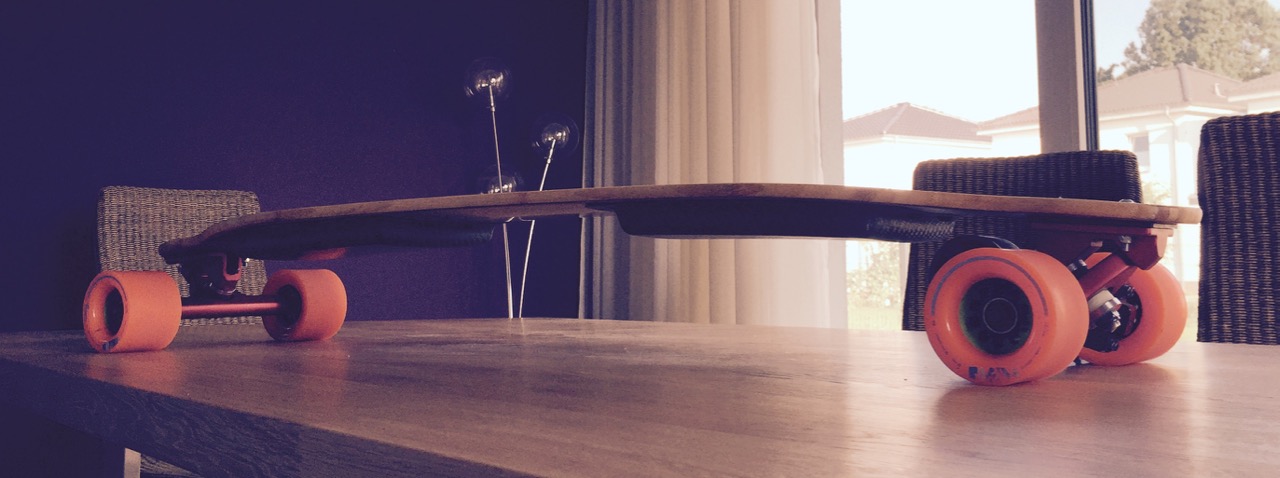
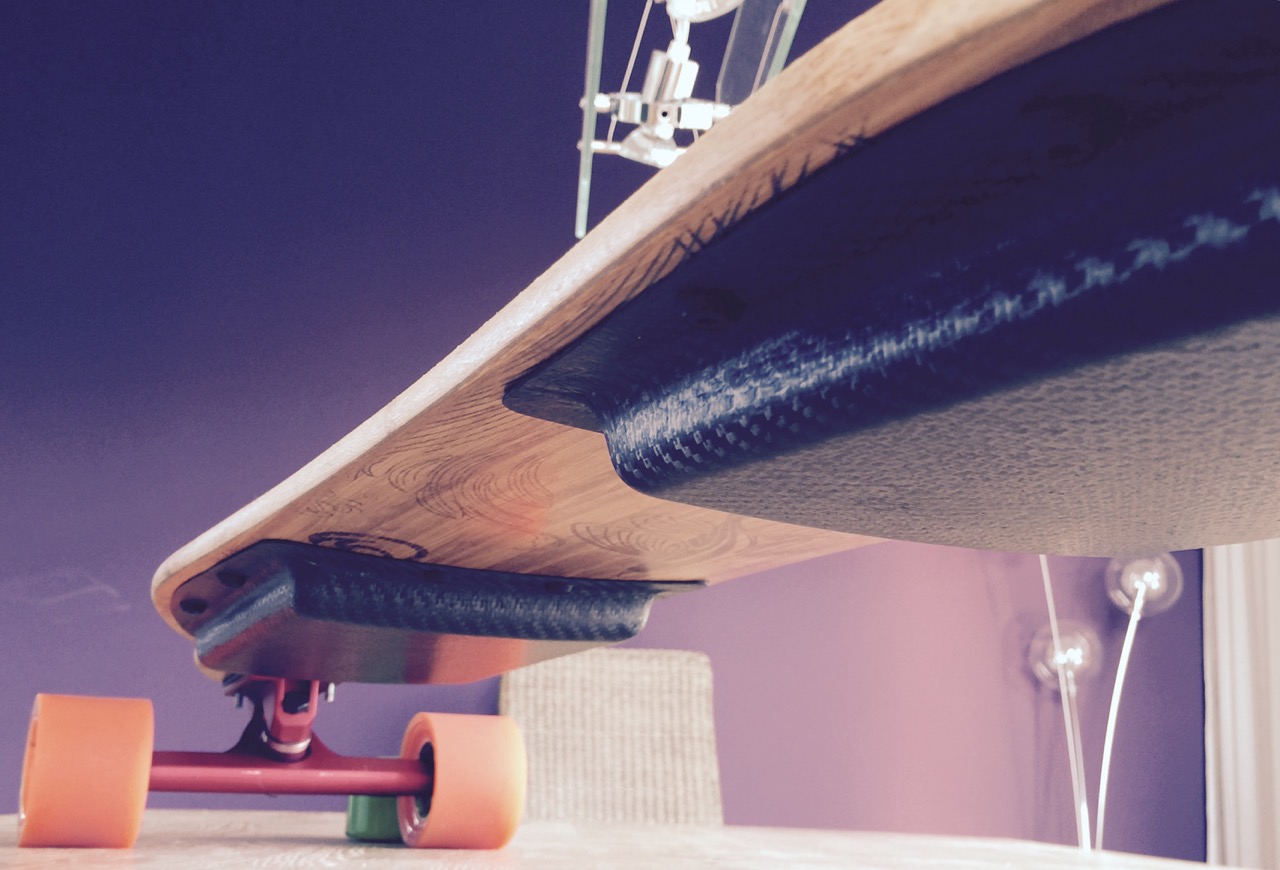
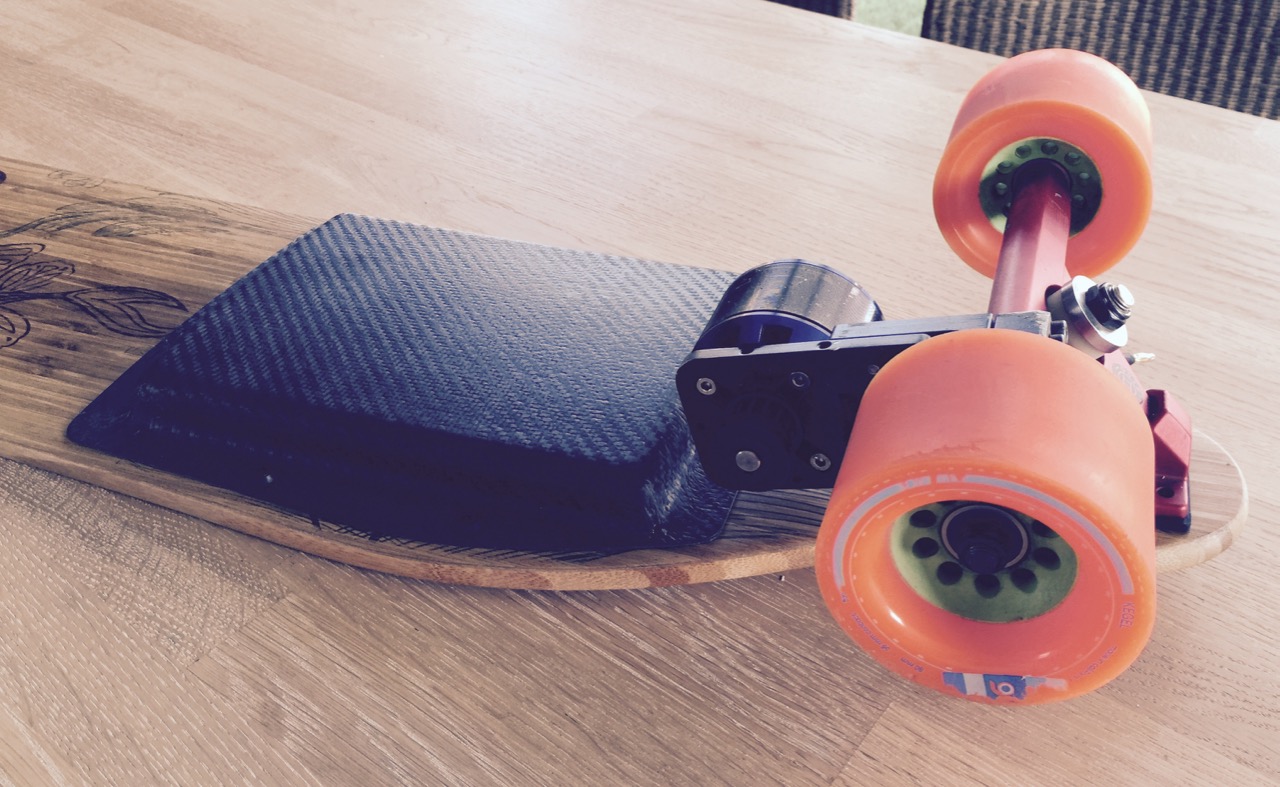
loaded tesseract: build a custom carbon enclosure for 10S4P battery and 1x vesc from hard foam mold, later used a wood block to shape the carbon because the hardfoam gave in under atmospheric pressure. :wink:

thread: https://endless-sphere.com/forums/viewtopic.php?f=35&t=75291&start=75#p1171434 and many pages onwards :stuck_out_tongue:


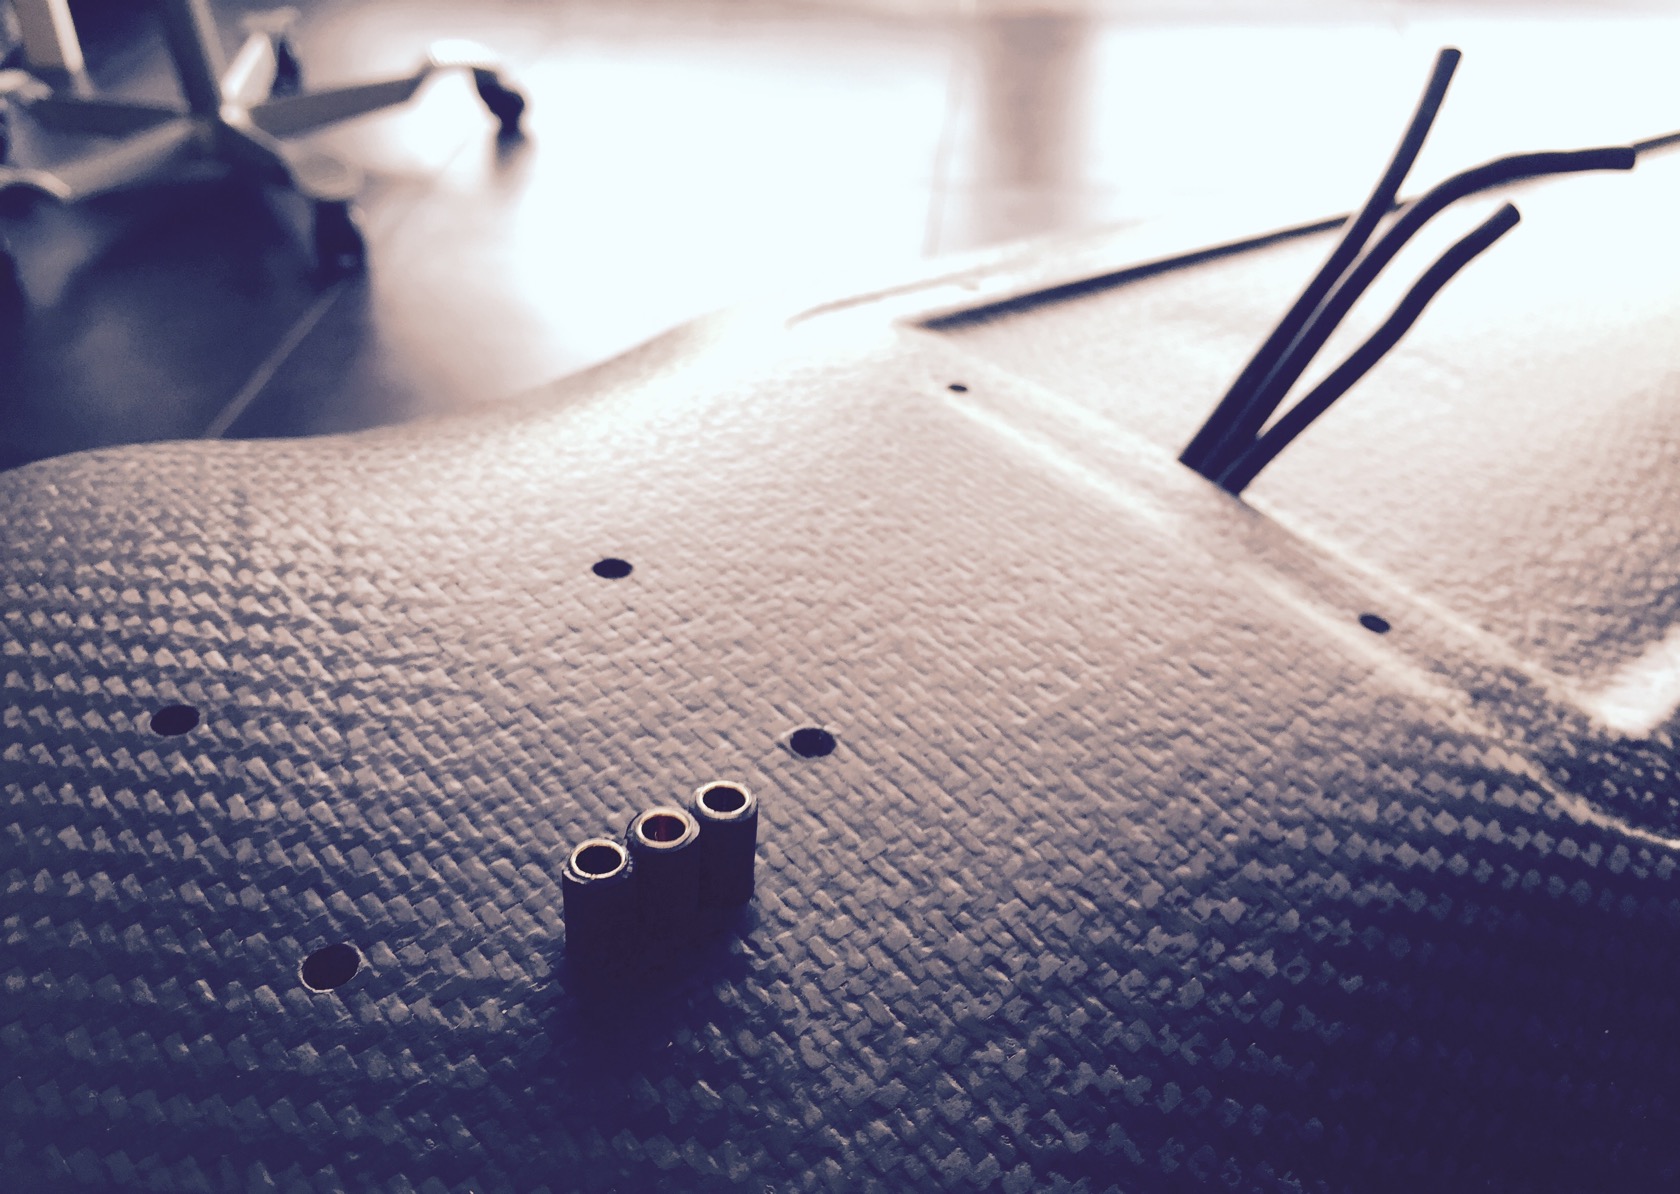
landyachtz topspeed: flex build with small battery pouches and sunk in wires longhairedboy-style

thread: https://endless-sphere.com/forums/viewtopic.php?f=35&t=72026&start=200#p1186465

board was not finished, because I picked up a used mint condition vanguard that I went for instead.


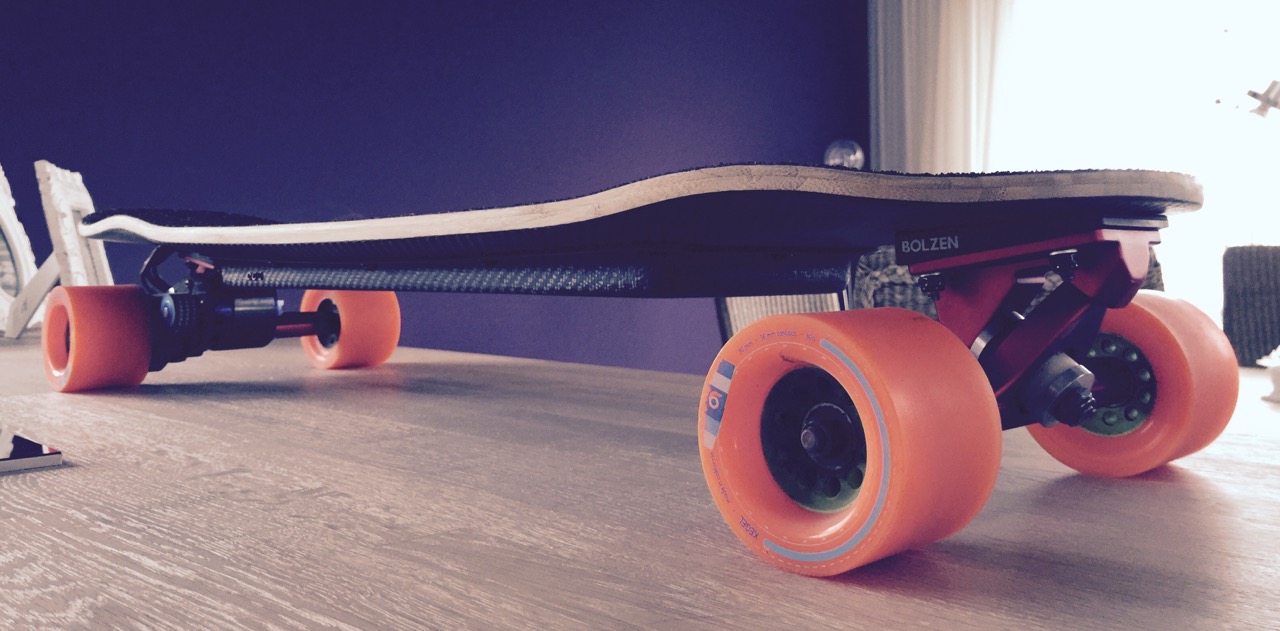
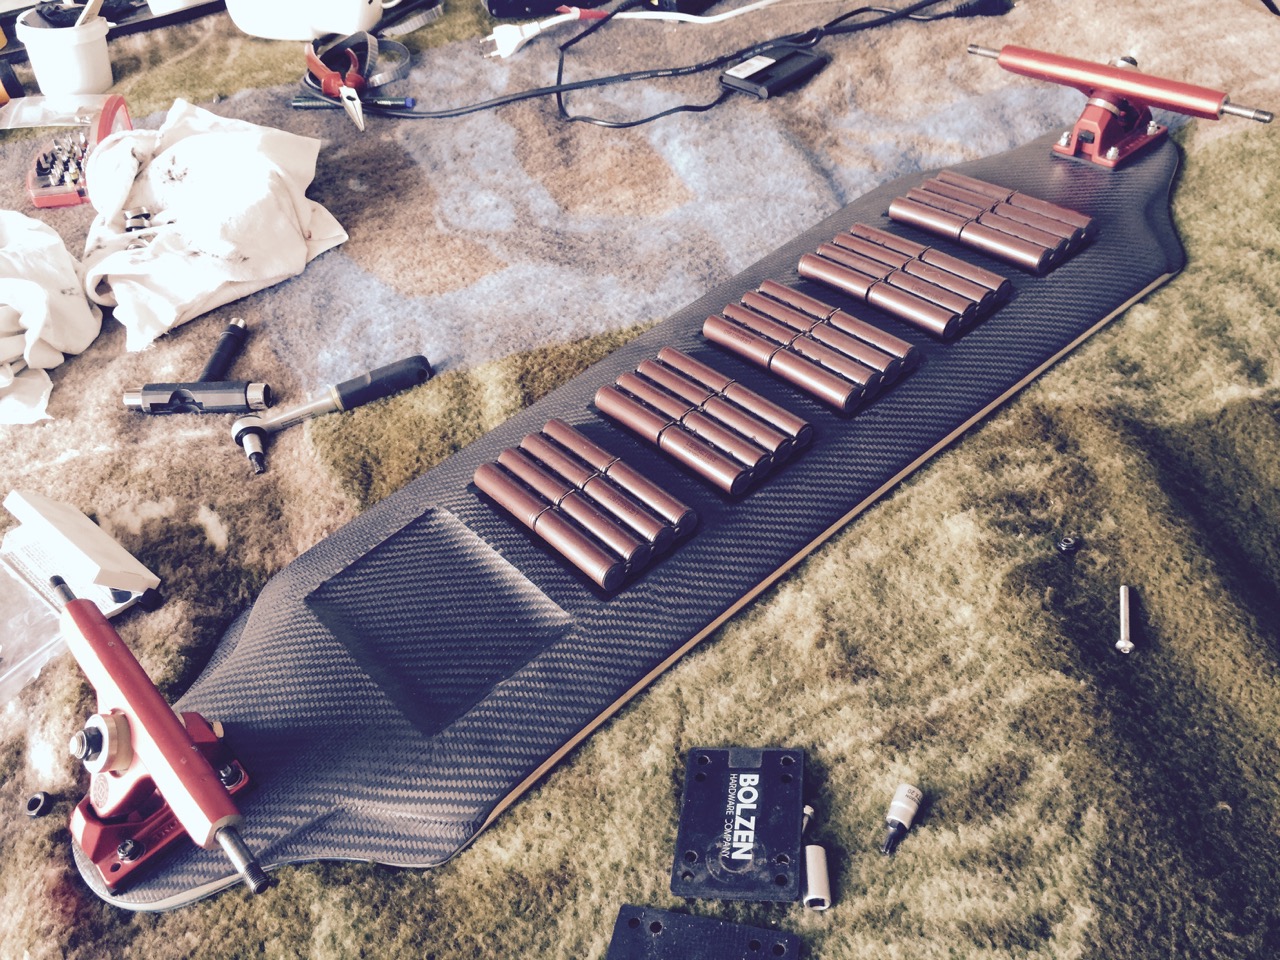
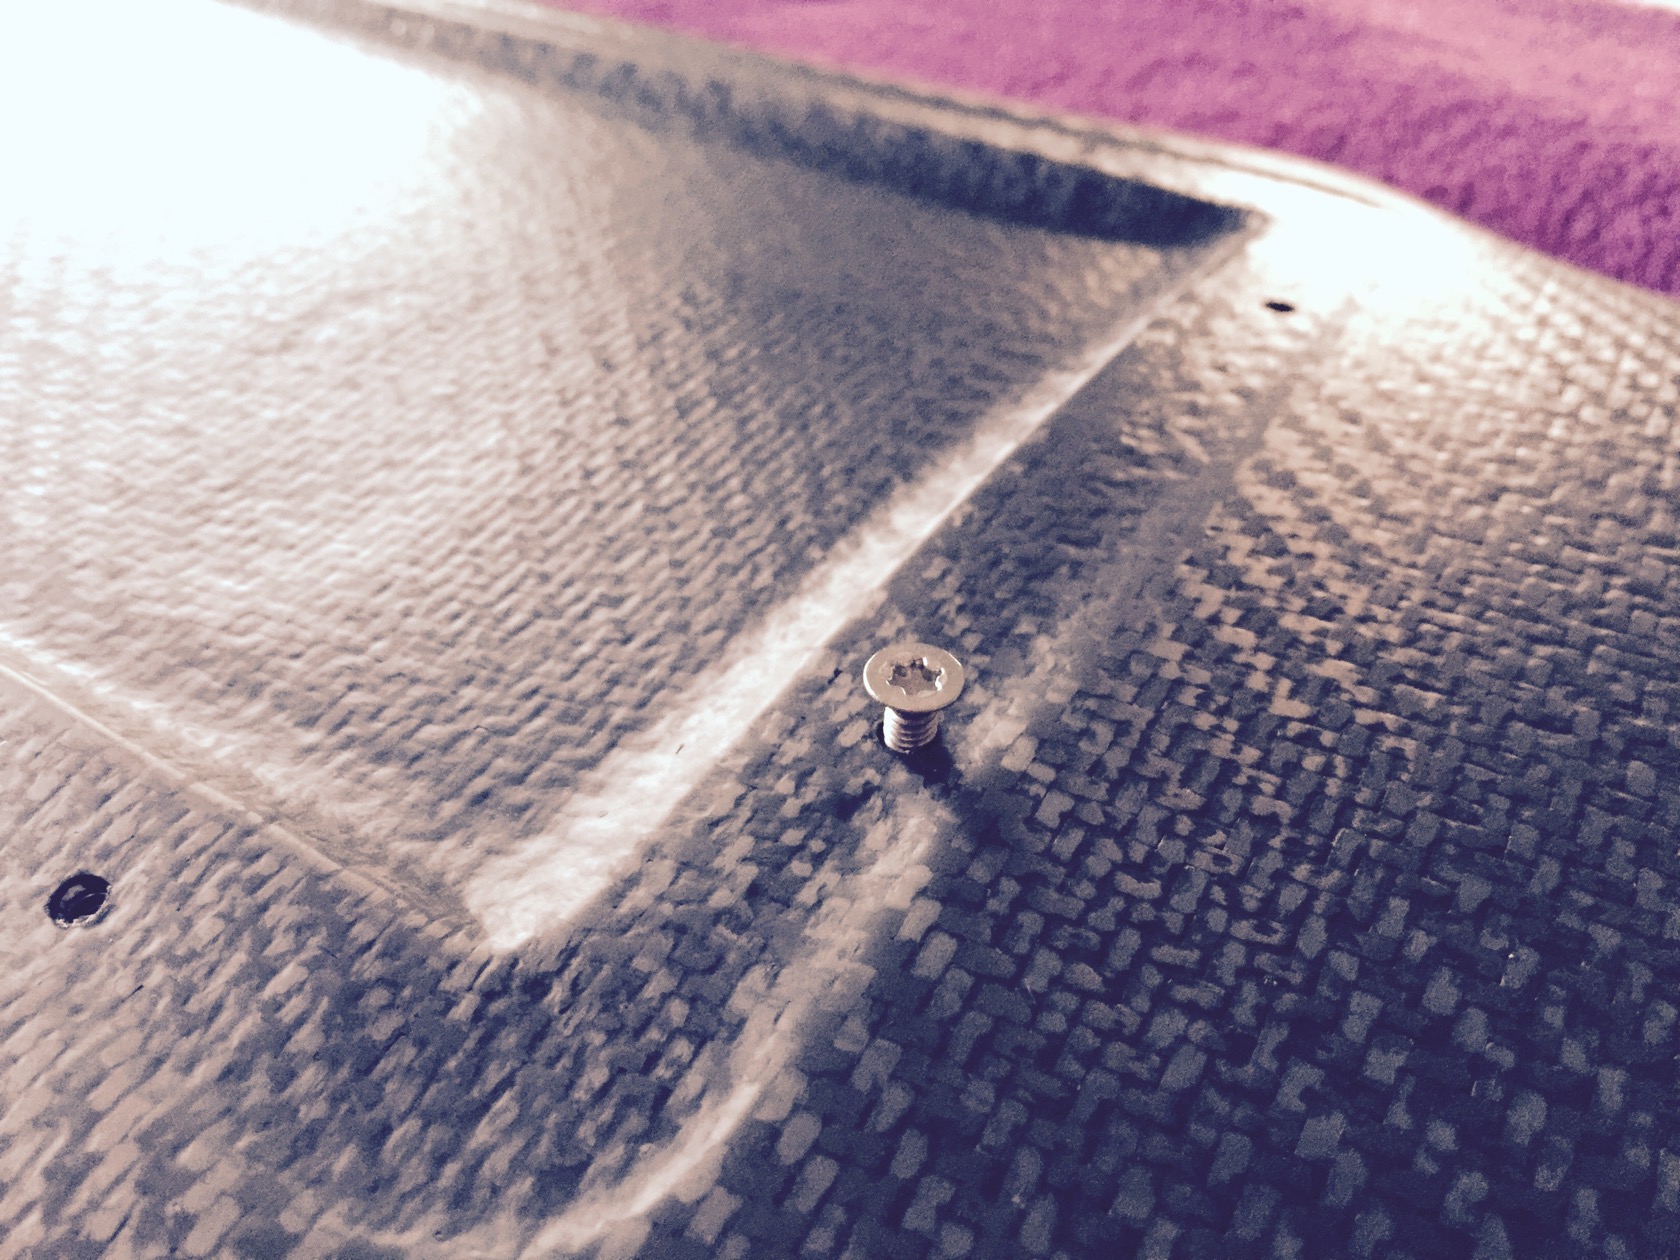
loaded vanguard 42" flex 2: build 2 slim carbon enclosures with hidden wires for 10S4P diy battery and 2x vesc. many refined details after my trial and error of the 2 preceeding builds, probably my best work so far. :slight_smile:

thread: https://endless-sphere.com/forums/viewtopic.php?f=35&t=80808


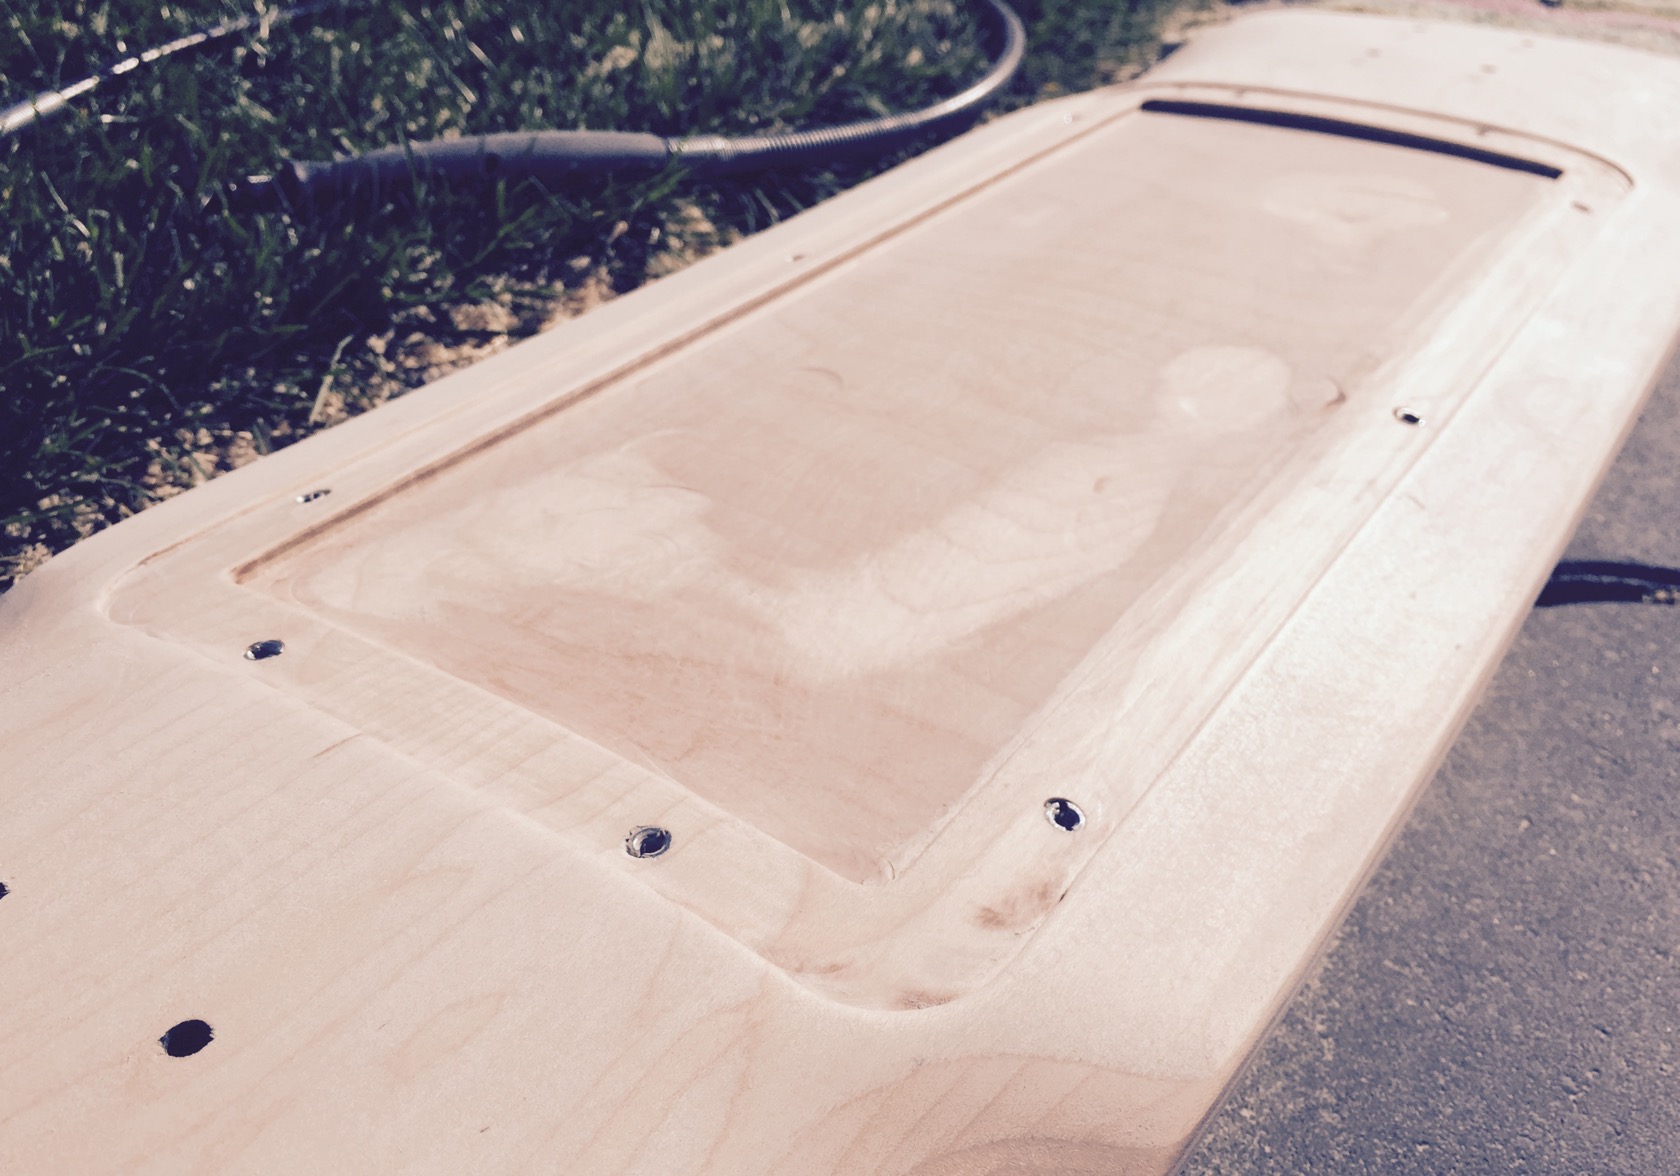
Jet Spud Freebord build: routed a compartment 38x14cm with 6-7mm depths into the board, also sunk in the future lid of an enclosure as a novelty, reinforced the board with 3 layers of carbon (this time also around the boards edges), and made a carbon enclosure for 10S3P and a vesc! motor wires routed in board topside LHB-style.

thread: http://www.electric-skateboard.builders/t/carbon-jet-spud-freebord-bindings-single-vesc-10s3p-lg-hg2/5805/1


happy to answer questions and I hope I can inspire you to try vacuum bagging like okp inspired me. :grinning:

2016/07/16: updated with Jet Spud build

29 Likes

Been biting my tounge on that tread…

Super clean mate… DIY at its finest

Almost a sin to get it dirty lol

1 Like

I’m always so jealous when I see your builds. If you started selling boards that looked like all these builds, you would make a crap ton of money.

1 Like

dont be jealous, just do it yourself! Im at best an average skilled craftsman. all i got is patience and dedication. if stuff doesnt work out Ill do it again! particularly boards and laminating is very forgiving, because you can sand it so well. you wouldnt believe how much I sanded in the last few months :stuck_out_tongue:

4 Likes

@whitepony I want to make sweet, splintery love to your boards.

5 Likes

I’m trying to learn this new stuff. You inspired me to build my own battery packs. I am in the works on an Arduino Spot Welder. What tools/equipment do you use to make boards?

1 Like

TMI


1 Like

@Michaelinvegas TMI, Talk More Intimately? Ok, but this might get weird…:blush:

@whitepony how long would you say it takes you to carbonize a deck? Is it more for aesthetics, or is it more to stiffen the board?

1 Like

Lol @Mobutusan … Ur weird

1 Like

I think TMI stands for too much information.

Don’t mind @lox897

He’s playing the straight man tonight :stuck_out_tongue_winking_eye:

haha :fearful:

hey man, my tools are few and also not very expensive - its what most people have at my age somewhere in their garage I guess:

  • a spring steel angle tool + 60cm+ ruler - best simple tool I bought for buiding eboards, has helped me soo much with halfway accurate 3D surface measurements

  • a fine pen that will easily draw on wood with a millimeter accuracy

  • vibration sander

  • drill press for halfway accurate holes with drill bits in good condition - my granddad died 4 years ago and thats my heritage :slight_smile:

  • a dremel for all the small stuff and cutting

  • vacuum pump & supplies

so far it has always been for the structural support. when I removed up to 5mm from the tesseract, it became pretty flexy, too flexy for my stiff battery + enclosure concept, so I had to reinforce the board again. same for the topspeed, since I carved deep into the board for the battery pouches.

the vanguard will probably stay without carbon, since I want it flexy and I think the structure isnt majorly affected.

doesnt take too long to do - proper sanding with vibration sander max 1hour, prepartion of vacuum bagging (cutting carbon, breather and bleeder, mixing resin) probably 30min, the laminating process is 30min max, then in the bag and 24hours curing.

after curing the real work begins: cutting out the edges, drilling holes for mounting points and sanding sanding sanding until it looks cool.

so far I have always left the carbon as it is, most people finish it with clear coat. I didnt see the point yet, the raw carbon surface looked pretty great to me so far. :slight_smile:

5 Likes

What for a beauty she is :kissing_heart:

what cell’s are you using @whitepony

for the small batteries with 40 cells Im using LG HG2, which I think is an unrivaled middleground of current (20A continuous) and capacity (3000mAh). my 10S4P batteries have continuous 80A @ 12Ah, which lasts about 40km!

for my larger projects of 60cells (evolve, trampa), I used Sanyo NCR18650GA, Samsung 35E or LG MJ1 (they are all very similar). they deliver less current (10A continuous), but have a higher capacity of up to 3500mAh.

my latest batteries all have protection cardbord stickers for battery plus-poles and they are reinforced with hot glue (randyc1 was the first who manufactured his battery in that proper fashion!).

1 Like

i am just making a small mono drive 6s is best so i can use imax charger. it doesnt have to get me far max 10-12 km but i would welcome and greater distance

i am also open to using old laptop batteries as i have a couple of them laying around

problem with small batteries is: usually your current demands stay the same, lets say 60-80A for starting your board, possibly similar for running high speed, i.e. youll have to use cells that support larger currents per cell, since the load isnt shared by many. the high current chemistries usually have small capacity, so with a small battery you get double punished -> high drain low capacity cells.

on the contrary, if you go big, you get the double benefit: many cells and these cells can afford smaller discharge ratings since so many share the load -> low drain high capacity cells!

i found this video and thought i could do something similar but as a flat pack?can i?

Do you guys think that would work for me?