Hi @Theshiatispimpin, just wanna share some info about my first build which could help you for some decisions and saving money because in the end i had to change almost everything!
Main parts:
APS 6355 190kV Brushless outrunner motor sensorless 2400W
APS Motor mount
HTD5M 9mm Belt 265mm, Gearing 15T/32T
Vesc 4.12
Turnigy Graphene Lipos 10Ah. I used one 4s and a 6s in series to reach 10s. discharge 150A, charge 50A
Paris 180mm trucks
Orangatang Kegel wheels 80mm
HK GT2E remote
Battery range about 42 kilometers
Top speed about 45 kmh
First of all i never had problems with the vesc in bldc mode, it’s a great thing.
The motor is really powerful and nice. But the problem with sensorless motors is not to be able to start from zero. It stutters like hell no matter which vesc settings. After a little push everything is fine and working great. Now i have sensored motors and the vesc knows exactly the rpm of the motors so no problem anymore. I would say 190kV is the max. with 15T/32T or 36T gearing, maybe better 170kV unless you won’t ride over 40kmh, and you have more torque.
9mm HTD5M Belt sucks!!! In daily use they burst every 14days or less (max. 120km and i’m 74kg) and can’t transfer the power to the wheels. Maybe also the pulleys had too sharp edges. That’s why i switched to 15mm belts and pulleys, a must! My new wheel pulley is 36T instead of 32T to get a bit more torque for hills.
The motor mount wasn’t working well although i filed off the truck. I love paris trucks that’s why i wanted to use them.but they are round, the only way is to epoxy glue or weld it. With none round trucks that’s not a problem but motor mounts often have a fixed position so you can’t change the angle, that’s an disadvantage.
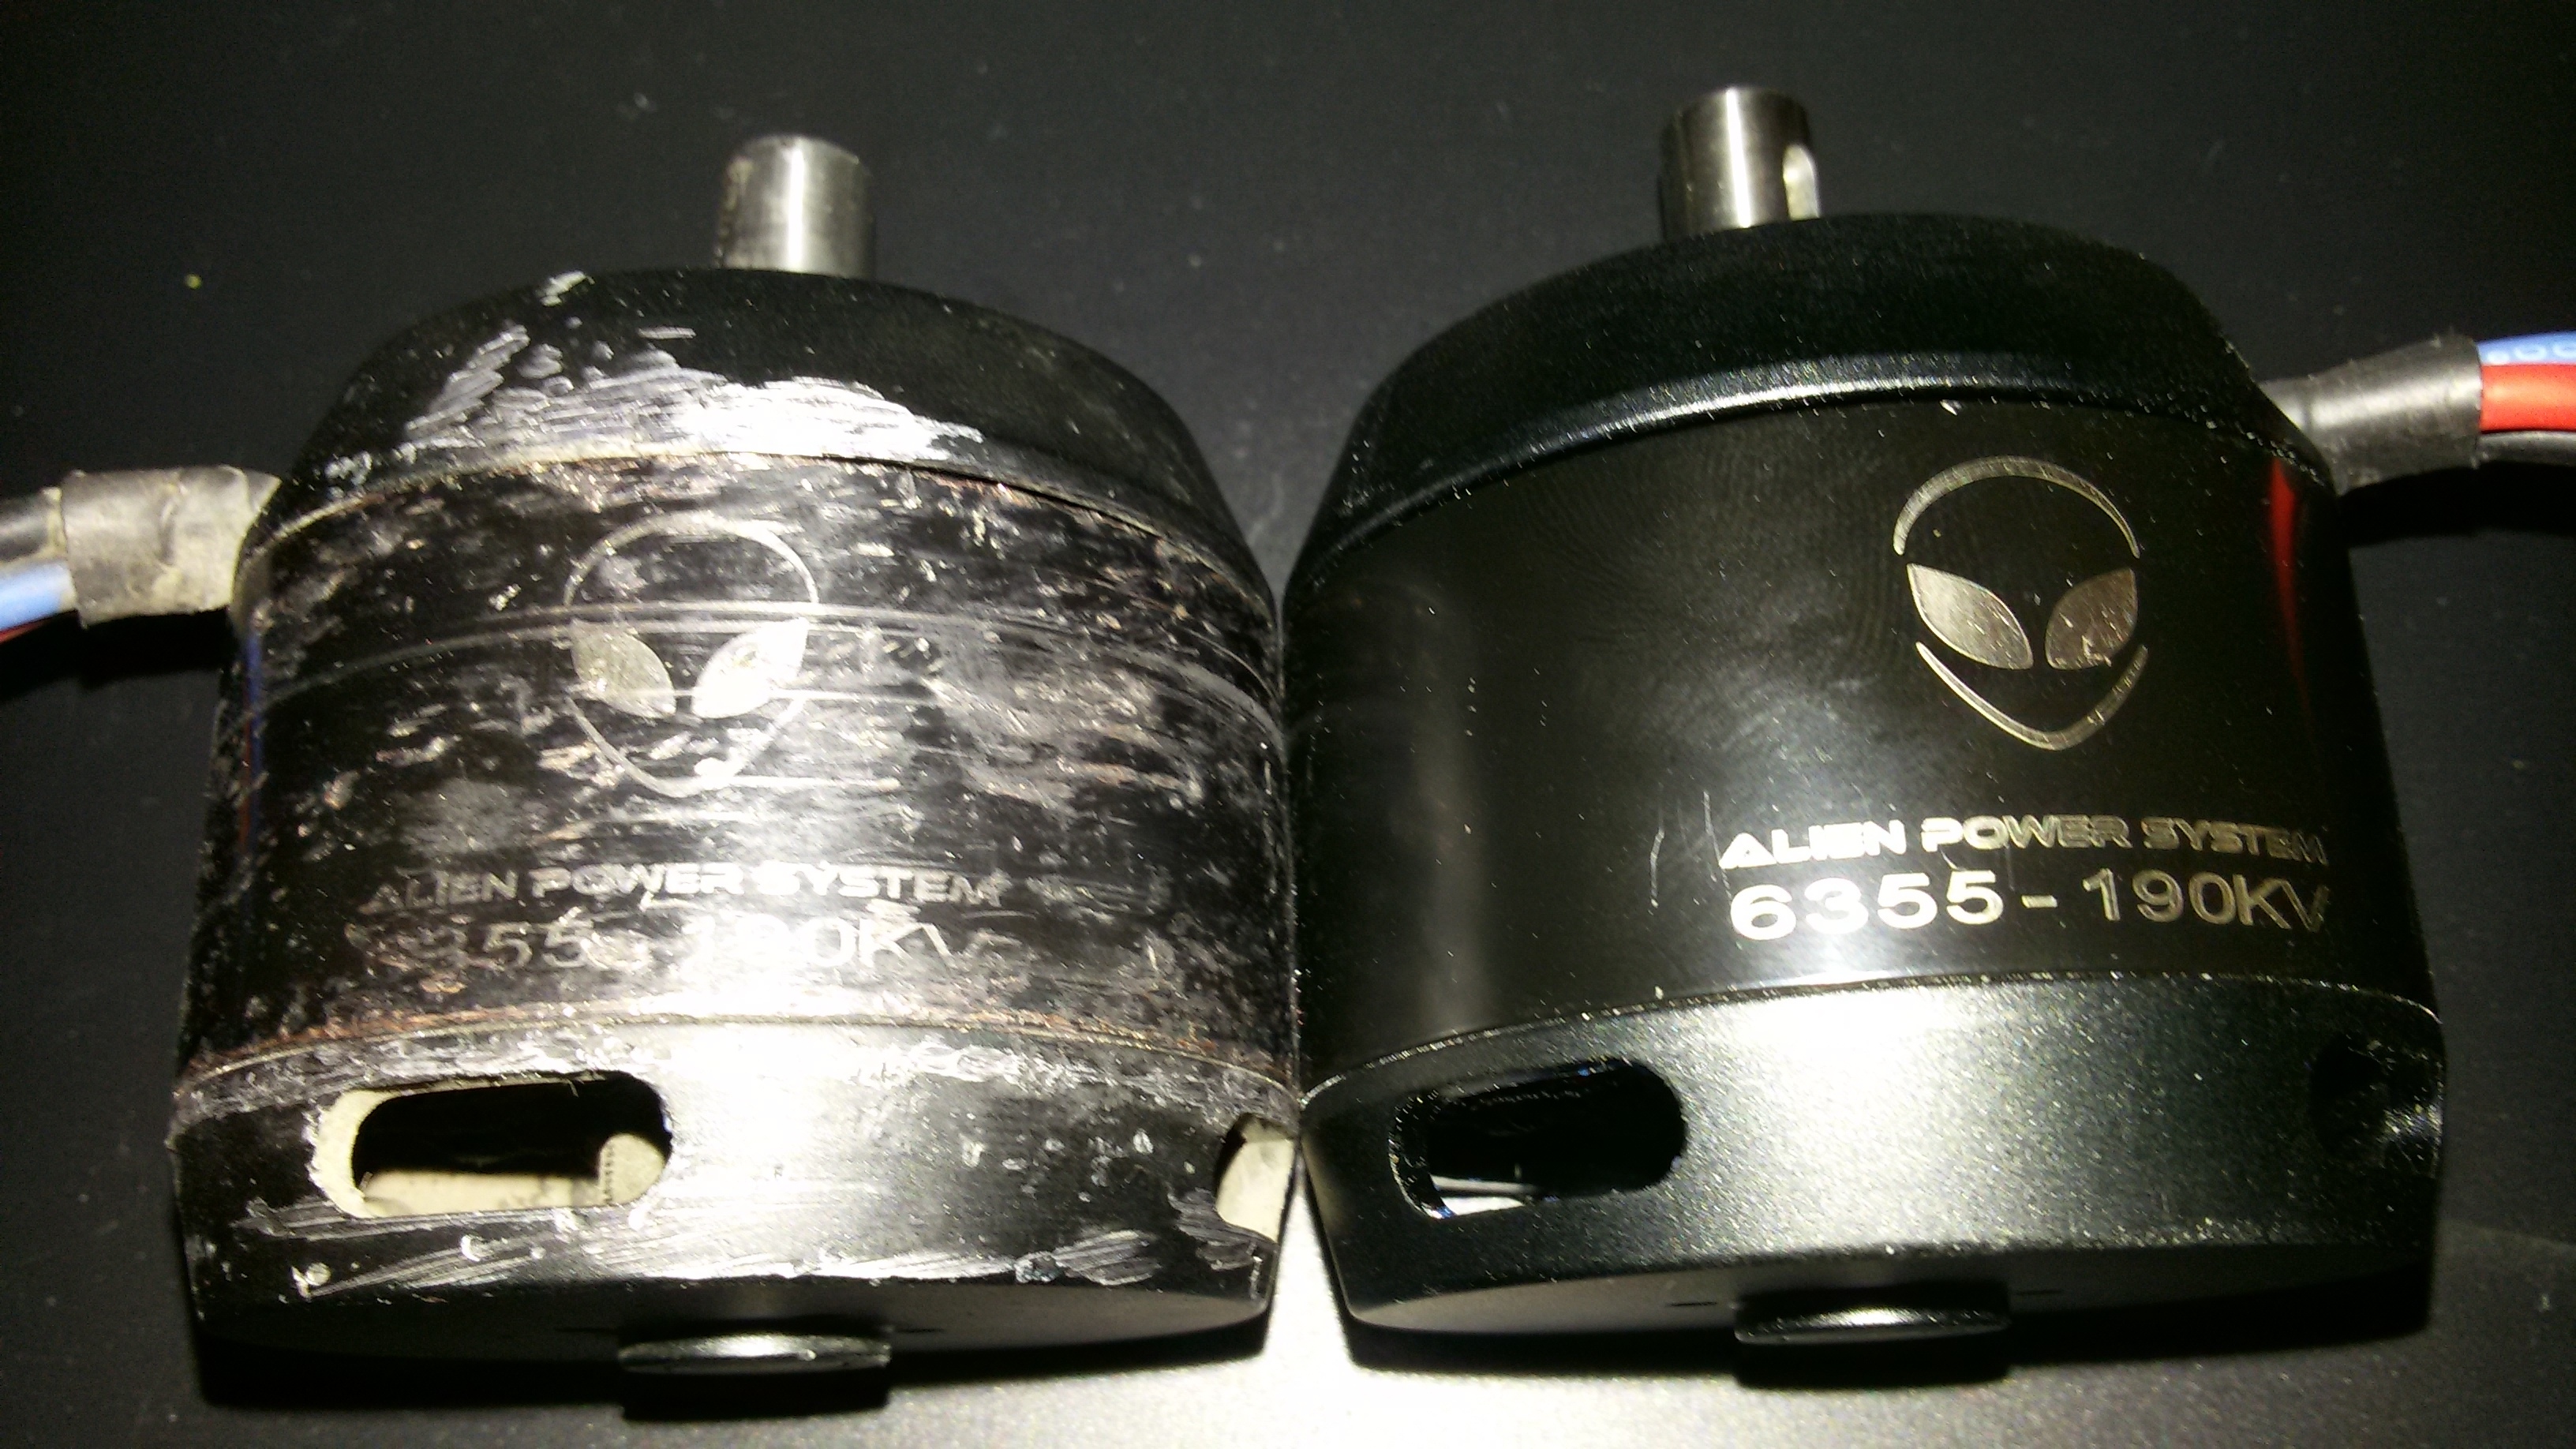
The motor mount material should be a bit wider on the place where the motor is mounted or should contain some protection, otherwise it looks like this after 3 months riding (on the right side a new one):
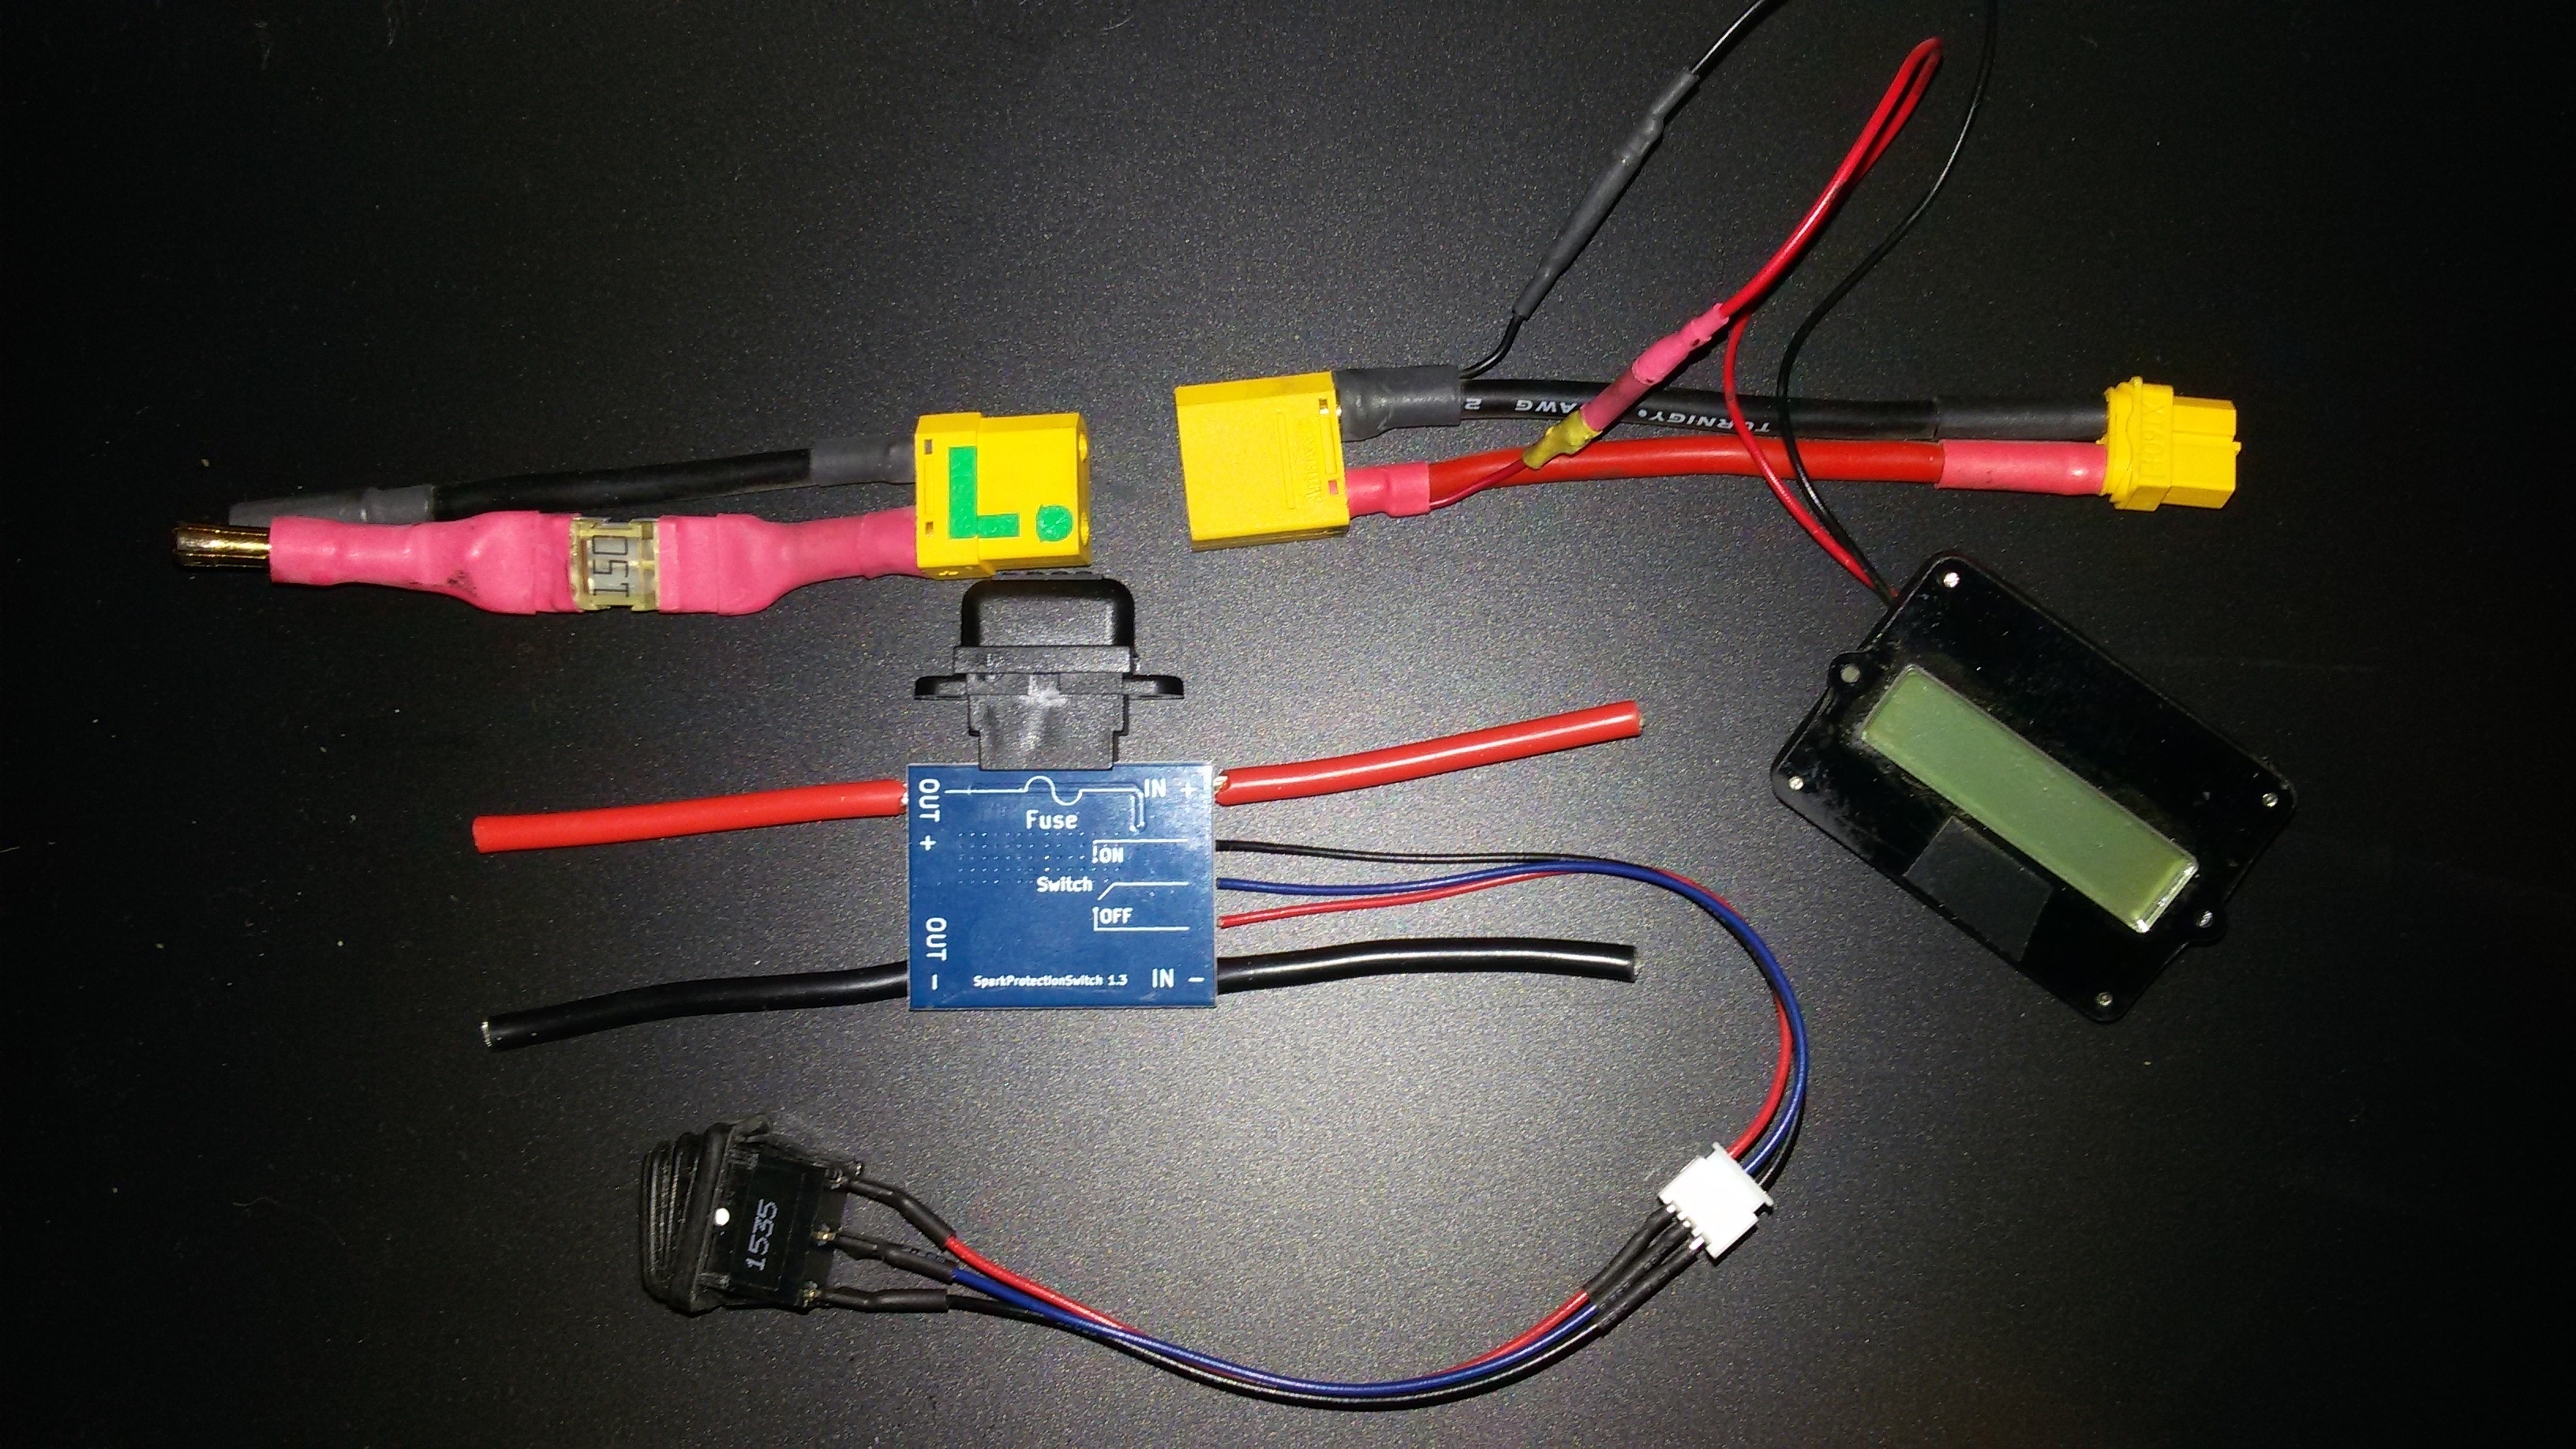
According the power switch / loopkey etc. I stopped thinking about a loop key because i read many bad stories and fails about it and wasn’t motivated to try that. First i used an anti-spark XT90 connection with soldered fuse on + (top of the picture). It worked well but after a few weeks i had enough from plugging and unplugging and i was ready to spent extra money for a vedder anti-spark switch with fuse (bottom of the pic). This thing is great and in my opinion the only option if you use your board daily, i love it. After switching on it takes some seconds to get the full voltage.
On the right side is a battery capacity indicator (in percentage). Switchable between 6s, 8s,10s, 12s. The only thing, it’s made for Li-ion. The lipo is empty at about 40% on the display but i can live with that. It was about 15 euros, my second indicator i ordered in china for 5 euros 
About the GT2E remote from hobbyking. It’s great in the beginning but after a while it seems too big. Everytime when i entered eg a shop i had to put the remote in my backpack. Also after 6 weeks the receiver was broke.
It’s nice to have a remote that fits in your trouser pocket but such remotes are quite expensive but i had to order a steez remote, here the comparison between steez, GT2E and GT2 in the back:
I didn’t test it so far but it’s nice when it’s invisible in your hands and not like a gun.
About the battery: I bought this big block (4s+6s= 10s 10Ah) because i wanted to use it on a e-mountainboard as well (save money) and switch it to the drop-through longboard deck with battery top mounted above the back truck. Stupid idea  it didn’t work well and i got speed wobbles at higher speed, too. Beside that it was ugly. Then i mounted the electronics underneath the deck but my ground clearance was ridiculous less. Now i’m switching to 18650 Li-ion cells.
BATTERIES IN SERIES
The worst on my build was the charging process. You have to charge the batteries one by one with a balance charger. My hobbyking 6A charger had max 2A on 6s and 3A on 4s. One full cycle charging for both batteries was over 10 hours!
And when you fall asleep while the first lipo is charging then you can’t ride it in the morning because the second one is empty! Also just a short charge is impossible when you are not able to charge all cells at the same time! That’s the most disadvantage in my eyes. Also this fiddly balance wires are not funny. And if you try to charge both batteries at the same time with 2 chargers when they wired in series then you short-out the battery and in worst case - Kaboom!!!
For my e-mountainboard build i found a cheap and wonderful solution for this problem with 2 batteries in series and charging all together: a BMS with charger, so sweet
Here you see the batteries in series (with yellow tape marked is the connection between both). Minus wire is Battery 1 and plus wire Batterie 2. That’s important for wiring to the bms. If you need further instructions how to wire it, let me know.
The small blue thing on top is a cheap BMS 40A which i use for charging only, it’s about 10 Euros. For Lipo alright, for Li-ion you would need a bigger BMS with discharge through it, too. For the lipos i just bypassed it. I put balance wire extensions there to be able to charge them via balance charger, too if necessary. The 10s balance wire for the BMS is soldered together with two balance connectors (in my case 4s and 6s)
Finally the charger with charging connector for the enclosure.
TOTAL COST OF BMS AND 3A CHARGER from china: 28 Euros That’s the same amount as a cheap balance charger and i prefer this method.
I would have saved money if i bought the proper stuff. It’s always the same, you want to save money but in the end it is more expensive because you have to buy things twice or even more.
Hope i could help you with some thoughts or maybe you are totally confused now