Hello everyone, this is my first post and I intend it to be intense!
Let’s start with the parts, Mechanical:
- Deck: Never Summer Soldier TM (85$)
- Grip: Vicious DH (25$)
- Trucks: 218mm torqueboard trucks (*)
- Wheels: 97mm black (*)
- Belts: 15mm 265mm (*)
- Pulleys: 36T drive wheel, 14T motor (*)
- Motor mounts: torqueboards (*)
- Bearings, hardware, risers (*)
- *Dual drive mechanical kit from torqueboards (365$)
SUM + shipping = 520$
Electrical:
- Cells: Sony Konion 18650 VTC5A 2600mAh 35A peak (80*4$)
- Motors: 6374 torqueboards (2*120$)
- ESC: FOCBOX (2*160$)
- Remote: 2.4Ghz mini (60$)
- BMS: 13s 20amp discharge, 5amp charge (17$)
SUM + shipping = 1000$
Other crap:
- Dual FOCBOX aluminium case with fins 60$
- Kapton tape 6$
- Single 18650 charger 18$
- Foam to dampen battery 9$
- 10 gauge cable 2*3meters 20$
- Bluetooth UART 25$
- CAN bus cable 5$
- Velcro 11$
- Voltmeter 2$
- Buck converter to USB (5V) 2$
- Gasket 10$
- Gasket for wires 8$
- 2.1mm dc socket 4$
- Black silicon 8$
- Insulation paper 4$
- 10 pairs XT60 6$
- 20 pcs toggle switch 4$
- 5 pairs XT90-s 10$
- Hardware to mount battery to deck 8$ --> Bolts, Inserts, Spacers
- Aluminium 1000mm * 50mm * 3mm plate for custom X brackets 10$
- Fiberglass matt 12$
- Polyester resin 15$
- Polystyrene sheet 100cm * 50cm * 2.5cm 4$
- White primer for composite
- Red paint
- Paint sealer
- XHP 70 leds + mounts + drivers ?$
SUM + shipping = 261$
Gear:
- Body armour + shorts armour + knee armour 81$
- Gloves 8$
- Shoes, Vans 43$
- Helmet, LS2 62$
- Helmet smoked visor 15$
SUM + shipping = 209$ + ?$
Other crap not directly for the project but bought during it:
- Spot welder, Sunkko 709A 227$
- Heatshrink for battery packs 8$
- Voltmeters and usb hubs 8$
- Sanyo cells 30x (ebike project) 110$
- Nickel strip 35$
SUM + shipping = 450$
FINAL SUM: 1990$  (or 2440$ with everything included)
Now that this is behind us, (and I will be eating rice and water for the next 3 years) we can start the project!
All the parts are currently shipping so no building quite yet but I have some pictures and schematics about the project.
This is the deck, a ridgid composite downhill deck. I’m not a fan of the graphic but the enclosure should cover it up:

This is my wiring for the complete build, it took me quite a while to sketch but I’m sure it will benefit somebody else around here who isn’t sure how to bypass a BMS or wire other stuff up:
 As you can see in this wiring schematic, I am planning on having an exterior voltmeter constantly hooked up to the battery pack. This is because I will be bypassing the BMS for discharge and I want to make sure that I don’t overdischarge my cells. I trust the FOCBOXes for lower voltage limiting while riding but I don’t want to forget it overnight.
Secondly, I will have a switch to cut the BMS which should avoid current leakage. I will use a DC 2.1mm plug for charging. To kill the entire system when I am done riding and to use as a sort of key I will simply use an XT90 anti spark connector on the battery positive lead with a loop.
Finally (and I haven’t seen this before), I bought a 5v DC DC buck converter with a USB 2.0 plug connected to it to charge outside devices from the skateboard’s battery pack.
As you can see in this wiring schematic, I am planning on having an exterior voltmeter constantly hooked up to the battery pack. This is because I will be bypassing the BMS for discharge and I want to make sure that I don’t overdischarge my cells. I trust the FOCBOXes for lower voltage limiting while riding but I don’t want to forget it overnight.
Secondly, I will have a switch to cut the BMS which should avoid current leakage. I will use a DC 2.1mm plug for charging. To kill the entire system when I am done riding and to use as a sort of key I will simply use an XT90 anti spark connector on the battery positive lead with a loop.
Finally (and I haven’t seen this before), I bought a 5v DC DC buck converter with a USB 2.0 plug connected to it to charge outside devices from the skateboard’s battery pack.
I just got home from vacation and this is what awaited me:


The cells look amazing, can’t wait to stich them together! The pictures following that one show my current DH setup compared to the new deck (I have since changed the wheels on the DH setup to bigger mach 1 wheels, and cleaned the dirty griptape)
I am thinking of a way to store my boards (I have 4) and this wall stand looks beautifully simple. Will probably be building one in the near future.

Next is the FOCBOX aluminium case bought from @Kug3lis


 The case is magnificent, 120% worth the 60 bucks, shipping from Lithuania was quick and trouble free. I really recommand this, it was shipped out in a day or so and I am honoured to have this on my build. Big time credit to @Kug3lis
Next comes the composite case building, before doing anything with composite you need an inverse mould to lay it on. To do that, the most common way is to buy a big chunk of foam (think polystyrene) and shape it up. To do that, the most efficient way is to use a hot wire cutter and run it through the foam. I didn’t have such a tool but I did have a 12V power supply and a drok DC motor controller (not brushless, simple DC + - motor). So I just wired it all up and threw together a wood jig to hold an iron wire up.


 As you can see from the first picture, the spring melted and so I was forced to take it out of the loop. I tried building it without a spring but as soon as the wire heats up, it dialates and looses it’s straigness; making it useless. So I had to add a spring once again (last picture). The wire gets nice and hot (glowing red kinda hot) so it will work wonders once I get to shaping the foam.
Next day has passed and I got to work on said foam. Here is the progress:

 On the bottom, a cut made by the homemade hot wire cutter, on the top, a cut made with a knife

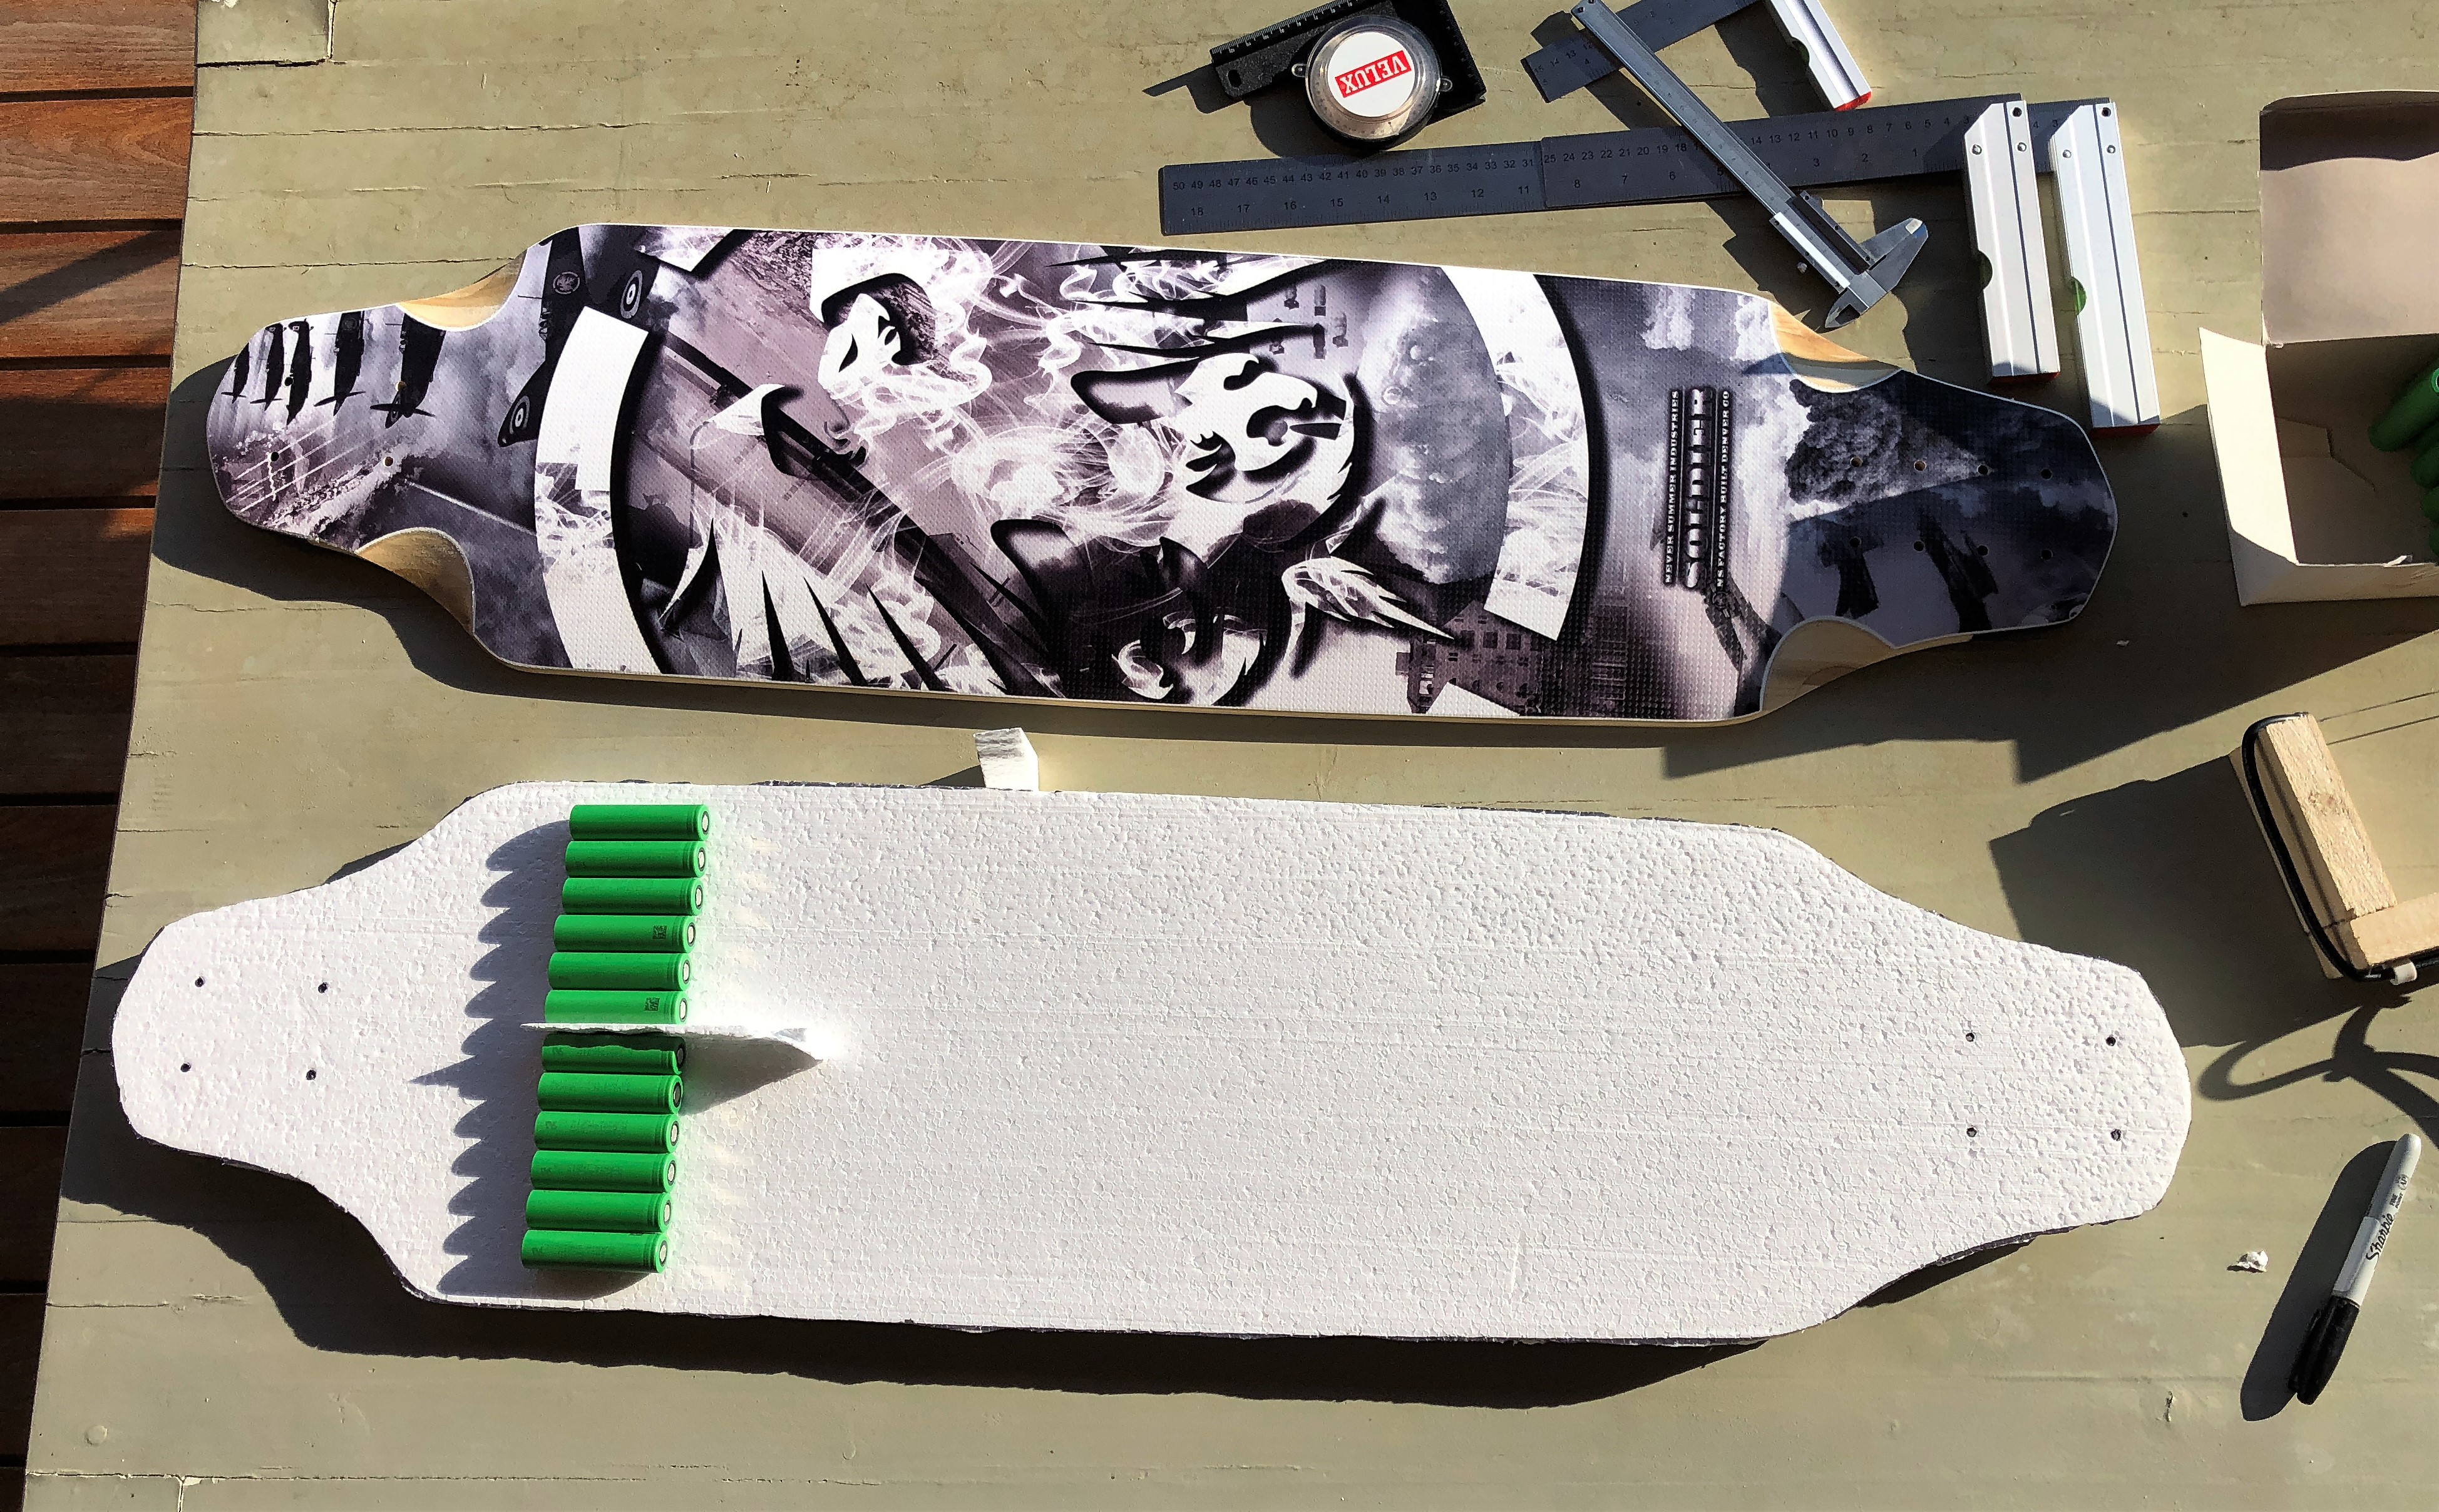

So I have cut out the entire board out of styrofoam, I then placed some cells on the enclosure mockup. I used the very last picture up here as a guide to photoshop different cells configurations and see what was the most efficent. Next picture is the result of those 3h of work:

This configuration is done all to size (1mm = 4 pixels) on the real styrofoam already cut out, this should give me the most accurate results. The configuration shown is the one I ended up choosing, the only issue I’m facing is that I haven’t received the trucks, motors etc. from torqueboards yet. This means that I don’t know how close I can get to the trucks but I made some guides. The upper one is where the 97mm wheels extend to on the board. The lower one is the truck distance + 133mm from the torqueboards mounting bracket. Hopefuly that will be enough. The positive aspect of this cell configuration is that it will be very easy to weld together because the packs of 6p are always together. It will also be easy to weld the 13s because the cells are back to front snaking down the enclosure. As you can see, I have plenty of space for my 78 cells + FOCBOXes + BMS + switches, voltmeters, etc. I am even considering implementing an integrated charger. I am currently waiting on it from China, will see if it is small enought to take apart and put in the enclosure (13s 2A).
Next aspect of this build is the asthetics. I am usually one to skip over thoses but this time I decided to outdo myself. First of all I had to choose a name for the build and a colour theme to stick to. I ended up choosing: “PHANTOM EXOBOMBER” because I will be bombing on this board. So fast even that I will zip by and be gone in an instant (phantom). But simply calling it bomber was sad because it is way overused in the EV market. The power on this build will be from another universe so that is where the “exo” prefix comes from.
The colour theme will be red and black, same as the gear I have bought.
I then had to find a “logo” for the build and I found just what I wanted on the interweb. So I ended up printing it, sticking it on the back of my griptape and cutting the griptape patch out. This job took me 2h of non-stop forearm destroying cutting (with a box opener…):


This is all I have done for now but expect this thread to be active since this is just the beggining. If you have any comments, advice or past experiences you’d like to share, please go ahead and enlighten me!
