The Melbourne ESK8 group are building 6 vedder anti spark switches. I will be documenting the progress as we gather parts and start to solder the switches. Hopefully this helps other people to build their own. If you think a video would be good please tell me.
So far we have the PCBs on order from OshPark (thanks @chaka for sharing the files) and our Mouser order has arrived.
Can also be a DPDT - the double throw is the important part. The poles don’t really matter as you can always just connect the three pins that you need even if there are more.
UPDATE: OshPark PCBs have shipped. We should be able to build these soon. I may have to drag-solder and hand solder as I am having issues with my hot air station. I’ll report back how I go.
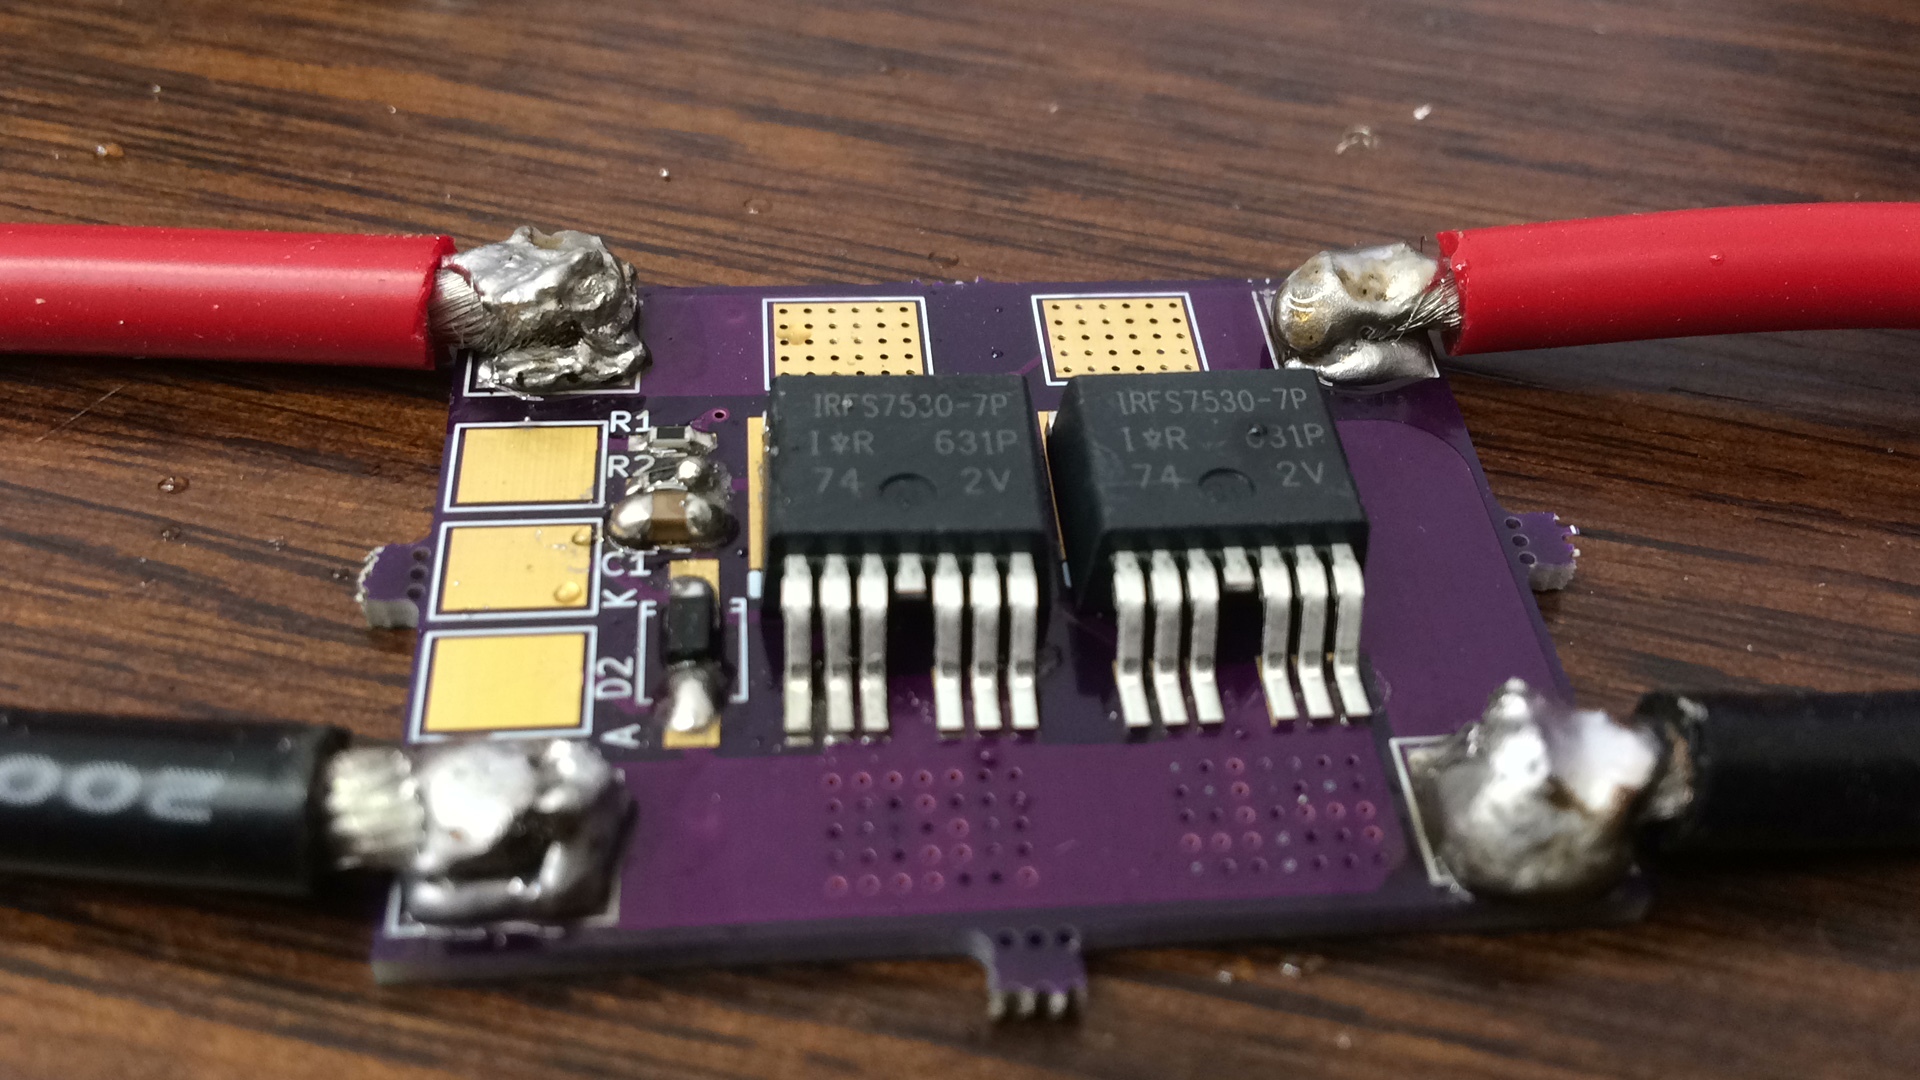
That will work for the small components, but it’ll be really tough on the FETs (if you exceed their temp when soldering you can damage them and they will fail prematurely). The entire underside/base of the FET is a huge solder joint perforated through the PCB to flow the amps… This is where a skillet might be best if you can’t get your hot air working…
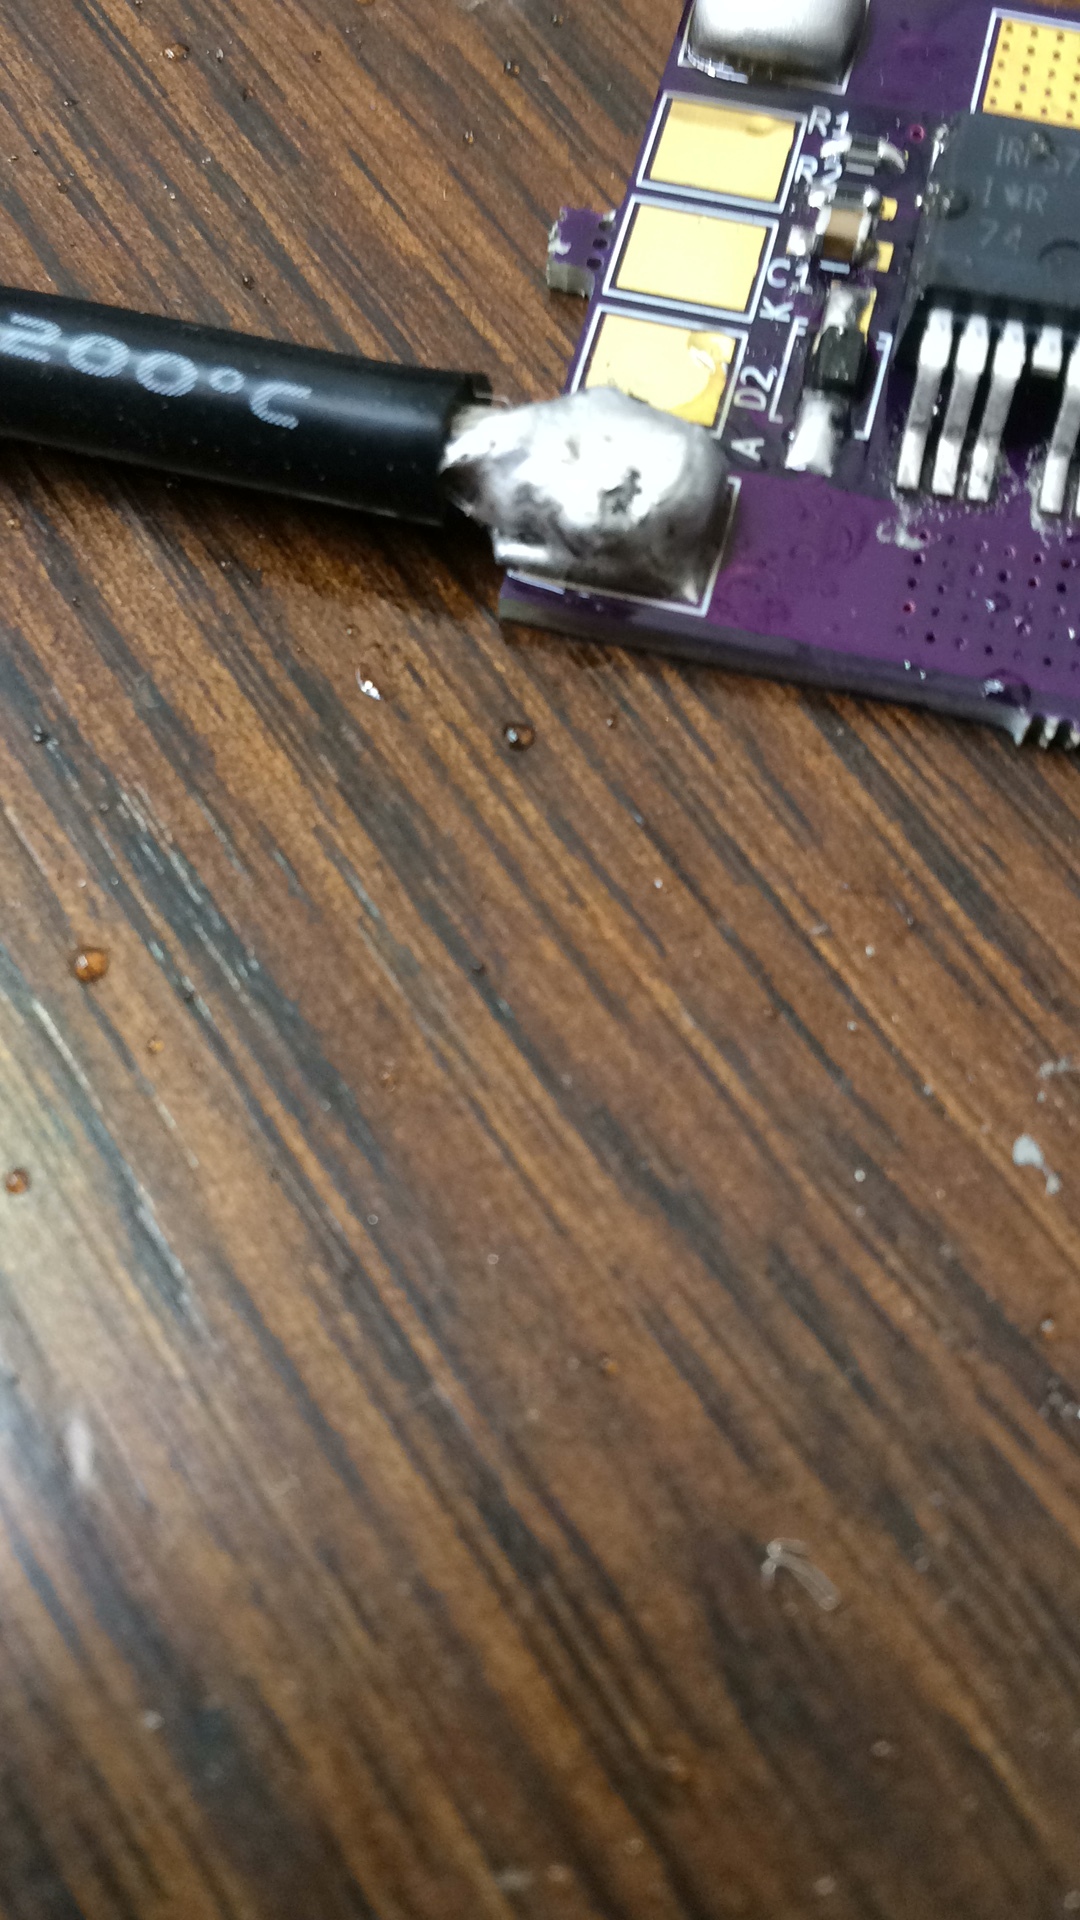
I wont comment on the small ones but the power wires it looks like you need more heat, a bigger tip or a more powerful iron. This may work fine but its not ideal or pretty. It should looks like a smooth bubble.
I find with these large wires they absorb a lot of heat so I will pre heat them as much as possible before bringing them into contact with the PCB for final soldering. It helps a lot. They need to be held with a tool though as they will get really hot even through the insulation.
On the smaller components - couple suggestions (i’m by no means an expert and defer to @chaka and similar).
FETs - dry? Did you put flux on them before flowing with air or oven? Perhaps you just cleaned it off before pic? It helps transfer heat and can help protect them when heating (over heating can damage them).
the small components - looks like you could use a slightly bigger dollop of solder paste, but looks good otherwise.
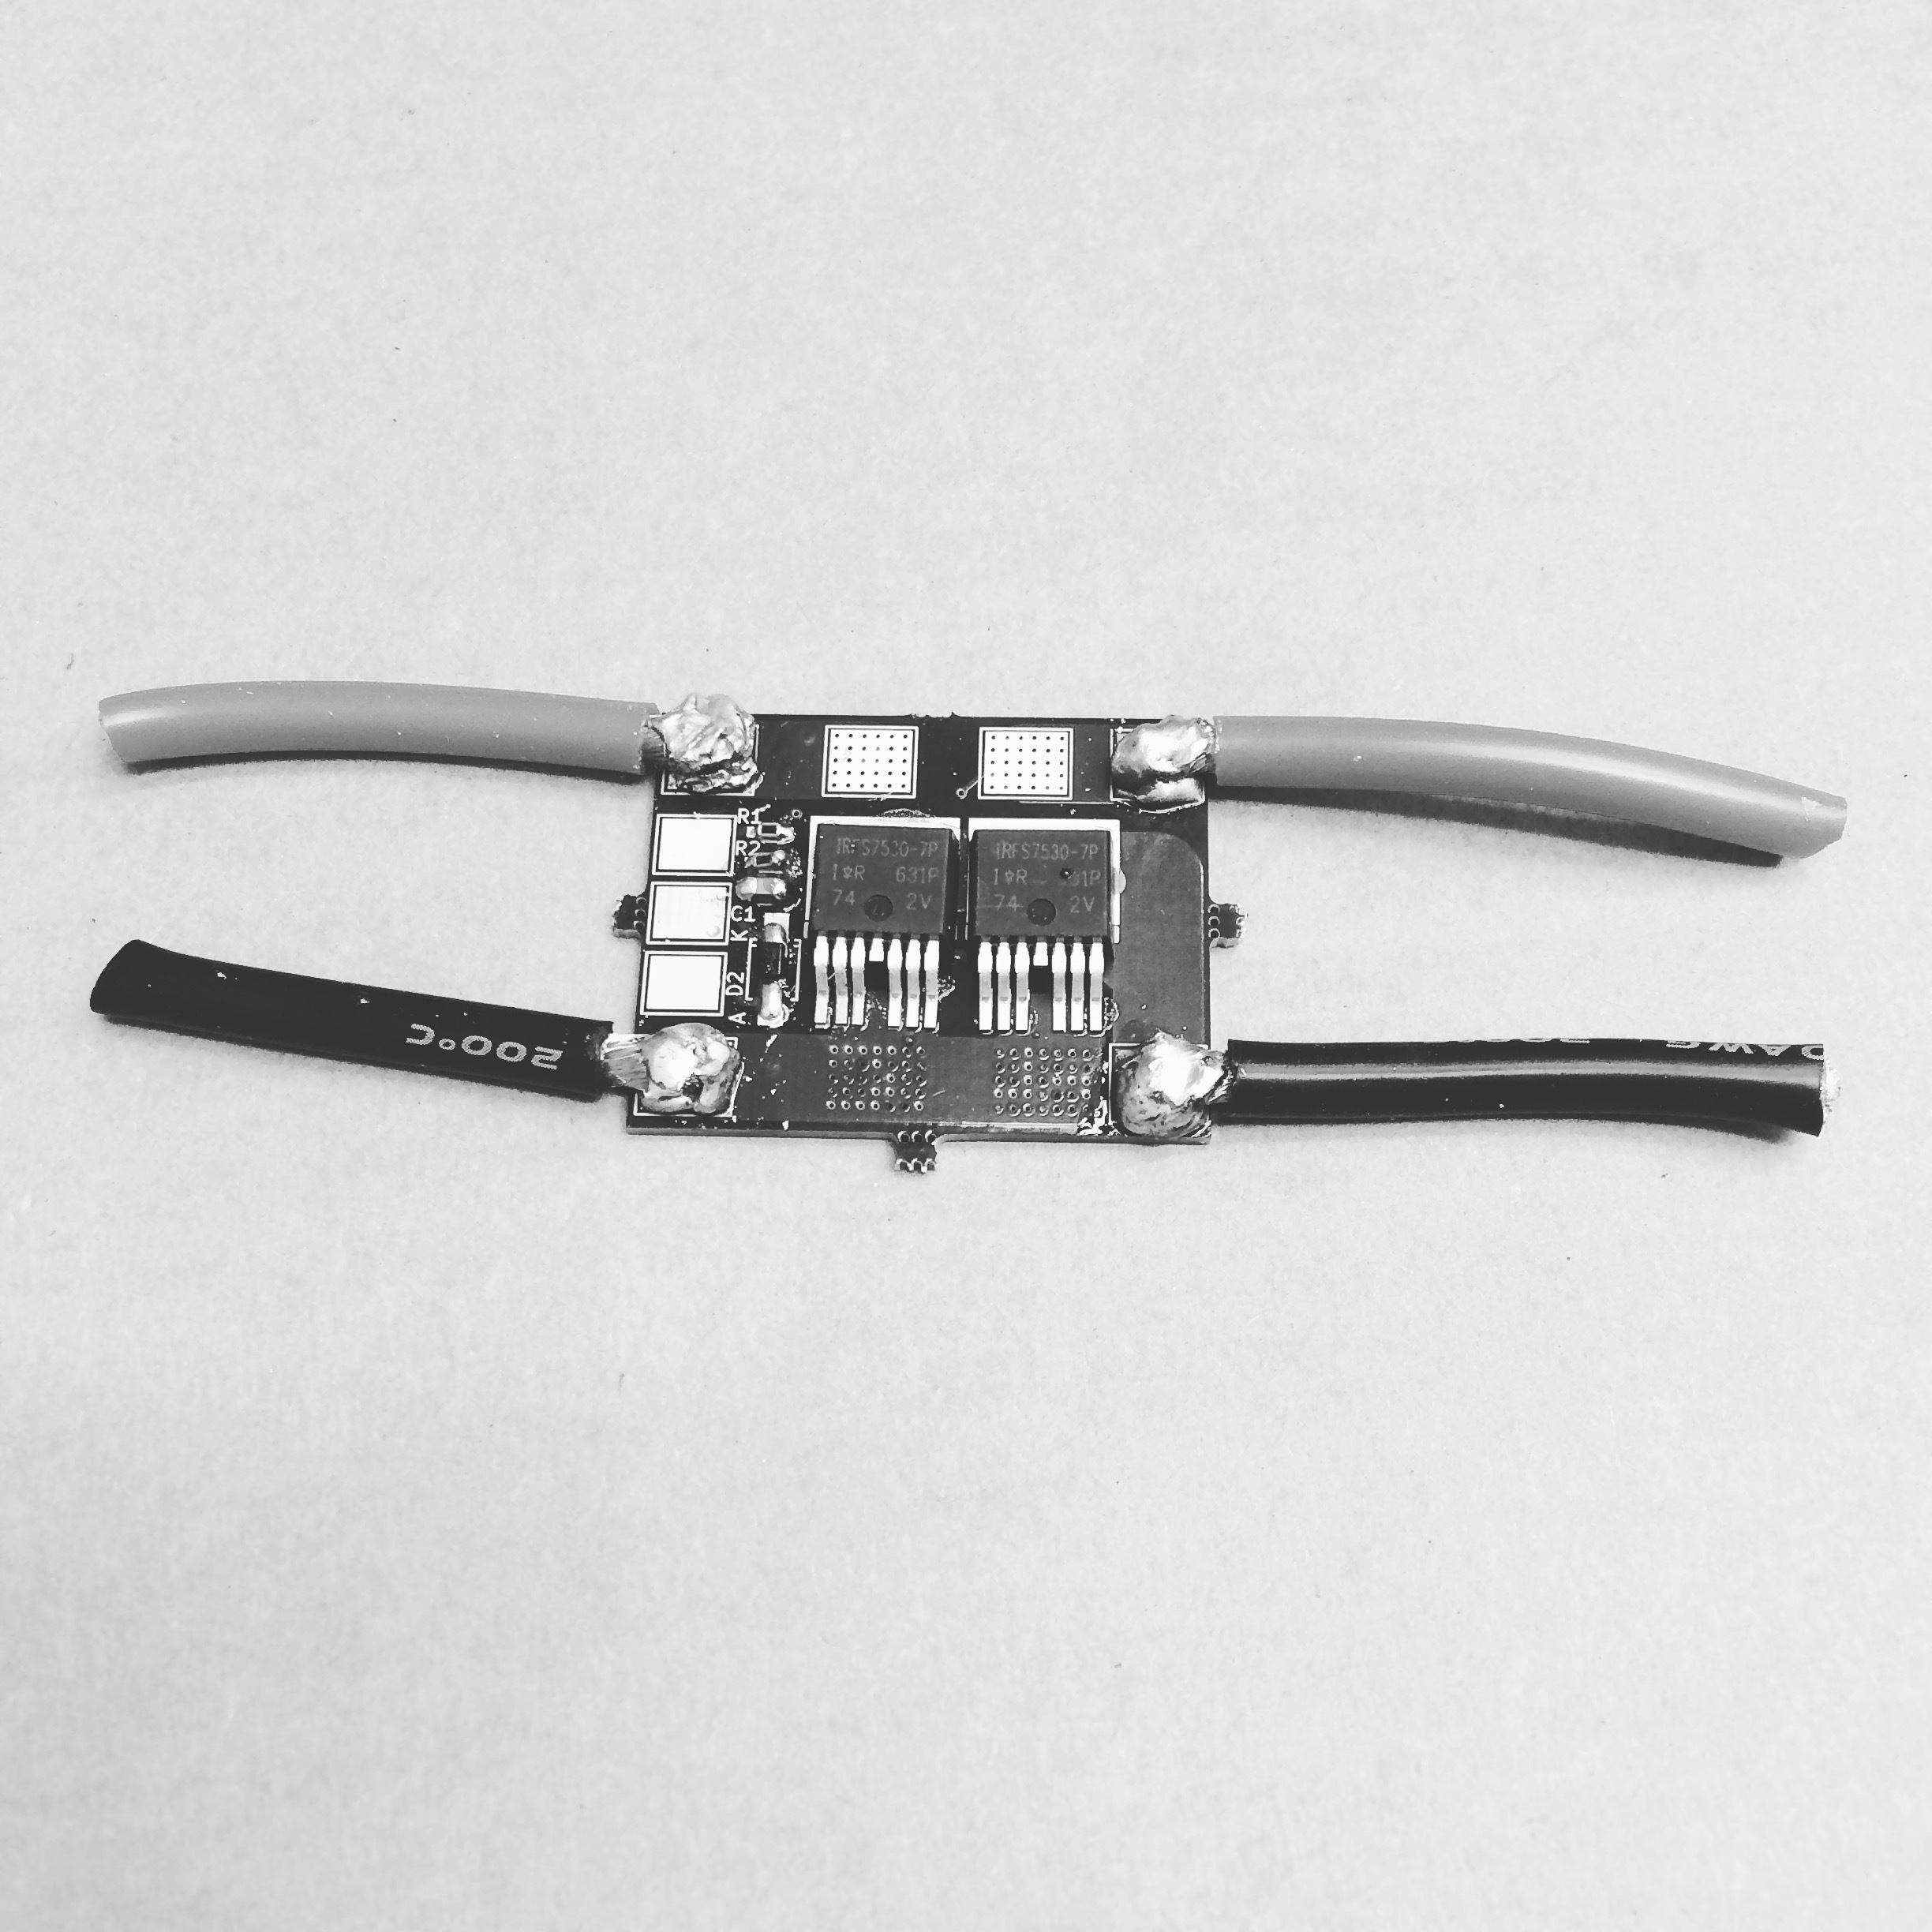
I usually go back afterwards and hand solder some additional solder on the legs of the fets - leaving the far left leg clear and free, but burying the rest.
I was told it helped - especially with hot air (directional) reflow. More heat transfer and less heat into just the FET.
Relaying what i was told… I know the spec sheet for the FETs has a temp threshold and timelimit - that’s the concern for damage if overheated for too long.
It cannot hurt, i have it, so i use it even when reflow oven. less needed for sure in a gradual heat up from all sides in an oven. only a dab or two of the flux on ea FET. cheap insurance vs a $3-5 FET.
You just don’t want to cook them too long w/ too much heat. If you look at the spec sheet for the FET (on mouser is where i grab mine) - it’ll give you the threshold temps and time.
It’s little things like preheating the PCB and gradually heating it all even w/ hot air that help, then just hit the FET itself at the end to get the base to flow (under the FET being the hard part to do w/o hot air or reflow oven).
If your hot air was set and 1 GABILLION degrees - i’d worry. If you were slow heating it all and just the FET at the end for 10 sec - you’re fine.
Thank you for sharing! This looks great! I am sure this is going to help a lot of DIY’ers.
I think a video would be very nice. I personally learn better watching a video instead of reading about it.


 - i’d worry. If you were slow heating it all and just the FET at the end for 10 sec - you’re fine.